Features of the plaster walls of cement mortar
Cement-based plaster is a frequently used type of wall finish, it can be rough and decorative. She can plaster surfaces made of any material. This work is simple, but it has its own subtleties and secrets. Non-professionals need to know them in order not to make mistakes, save time, nerves and finances.
Special features
Cement-based plaster is a heavy material. It can peel off the wall, crack under the influence of drafts or high temperature. To avoid such situations, you must comply with all the technology works:
- properly prepare the walls;
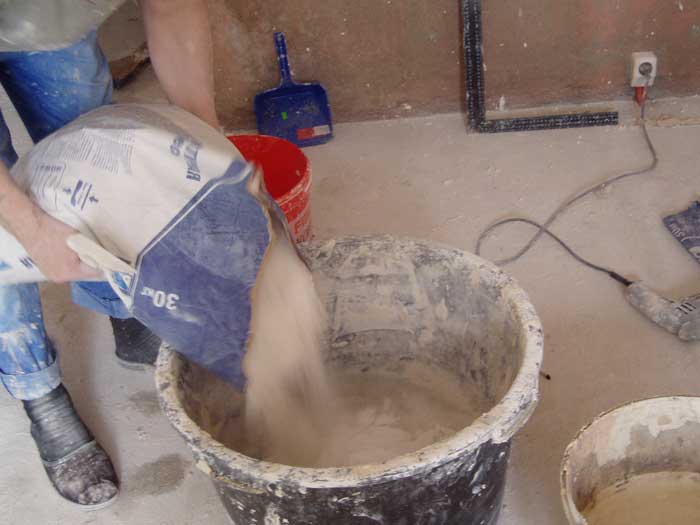
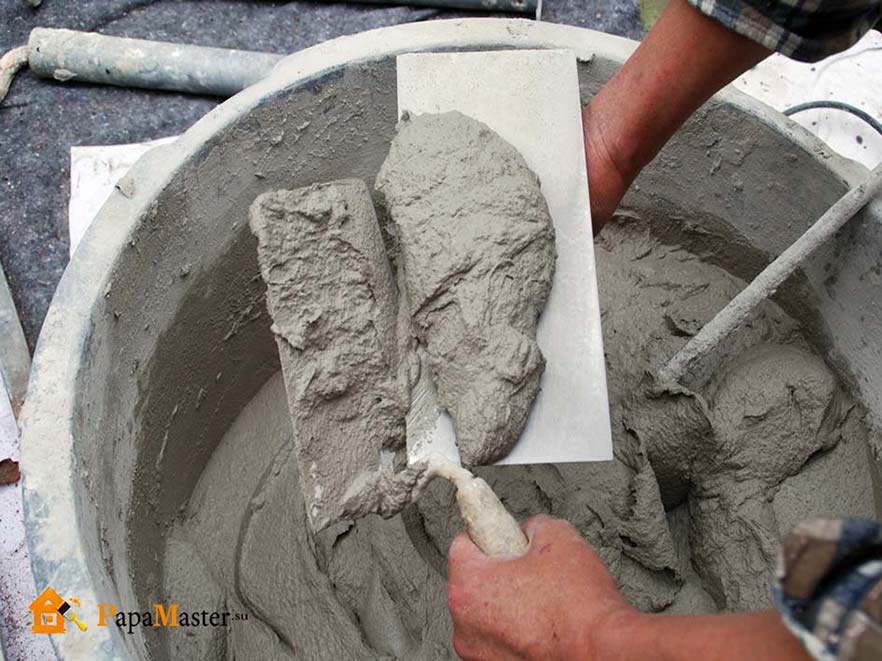
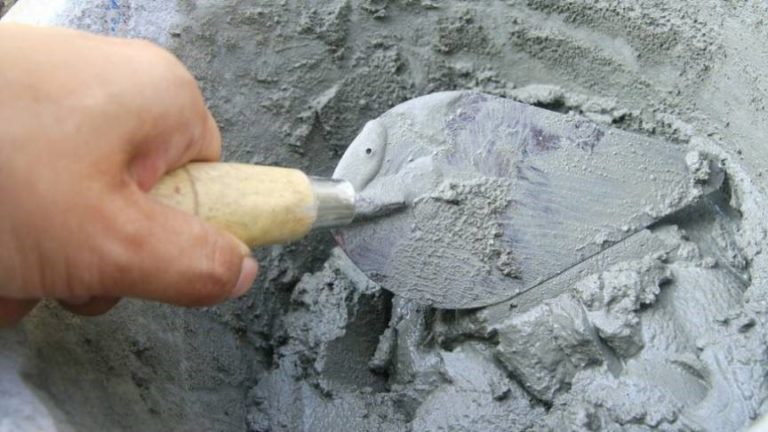
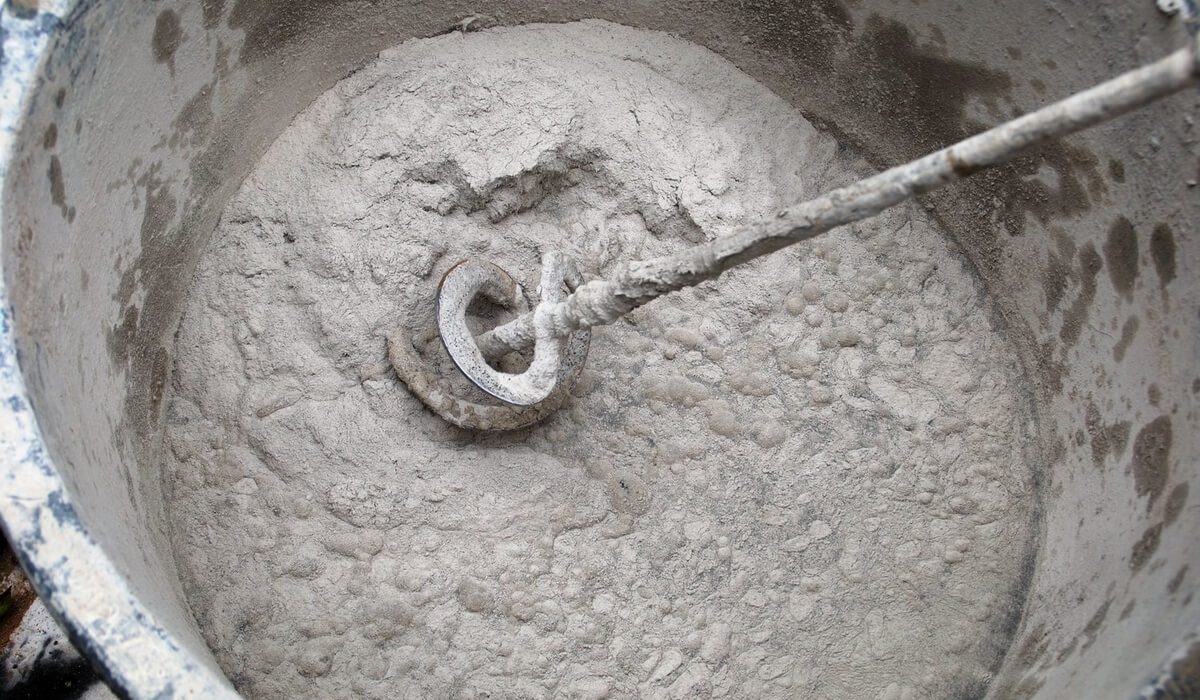
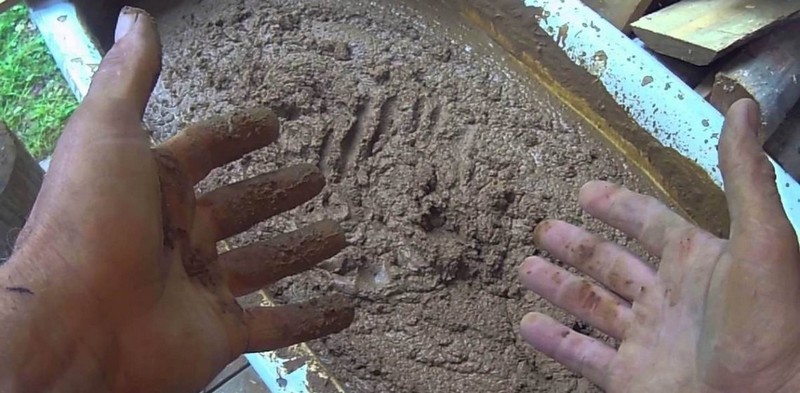
- knead the solution in the required proportion;
- gently apply it;
- for the first time after plastering, monitor the temperature and humidity in the room.

Types of material
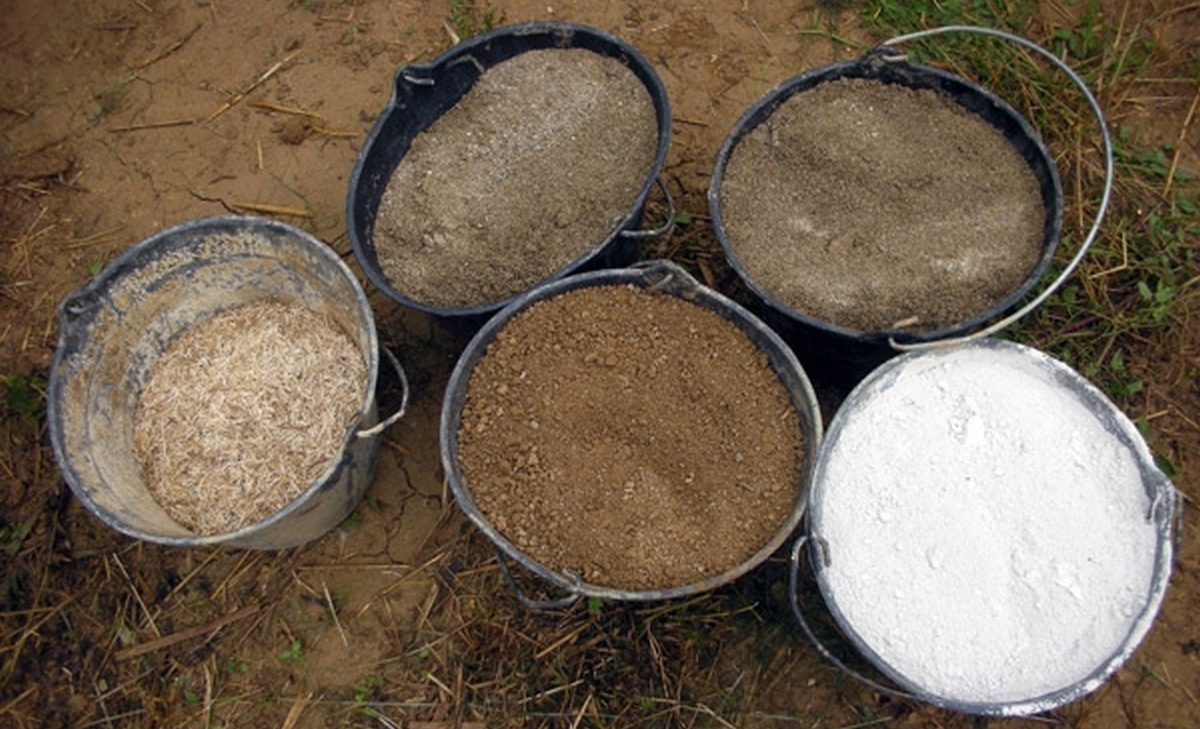
Materials for the production of plastering are divided into two categories.
- Main (knitting). These include cement, lime, gypsum, clay.
- Placeholders These are sand, gravel, slag, pumice.
Depending on which binder material is used when kneading, solutions are of the following types:
- cement, the most durable of all;
- calcareous, possessing antiseptic properties;
- plaster, quickly setting;
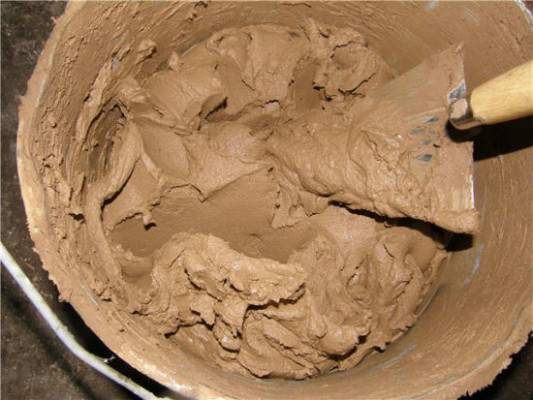
- clay, with little strength.
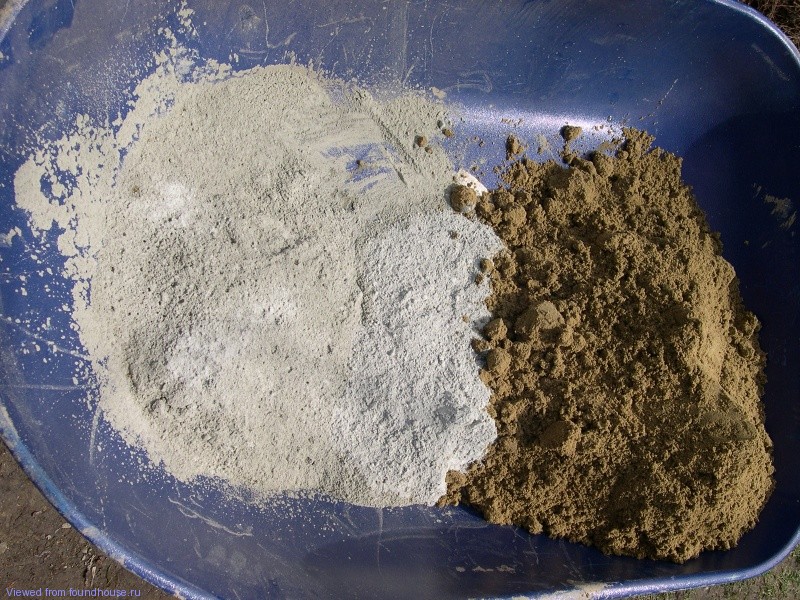
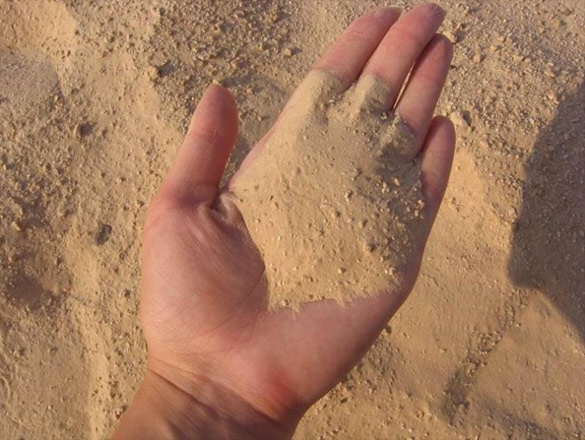
The main filler of plaster mixes based on cement is sand. Before kneading, it must be sifted through a fine mesh mesh. For the plaster walls inside the premises using cement mortar.
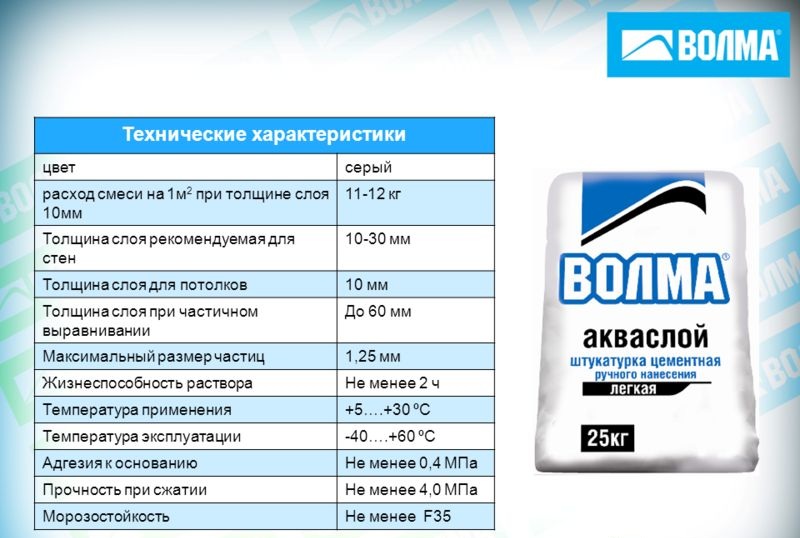
Portland cement is divided into brands. The higher the grade of cement, the stronger the solution. The usual mixture for leveling walls, wallpaper, painting, is made using cement brand M-300, as well as M-400. For decorative decoration use higher grades - M-600 and higher, as well as colored cements. Work on the street is performed with solutions based on M-500, M-600 cements.They are well resisted precipitation and temperature changes.
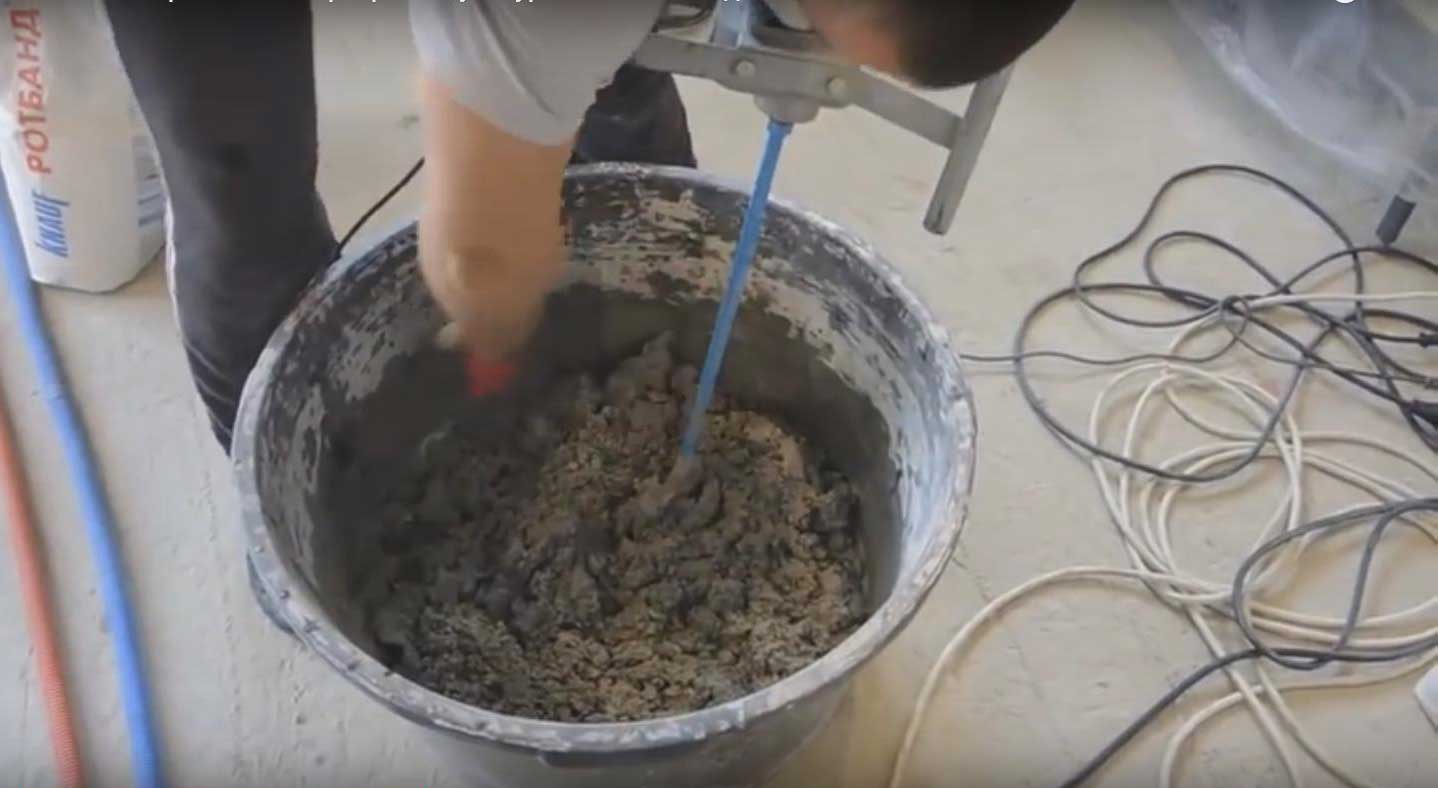
It is possible to plaster facades and basements of houses with sulphate-resistant cements (they are more resistant to frost). To obtain good results in any plastering work, it is necessary to knead the solution correctly.
It should also be remembered that the drying time of cement plasters differs from the drying time of gypsum materials. Therefore, to carry out such work simultaneously in the same room is not worth it.
How to calculate the flow?
The amount of material needed to plaster various surfaces depends on several factors.
- Deviation values from vertical or horizontal. If the curvature index is close to zero, then the cement consumption per 1 m2 of plaster of this wall will be less than that of which it is 2 - 3 cm or more.
- Quality Componentsentering the solution. Cement during long-term storage becomes lumpy, its binding properties are reduced. Therefore, such a cement in the batch will need to put more.
- Kind of materialsof which the surfaces are made. It will take a different amount of mortar to work on concrete, cinder blocks, brick or wood.The biggest expense will be for wooden walls (1.5 - 2 times more compared to masonry or cinder blocks). A flat concrete surface will take even less.
- Square wallssubject to plaster. On the small room of materials will go less, than on the big.

To calculate the rate of cement and sand for plaster walls, you need to perform the following steps:
- install beacons in several places where the curvature of the walls is most noticeable;
- measure the minimum and maximum thickness of the future plaster;
- determine the average value of raw materials;
- calculate the amount of mortar needed per 1 m2 of working surface;
- multiply the result by the size of the wall area;
- knowing the proportions of the mixture, calculate the required volume of cement and sand.
Consider an example based on a wall surface area of 50 m2. The thickness of the layer in different places is 3 cm and 1 cm. The average value is 2 cm or 0.02 m. The amount of solution per 1 m2 is 1 * 0.02 = 0.02 m3 (20 liters). To plaster 50 m2, you need 50 * 20 = 1000 l or 1m3.
If the kneading is carried out in a ratio of 1: 3, then cement per 0.00 m2 will go to 0.005 m3, 0.25 m3 to 50 m2; sand, respectively, 0.015 m3 and 0.75 m3.
If instead of the cement-sand mortar use ready-made dry mixes for plaster,calculate the required volume easier. The package has already indicated the material consumption at different layer thicknesses.
Ways and technology of drawing
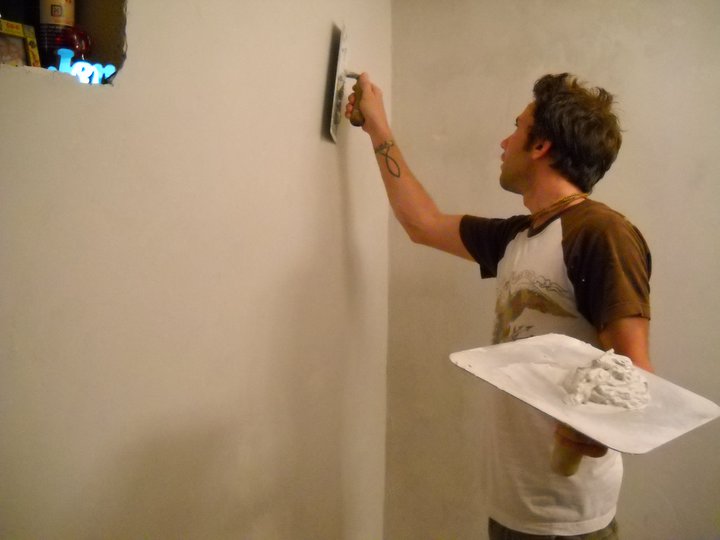
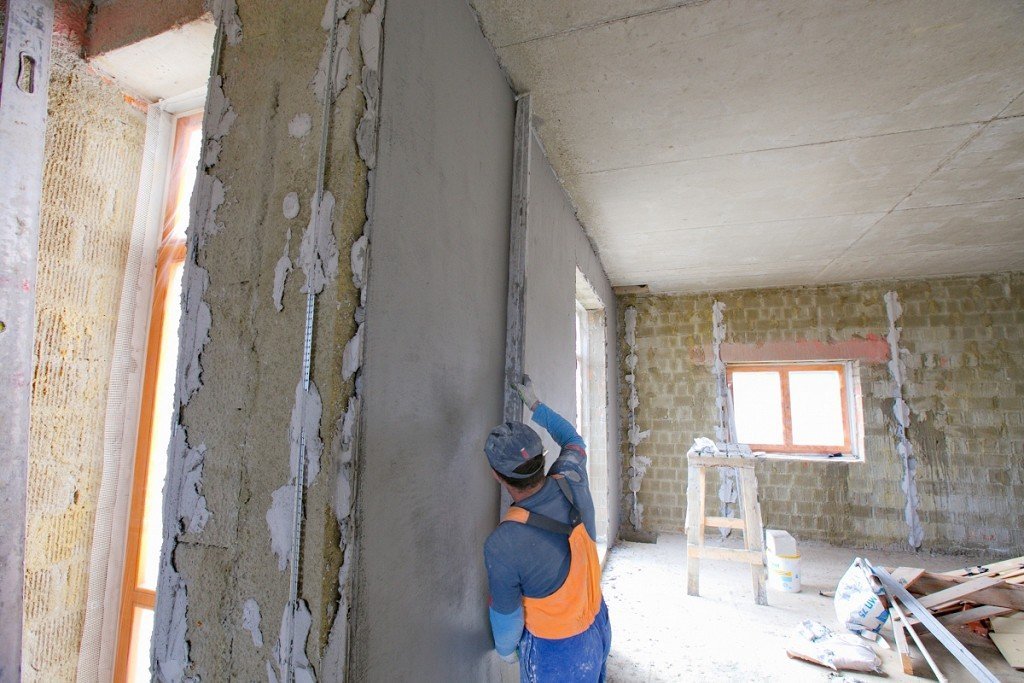
Qualitatively plastering the walls in the house with your own hands is quite a doable task, even for beginning builders. There are general rules to follow. Technology has several stages.
Splattered
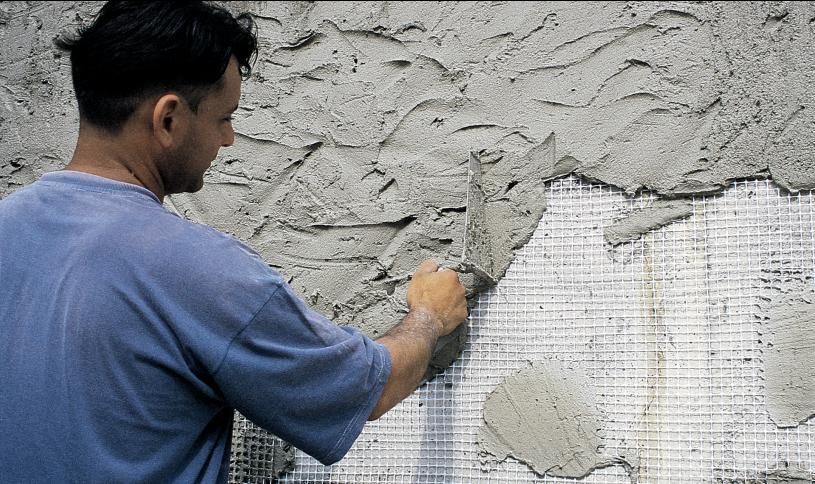
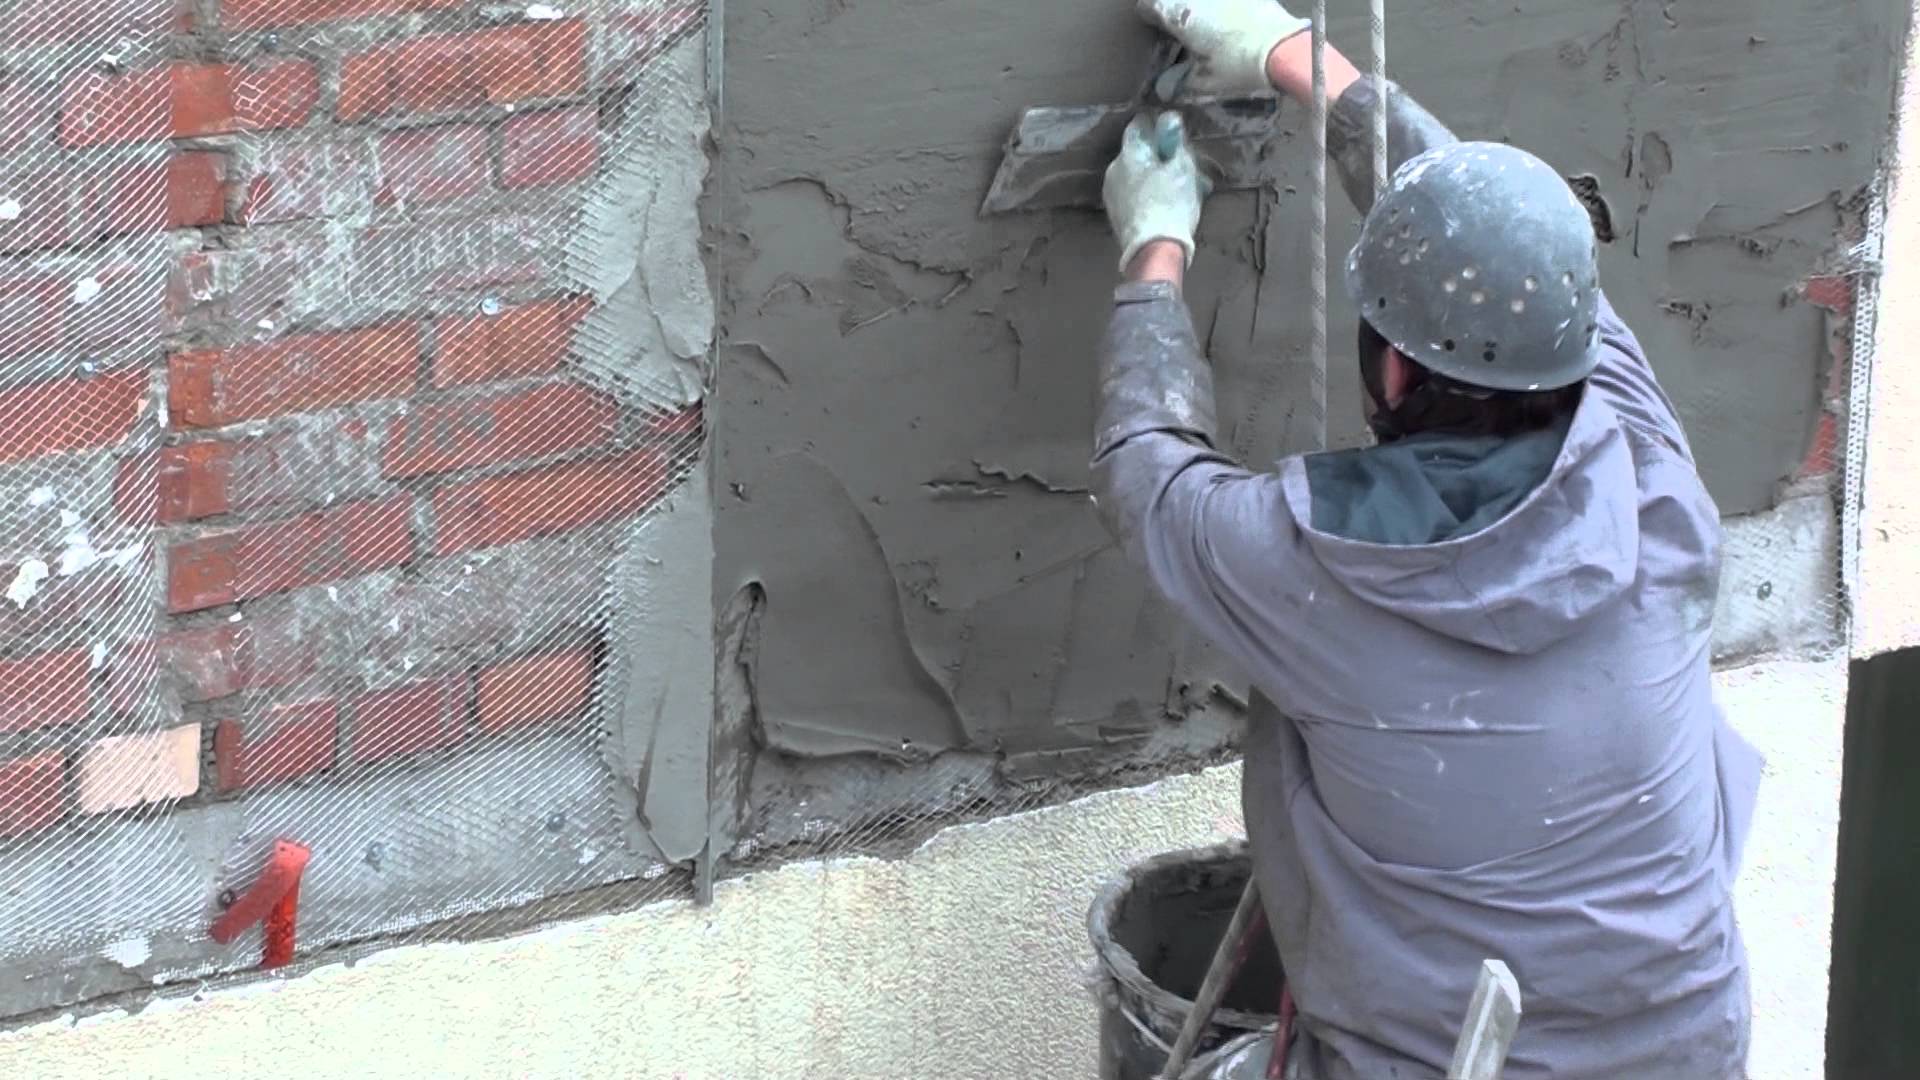
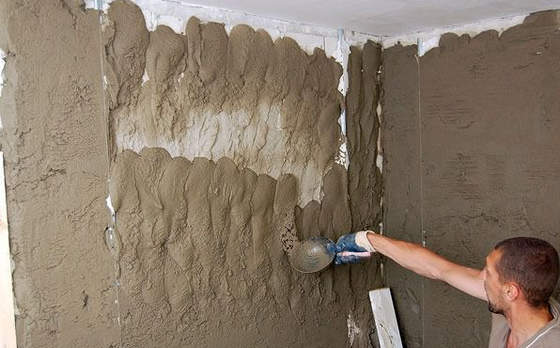
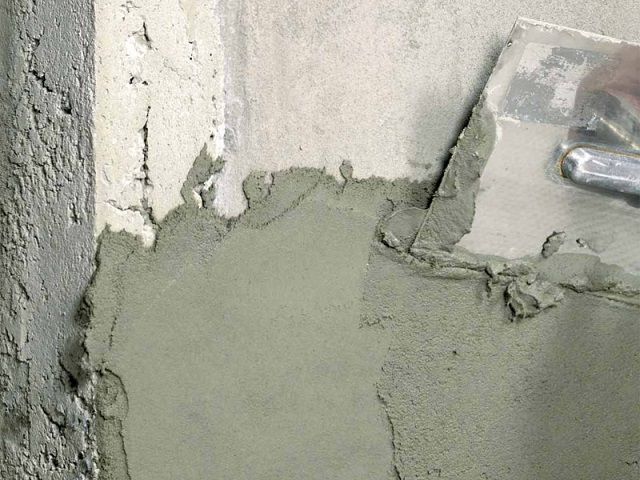
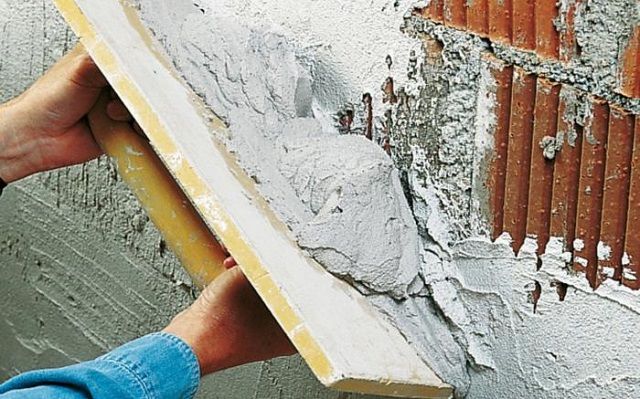
Spray - the first layer of coating, 5 mm on the walls of stone, concrete, brick and 9 mm when using plastering mesh. Kneading should be thin, creamy. It is thrown using a trowel from the bottom up at an angle of 25-30 degrees.
Priming
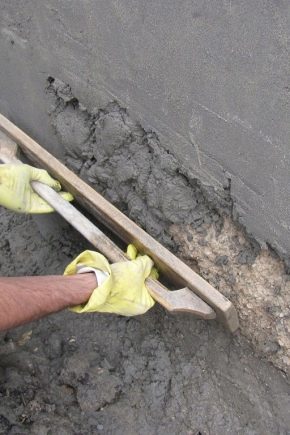
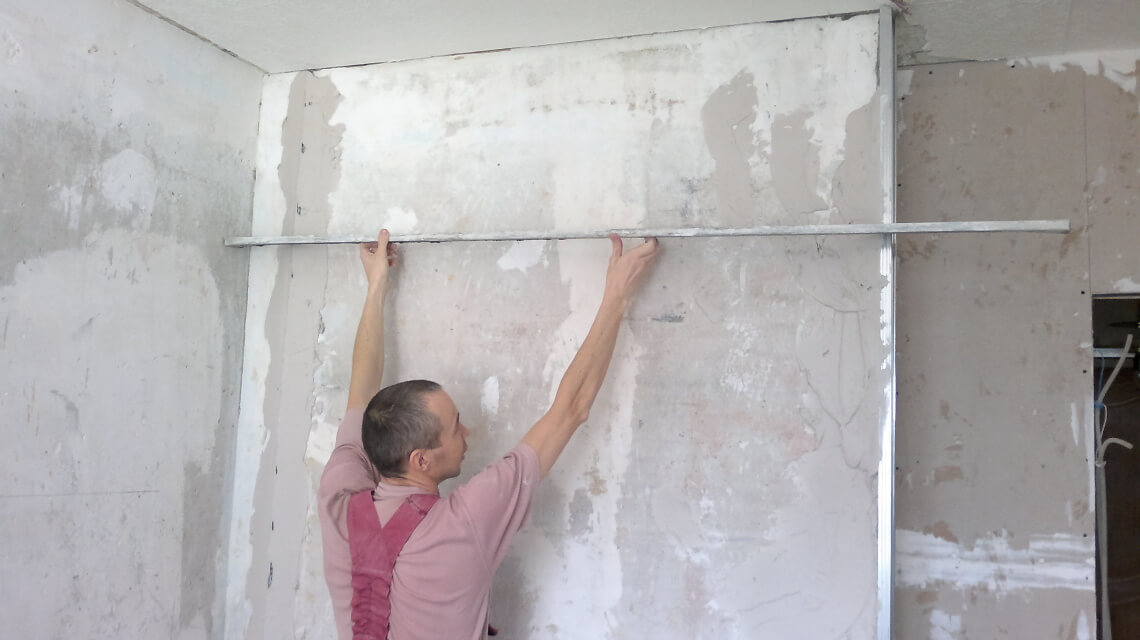
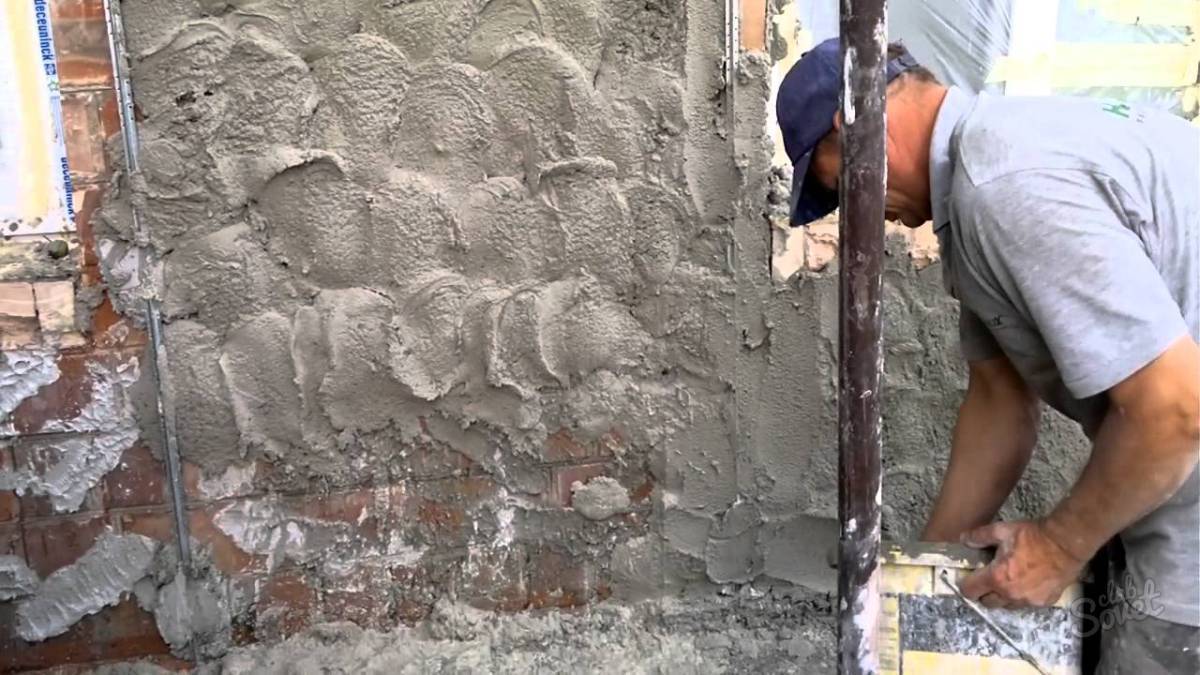
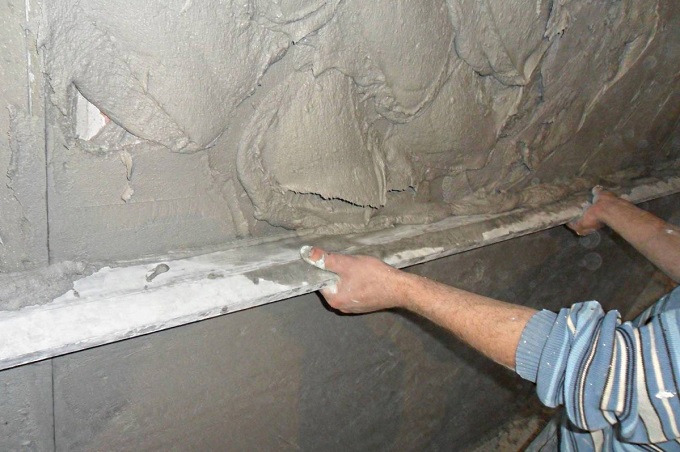
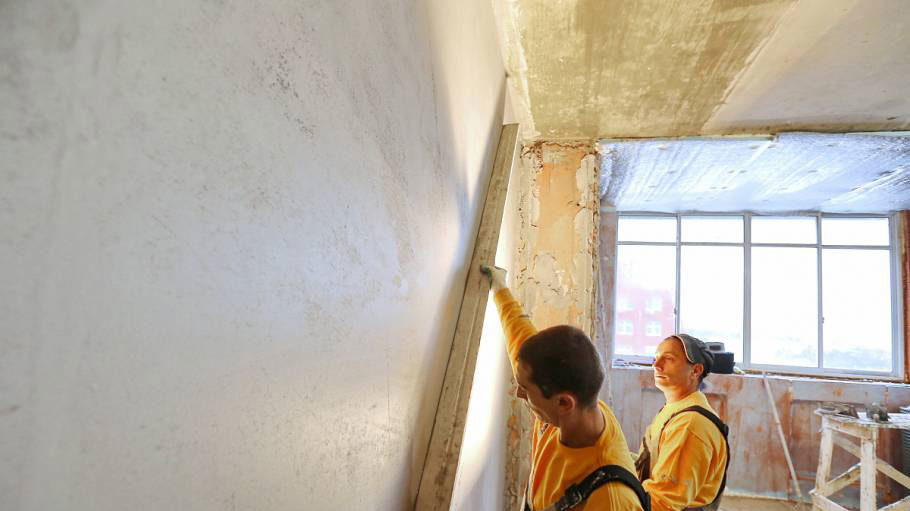
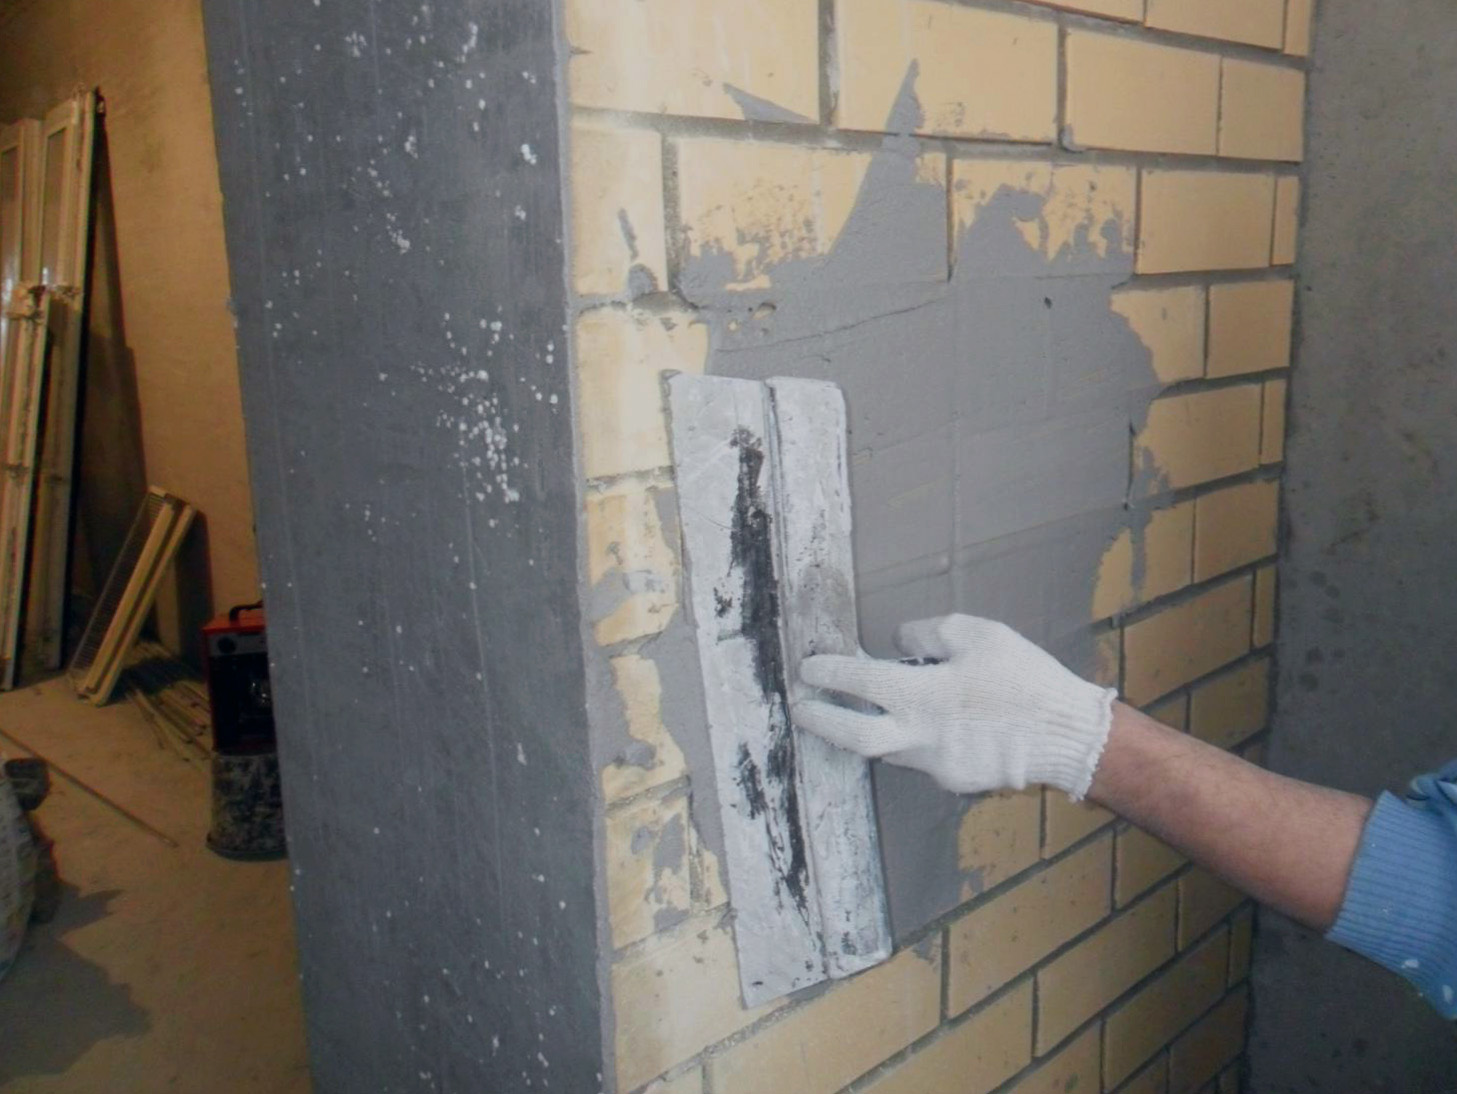
In this case, the soil is called the second (main) layer of plaster. The solution should be made thicker, pasty. He smears it with a trowel or a scraper in several steps until all the irregularities of the walls are corrected. Then it is leveled by the rule. The thickness of the application at a time is not more than 10 mm.
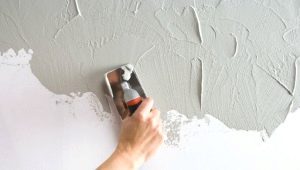
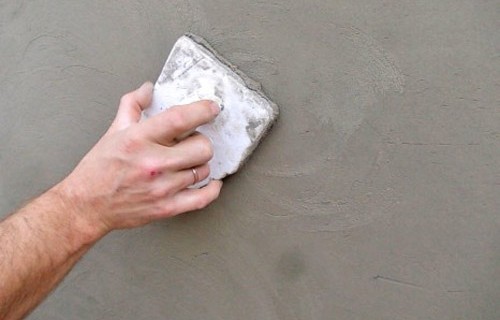
Nakryvka
Coat - the third thin layer (2 - 4 mm). The solution must be diluted to the consistency of sour cream. It is applied using a plastering trowel, level with a scraper or float. The next layer is applied only after the previous one is set.
If the plaster dries quickly, it must be wetted.
Base
Walls can be made of various materials. Work with each of them has its own characteristics.
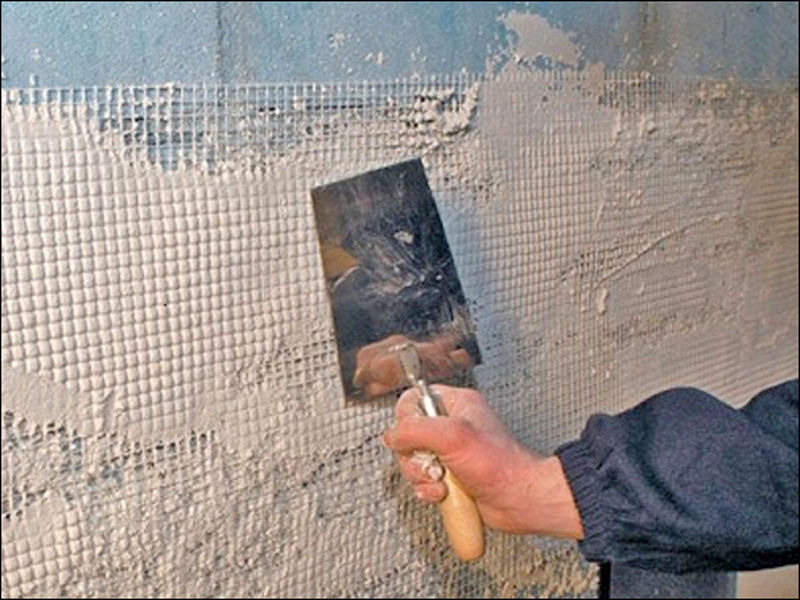
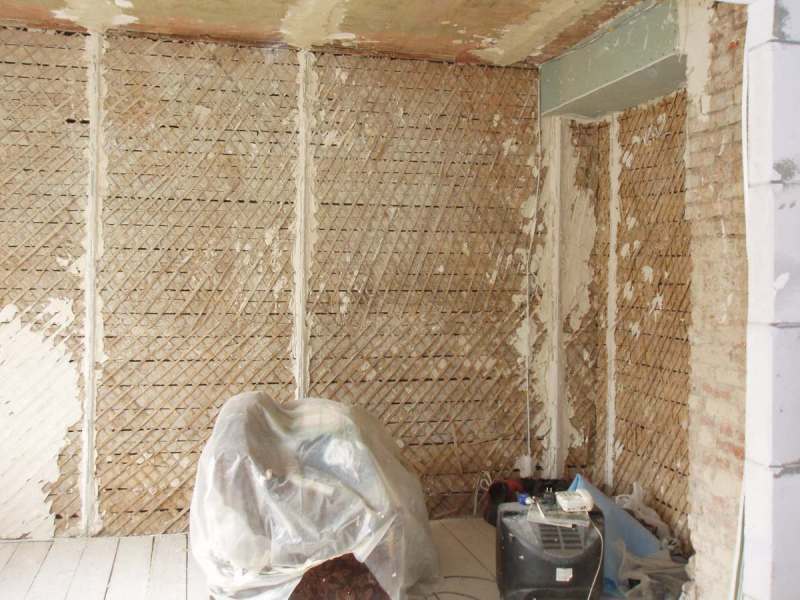
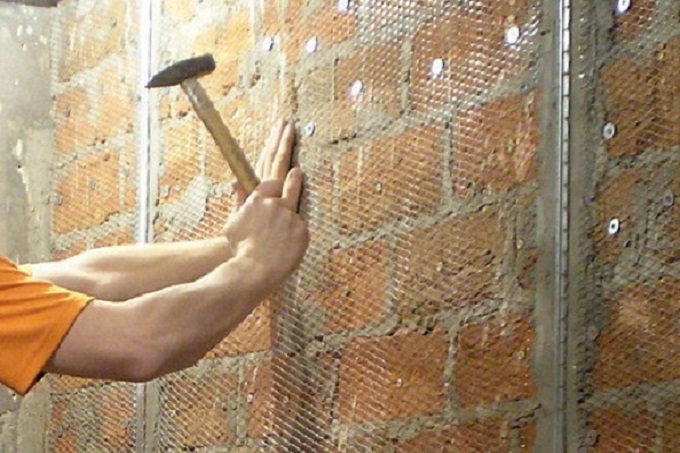
- For white brick use a metal grid, since its surface is smooth, the solution does not stick to it. The mesh is tensioned and fastened with a large number of nails or dowels. Red brick is rough, so you can put plaster directly on it.
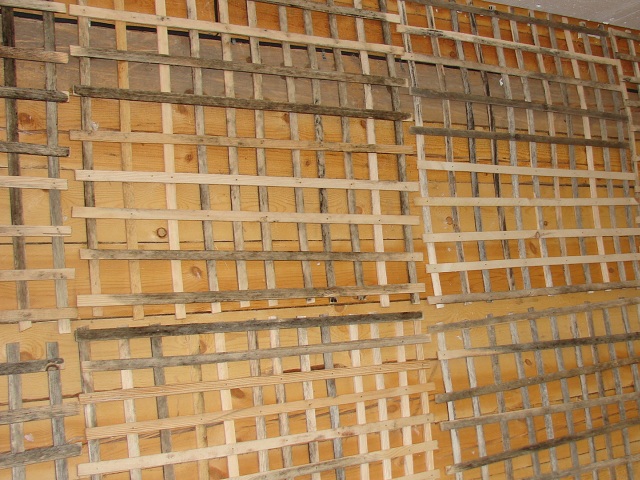
- If the walls are made of concrete slabsinstead of metal, it is better to take a nylon mesh. It will increase the service life of the coating. When plastering a bathroom before laying a tile for a primer, a special compound with antifungal and antiseptic effect is used. On wooden and log walls, you first need to chop slats crosswise, only after that you can get to work. Foam concrete has a flat porous surface. It should be well moistened with water so that the solution does not dry out. Plaster is applied with a thin layer.

- For wall insulation often used Styrofoam. The wall under it remains dry, as it does not absorb moisture. A significant drawback is the fact that when heated, toxic substances can be released. That is why the foam is better to use for exterior decoration.A metal grid is fastened to the wall with the help of long pins, polystyrene is laid between the wall and the grid, then the wall is plastered. Above the plaster can be revetted with brick or tile.
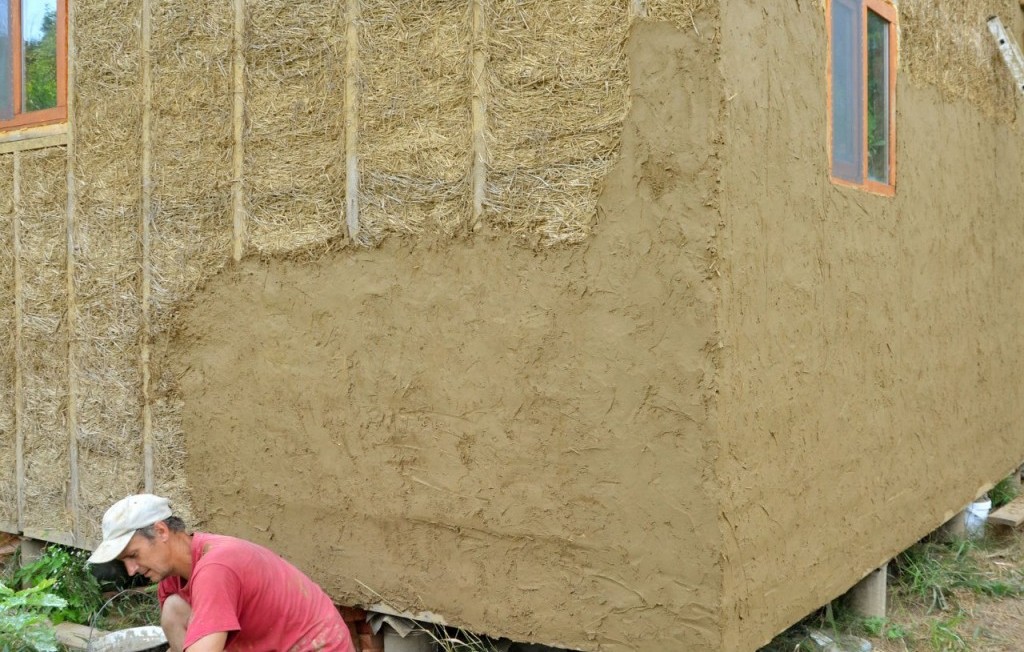
- In the villages there are still houses built from cob blocks. These walls have a rough surface, the plaster on them keeps well. If their curvature is small, they knead the solution on the clay with the addition of lime, with strong unevenness (drop of 5 cm or more), existing through cracks, it is better to fix the metal mesh and use lime-cement mortar. The methods of work are standard, only the last layer is better to make a sand-lime mixture in proportions of 1: 1 (sand should be fine, quartz). As a decorative element in the decoration of the facade or basement, you can use pebbles. It is embedded in a slightly set solution.
Tools and fixtures
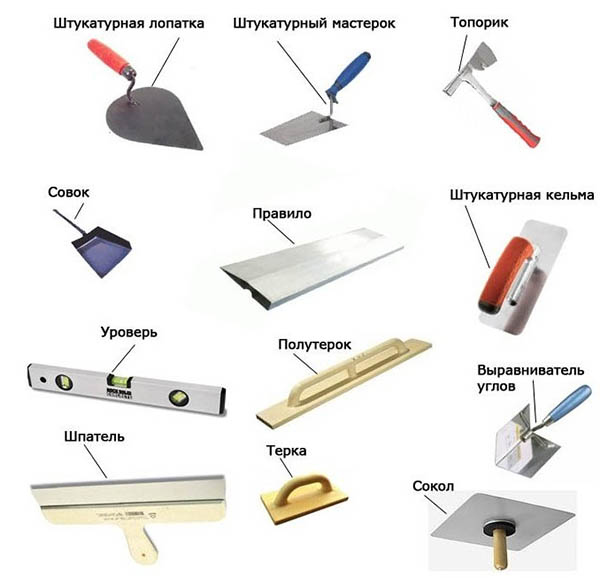
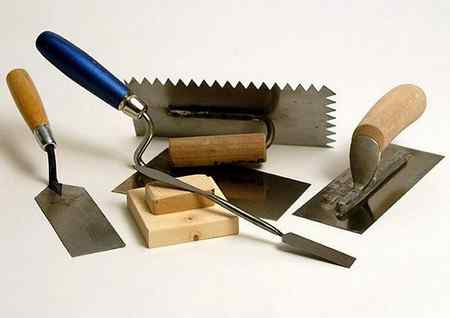
The following tools are required for plastering work:
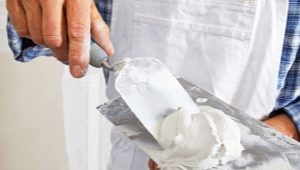
- trowel for throwing the solution on the wall;
- a falcon or a shield with a handle at the bottom — small portions of the dough are put on it when working at height;
- a rule with a length of at least 2 m for leveling the applied layer;
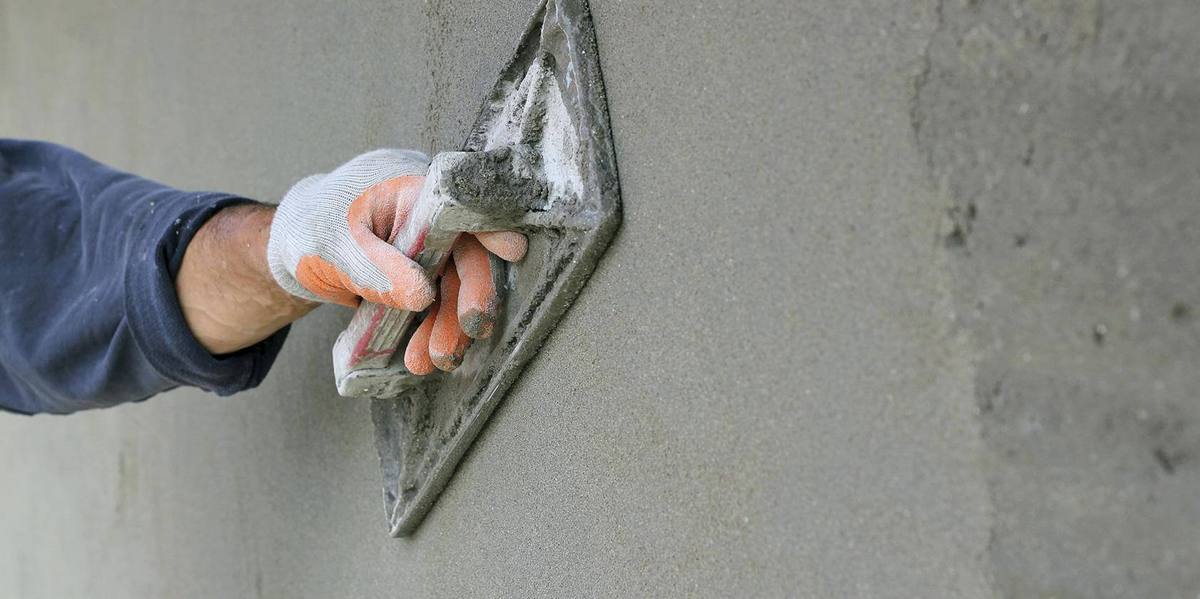
- poluterok - board with a handle for grinding the solution on the wall;
- float for correcting minor defects on the stuck plaster;
- spatula to form corners and slopes;
- building level;
- plumb, leveling beacons;
- capacity for mixing the solution.
Training
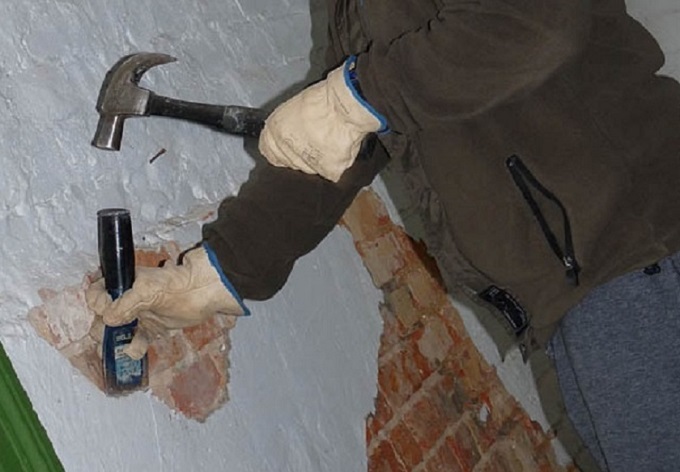
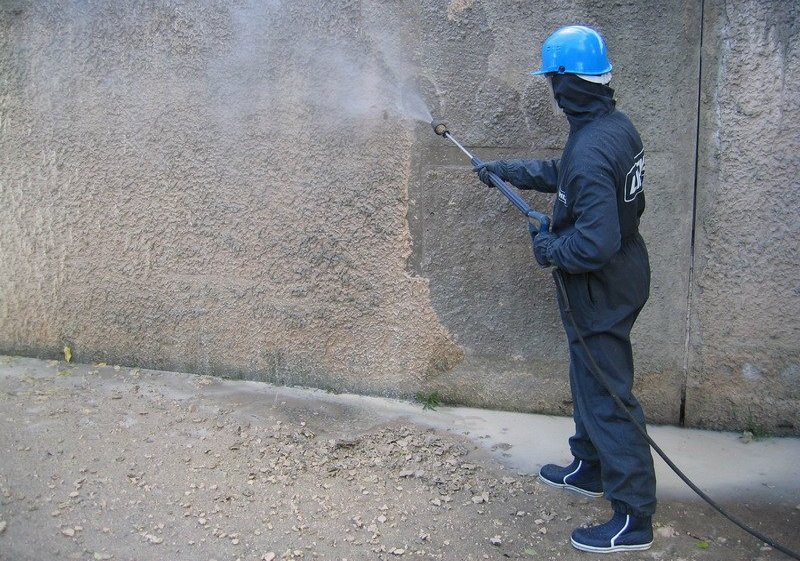
Before starting work surface prepare. Old walls are cleaned of all layers of whitewashing, painting, plaster. On smooth concrete surfaces make notches with a chisel, construction pick. New brickwork can be plastered without prior preparation or to stretch the grid on it. On wooden walls lath rake, shingles. Saman is moistened with water and attached to it a mesh.
Control
Before you start painting the walls or wallpapering, you need to check how well the plaster is made.
The work conforms to the standards, if the following parameters are met:
- irregularities of maximum 3 mm to 4 m, height or depth of not more than 5 mm are allowed;
- deviations from the vertical and horizontal should be no more than 3 mm per 1 m;
- the total thickness of the cement plaster layer must not exceed 20 mm.
Finish stage
The final part of the work is to grind the surface with a trowel (sandpaper) to make it smooth. If you intend to glue the wallpaper, put a primer or putty.
Common mistakes
Common mistakes that reduce the quality of plastering work are as follows:
- wrong choice of cement brand;
- the solution sets quickly, it cannot be leveled;
- sand of a large fraction, poorly sifted, furrows appear on the wall;
- no proportions are observed when mixing the solution;
- irregular, uneven application, curvature of the walls;
- too thick layer of plaster, remember;
- the temperature conditions necessary for setting the plaster (cracks and peeling) are broken.
- decorative work started on a wet surface.

It should be remembered that the time for complete drying of cement plaster is 4 weeks. Artificial heating is used extremely carefully to prevent cracking.
Tips and tricks
When carrying out plastering work, experts advise you to adhere to the following recommendations. It is necessary:
- pay attention to the brand of cement and its quality;
- sand thoroughly sift through a fine sieve;
- observe the ratio of the components of the solution;
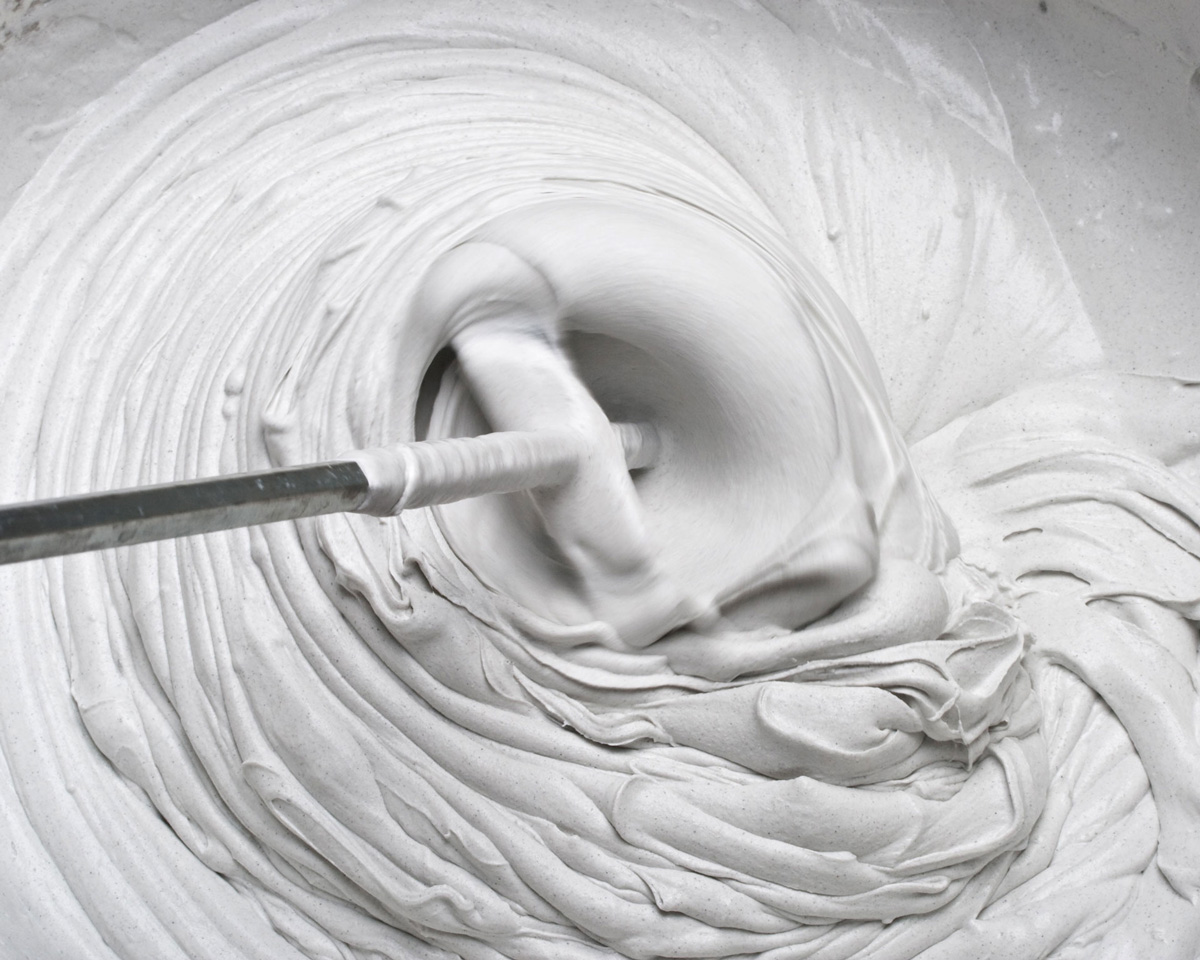
- carefully stir the solution to the desired consistency;
- properly prepare the walls, depending on the material from which they are made;
- when applied more often check the verticality and horizontal;
- remember that the thickness of the plaster should be as small as possible;
- after each addition of the mortar, rinse the trowel in water, then the mixture will be easily separated from it;
- wash all the tools immediately after work, as the frozen solution is difficult to clean;
- do not plaster at low temperatures and drafts;
- If the room is hot, wet the surface with an atomizer.
On applying layers of cement plaster, see the following video: