Features milling drywall
Drywall is a very practical material, which is one of the most common options for finishing rooms. This is due to a wide range of applications: in the construction of partitions, leveling walls and ceilings.

Special features
Drywall consists of two layers of paper and plaster filling between them, so that it can be cut at any angle and cut out any shape. The only and main drawback of the drywall sheet is its increased fragility, which does not allow to construct objects with relief. Drywall is subjected to milling. This process has a number of features that you need to pay attention to before work.
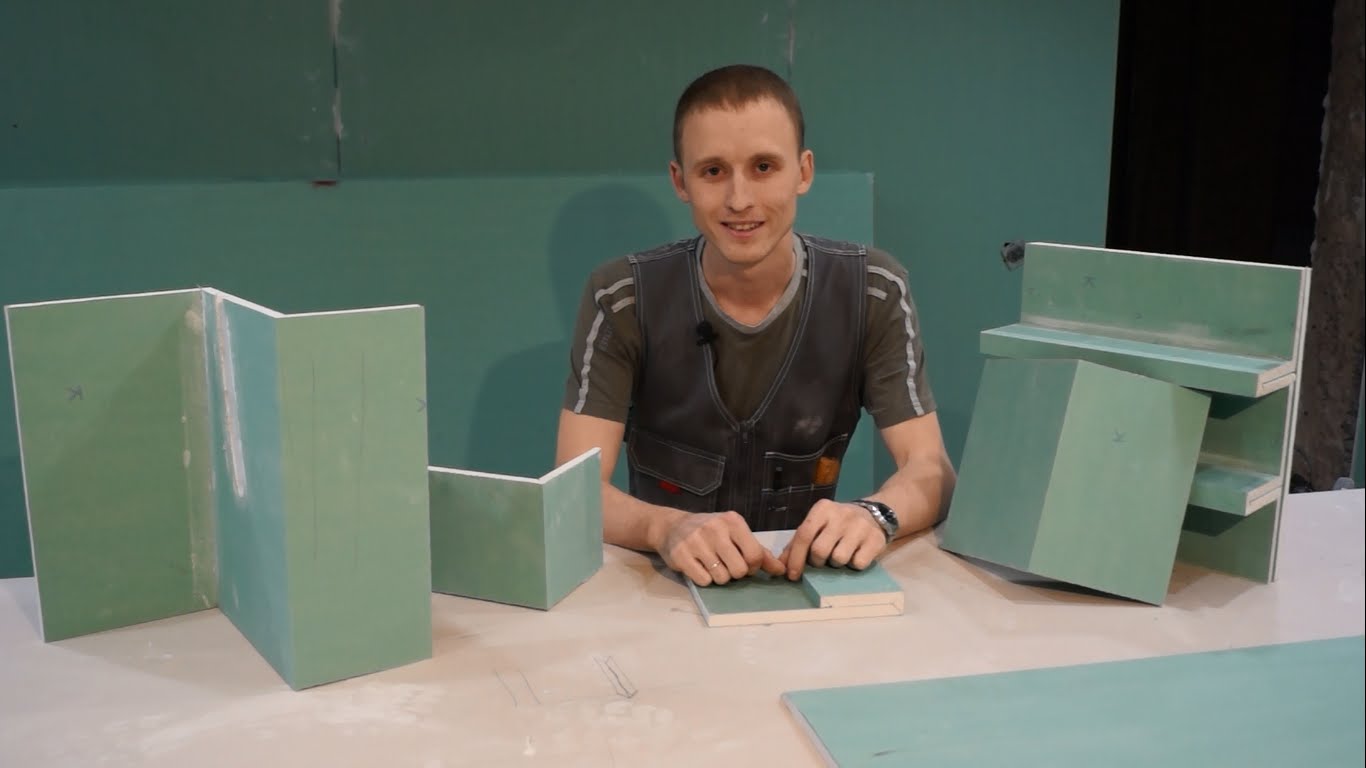
Milling is used in cases when you need to create a structure with sharp corners from a sheet of drywall.
For example, thanks to the work with cutters, the process of making boxes for additional decor,stiffeners and other similar structures becomes much easier and faster.
Advantages and disadvantages
The advantages of milling are in the following features:
- open ends becomes smaller, which greatly simplifies the finish, and makes the design more accurate;
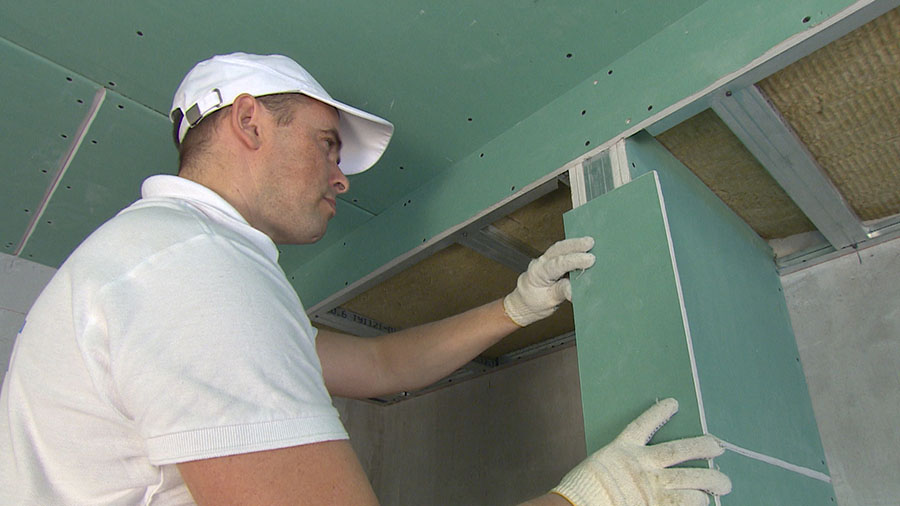
- the construction of boxes and corners becomes many times faster and easier;
- There are no restrictions on the complexity of the structures, the main thing is to make the right grooves and accurately mark;
- no need to reinforce all the folds with corners, which reduces the cost of the project and speeds up the plastering process;
- frame is not needed. The box or corner protrusion will be easy to hold without it, if there is no load. The main disadvantage is spending on a milling cutter and cutter. And in addition to spending, the use of such equipment still needs to be mastered, which will not be difficult if you strictly and carefully follow all instructions. As with any technique, you need to adjust to the router.
How to choose?
To create the necessary grooves, the special equipment is required - a milling cutter and mills. Speaking of milling machines, it is worthwhile to immediately understand that it is not necessary to buy an expensive model if the work is not associated with large volumes of the material being processed and is only for personal use. It is possible to hire a frezer or buy a not very expensive one, especially since there are not too many requirements for its quality:
- Power device should be within 1500 watts.
- There should be an additional device for removing dust, so that the space around it is not instantly filled with plaster dust.
It is also important to determine which type of work will prevail in order to choose a suitable mill of two types:
- Disk - so named because of the presence of the disk, because of which the cut will not be chipped and chipped. It is not suitable for products with an intricate design, intended for cutting only along straight straight lines. Such models work faster shaped.
- Shaped - It is the main tool for milling, allowing you to cut complex structures and holes of different shapes, for example, rounded. And also allow you to process the edge of the sheet.
Using
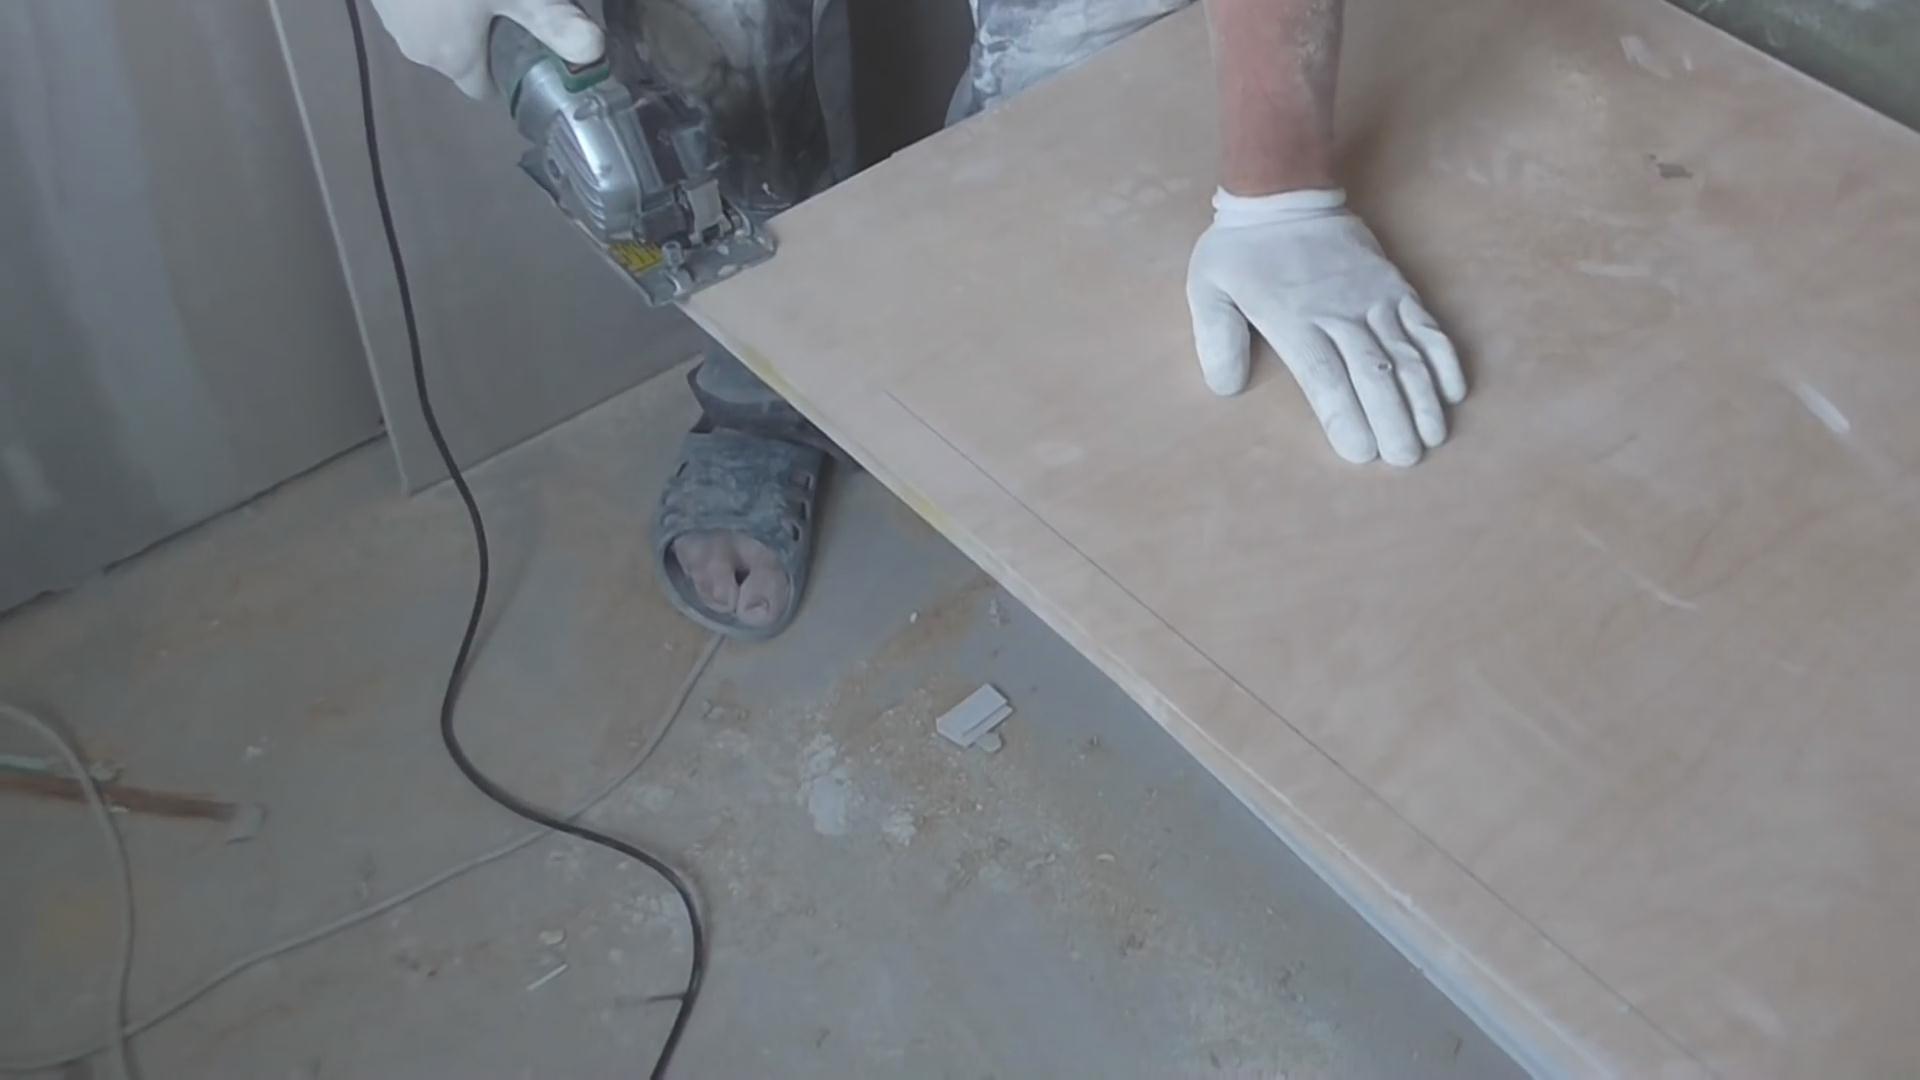
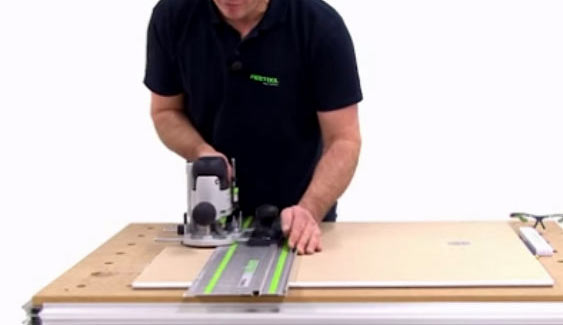
It is necessary to equip the working area. In its role can act and a simple table. The main thing is that the surface is flat and smooth. At one end, an emphasis is needed so that the sheet does not crawl. It can be made from the board by screwing it to the outer part of the table.It is necessary to work with a frezer strictly according to the instructions and it is better not to start large works at once, to practice with small details.
Be sure to take care of removing dust. To protect your eyes from her, you need to buy special glasses.

Kinds of cutters
In order for the milling cutters to perform all the types of tasks described above, they need to have special nozzles with different cutting blades - cutters.
They can perform the following tasks:
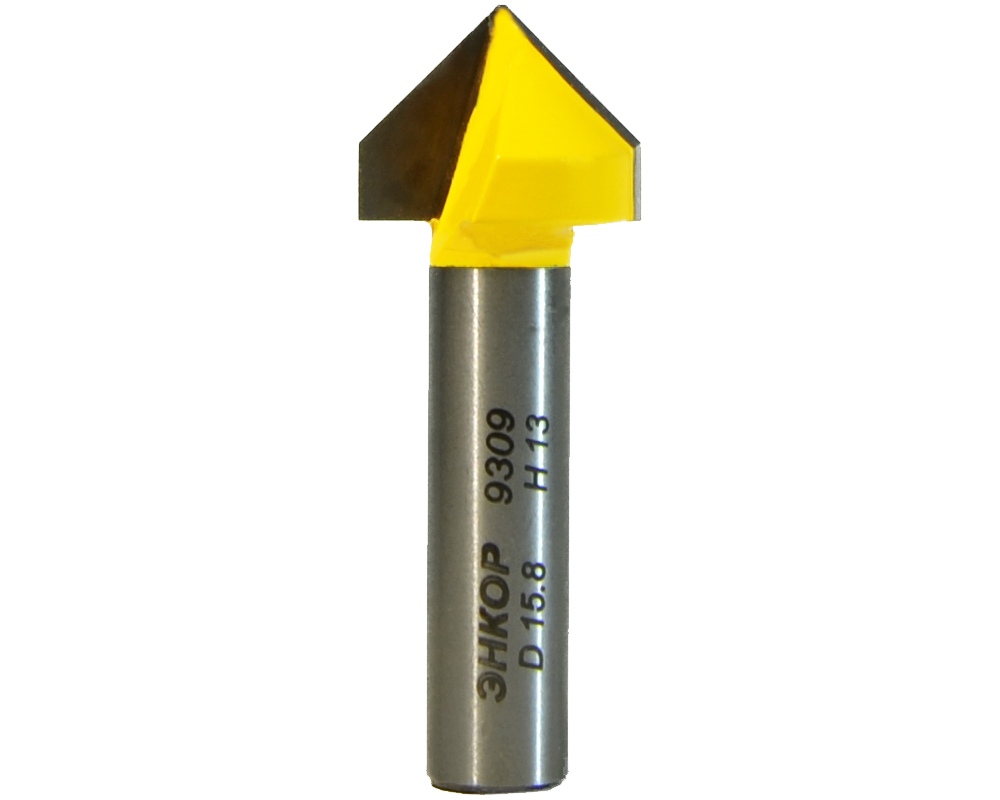
- fillet grooving cutters with V-shape - the most popular and necessary to bend the sheet into a flat corner;
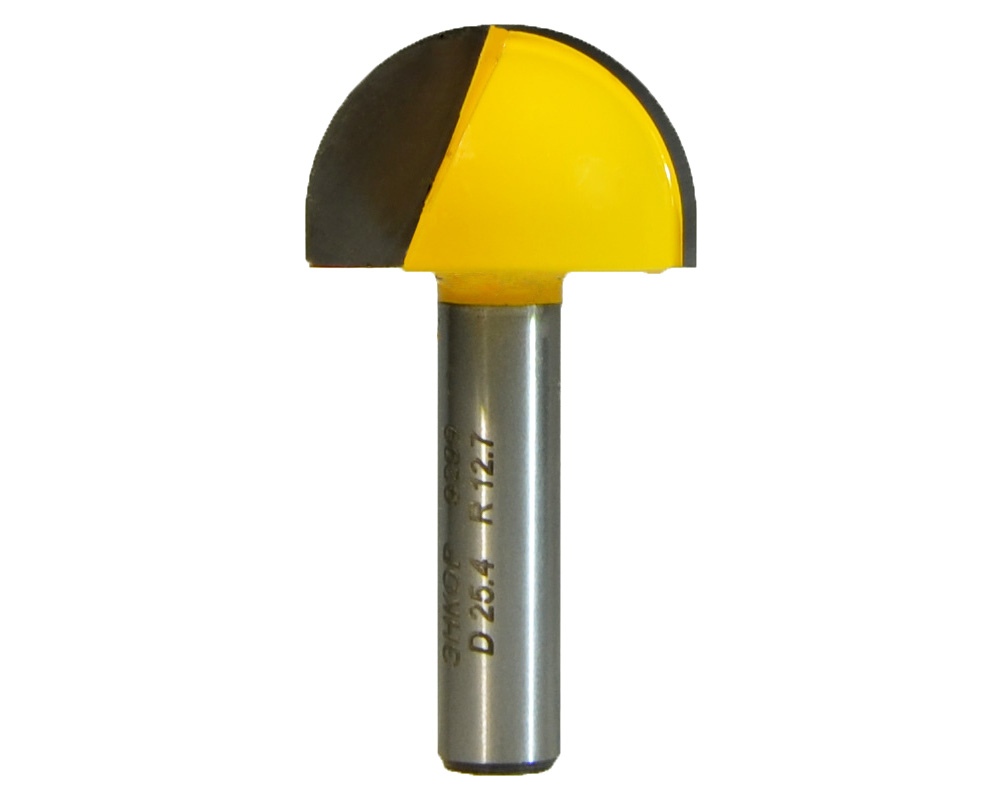
- grooving fillet mills with a U-shaped cutter - to create rounded blanks and holes;
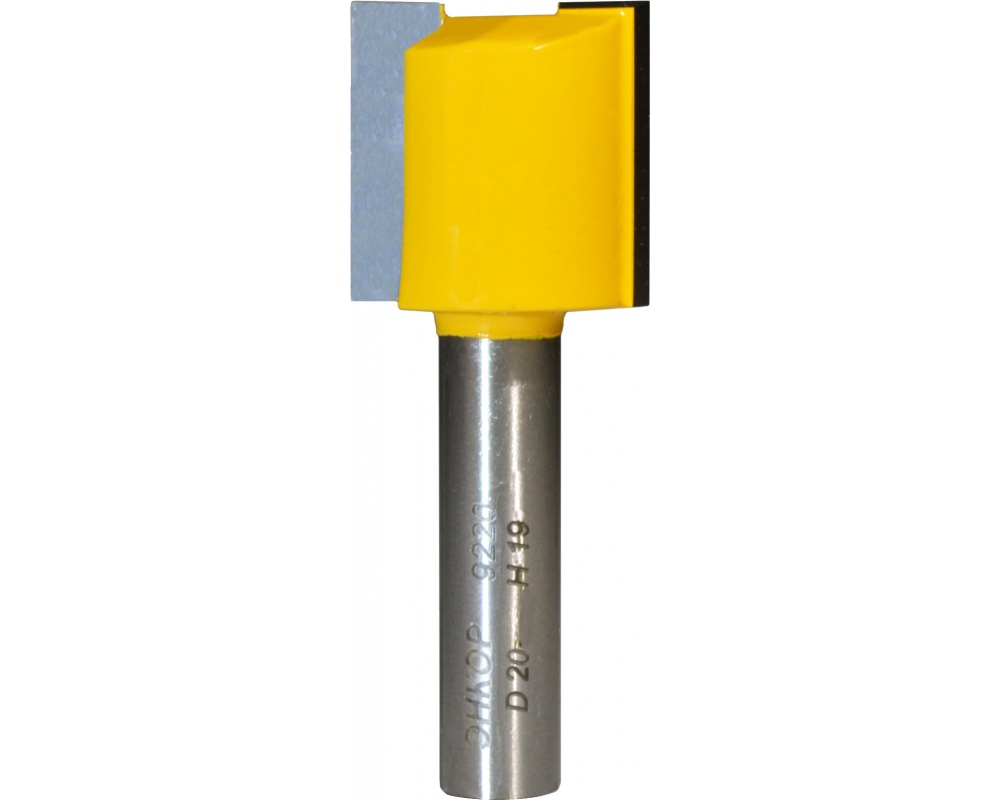
- straight groove cutters - for grooves and holes that are at an angle of 90 degrees to the plane of the plasterboard;
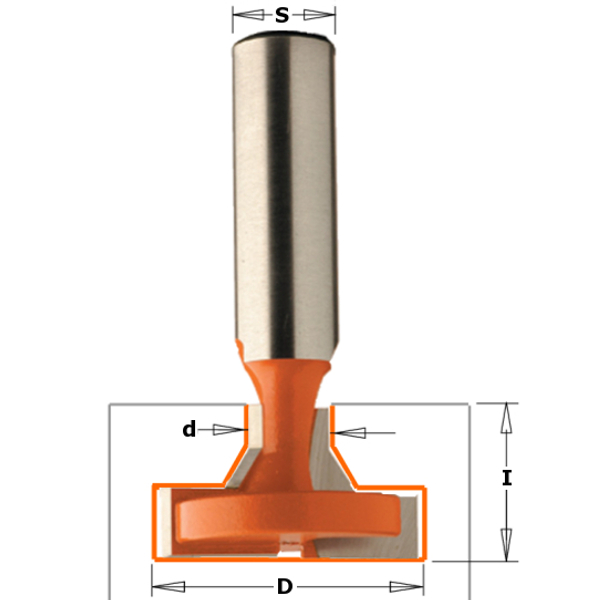
- Slot T-shaped cutters are also used for grooves and holes, but also they can be used to cut holes with a large diameter;
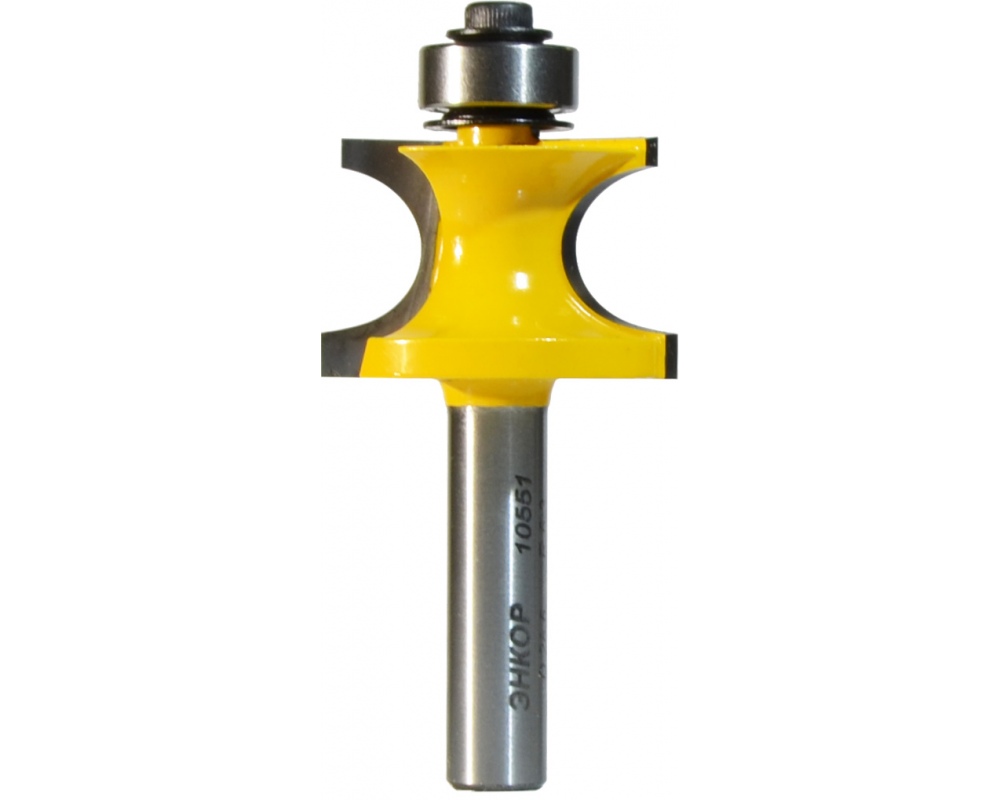
- edging cutters - for cutting bevel edges.
When choosing mills, you need to be careful and pay attention to the diameter of the shank so that it fits under the router.
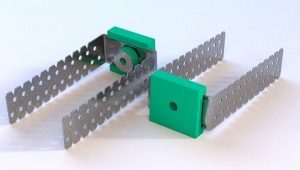
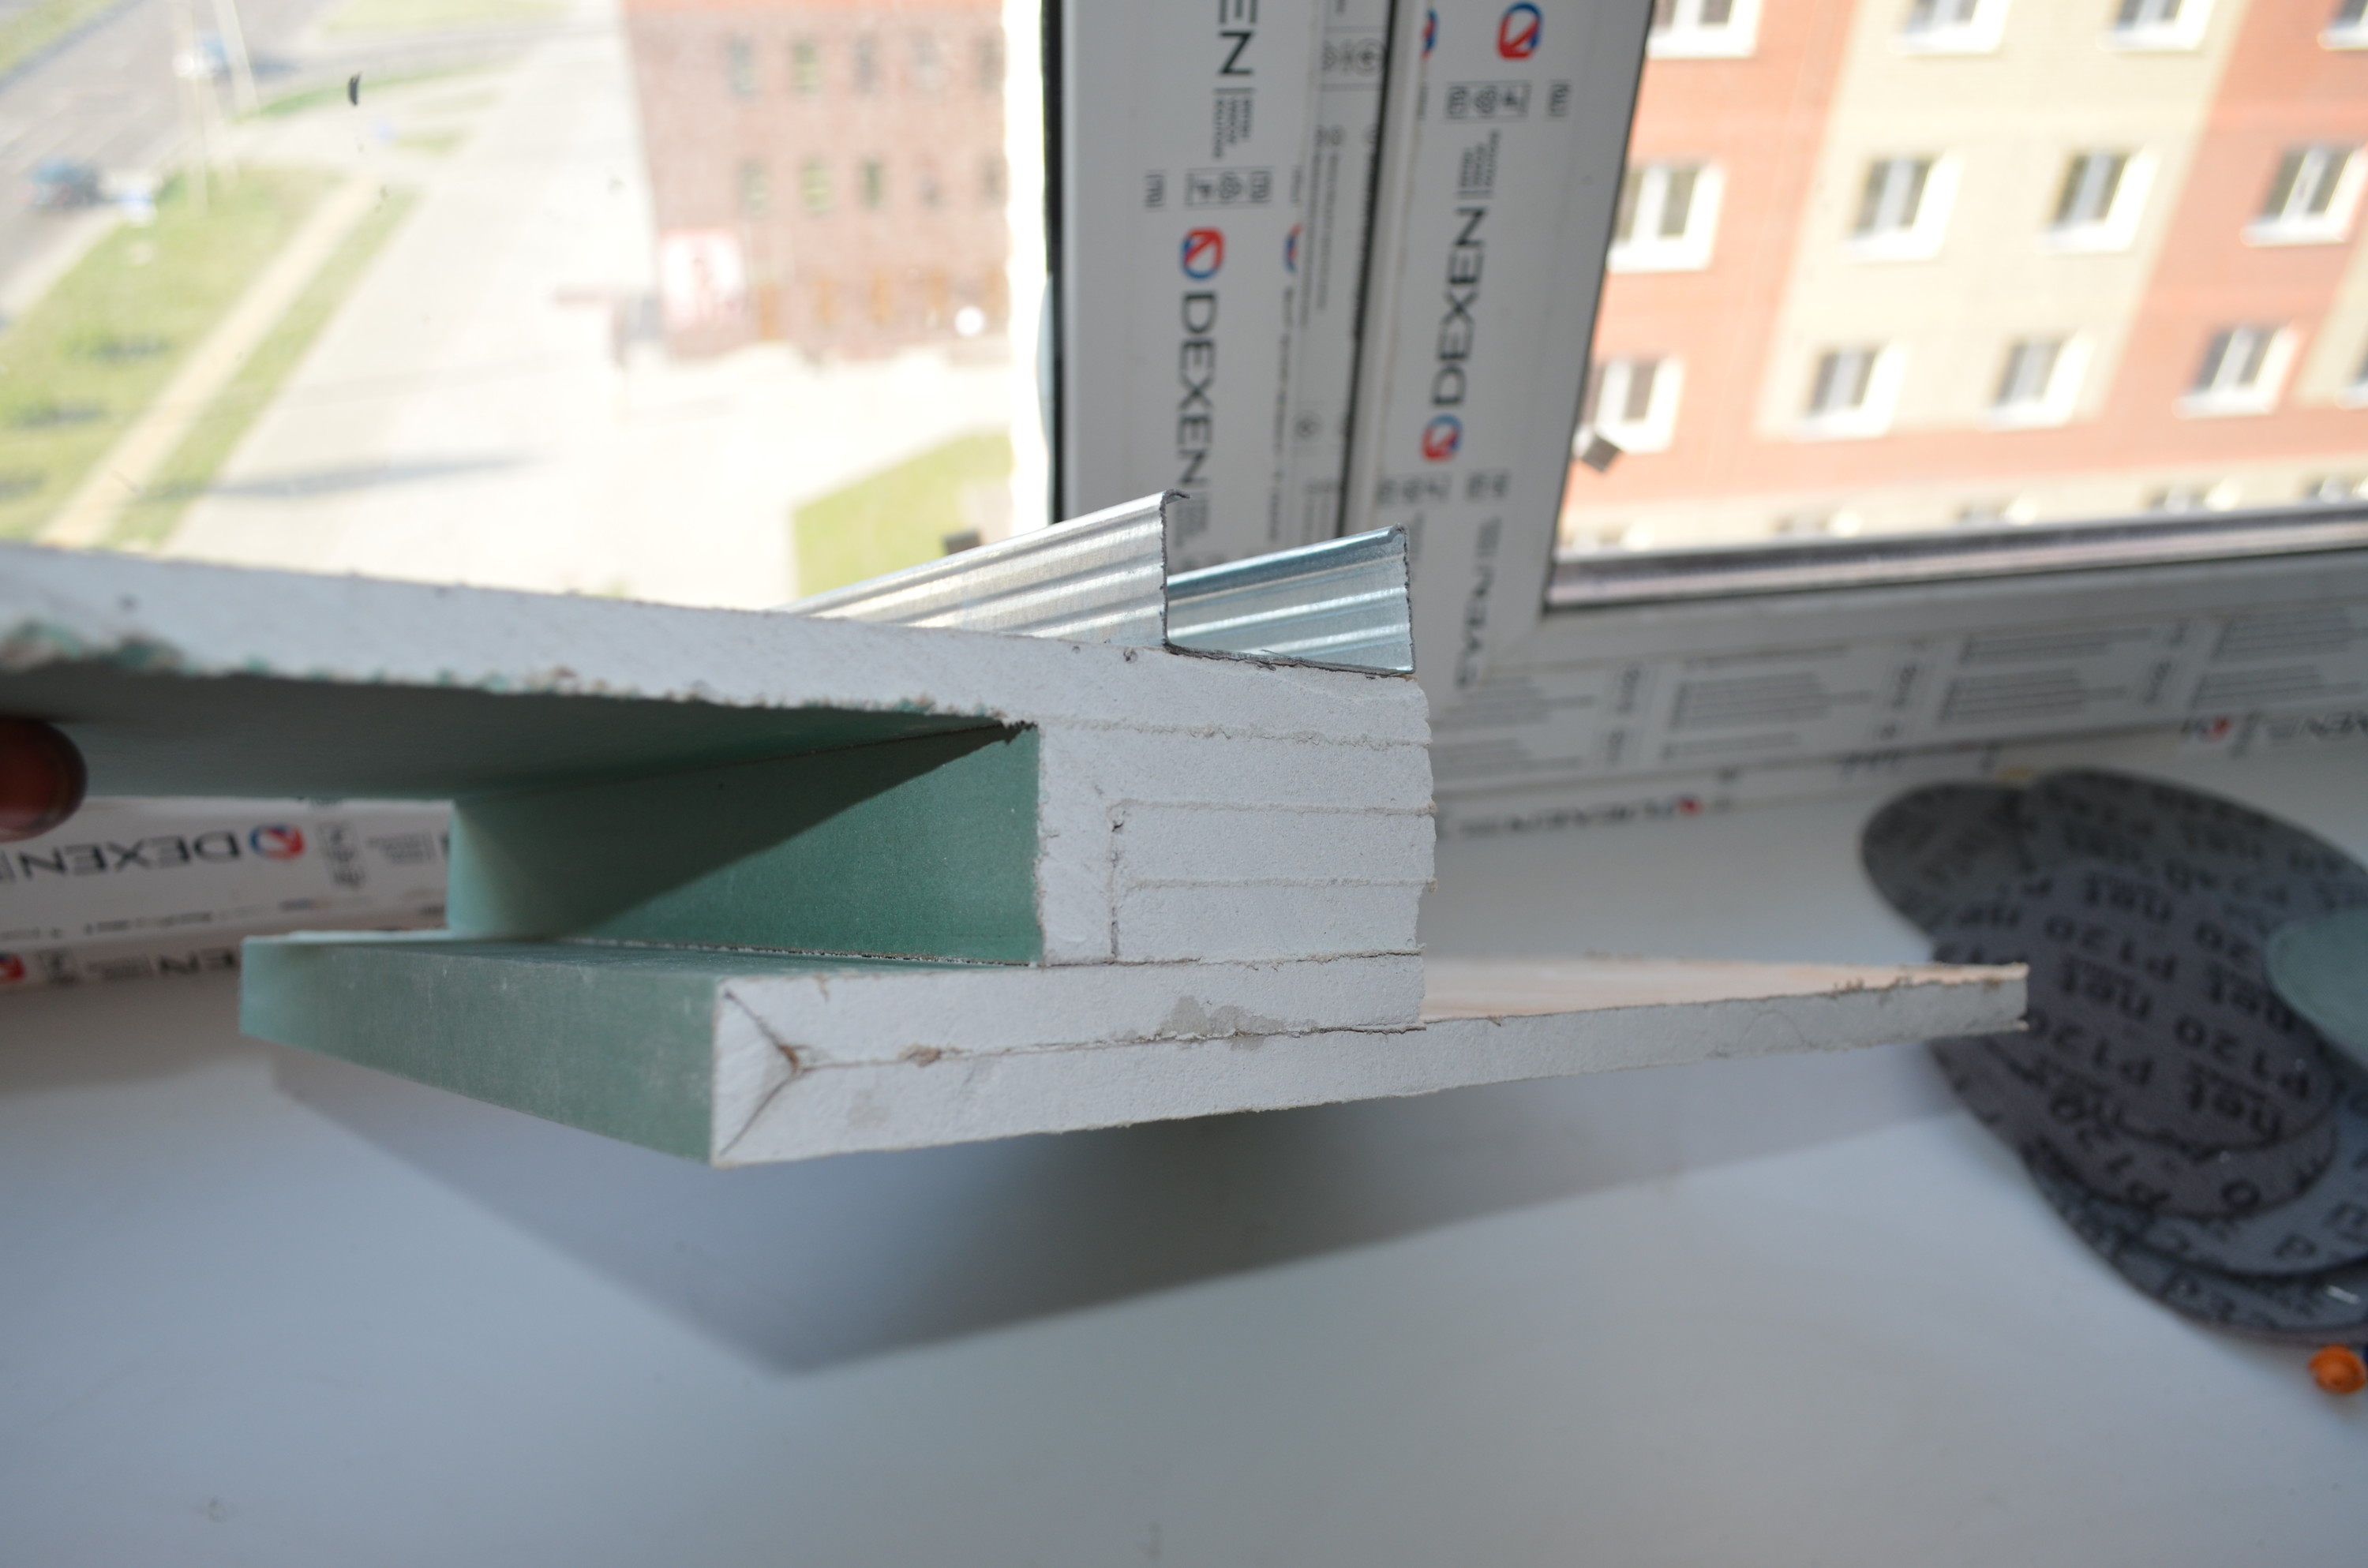
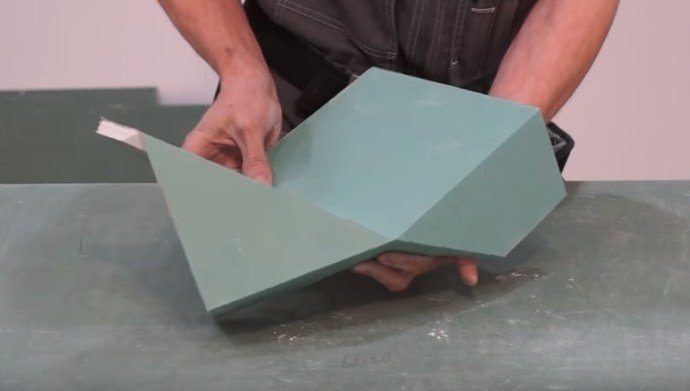
When a person wants to form a box or partition, he uses several elements. They are mounted on a metal base to get a right angle. If you use a V-shaped cutter, but it is not necessary to cut the sheet. You just need to make the appropriate cut and glue its edges together with polyurethane foam, boldly bending the sheet.
Thus, a structure without joints is obtained, and the assembly itself takes place several times faster, as well as on a tree.
Process technology
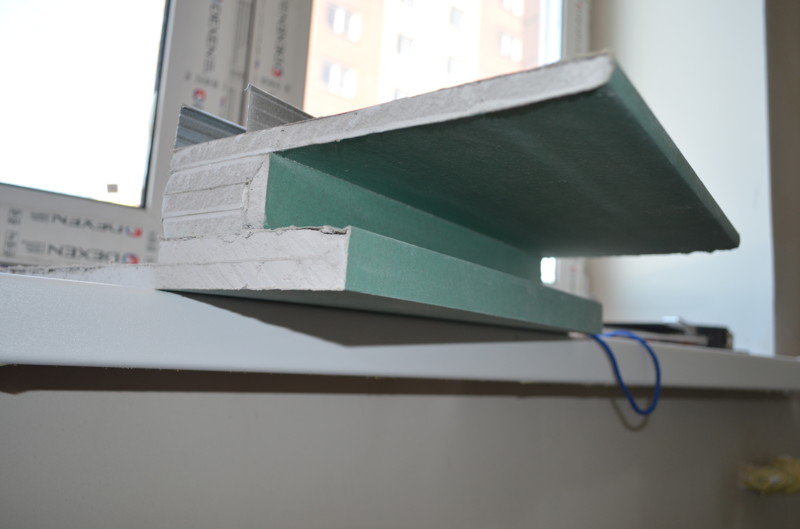
The process of milling itself is quite simple and is divided into three conditional stages. Here is how the work on the formation of right angles on a sheet of drywall with the help of a V-shaped milling cutter.
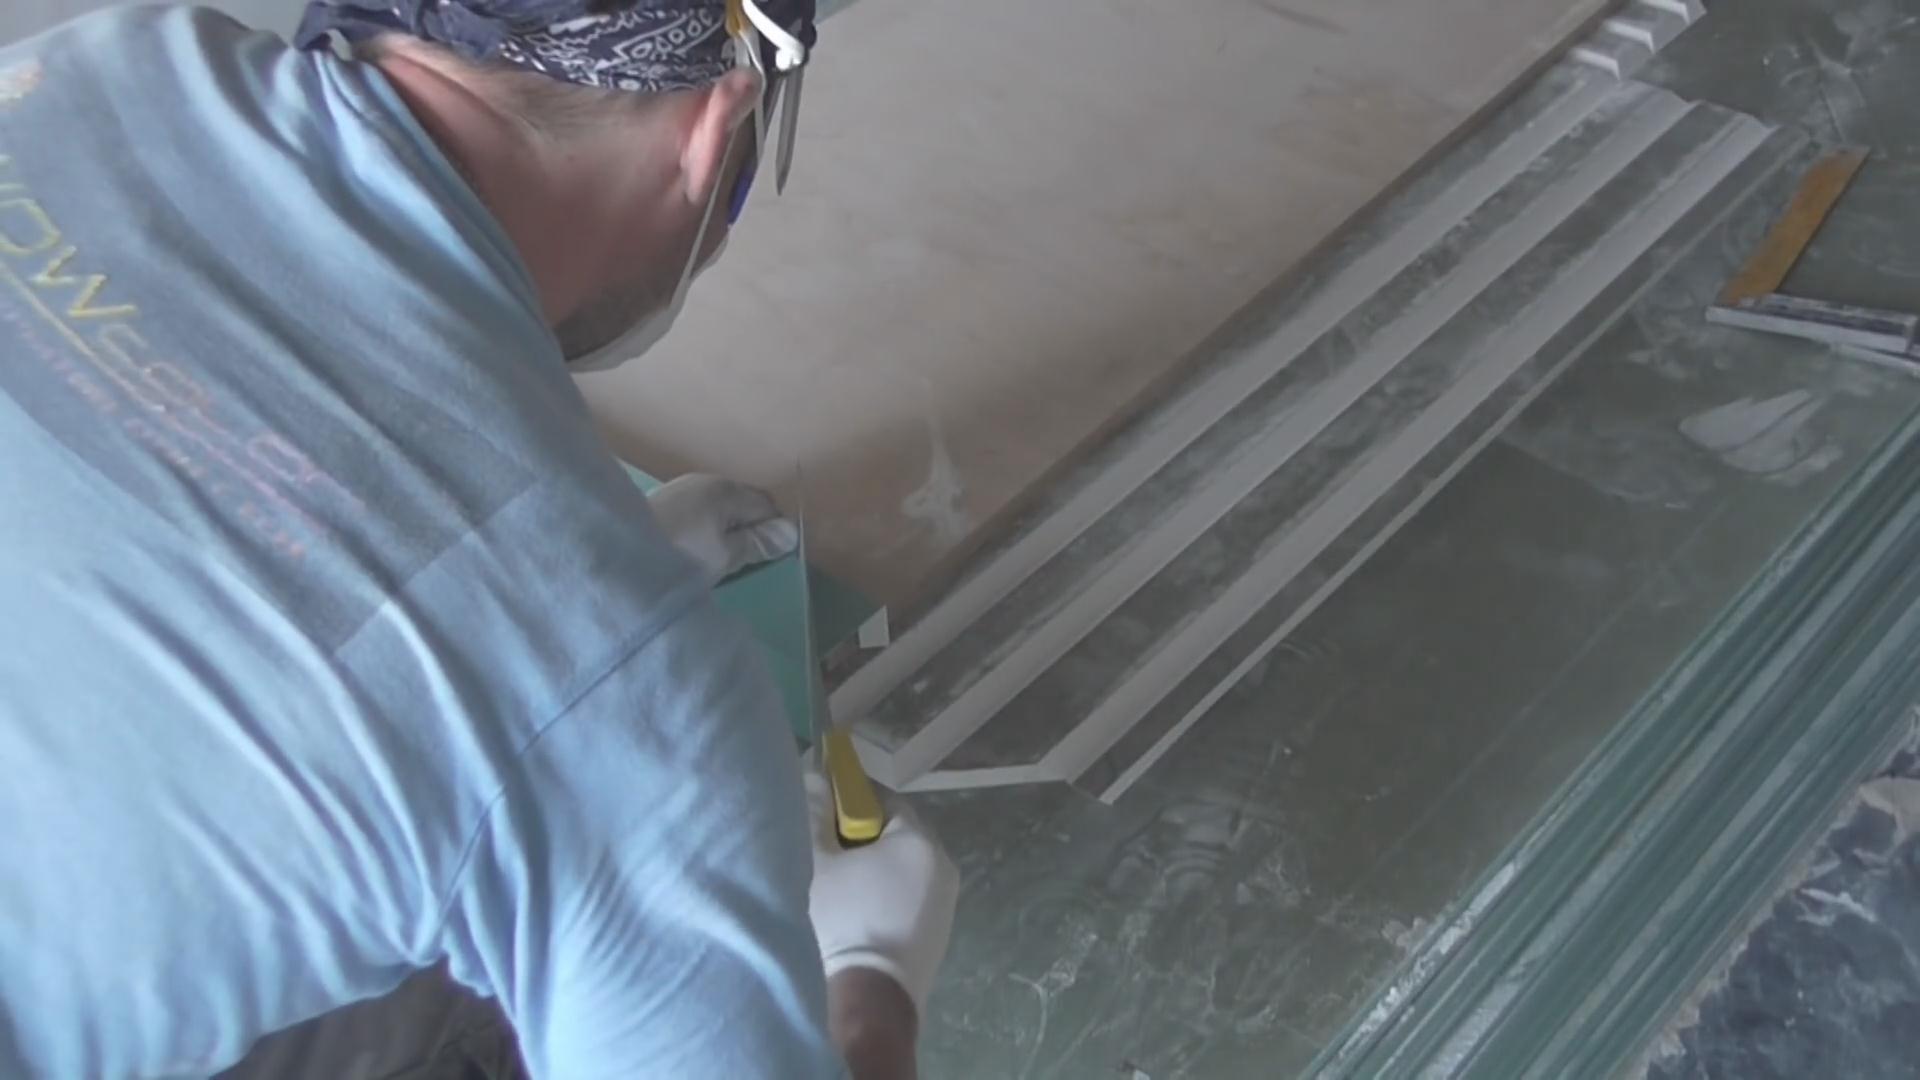
- Markup - it is applied directly along the fold lines. It is important to accurately calculate the number of cuts and finding them on the sides of the sheet. Do not forget that the sheet should be well fixed at this point, so that all marking lines are absolutely clear. One blot can ruin all the stuff. If joints are assumed, remove the edge immediately.
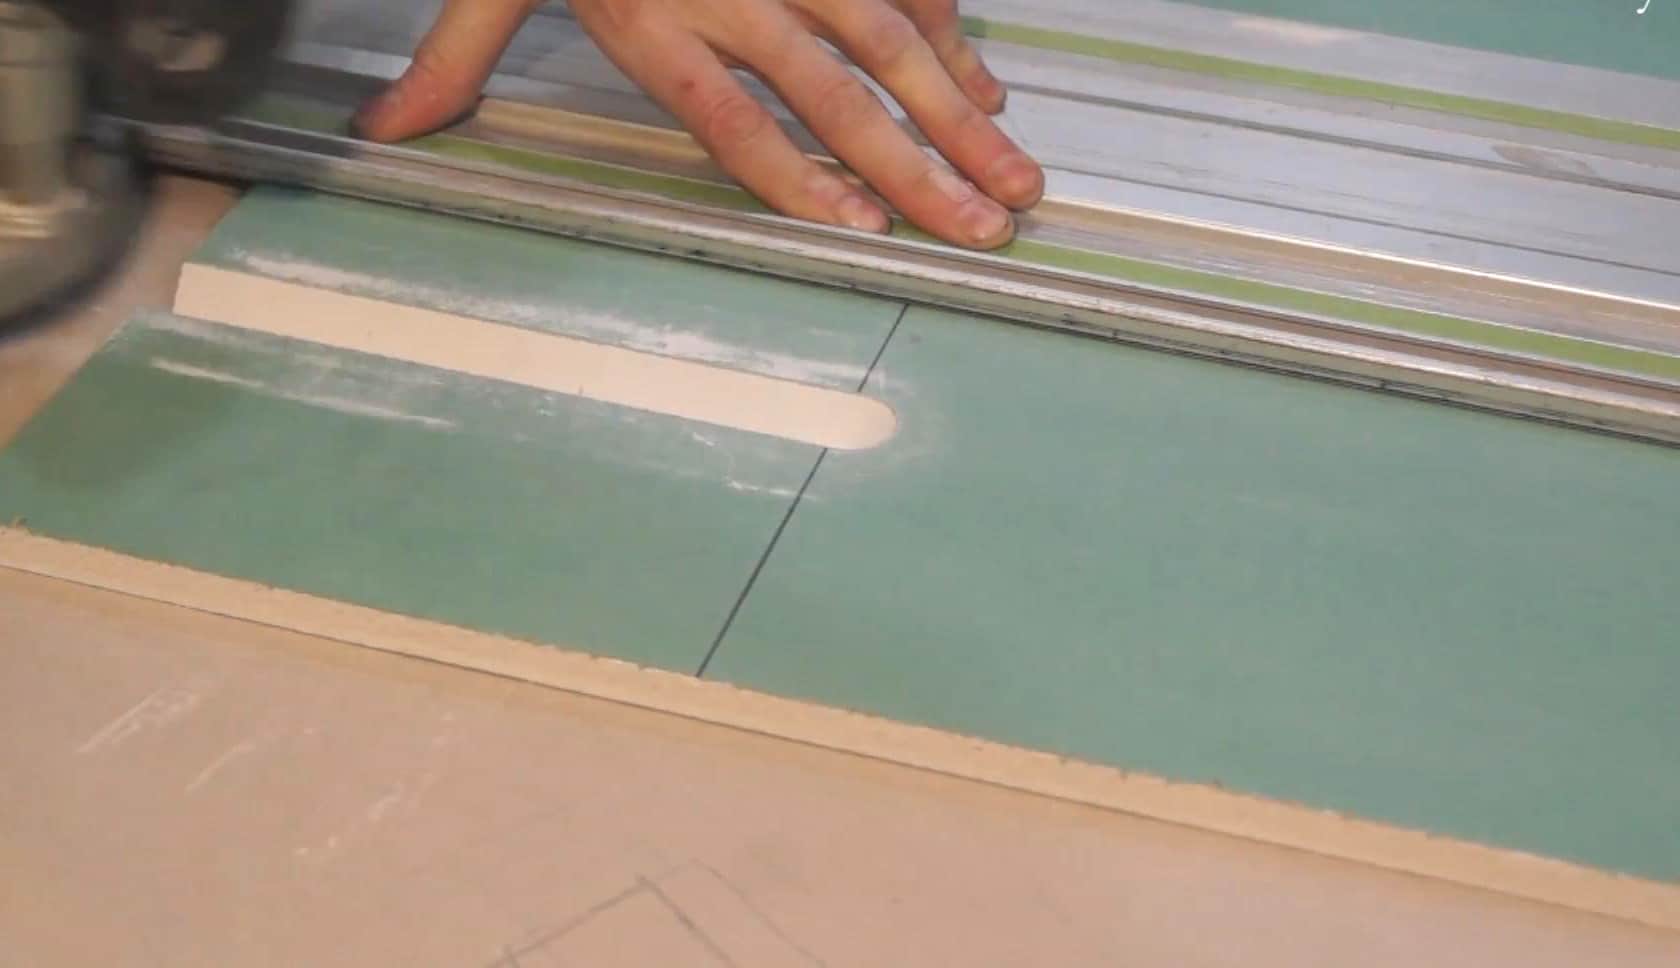
- Training - during this stage, various templates and measurements are created to obtain smooth fold lines. Usually they are created from scrap materials: plywood or metal.Templates are fixed directly on the drywall with self-tapping screws and, resting on the template, the router will give an even cut. At this stage, the rake is usually cut - its width is equal to the width from the edge of the mill to the center of the cutter. This is the right part for the most accurate location of the equipment.
- Milling - this part is one of the lightest in comparison with the first two, because it is executed the fastest.
This stage includes the following actions:
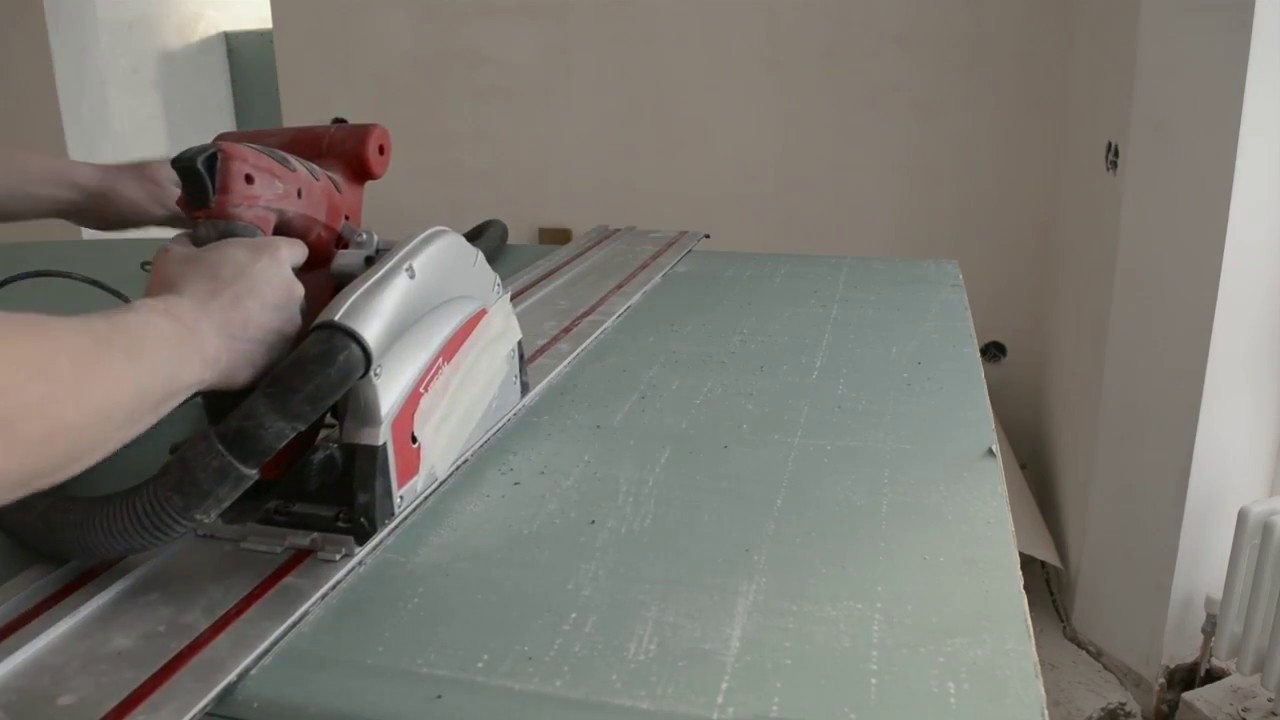
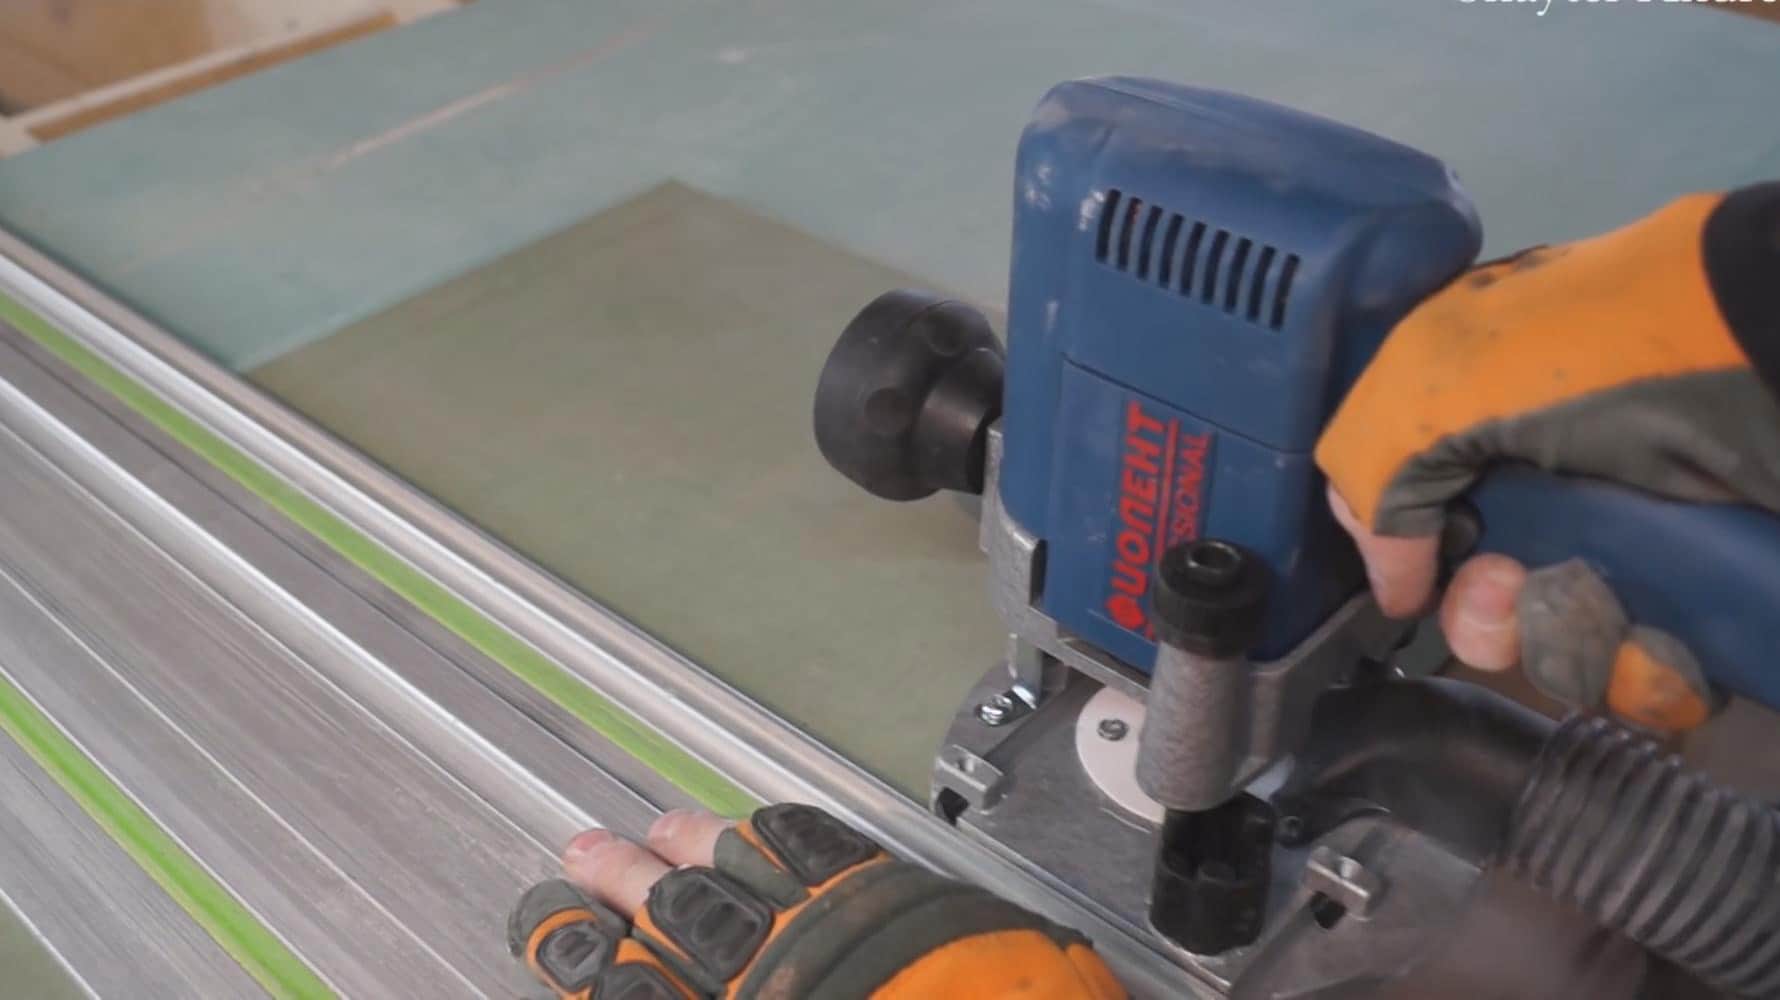
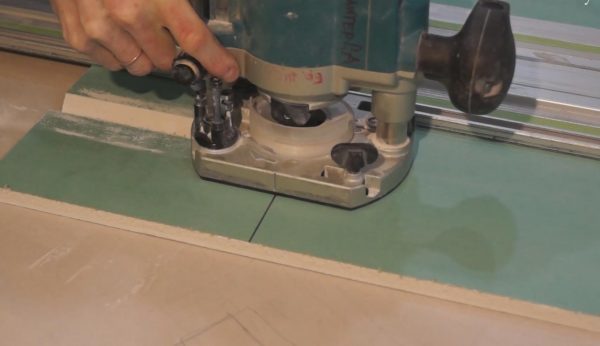
- you need to place a sheet on a work surface, set a rule and place an emphasis on it or a level;
- attach and fix all patterns, measures and rules - this should be done on the left side of the router;
- fasten a suitable milling cutter - in this case V-shaped;
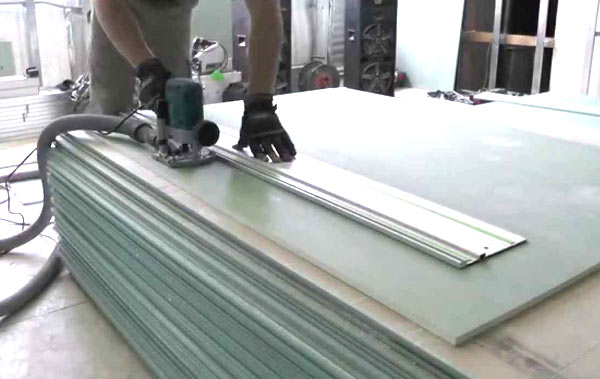

- The router needs to rest against the left edge and pass along the whole plane of the sheet, resting it against the rule. It should be remembered that the router leads to the left (because the mill turns to the right), and try to make the movement smooth, without jerks. Drywall is a soft material, so there should be no problems with this;
- for the cut to be clean and the edge of the sheet to be leveled, it is necessary to cut in the opposite direction along the same line;
- if milling occurs on both sides, you must gently turn the sheet, so as not to damage it;
- be sure to immediately check whether all the bends are smooth.
Further work is the very formation of any product and its processing, built on a simple plan:
- Remnants of cardboard need to be cleaned with a knife or a bar with sandpaper.
- Carefully remove the gypsum dust.
- Prime with a semi-dry brush. Regardless of how the structure will be used in the future, all the grooves should be covered with a reinforcing primer. This stage is very important because it is designed to remove dust from the slots and prevent it from spreading in the air of the room. And here it is important to mention that when priming drywall can get wet, so you should immediately acquire moisture resistant.


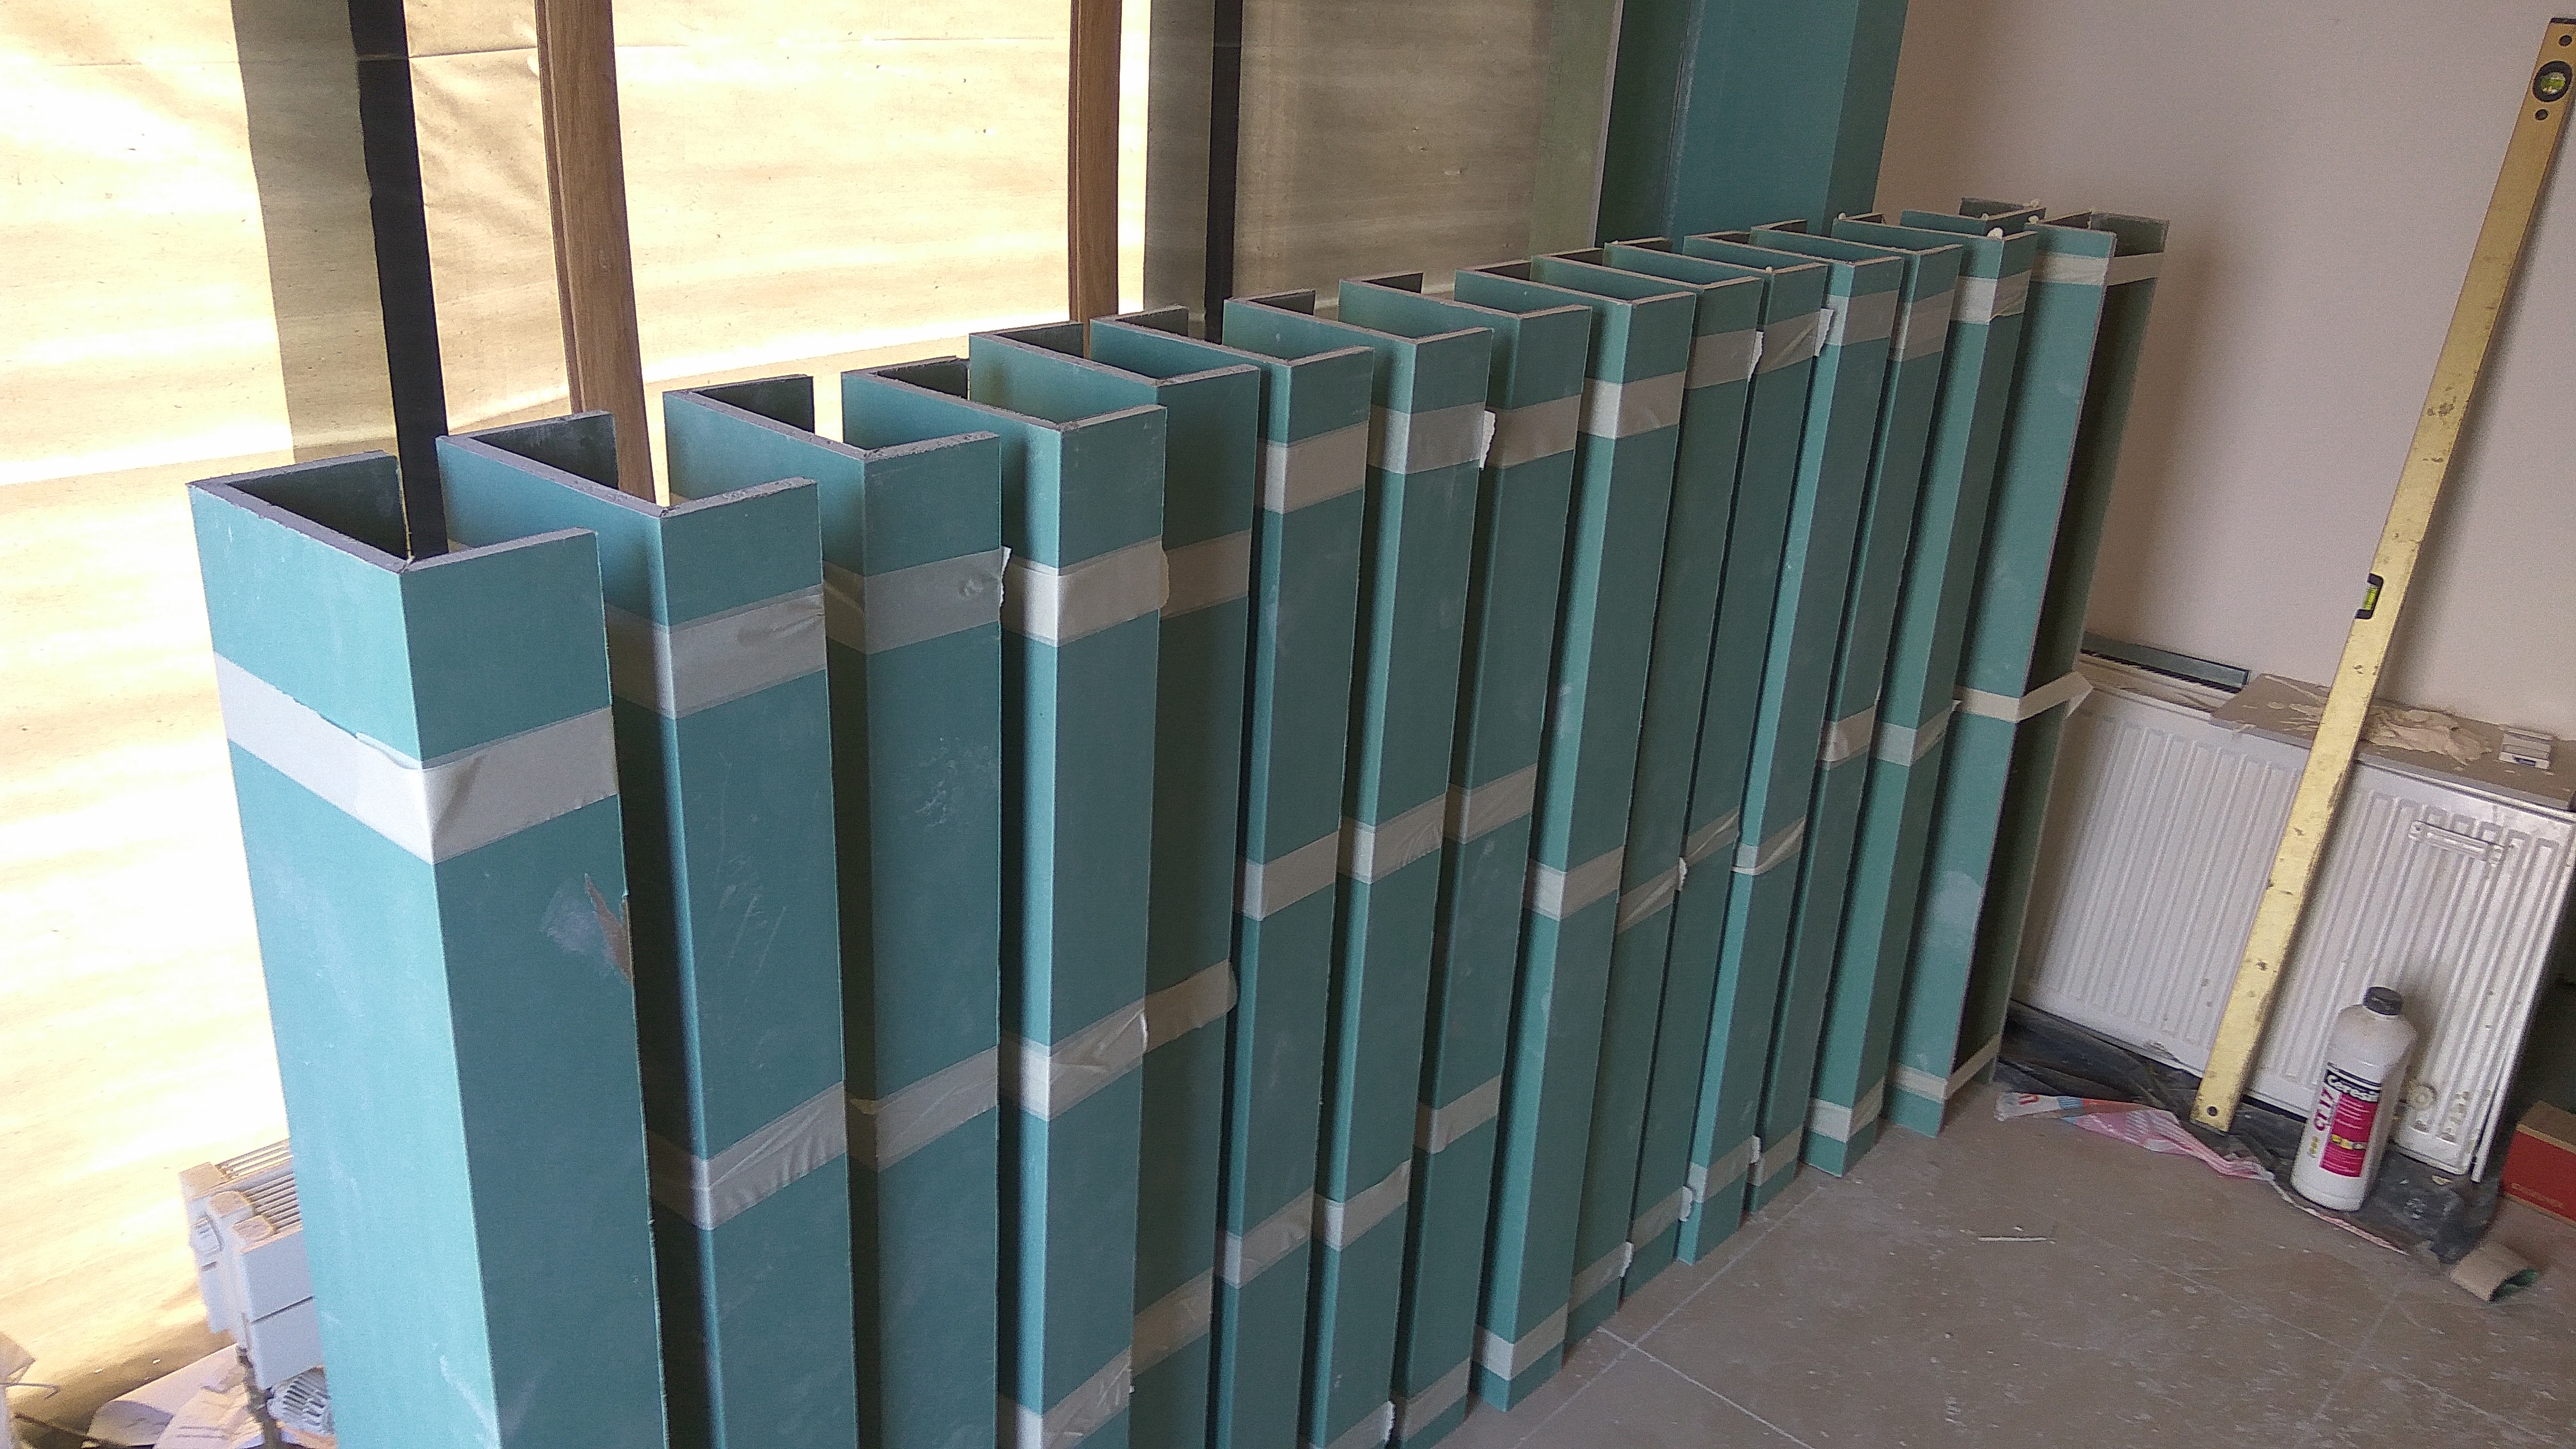
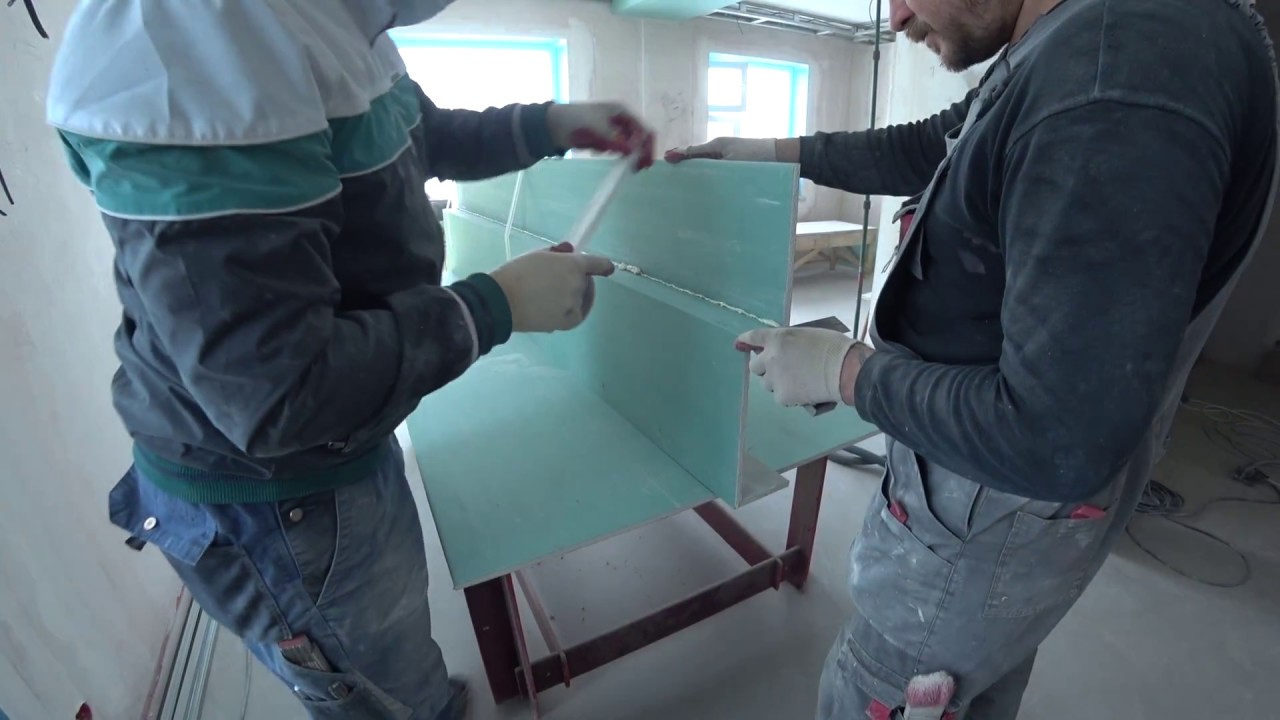
- Apply assembly foam to the joints (you can also plaster glue mix, PVA glue, polyurethane glue and others), form all the corners and give the product the desired shape. Be sure to check whether all the corners are held together as it should. You can use the usual construction square.
- In such a position, it is best to additionally fix the model with masking tape for a while and let it dry out, putting it on its end. Scotch can be removed in about an hour.
- The grooves made by the U-shaped cutter are subject to a mandatory putty, but the V-shaped grooves are simply desirable, although this will definitely make the structure stronger.
Thanks to all its advantages, milling drywall has made the process of working with GCR easier, more pleasant, more practical and more economical.
With this process, the sheet can be given any desired shape without any frameworks and assemble a solid, ready for further use object in a short time and at the same time be sure that it is no less reliable than the assembled “as before”.
For more information on how to mill drywall, see the next video.