Tool for laying tiles: types and purpose
For tile laying, you need special tools that help minimize physical effort, save time and allow you to do work more efficiently. Moreover, in some stages you simply cannot do without professional tools, even if you plan to do everything yourself.
Training
Tools should be prepared in advance and check their condition. If you are at the stage of their choice, you can use some tips.
- Do not rush to buy at once the entire list, which will advise you in the store. Before proceeding directly to the installation, you need to carefully study all the actions - only this way you will understand what is really necessary and what can be abandoned.
- Any technology with time undergo a process of modernization. Improved models of tools will actually be more efficient.But if you already have them, do not rush to buy new ones. Especially if you are a beginner.
- It is not necessary to focus on the cost when buying. It is clear that good equipment will not be cheap. However, this factor will not give you a hundred percent guarantee. Well-established manufacturers better than any advertising characterize user feedback online.
- Be sure to think about the means of protection - clothes, shoes, glasses and gloves.


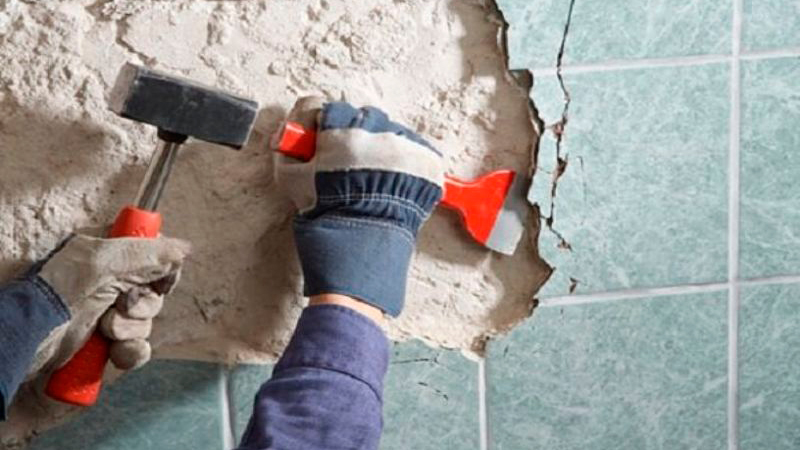
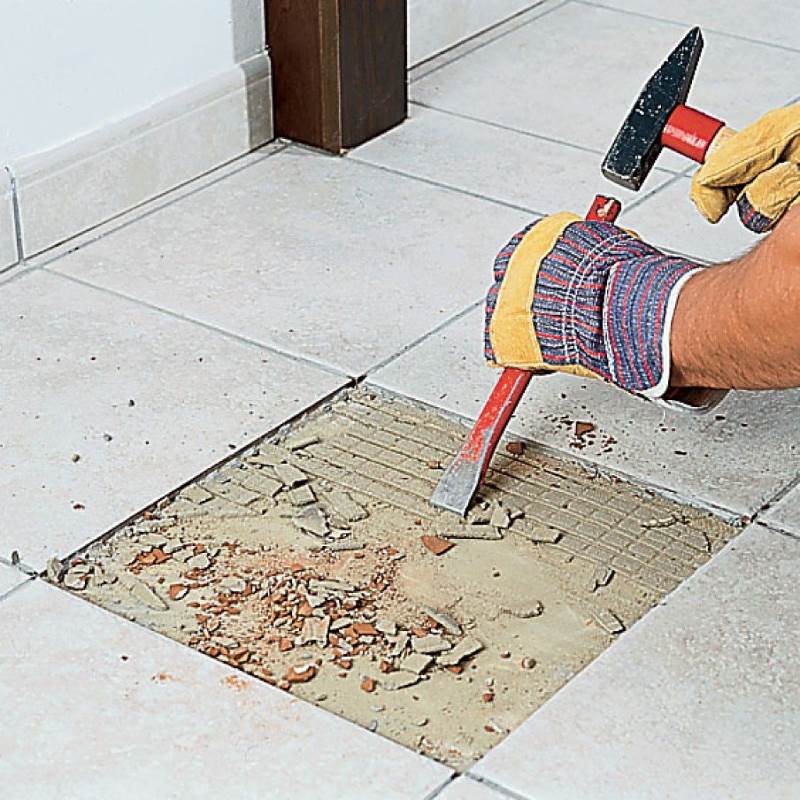
In addition to tools, you need to make sure that the working surface on which the tile will be laid, was also carefully prepared. First you need to remove the existing coating. To dismantle the old tile you need:
- protective coating against dust and dirt;
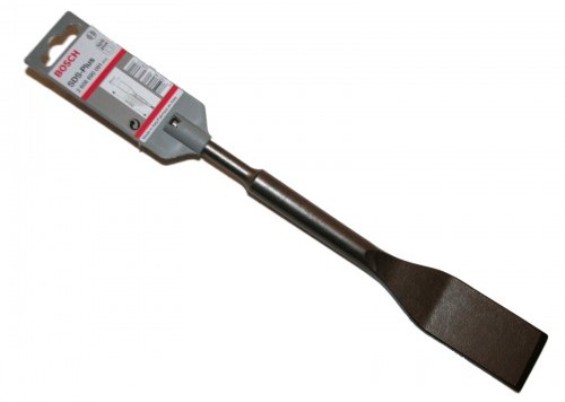
- pneumatic jackhammer or ordinary hammer (wooden or metal);
- chisel, chisel or metal plate;
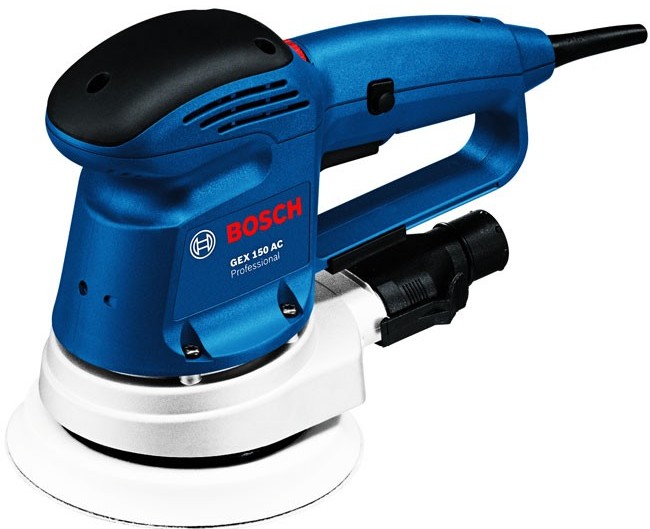
- sanding machine;
- buckets, trash bags and a spray bottle with water (to hold dust).

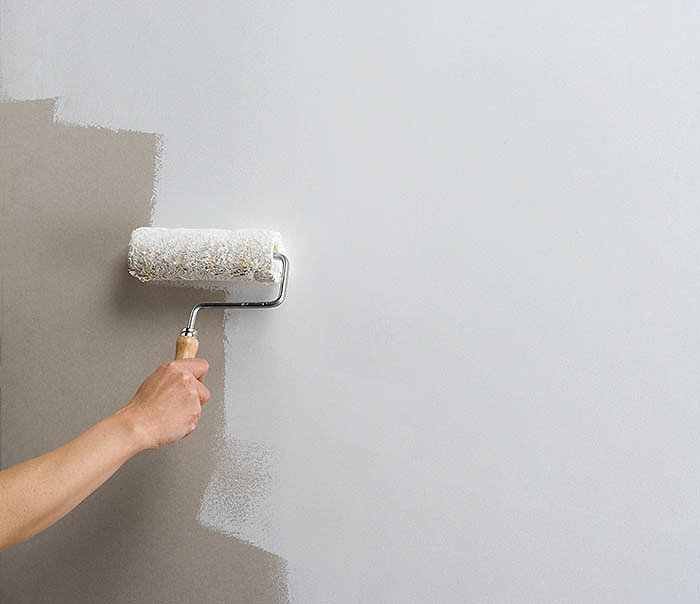
The same goes for paint, wallpaper and other layers that hide behind them. They need to be cleaned until the concrete or brick foundation is completely free. After that the surface needs to be leveled. It will need:
- roller or brush (to apply a primer);
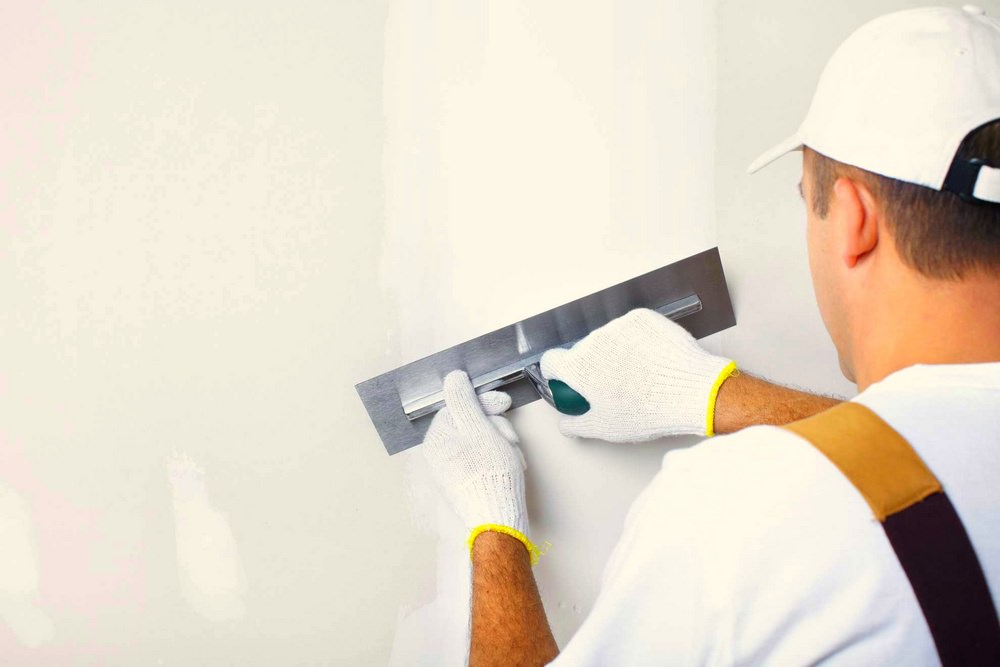
- spatulas (for applying putty, usually two of them - narrow and wide);
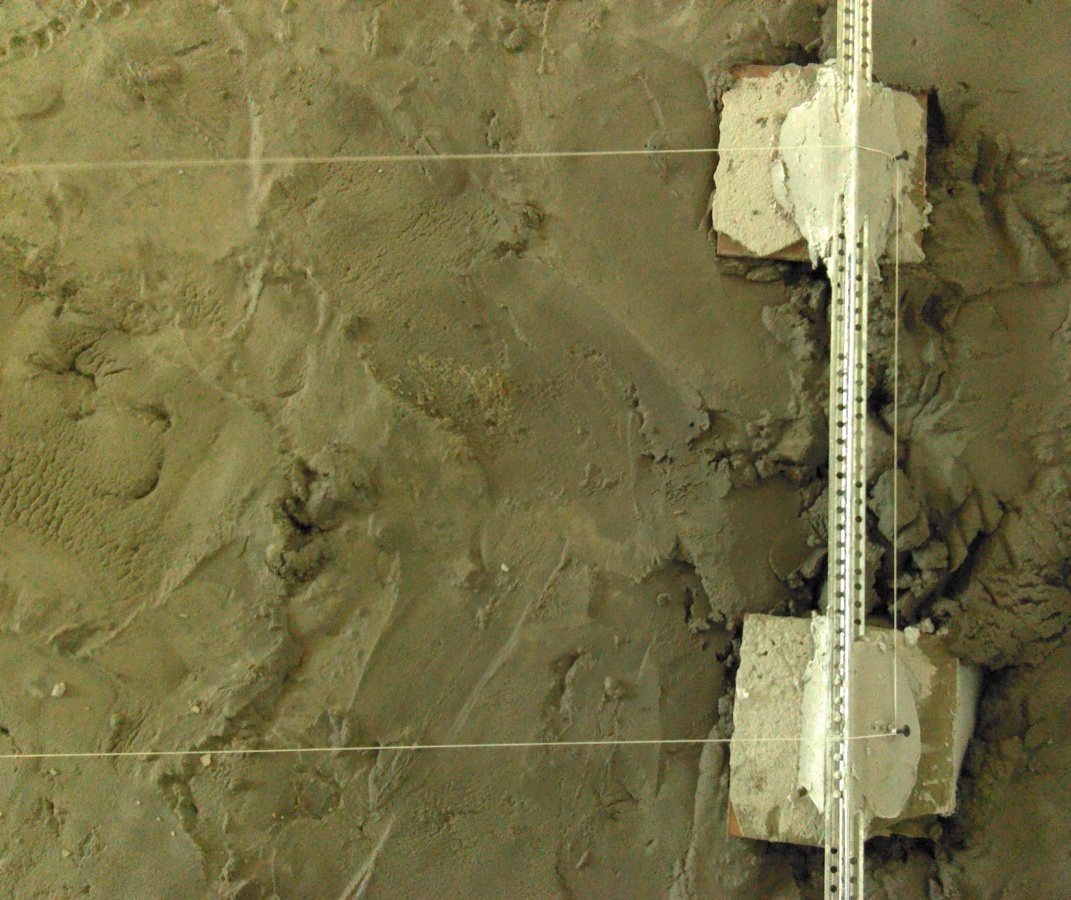
- lighthouses in the form of a metal profile (set strictly according to the level);
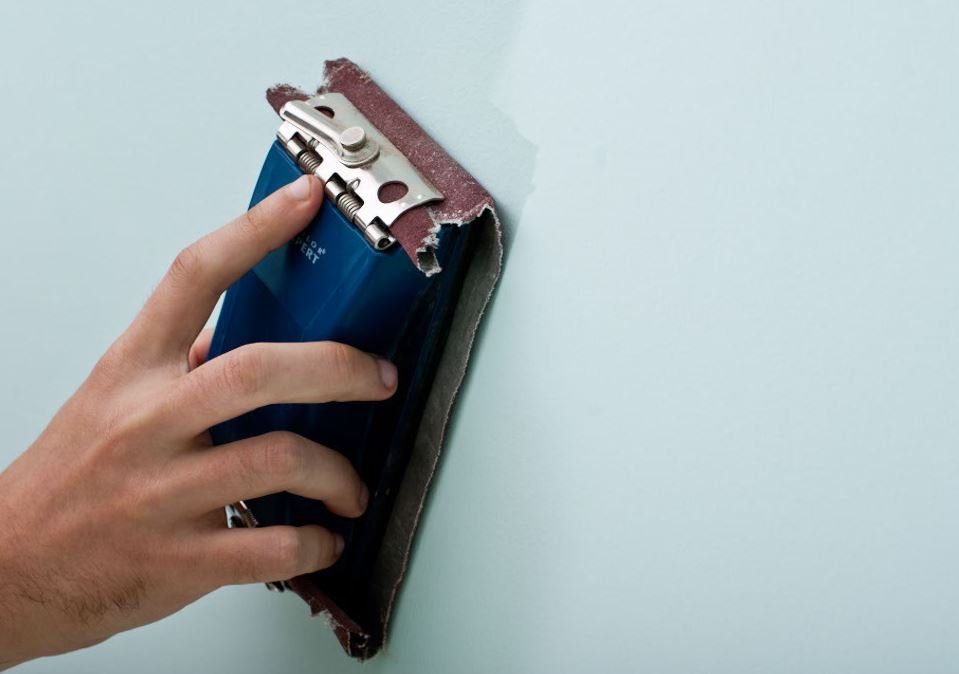
- emery paper (for finishing sanding).
Instead of smearing, putty can throw a bucket - this method is used by experienced professionals.
Markup
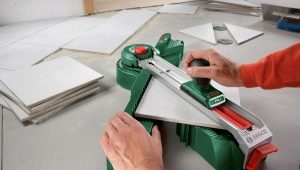
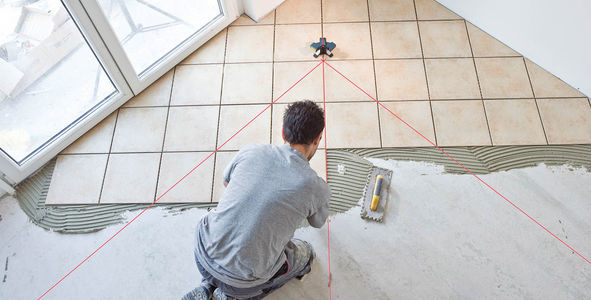
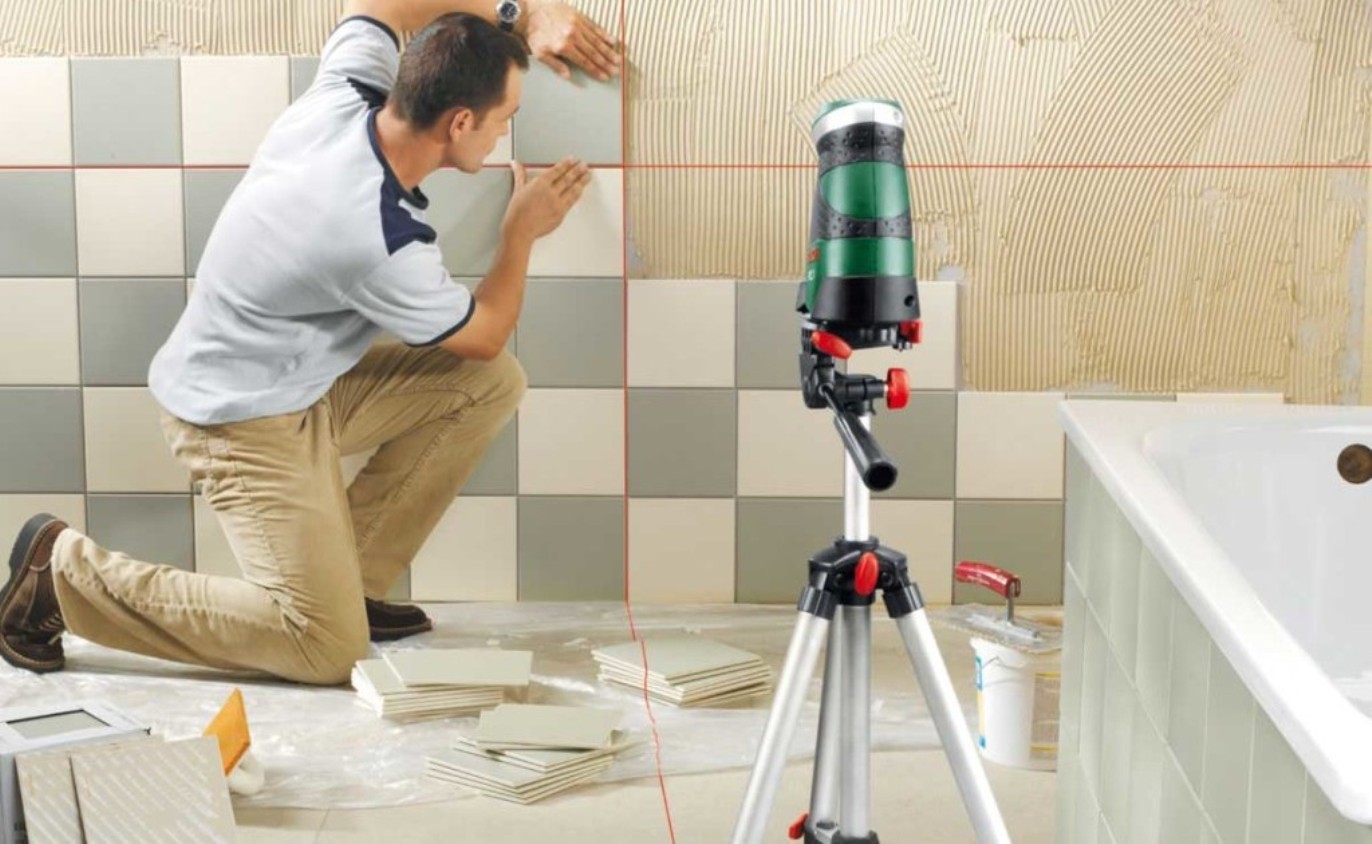
One of the most important stages - because of the correctness of its implementation depends on the overall appearance of the tile coating. First, you need to measure the working area to calculate the exact amount of material needed and its aesthetic placement. Secondly, directly on the wall, floor or ceiling cause risks that indicate control levels and points. For this we need:
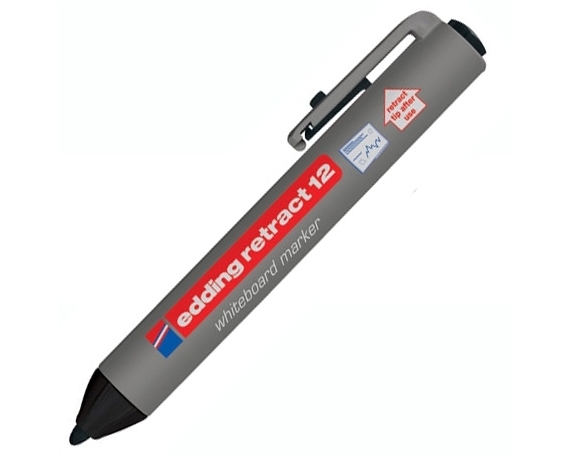
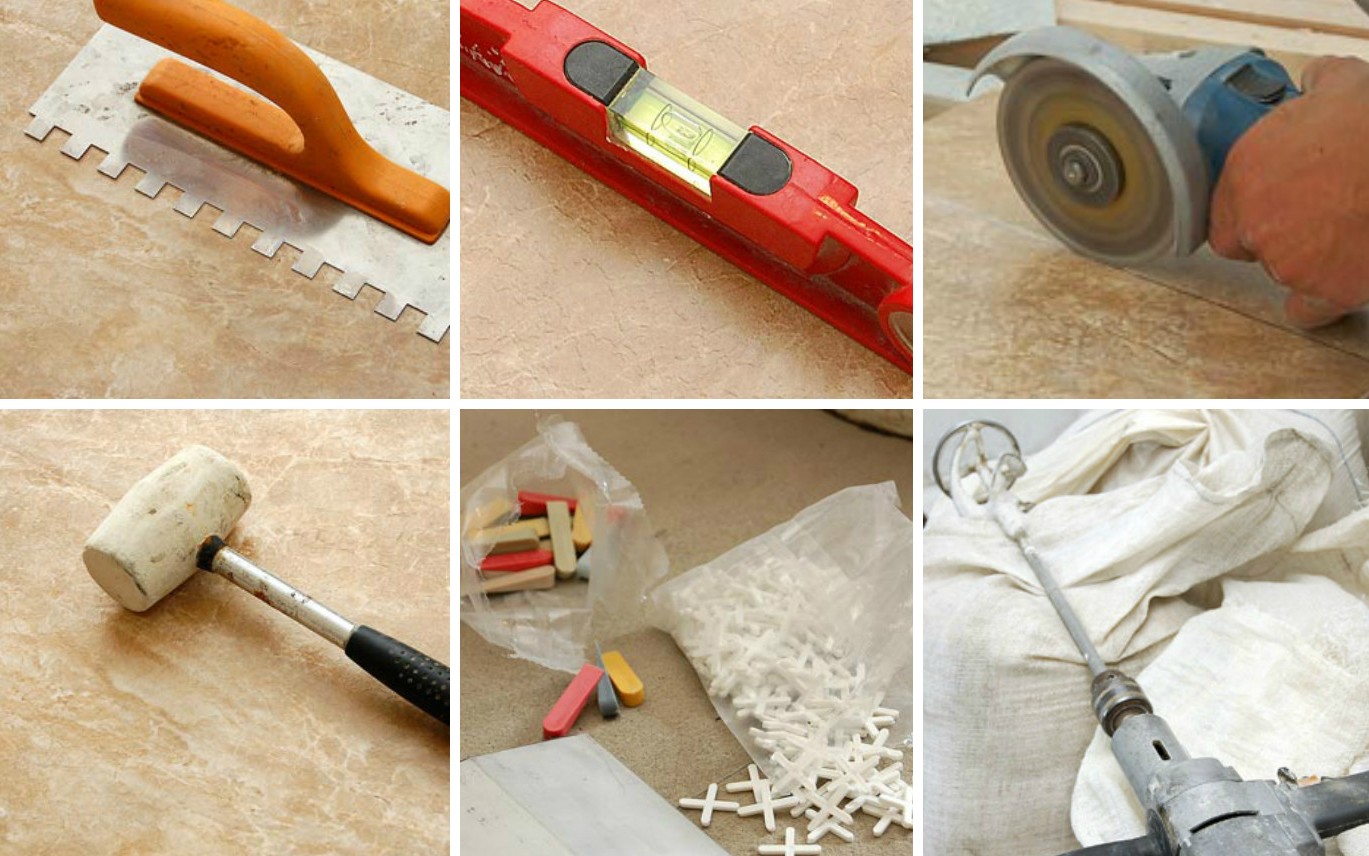
- construction marker, chalk or pencil;
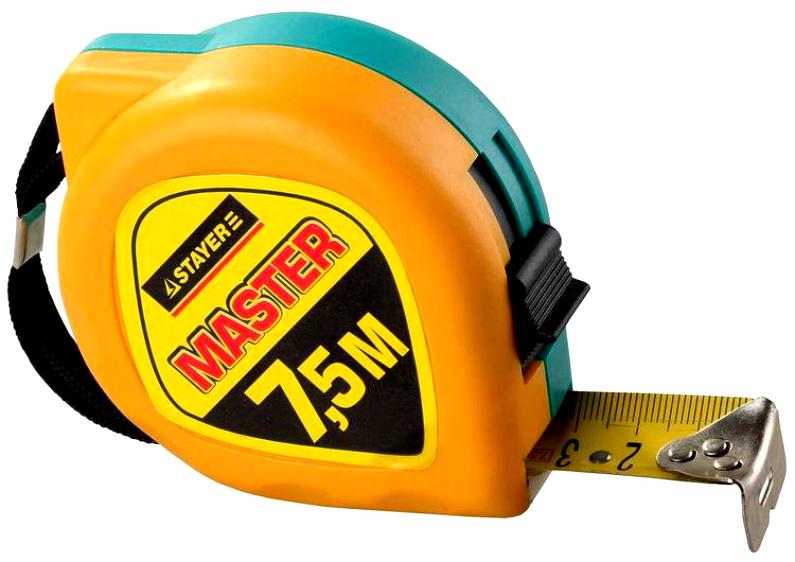
- construction tape;
- bubble or laser level;
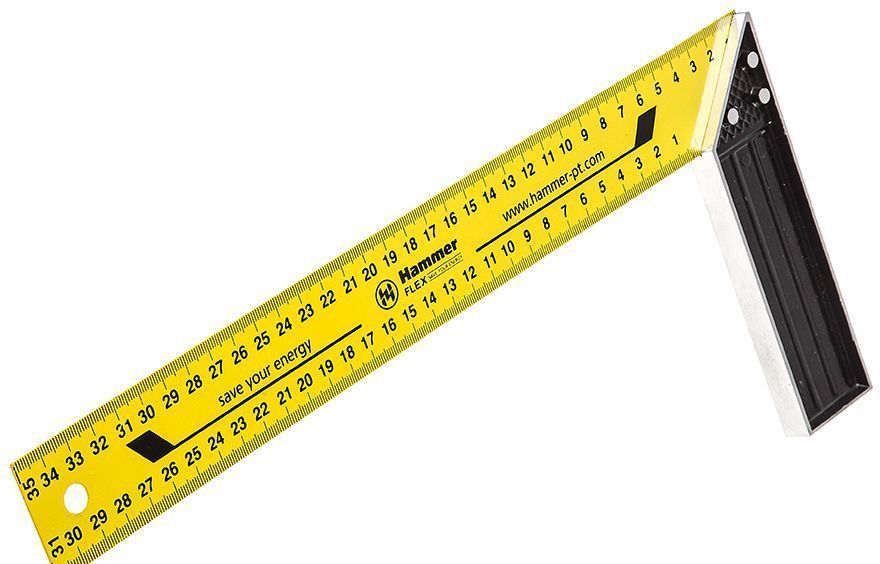
- large and small square (if they are not there, formulas will be required for calculations);

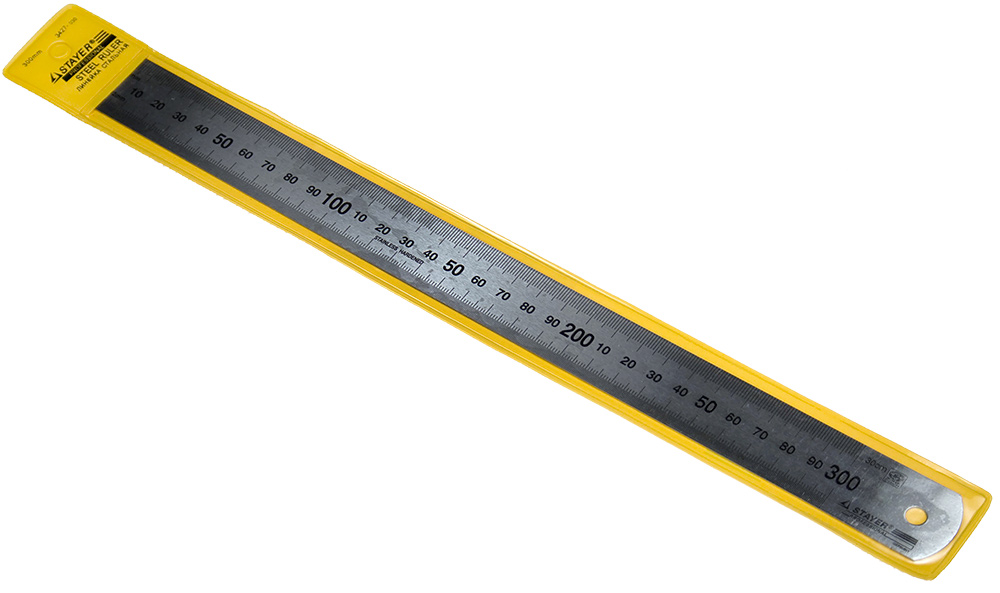
- ruler;
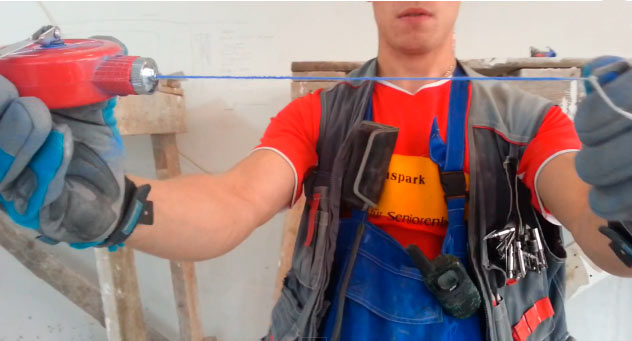
- lacquer paint cord - needed for drawing long horizontal and vertical lines for the first row.
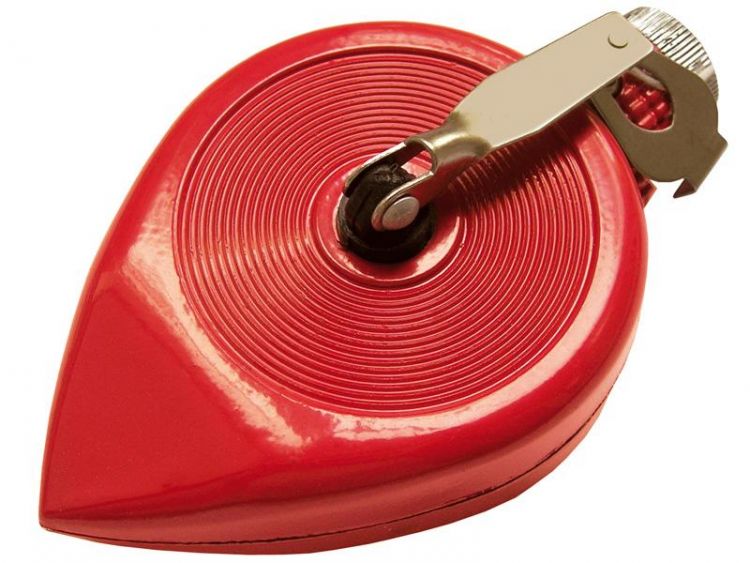
The edge of the cord is applied to the first mark, after which the case is retracted to the second.After the starting edge is released - it is wound automatically. This greatly speeds up the process. When laying the tile in the first row on the wall, after the lower level line is drawn, a limiter is installed, which will provide support for it. The way of laying, the pattern, the use of tiles of a different color - all this must be displayed.
Piling
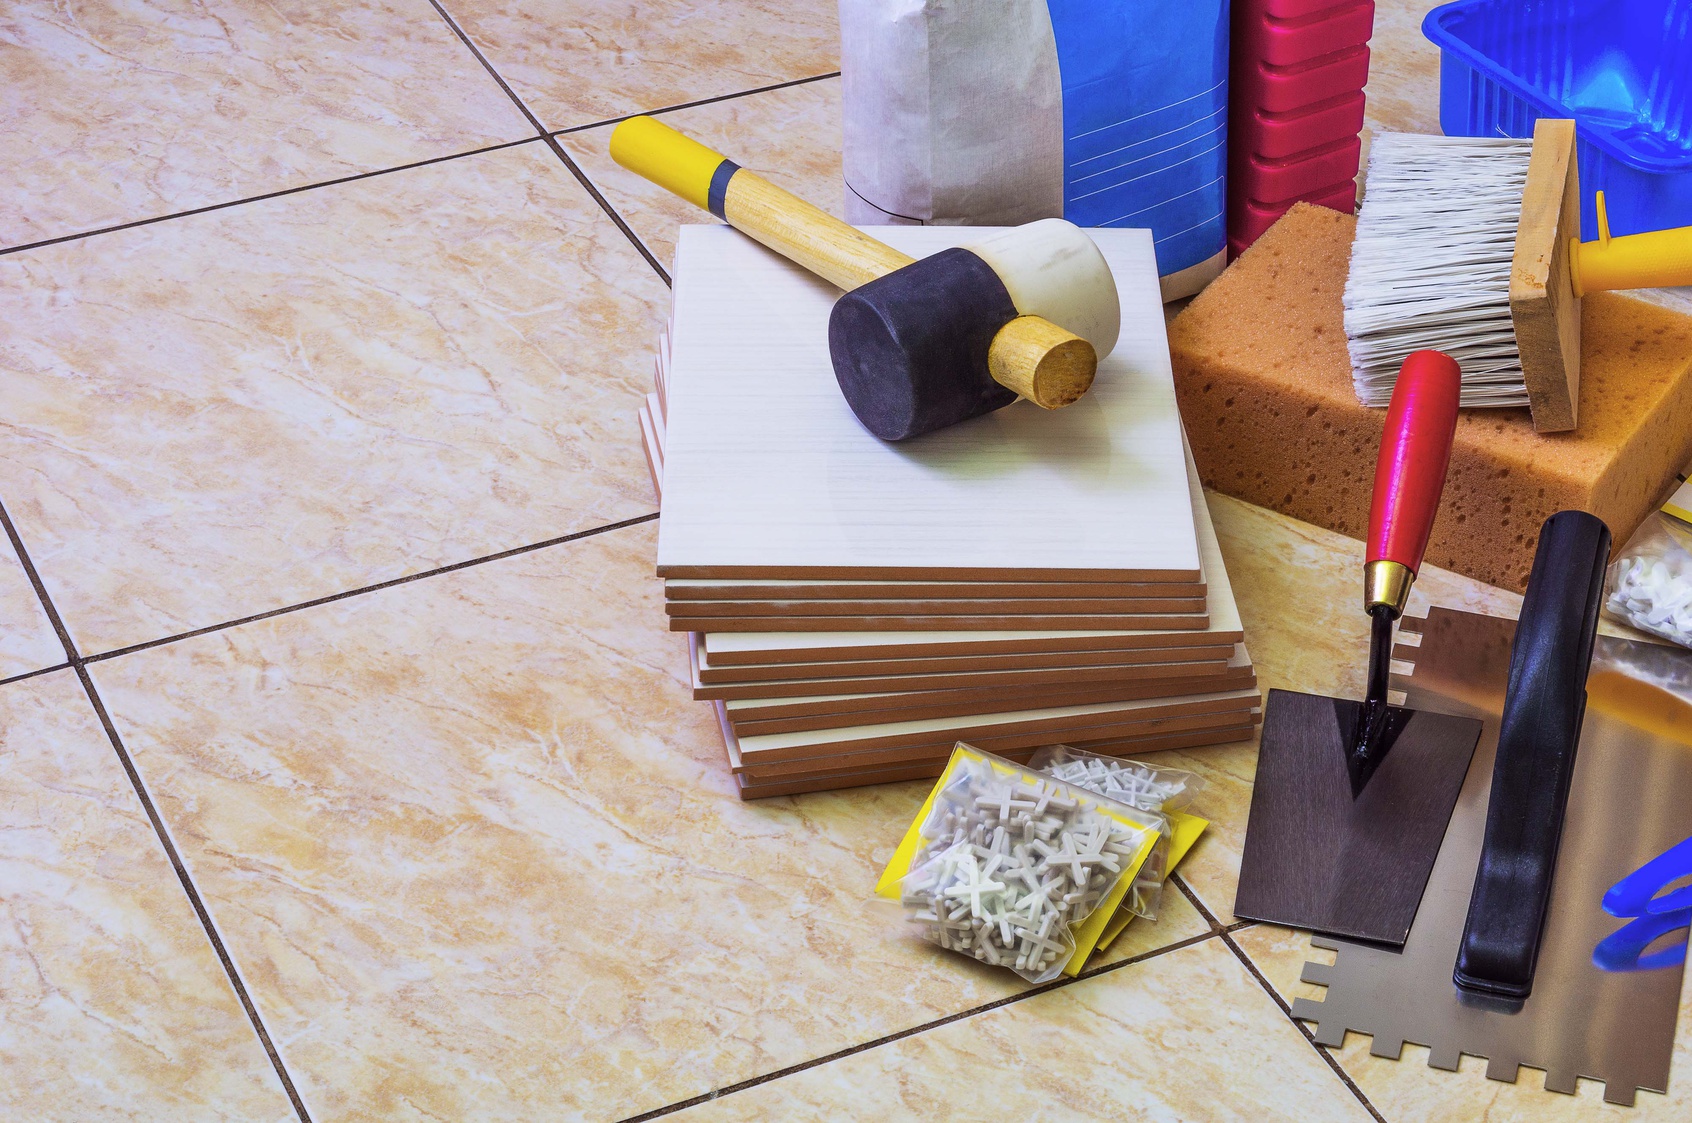
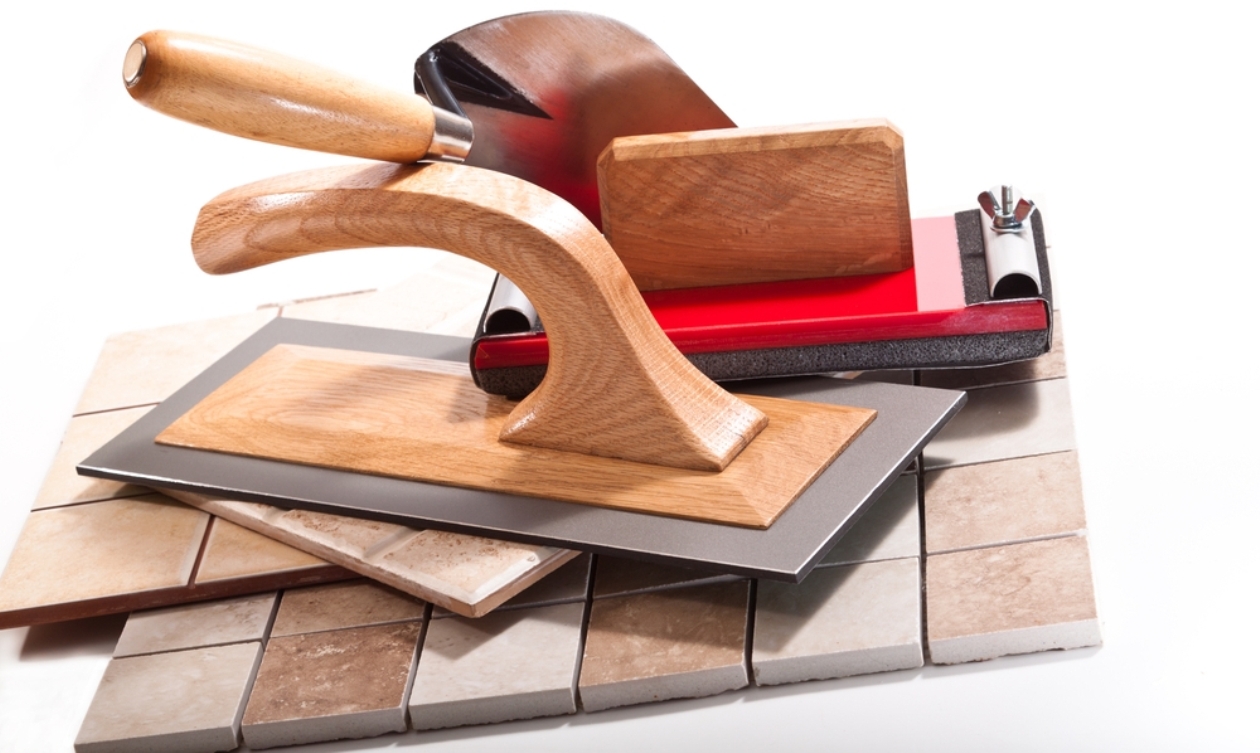
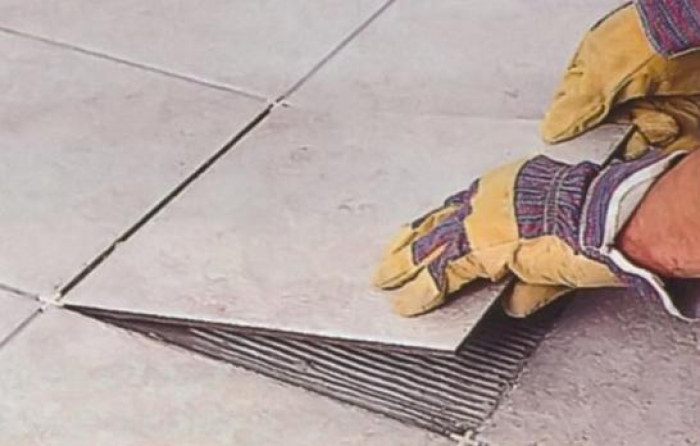
After marking it is necessary to dissolve the glue or mortar, on which the tile will be laid. At this stage, useful:
- tank for mortar or glue (preferably square, so that it is convenient to type it with a spatula);
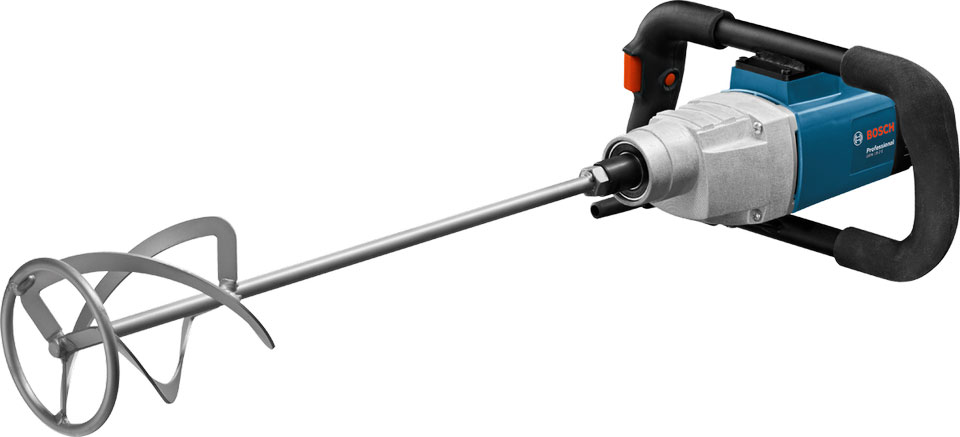
- a mixer for mixing the solution (if all the manipulations are one-time in nature and there are no plans to repeat them in the future - it can be replaced with improvised means or a perforator with a nozzle, but this will require great effort);
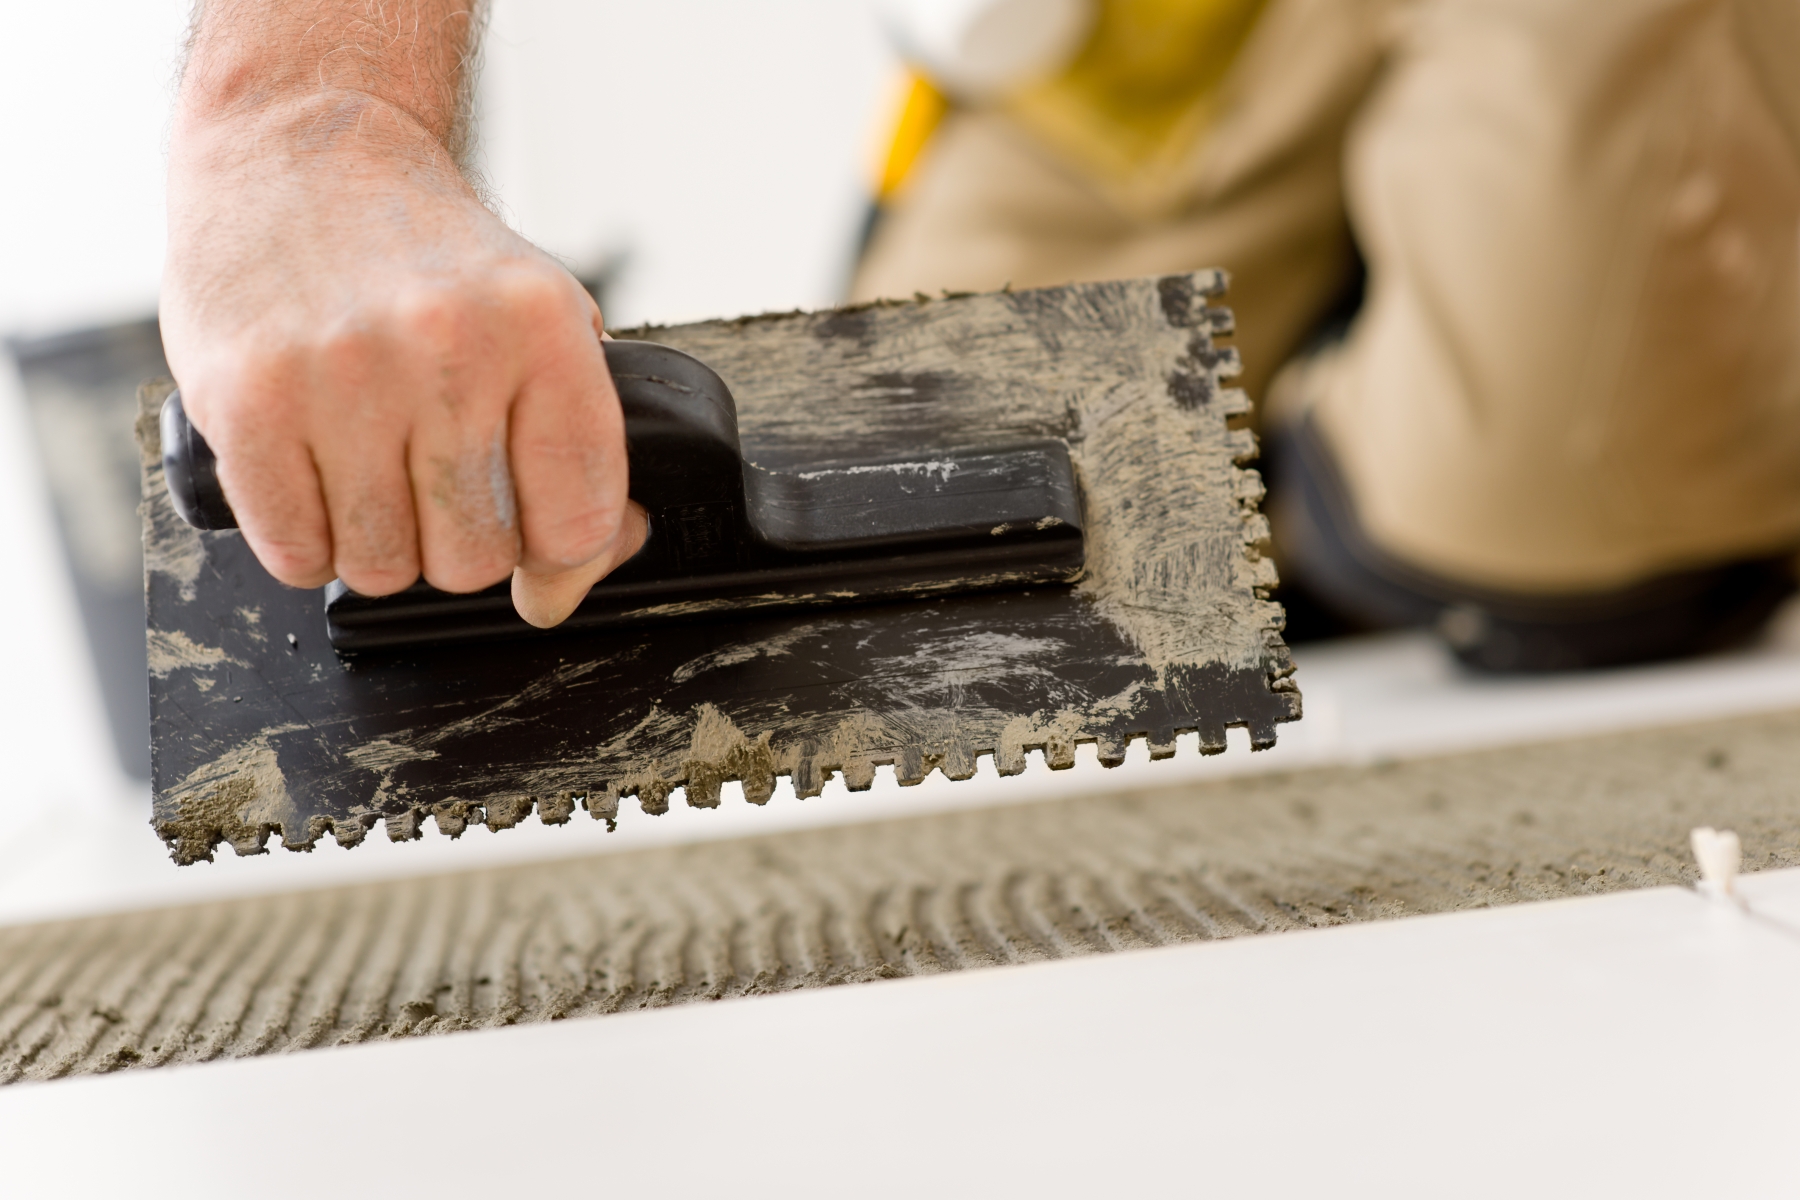
- medium spatula for applying glue (trowel) and wide for leveling;
- construction bucket (helps to quickly throw a solution on the wall);
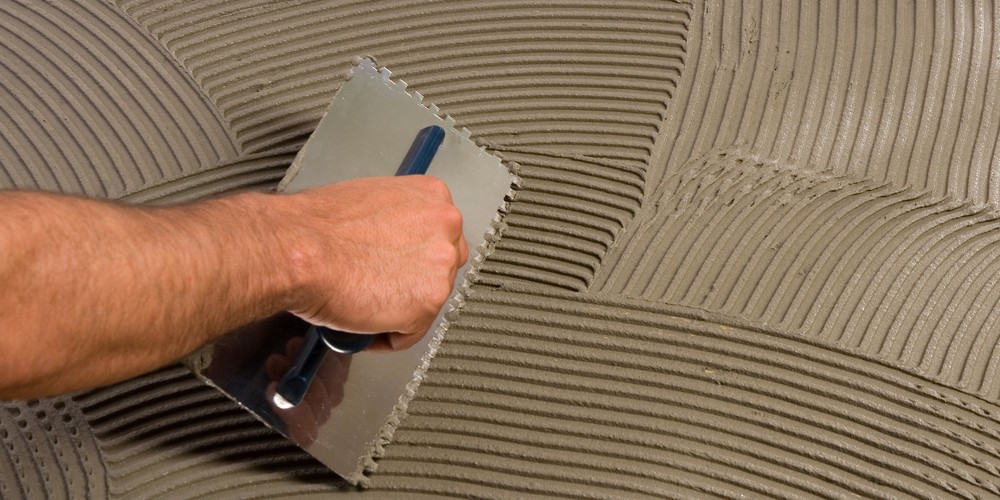
- notched trowel (to remove excess glue) - the thickness of the applied glue layer should correspond to the depth of the teeth - from 5 to 10 mm;
- hammer with rubber or nylon coating (mallet) to adjust the position of the tile and eliminate voids under it, because manually, after laying on the glue, it is not easy to do;
- plastic crosses (struts) make it possible to make the seams between rows of tiles the same.
At the laying stage, it is necessary periodically, with the help of a level, to check how exactly their individual parts are located, since even small inaccuracies can affect the overall picture, which will be the result.
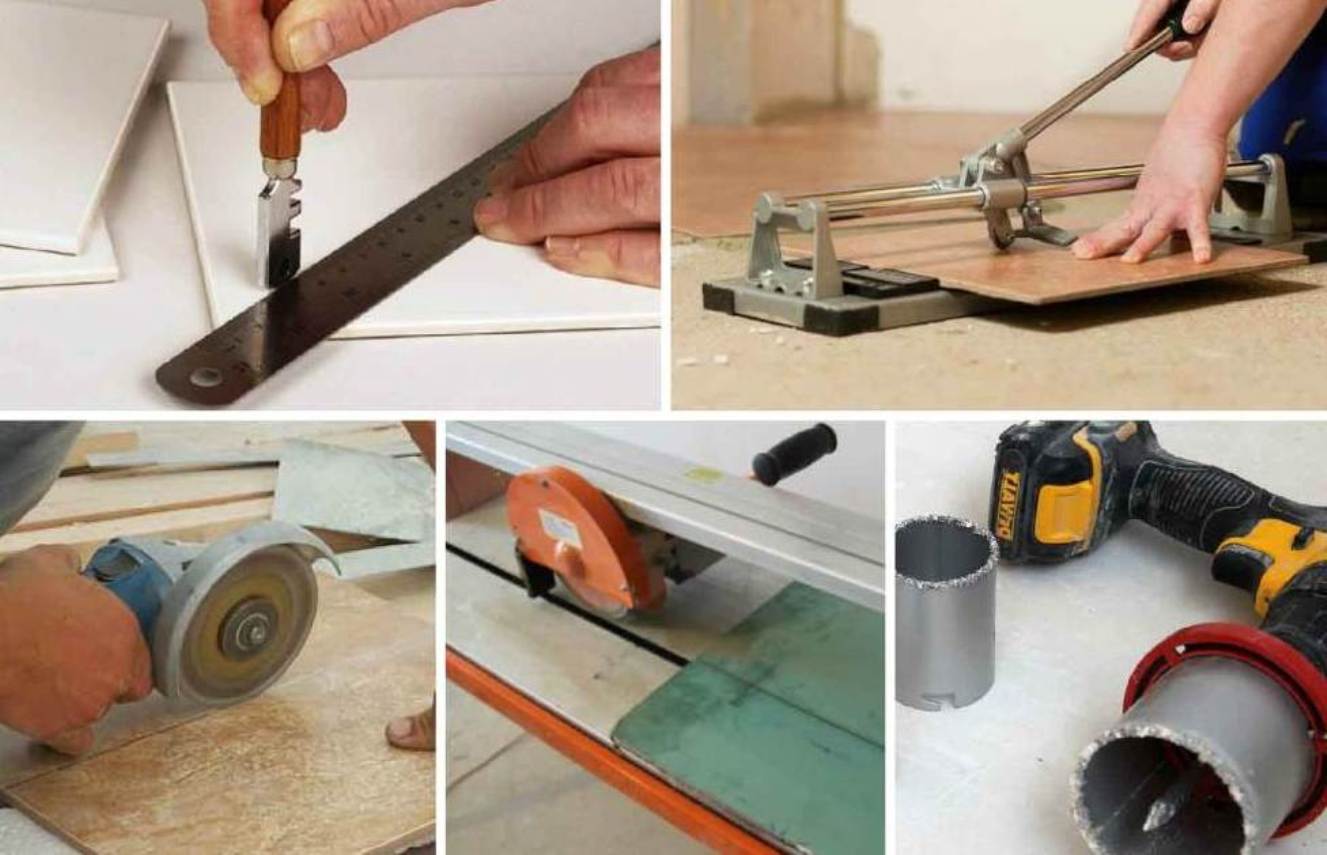
Slicing and fitting
In addition to the standard method of laying, there is also a method of placement on the diagonal and in a checkerboard pattern. The last two will be the most time consuming and costly, since it will require cutting a large number of tiled elements. The same applies to those cases when you need to adjust the tile at the joints of the walls, near the plumbing and other objects where the whole tile just does not fit.
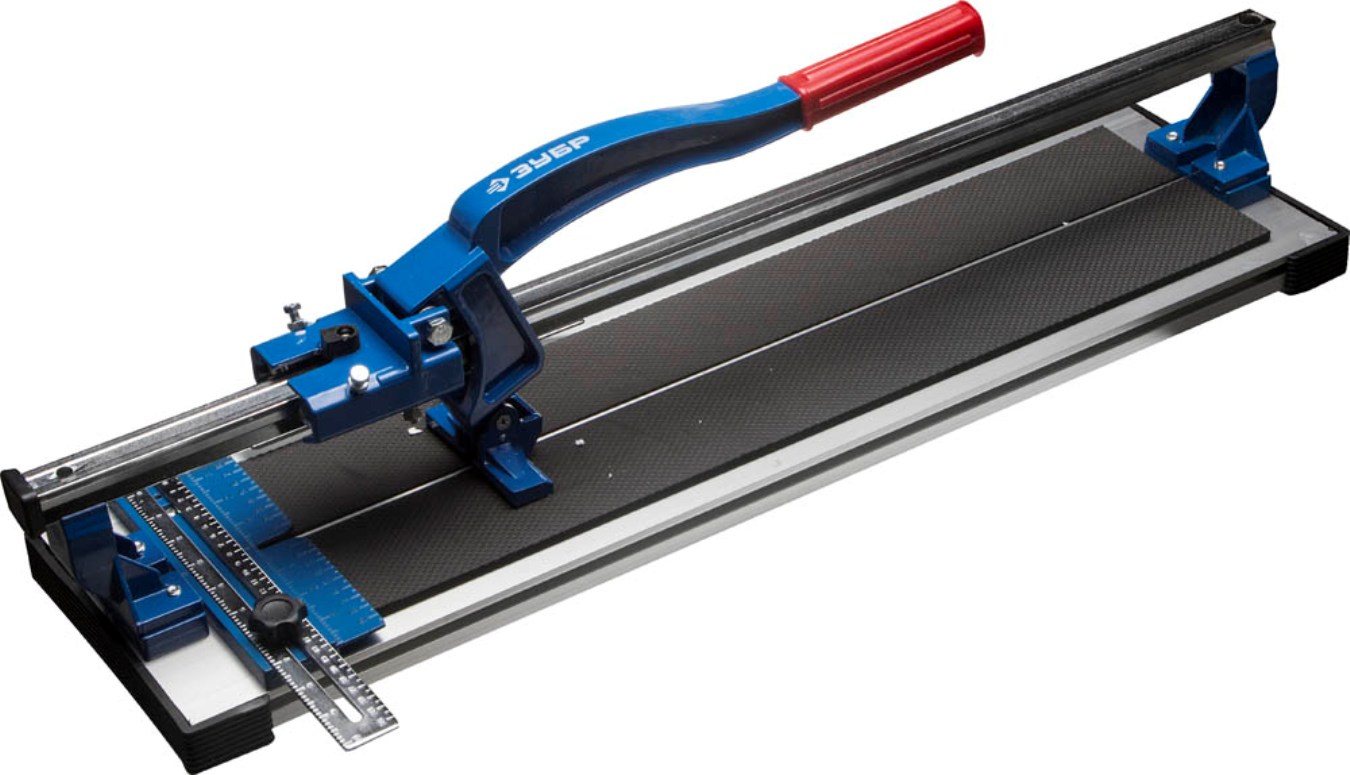
The main tool here is a tile cutter (manual or electric). His models differ in the size of the tile holding, its hardness, the complexity of the design and the quality of its main part - the wheel.
Tiled or ceramic can be cut even with a glass cutter.A large amount of work can be performed using a special machine.
Run cut in a straight line can grinder. The main thing is to choose the right cutting disc.. For it, as for other electrical appliances, an extension cord must be prepared in advance, since sockets are often inconveniently arranged. Drill with a round nozzle will help cut holes for sockets and switches. And to make the edge more even, to make a more complex and shaped notch help the clippers. They can be different, depending on the size of the cut fragment.
Grout
After laying the tile or its parts, you need to remove the crosses and proceed to the treatment of seams. Their appearance depends on the shape of the tile ends. If they are direct, then we will need:
- tank (in which the grout will be diluted and mixed) - it should not be large, since it is prepared in small portions as needed;
- thin screwdriver or paint brush (for cleaning joints from glue or mortar);
- a narrow rubber spatula (they, in fact, fill the intergplate space);
- trowel trowel or scraper to distribute the mixture;
- rags to remove traces from the tile after all the work is completed (they need to be changed as they are polluted);
- soft rags, detergents and a bucket of water for washing the facing covering and its subsequent polishing.
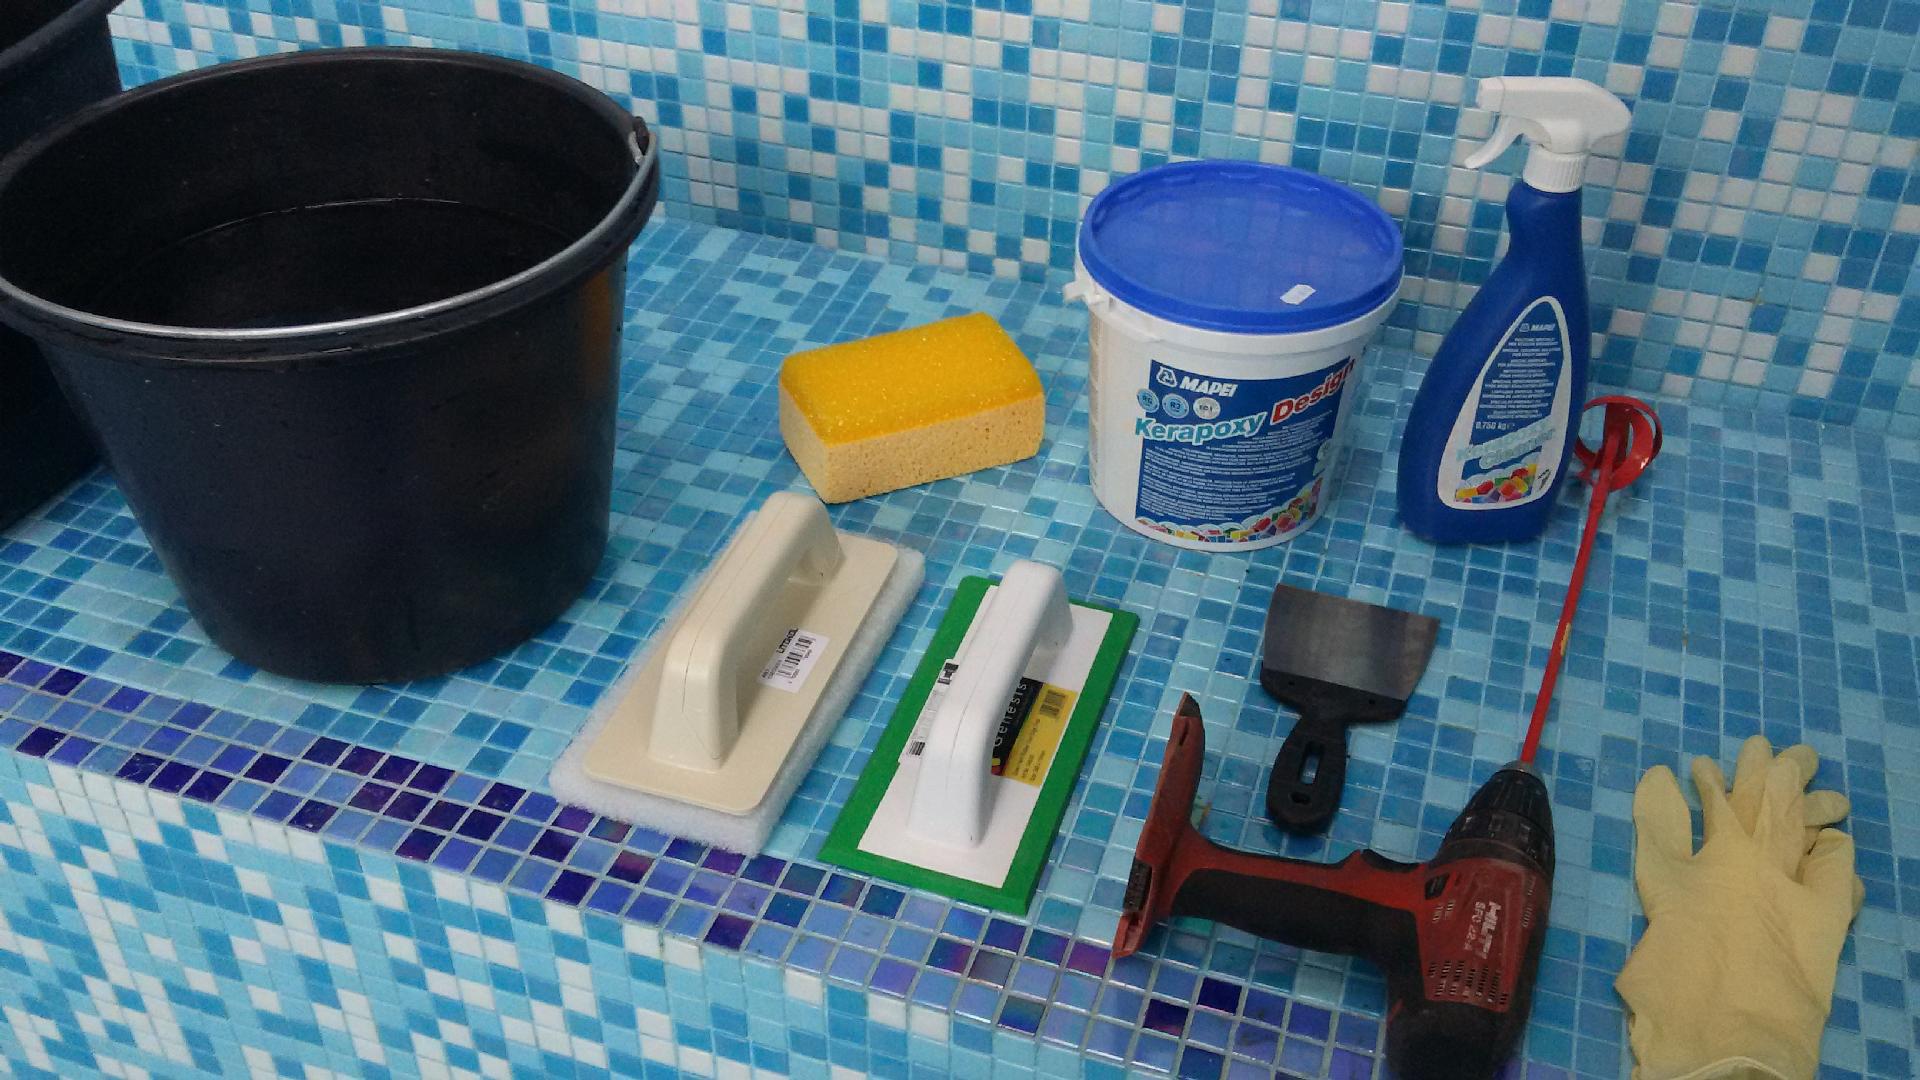
You can speed up the process with:
- trowel;
- sponges with wide pores;
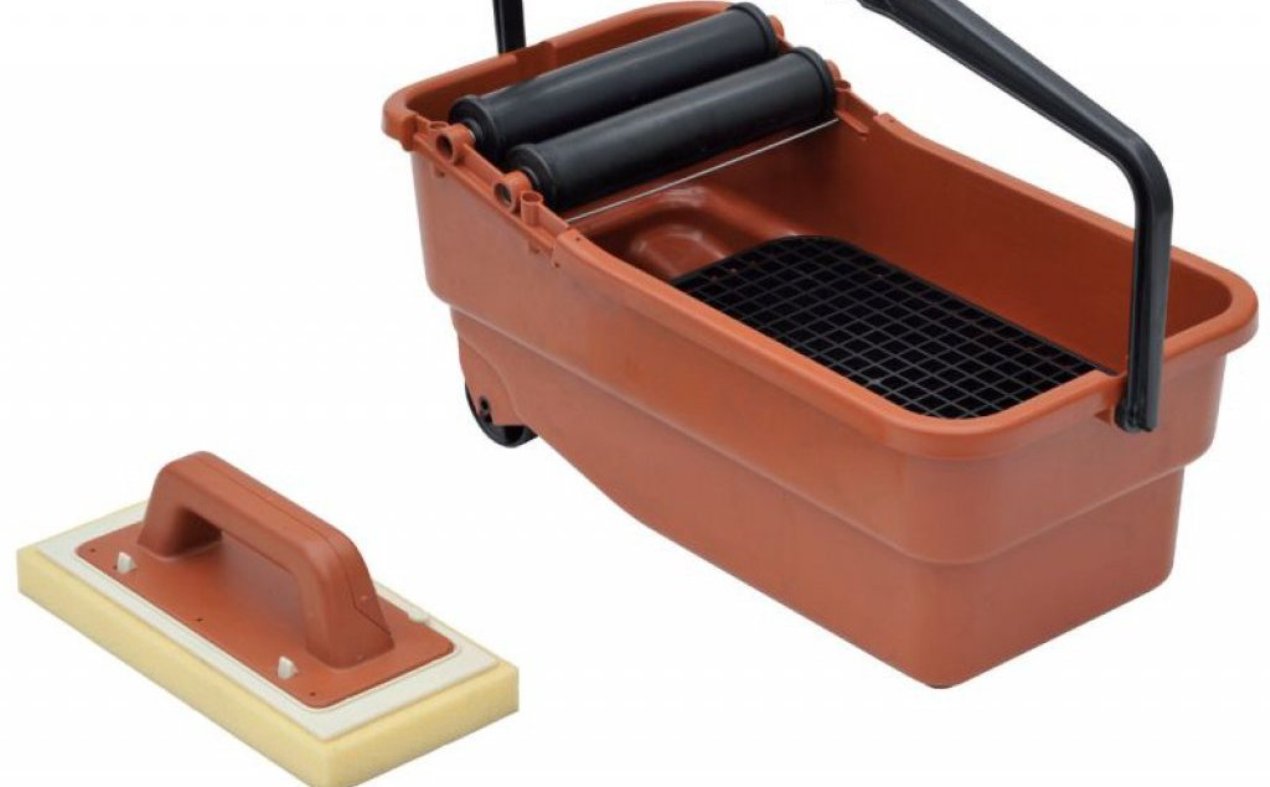
- bath for grouting (it consists of a container with water, a grid and a device for pressing);
- roller (it is convenient to work if the mosaic is stacked);
- masking tape (they glue the edges of the tiles, if they use a compound with epoxy or silicone).
If the edges of the tile have rounding or chamfering, it is impossible to use ordinary spatulas for filling, since such a seam would look too rough. In this case, special devices made of rubber are used. And for narrow seams - devices that have a round shape. All other procedures are similar to the treatment of more familiar to our eye - direct.
Removing glue and cleaning tiles from grout should be timely. Since after solidification, this will be more difficult. The main thing is not to use any metal tools in order not to accidentally damage the coating.
What you need to replace a separate item
If, however, for some reason or other, part of the tile is cracked, a splinter or stain that cannot be removed has appeared on it - it can be replaced without affecting the entire wall or floor covering. To start the tile should be removed. For this you need:
- chisel and hammer to break the damaged element into pieces and remove them;
- a drill with a suitable drill (this will simplify the process and will be useful for extremely durable coatings).
After that, the glue is completely cleaned along the entire perimeter of the recess, and a new tile is placed in this place, using the above-mentioned devices.
In order for the tools to serve you for a long time, they need not only careful handling, but also timely cleaning, care and proper storage.
More details about the tools for laying tiles and the principle of their actions can be found by watching the following video.