How to glue the ceiling plinth to stretch the ceiling with your own hands?

Many people ask: how to glue the ceiling plinth to the stretch ceiling? This is not entirely accurate, since the baseboard is not attached directly to the ceiling, but fixed on the walls. This is important to consider when performing such work that does not require special skills.

Special features
Installation of a plinth on a stretch ceiling should always begin with the implementation of preliminary measurements. Pieces of baseboards should also be prepared. The best solution would be to use medium length fillets, as they are conveniently mounted; there will be no need for sticking small pieces.
When mounting molding is carried out on a regular ceiling, then painting is done at the finishing stage, but in the case of a stretch ceiling, this should be done in advance.This is not a prerequisite, but so you can protect the new ceiling.
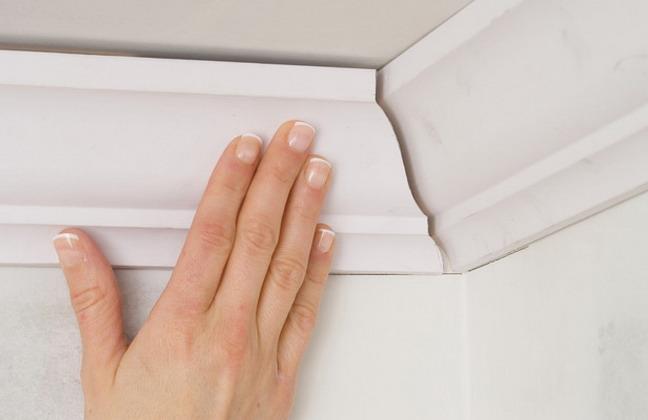
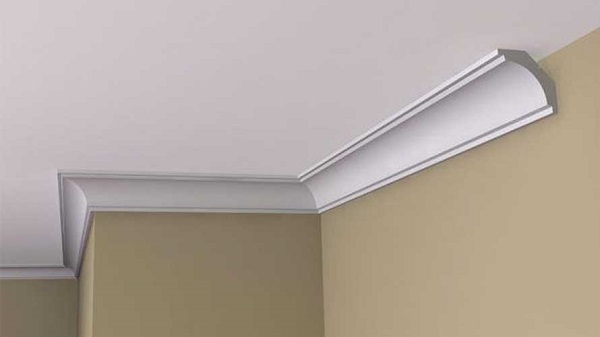
The main feature of the installation of the plinth is the desired method of attachment. As previously noted, fillets should be attached only to the wall.
It is impossible to glue them to the ceiling for several reasons:
- the ceiling is not hard enough;
- when using the stretch ceiling tends to stretch;
- if you need to remove the plinth, then you will surely damage the tension fabric.
It should also be noted that it is not recommended to glue the baseboard on the wallpaper, as they cannot always withstand them. On this basis, the fastening of the fillets is made before the wallpaper is hung.
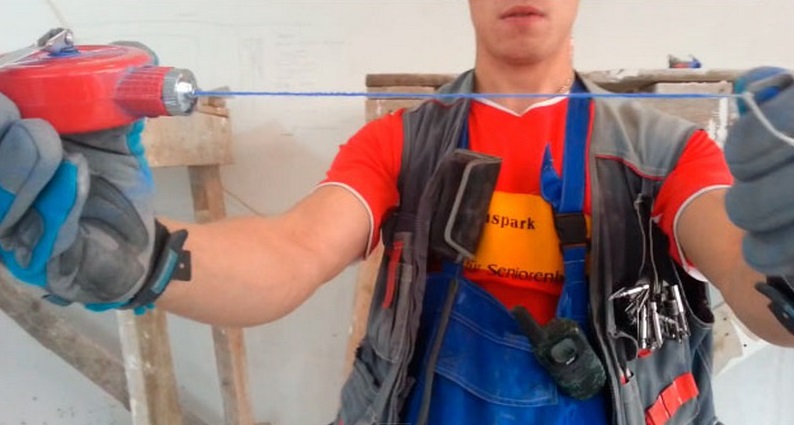
Before installation, it is necessary to make a markup using a patch cord. This will allow for a smooth mounting of the plinth. The rest of the way of mounting skirting standard. In more detail the installation process of fillets will be discussed below.
Necessary tools and materials
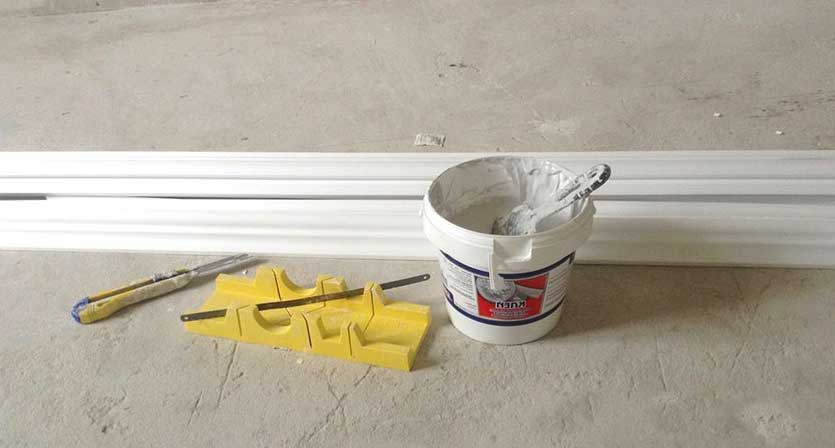
If you have already chosen a finishing material, then you need to stock up on the following materials and tools:
- pencil;
- tape measure or folding meter;
- whipping cord;
- sharp knife;
- small spatula;
- gooseneck or special corner;


- putty and adhesive compositions;
- sealant;
- ladder;
- directly ceiling plinth.
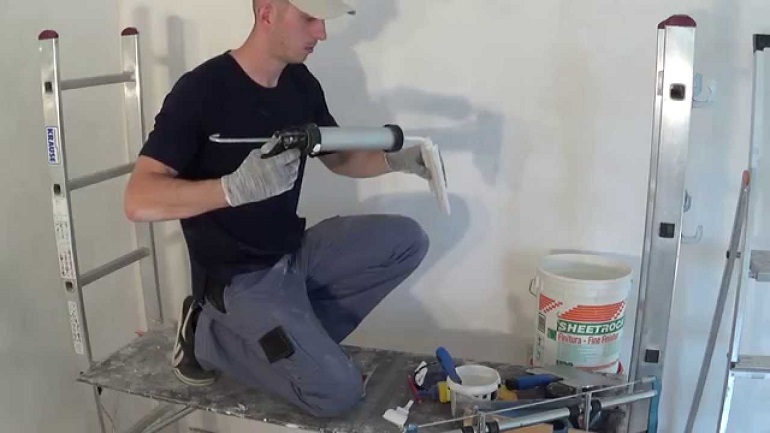
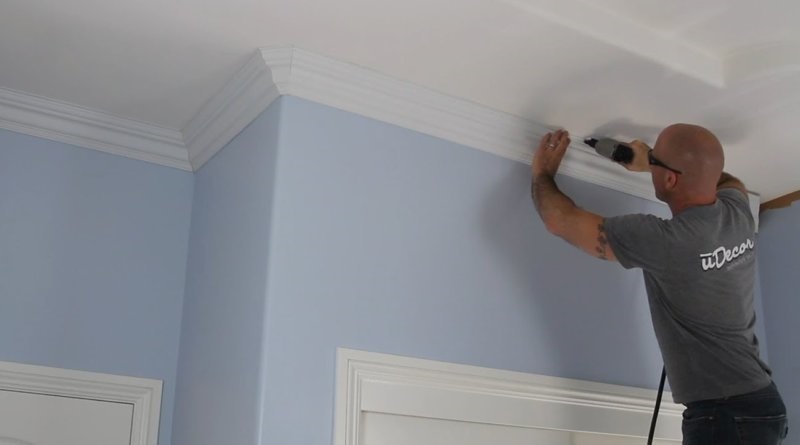
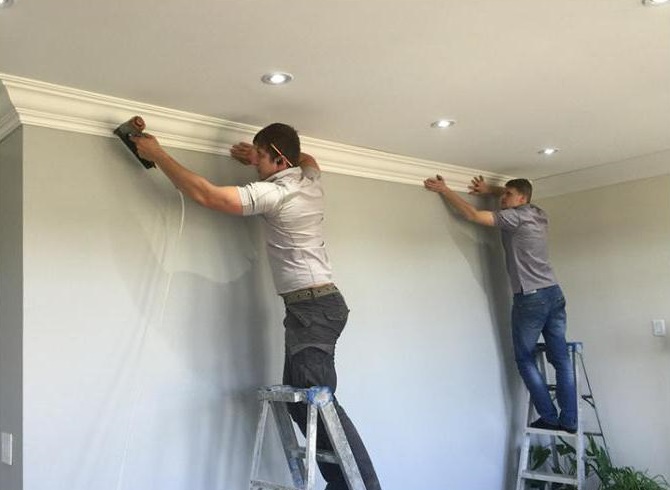
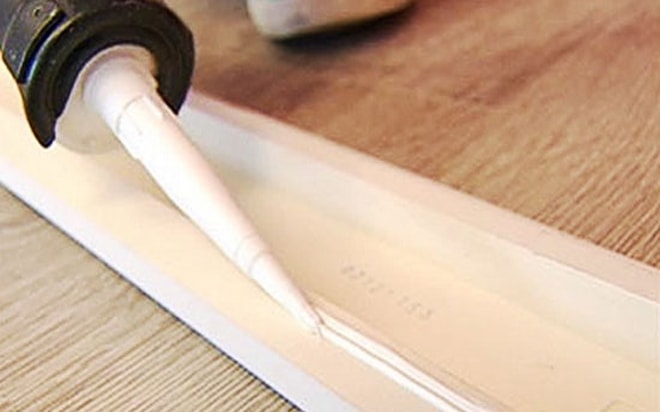
The gluing of plinths should be carried out using special glue. Glue is chosen depending on the material from which the fillets are made. The correct choice will allow you to avoid various complications - for example, the penetration of traces of the application of glue through the baseboard. In some situations, the glue completely dissolved the product. Make sure that all the specified materials and tools are necessarily present during the work.
How to stick your own hands?
Please note that the method of fixing depends largely on the moment at which you decide to mount the skirting board.
There are two common cases:
- Products are glued after all the work. Many first revet the walls with wallpaper, install a suspended ceiling, and only then proceed to fixing the plinth. Gluing is the most common option for fixing the baseboard. There is no other option to insert molding in this situation.
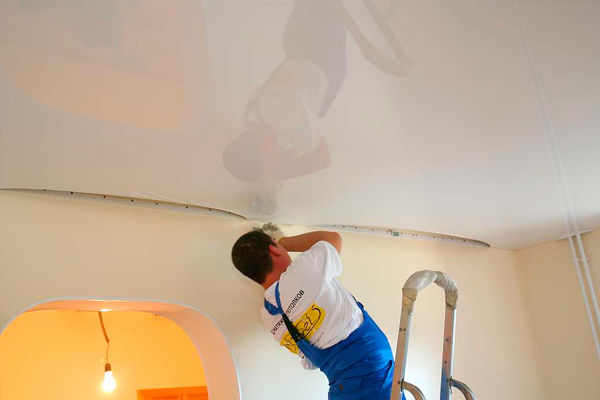
- Fastening can be put after installation of the stretch ceiling. In this case, the ceiling is installed, but facing has not yet been carried out. Here there is one small minus, which boils down to the complexity of the preparatory work. Firstly, there is a risk of damaging the tension cover. Secondly, the ceiling of this type has the ability to repeat the configuration of the walls, because of which all the irregularities can be even more pronounced.
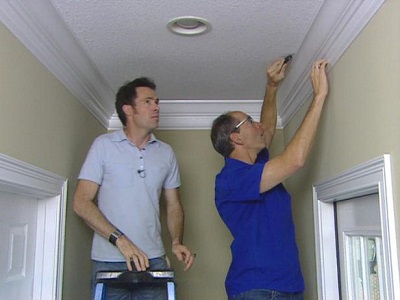
You must choose a specific installation technology and install the device yourself, based on individual needs. You can attach the baseboard in various ways, but it is easiest to glue it.
Ceiling type
There are various ways to install baseboards, which depend on the type of ceiling. This may be a regular ceiling surface or polyurethane, which, in turn, may also be multi-layered. For example, two-level constructions are now popular.
In this article we will consider how to install baseboards on a suspended ceiling in the two most common situations.

Laying as a finish
In this case, the installation is carried out on painted or pasted walls.
Laying is performed as follows:
- You must choose a reliable glue that will fit well with the selected material. It is necessary to pay attention to the fact that the adhesive composition does not change its color after drying, and also take into account the setting time;
- preparing the necessary tools;
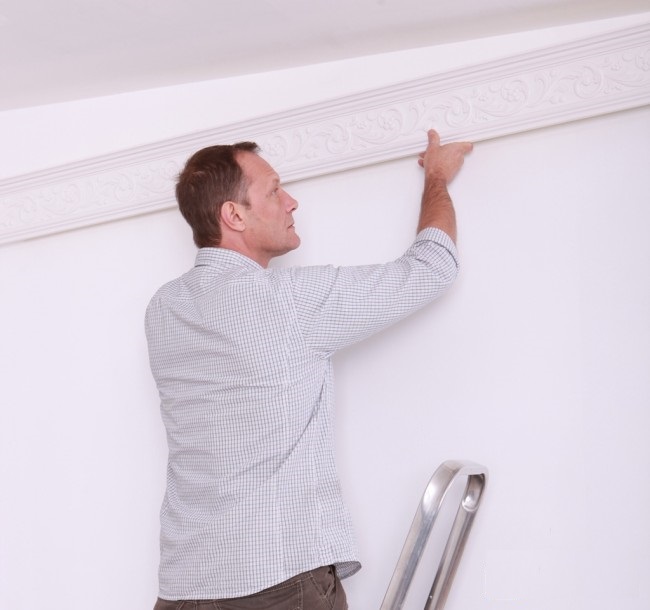
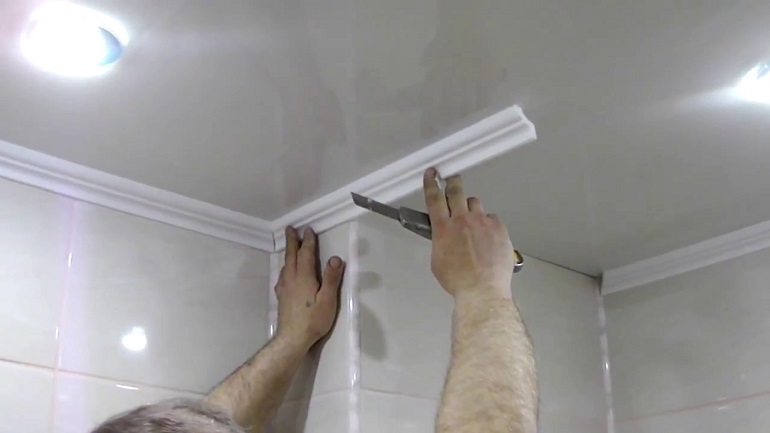
- plinth must begin to glue on the corner. The same goes for baguettes;
- Before proceeding with the labeling of the product, it must first be applied to the surface to determine the correct location. So you can avoid bevels;
- in order to avoid displacement of fragments, it is necessary to pre-mark, making marks on the wall;
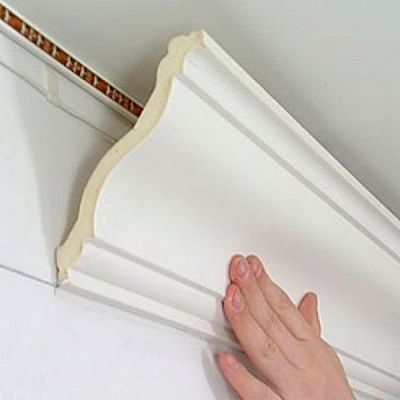
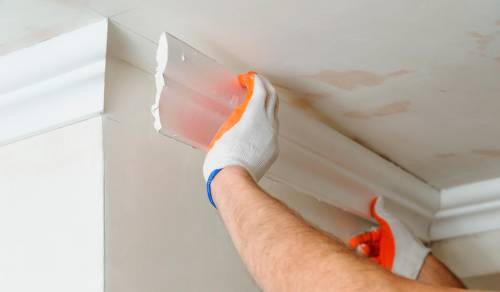
- it is necessary to apply glue only on that part which will be pressed to a wall. The procedure is as follows: you first need to apply a small amount of the composition on the reverse side. On the edge itself do not need to apply glue. This technique will avoid the appearance of surplus. Before gluing the plinth to the wall, you must wait a bit and only then press the part.
Installation prior to finishing
The mount in this case is performed according to the following algorithm:
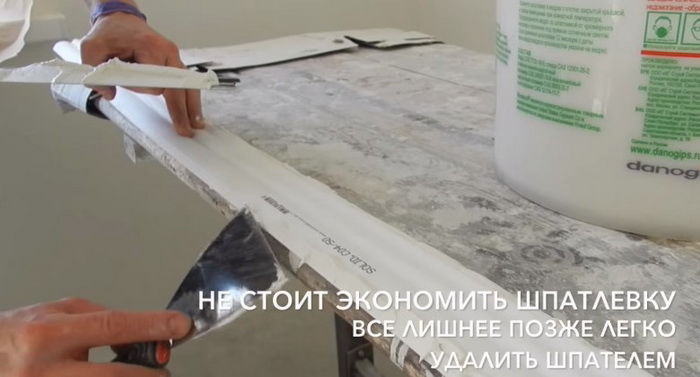
- It is necessary to prepare all the details for work. In this case, the installation is carried out using putty;
- the process must begin with wetting the surface, as this will increase adhesion;
- it is necessary to mix the required amount of putty;
- the composition should be applied by means of a spatula on the reverse side of the plinth, it is evenly distributed over the surface;
- then the item is laid out on the selected place, hold it and align. Thus, the existing excess mixture is squeezed out, which must be immediately removed;
- it is necessary to install all the fragments and wait for drying, after which the surface will be ready for further finishing works.
If the walls are not perfectly smooth, this may lead to the appearance of gaps between the product and the wall. You can solve the problem by using the usual masking tape that needs to be glued to the part and to the wall. After drying, the tape is removed.
Plinth
Consider the installation of several types.
Lightweight foam
Easy foam is installed as follows:
- pencil and construction level, you must mark the bottom line;
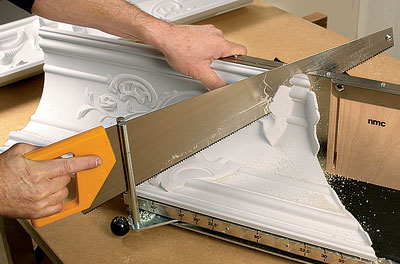
- glue the bottom side with glue and glue the product itself;
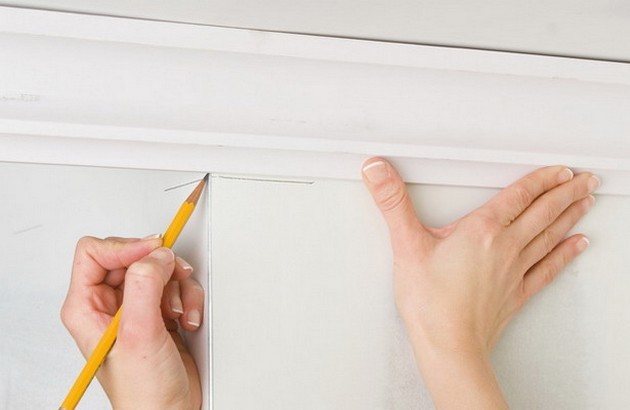
- if necessary, trim the plinth with a sharp knife (the best solution is to cut at a 45 degree angle). You can use a cask or a finished corner.
Heavy
In this case, we are talking about moldings made of expanded polystyrene.
This plinth should not be glued to the wallpaper, but directly on the wall:
- mark the bottom line of the plinth on the wall surface;
- if the walls are covered with wallpaper, they must be carefully cut with a sharp knife along the drawn line;
- It is recommended to apply a small layer of primer to the cleaned surface, which strengthens the plaster and increases the strength of the adhesive;
- Further actions are similar to the previous version.
Wood
Wooden plinths are not mounted on glue, but on special fasteners or wooden prints, nailed to the wall.
To install the wood plinth, follow the further instructions:
- it is necessary to mark the position of the future plinth, while the fasteners will be located above the bottom line of the product;
- Drill the holes required for the fasteners and fasten the bars. The distance between them should not exceed half a meter;
- we fix the plinth, for which it is best to use screws, especially they are not suitable for duropolymer products.
Today you can choose plastic (from polyfoam) or a rubber plinth. It is better to stay on the flexible version.
Tips and tricks
Some tips to consider when working with ceiling moldings:
- the gaps formed in the corners and at the joints, you can further putty with acrylic composition;
- You can markup directly on the wallpaper, but if you are dealing with heavy baseboards, the wallpaper must be cut off;
- You can leave a special gap near the baseboard, where to put the LED strip to create additional lighting;
- adhesive should not fall on the suspended ceiling or wallpaper;
- if you do not have a block, then you can make it yourself from a wooden bar;
- stop the choice solely on quality brands of adhesives, then they will not darken or crack in time;
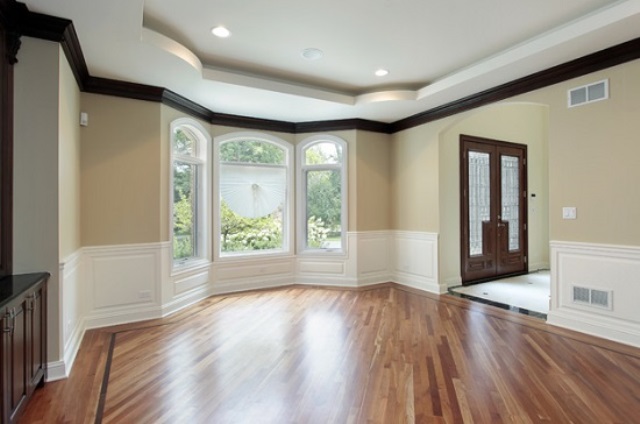
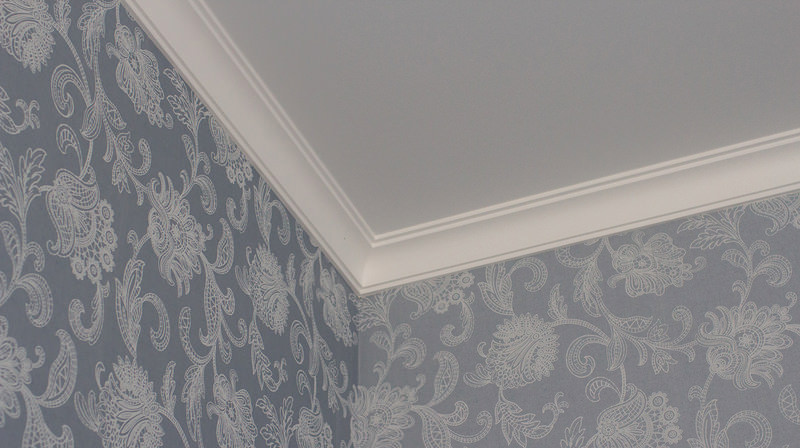
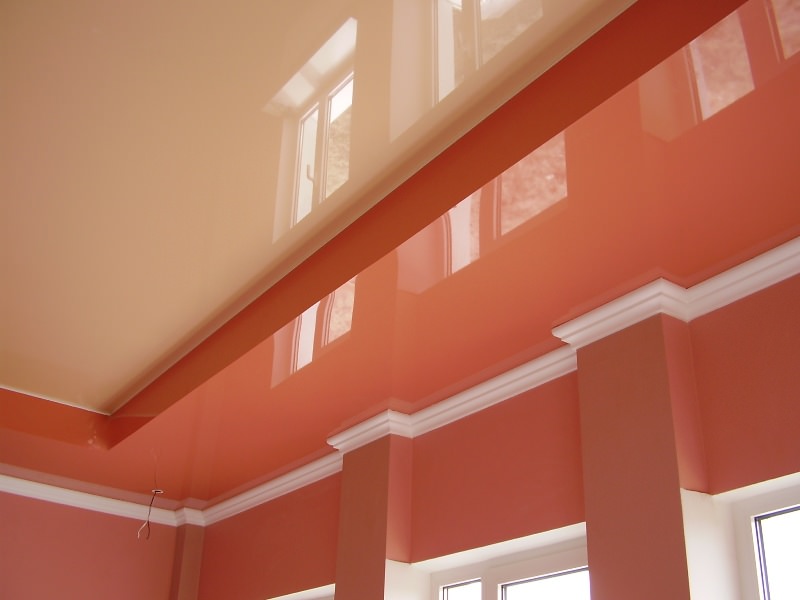
- if a white stretch ceiling is installed in the room, then the plinth made of dark wood will look most attractive with it.
Based on all of the above, the procedure for installing ceiling baseboards in the presence of a stretch ceiling is simple, a person without special knowledge and skills can handle it. To achieve the desired result, it is only necessary to put a little patience.
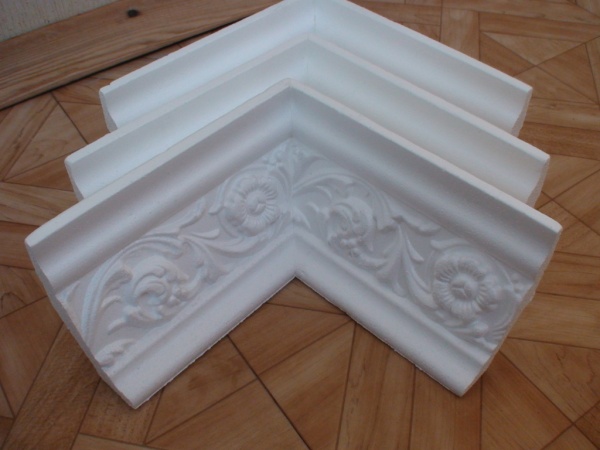
Successful examples and options
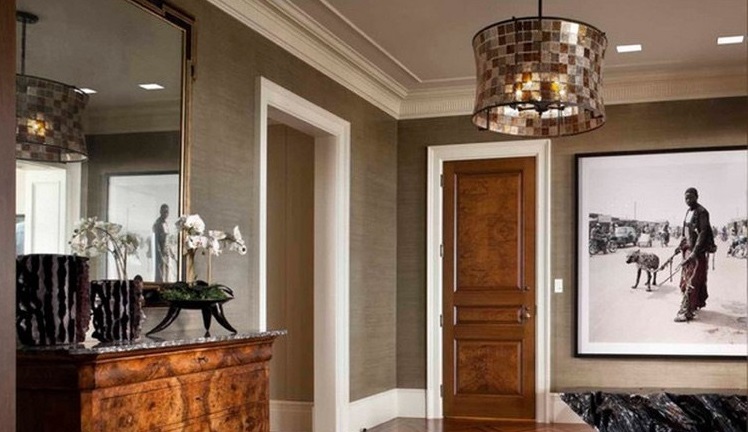
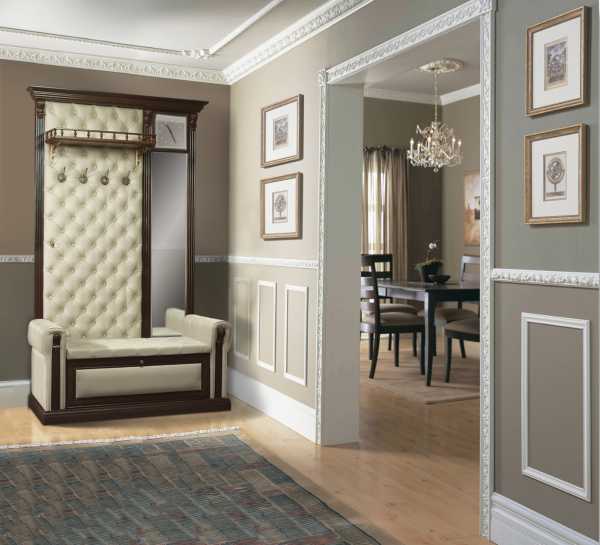
If you opt for wide models, you can visually increase the height of the room, while there is a large surface for gluing the product to the wall. Thanks to this, the ceiling plinth will be securely attached. It should be noted that a wide plinth is able to emphasize the decor, made in the historical style.
If the interior of the room is colorful and rich, then it is best to opt for a more modest ceiling molding. When we deal with a bright ceiling and walls, the best solution would be to install a white baguette that will not distract attention from the decor of the room.
In the case when a white stretched canvas is installed in the room, it is necessary to select a baseboard with a contrasting color. The best option would be a ceiling baguette made of dark woods. The solution is suitable for a study that is decorated in a classic style.
From this video you will learn how to glue the ceiling plinth to the stretch ceiling with your own hands.