Suspended ceiling with lighting: design features
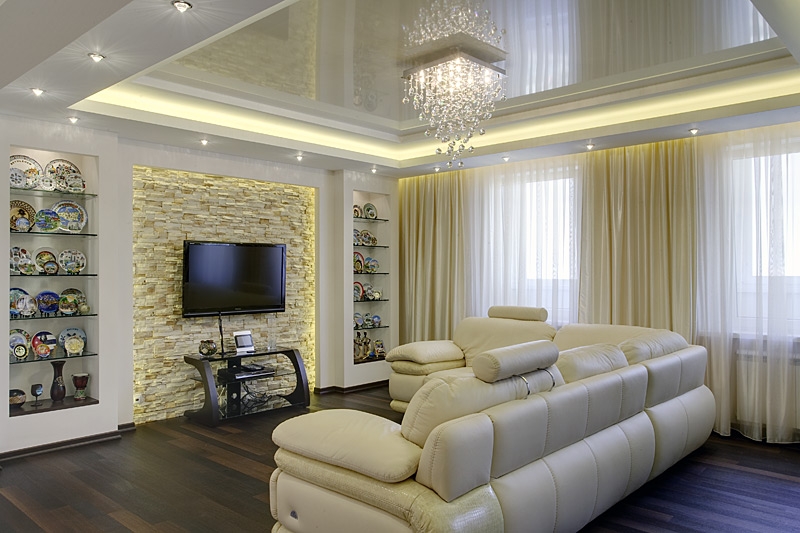
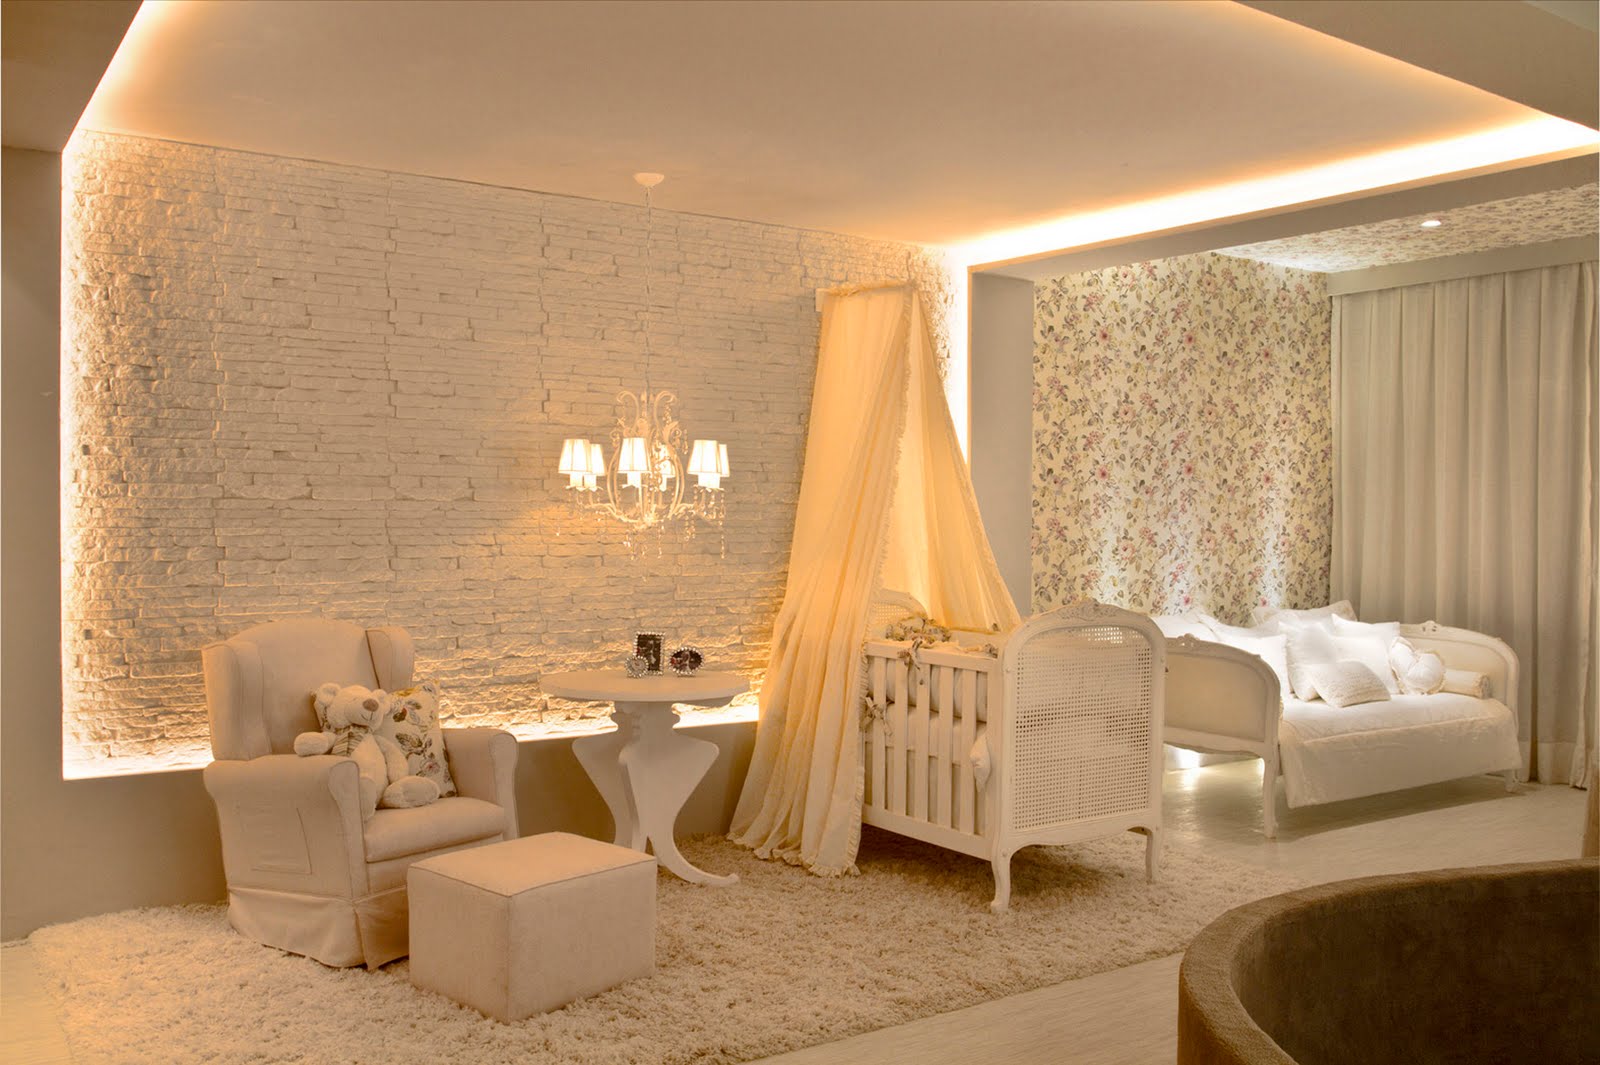
Qualitatively illuminated ceiling can demonstrate all the advantages of the room. Most often, the backlight is used in the construction of a suspended ceiling. To build such a structure can be independently, without the help of experts.
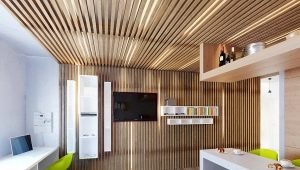
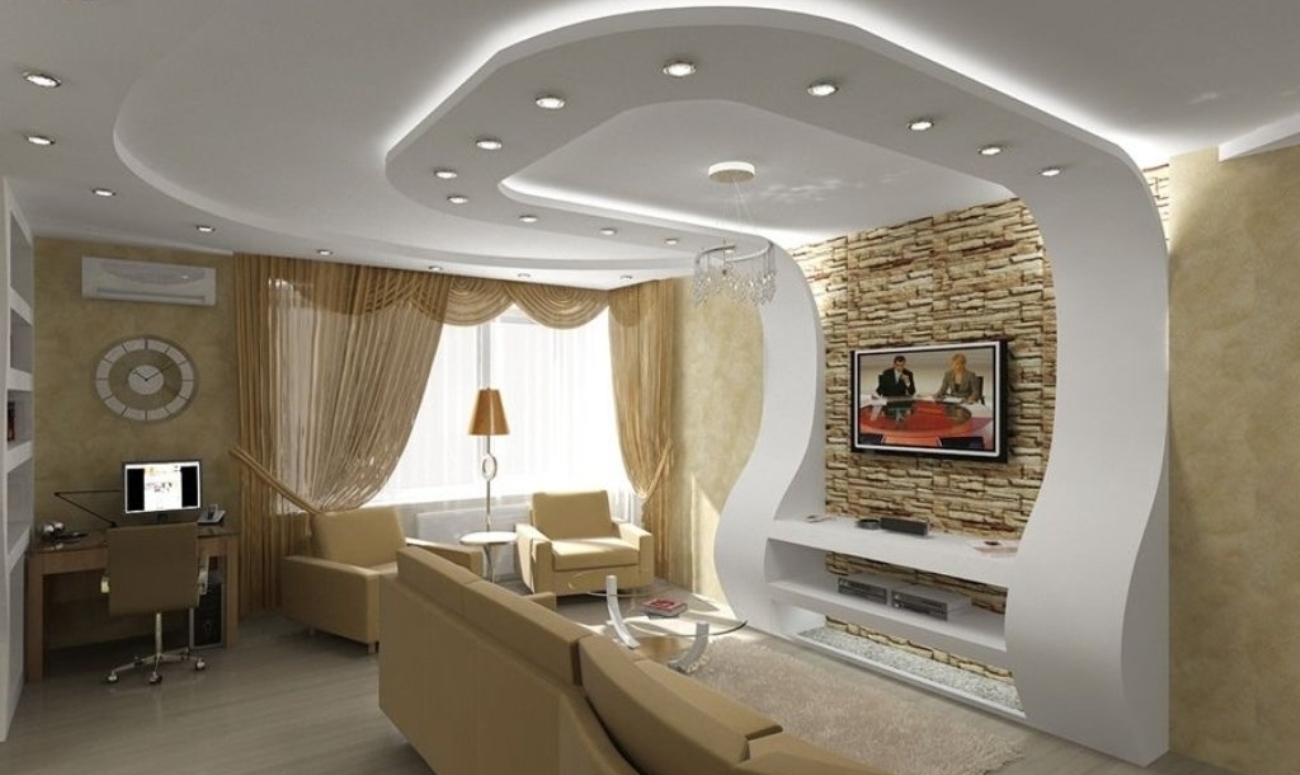
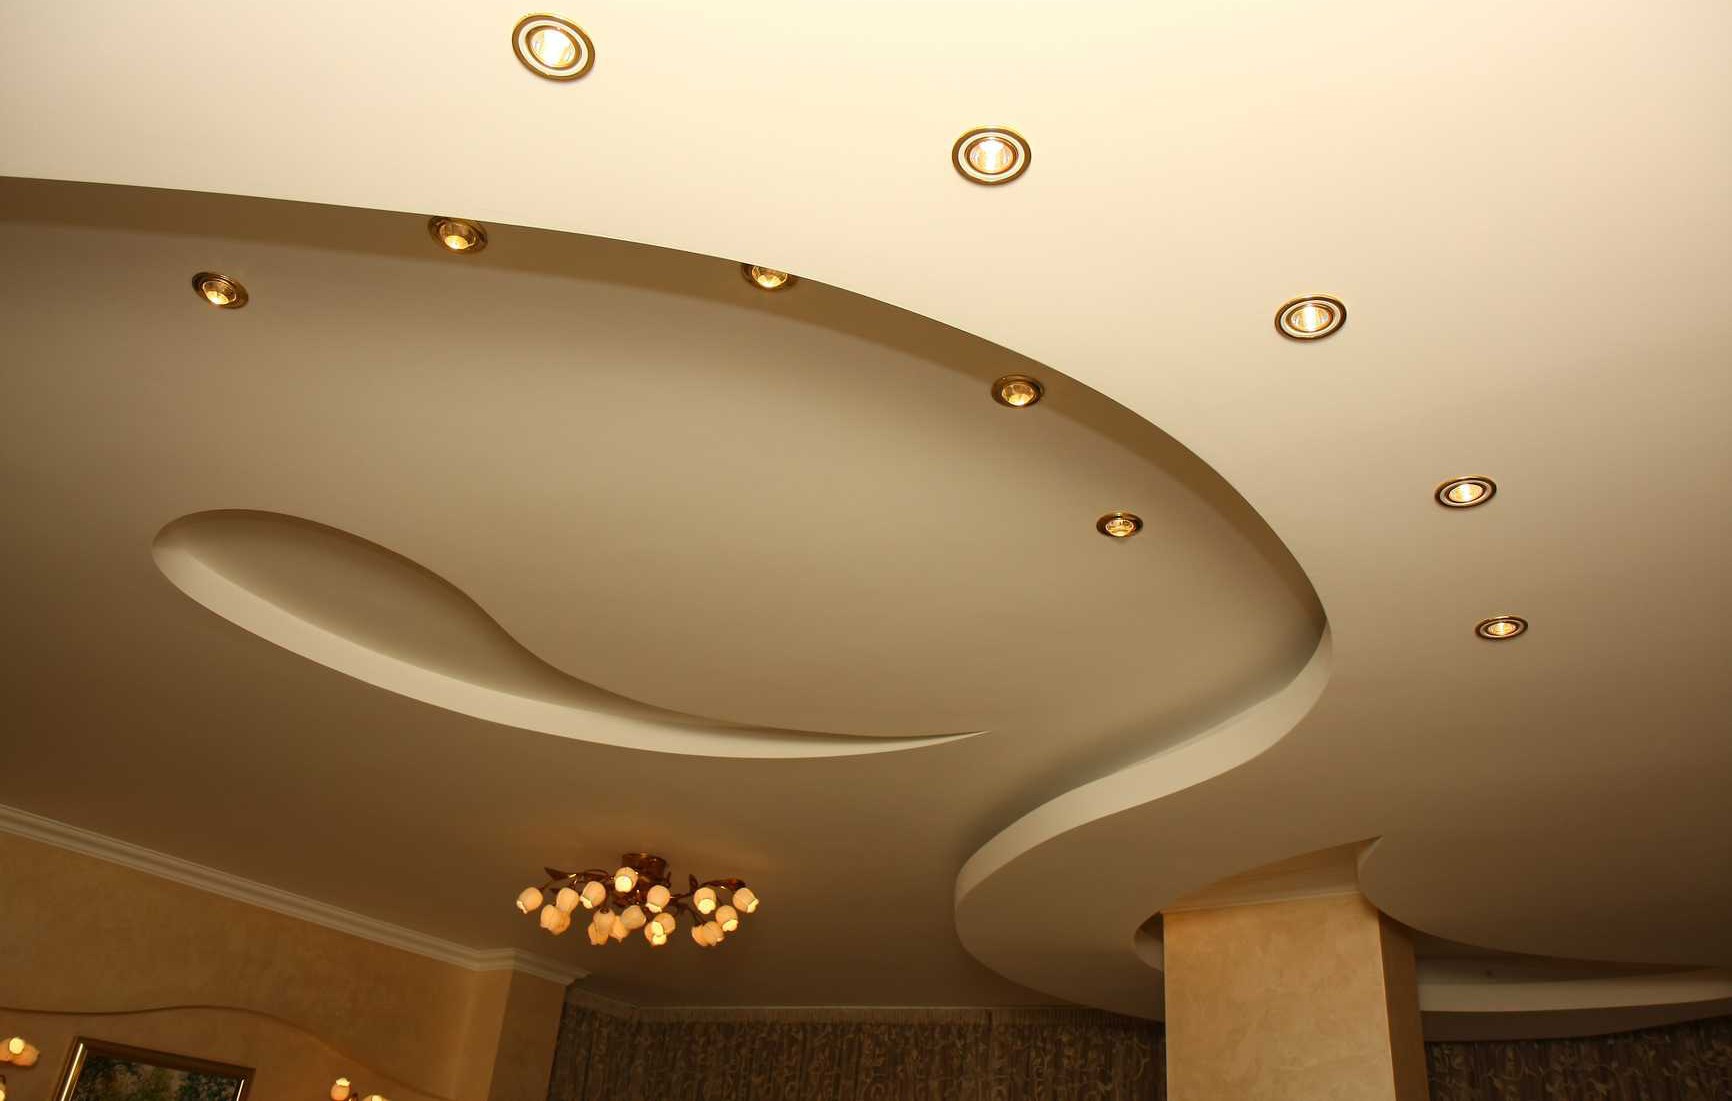
Drywall - one of the most popular building materials for this kind of work. It will perfectly cope with the uneven surface of the ceiling, hide all its defects. For those who love the original design, suitable multi-level ceilings with decorative elements and smooth transitions. A built-in lighting will create a cozy and warm atmosphere in the room.
Special features
To date, a wide range of materials for ceiling finishing works. Drywall with built-in lighting is one of the most sought-after and relatively budgetary ways to give a refined look to the ceiling. When using a drywall construction, you can afford to experiment with various lighting options, for example, adjust the number of luminaires, their configuration, use only devices that will suit your preferences and taste.
The use of a suspended ceiling has several advantages:
- plasterboard design will mask all the irregularities and defects of your ceiling;
- before installation of the stretch ceiling is not required to carry out preparatory work;
- it is possible to hide insulation, electrical and sound wiring, exhaust compartment under the plasterboard construction;
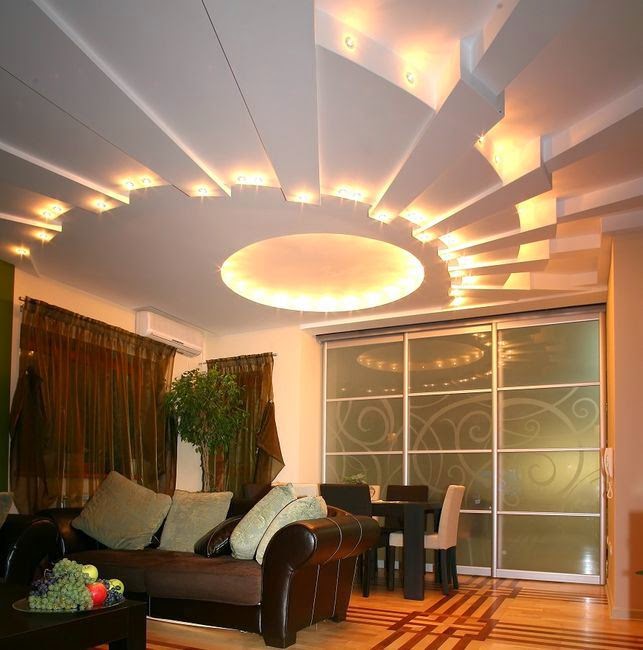
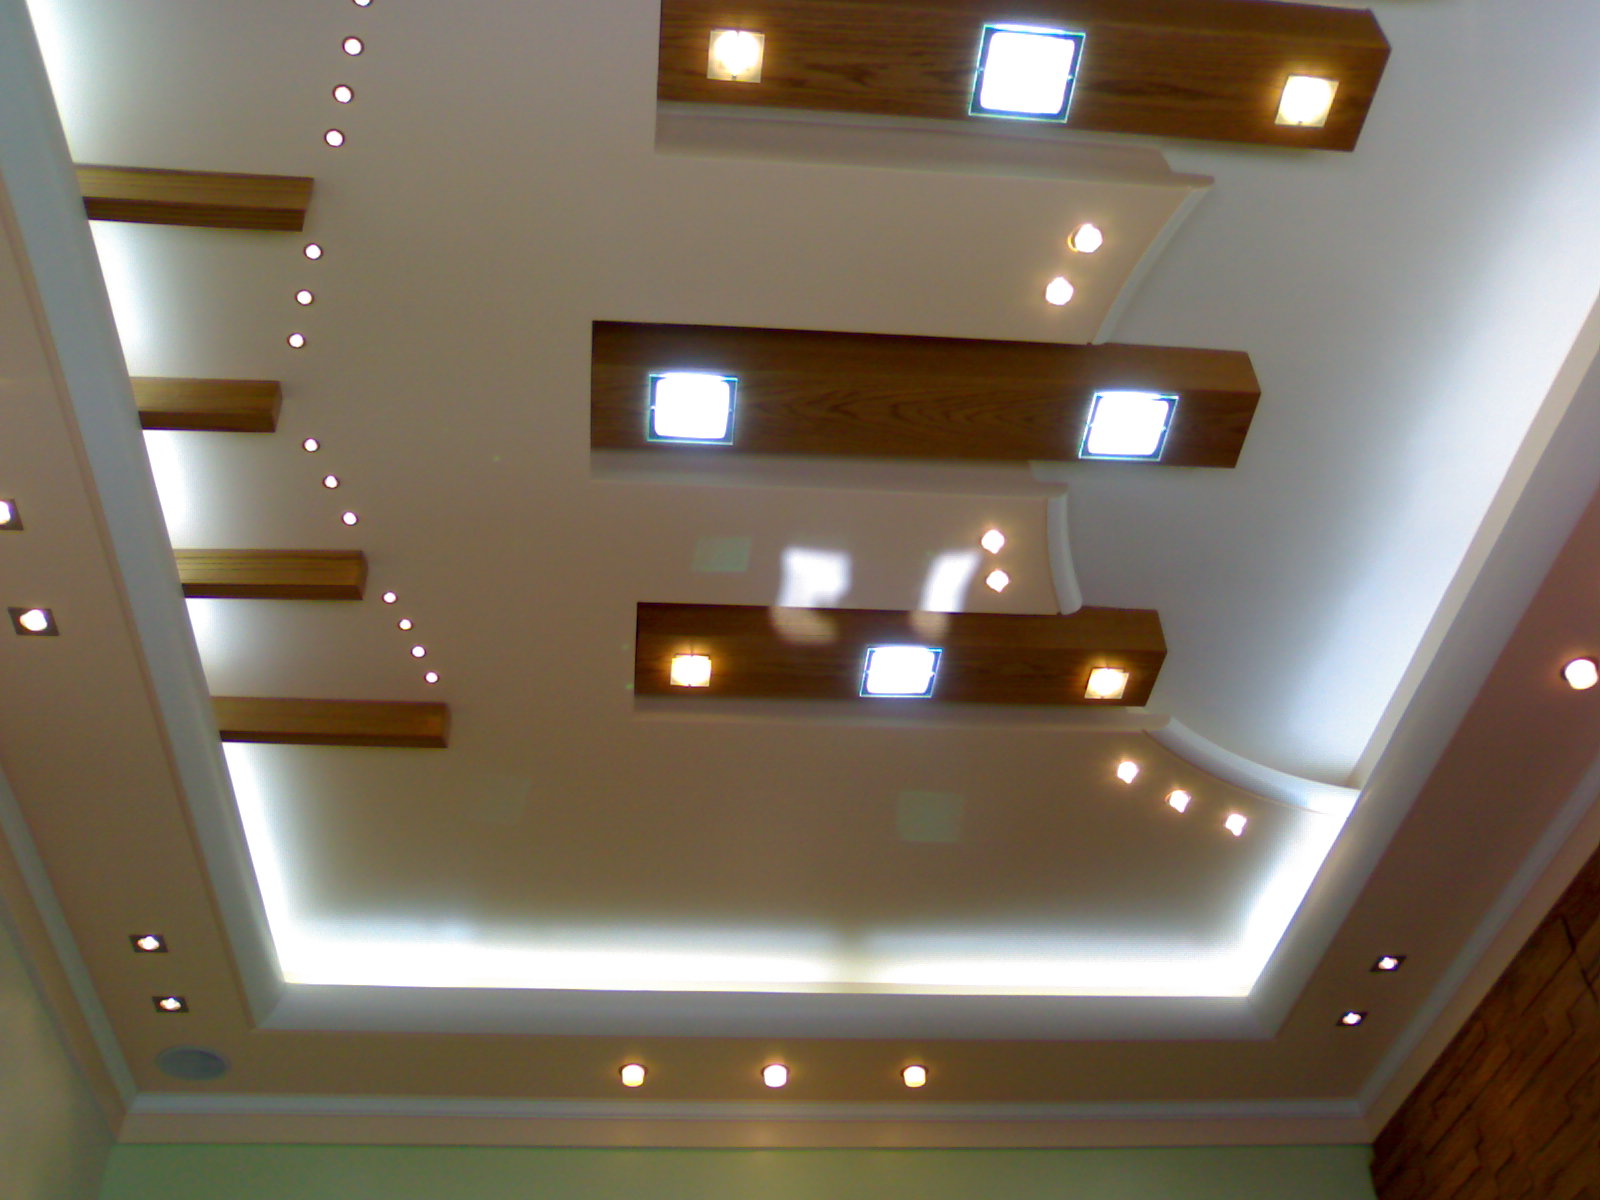
- large space for design ideas, for example, you can build a multi-level ceiling.
Like the positive side, any idea has its drawbacks:
- the use of a suspended ceiling is not recommended for low spaces, its height will be reduced by at least ten centimeters;
- the installation of a suspended ceiling is quite simple and quick, you will not need to resort to the services of a working team, but an expert must be engaged in electricity and lighting.Often incorrect connection of electrical wiring provokes a short circuit.

Types of recessed ceiling lighting
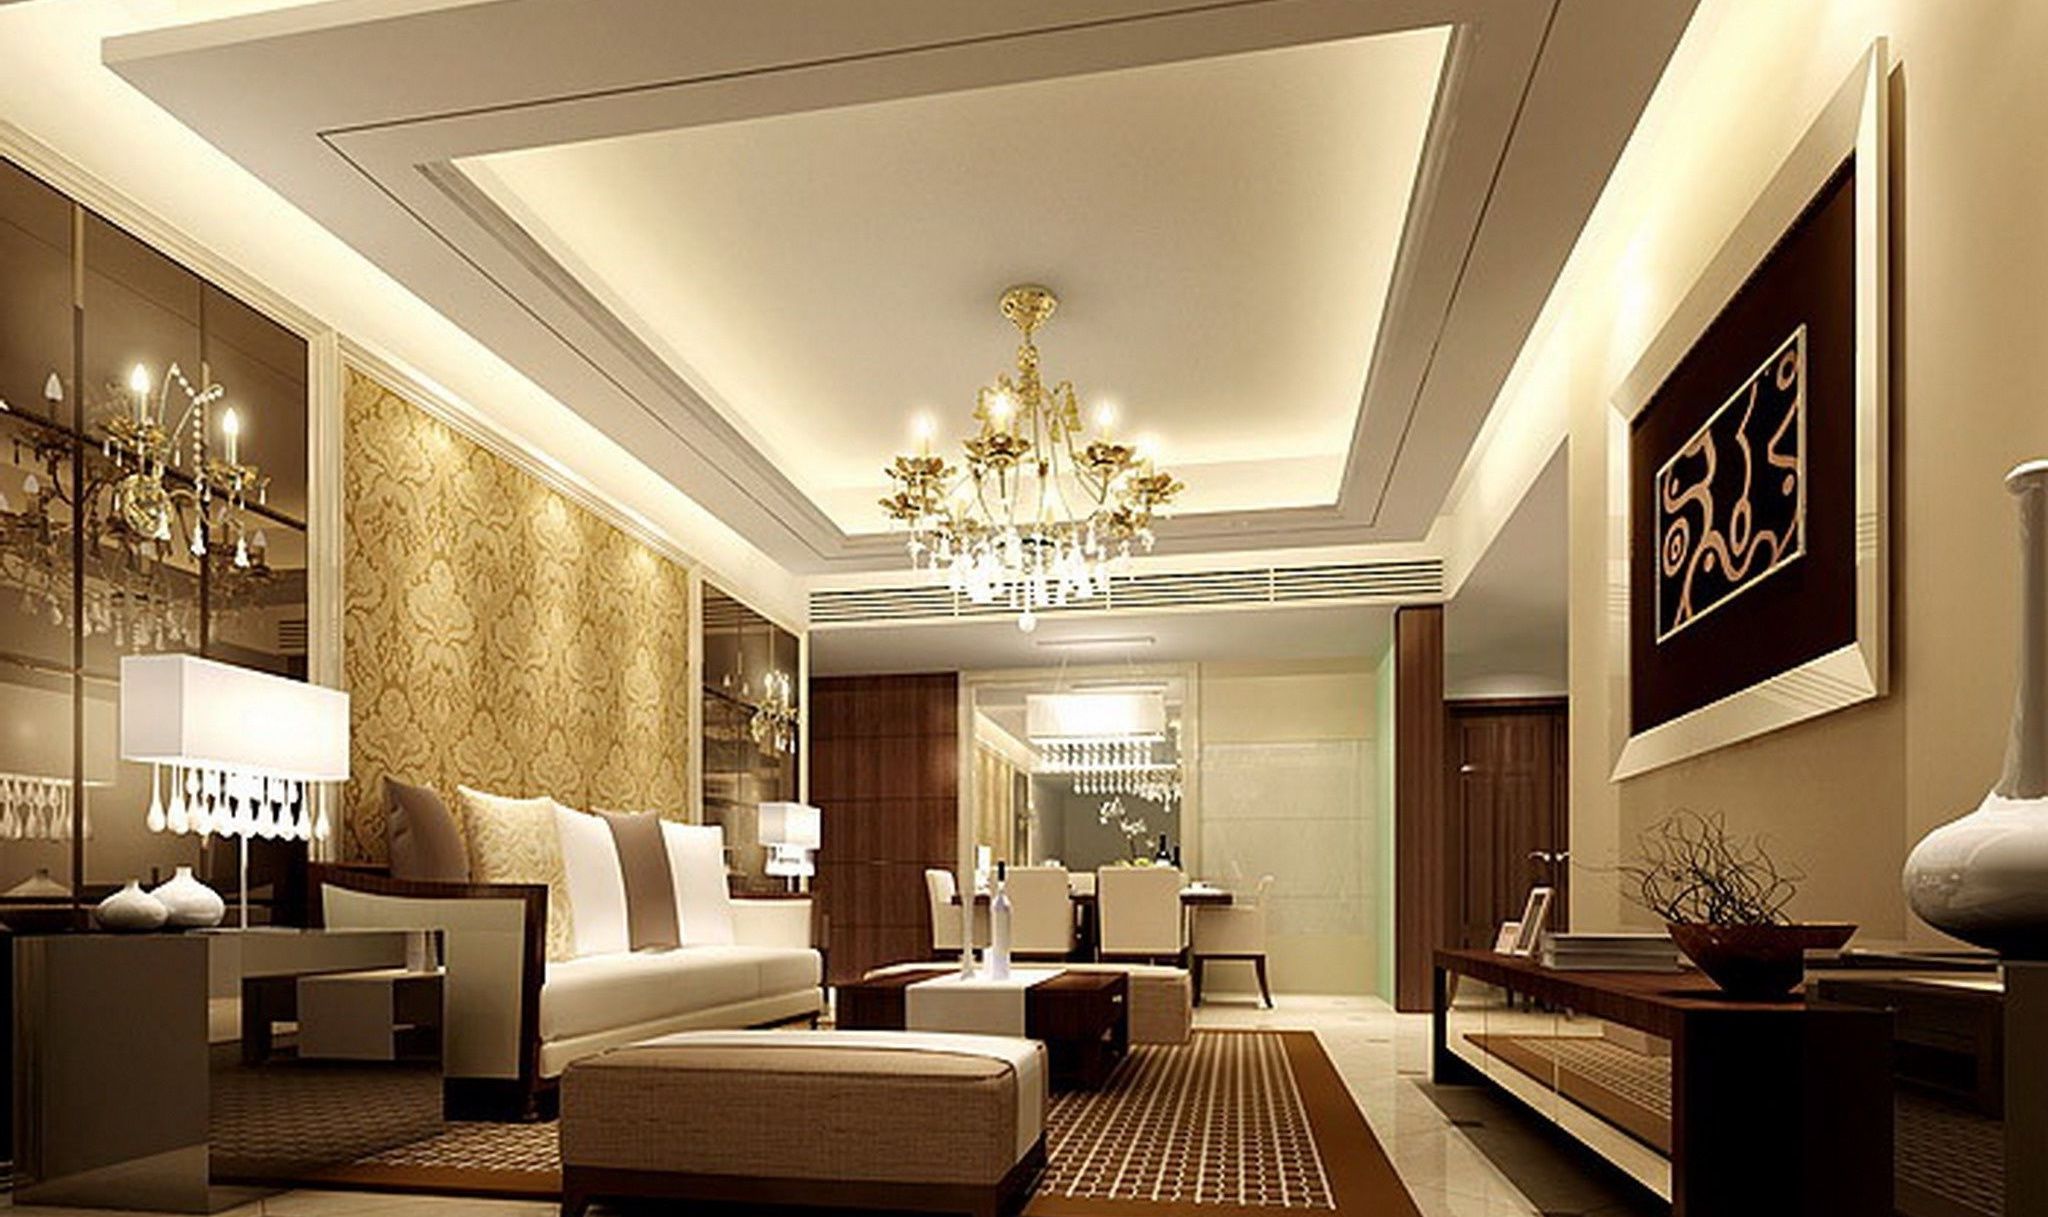
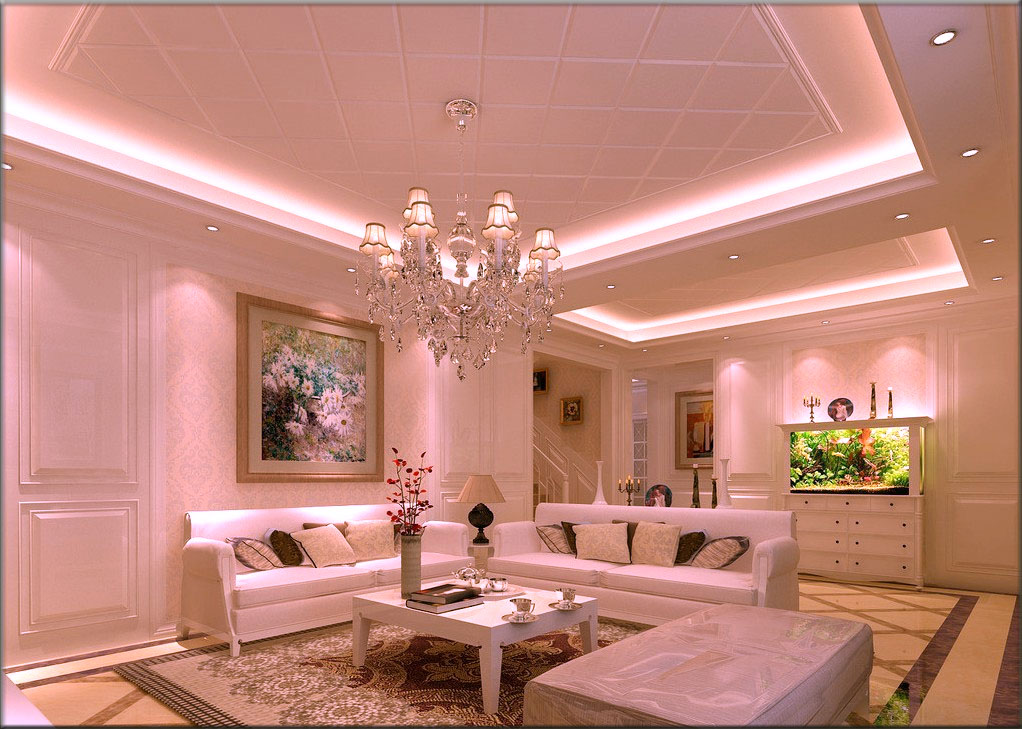
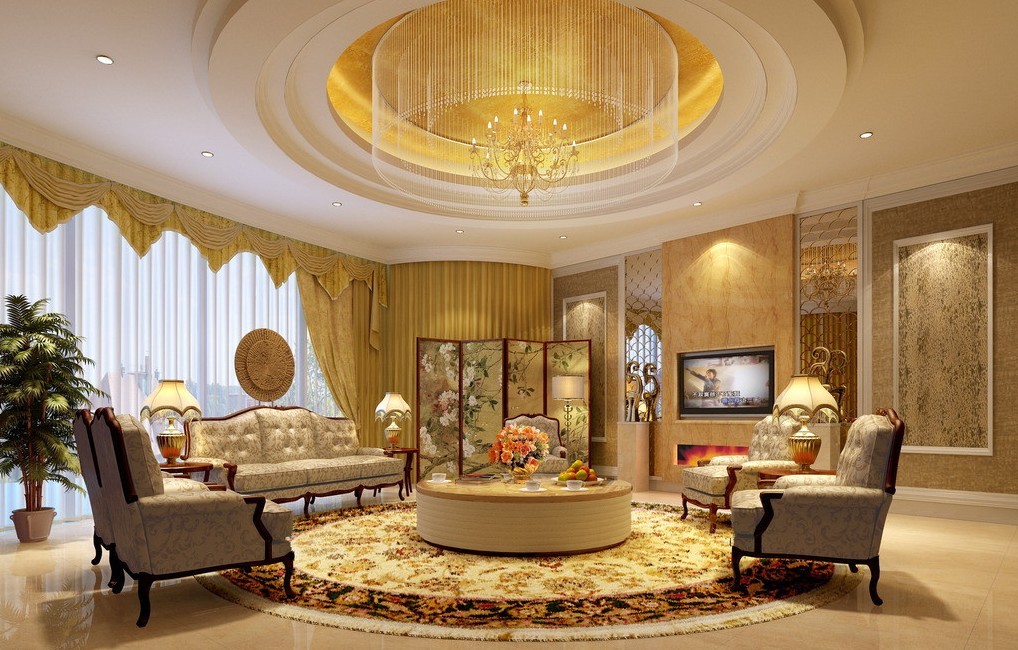
Suspended ceiling with built-in lighting fixtures is a luxurious, pleasant and elegant option to update the interior. For ceiling suspended structures used all modern types of lamps.
- Lamp under the spotlight - suitable for lighting the space in the dark and in order to separate or highlight the functional areas. This is one of the most affordable lighting options.
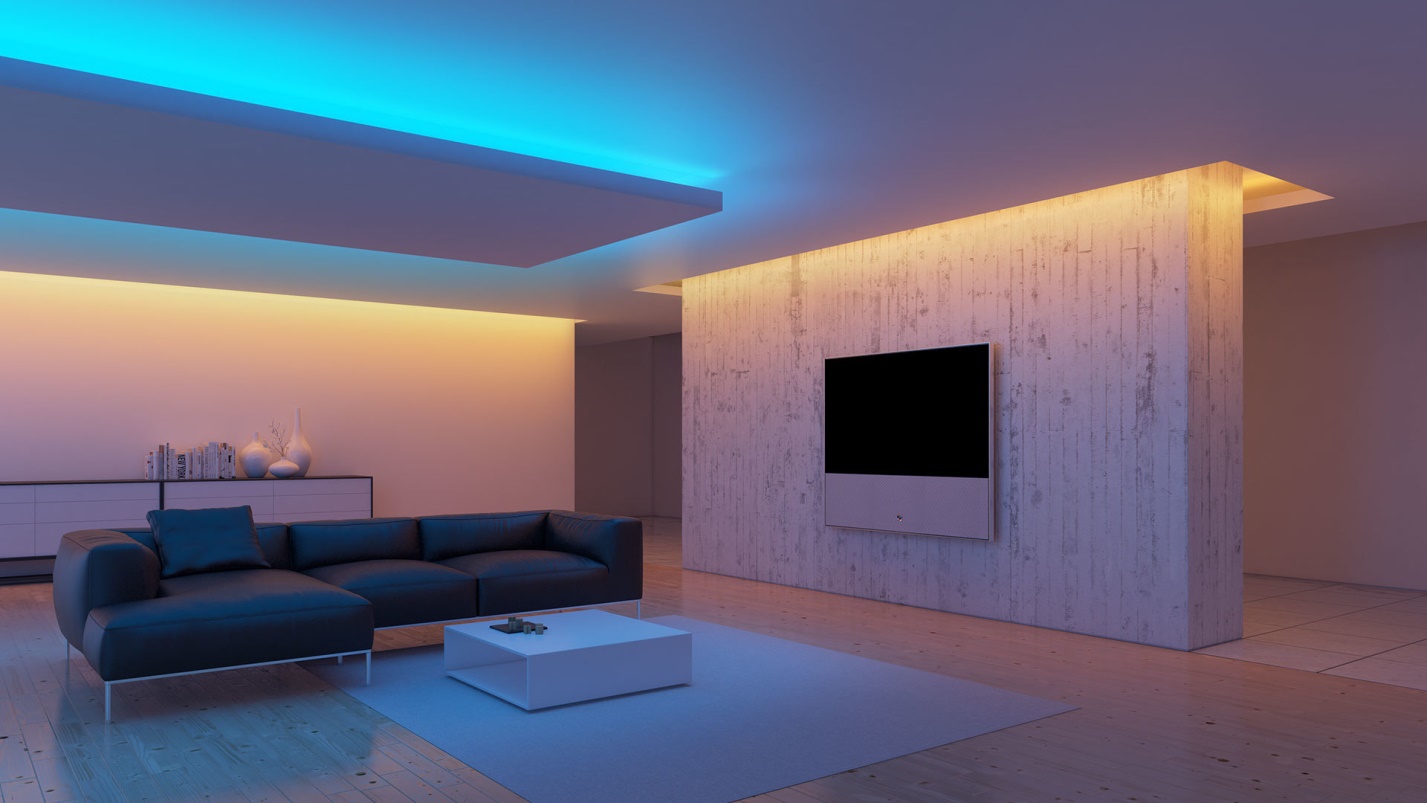
- LED light - has a long service life, gives the room diffused light (uniform, illuminating all objects in the room).
These lamps are inexpensive. They look equally good on a single-level ceiling and on a more complex structure.
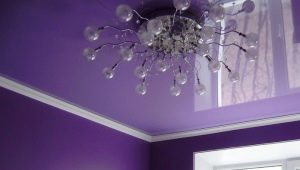
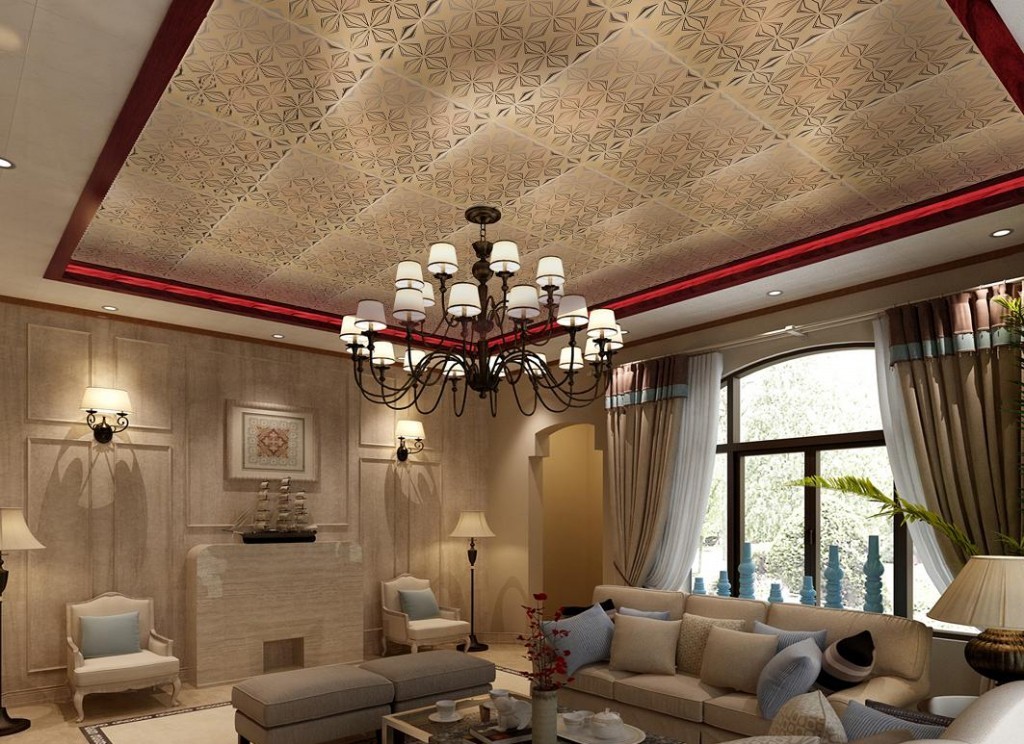
- Classic - These are ordinary chandeliers that do not always fit into the interior with a false ceiling.
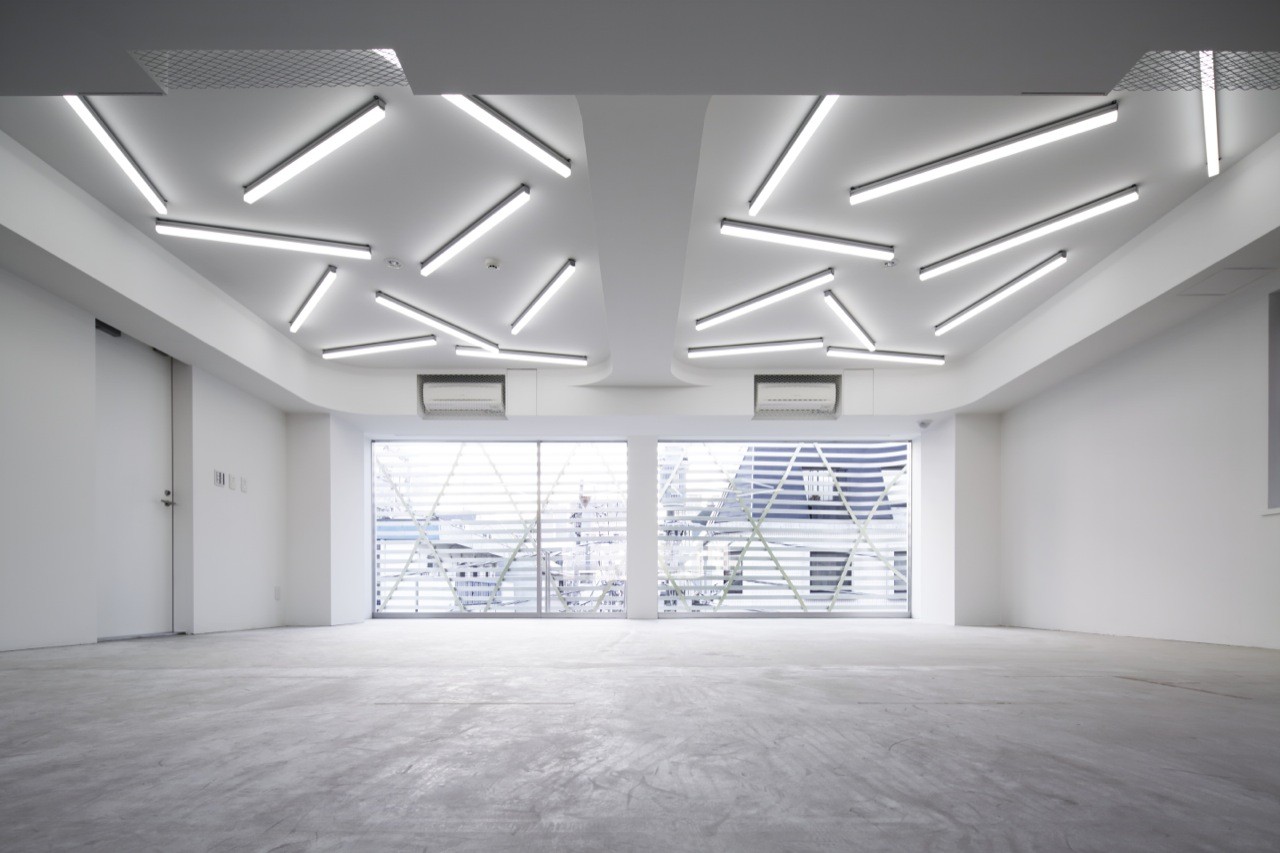
- Fluorescent lights - great for economical and long-term use. Such lamps are often installed in non-residential public spaces. The only negative - very sensitive to power surges in the network.
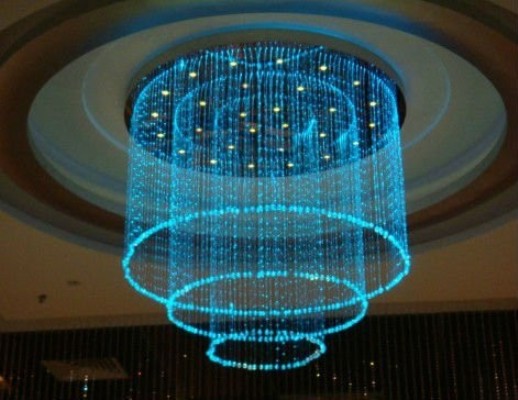
- Fiber optic - such type of lamps will allow to create effective illumination to your room. Its cost can not be called a budget, it is quite expensive.
For installation, an intelligent specialist will be required. Not recommended for low spaces, as it tends to occupy a lot of space in ceiling structures.
The subtleties of the installation of lighting on a false ceiling
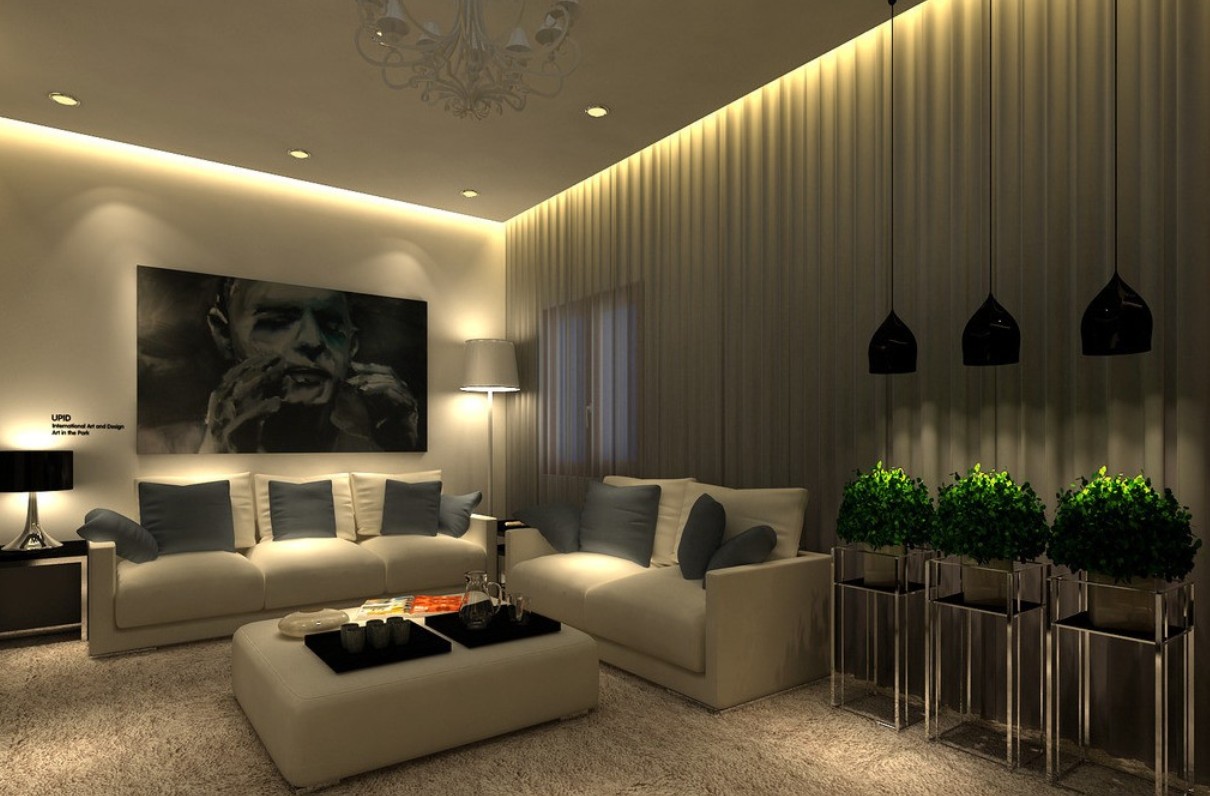
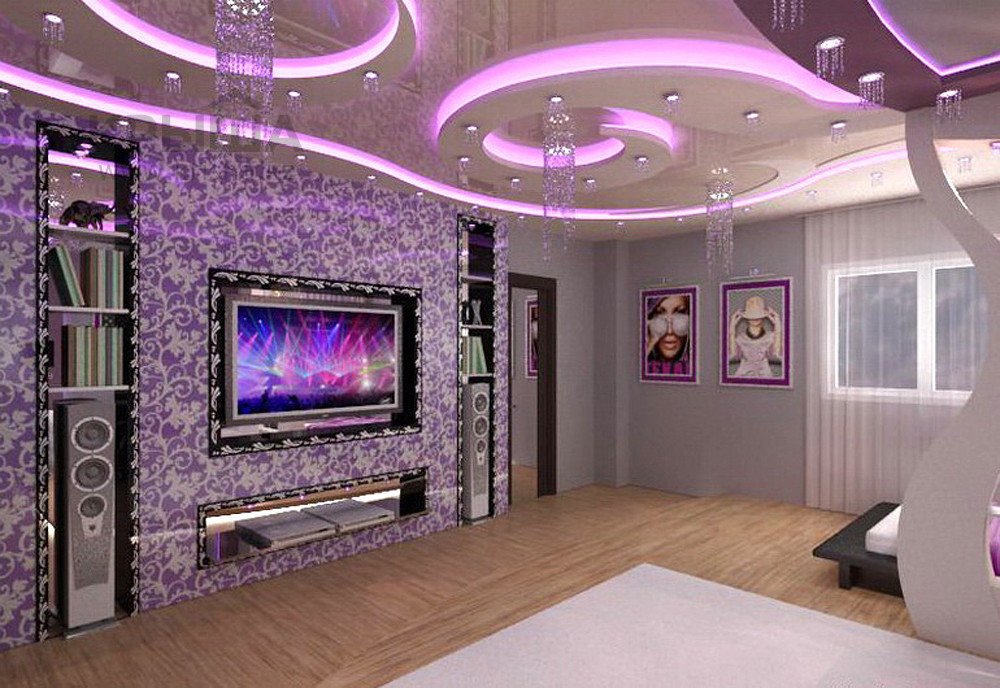
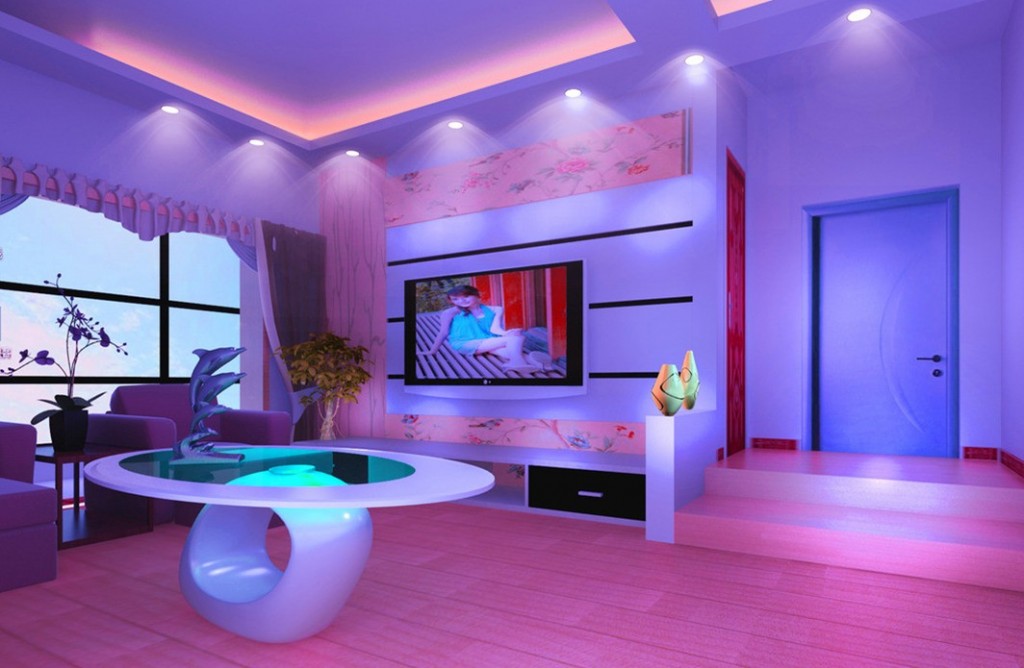
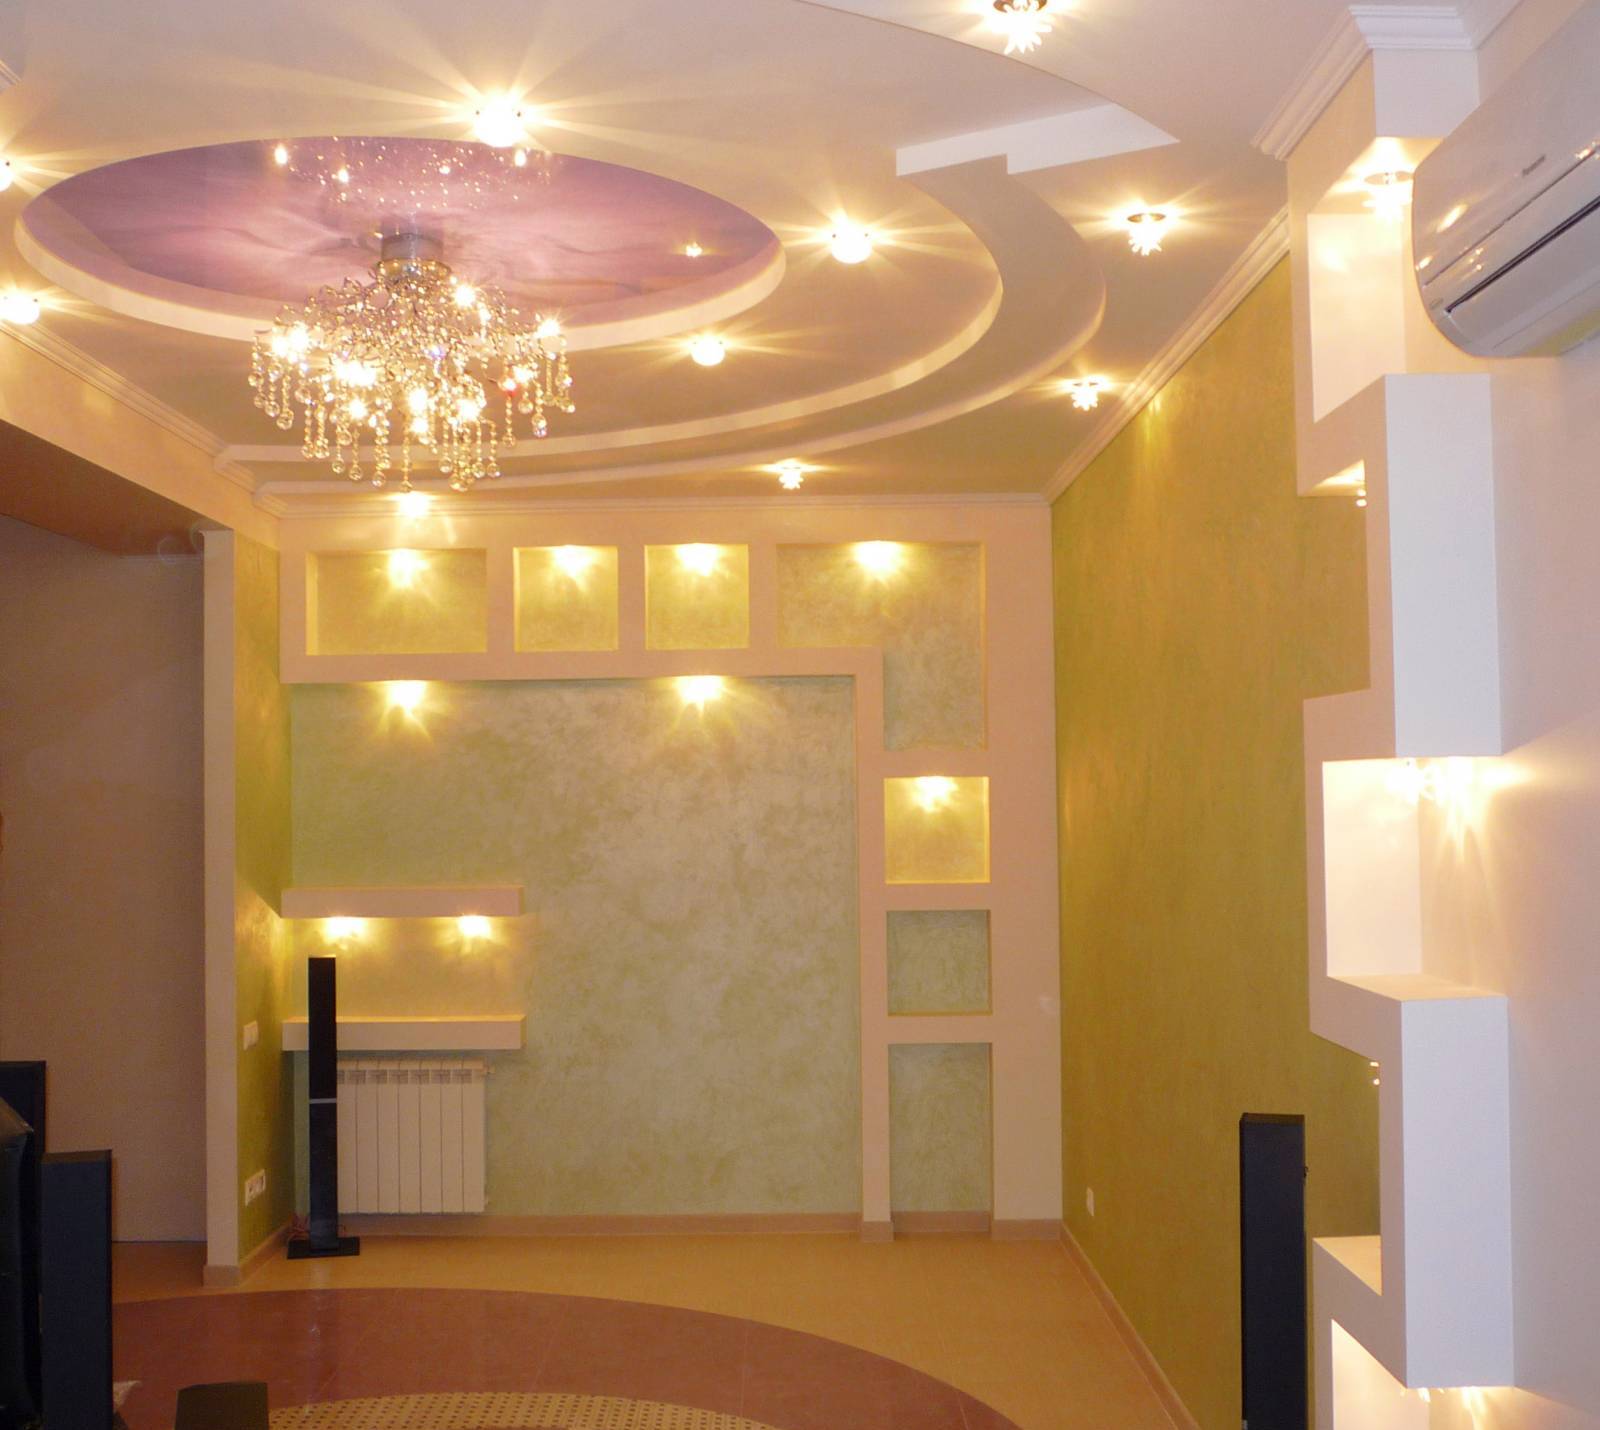
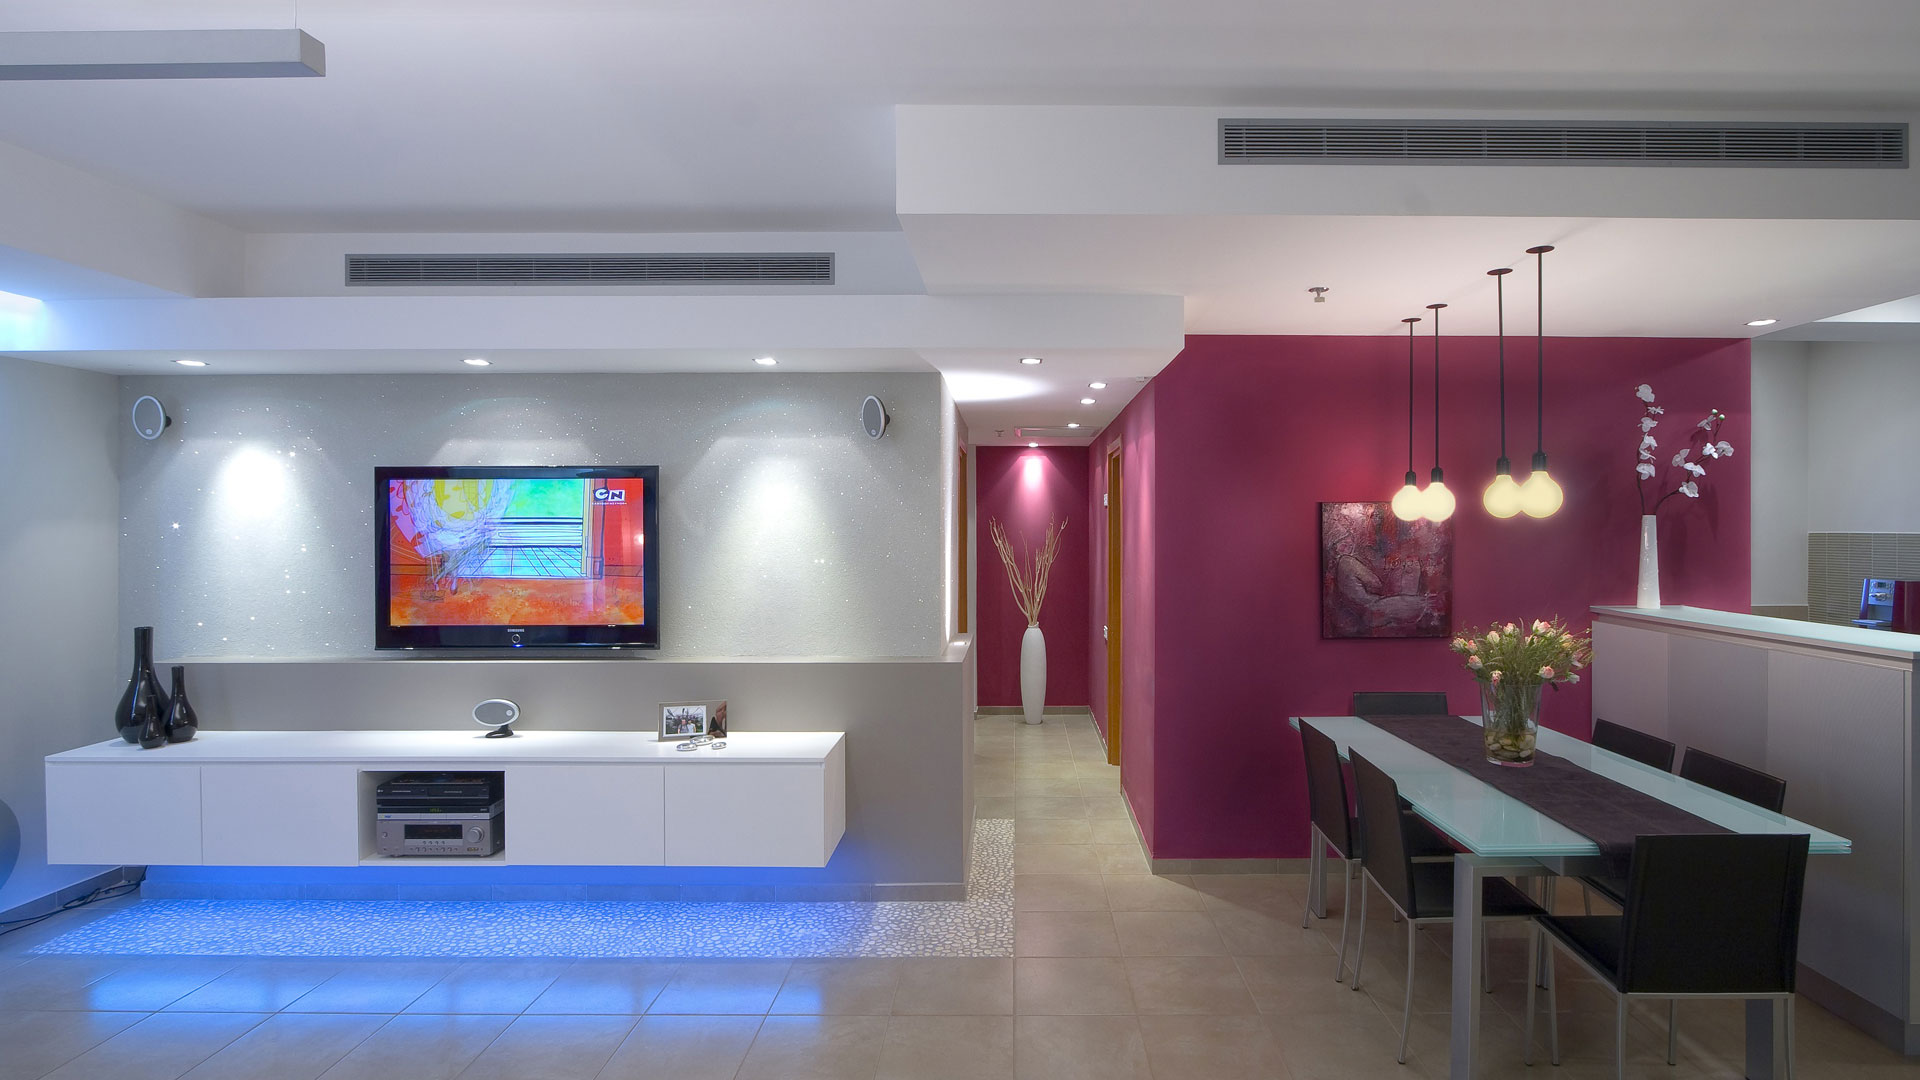
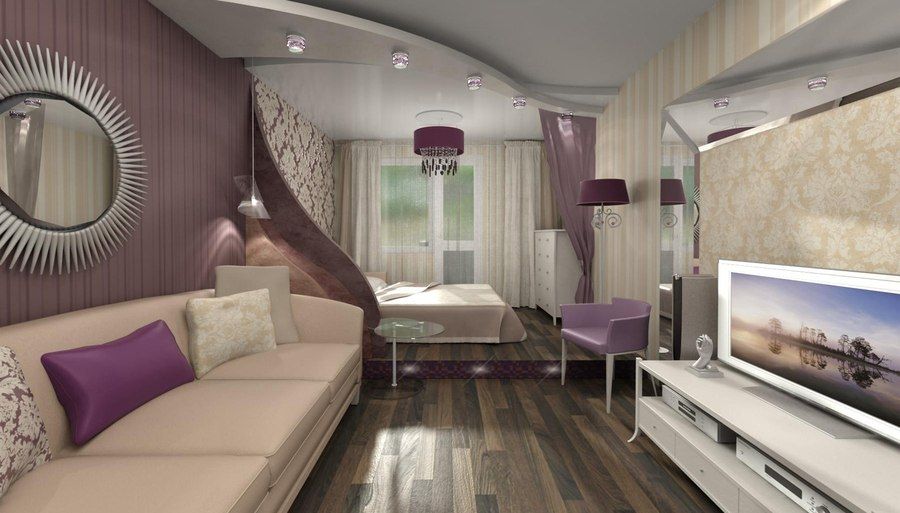
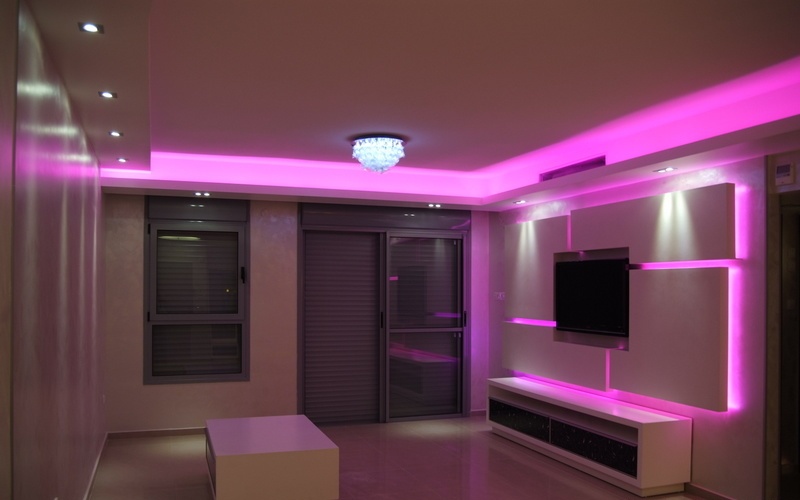
Built-in lighting on the ceiling is an excellent opportunity to divide a dwelling into functional areas, for example: working, recreation area, reception of guests or to allocate some interior item. It is necessary to think in advance about the location of the lighting devices, their number, and to determine their design. The process of illumination on a suspended ceiling is supposed to be divided into several main groups: general light, target light and decorative light.
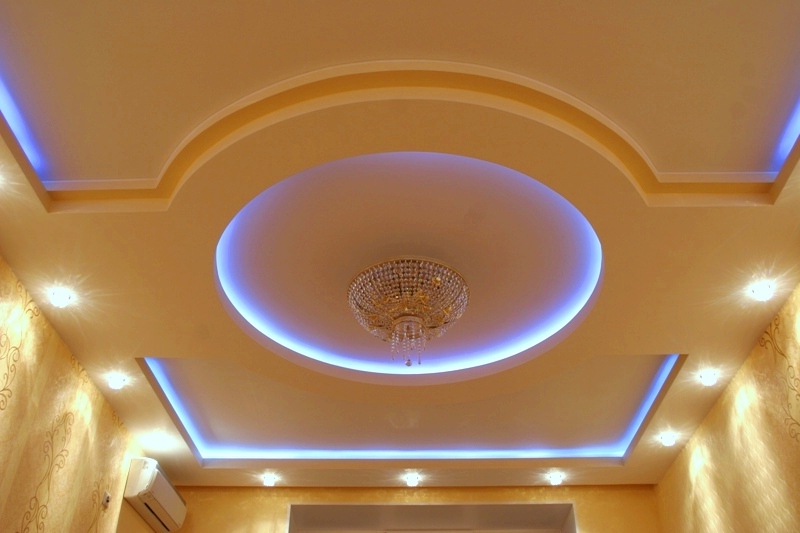
For common light is typical to use a central lighting device, for example, a chandelier or several niches with built-in light bulbs. The task of the target light is the division of the room into functional areas, using different lighting devices with different colors and saturation of the emitted light.Decorative light is used for mood and a certain atmosphere (festive, intimate or working). It uses the principles of the target light, that is, the zoning of the room.

Installation of lighting devices
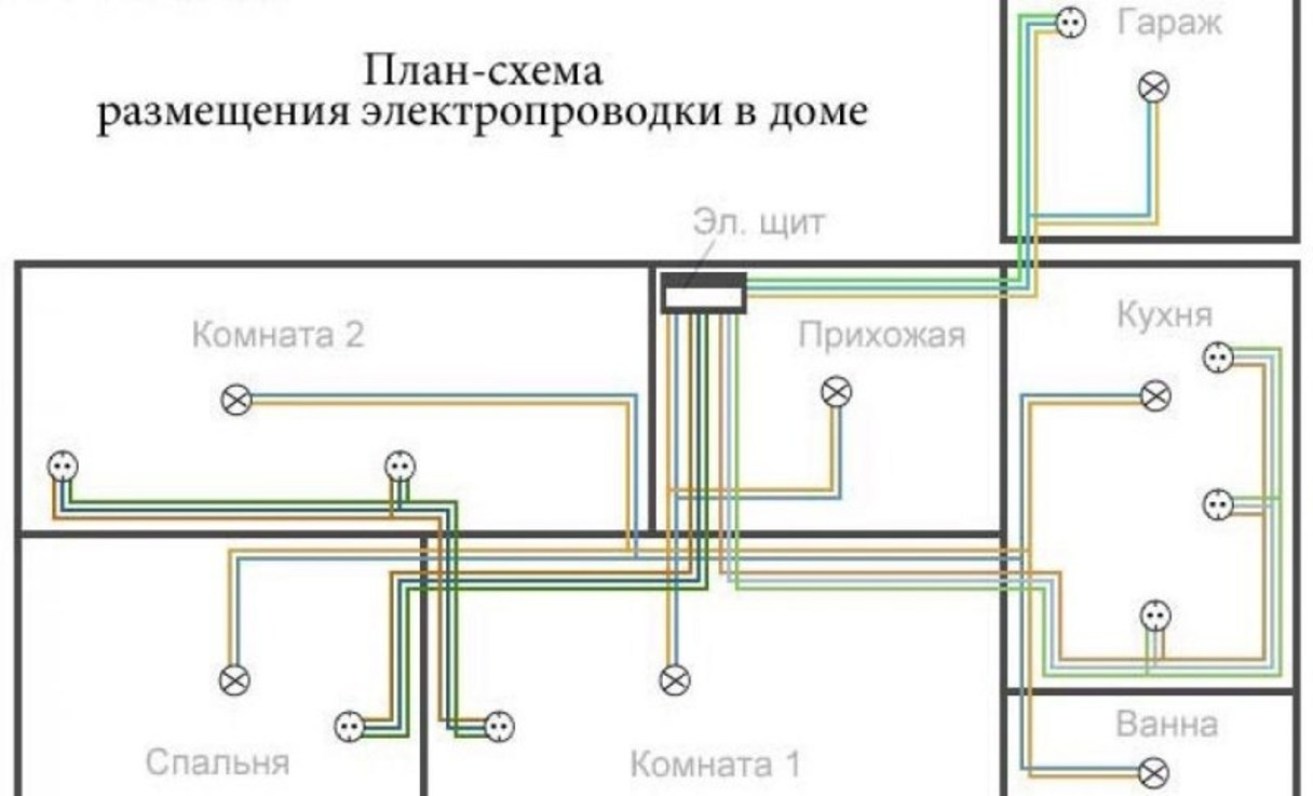
The location of the sources of illumination should be determined at the design stage of the ceiling structure. It should be noted areas for the installation of light sources. Schematically depict the line of electrical wiring, not forgetting to specify the amount of material required and its purpose.
By creating a project beforehand, you will significantly facilitate the installation of light sources and avoid all sorts of risks with a lack of material.
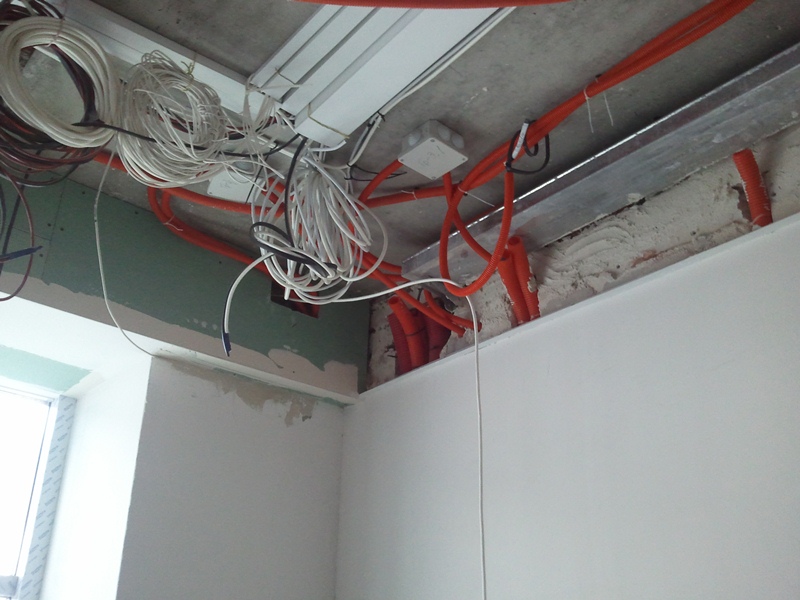
Wiring process
After the installation of the suspended ceiling, it is necessary to proceed with the installation of wiring for lighting fixtures. Apply two ways. If in the first method prudently install the cable channel, which makes it possible to accurately and conveniently arrange and connect the cables. In the second method, the wire is placed in a special corrugated pipe directly through the entire frame. This will significantly reduce material costs.
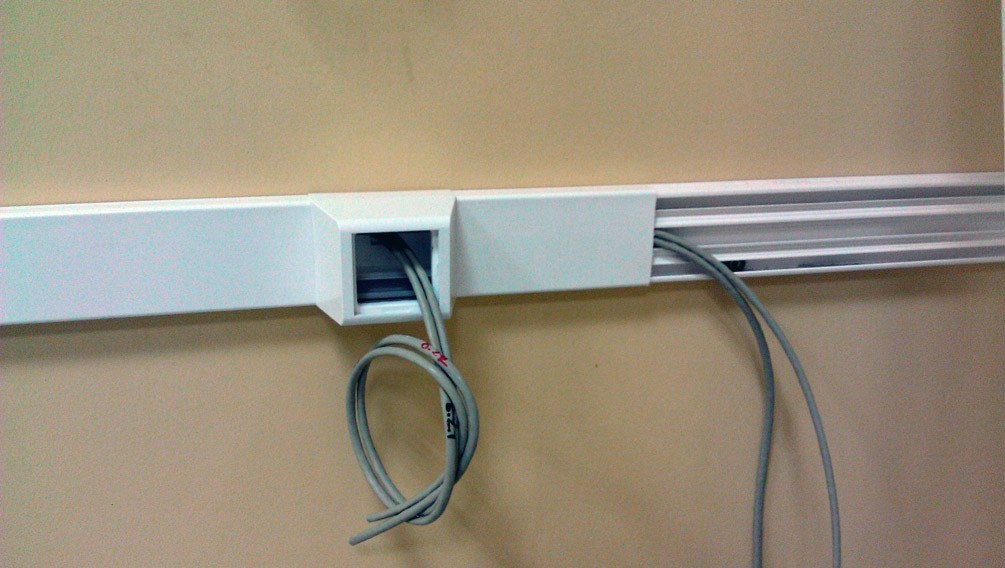
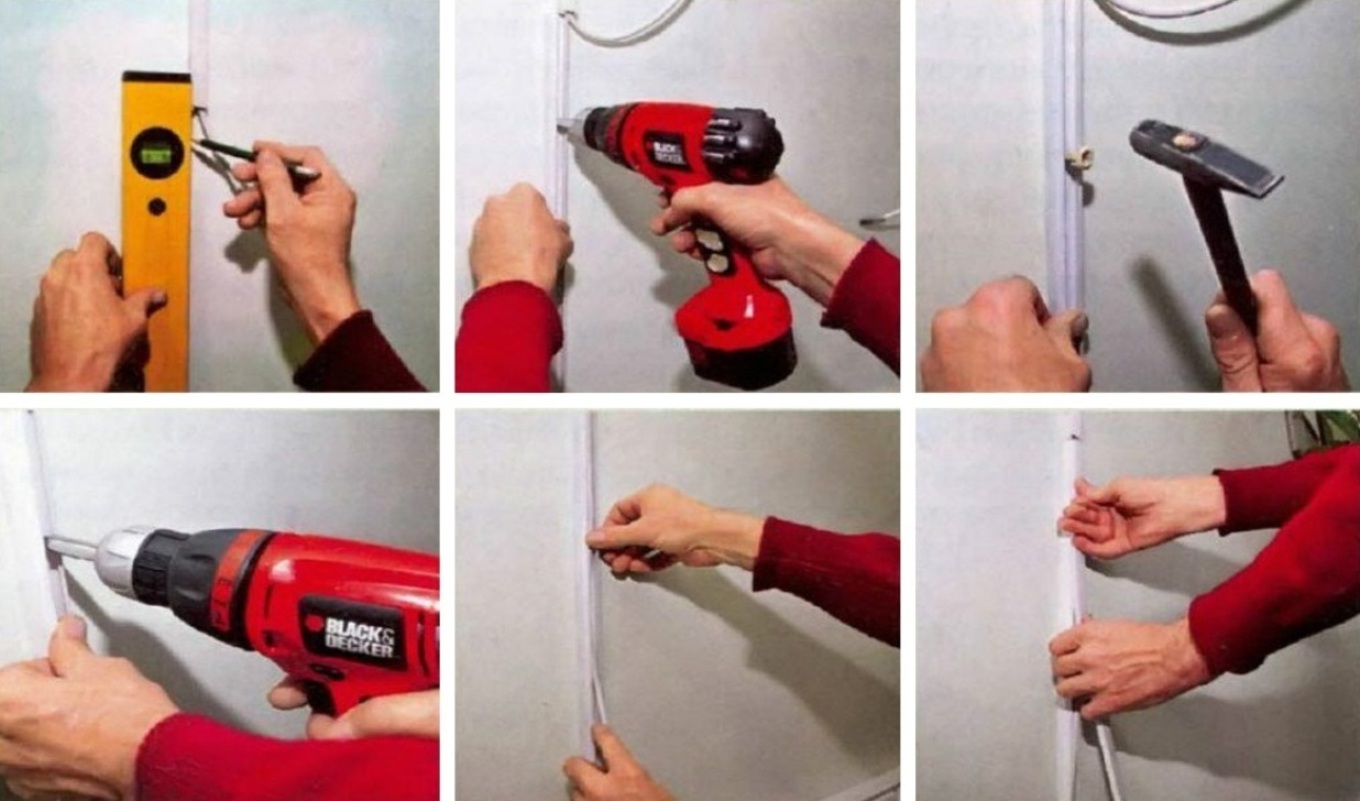
In order to conduct the wiring through the cable channel, it is recommended to perform a certain sequence of actions:
- The cable channel must be located in the middle of the ceiling and suspended ceiling structure, which is fixed to the wall. The only cable channel for the chandelier in this case is fixed to the ceiling. We drill through the mounting holes of the cable channels throughout the area of the room, ending with the location of the switch.
- Then the dowels are hammered into the drilled holes, and screw the cables.
- At the completion of the work, the wiring to each light source is laid, while trying to leave a margin of ten to fifteen centimeters for a more convenient connection of the lamp.
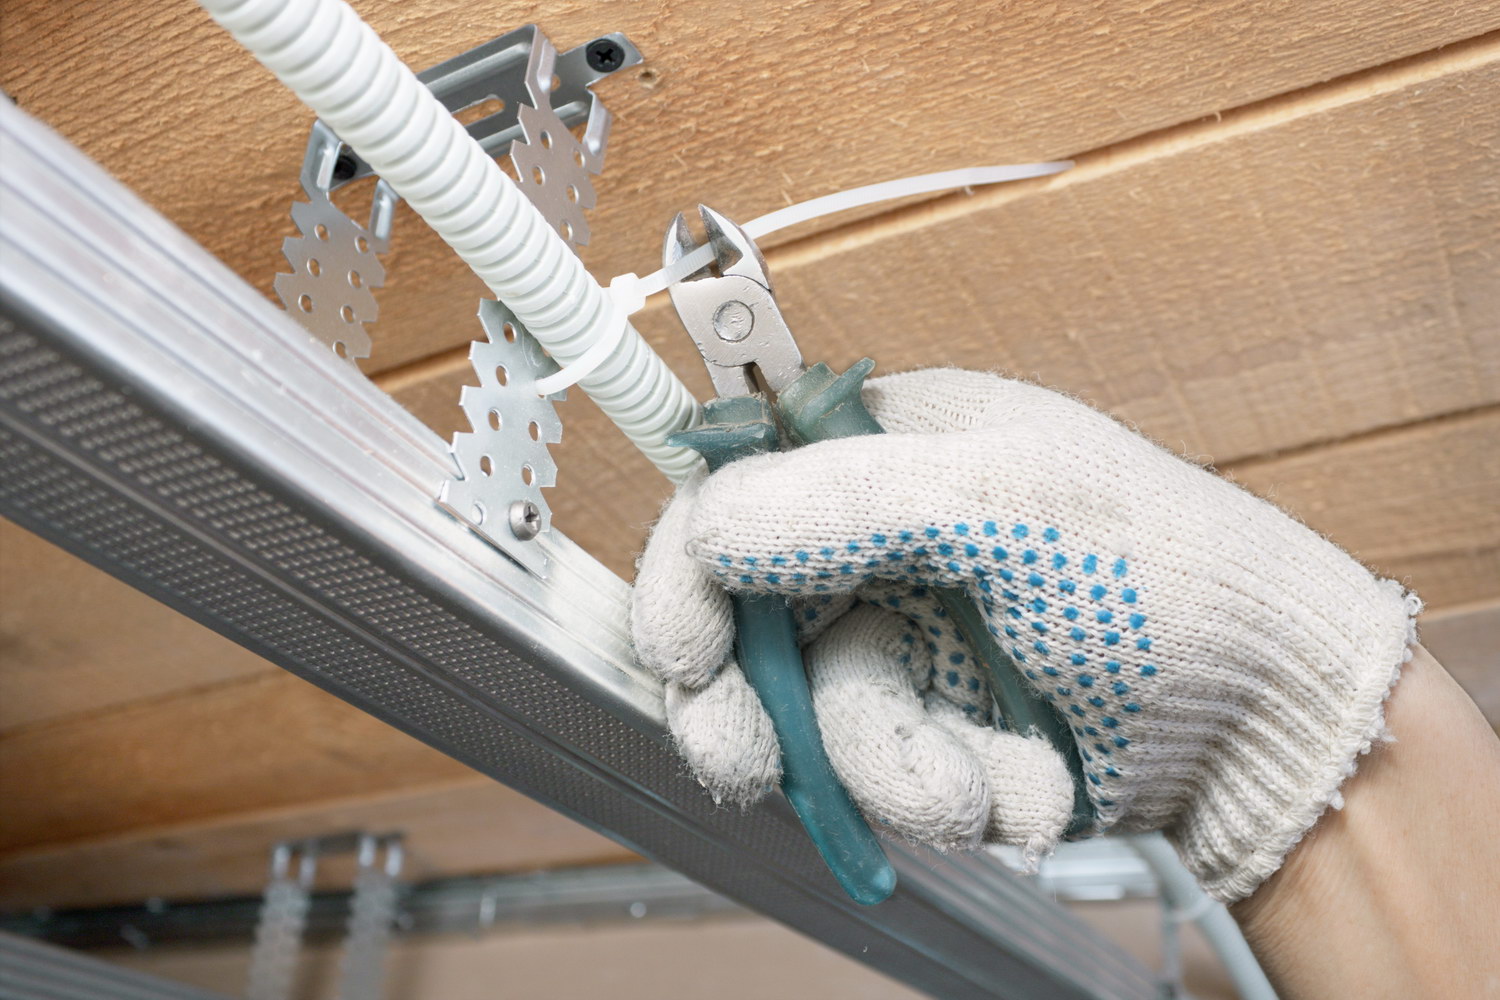
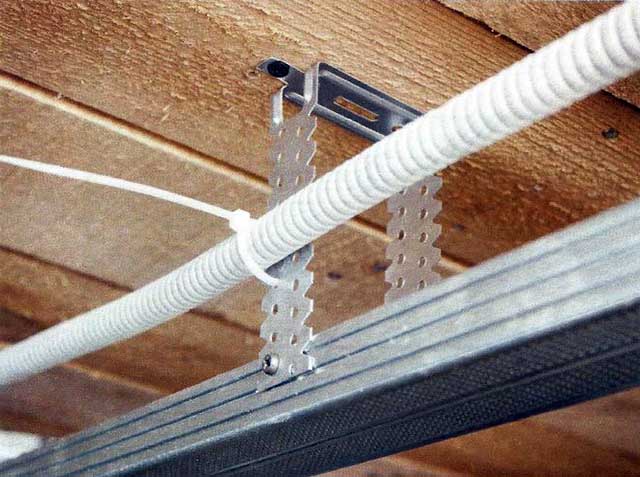
Laying wiring in a corrugated pipe is slightly different:
- Holes are drilled under the fasteners of the corrugated pipe. Then a special fixing clip is inserted into each hole.
- The size of the pipe is equal to the distance of the wiring from the switches to the location of the lamp. Thus, all wires will be hidden in one pipe. Do not forget that the wires are laid with a margin of ten - fifteen centimeters, it will simplify further connection.
- It remains to fix the pipe on the clips installed earlier.
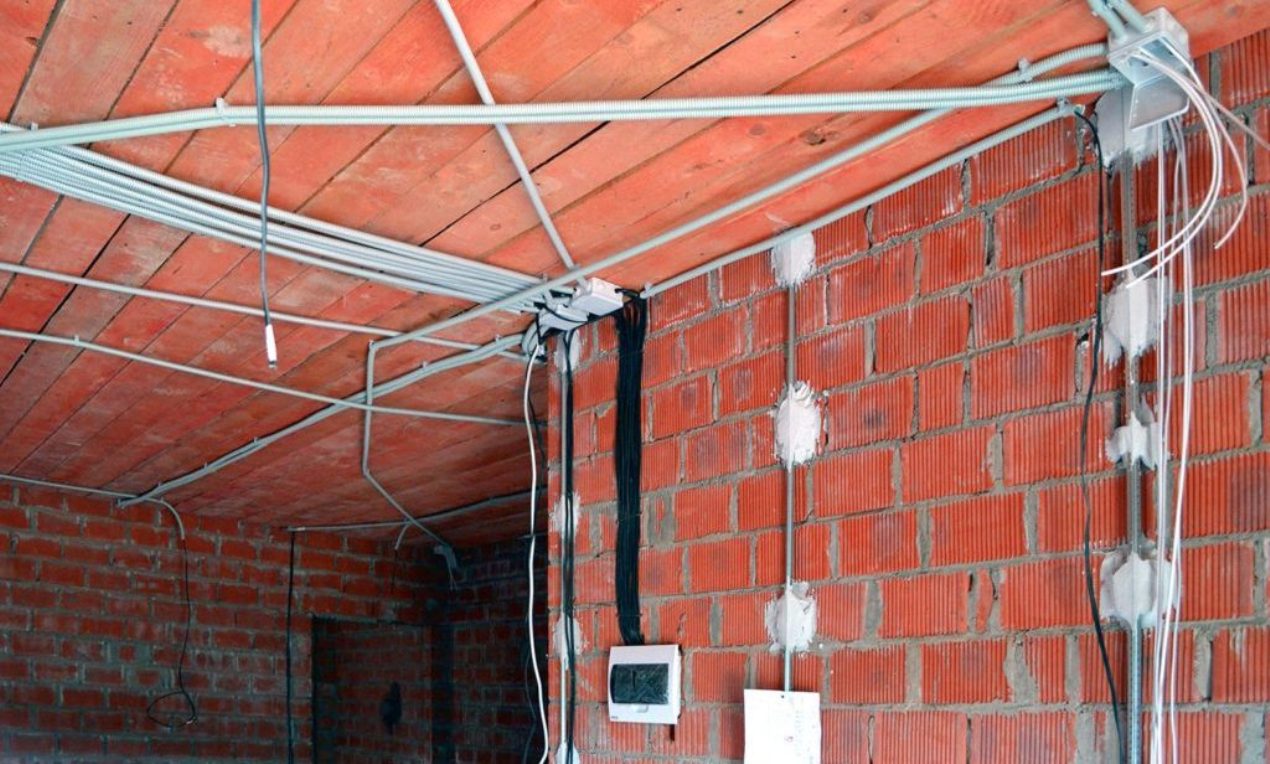
It is allowed to use both methods of laying wiring. In this case, the wiring for the lamps will be laid in a corrugated pipe to the center of the suspended ceiling. The main wiring will be laid on the cable channel.
Layout of gypsum board
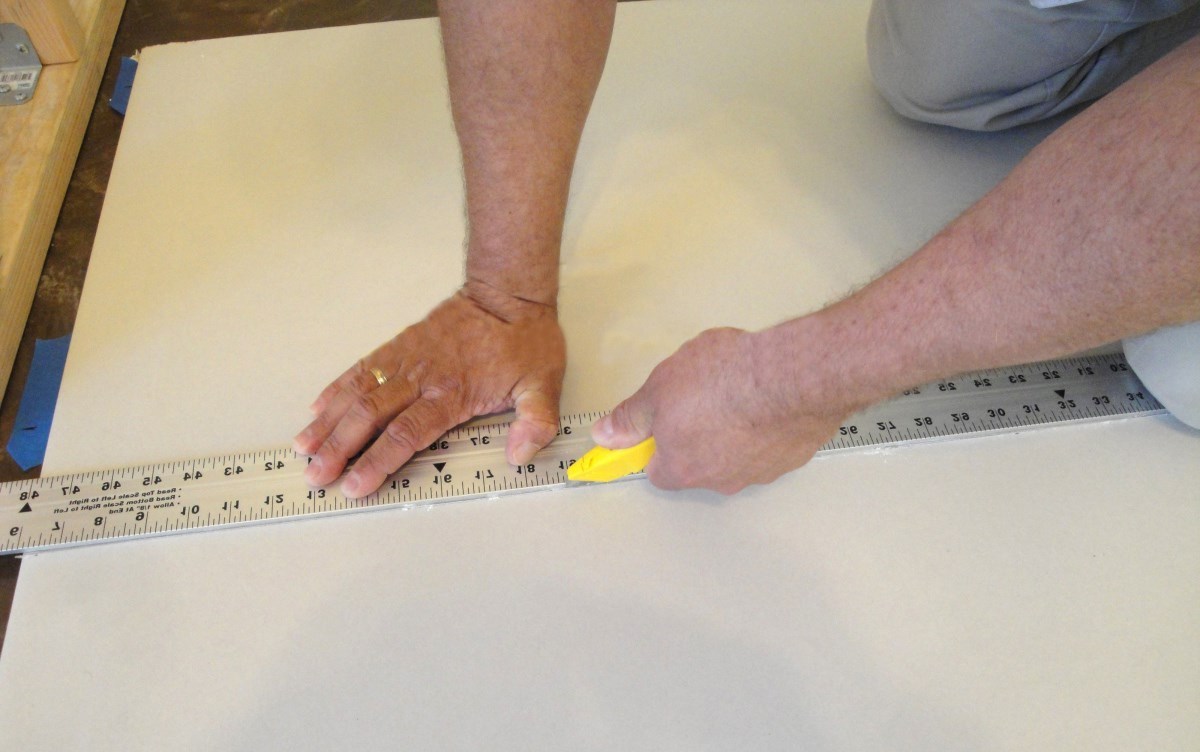
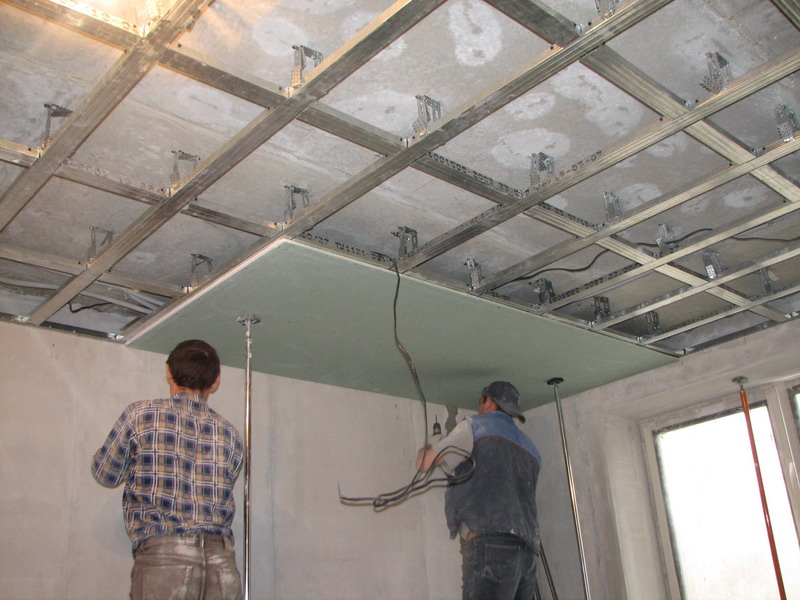
After the installation of the frame construction for the suspended ceiling and the installation of wiring is completed, you can proceed to marking the plasterboard sheets for the location of the light sources. You will need a tape measure and a simple pencil. Transfer all the necessary notes and places for the installation of lamps, which were previously depicted in the project. Then you can start the installation of the plasterboard construction to the ceiling frame.
Upon completion of the plasterboard sheeting, check again the correct position of the lighting fixtures. Holes are made through special nozzles on the drill (hole saw). In order to create holes for the lamps, take a saw, the diameter of which will coincide with the diameter of the hole.
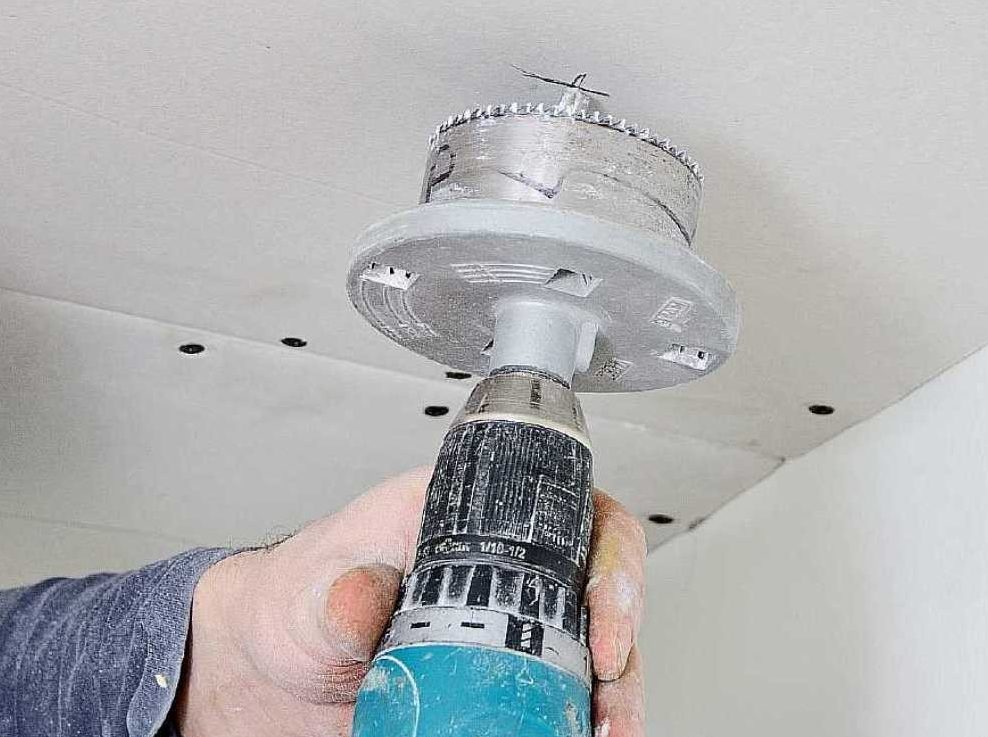
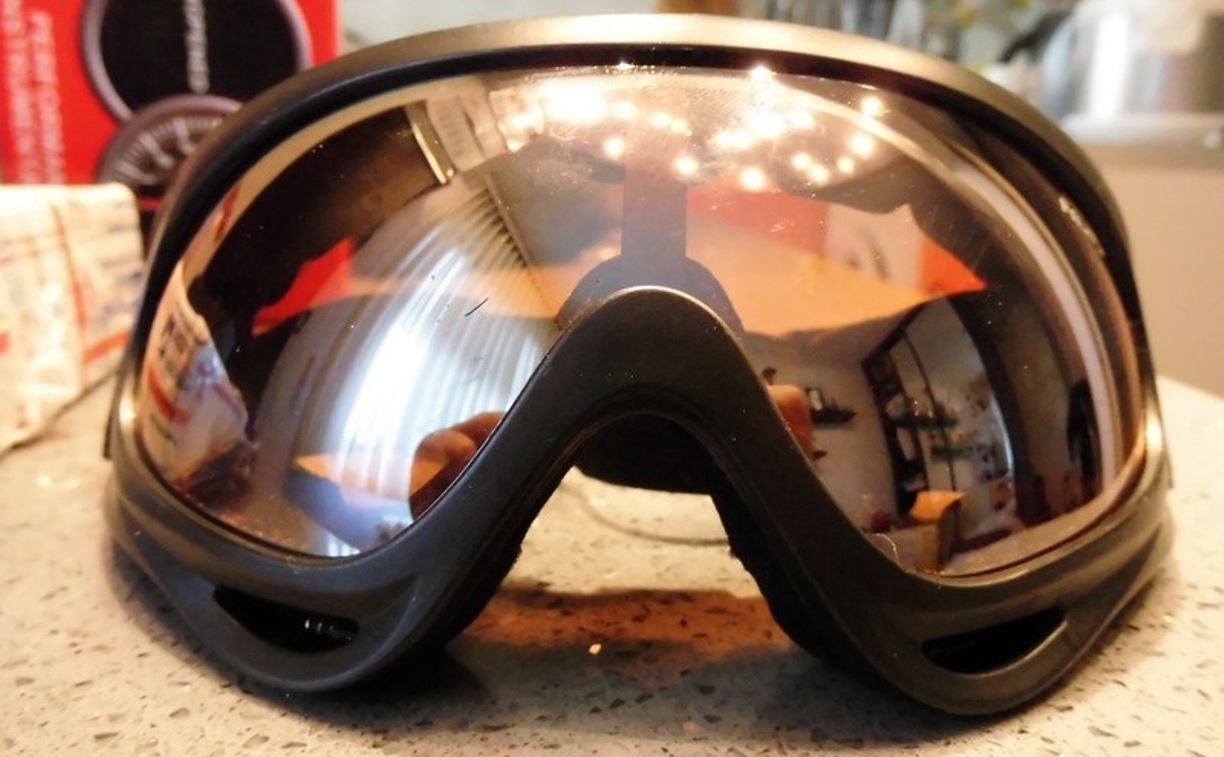
When working with a saw, it is recommended to wear protective glasses: gypsum dust appears, hitting the eyes,It can cause irritation. It does not take much time to drill a hole, but it requires accuracy and care.
Backlight mounting
The prepared lighting holes allow you to proceed with the installation. Further, depending on your chosen lighting devices - a spotlight, a conventional chandelier or LED strip, they are mounted to the suspended ceiling.
To mount spotlight or chandelier, first of all, it is necessary to remove the wiring from the received hole and clean up its end, for which use needle-nose pliers. Next, the connecting terminal is worn and the wiring of the chandelier or spotlight is connected.
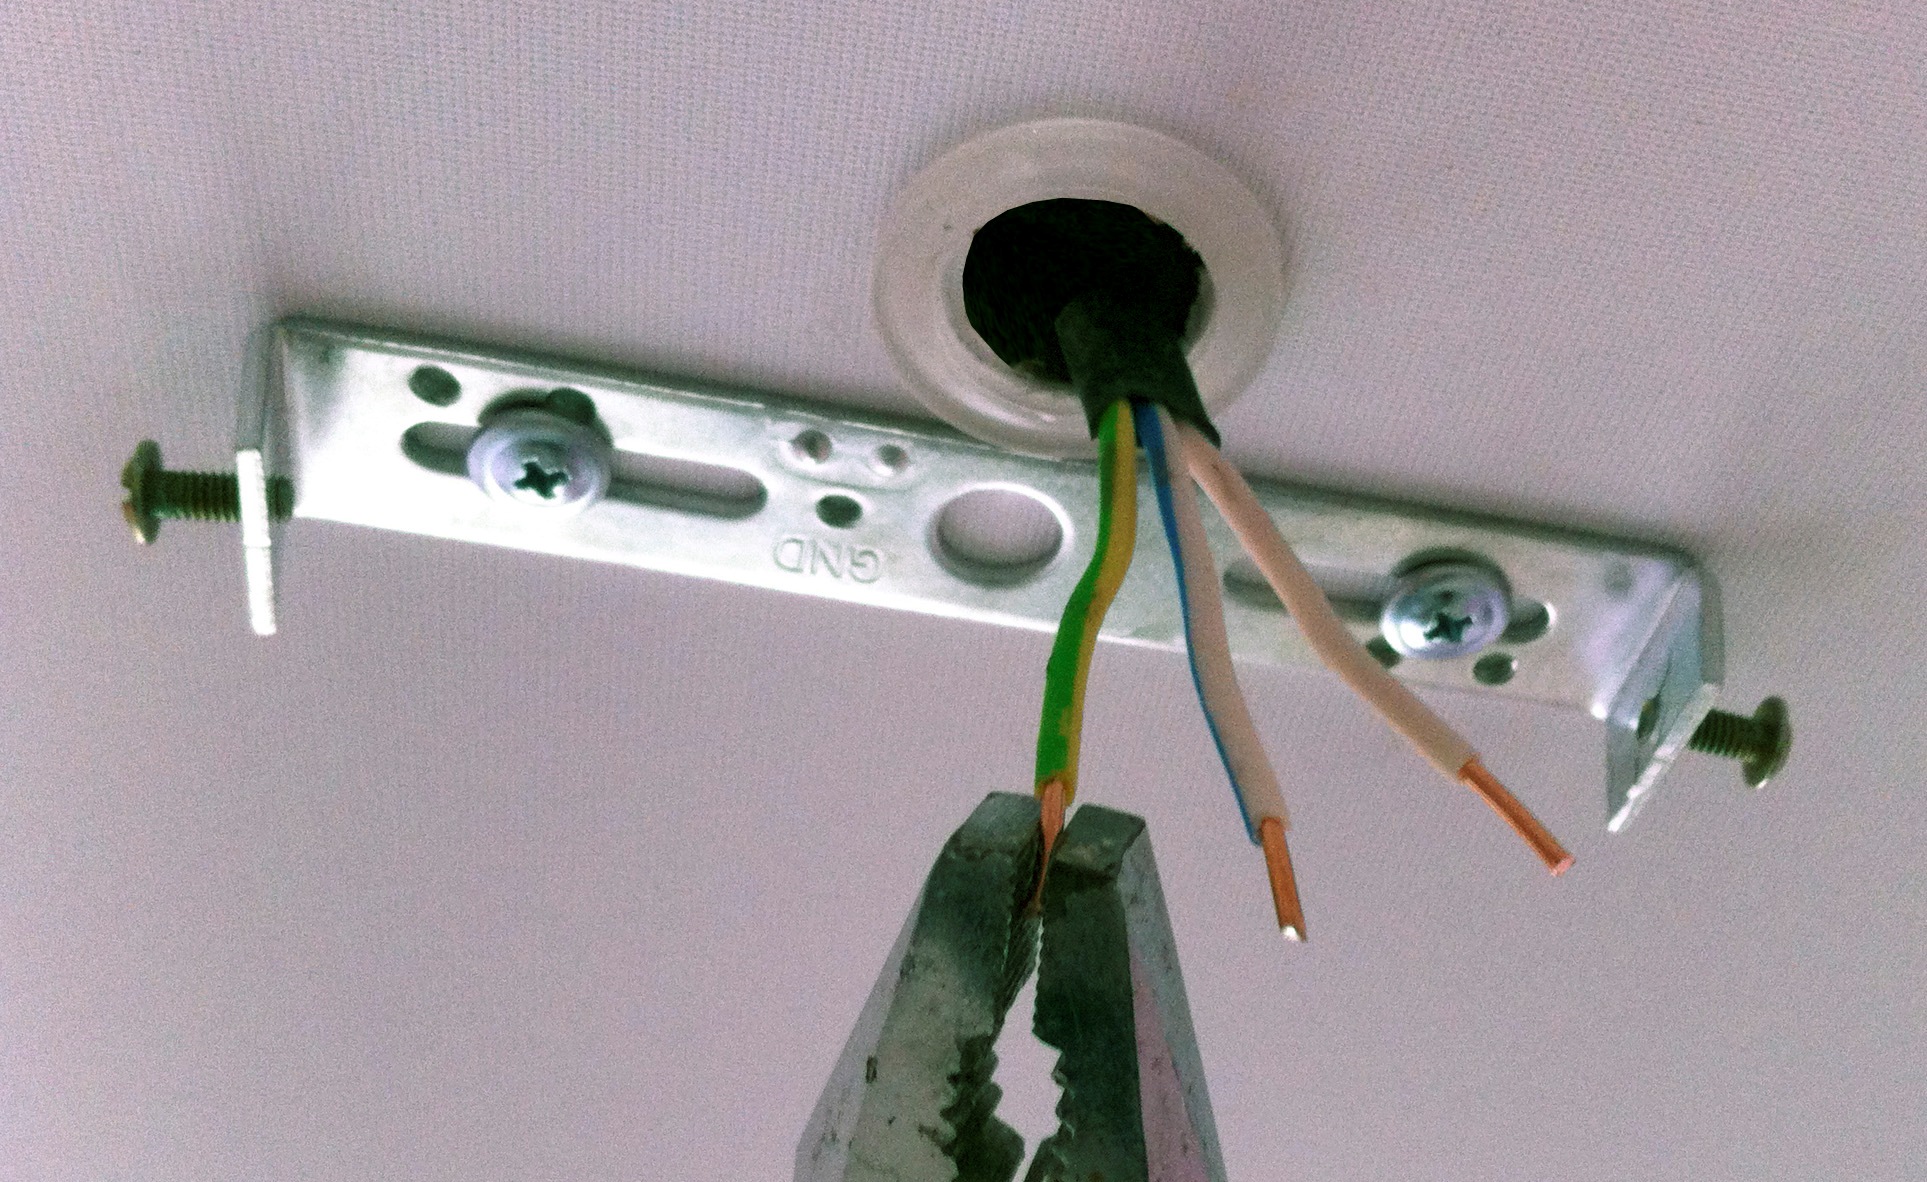
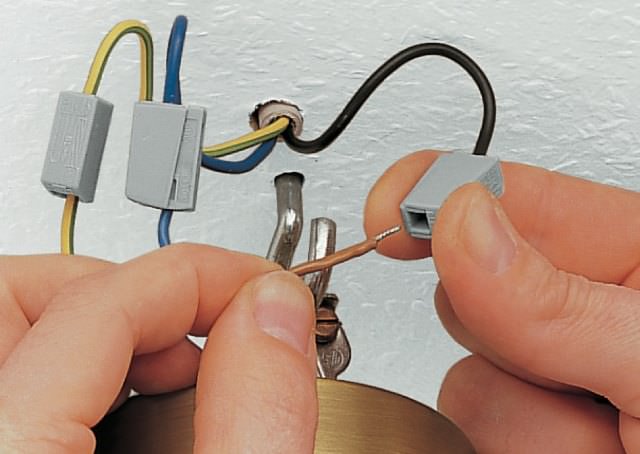
In this case, a phillips screwdriver is used. If the light fixture involves the use of a halogen lamp, it is recommended that you first install a light bulb.
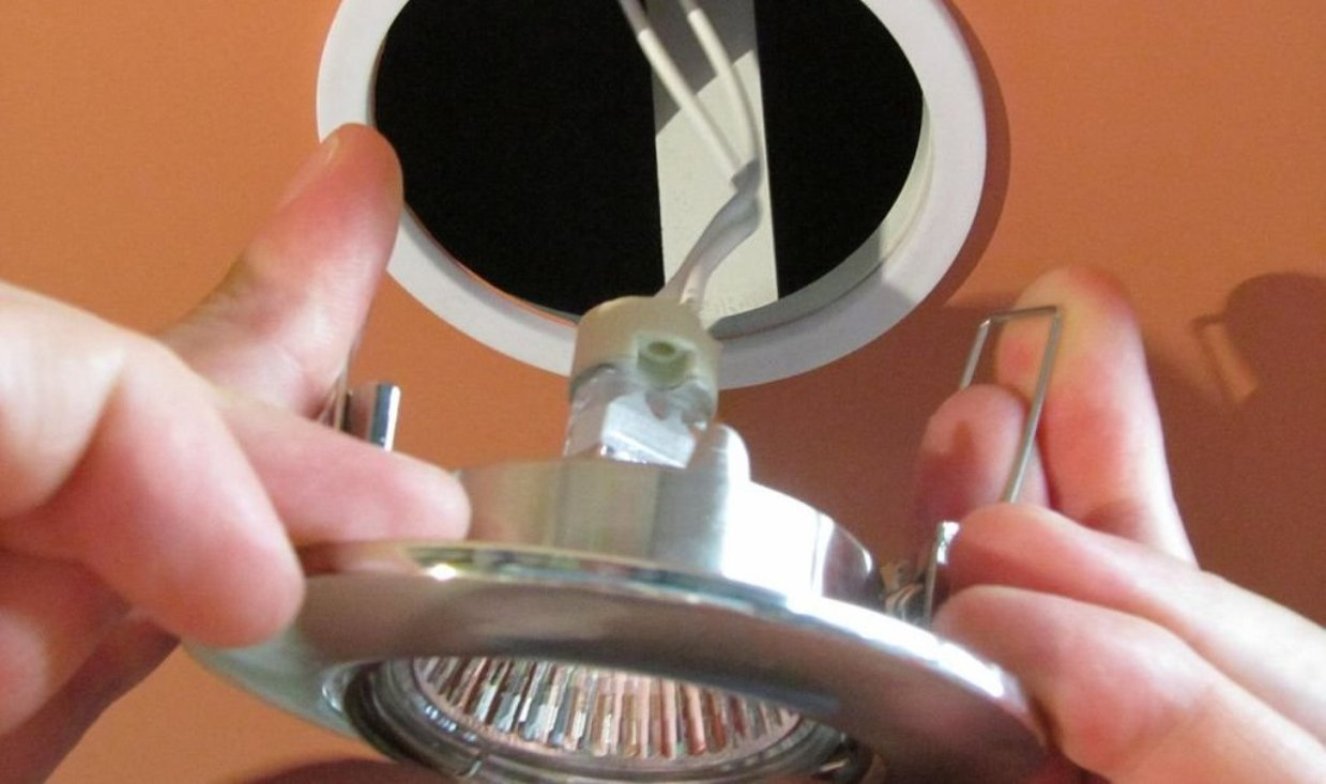
The lamp is installed very carefully, while not touching the llama. It is quite simple to install the lamp itself; to do this, insert it deeper into the hole and press it.
To install LED tape will not present great difficulties. Thanks to the adhesive base, the tape is fixed on the surface of the suspended ceiling.Connect the tape to electricity through special connectors.
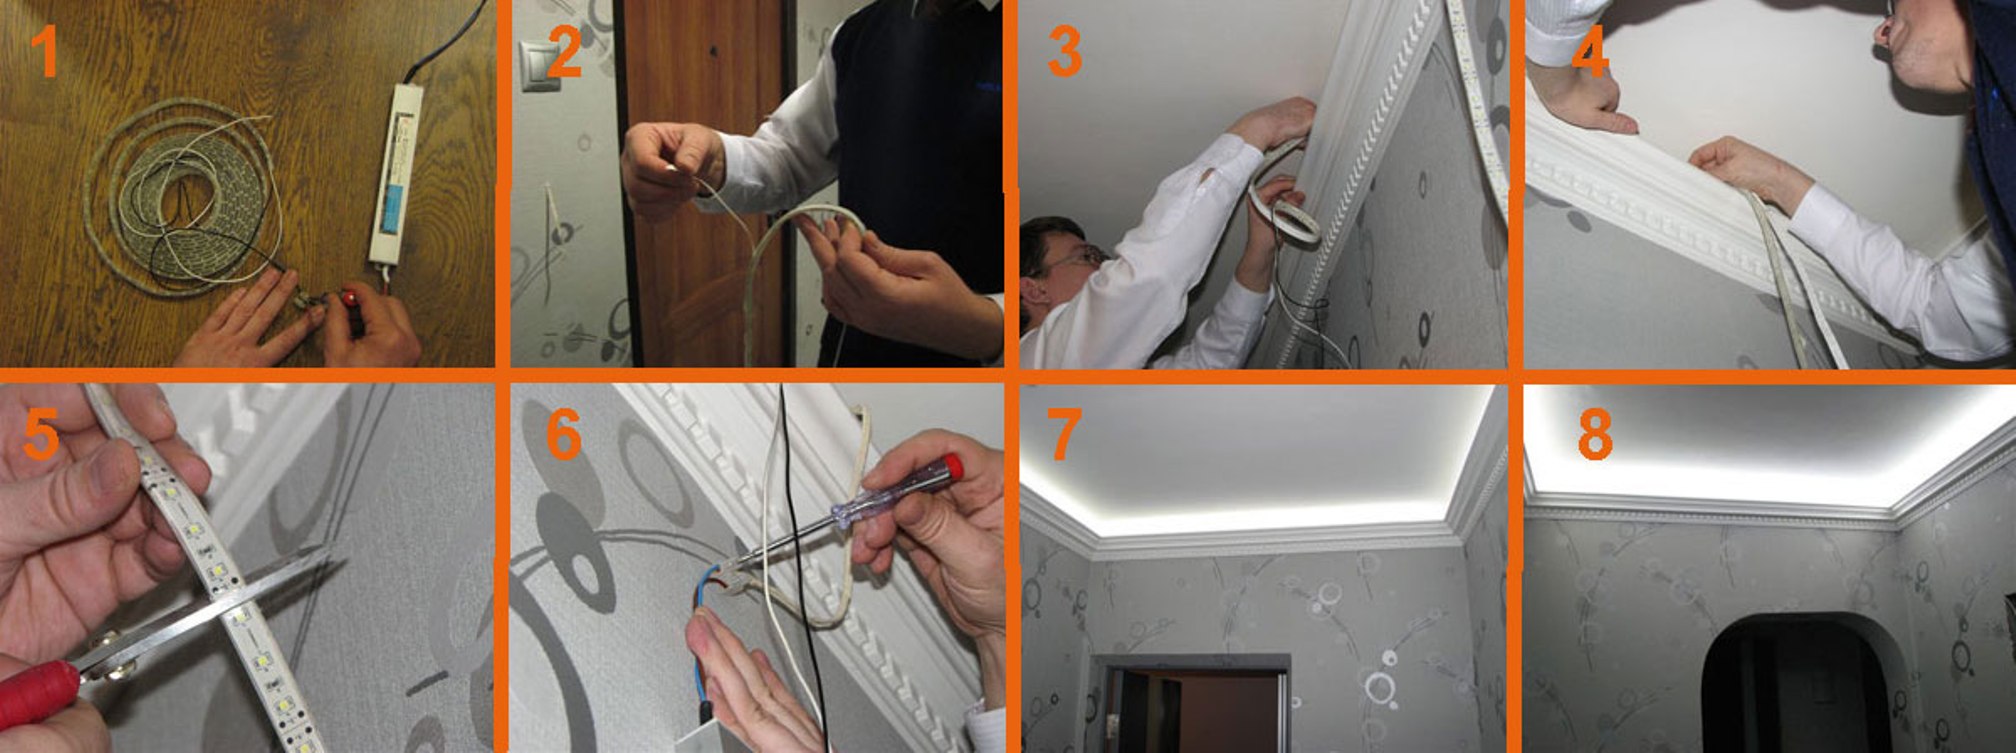
It should be noted that LED strips are not designed to work as a primary source of lighting. It is used to create a certain atmosphere.
At the end of all installation work, in advance all de-energized, the backlight connects to the power grid. Then you can turn on and enjoy the elegance of the ceiling.
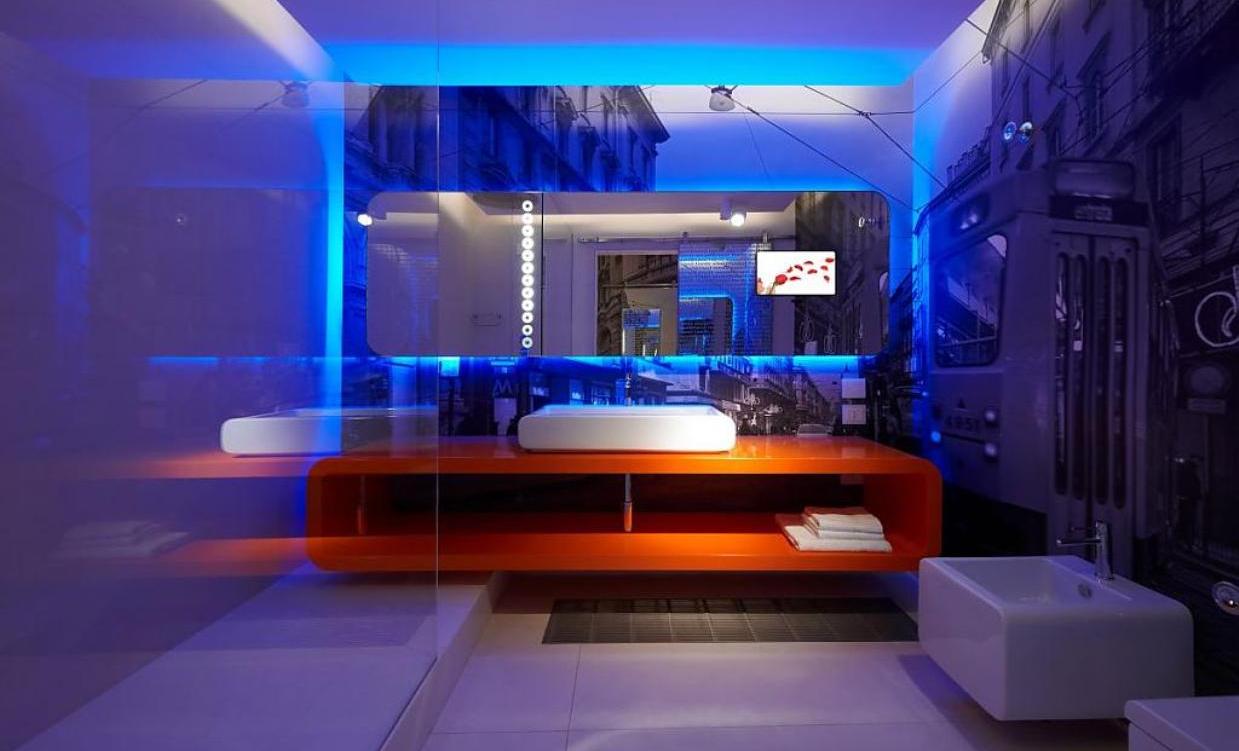
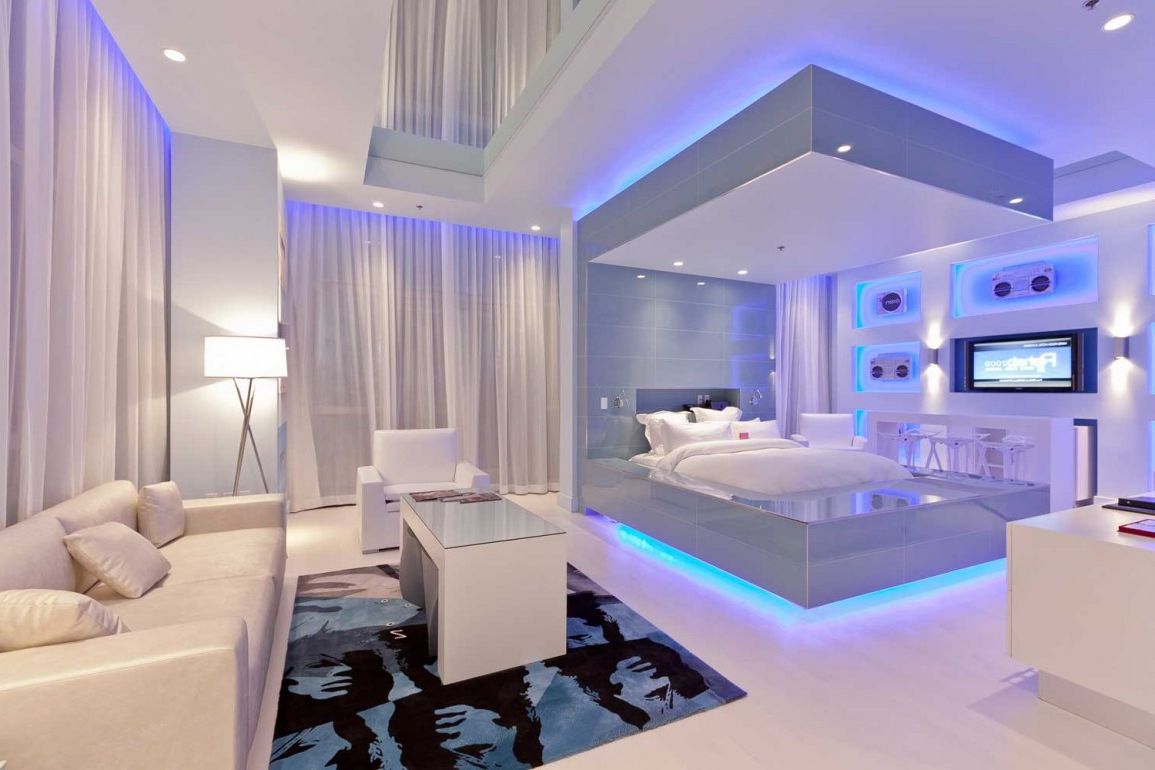
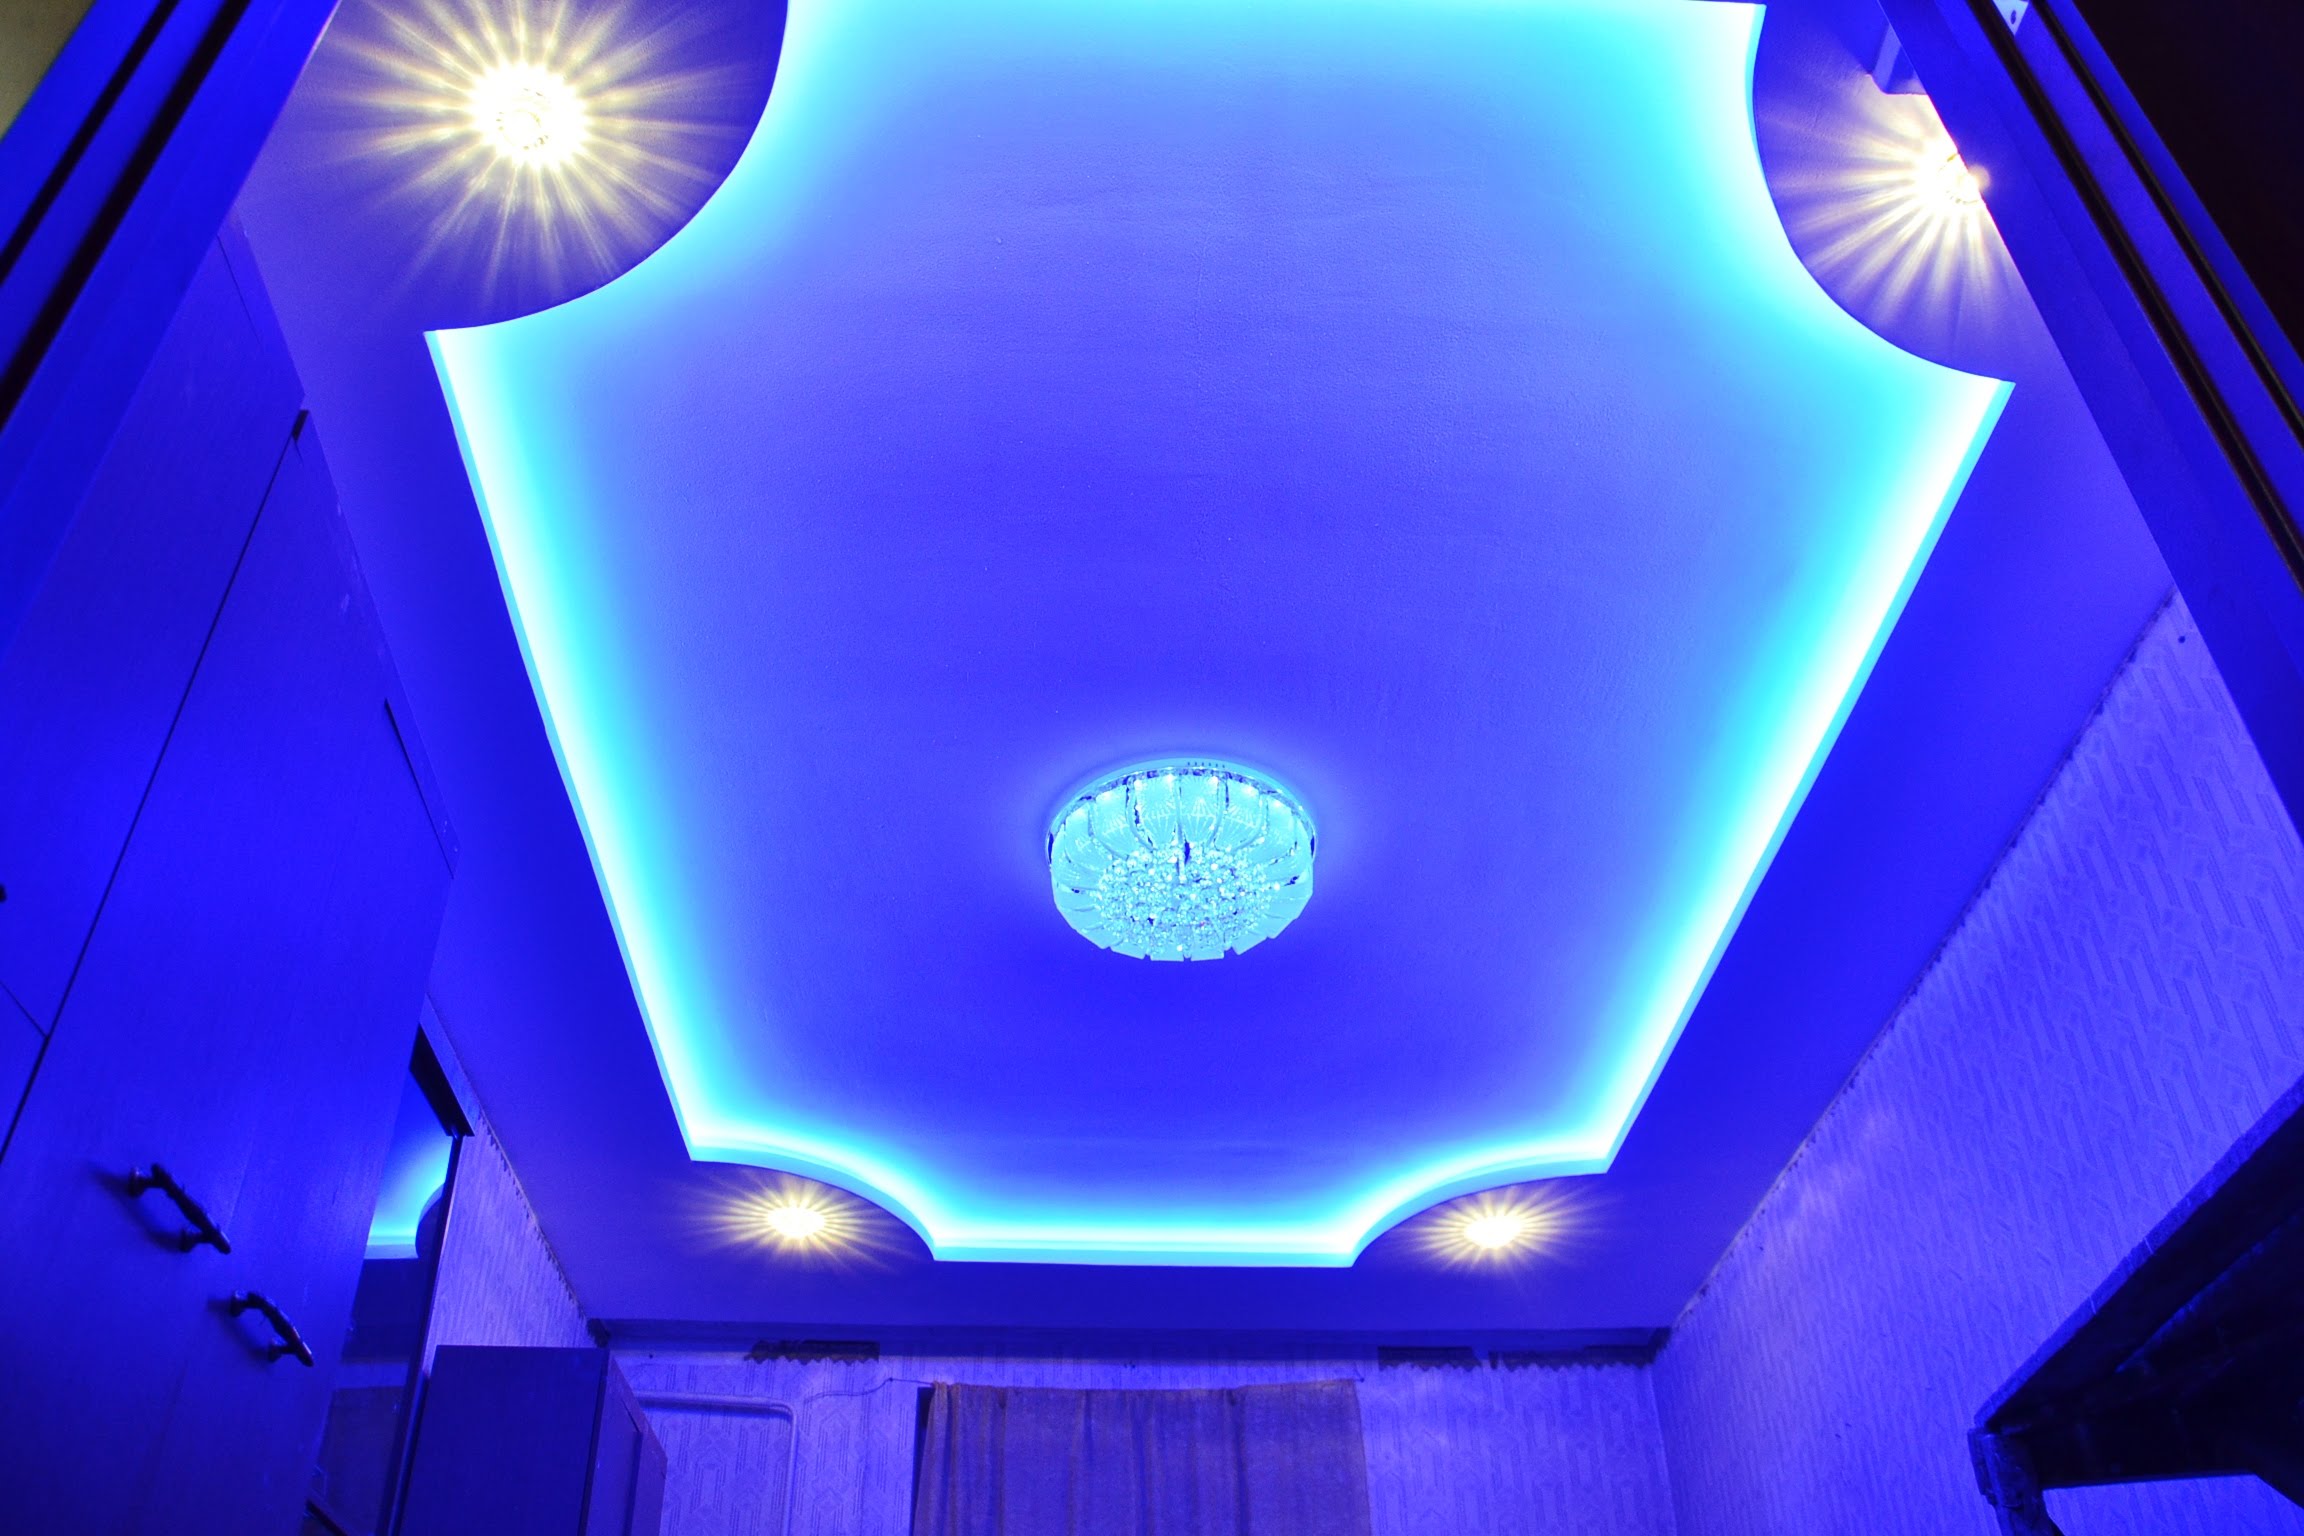
Today, the glass version of fully hidden lighting around the perimeter on two-level structures is becoming increasingly popular. The two-level hinged luminous ceiling will thus sparkle with new colors.

You will learn more about mounting the LED strip on a suspended ceiling by watching the following video.