How to glue the baseboards on the ceiling?

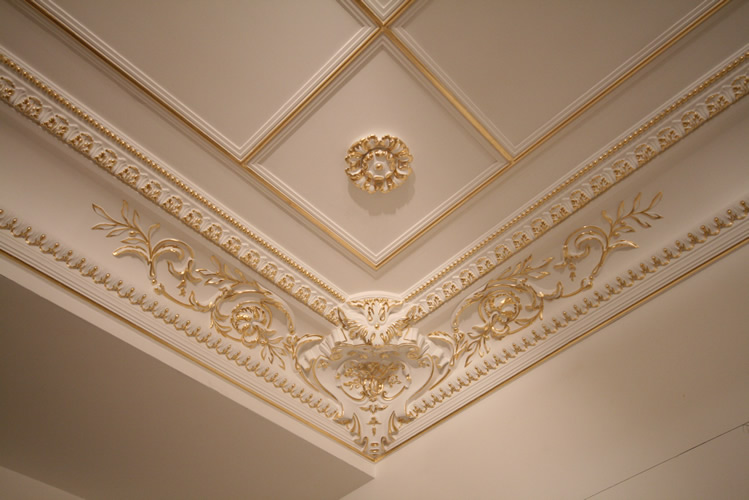
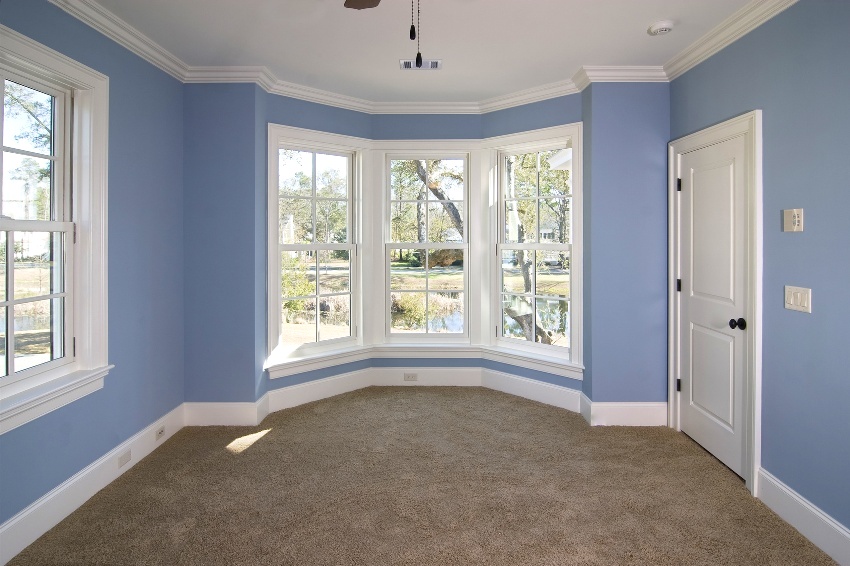
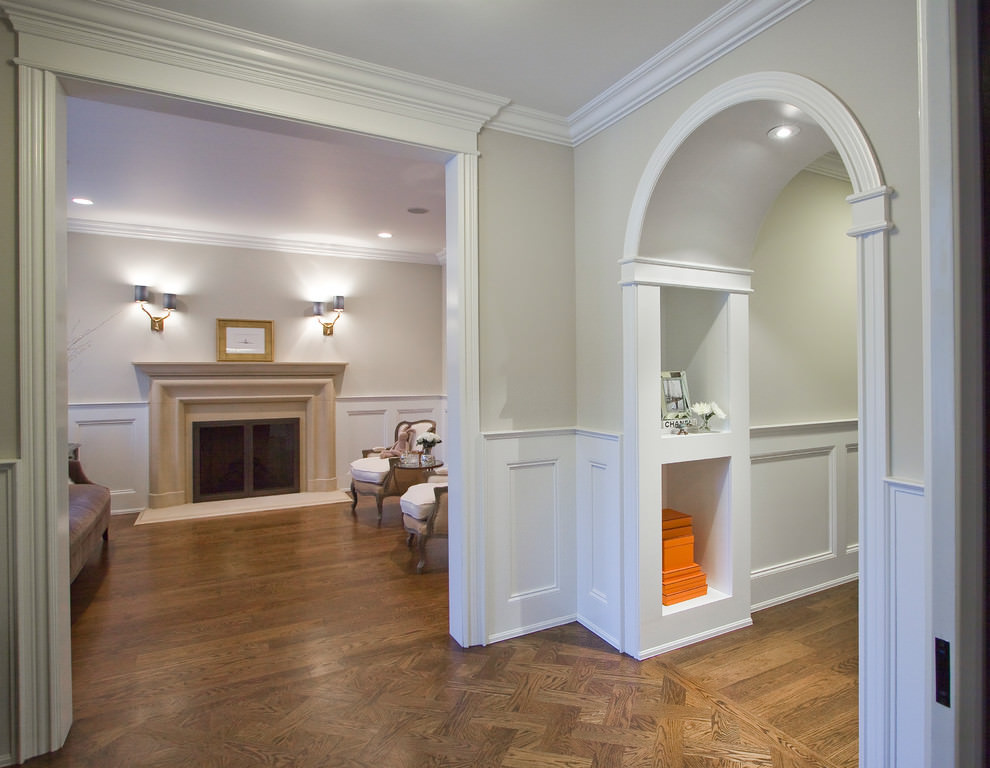
Baguettes and baseboards, in other words, fillets, are used to give the interior completeness, to conceal the sticking defects of wallpaper, and also to give the room an exclusive look at the expense of beautiful reliefs of polyurethane fillets.
You need to know how to properly mount a border of polystyrene foam or other material.
Special features
This type of work does not require special skills or knowledge, almost everyone can handle it. This will require the skirting themselves, the glue on which you will mount them, a stepladder or just a stool or other stable object that will allow you to work comfortably under the ceiling.
Be sure to choose stable objects and before you climb on it, check to see if your chair or table can support your weight, because falling from a small height can be quite painful and unpleasant.
Kinds
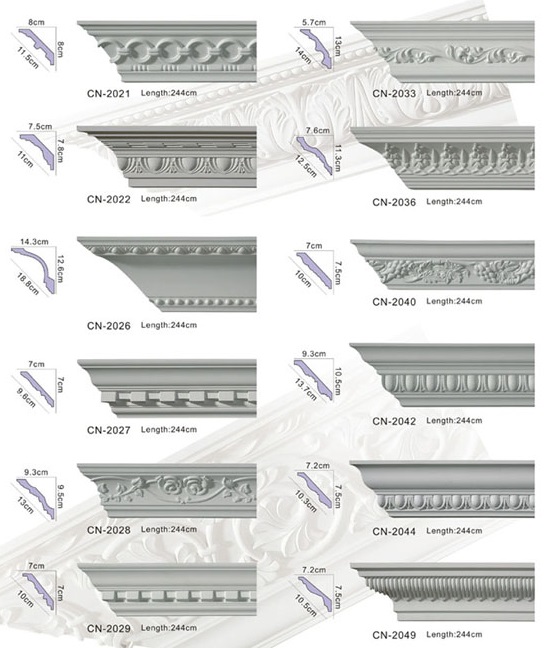
Baguettes can be divided according to different characteristics. For example, in form there are extruded fillets - with grooves and grooves along the entire length, extruded injection fillets with protuberances and relief elements, and laminated - with a smooth coating. According to the material from which the baguette is made - polyurethane, foam, polyvinyl chloride (PVC), wooden. You can briefly say about each of them.
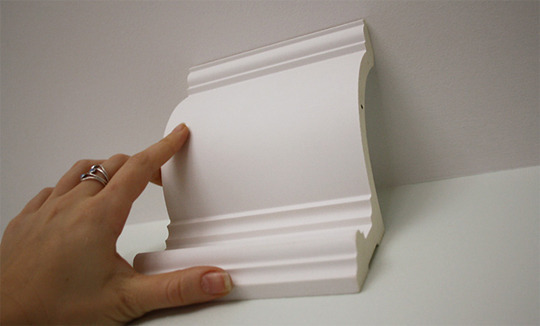
The most popular option for home repairs is the foam baseboard.. It is affordable and can be purchased at the nearest hardware store. Of the advantages, you can select a small weight of the product, this allows you to glue it on almost any adhesive mixture or putty, in addition, you can do it directly on the wallpaper. It can be customized to fit any size.. Polyfoam perfectly is suitable for painting, including repeated. Perfectly amenable to cutting with an ordinary stationery knife. From this advantage follows the main minus of the product - fragility and ease of damage, working with it requires accuracy.
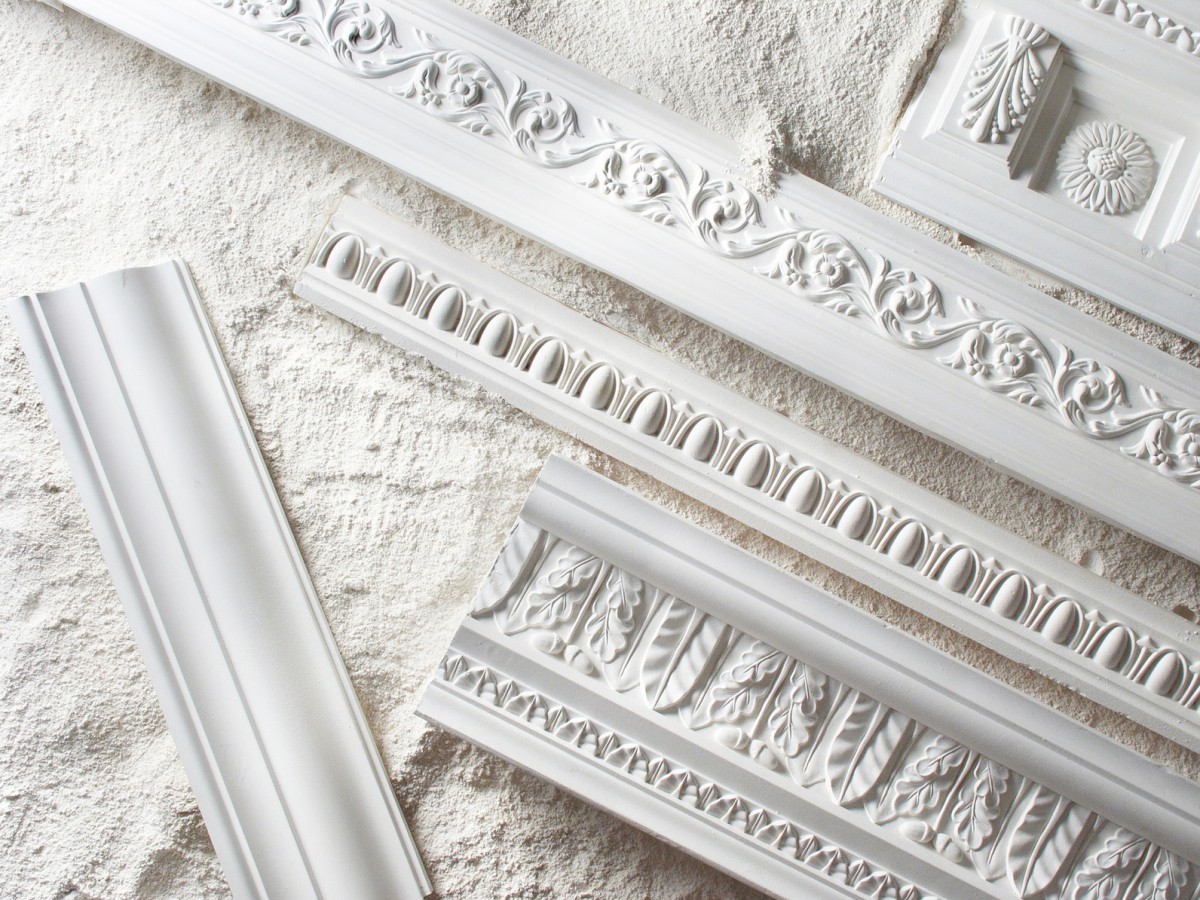
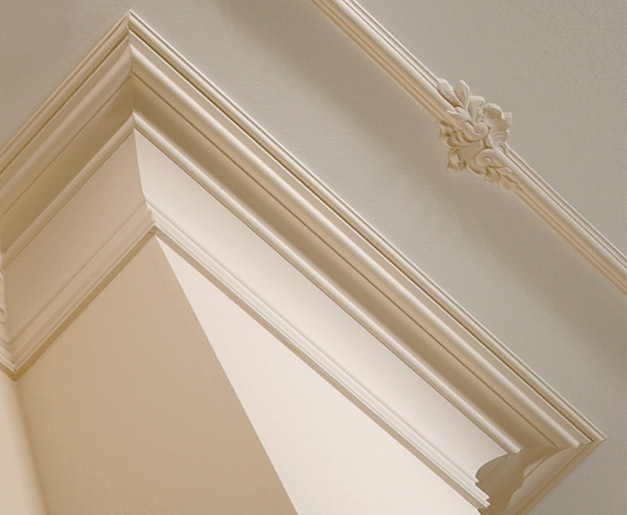
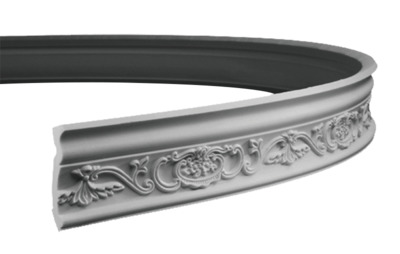
The most popular option among designers and professional finishers is polyurethane plinth.. Of the advantages it is worth highlighting the flexibility that allows you to implement the most daring design solutions, strength and durability. The main disadvantage is the price. In comparison with the foam their weight does not allow to use polyurethane together with stretch ceilings, also in work with them special adhesive compositions are required, which do not enter into a chemical reaction with a baguette.
Polyvinyl chloride or pvc - in common it is ordinary plastic. Well suited if you use plastic panels for wall cladding, as the baguette most often has a groove for such panels. It looks best for commercial use, for example, in offices or commercial premises. The product often has no embossed decorative elements, is smooth and not intended for painting. For installation requires a special glue marked "suitable for PVC." Of the advantages worth highlighting durability, immunity to moisture.
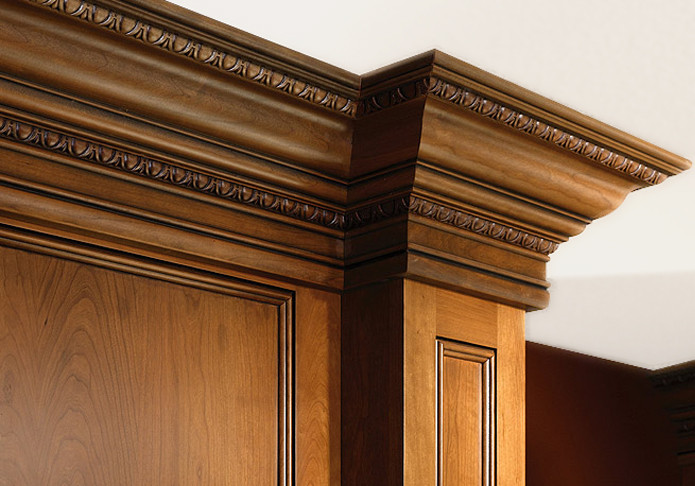
Wooden plinths were previously used everywhere, but at the moment their prevalence has come to naught due to the high cost, complexity of installation, and the lengthy preparation process for installation work.It is also advisable to varnish the product after installation.
It is required to prepare walls for mounting a wooden baguette. Since it is not bending, the wall should be perfectly flat. A special tool is required to cut or cut it, preparing a baguette for mounting, for example, for corner joints.
If there is the slightest inaccuracy, there will be a gap between the parts, which will have to be hidden with a putty.
It would be possible to describe the minuses for a long time, but it all comes down to the price - this is the most expensive baguette itself and the work of the master is expensive and will mount it perfectly. The main plus emerges from the main minus - a wooden baguette gives the room aristocracy and nobility.
How to cut?
Neither preparation of the room, nor the special tool is required for cutting of the majority of plinths. Of the skills you will need only one well-known to all - measure seven times, cut once. Be careful with the knife when trimming occurs.
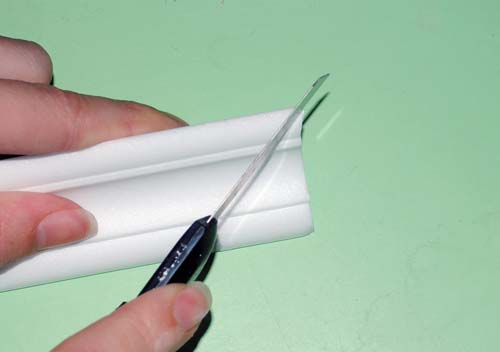
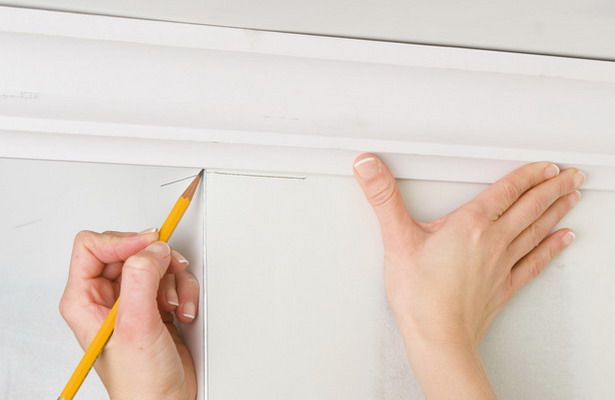
The easiest way to handle baguettes made of foam. Cut them easy enough. We measure the required distance with a tape measure on the ceiling, then measure the same distance on the baguette on the table or on the floor and setmark. A construction pencil is well-suited for grades; in his absence, you can use an ordinary pencil. The mark must be made on the back of the baguette. Next, with a clerical knife or a regular, but preferably very sharp, spend on the front side carefully, without pressing, because the material is fragile and marks on it easily remain.
Fingers on the baguette itself do not need to press. The most crucial moment is already behind - this is the front side, then you can cut the product from any side. Again, the knife must go out from the back side, since the foam will collapse at the exit point. You can also cut with a hacksaw. It should be cut very carefully.
Polyurethane differs in consistency from polystyrene, but according to the cutting method there is no difference between them. But it’s better to cut from edge to edge by tilting the blade away from you. Markers are also recommended to put on the back side. There may be problems with the pencil - he can not write, then you can use a thin marker. It can also be cut on the floor or table. You can cut with a hacksaw.
Polyvinyl chloride, of course, can also be cut off with a sharp clerical knife, but it will be labor-intensive and inefficient, moreover, no one does this. For cutting plastic, you can use a hacksaw for metal or electric jigsaw with a blade for plastic.
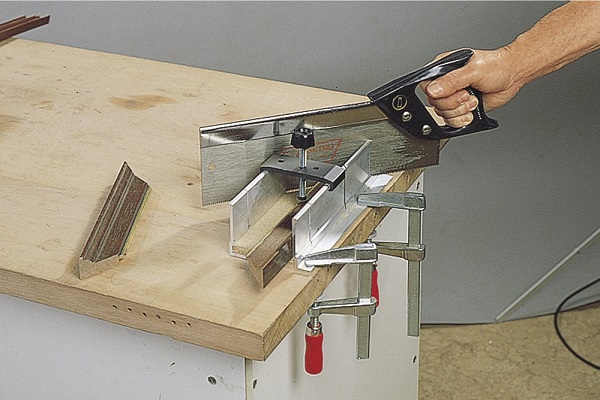
Cutting is best done on a workbench or table, firmly securing the product with at least a jigsaw-free hand. Do not allow razbaltyvaniya skirting board while cutting. Additionally, it is important to familiarize yourself with the safety procedures for working with the power tools used.
For cutting wooden skirting the same tools are used as for cutting wood - you can use an ordinary hacksaw, jigsaw. But best use circular saw. It allows not only cutting, but also gash product.
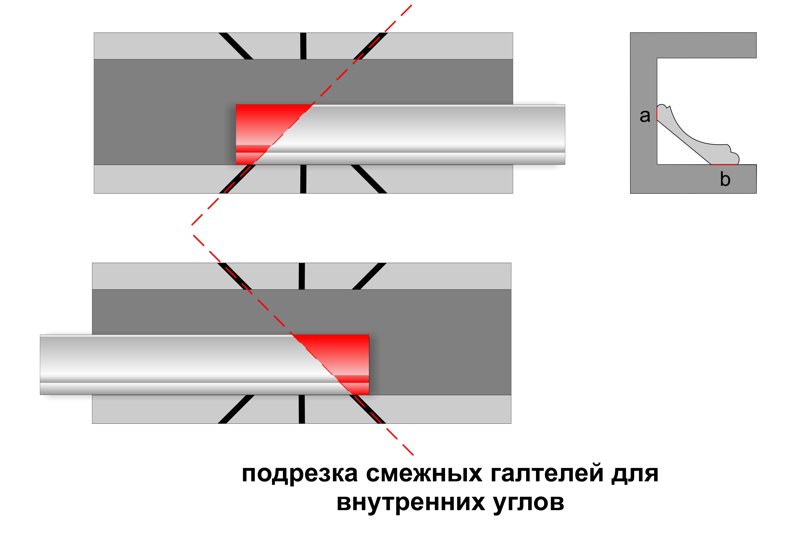
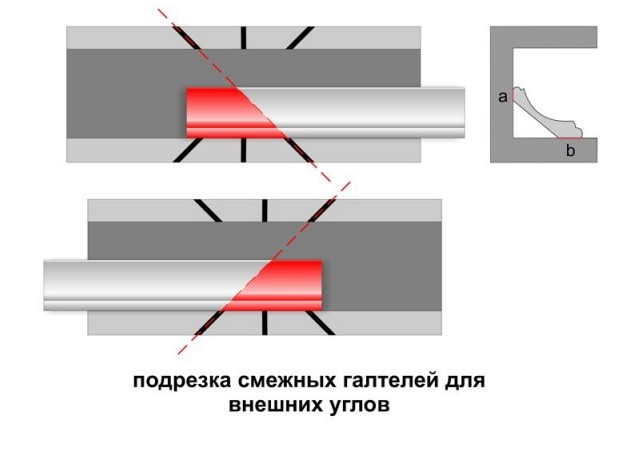
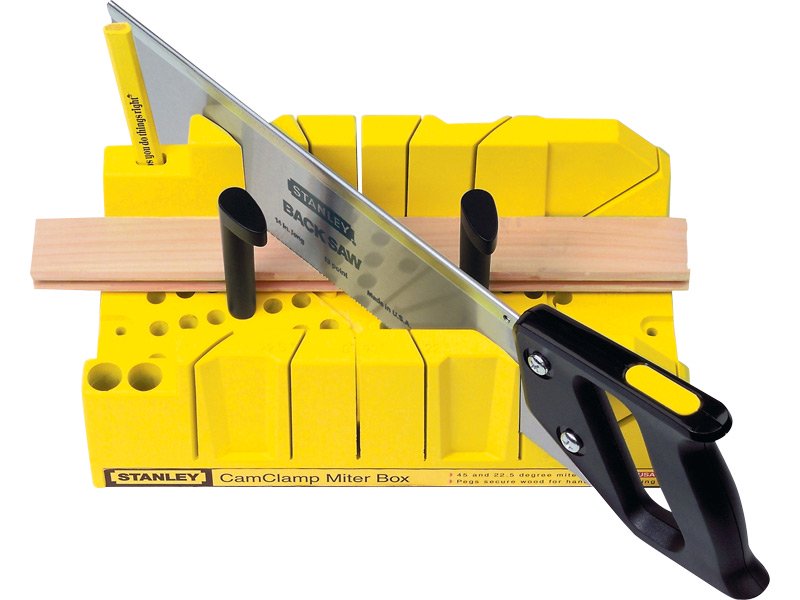
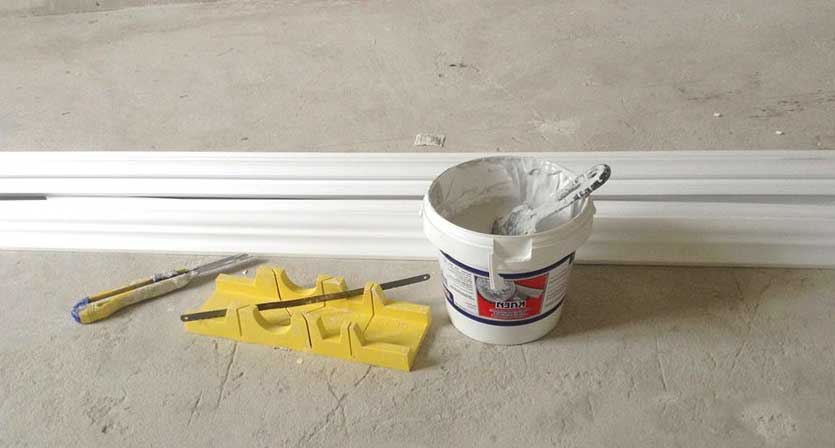
Separate conversation deserves cutting for corner joints. Cut off the ceiling plinth for the corners should be using a tool called a caskwhich will allow to make even corners. The tool is similar to the letter “P” into which the product is inserted; on the tool there are slots for the cutting tool at the right angles. After installing the plinth into the slot and the handsaw into the desired slot, you can start sawing or cutting with a knife.
How to glue?
In addition to preparing baguettes of the right sizes and angles, the cleanliness of the walls is very important. To start, remove all mechanical debris with a rag, a broom than you prefer.Next, you need to remove fine dust, which can greatly prevent the formation of a strong mounting connection, for this you should use a damp cloth. After drying the surface, you can proceed to the layout, and then to glue.
There are two main types of glue:
- putty;
- adhesive composition.
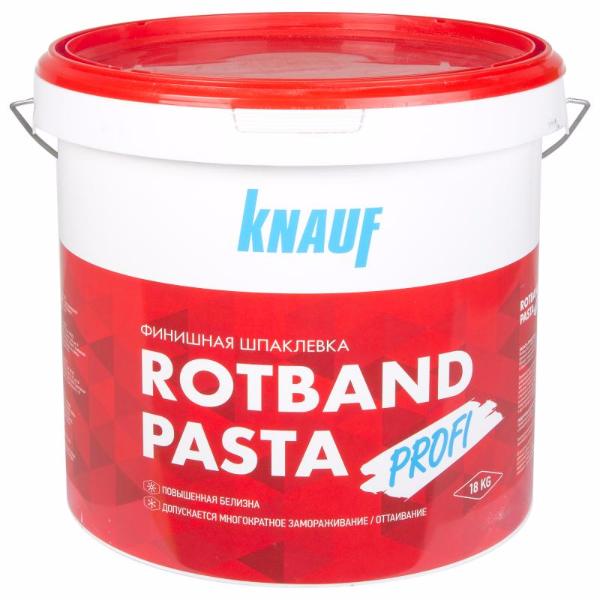

The process of mounting the baguette on the ceiling using putty begins with mixing the mixture. It is important to note that the mixture is prepared immediately before starting work so that it does not shrink and lose its qualities. It is prepared, like any other mortar, by mixing water and mixture in a container according to the proportions given on the packaging. Stir thoroughly, the solution should be no lumps, thick.
Modern technology of mixing is recommended to first draw water into the container and only then pour the putty, stirring. In any case, it is recommended to follow the manufacturer's instructions.
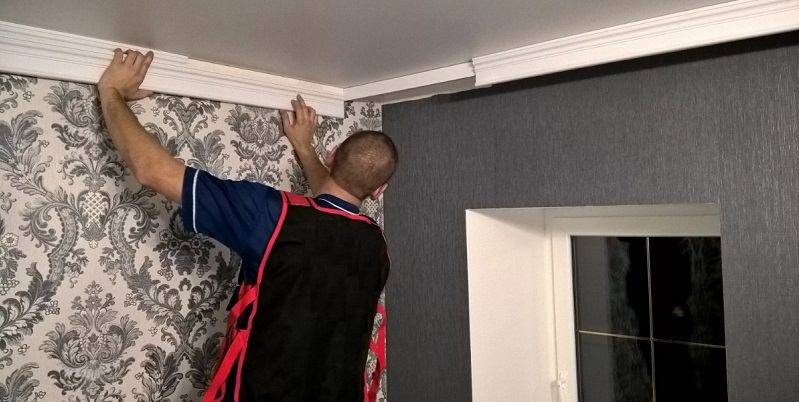
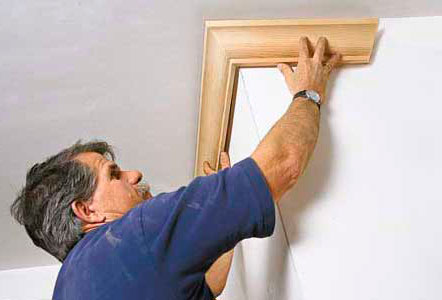
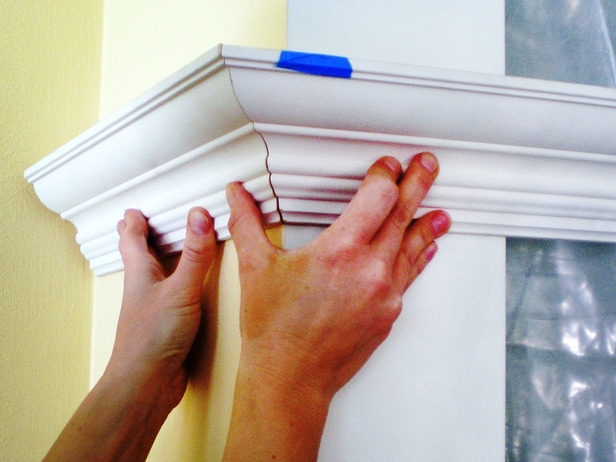
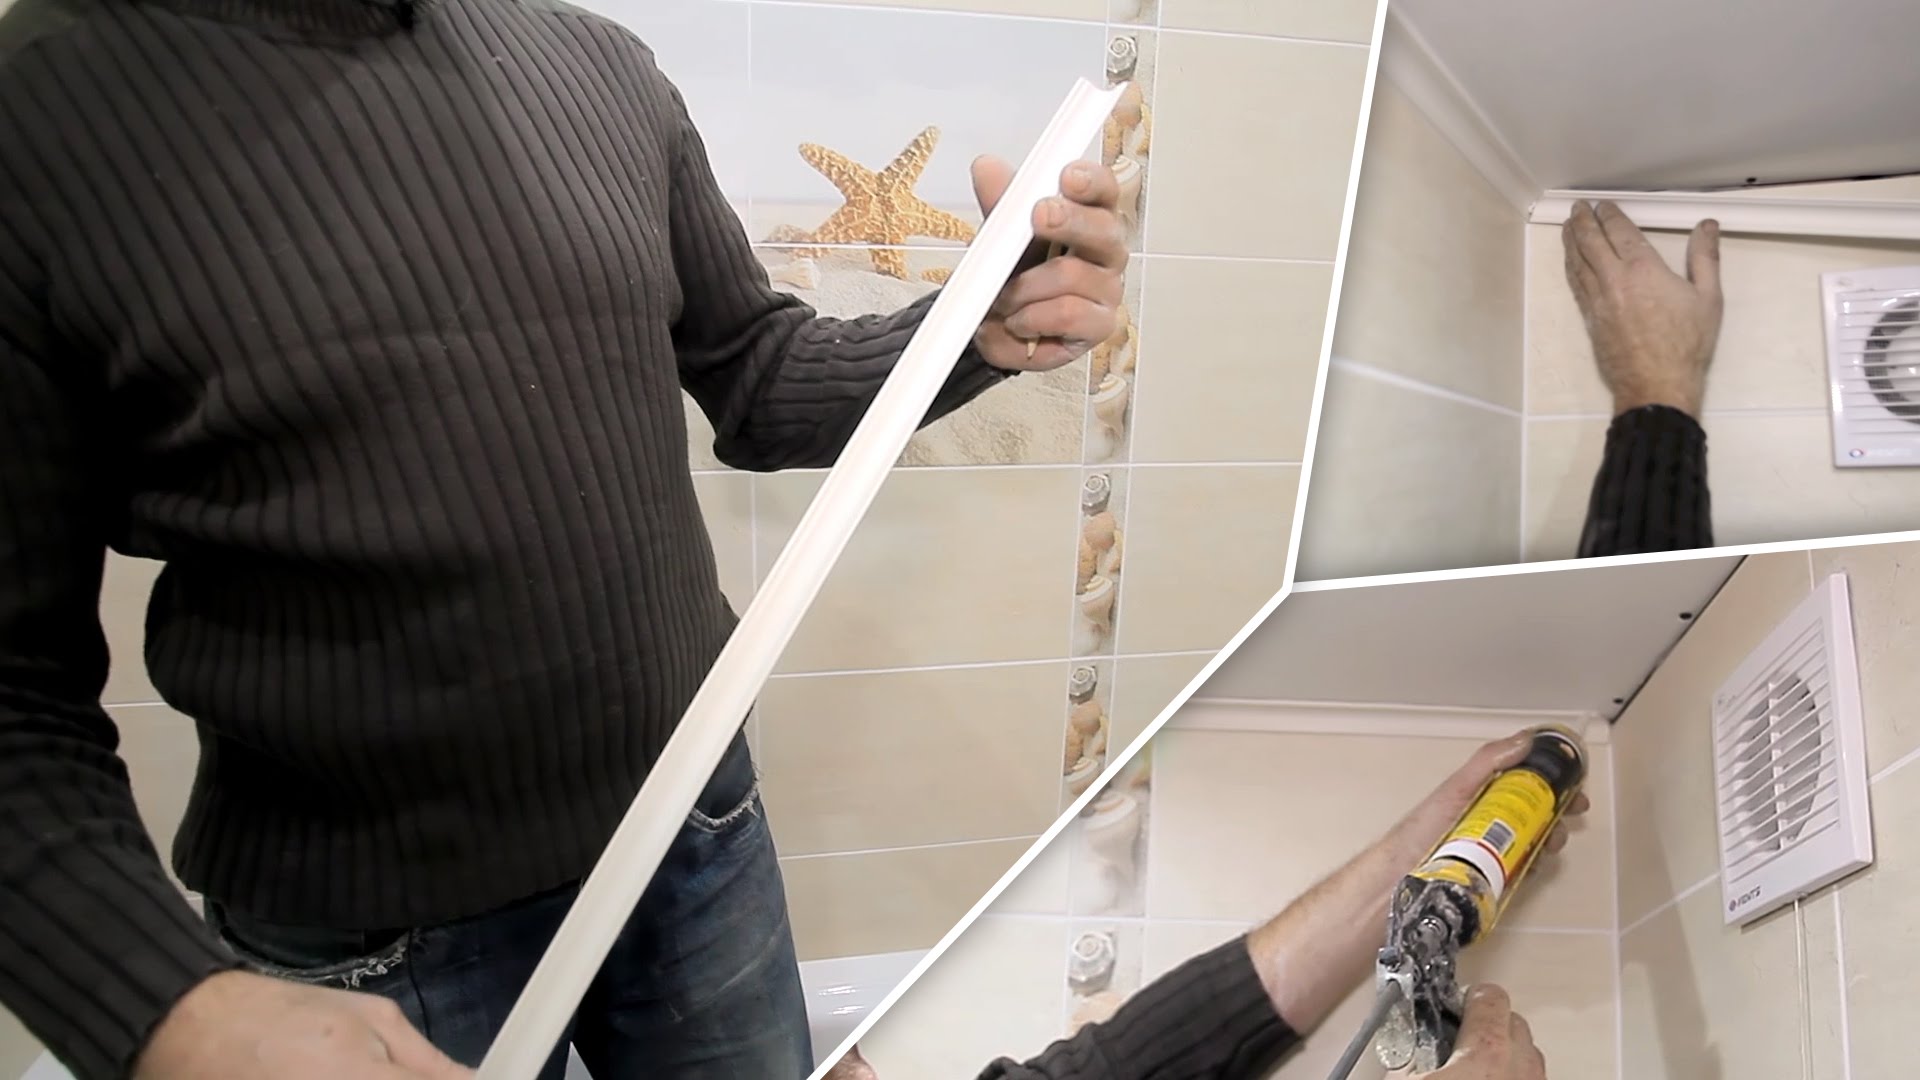
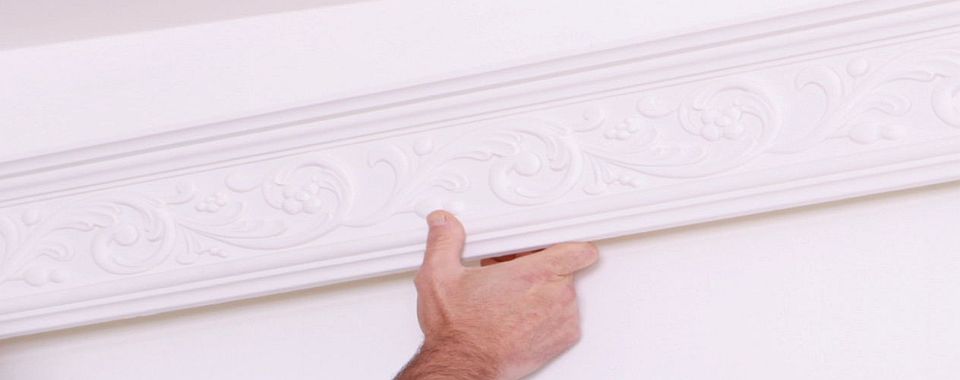
Then follow a responsible step to the next step - fixing the baguette, or installation. Pick up a quantity of the prepared solution on the spatula, evenly apply along the entire length of the baguette,on surfaces that will directly contact with the ceiling and walls. Take care not to stain the face, drops or putty sprays.

Installation is recommended to start from the corner. It is believed that there the connection will fit better than others. It is advisable to choose a site that is constantly visible. Remove excess putty from the baseboard so that the drips do not spoil the appearance, but do not overdo it, while pressing some excess well fill the cavities between the wall and the baguette.
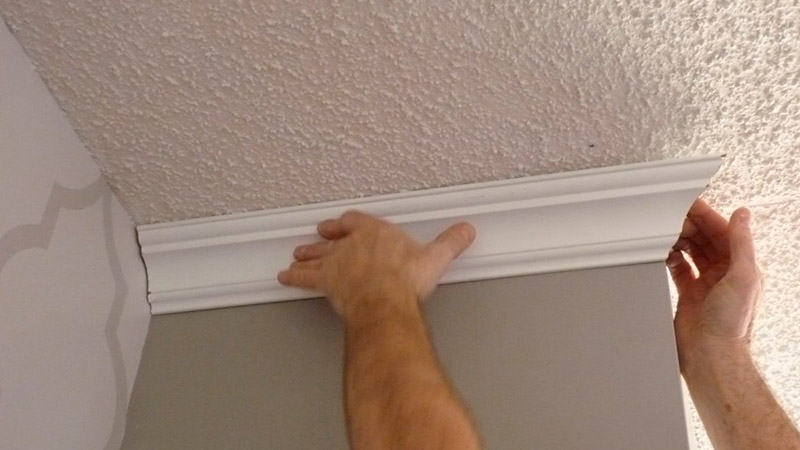
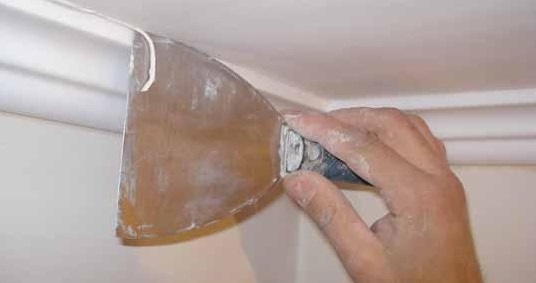
The next step will be fixing and pressing the baseboard in the right place. Use the previously applied markup, focus on the drawn lines, check whether everything is correctly recorded. When mounting there is no need to press with all force, the putty solution is malleable and allows fixing with minimal effort and very quickly. Excess mixture that appeared from the joints after pressing should be removed with a damp cloth until it hardens.
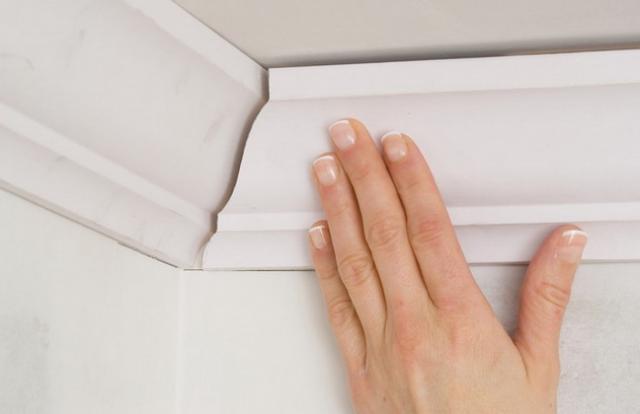
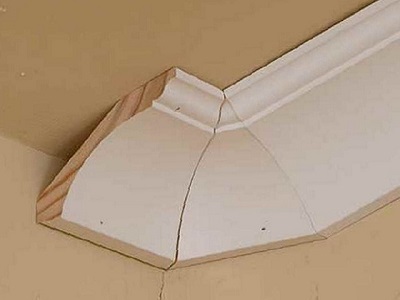
When the first baguette is fixed on the wall, proceed to the second. Apply the solution, do not forget about the end in the place of the fillet interface. Usually this error is very often allowedand fixing it will take some effort. At the end of the need for a minimum amount of putty, so that the excess does not spoil the appearance. Next, press the ceiling plinth to the walls, then to the joint with the already fixed baguette. It is very important to clearly and accurately get to the place of junction, especially if the baguettes are large. Even a slight deviation will spoil the appearance of the ceiling baseboards.
After the second baguette, continue to mount the rest clearly along the line. After installation, it will take some time for the putty to dry, to fix the baguettes, and their coupling to the walls and between them. After drying the mixture, remove the excess, which spoil the appearance, fix the flaws, which could also be formed due to excess putty. Then you can prepare for painting, pasted over the wall and ceiling masking tape directly at the junction with the baguette.

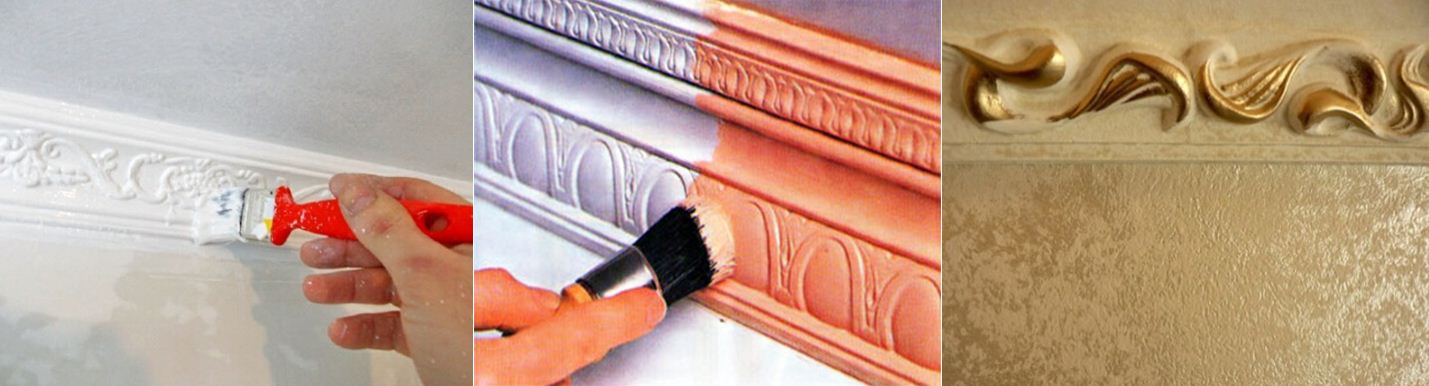
Painting should be done, given the relief of the baguette. Choose a brush of the desired width. If some pieces of bad hold, they must be further sealed.
Now about the second method of gluing - glue. Glue is most often used for light baguettes.when they need to dock and fix on the wallpaper. Glue is usually used universal, it can be used on putty, primer or bare concrete. When sticking on the wallpaper you need to consider that the canvas will experience additional load and you need to make sure that the wallpaper is securely glued. Even if you try to stick the fillets perfectly, all the work can go for a smack if the wallpaper comes off.
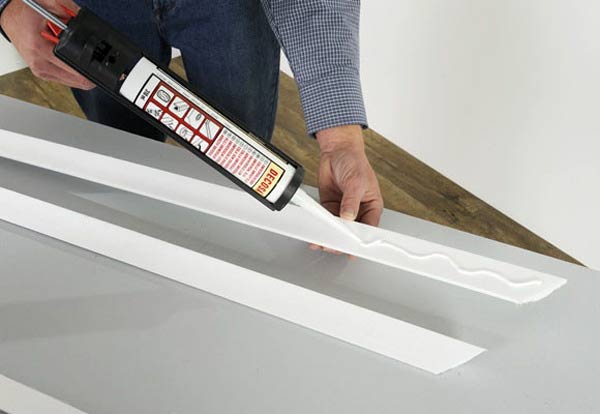
Usually the glue is in the bottle or tube that fits into the mounting gun. Apply it evenly along the entire length of the baseboard on those areas that will come into contact with the wall. So glue will be more reliable.

Next, you need to mount the baguette in the right place, observing the markup and using it for centering. Be sure to follow the instructions for the specific adhesive composition, as they may vary, not suitable for your plinth or have a different method of gluing. Be sure to strictly follow the manufacturer's instructions..
Correctly stick or screw the baseboard to the ceiling is not difficult if you follow our advice. First of all, it is necessary to cut, cut, attach, join and install it correctly.
The sticker must be made in a ventilated room.. Glue the border alternately, since the gluing should be done according to the rules.
Tips
Be careful when working with fragile products, use the back of the hand for fixing and pressing the product. Do not use your fingers and try to distribute the load, do not push on the decorative embossed elements. This will help you maintain the look of the ceiling baseboards.
If you eventually went wrong and there are a number of defects that strongly affect the appearance, you can paint the baseboard. This will hide the flaws and improve the overall look.
Glue will help you to reduce the time for installation of fillets and the total time spent on work, but before using, read the instructions for use of a specific adhesive composition.
If you do not have a closet at hand, you can make it yourself. Fully, of course, he will not replace the original, but for small works it will be enough. Apply on a sheet of paper or cardboard layout with the location of the product and the angles that you want to cut. Adhesive with such a device will not bring you pleasure, but you can finish the work.
In the case of using white skirting backlit, which will be in the zone of direct sunlight, it is highly recommended to paint itotherwise the plinth will turn yellow with time. Use latex or acrylic emulsion paint.
In this video, you are waiting for the advice of the master on how to properly glue the plinth to the ceiling.