Skirting on the ceiling: how to cut corners?
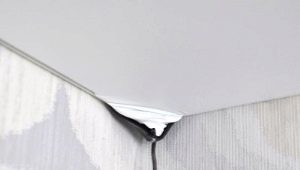
Any repair work is always completed with a finishing finish. In rare cases, the interior of a room does without a ceiling plinth, its presence helps to hide the joints of finishing materials used for wall and ceiling surfaces, and you should not forget about the decorative function carried by this element. To arrange the perimeter of the room, simply securing it in a straight line is easy. It is much more difficult to properly cut it in the corners without damaging the material and spending a minimum of time and money.
Special features
Ceiling plinth, like any other element of the interior, has its own characteristics, so before you buy it at the hardware store, you need to deal with the materials from which this element is made and what difficulties you will have to face in the course of work.
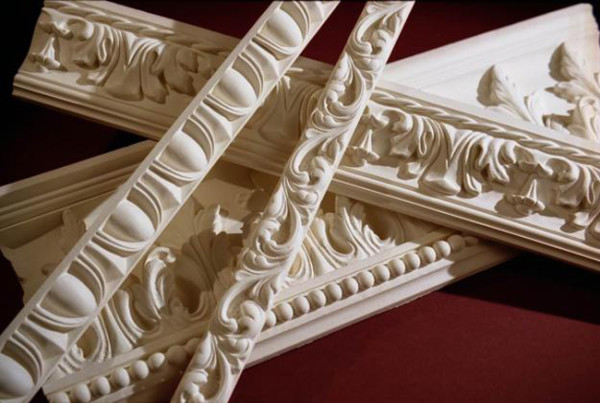
Previously, ceiling plinth had a different name - fillet.Translated from German means "groove" or "groove." The material used to make this decorative element was gypsum, poured into the prepared mold. The frozen gypsum element was fixed on the ceiling surface with a mortar. Today, gypsum ceiling plinth is very rare, its cost is high, and it is much more difficult to mount it compared to modern analogues.
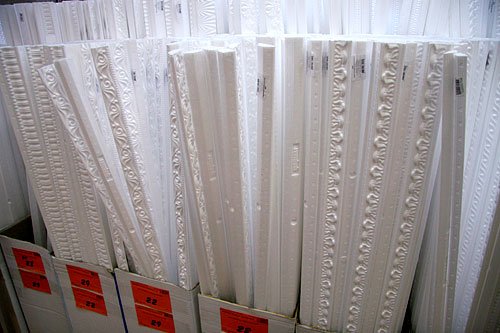
Today produce ceiling elements of several types of materials in numerous configurations. They are cheaper plaster, and look no worse. The cheapest copies are made from polyvinyl chloride (PVC). This material with a slight mechanical effect is subject to deformation, the formation of irremovable dents or creases leads to the complete replacement of the element. In addition, all PVC plinths made are electrostatic, and dust accumulates on them very quickly.


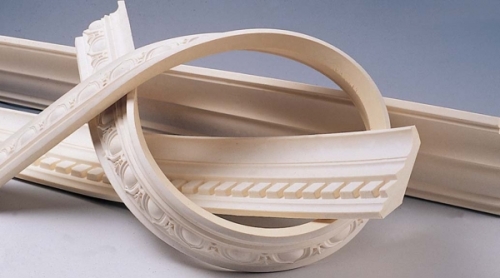
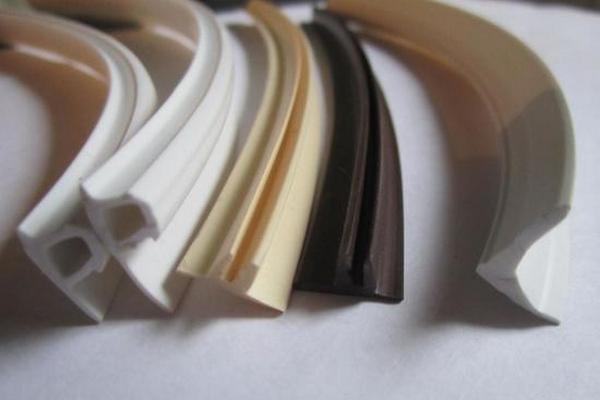
Ceiling plinths made of polyurethane and polystyrene are among the most sought after products. They gained their popularity due to a reasonable price, a wide range of profile patterns, a variety of sizes (their width varies from 5–250 mm), as well as moisture resistance.Polyurethane ceiling elements can be found in the design of many rooms, they look great in any interior. But there are drawbacks, the material does not tolerate temperature drops, is susceptible to cracking, especially if it is installed above the kitchen stove.
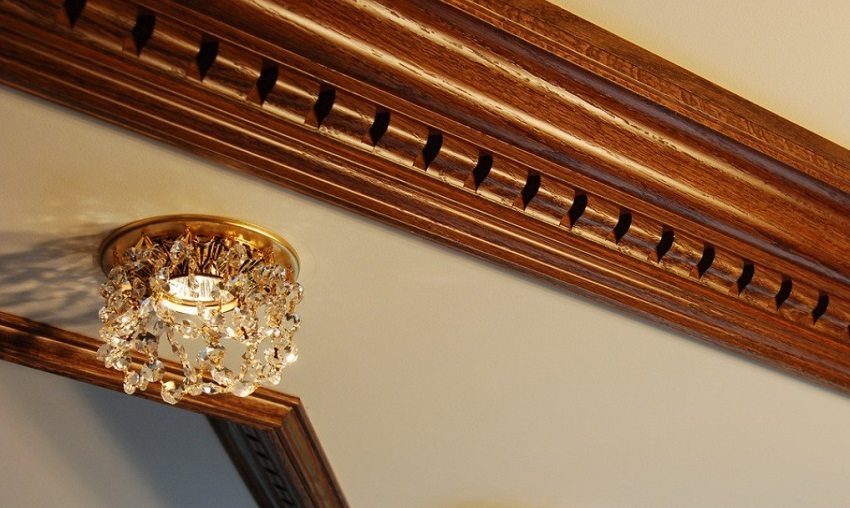
The classic version of the ceiling plinth is a piece of wood. Wooden elements, in contrast to the listed types, are not installed on glue, for fixing they use screws. The baseboards of this material decorate wooden houses or rooms, whose style is dictated by the use of wooden elements.
Required tools
Installing the ceiling plinth involves cutting the extra length and fit it in the corners. In order to make the trim, the necessary tools. The choice of one or another type of tool depends on the material from which the plinth is made.
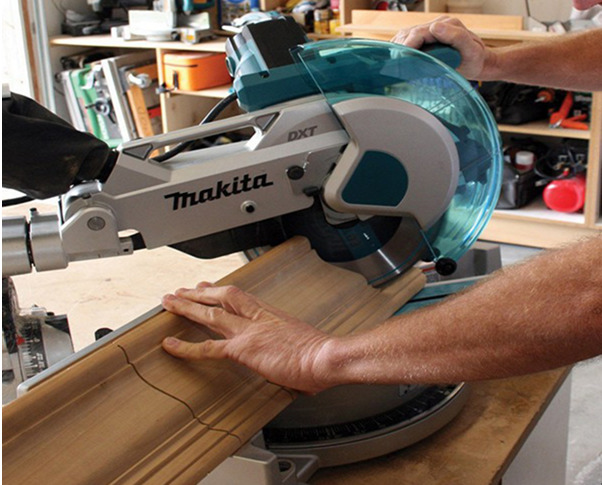
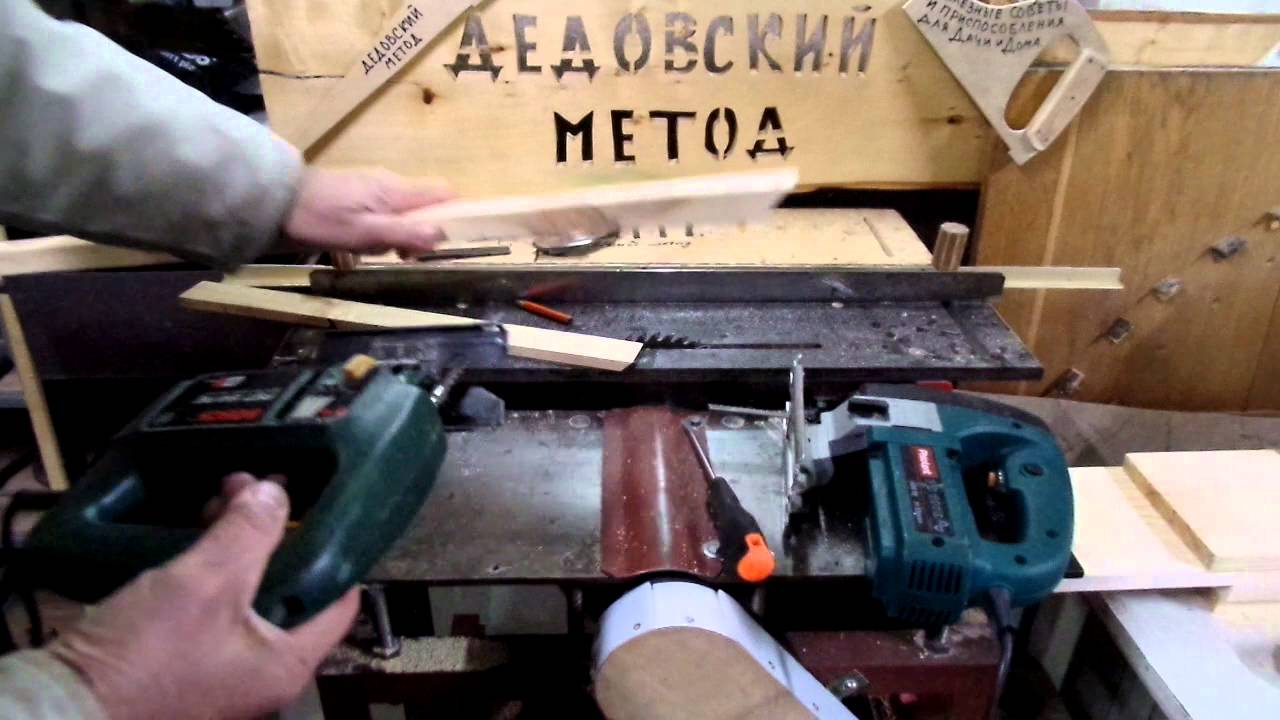
When working with wood and plastic, an electric miter saw is used. Circumcision with the use of this tool is accurate, fast and without much effort, you just need to set the necessary parameters and properly lay the plinth.Choose the appropriate tool does not make much effort, the benefit of the manufacturers produce this tool in a wide price range.
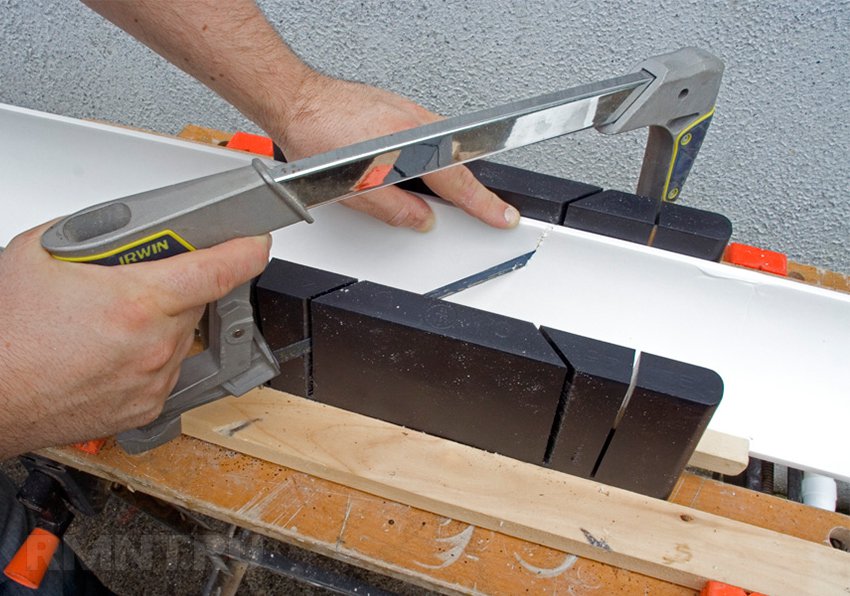
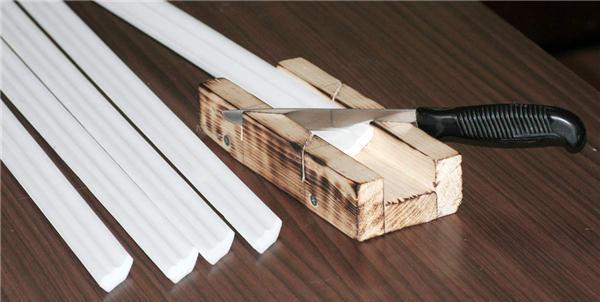
But, with wood and plastic, you can cope with other well-known carpentry tools - tuslom paired with a hacksaw. This tool has the shape of a tray, made either of wood, or of plastic, or of metal. In two parallel sides of the stump there are slots for the saw, for easy cutting of the plinth at the right angle. In a simple modification of the tool, the ceiling element can be cut off at an angle of 45 or 90 degrees, and in a more complex version, the baseboard can be cut off at an angle of 60 degrees.
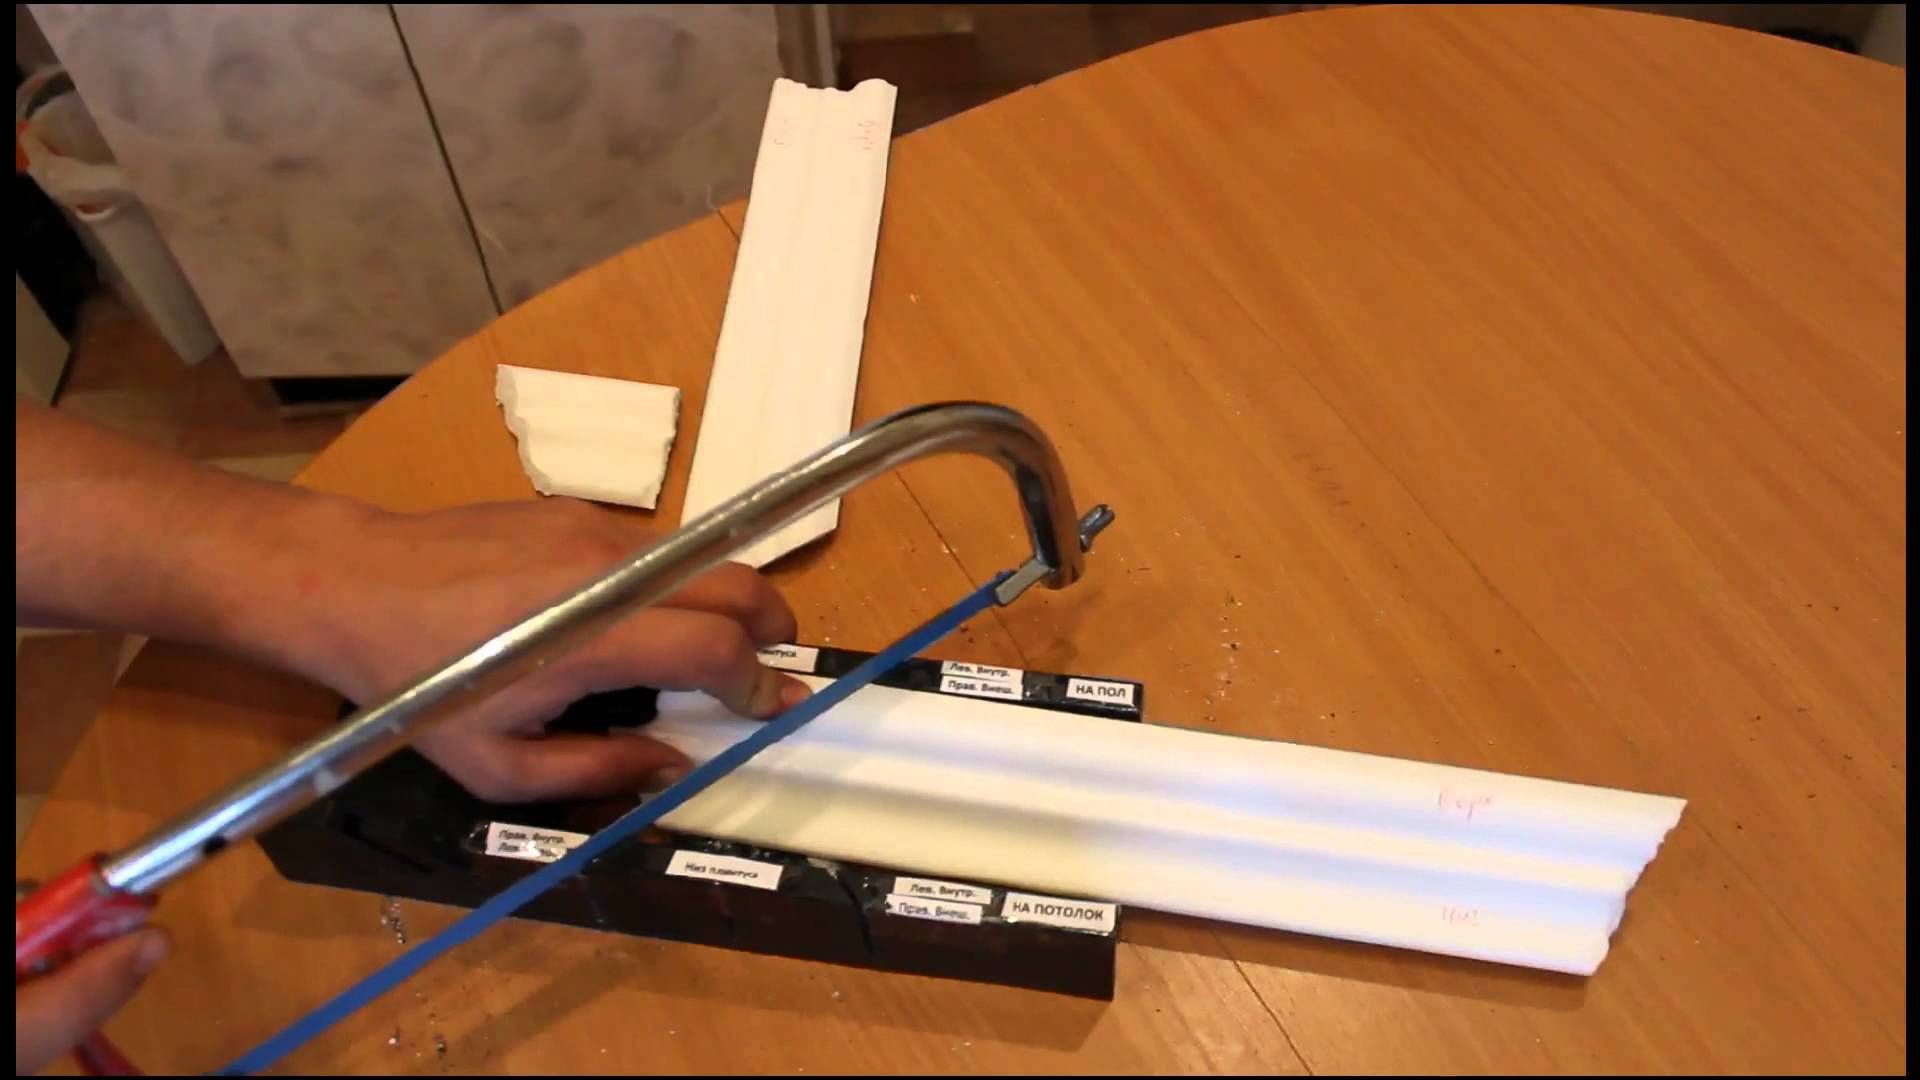
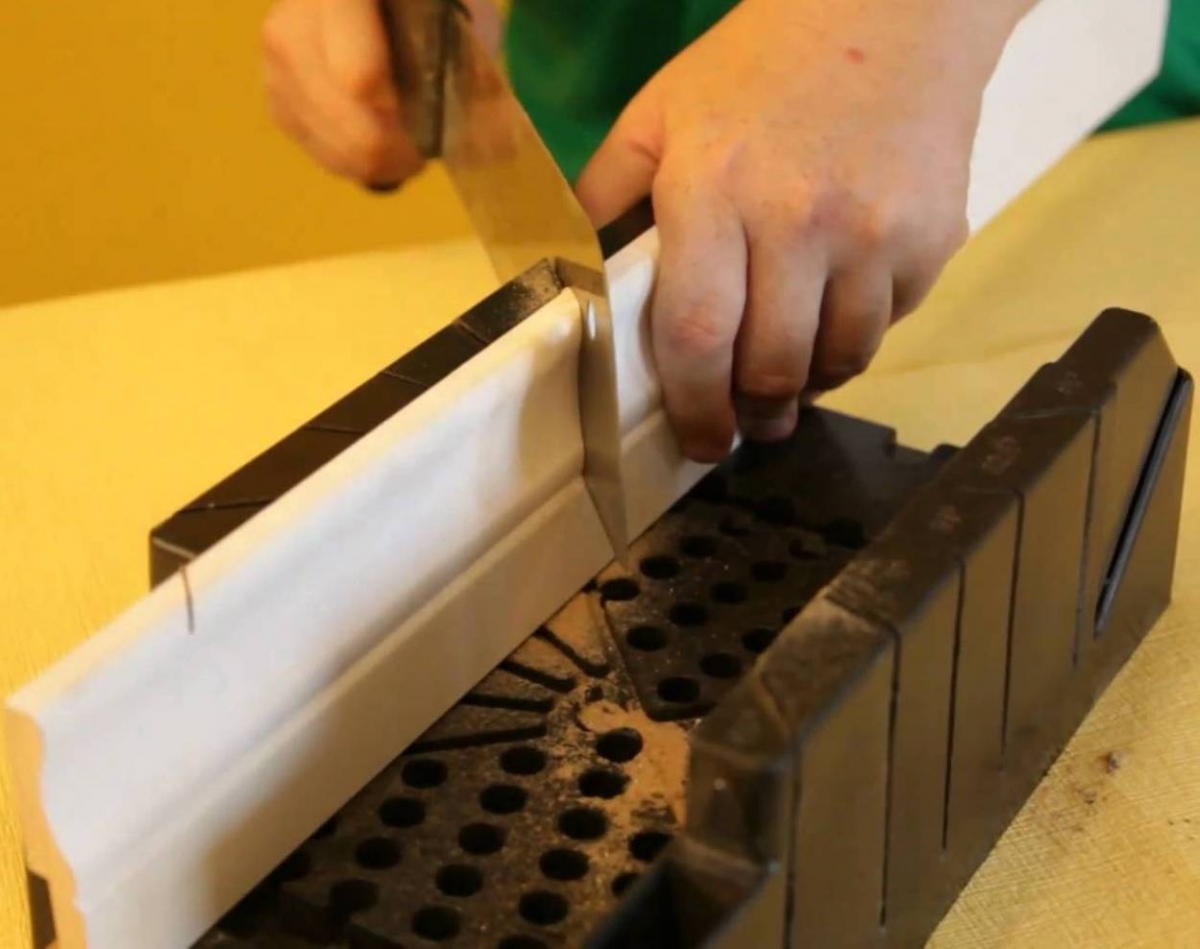
A miter box and a hacksaw are cheaper than a miter saw, but they also have their drawback - this is the risk of material damage, especially if the quality of the purchased material leaves much to be desired. In addition, the body is more suitable for rooms with flat walls and corners.
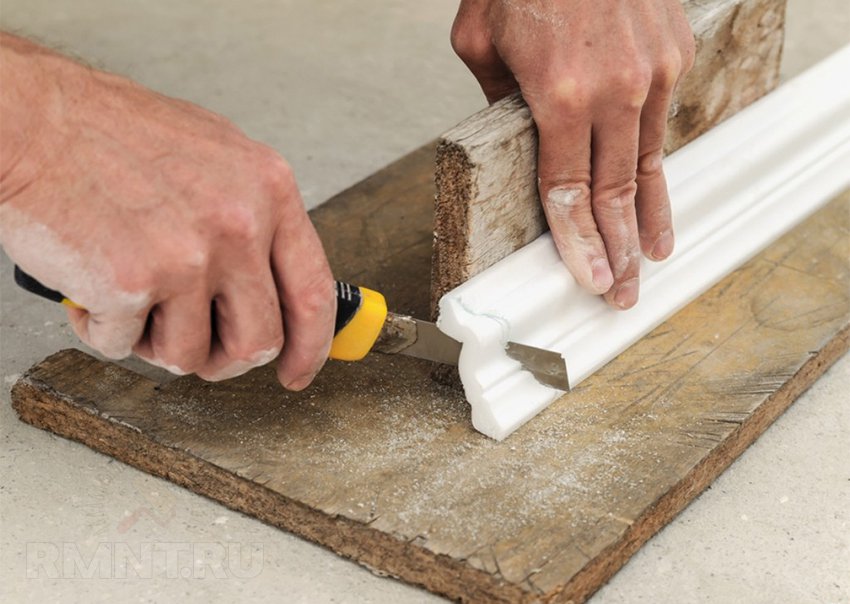
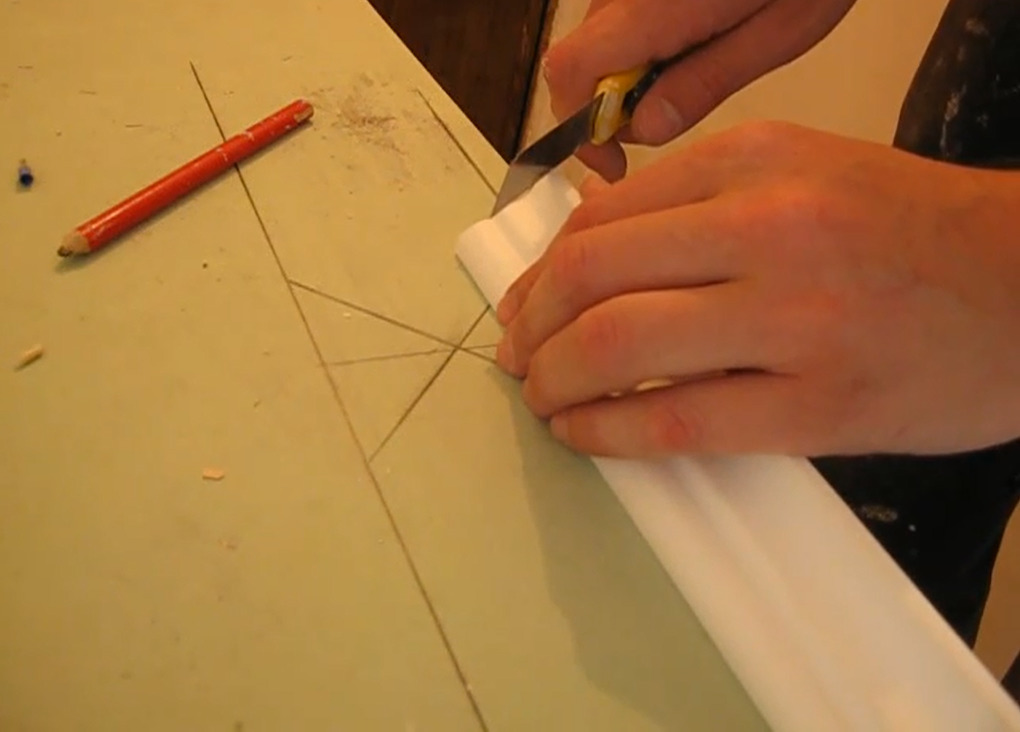
For a more even cut without the risk of damage to the material and without exfoliating the structure, jigsaw are suitable. It is easy to manage this tool, it can be used to set any direction and make the most accurate cuts.For lighter materials with a less durable structure, you can use a regular construction knife, the main thing is to choose a specimen with a sharp blade.
How to cut?
Two main issues are facing the installation of ceiling plinth. How to properly trim the baseboard without gaps and with perfect joining in the corners, and what tools should you use to get a beautifully positioned ceiling element? In order to understand these issues it is necessary to examine all the methods and tools used in trimming the plinth. Almost all methods and tools can be used to fit the baseboard, both in the inner and outer corners.
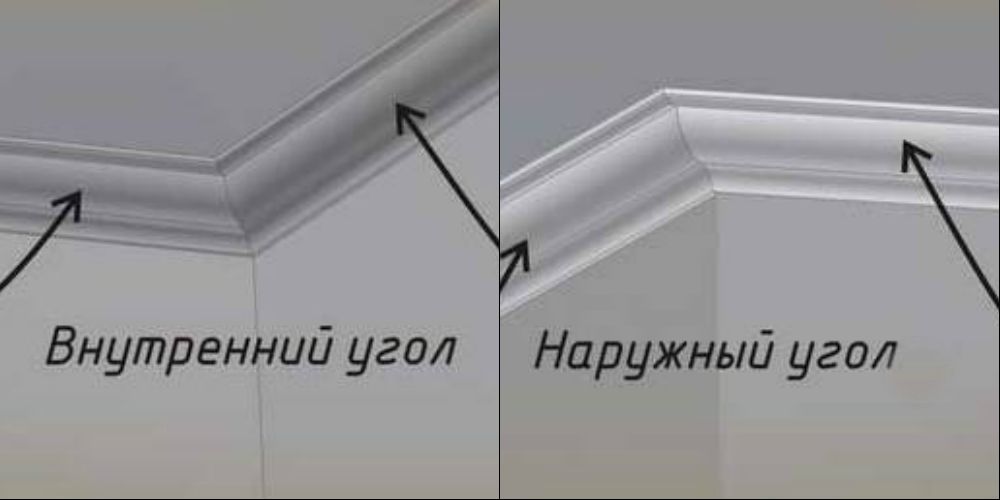
Outer corner
For the outer corner of the baseboard trim is trimmed at an angle of 45 degrees. First you need to check the flatness of the outer corner. If the wall surfaces are in contact with each other exactly at an angle of 90 degrees, then you can use a moth for trimming the baseboard. In order to properly trim the strips of the outer corner, it is necessary to correctly position both sides of the plinth.
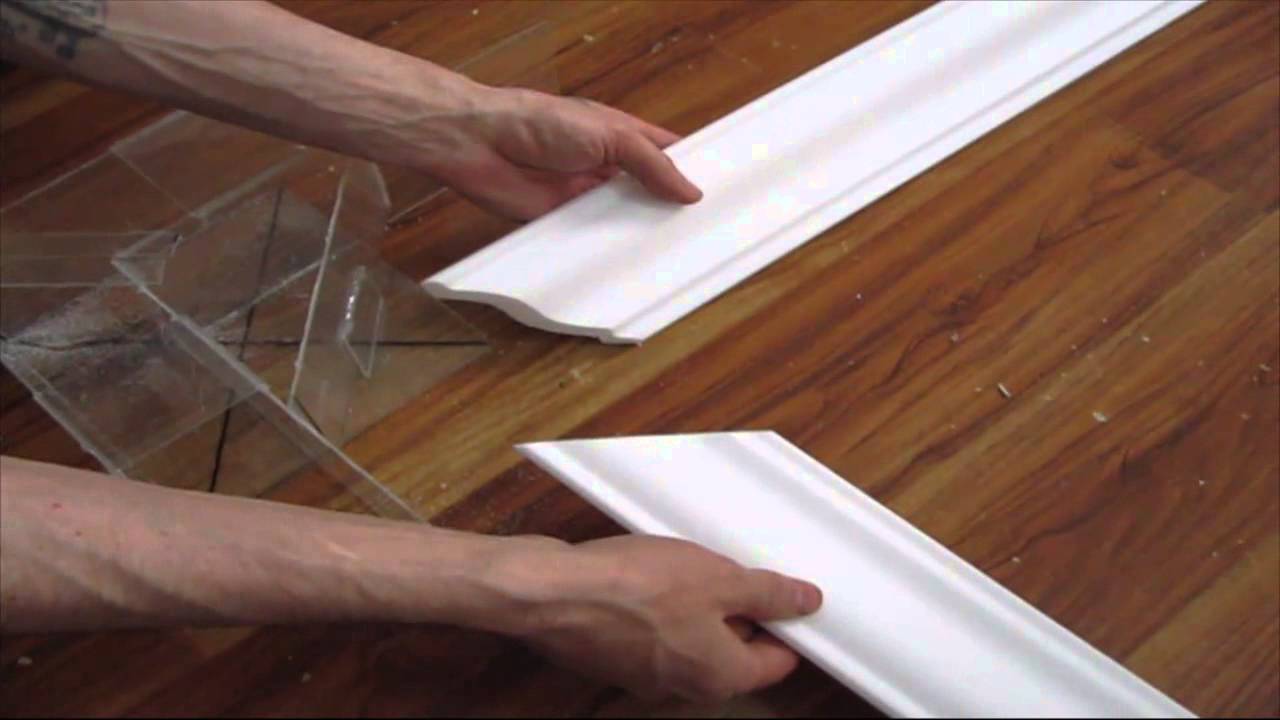
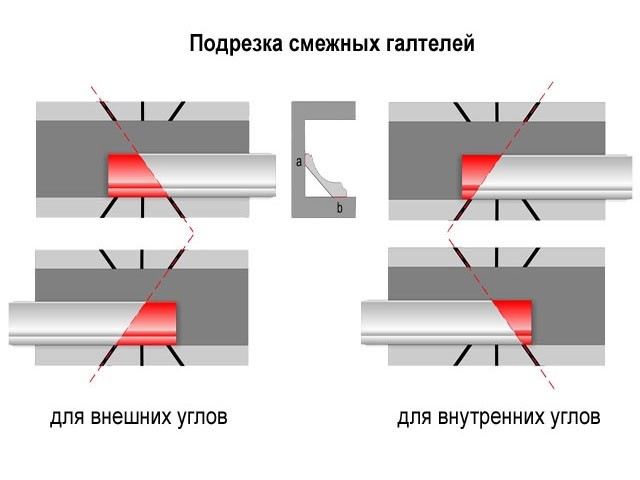
First, you need to outline the length of both halves, and only then cut them at a 45 degree angle.In order not to change the position of the saw and not get confused with the arrangement of the halves of the plinth, it is necessary to correctly position them in the fabric. The left half is placed face up, and the part adjacent to the ceiling should be closer to the center, and the second side adjacent to the wall should be pressed to the sidewall with slots. With the right half, everything is different: you need to put it face down on the trunk, and the location of the adjacent parts to the ceiling and wall here will be similar.
The plank placed in the box for an even cut should be pressed against the sidewall, placing it as close as possible to the slot. Holding the workpiece with your left hand, you need to carefully cut and set aside. The second half of the plinth should be cut in a similar way, not forgetting to turn it face down.
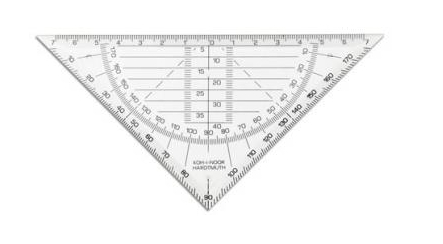
In the absence of a can, you can make his project on paper or cardboard. First we draw a rectangle inside which we draw two more parallel lines on longer sides. On each side inside the lines with the help of a protractor, we postpone the desired angle in different directions.Preparation and subsequent cutting of blanks is exactly the same as using the tool itself.
This method is good because you can postpone the angle not strictly 45 or 90 degrees, but a little more or less, because the wall surfaces in the corners are not always directed towards each other at an angle of 90 degrees, there are errors. Therefore, for a more accurate cut on the canvas shown on the paper, you can draw any angle using a protractor. The degree of the angle is first checked using a protractor, the resulting value is divided by 2. The resulting number will be the exact degree for the correct undercut.
If you wish, you can build a block with your own hands. The easiest thing to do is to make a tool out of wood, you just need to take three planks and put them together in the shape of a letter P. Then make a mark on the side parts under different degrees, make a slot using a hacksaw. It is possible to make a block and from two plates, having previously made slots in them, or used to accurately determine the slope of a drawing with the right angles on paper.
Even a table can be used as an aid. The main thing is that he had angles that could be oriented.
In order to properly cut the outer corners, you can do without the auxiliary tools and drawings on paper, you only need to design the future corner in place.
The plinth of the outer corner always protrudes into the room by an amount equal to its width, therefore, to determine the exact cut, it is necessary to make marks on the right and left half of the plinth. Delay the amount of width needed from the side adjacent to the wall. Then from the resulting point lead the line to the top corner of the half. The resulting triangle must be cut, and the halves docked in place for the preview.
Interior
To match the halves of the baseboard in the inner corner you can use the same methods and tools. The arrangement of the halves in the cut when cutting for the inner corner is identical to the arrangement of the parts used for joining the outer corner. But, it is possible and not to turn the right half of the baseboard for the notch, but only to change the inclination of the notch (use the other notch). In any case, on the left side of the baseboard the line will be inclined to the left of the corner point located on the side adjacent to the wall, and on the right side of the baseboard the line will be inclined to the right of the similarly located point.
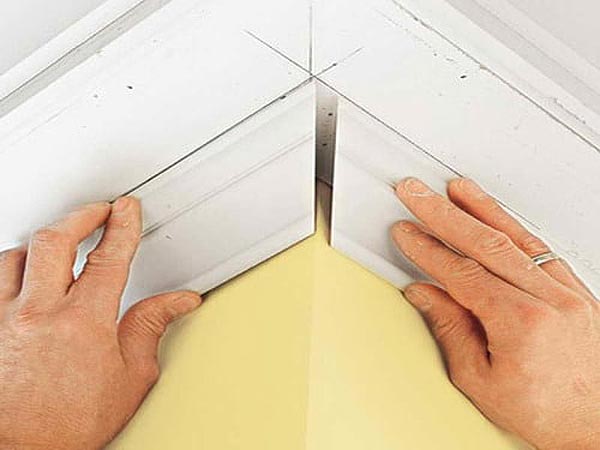
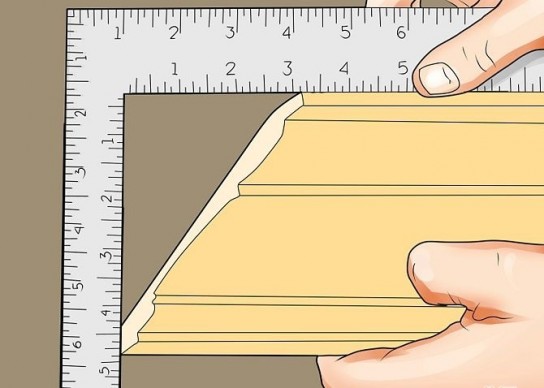
With ideally smooth surfaces of the corner, instead of the lumber, you can use a regular angle. To do this, press the half skirting board to the inside corner of the ruler and cut off the unnecessary part at an angle of 45 degrees. It is not difficult to do this, since the side of the ruler and part of the baseboard form a total of 90 degrees, the notch line divides this angle in half, which means that part of the baseboard will be cut at a 45 degree angle.
For wooden and plastic plinths, making an incision in place will not work, you can only apply the markings on the surface of the plinth, and cut it yourself to make a mark later using a hacksaw or saw.
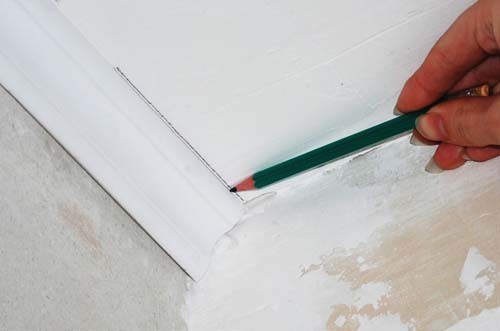
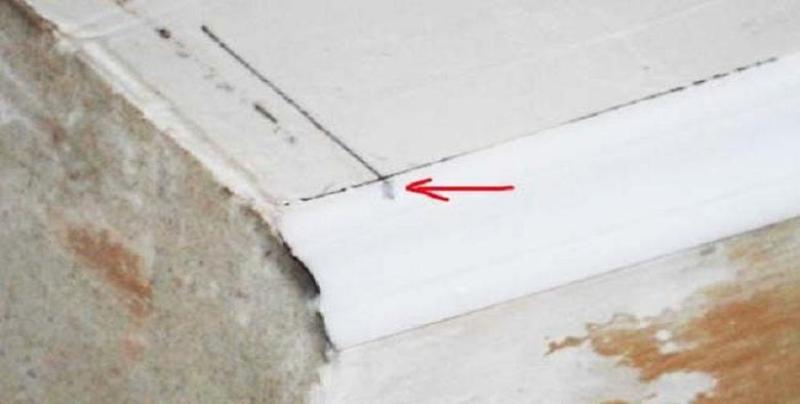
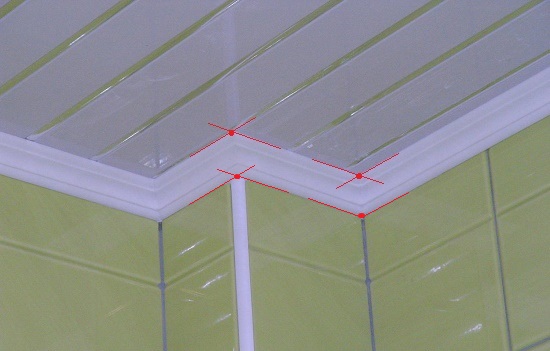
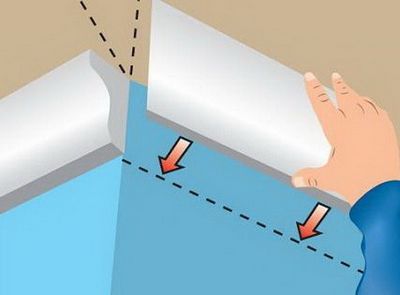
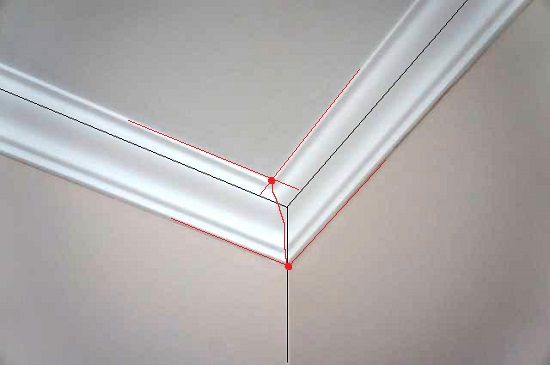
In order to properly trim, and then dock the halves of the baseboard for the inner corner, it is necessary to measure on the spot with a simple pencil. The right blank must be attached to the corner with the appropriate side until it stops. On the ceiling surface along the halves hold the line and put the blank aside. Similarly, we do with the other half.
At the intersection of two lines formed a point with which you need to make marks on each half of the plinth.To put an end, you need to attach a half to the place of joining. From the obtained point you need to draw a line to the lower corner of the half, as a result you get a small triangle, which you need to cut off.
The halves cut in this way must be adjusted to each other, with inaccurately trimmed edges, the sections can be leveled with a knife, if the material used is foam.
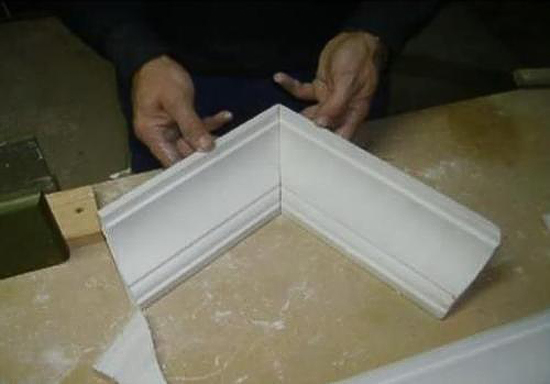
To eliminate small flaws on the cut of wooden or polyurethane baseboards have to use a file. Only after complete coincidence of the cuts, you can begin to fix the halves.
Sometimes a perfect fit is not possible, but there is always a way out. To eliminate the gaps, you can use the putty. The choice of plaster depends on the material of the plinth. In order to eliminate inaccuracies in trimming baseboards, it is necessary to practice using small pieces of baseboard or cut off the slats slightly longer than the intended size. Such a stock will provide an opportunity to make a new undercut in case it was made with an incorrect incline or the material in the cut point was deformed.
Tips
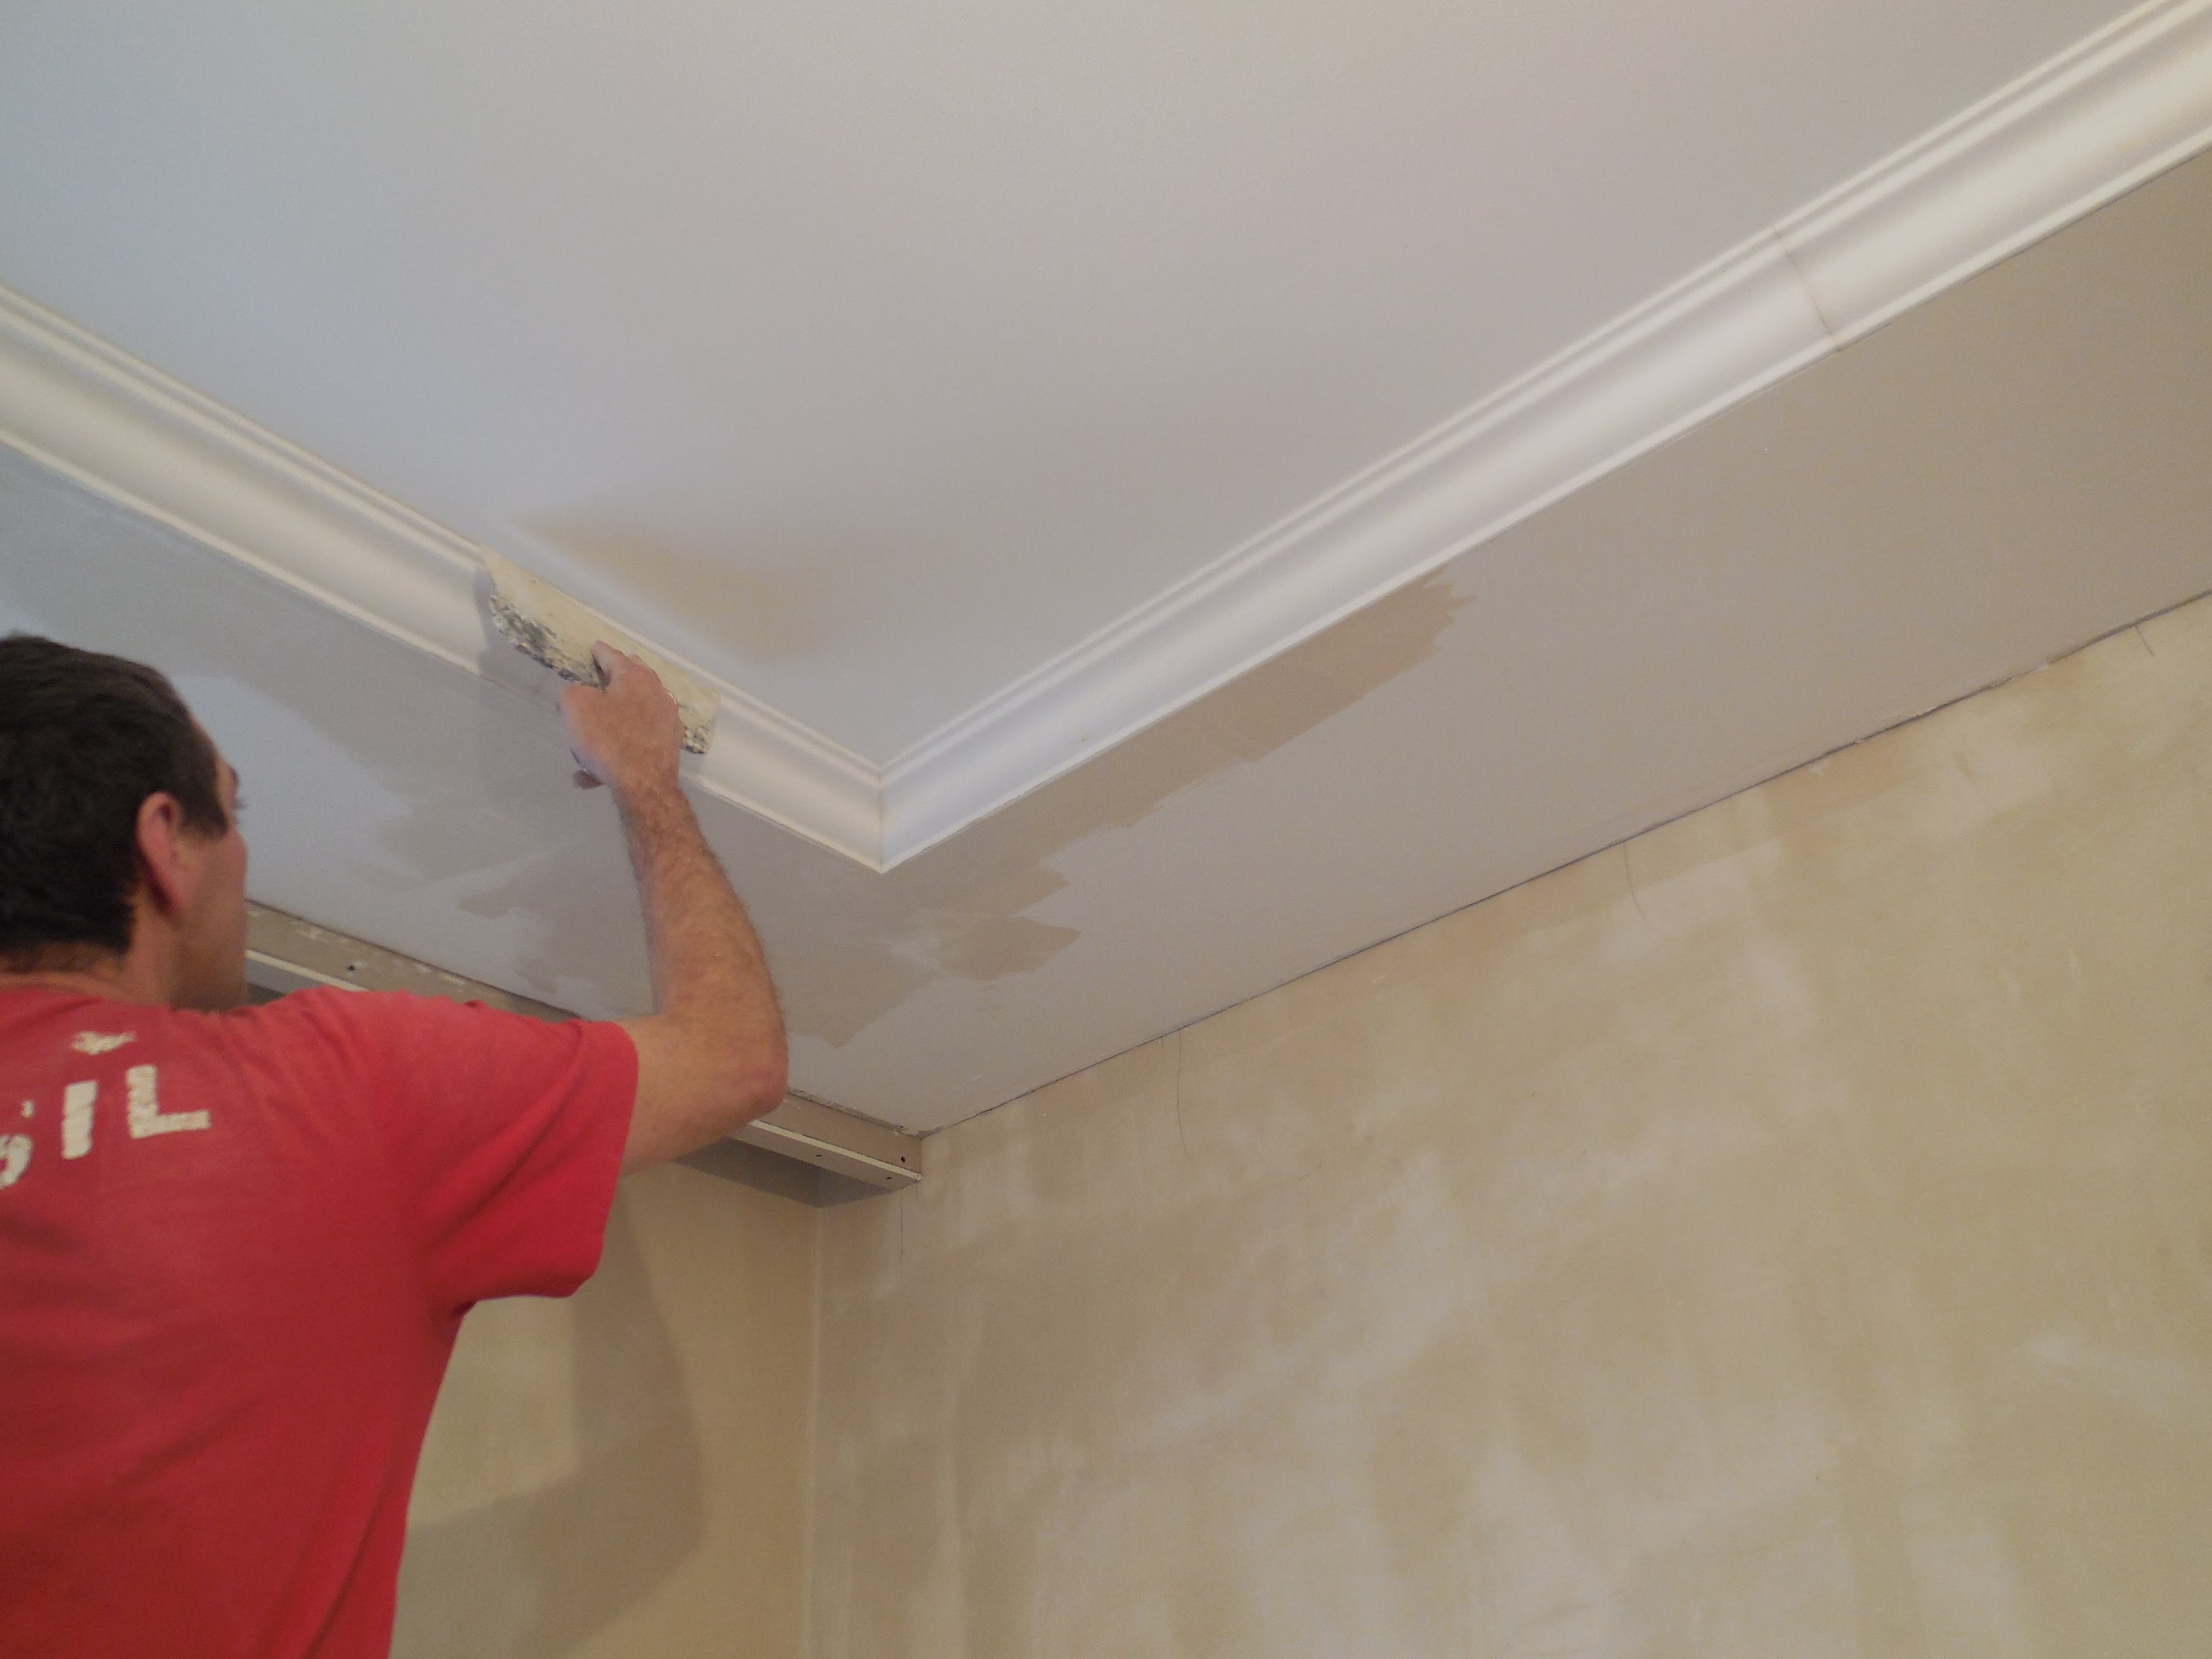
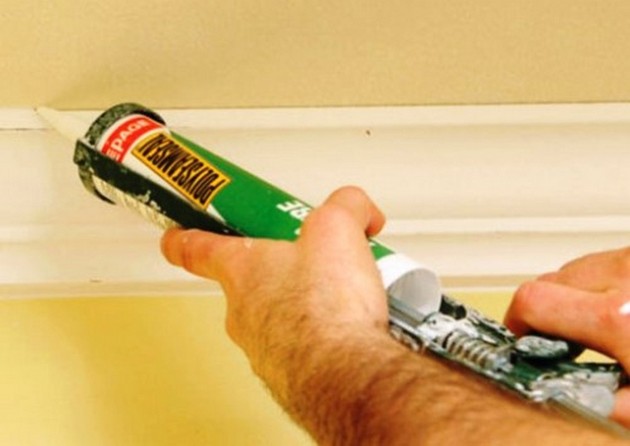
For a good fit of the ceiling plinth it is not enough to trim and join the halves, you need to glue them properly. In order not to have to later cover up the gaps in the corners or redo the work altogether, you need to follow certain recommendations.
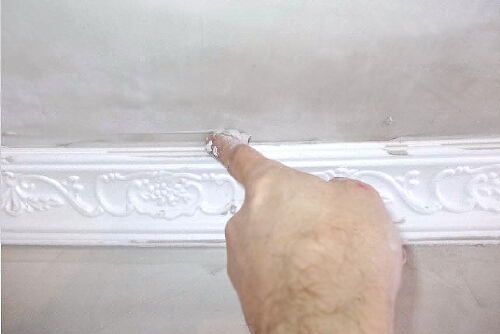
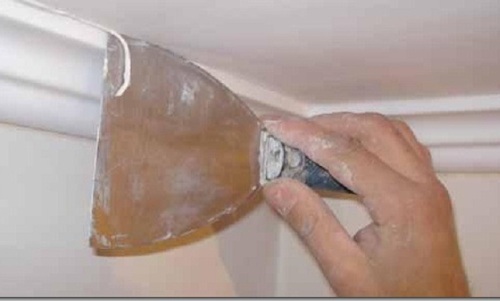
- Before the final installation of the plinth, it is necessary to properly prepare the surfaces that will come into contact with it. Priming or simple treatment of parts of the ceiling and wall surfaces will help improve the quality of adhesion between the baseboard and the surfaces.
- The corners of the room in which the plinth is installed should be designed first. The remaining parts of the perimeter are mounted only after the complete installation of the corner elements.
If there are not only internal, but also external corners in the room, the priority in the design is at the internal corners, as there is a risk to make a mistake with the length of the plinth.

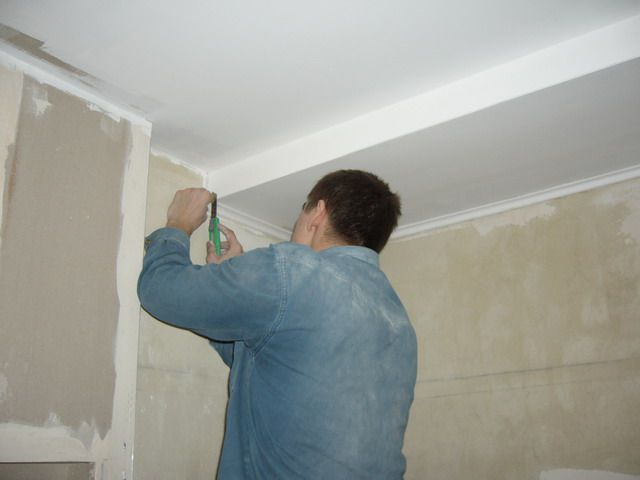
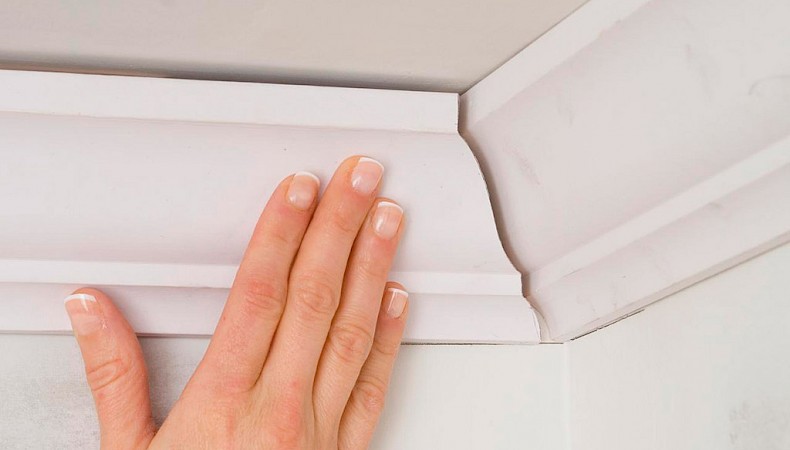
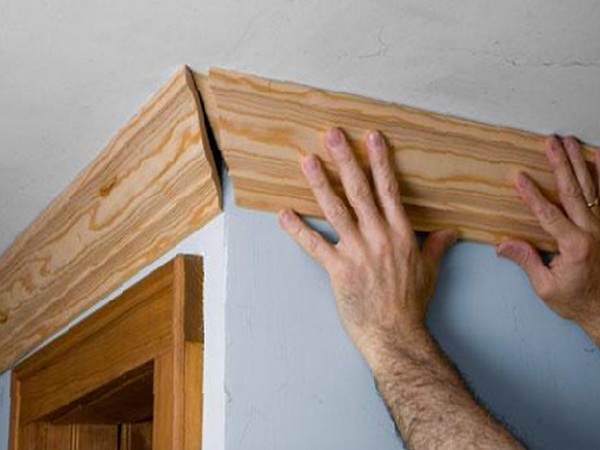
- In order to fix the ceiling element without gaps, it is necessary to quite tightly press the baseboard to both surfaces. It is worth remembering that excessive pressure on some materials can lead to deformation of the element.
- To avoid residues of glue on the front surface of the element, you should immediately remove excess adhesive composition, before it has dried.
- Treatment of joints and gaps with sealant should be carried out only after the glue has completely dried. As a sealant most suitable compounds with acrylic.
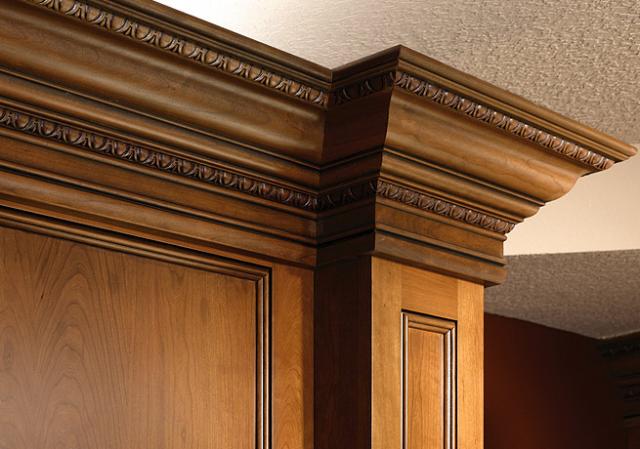
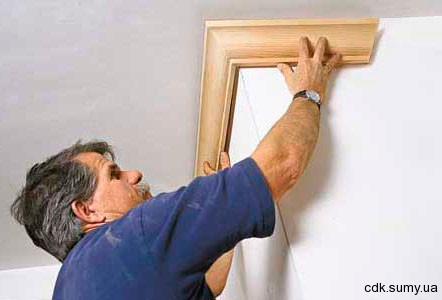
As an alternative to the time-consuming method of cutting, you can prefer an easier option for arranging corners. To date, in the building stores you can see the sale of finished corner elements. No need to cut the baseboard under the desired slope, you only need to fit them in length, and then connect. Ready corner you just need to stick at the junction of the two halves, and all defects will be hidden. It is very convenient when there is no time for fitting or the baseboard material is too heavy in work.
How to cut the ceiling plinth, see the following video.