Subtleties of filing ceiling on wooden beams
In most apartments and houses interfloor ceilings and roofs are made of reinforced concrete, but there are also structures with wooden beams. Therefore, when repairs begin, the homeowners have a question about how to sheathe them so that the surface acquires a modern and stylish look. Today there are many design ideas, thanks to which you can decorate the ceiling in an original way, giving it a beautiful configuration.
The cladding does not present any particular difficulties, they are easy to do with your own hands, using various finishing materials. To do this, it is enough to develop an individual project, select the desired design style and execute a binder, after which the room will be transformed and filled with coziness.

Special features
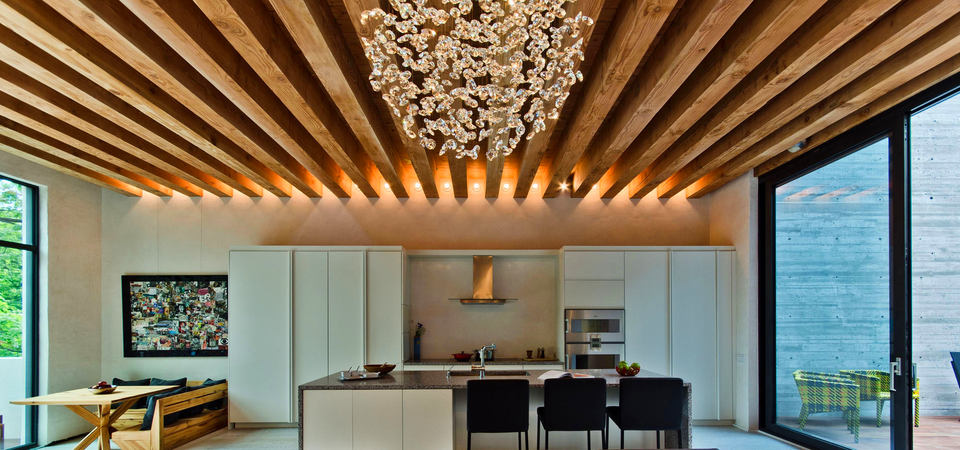
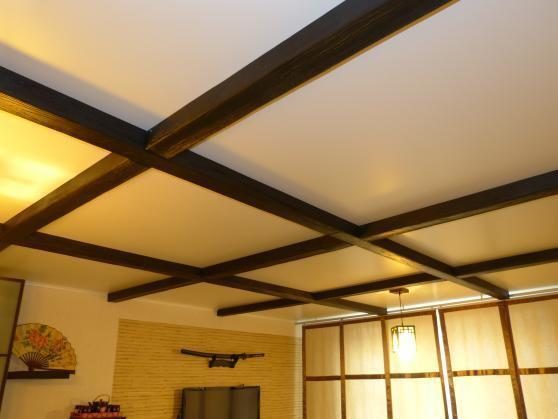
Ceiling ceiling on wooden beams is very popular in modern interiors, as it allows you to create modern designs that harmoniously fit into any design.
The main feature of such ceilings is that they consist of several layers.
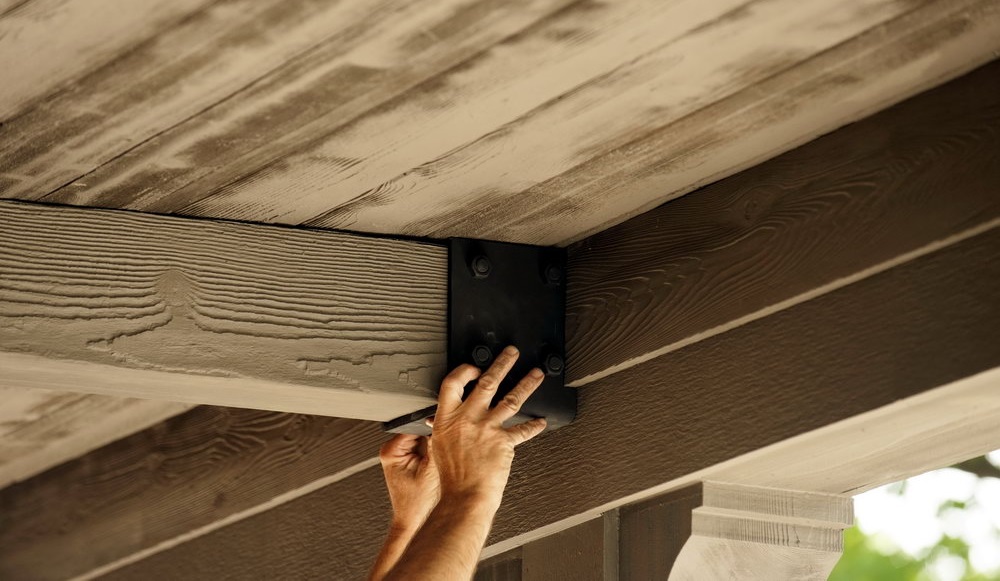
- Support beams. They form the base, are placed on the surface of the ceiling at a certain distance and are attached to each other with a beam.
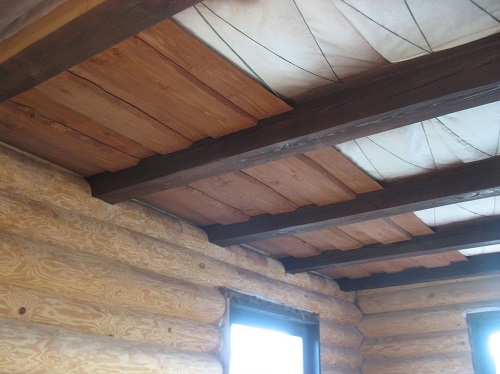
- Attic floor. It is a flooring of wooden planks, which separates the roof from the ceiling.
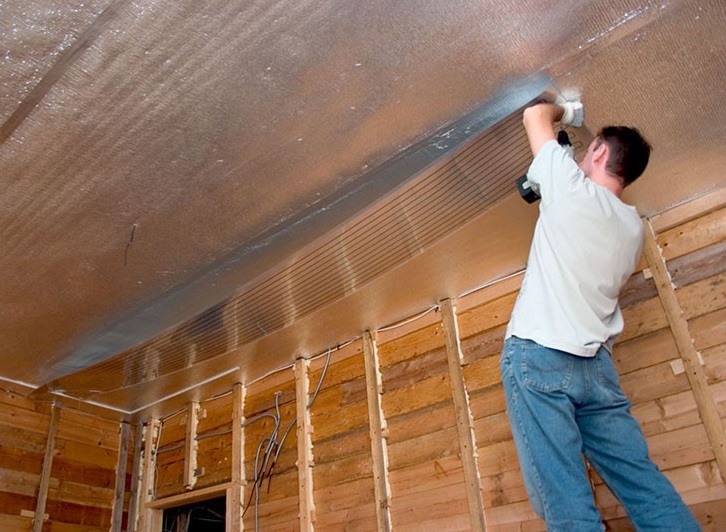
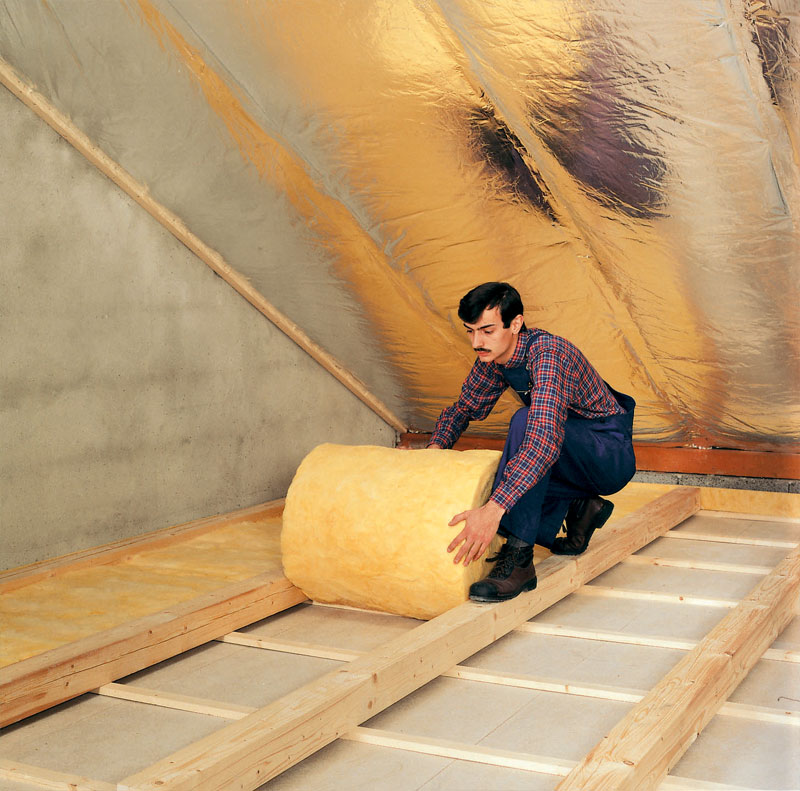
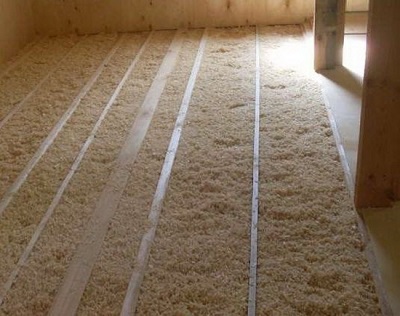
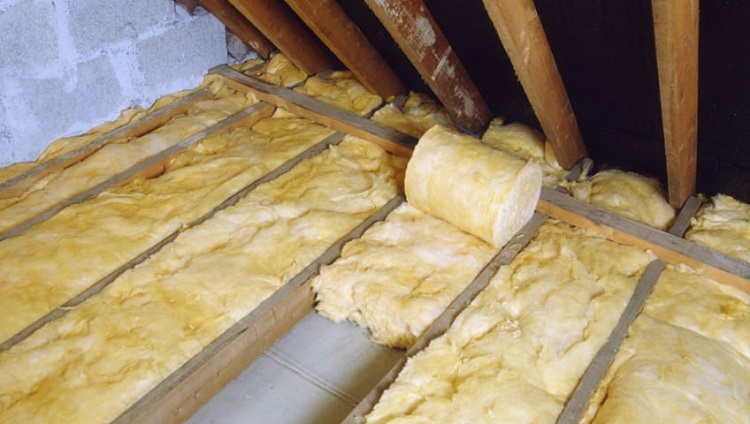
- Insulation. Polyurethane foam, mineral wool and polystyrene are most often used as thermal insulation. This layer of construction protects the room from cold air currents that can penetrate through the roof or floors.

- Vapor barrier. It is laid in order to prevent the accumulation of condensate and create an optimal microclimate in the room.
- Draft ceiling. Is a coating that is attached to the crate, as the finishing material for the skin used OSB slabs, boards or sheets of plywood. The crate is usually made of rails.After installation of the draft ceiling, a decorative lining is performed, with which the coating is either completely sewn up, or the beams are simply hidden.
It should be noted that the method of filing the ceiling is chosen depending on the height of the rooms: if the rooms are small, then they are not recommended to install multi-level and complex structures.
Scope of application
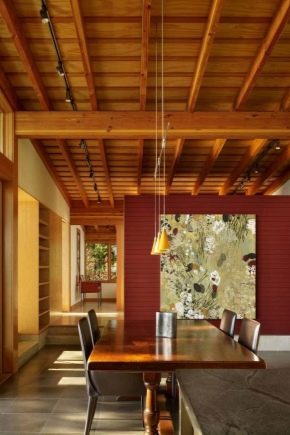
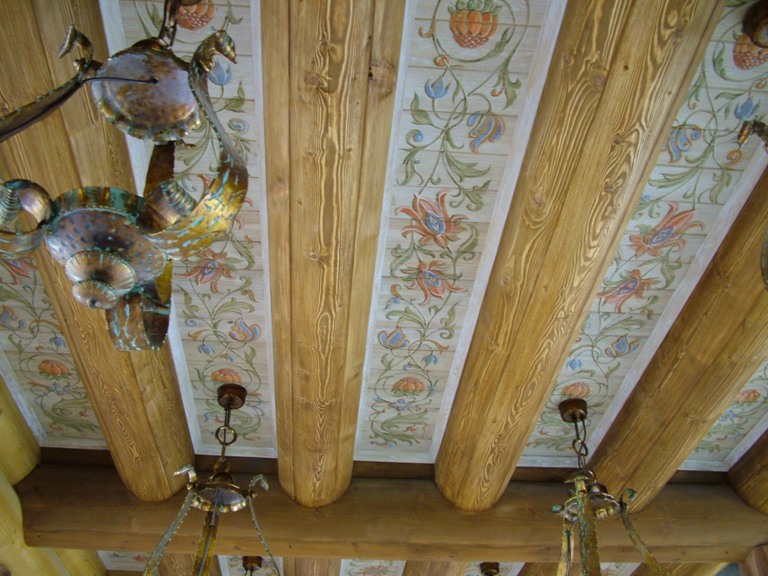
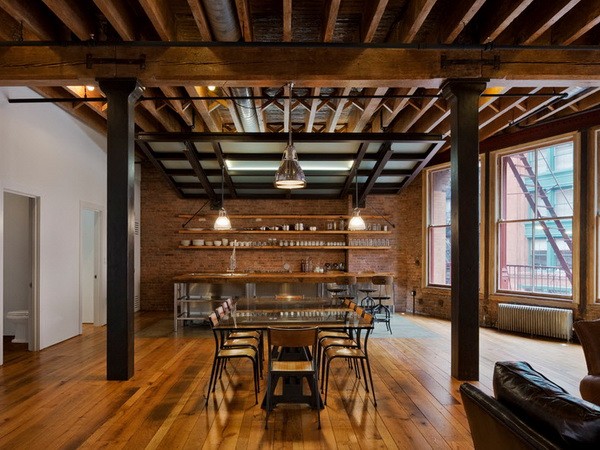
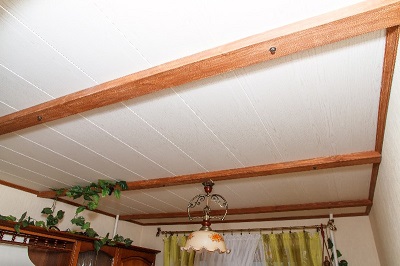
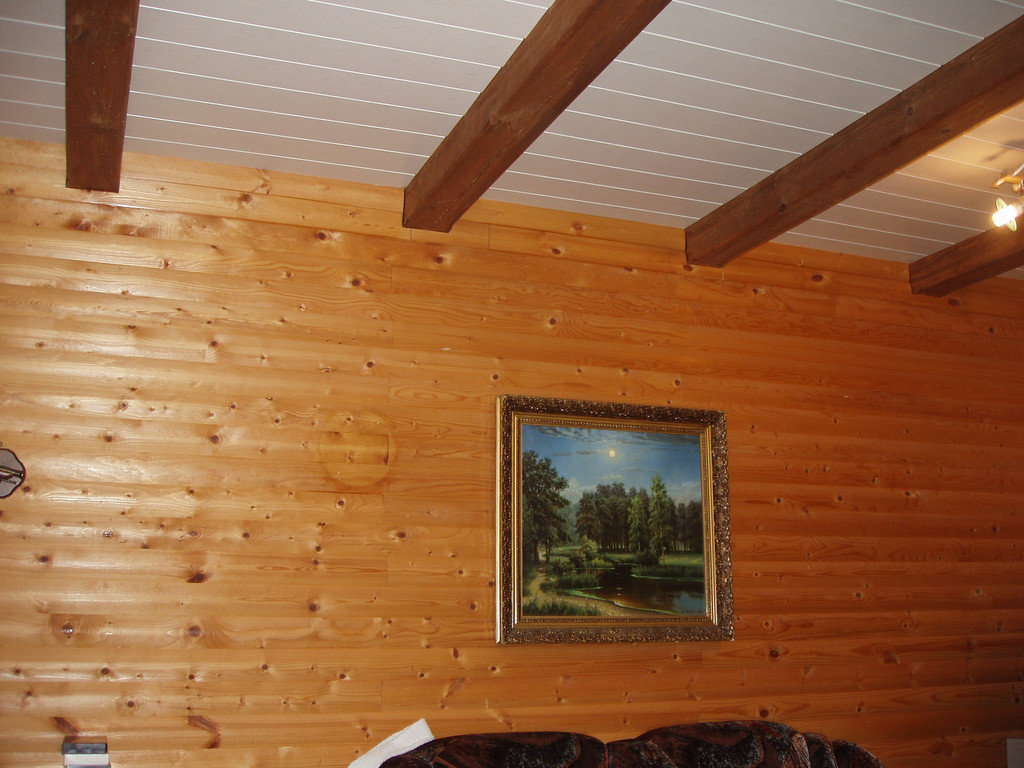
Wooden beams from the beams are found both in the apartments of the old layout and in many country houses. They are usually placed around the perimeter of the room and are made of cheap wood. At the same time in the countryside you can even see logs in the form of round timber. Beams in the design perform not only the role of bearing elements, but often are the basis of the ceiling. If you think out the design correctly, you can turn them into a beautiful element of decor.
The ceiling in the outbuildings and the garage is recommended to hem with OSB or ordinary boards.
When making a design in a private house, both lining and drywall will be suitable, which can be covered with plaster or painted in the subsequent decoration.

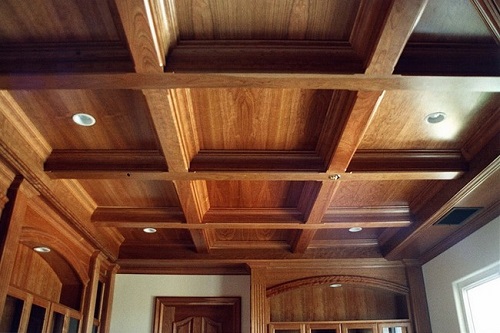
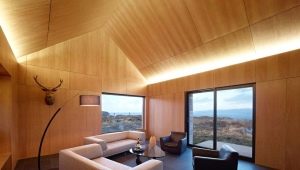
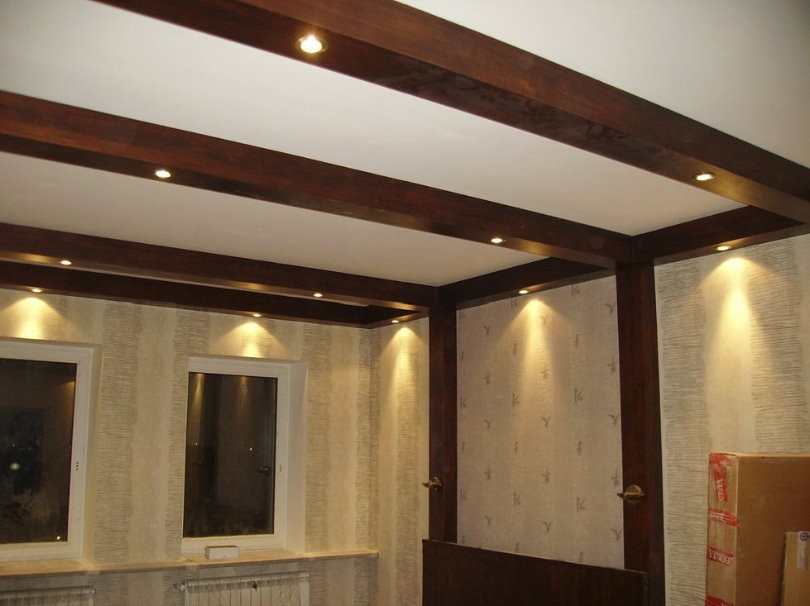
In the rooms of the apartment, the material from the natural array will be an ideal option for decoration, it will give the interior a special chic and fill the space with the pleasant aroma of wood.In living rooms, you can hide the beams under the hinged structures.
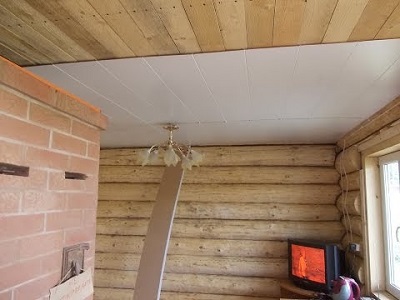
On the terrace, porch, bathrooms, you can hem the ceiling with any decorative panels, but it is best to give preference to products that are not afraid of moisture and temperature changes. As for the ceiling filing on the balcony, plastic profiles are usually used for it, they are well attached to the beams and tolerate any climatic conditions. Apply this type of finish and in the baths. Wooden beams in this case are completely hidden under the clapboard.
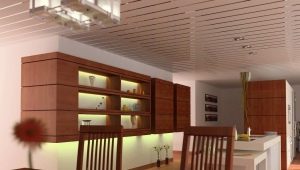
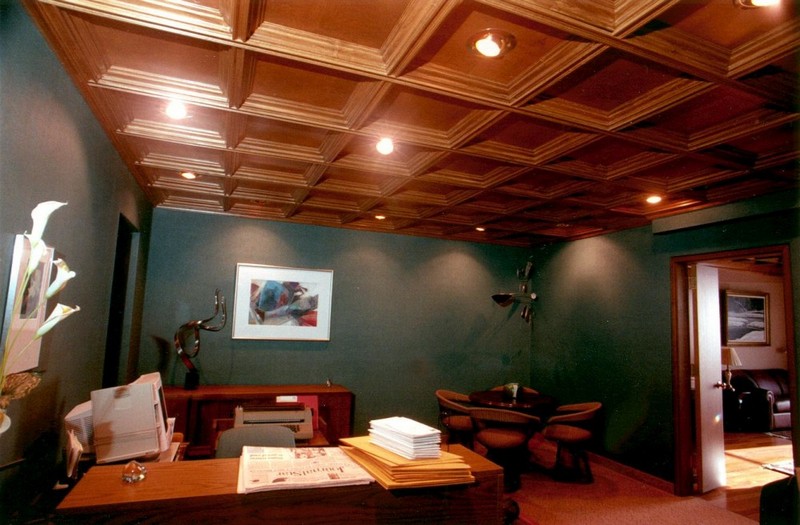
As for office premises and public buildings, their ceilings are equipped with modular systems. They are easy to install, they look beautiful, but they are not suitable for home design.
Regardless of the scope of application, hem ceiling must be insulated and protected from moisture and steam. Therefore, a hydro-barrier is installed between the main and hem overlap and thermal insulation of mineral wool is laid.
Materials
Hem ceiling on wooden beams can be a variety of materials. Looks beautiful designs that combine the original finishes of several panels, as a result of the coating is obtained completely or partially even.Such surface can be additionally pasted over with foam tile, textured wallpaper or painted with paint.
In addition, in modern design for the covering of the ceiling used a variety of materials.
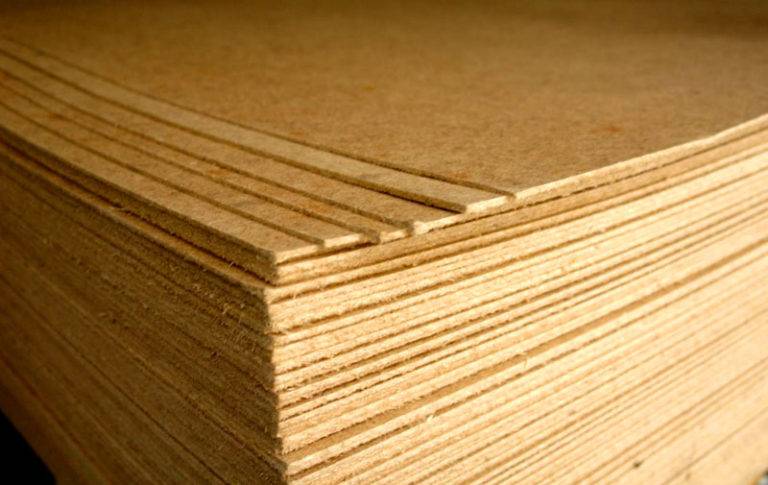
- Fiberboard The sheets of the product are cut in such a way that their end parts are located in the middle of the beam. Fiberboard is fastened to the structure with the help of wooden bars measuring 20 × 40 mm or fixed with special lags. To do this, cut out the grooves in the boards and insert an additional corner or timber. With this type of finish, it is important to ensure that the panels do not sag. Therefore, they are nailed and stacked with a displacement of the seam or in a checkerboard pattern.
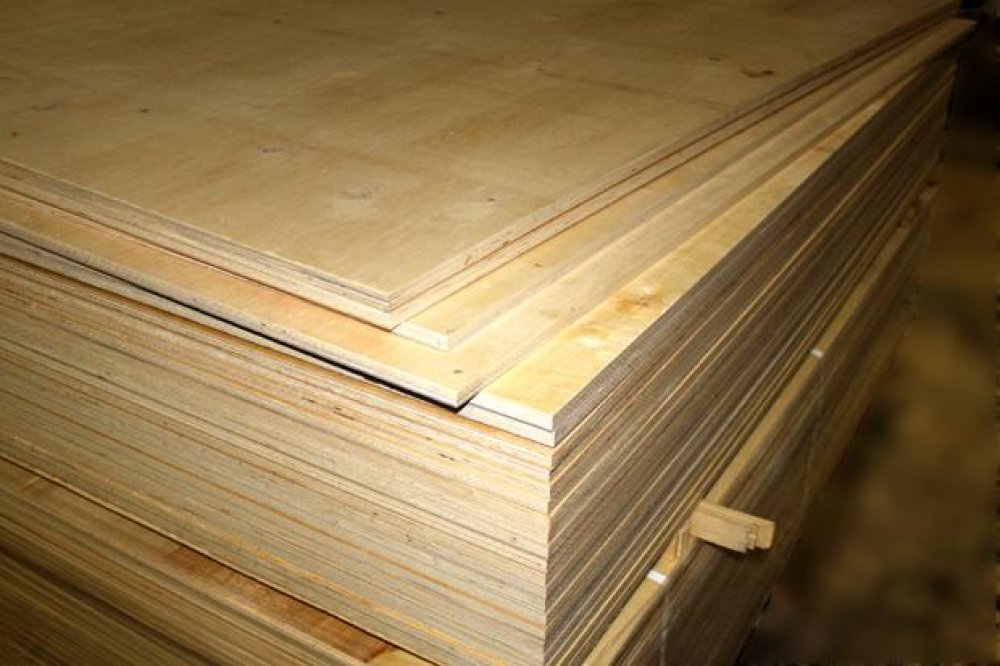
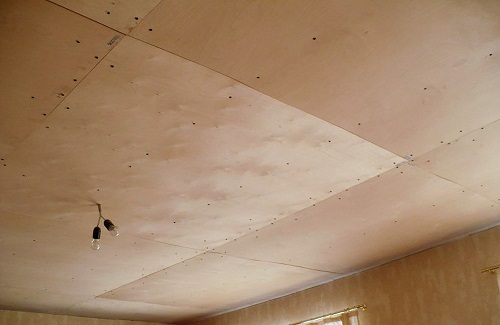
- Plywood. If the texture of wood is not important for the interior of the room, then the ceilings are sheathed with plywood, it is attracted by screws and nailed. At the same time, it is necessary to pay attention to the thickness of the beams, since this material is heavy. The thickness of the sheets is chosen depending on the distance between the lags. At the end of the trim seams close up putty wood or mastic. Then the surface is well primed and covered with a finishing finish.
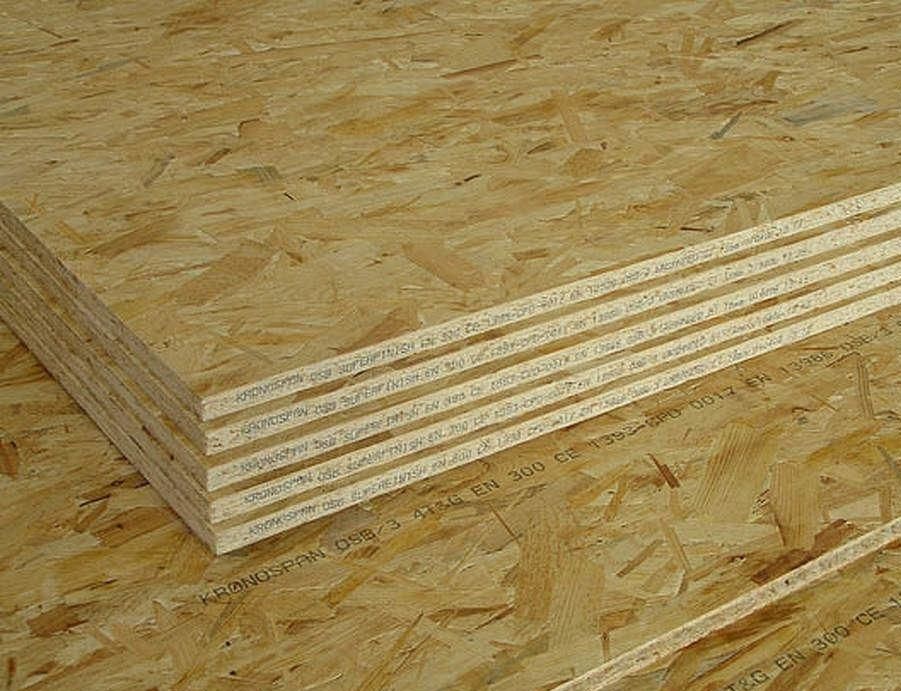
- Plates OSB (OSB). This material is considered to be inexpensive, easy to install and well treatable. OSB stove can sheathe ceilings in any premises. The only drawback of the product is the presence in the composition of the resin, but if the material is made with high quality, then during its operation formaldehyde emission will be small. The plates are assembled quickly, since they are similar in design to the wall paneling and have special grooves. After such plating ceilings get a flat and seamless surface.
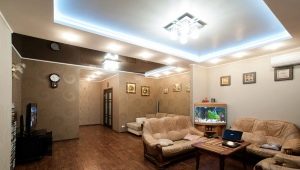
- Drywall It is the most common material for covering surfaces, it is easily attached to both wooden and aluminum frame. With it, you can create beautiful multi-level systems or simply arrange the insert between the wooden beams. After installing the plasterboard, it is necessary to seal all the joints, for this they impose a special construction grid and putty on it with a putty.
In rooms with high humidity it is recommended to use sheets with a thickness of 10 mm, and for warm and dry rooms suitable for drywall thickness up to 9 mm. You can also fill the ceiling with aerated concrete.

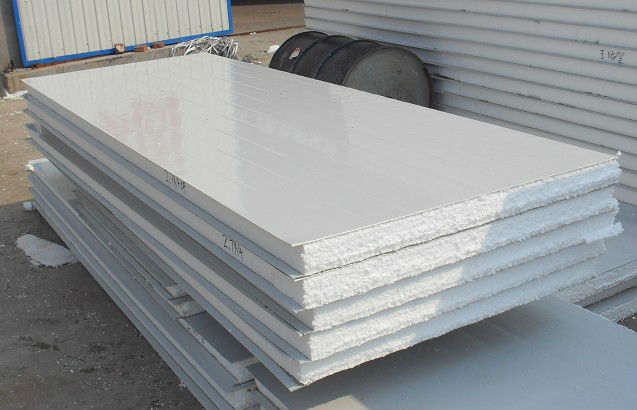
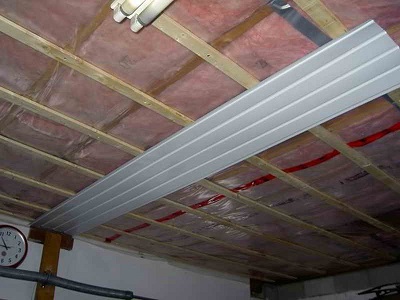
- Sandwich panels. They are an excellent insulation that easily fits with a special connection. The panels are screwed to the beams with self-tapping screws, after which they are painted. Material is issued with an opaque and glossy surface, does not need additional processing. They can either completely cover the ceiling or make separate inserts vertically or horizontally.
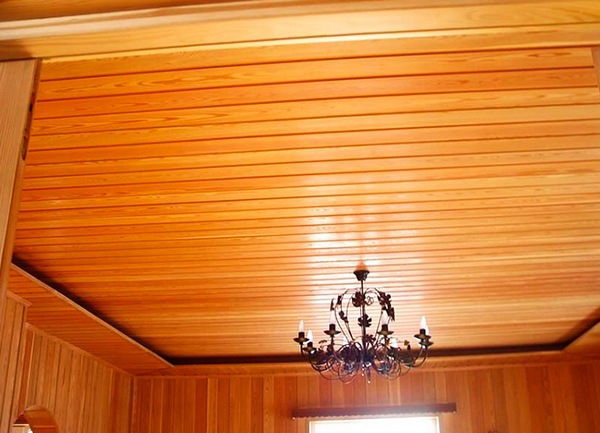
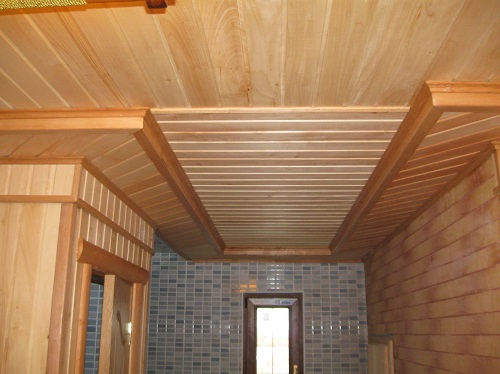
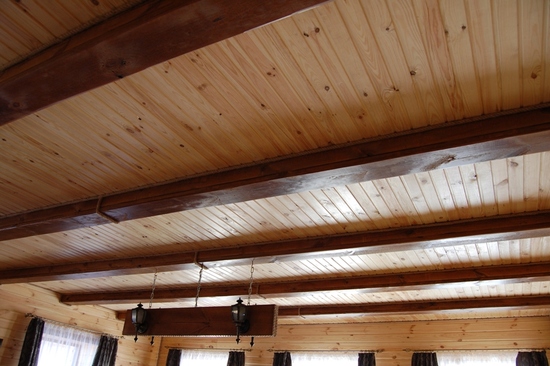
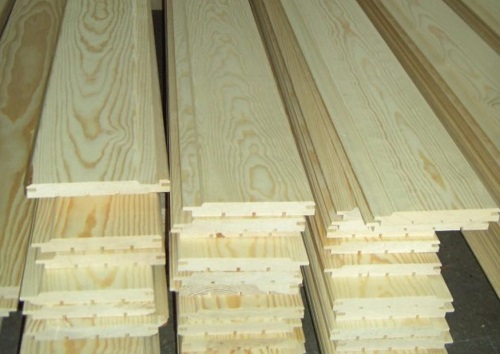
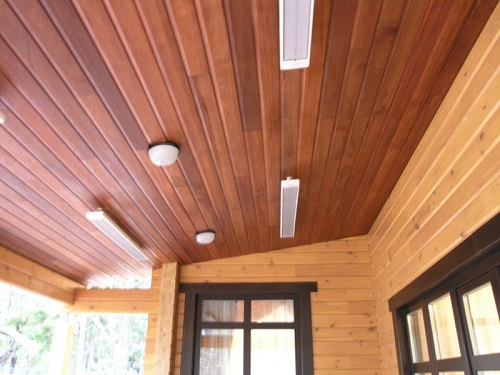
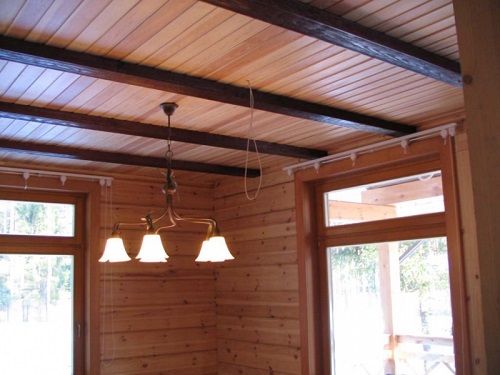
- Wooden wall paneling. It is one of the most popular types of material that looks beautiful in the lining of private houses, the product is wood-friendly and has a pleasant aroma. The ceiling decorated by the board maintains a certain microclimate in the room, absorbs excess moisture. If you correctly install such a structure, it will last for many years and perform a good sound and heat insulation. Most often for cladding choose lining of cedar, alder, pine and oak. Its width is from 30 mm to 150 mm, and the length can be up to six meters. Of course, such a lining is considered expensive, since, in addition to installation, the boards need to be additionally coated with varnish, which, when dried, creates a protective film and makes the coating resistant to moisture.
With the help of varnish, the ceiling can be given both a matte and glossy surface. Lining is installed using a system consisting of a ridge and a groove. To fix the boards you need at an angle of 45 degrees. Usually, a trimming board with a thickness of 25 mm is chosen for plating; it allows you to close the entire length of the ceiling and does not create gaps.
- Tensioning system. As a rule, such constructions are assembled after finishing all the finishing works. You can install the ceiling with your own hands, as the installation does not require special tools and equipment. In order to fix the "French" ceiling, you only need to prepare a building dryer, a spatula and choose a canvas according to texture and color. In addition, before starting work the room is recommended to warm up well. Such designs look great in the interior and allow you to originally hide the wooden beams, which often do not fit into the image of modern design.
- Plastic panels. Superficially resemble the look of the wall paneling, they are produced in widths from 50 mm to 100 mm. The ceiling sheathed by plastic has seams, therefore it is often called rack. For finishing, you need to choose panels with a thin wall, they are much easier to attach to the frame and, if necessary, can be easily removed.In addition, such plating does not require the installation of a massive frame. Usually, white plastic with a width of 25 cm is used for the work, it is fixed to the beams using a stapler. If desired, you can use the panels of different colors and textures, as the material is made with a matte, glossy surface, as well as with imitation of wood and stone. As a rule, plastic panels are installed in bathrooms and kitchens, where high humidity does not allow the use of other types of materials.
In addition, plastic can sheathe not only the living quarters, but also the ceilings on the terrace, veranda or in the garage. They are easy to wash with soapy water, do not fade in the sun, and originally ennoble wooden beams.
- Siding. This material is ideally combined with any types of finishes, therefore, allows designers to translate into reality a variety of ideas. It is possible to sheathe suspended ceilings in residential premises with siding or hide wooden beams on the terrace, balcony or veranda.
Installation
Sheathe the ceiling on the wooden beams is quite possible with their own hands. To do this, you first need to prepare all the tools, material for finishing, as well as glue and woodworking mixtures.In the case when the beams will be the basis for the overlap, they should be carefully checked for the presence of fungus and mold. If there are defects, then the lags need to be treated with an antiseptic solution, and the cracks and chips are puttied.
After completion of the preparatory work can be performed installation, which consists of several stages.
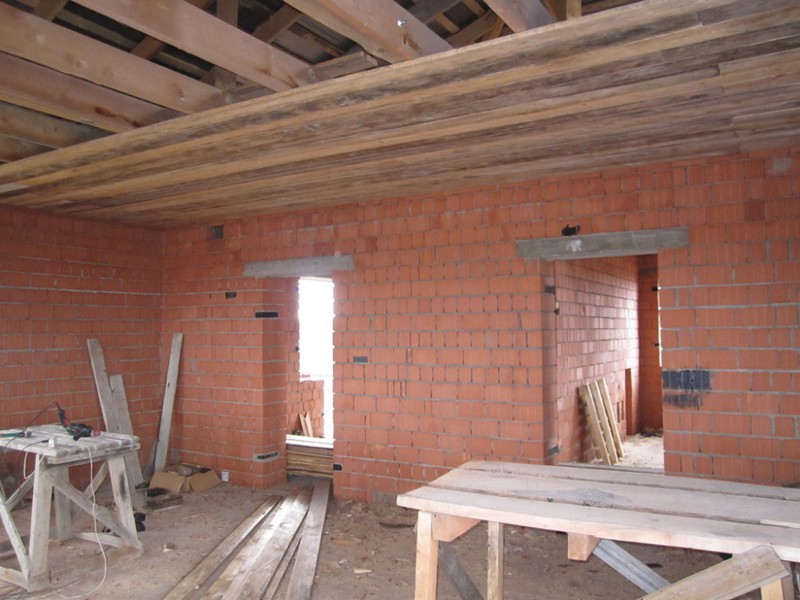
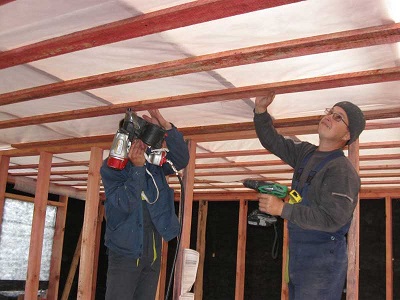
- First of all, you should create a vapor barrier layer and close the beams. This is best done with a plastic film or parchment that is easily attached with a stapler. Then the logs should be lined with any rough material, most often used for such purposes edged board. If the ceiling turned out to be crooked, and the overlap has differences in levels, it must be leveled.
- The next step in the work will be laying insulation, it will keep heat indoors and will not let the cold air flows from the roof or interfloor overlap. This is especially true of the first floor plating in the apartments. Mineral wool or foam is used as insulation.
Claydite can also be laid, but it will require concrete tightening on the aerated concrete base.
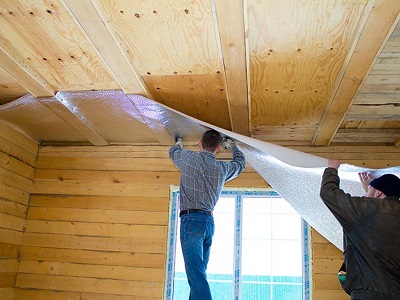
- After installation, the insulation is additionally laid vapor barrier layer. To date, there are many materials with which you can provide a natural structure of air, but the main one is considered membrane polyethylene.
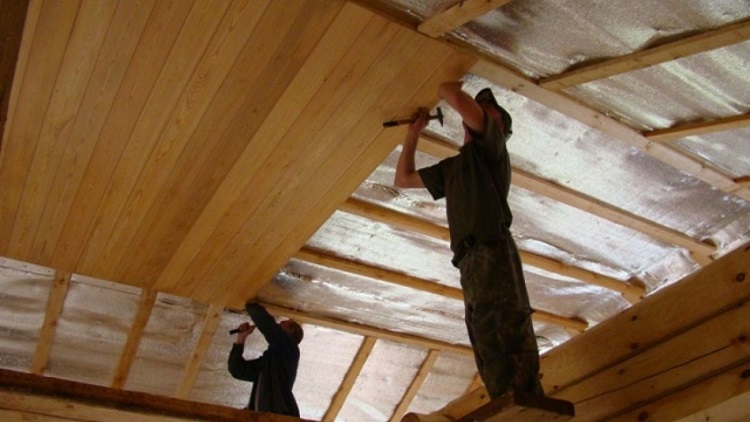
- The final stage is considered roughing device. The covering is sheathed with plywood or professional sheet.
In that case, if the work is carried out in a private house, the finishing should be done, given the functional purpose of the attic. In many buildings, it can serve as a residential attic, and simply act as non-residential space. For the attic, which will accommodate a full-fledged room, you need to add aluminum foil to the overlap layer, it will help avoid heat loss in the house. In addition, when making the attic, they lay a layer of sound insulation consisting of sawdust and mineral wool.
Boards, which are used for lagging, are fastened with long nails and slaughtered, they should be laid tightly, leaving no gaps.
The ceiling sheathed in such a way should not only be beautiful, but also maintain the microclimate of the room. The aesthetic appearance of the whole structure will depend on the correct installation of the finishing coating.Therefore, work must be done slowly and adhere to all plating technologies. To simplify installation, it is recommended to pre-chart the ceiling, specify the laying of heat, steam and sound insulation in it.
The slightest inaccuracy in the trim may adversely affect the subsequent operation of the entire structure.

Tips
To decorate the modern interior of the dwelling, as well as to hide the wooden beams in the ceiling, there are many finishing options, among which the surface cladding with decorative materials is in great demand. It’s not hard to make a sheathed ceiling, but for beginners, the advice of professionals can help.
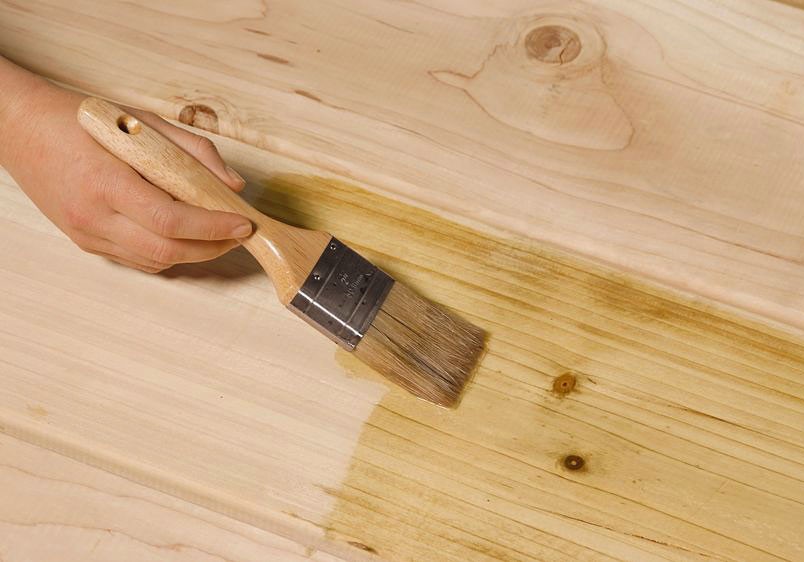
- It is necessary to begin work with impregnation of a tree with an antiseptic. It protects the material from moisture and damage, and also saves paint during painting.
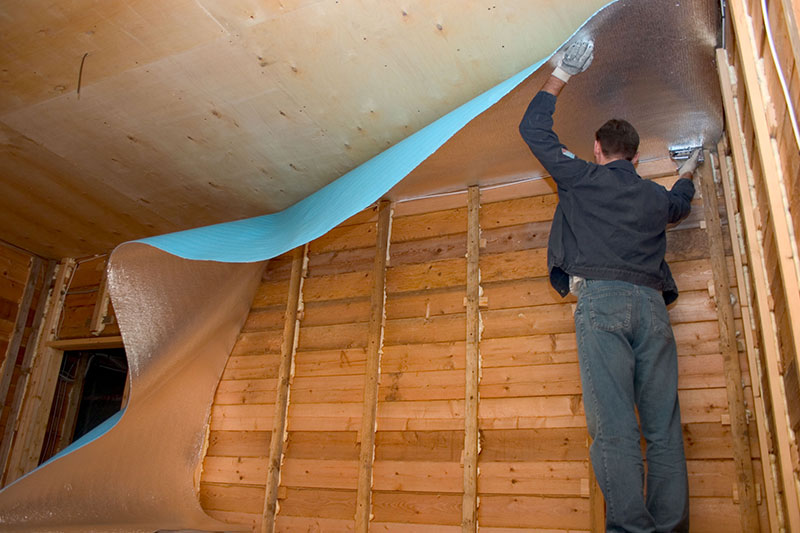
- For insulation, it is best not to use a conventional film, but to give preference to a material with a foil-coated polypropylene-based coating. Thus, you get a high-quality vapor barrier, and condensate will not collect, which can cause damage to the wood. In addition, the film must be laid on the rough ceiling so that there is room for ventilation.
- During the formation of the draft ceiling, it is important to pay attention to its design features, and to carry out finishing according to a previously drawn pattern. This not only speeds up the installation, but also saves ceiling material.
- Boards are selected in accordance with the length of the room, so there will be little waste.
- It is advisable to lay wooden slats from the inside of the structure, placing them towards the opposite wall. After they are adjusted, they are fixed to the beams using self-tapping screws.
It will be difficult to cope with such work on your own, so you will need the help of several people who would apply and support the boards.
- The size of the cladding material must be calculated before installation, and if the panels do not meet the standards, they can be cut with an electric jigsaw. In this case, the length of all boards should be equal to the length of the rails.
- During the plating, great attention must be paid to the corners of the structure, since if the vapor barrier is installed incorrectly, a mold may appear in them and the tree will rot.
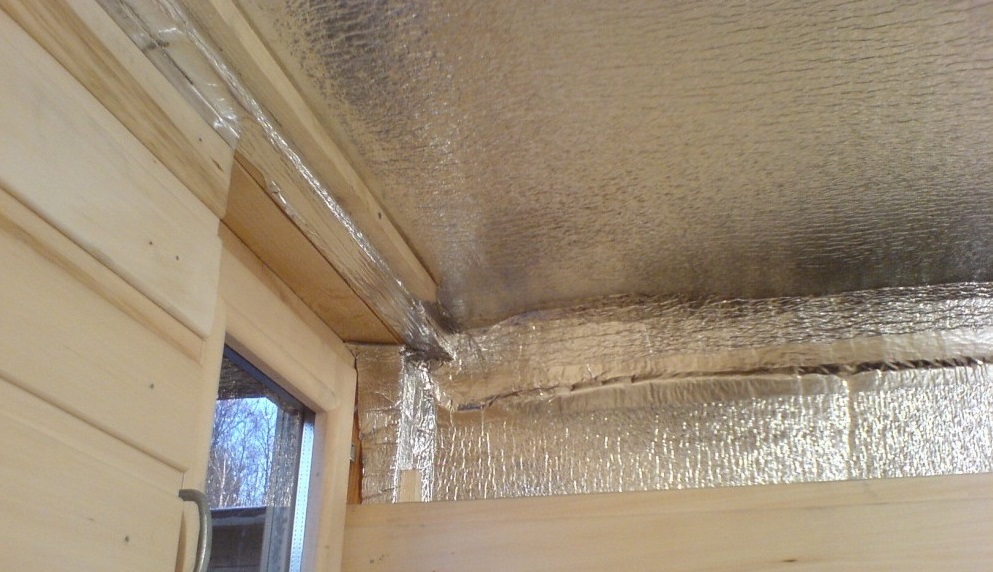
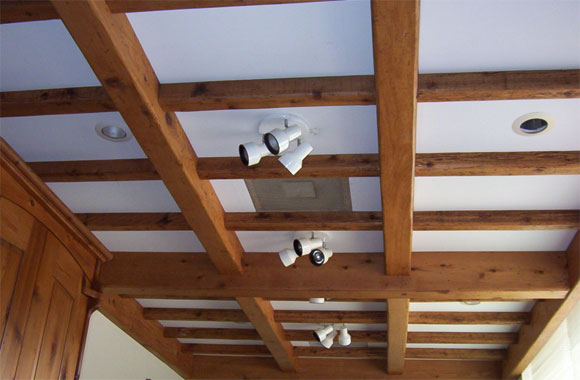
- Places where the installation of lighting fixtures is planned should be lined with heat-reflecting foil 20 × 20 cm in size.Before installing light sources, it is necessary to take into account their location and provide the system with a protective layer against fire.
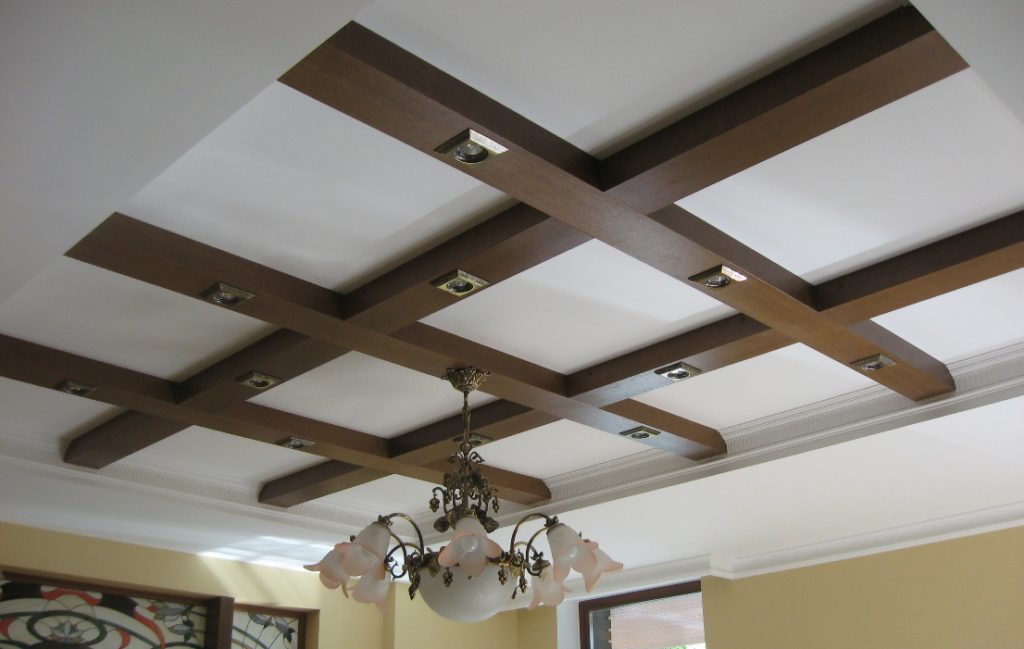
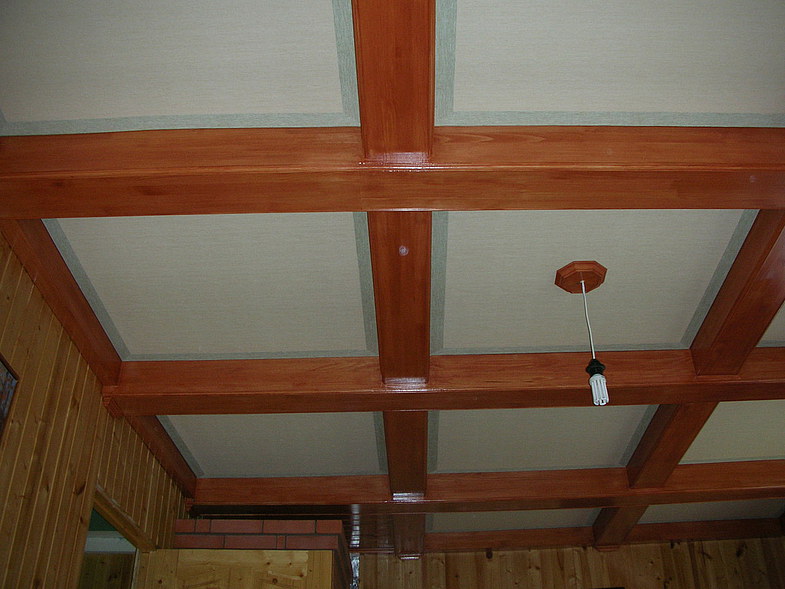
- It is possible to sheathe both the ceiling and its separate sections completely, leaving the beams as a decorative element. Wooden lags in the interior look beautiful when combined with other types of finishing materials. In the event that the overlap is uneven and has many defects, it is better to decorate it with hinged systems.
You can learn more about how to make a decorative ceiling from wooden beams.