Moisture resistant putty for the bath: features of choice
When repairs are planned in the apartment, special attention is always paid to the placement of bathrooms and sanitary facilities. In order for the new interior to look neatly and long to please the eye, it is necessary to take a responsible approach to the choice of finishing materials. The bathroom and the toilet are characterized by increased humidity and frequent fluctuations in temperature, so these characteristic conditions should be taken into account when purchasing building materials and planning work.
General information
The correct choice of putty will make a durable and high-quality repairs, as well as prevent the occurrence of mold and mildew. In any building supermarket for sale there is a special moisture resistant putty for resistant coating that meets modern requirements and quality standards of work in damp rooms.
If you approach the repair wisely and take into account some of the nuances, the preparation of the walls and ceiling for painting or laying tile in the bathroom will be done without difficulty.

What should be putty
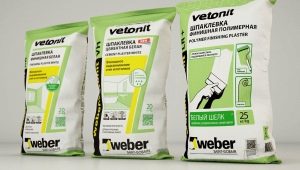
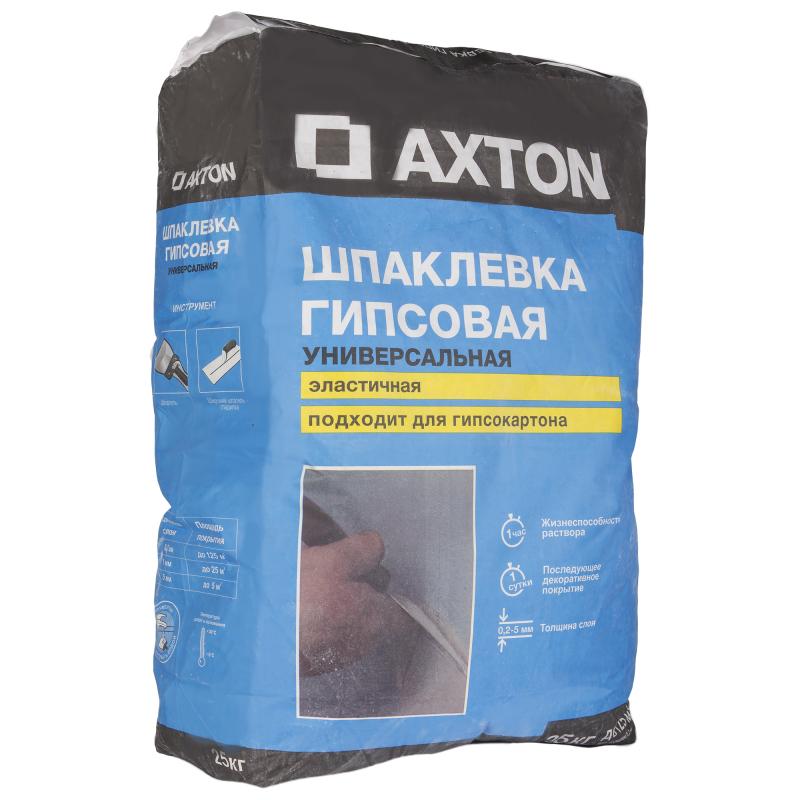
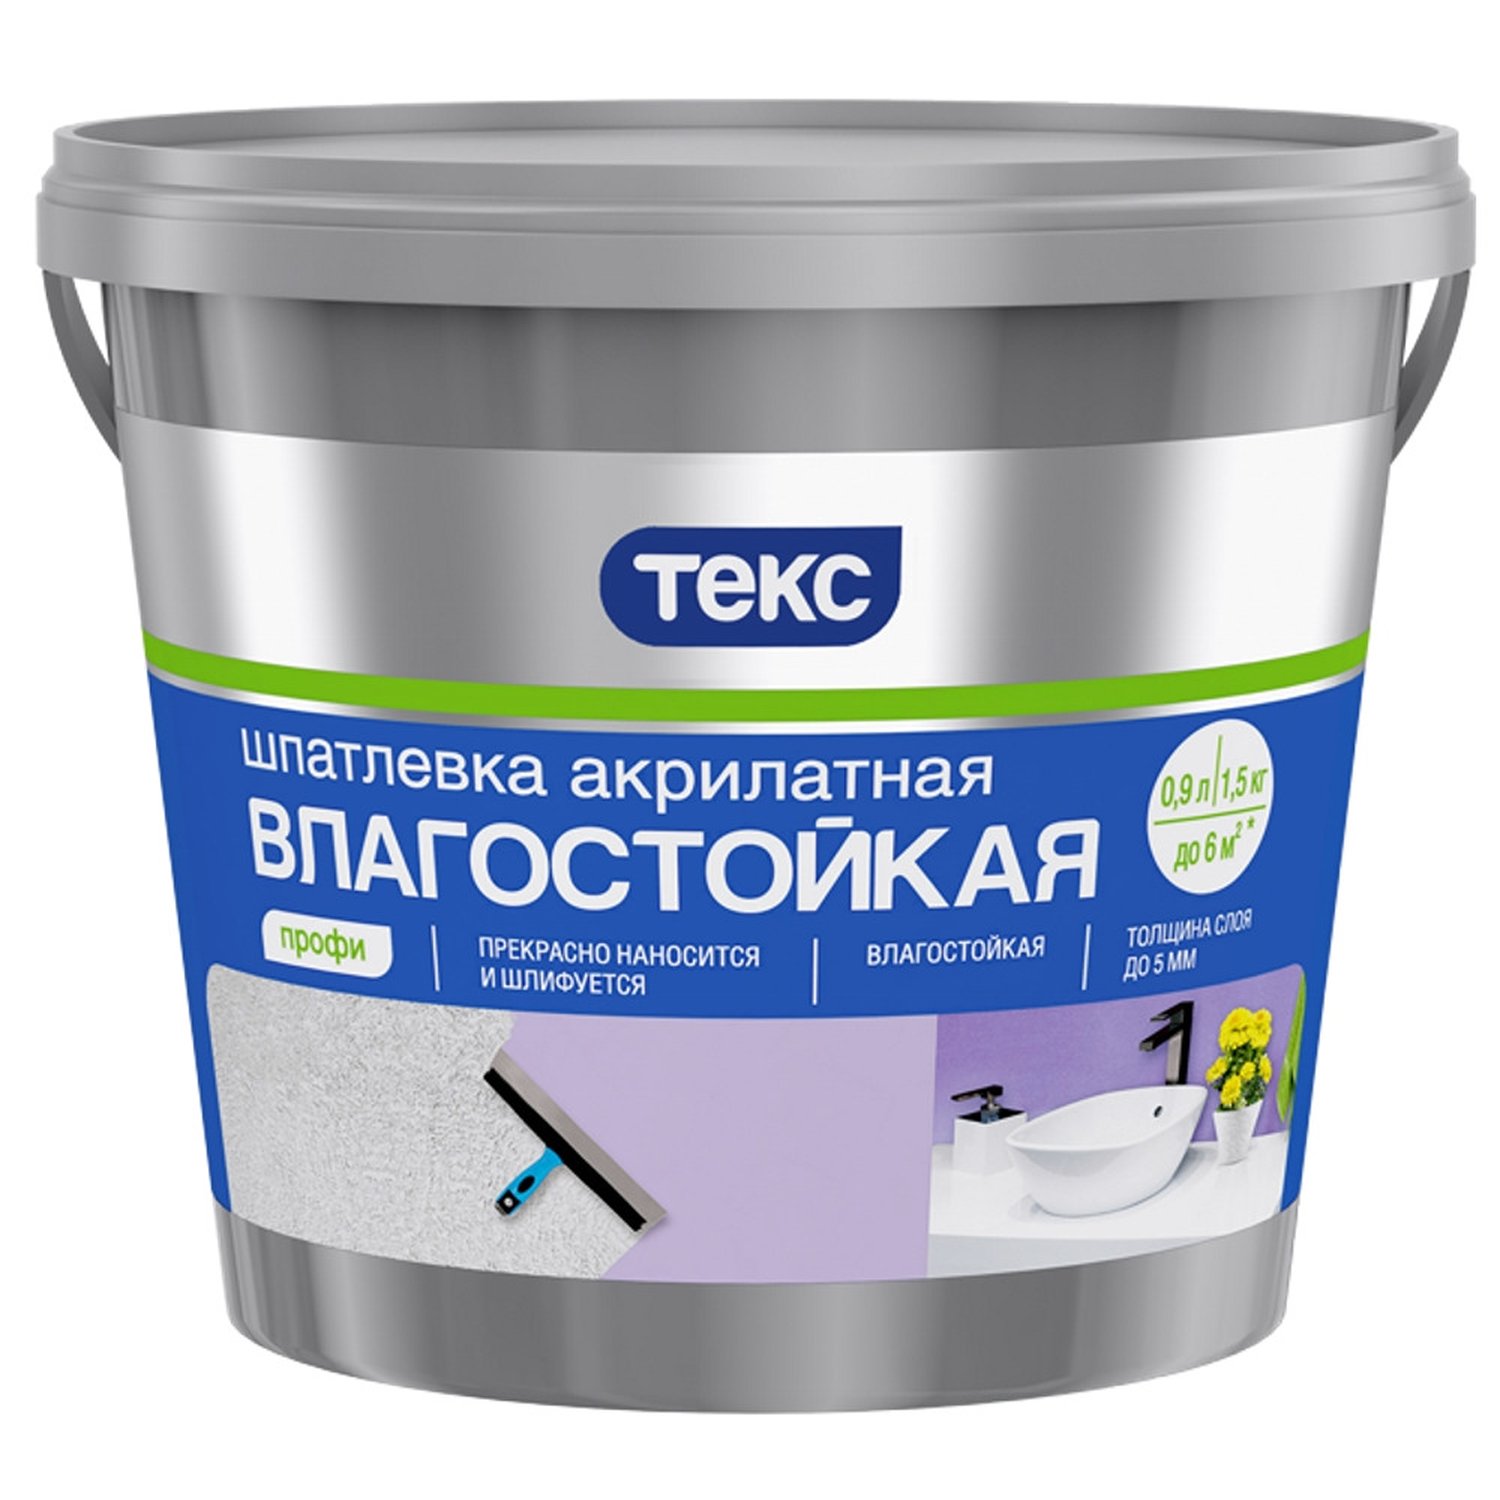
The basic requirements for the material are understood based on the conditions of unstable humidity and temperature of the premises. Putty should have minimal hygroscopicity, such as Tex or Axton, to remain resistant to steam and water. In the process of polymerization and further use this property should not be changed.
The coating created on the surface of the walls and ceiling is also subject to the requirements for the absence of deformations and displacements of the layers under the influence of high temperatures. From this quality putty depends how well on the coating will keep fine finish.
The durability of the coating must meet modern quality standards, which imply the operation of the applied material for at least 20 years. An important aspect can be the ecological properties of the putty, that is, the safety of the composition of the mixture for the environment.
Species
The composition of the putty can be:
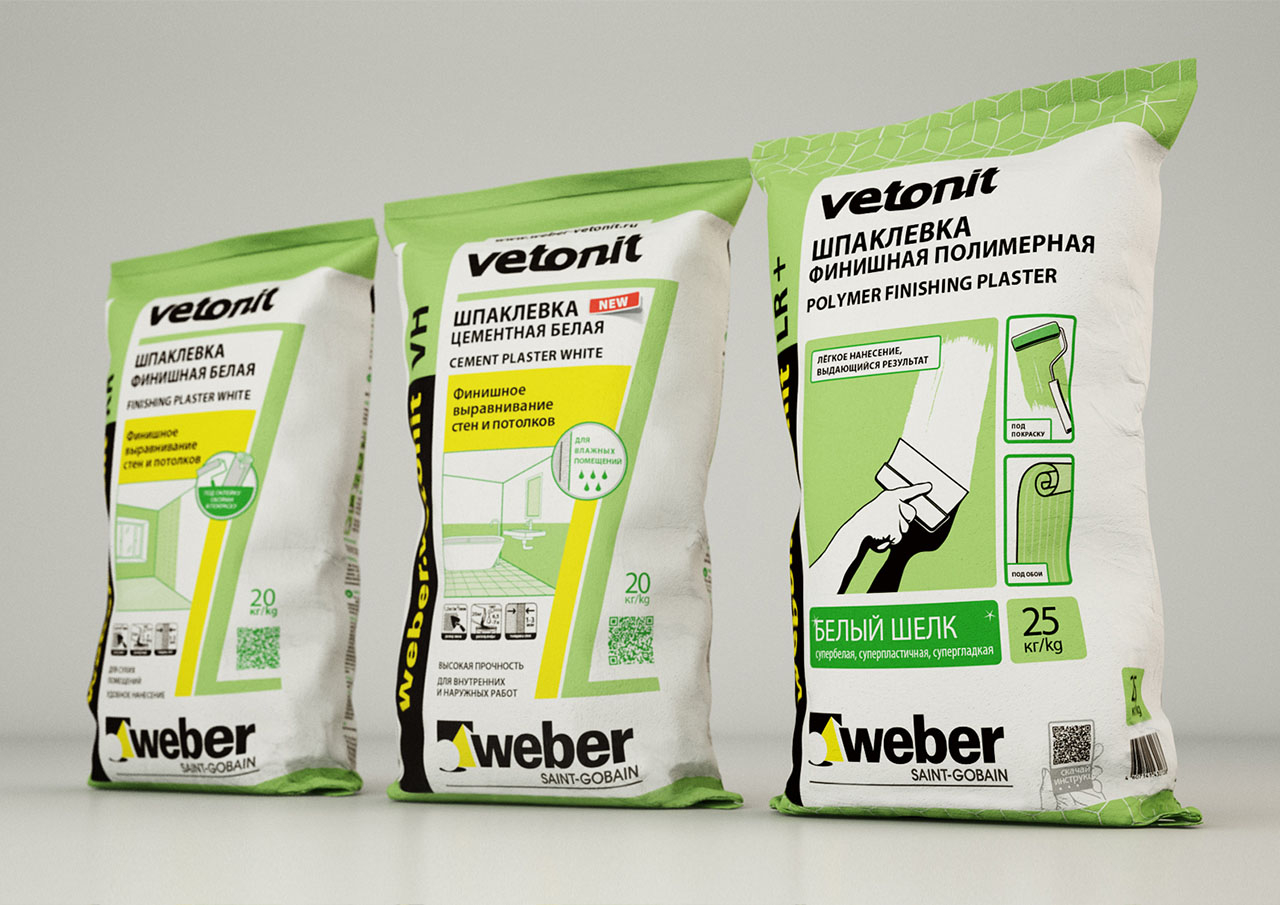
- Cement - waterproof material based on high-quality cement, for example, Portland cement. As polymerization and under the influence of moisture is gaining its strength properties. It is made with the use of fine sand, clinker or marble chips, plasticizers, modulators. It can be used for interior and exterior decorating.
The more often the composition is moistened, the stronger and firmer the coating becomes. The complexity of the removal should be considered if necessary or next repair. Sometimes this putty already contains pigments and can be used without topcoat. Differs in high shrinkage after drawing.
- Polymer - moisture resistant water-dispersed mixture using acrylics or latexes. Differs in high cost due to the greater complexity of manufacturing. It has high plasticity, easy to apply, flexible, economical. Make a composition with the addition of mineral and synthetic impurities. Sometimes marble crumb (grain) is used. It is characterized by low shrinkage and a small selection of choices.
- Facade mixture - quite moisture-resistant material, characterized by high grain size. It is suitable if it is planned to use tile for finishing.
- Gypsum plaster not recommended for use in bathrooms and toilets due to insufficient resistance to water and steam.
- Oil-adhesive - powder coating type, is considered obsolete, is used mainly in utility and hidden basements.
By purpose, the putty can be basic (for rough alignment), finishing, or universal. Basic starter mixtures are more granular, but the most durable, have the highest adhesion. Finishing compounds have a fine grain, well mask the flaws of the starting work, form a smooth and even coating. Mixtures of universal use are good for fixing serious irregularities in the alignment, but they are expensive.
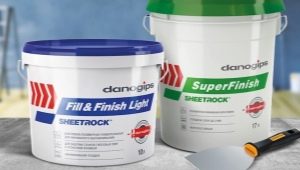
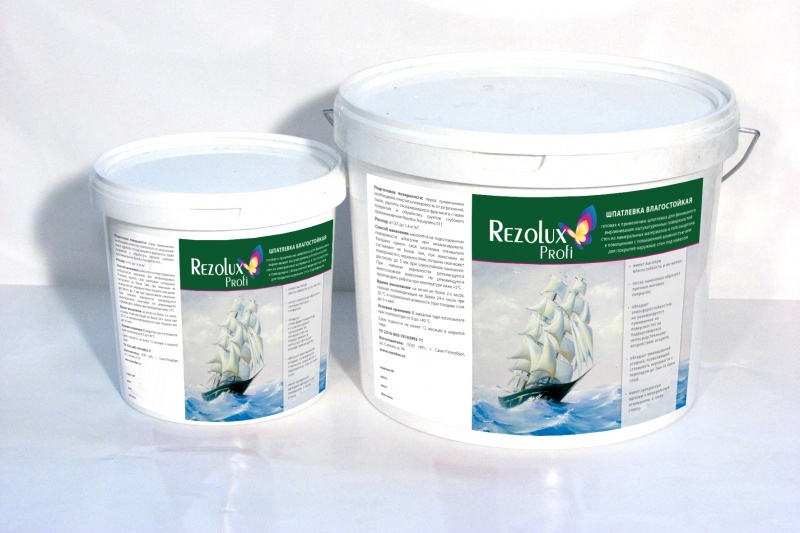
It should also be noted that moisture resistant putty is sold both as a dry mixture for preparation and as ready for application. The dry composition is cheaper, is well stored under the conditions, but it gives more dust and requires increased labor costs.
Ready putty is much more expensive and is characterized by a shorter shelf life, but it saves time during finishing work and does not emit any dust when used. It is necessary to take into account the large shrinkage compared to the dry version.
Application details
Surface preparation
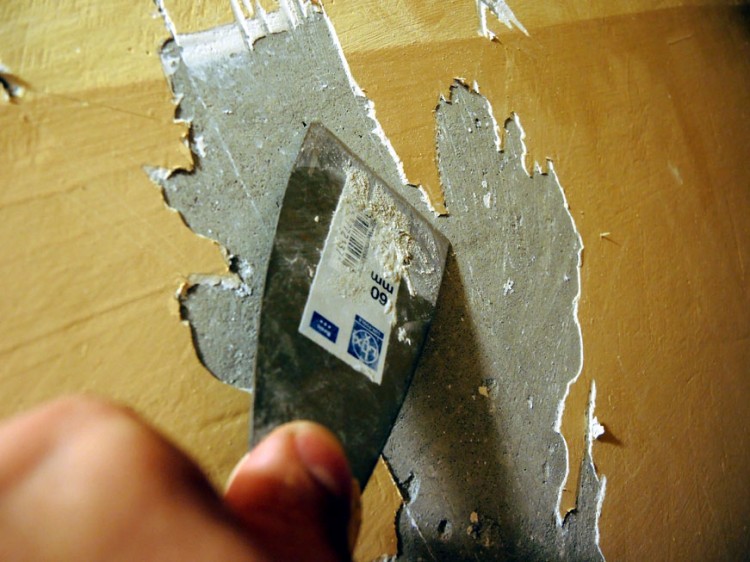
Putty is permissible for concrete, moisture-proof slabs or a layer of rough plaster. First, the surface of the walls and ceiling must be thoroughly cleaned from the old coating. If there are cracks and dimples under the finishing layer, they should be freed from dirt, dust and traces of building materials, if necessary expanded. Speakers screws, screws, parts of the reinforcement must be removed (cut or knock down). Use a damp cloth to rinse the surface to be prepared from dust, and treat fatty areas with soapy water.
Then you need to carefully examine the working area for the presence of traces of mold and mildew. If parasites are detected, it is necessary to clean the affected area and apply a blowtorch.
It is important to treat the entire surface with antiseptic antifungal solutions. After disinfection it is worth waiting for the walls and ceiling to dry completely.
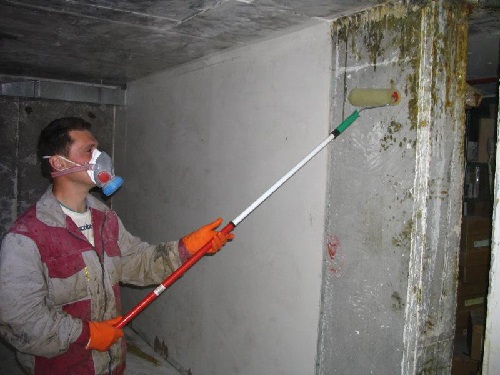
The next step will be the priming of the room. You need a deep penetration primer. Surface primer is not suitable due to the formation of a smooth surface with poor adhesion. If an antiseptic is already included in the finished solution, you can skip the previous stage of processing (provided there are no signs of damage).
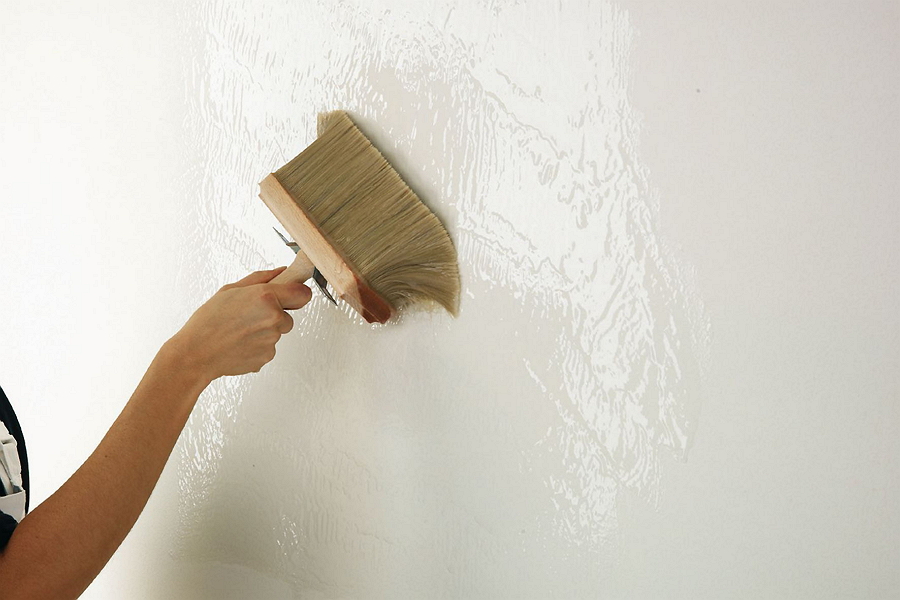
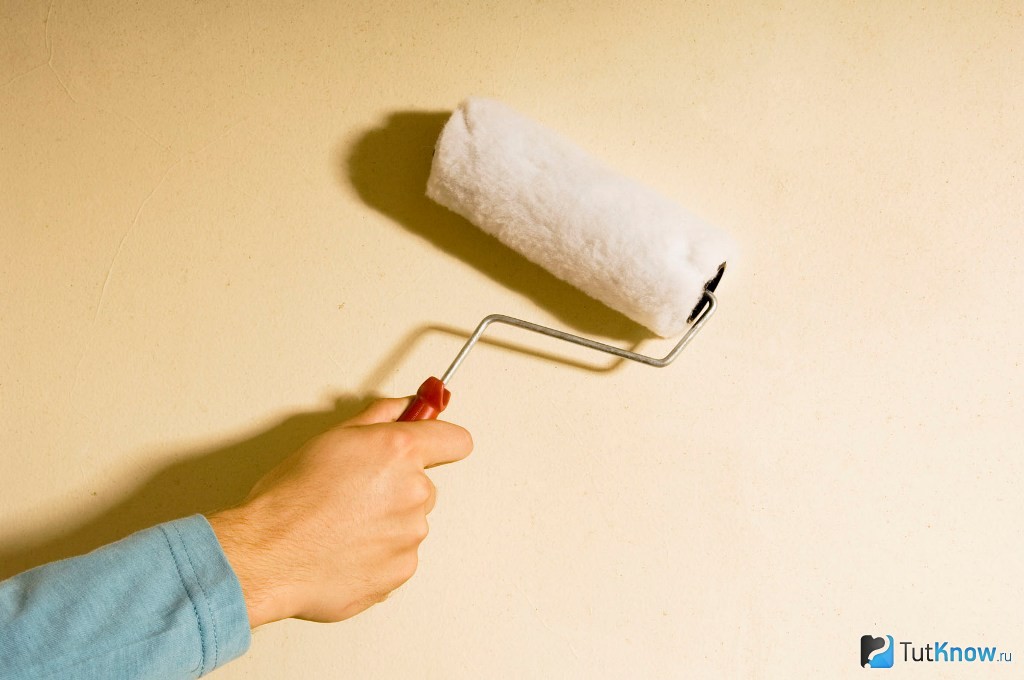
Apply a primer with a special brush to the entire surface. When the primer is dry, you can proceed to the filling of the room. The drying time of the primer is usually indicated on the container.
Putty stage
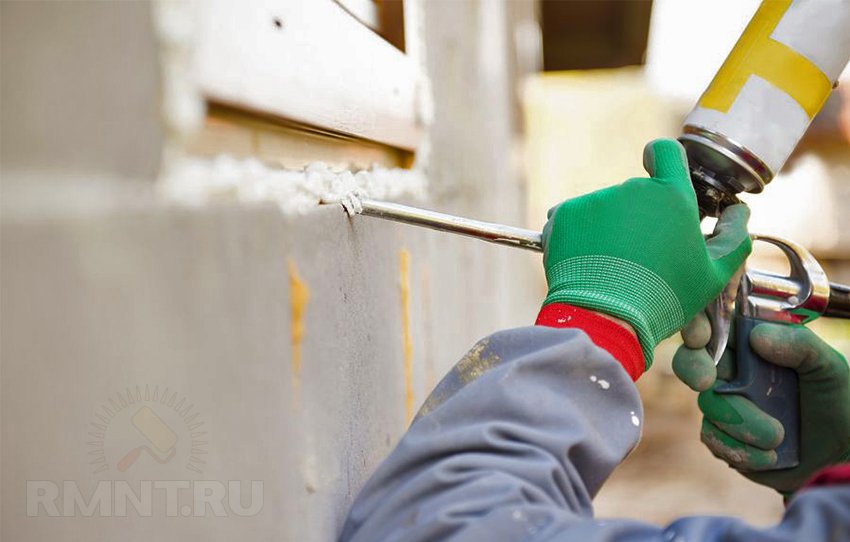
If serious irregularities and pits are found on the walls and ceiling, you must first fix them with cement plaster or foam. After drying, reapply the primer solution. Too protruding sections, in contrast, can be knocked down with a punch.
Then estimate the required coating thickness. If the surface is uneven, choose a starting putty. If the work is done on the finished layer of plaster, use the finish type of coating.
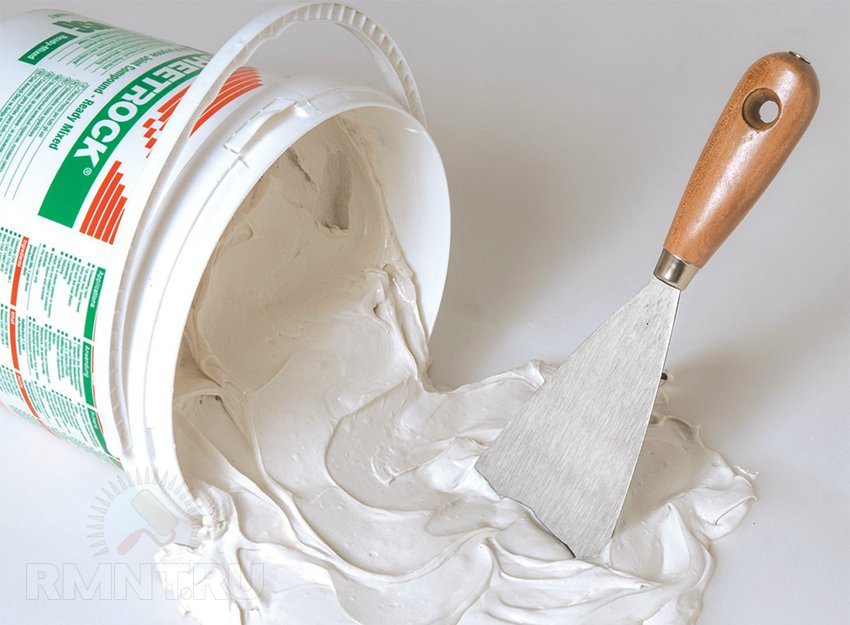
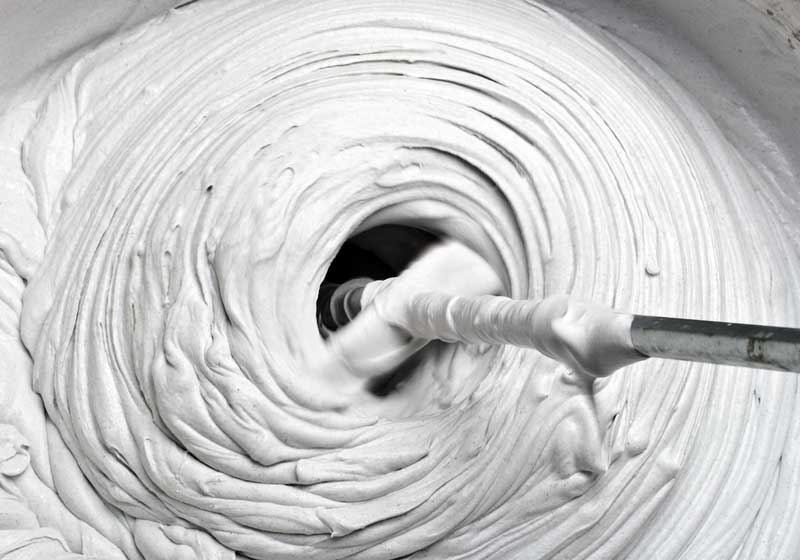
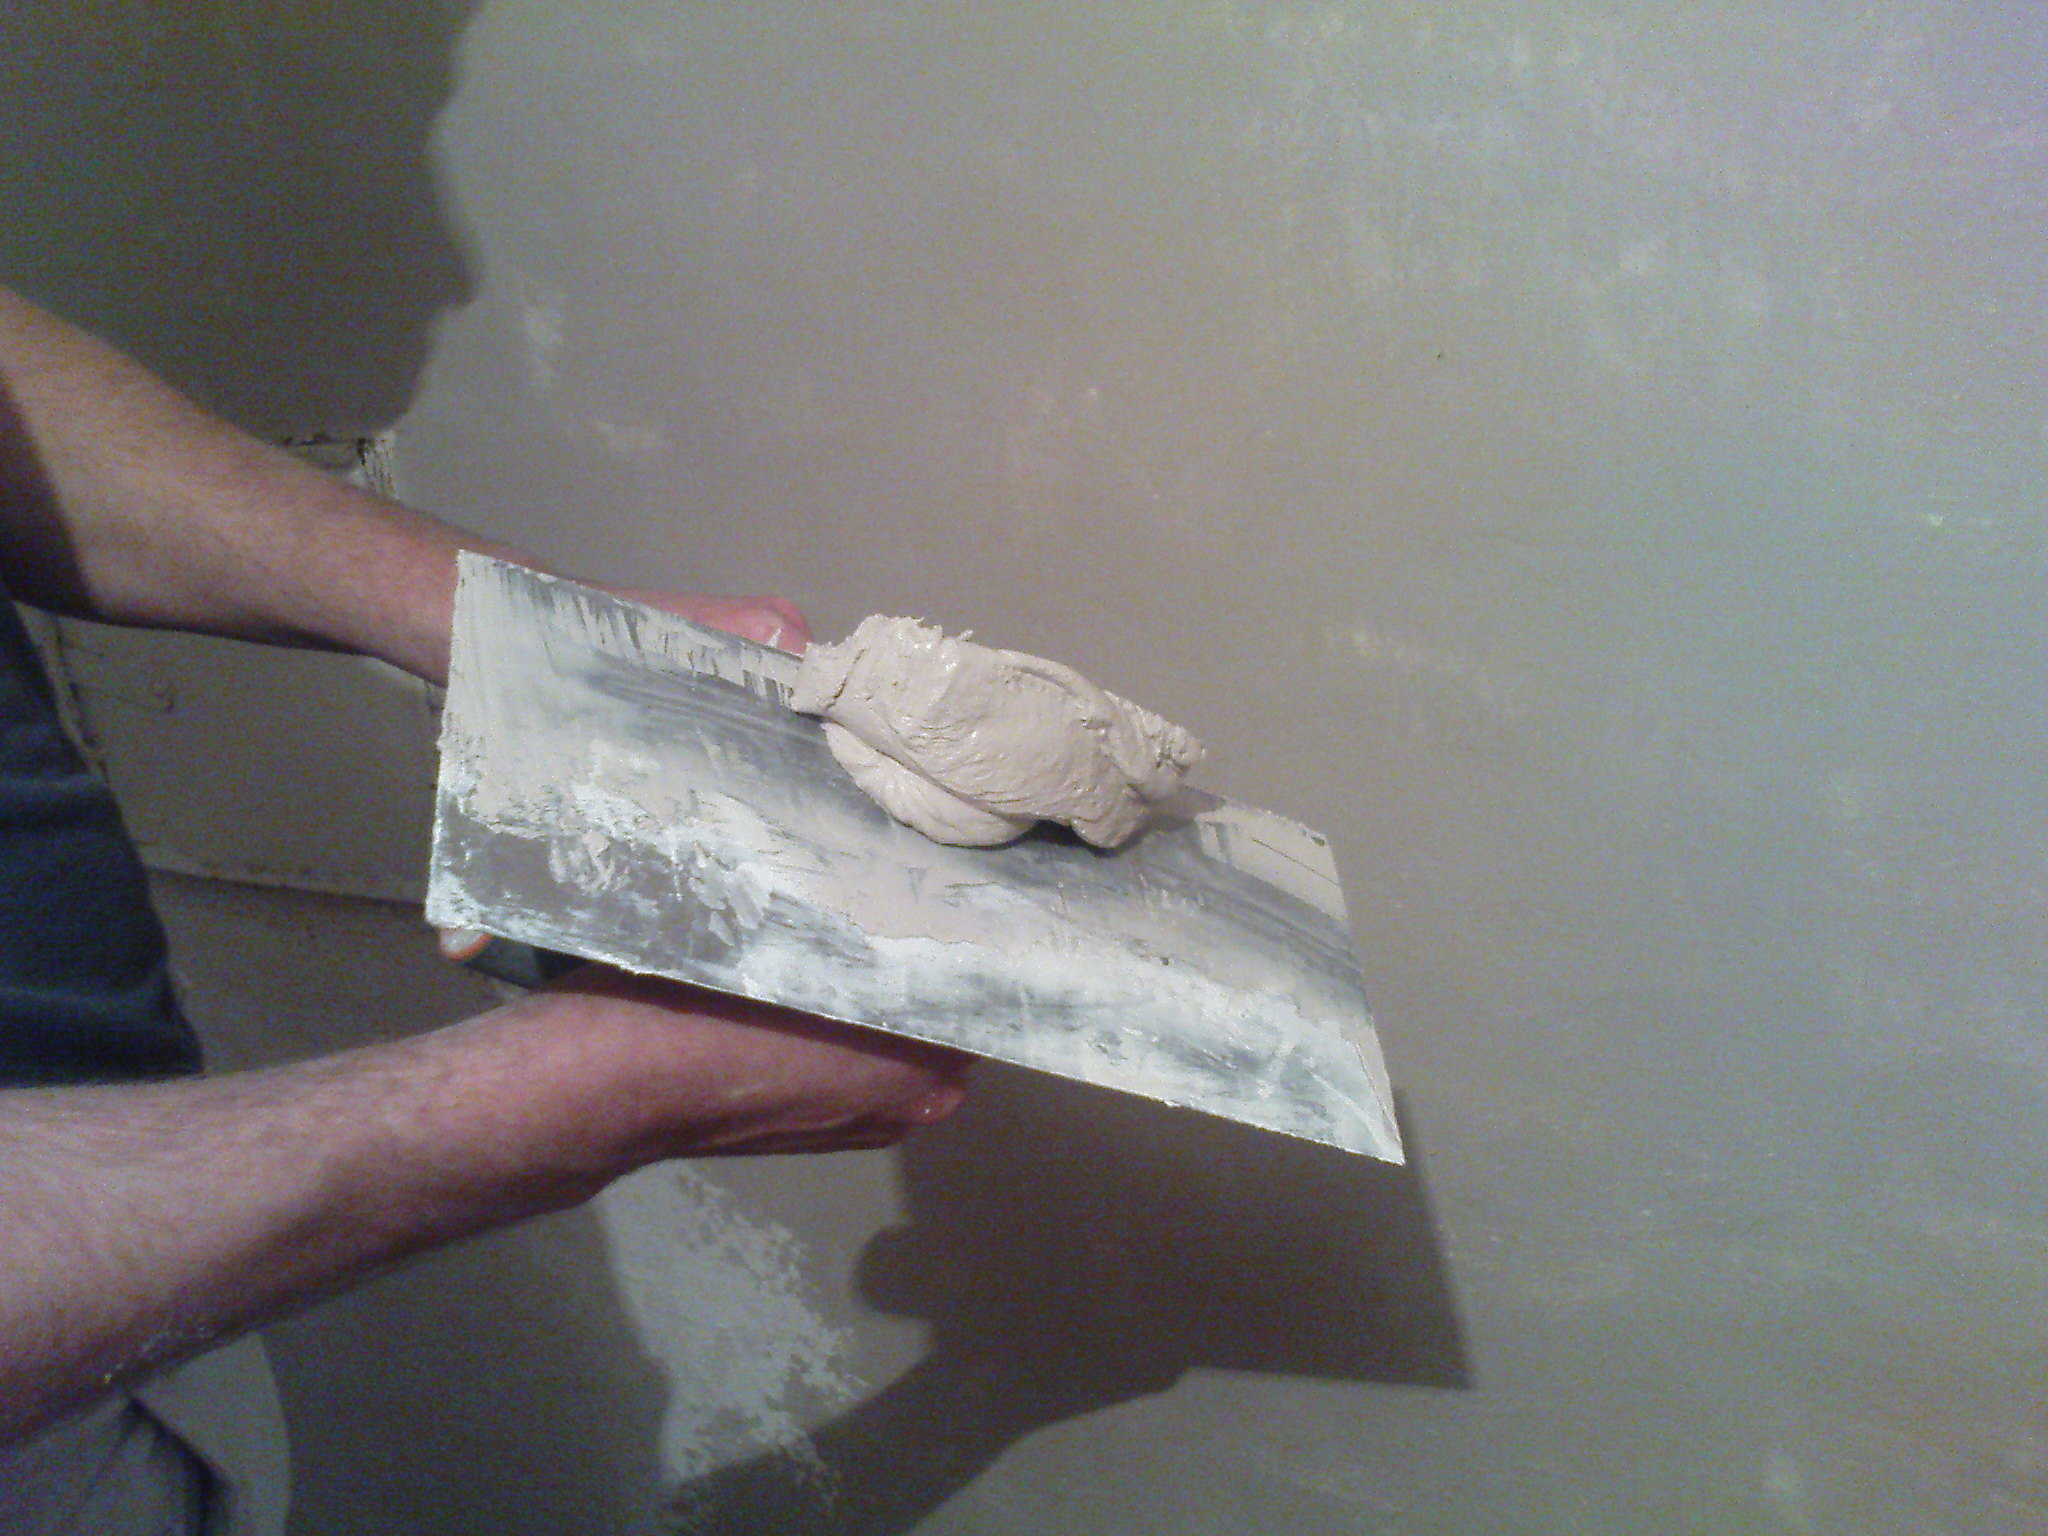
To apply a dry cement mixture, measure the required amount and place it in a container where you will prepare the solution.Add the required amount of water gradually, carefully stirring the composition with a drill with a mixing nozzle. With the right approach, the consistency of the paste is obtained. Leave the prepared composition for 10 minutes or another time indicated on the package to completely dissolve the impurities, then stir again thoroughly.
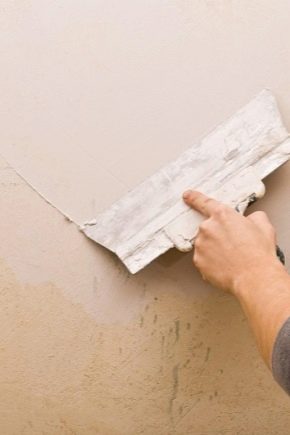
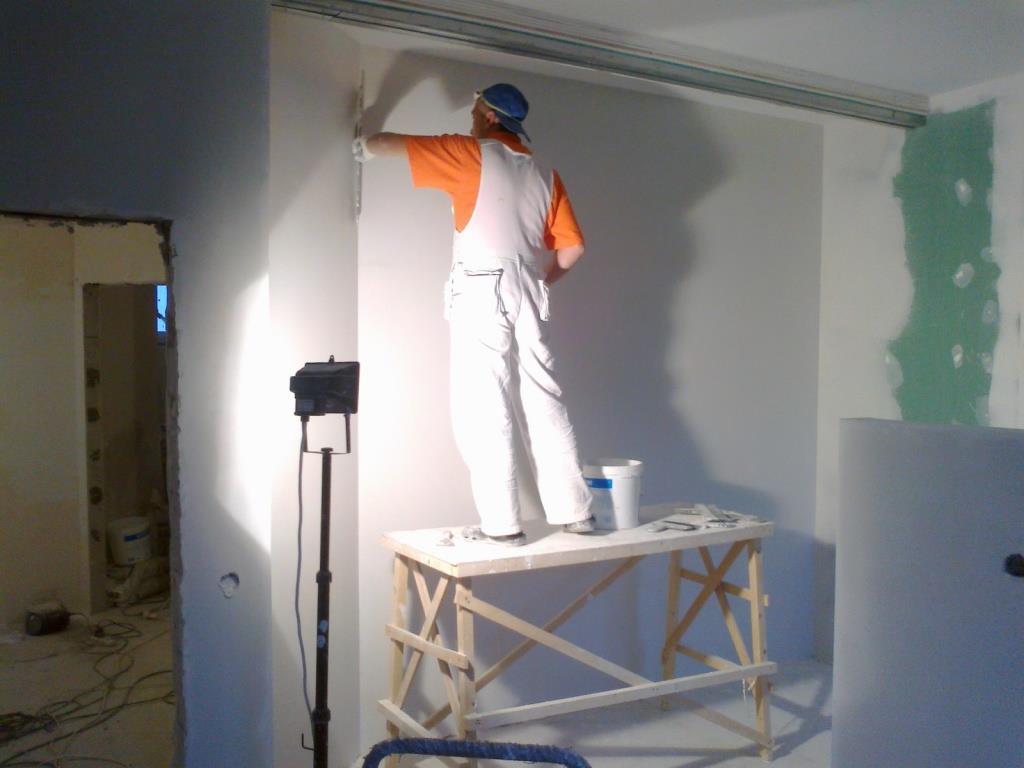
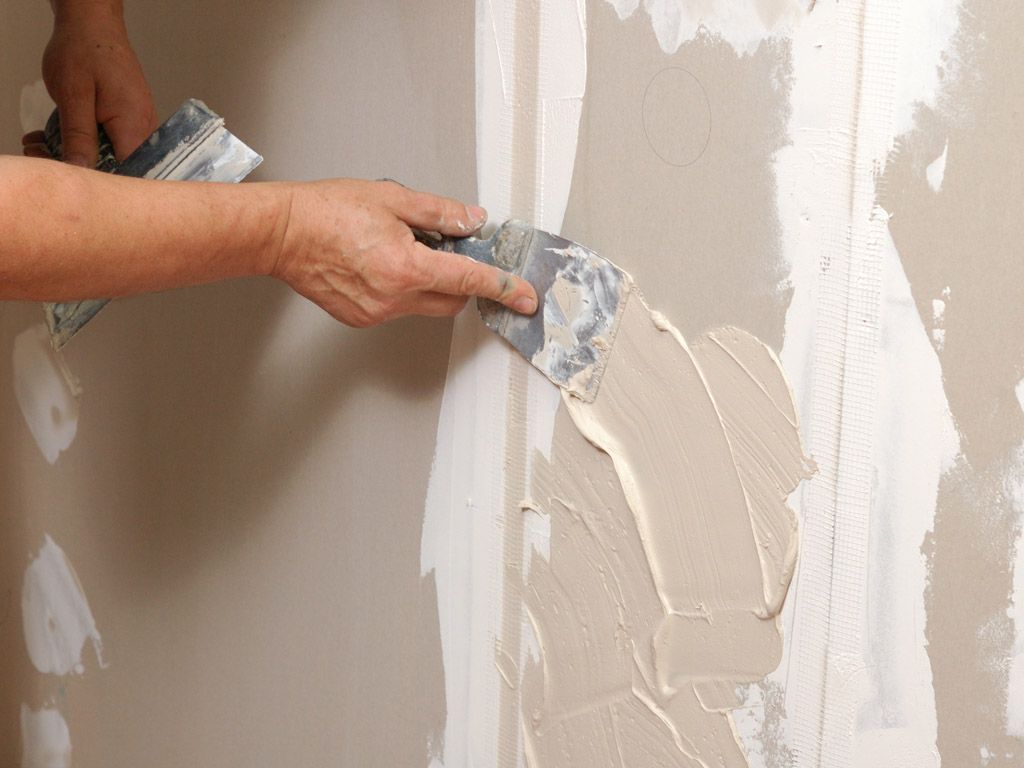
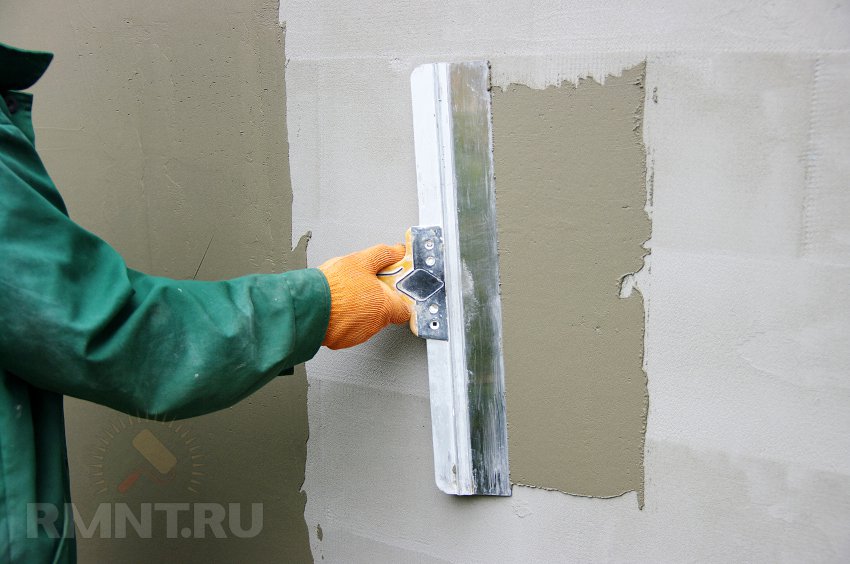
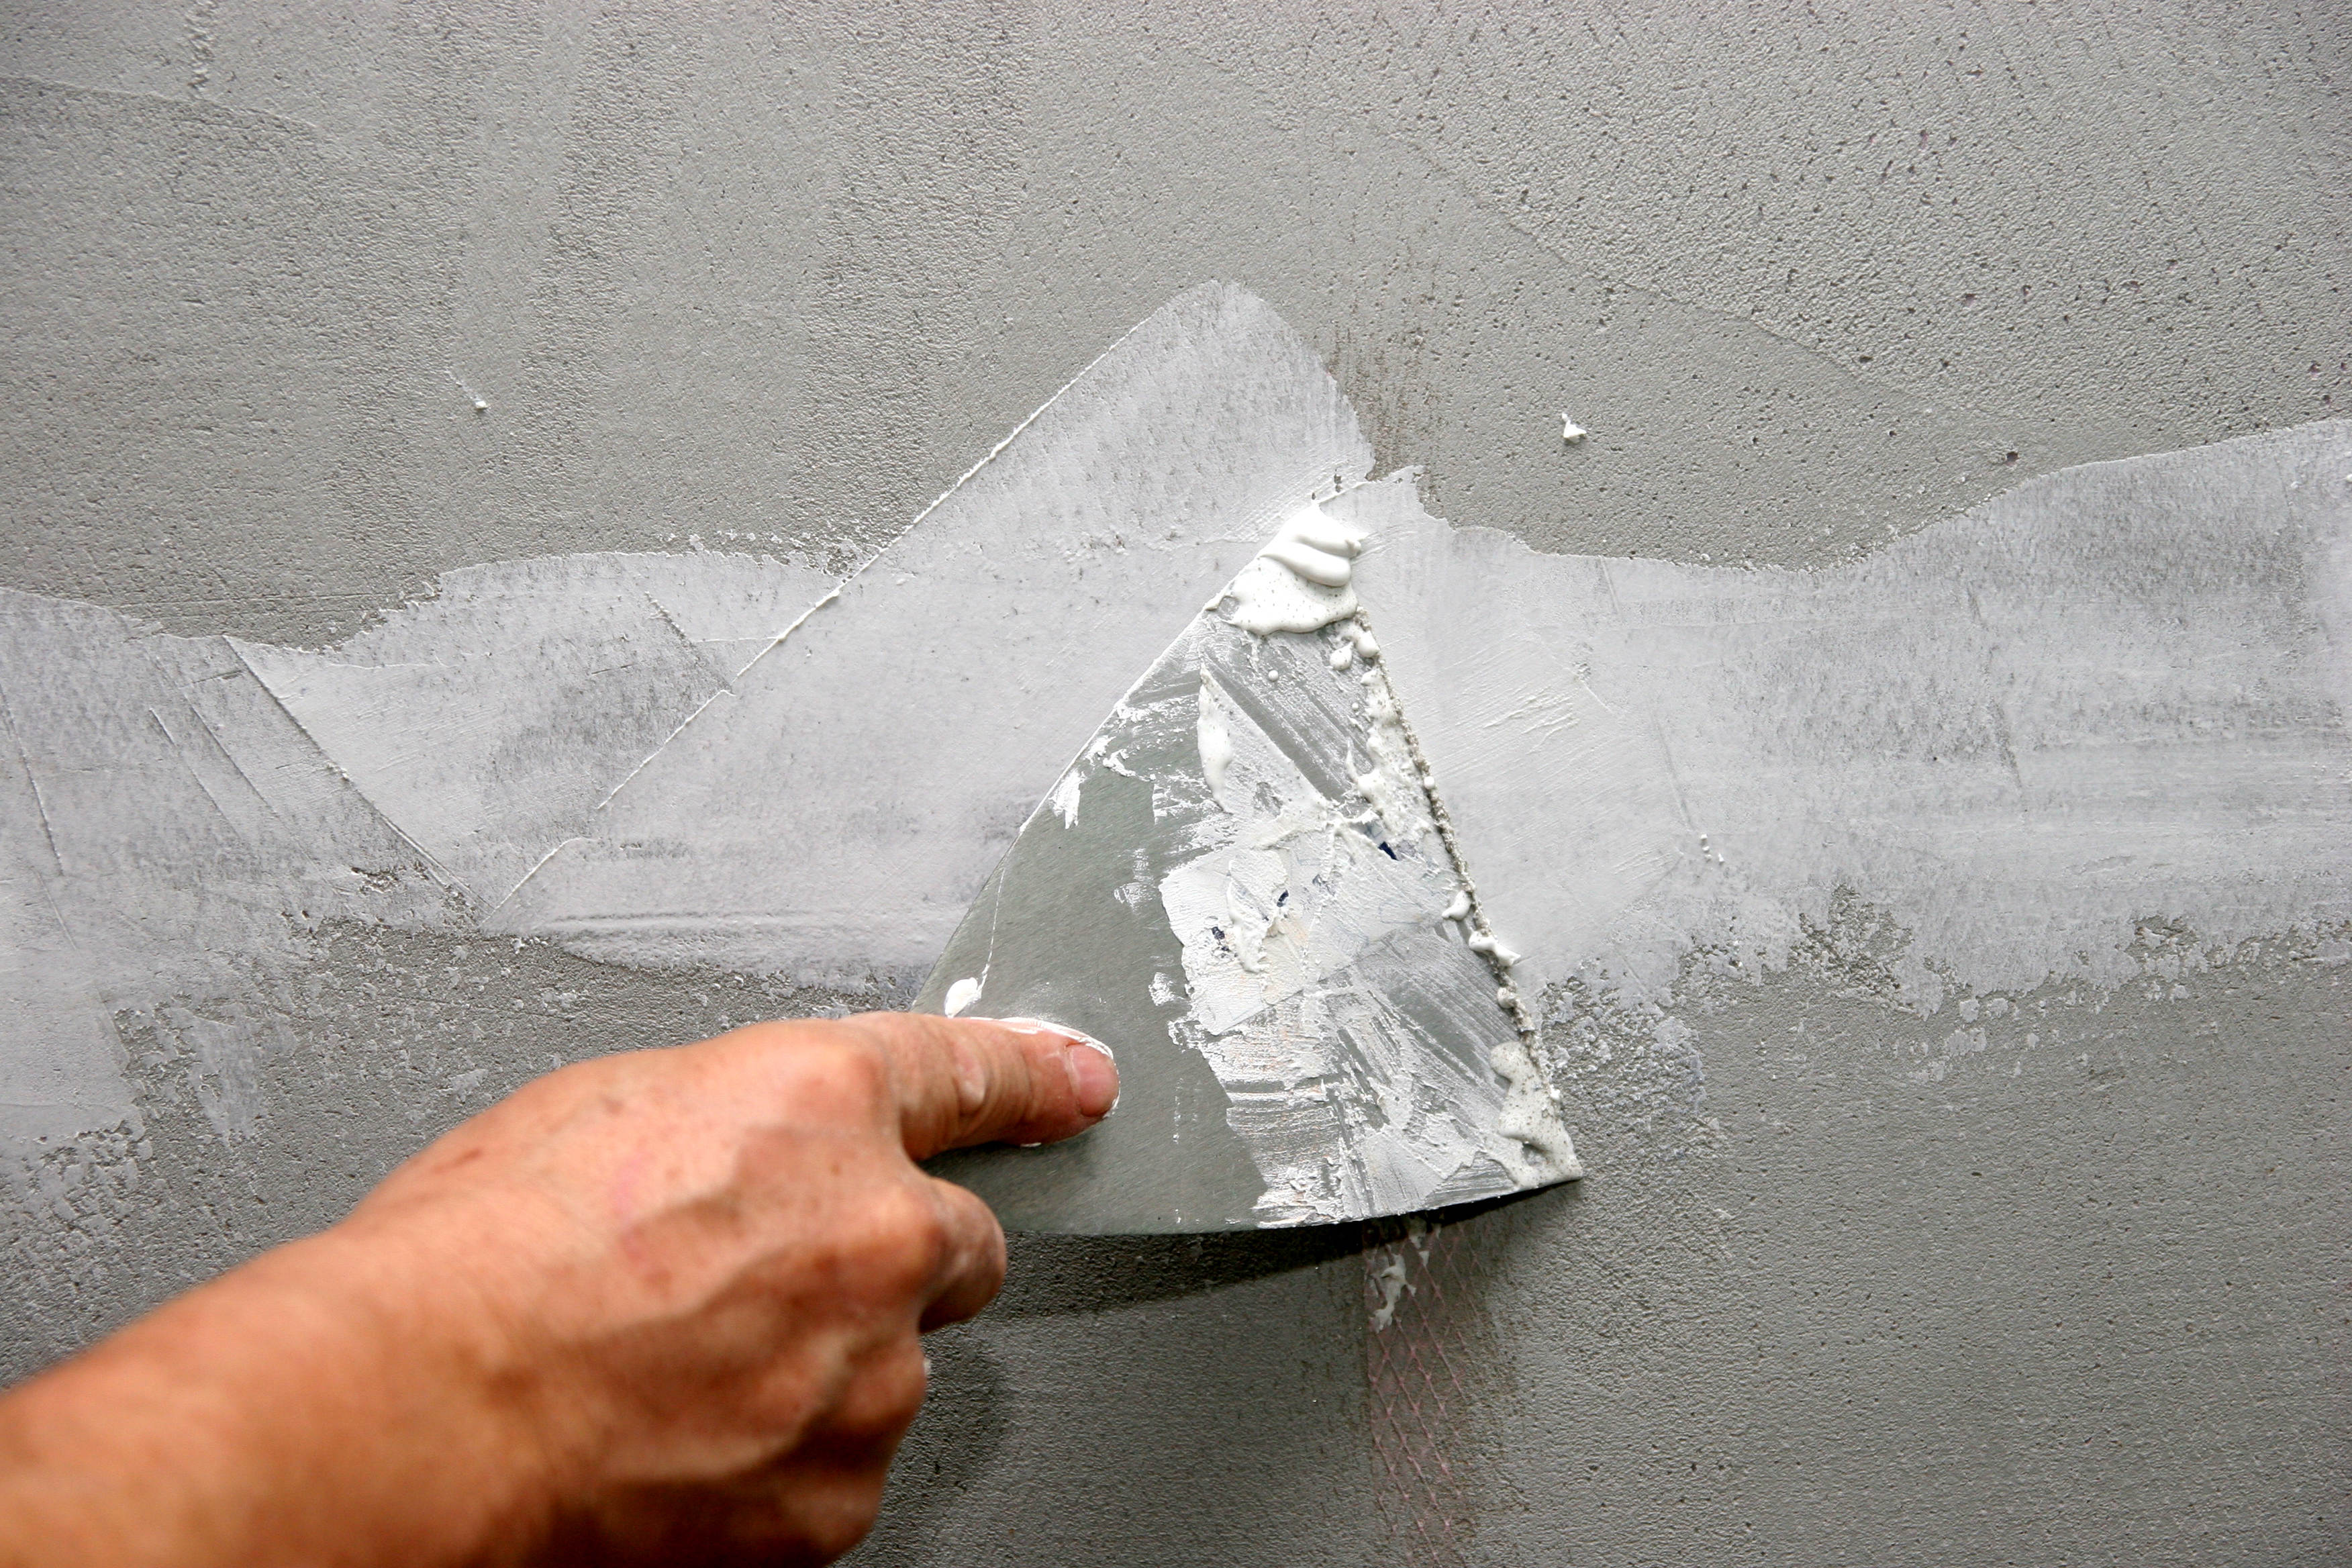
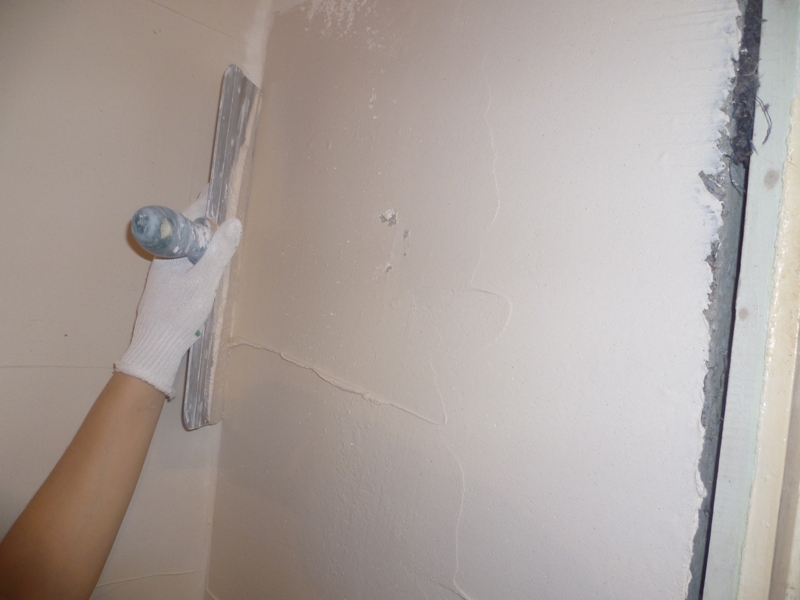
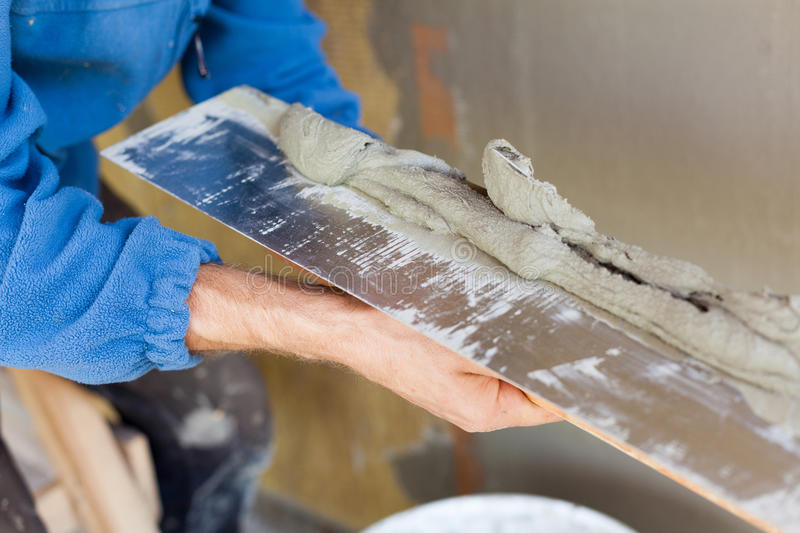
The finished mixture should be applied to the surface of the walls until it is hardened. This is the most difficult stage, requiring some skill and experience. But if you grasp the essence of the process, you can quickly learn. For filling, you will need medium and large spatulas for the main front of work, as well as a small one for sealing defects and covering hard-to-reach areas and an angle tool for working in corners.

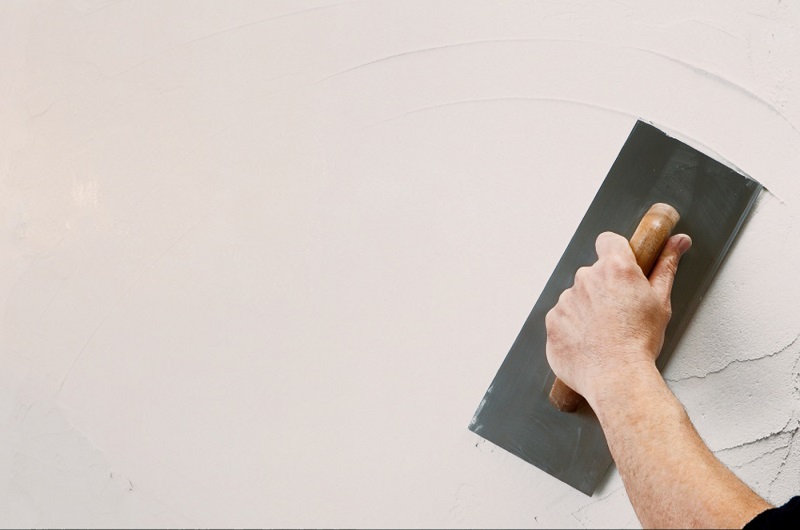
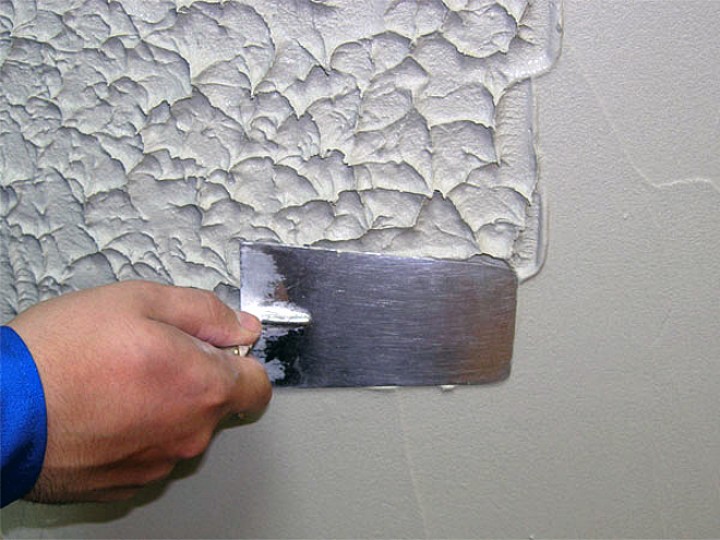
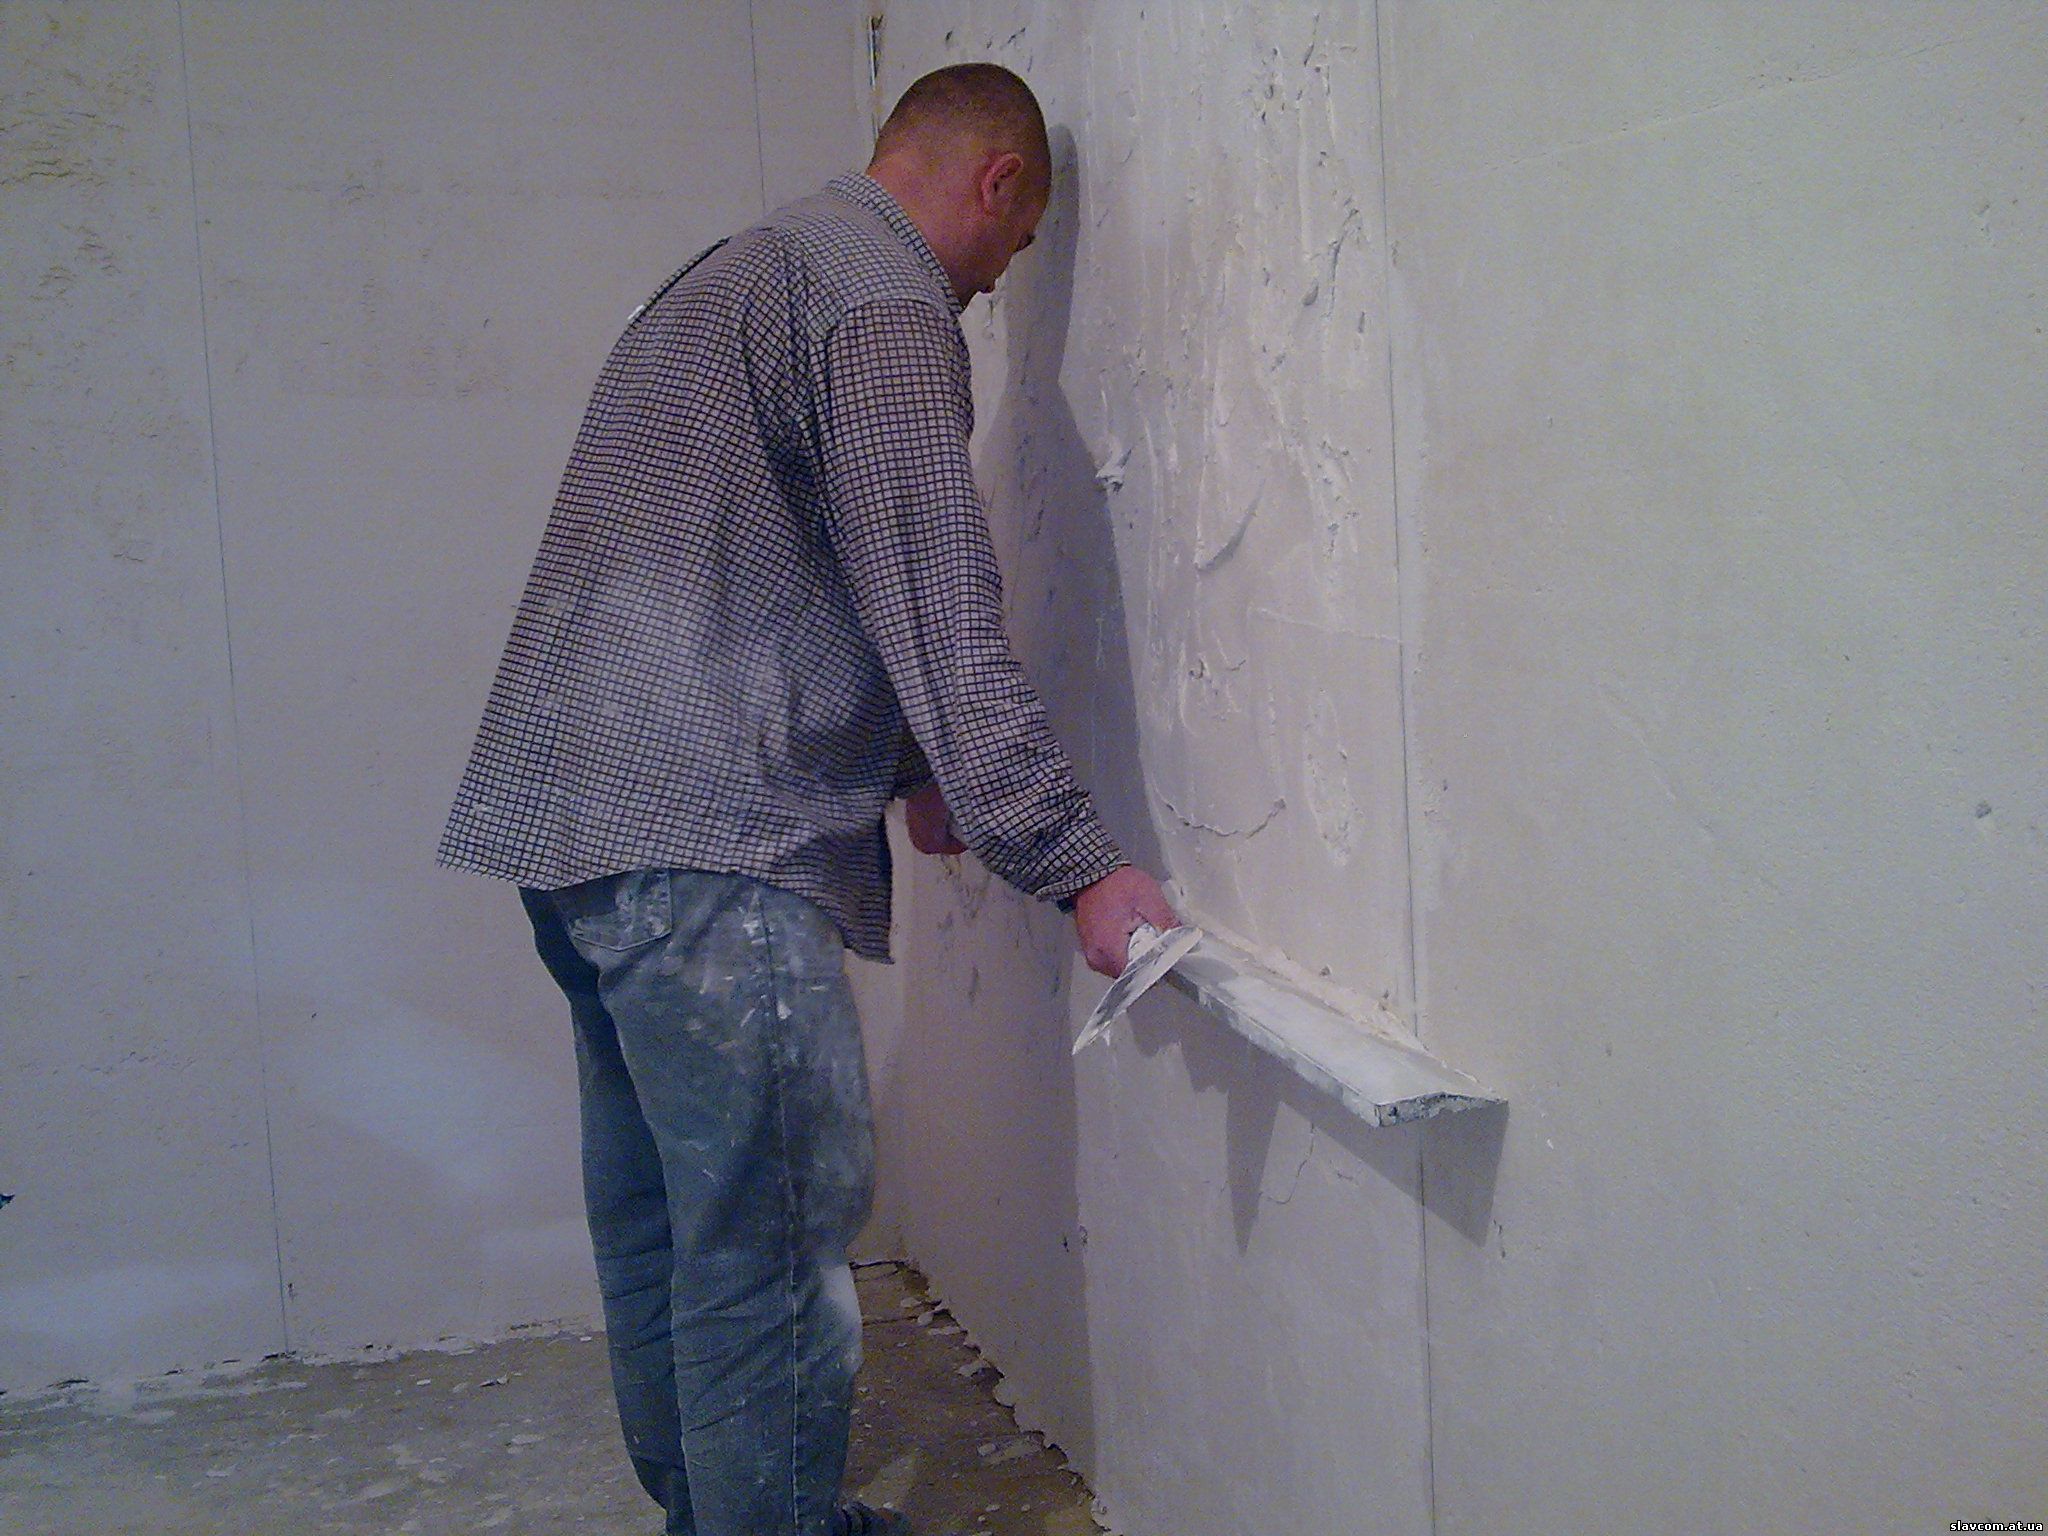
On large areas, the mixture is poured from below, and then leveled by the rule. If the area is very large and a substantial thickness is assumed, you can pre-mark the thickness of the coating fixed on the wall with beacons of metal profile at regular intervals. Where it is impossible to throw a solution, the mixture is collected with an average spatula, placed on a large tool and neatly applied in place.
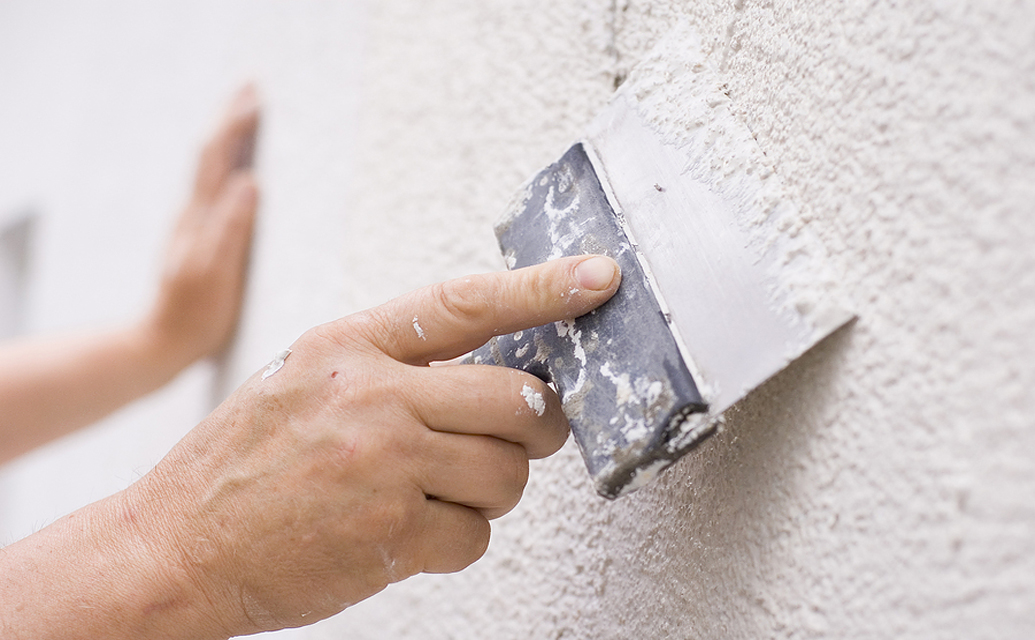
In narrow places and to eliminate the flaws of the application, use the smallest spatula. In this way, both the draft and the finishing layer are applied in a damp room.
Then you need to give the resulting coating to dry completely. To do this, try to ensure the most stable temperature in the room and eliminate drafts. 14-18 hours are usually enough, but it is better to wait a day if time permits. After that, the surface is thoroughly polished for the subsequent application of finishing materials.
When sanding, protect your eyes and respiratory tract from dust, since there will be a lot of dust. Use a special electric grinder or manual grater with an abrasive mesh or fine-grained sandpaper. Movement during grinding should be smooth, circular, the result should be periodically checked by the rule and building level.
Upon completion, carefully remove all dust from the surface, then re-ground the entire area with a penetrating compound. This stage will connect all the finishing layers and prepare the surface for the next finishing stage.

Additional recommendations
It is important to listen to the advice offered by professionals in the field of repair:
- If the next stage after spatula is to paint the walls or the ceiling, it is better to choose fine-grained solutions. Optimally, it will also use paint with antibacterial additives to minimize the likelihood of mold on the surface.
- Give preference to well-known and proven manufacturers, so as not to overpay for poor-quality work.
- If this is your first self-repair experience, choose pre-blended mixes and solutions to minimize dilution and kneading errors.
If you carefully and thoughtfully approach the choice of building materials and technology of their application, self-filling surfaces in the bathroom is not difficult.
How to putty the walls in the bathroom, see the following video.