The subtleties of sanding the walls after putty
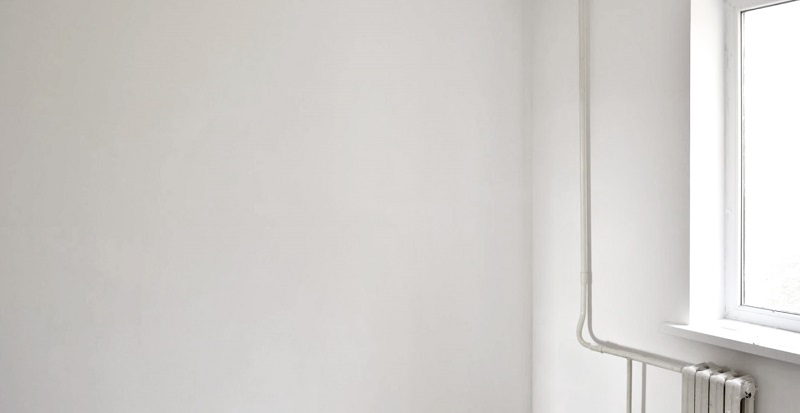
Sanding the walls after puttying is a necessary stage of finishing work. The purpose of this process is to remove excess grain and correct irregularities on the surface, that is, all the defects that are formed as a result of overlaying each other by different layers of putty. This is necessary to prepare the wall for decoration, painting or wallpapering.
The skin can be made using a mechanical sander, abrasive mesh or sandpaper.
Special features
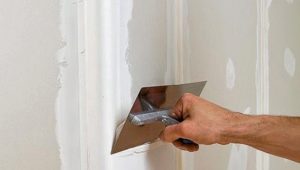
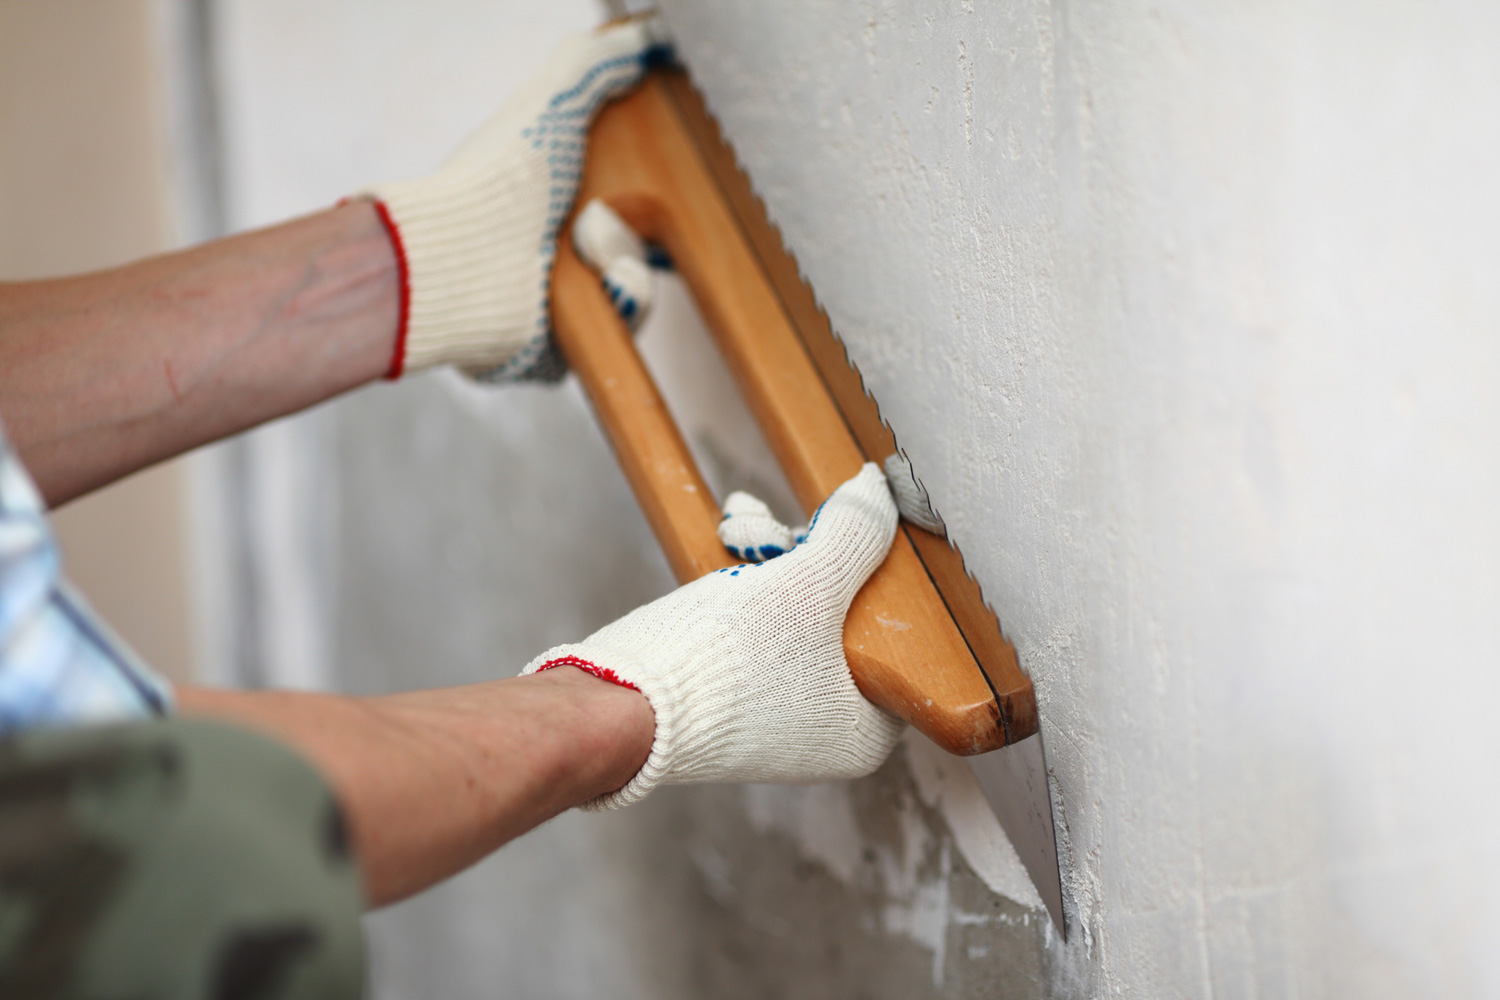
The process of sanding the walls has its own characteristics. The alignment of the wall surface is done in two stages - this is plastering and puttying. At the moment of puttying, even if it acts very carefully, small bumps are formed on the wall, defects and traces of spatula remain.All this is due to the joining of different layers of putty and at the time of smearing the mass itself. That is why many craftsmen prefer large and wide spatulas to minimize the number of defects in putty.
It is also very important to wait for the finish to dry up (at least 24 hours) and only then begin sanding. In no case can not be primed walls before sanding, because after this fix irregularities will not work.
The choice of working tool should be based on the surface area to be treated.
- For a small wall, a standard grinding bar will do.
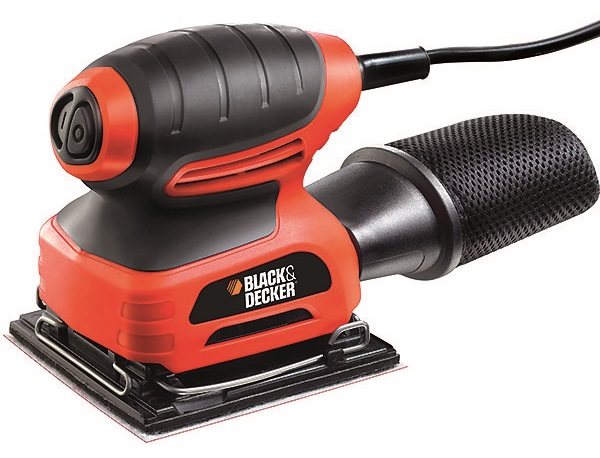
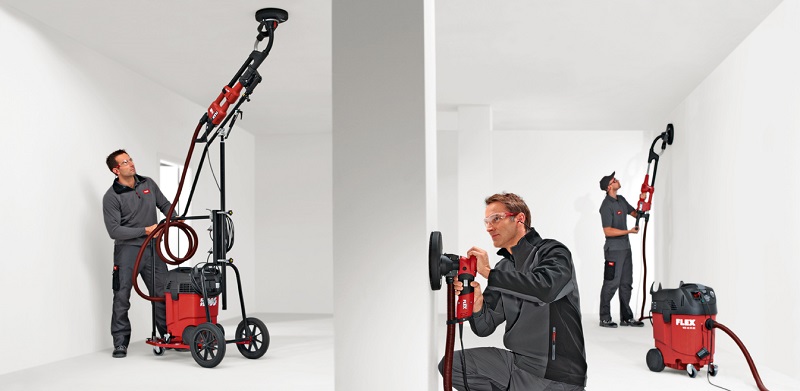
- If the room is large and the amount of work is large, then it’s better to wipe it with an electric vibrator. However, it should be borne in mind that the hard-to-reach areas will have to be manually refined with sandpaper.
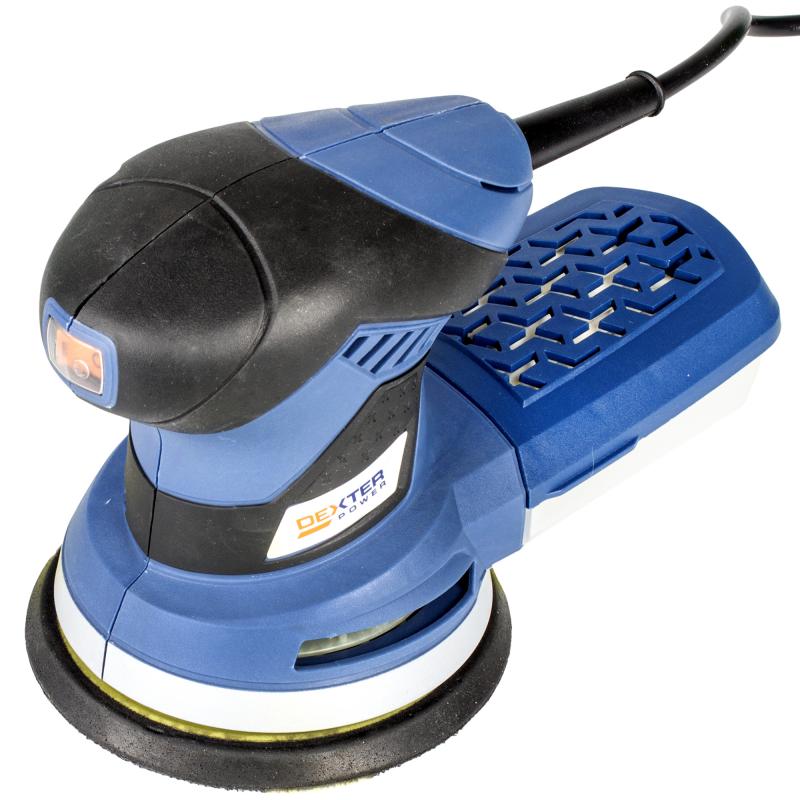
- For a large and complex area with a large number of uneven bends and large protrusions, an orbital eccentric machine with high power is well suited.
Considering all these features, you can facilitate the work and polish the surface with high quality. It is necessary to carefully skin, because under the wallpaper and the more paint any, even minor defective places,will be noticeable and spoil the whole aesthetic appearance of the walls.
Instruments
Basic tools needed for sanding:
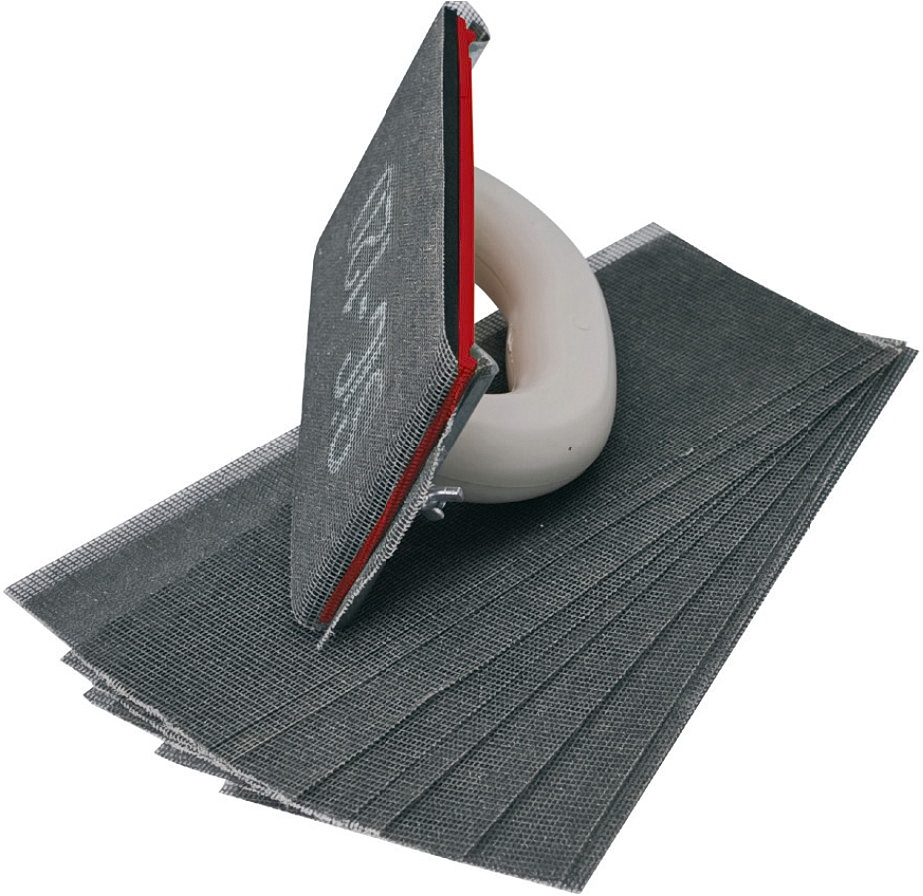
- mesh for grouting or sanding;
- grinding bar;
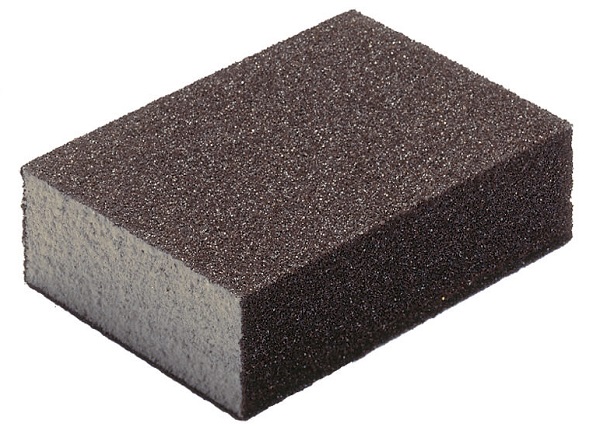
- abrasive sponge;
- bright lantern or spotlight;
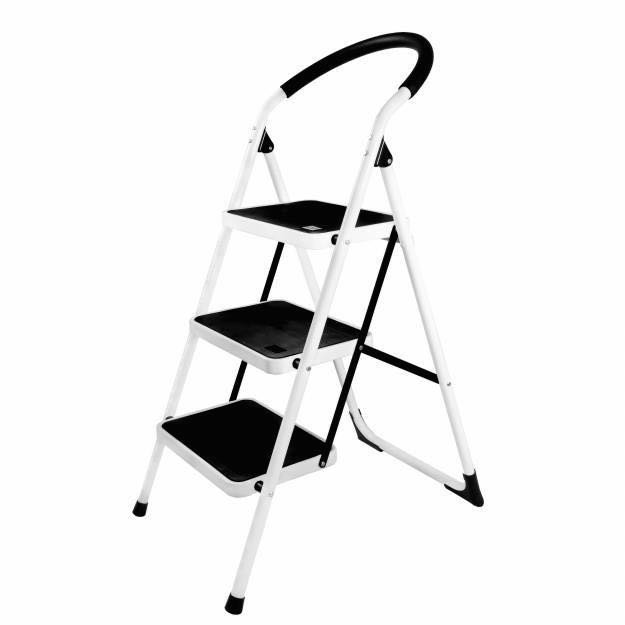
- ladder;
- small spatula;
- personal protective equipment.
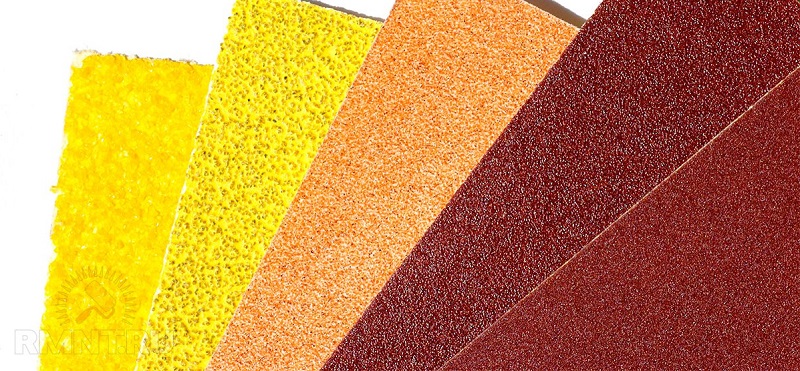
The initial primary grinding is always carried out with coarse-grained pelts, the finishing one - with smaller grains.

Abrasive mesh is different from the sandpaper structure, which allows dust to seep through the cells and not linger in them. The material does not clog for a long time, which increases its service life. The change is carried out according to wear, which is determined visually: the material breaks and processes ineffectively. For primary processing, they take a grid of from 60 to 100, and for the final one, from 220 to 240. In comparison with the sanding cloth, the grid is much more expensive.
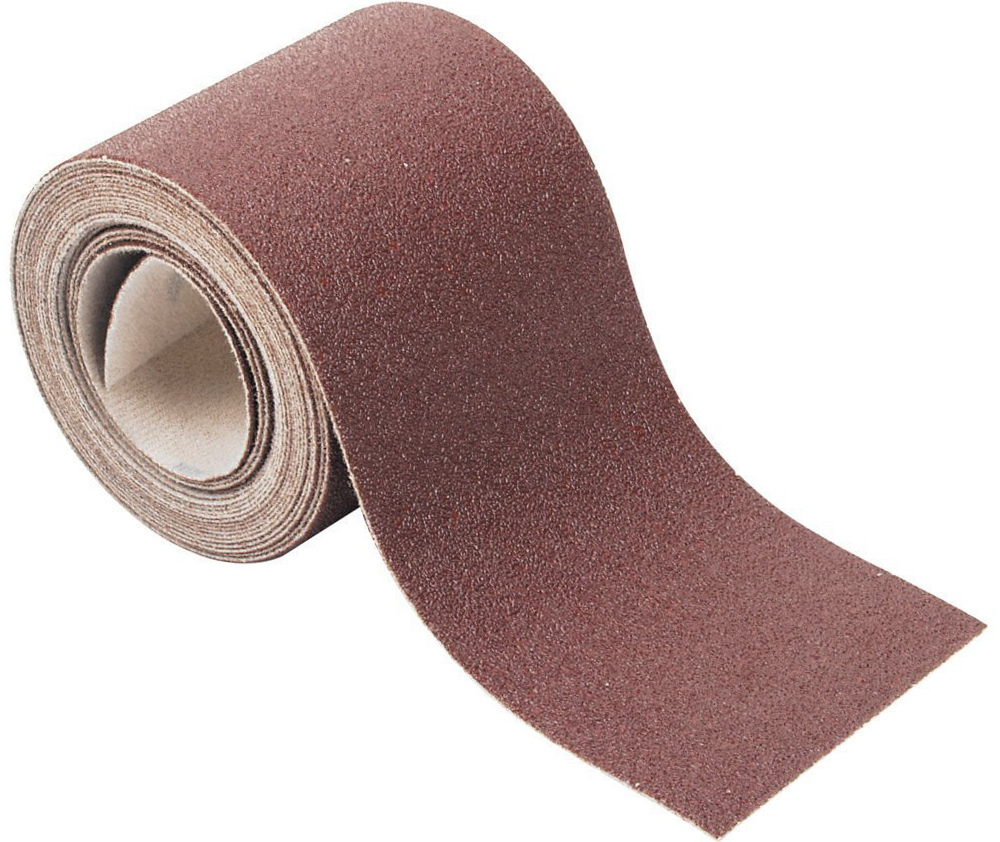
Sandpaper clogs much faster, and therefore requires frequent change during operation. You can buy it at any hardware store in the form of a roll, large pieces or small rollers. Sometimes the material is sold already pre-cut, but it costs more.The optimal grit number is from 60 to 100.
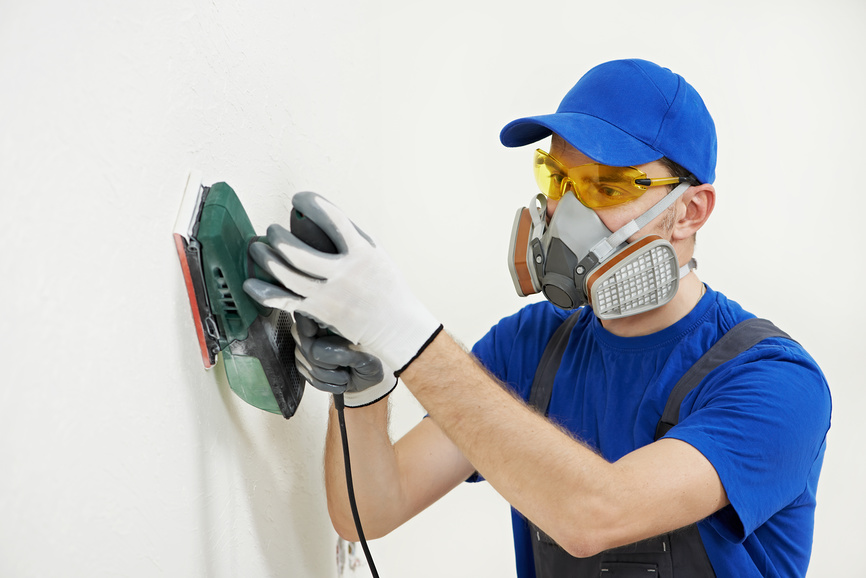
Personal protective equipment protects the skin, eyes and respiratory tract from dust particles. The work required:
- respirator;
- plastic glasses;
- kerchief or any other headdress;
- rubber gloves.
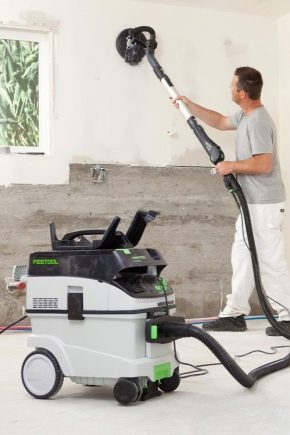
The grinding process itself is simple and time consuming, but time consuming. Masters, professionally engaged in carrying out repair work, use grinding machines. They significantly accelerate the process of sanding and better grouting compared with hand tools (bar). The machine consists of a metal or wooden plate, which is fixed to the sandpaper.


Grinding machines are of several types, depending on the principle of operation:
- ribbon machine copes with a thick layer of putty;
- flat vibrating machine is universal;
- Orbital eccentric grinder is also versatile.
The downside of these devices is their inability to handle corners and other hard-to-reach places. However, for home repairs of small surfaces, it is possible to completely manage with a manual bar, since the mechanical version is much more expensive and it is impractical to acquire it for single use.

rules
It is important that the room was good lighting. This is necessary to ensure comfortable work, avoid overstressing the eyes, and so that there are no under-developed areas. Normal standard lighting is not enough, and a powerful lamp or a spotlight must be prepared in advance.
In order not to overdo it during grinding and not to rub the putty, you need to clearly define the time that is allotted to the processing of the desired area, and after this time, move to another segment of the wall.
Before you begin to sand, you need to check the model of the grain mesh or sandpaper. If scratches appear on the wall, the number of grains increases.
When working with the ceiling there are some features. It needs to be sanded more carefully than the walls, since the lamp is close and illuminates the ceiling well, from which any under-treated areas will stand out. In this case, grinding machines will help.
Grinding process
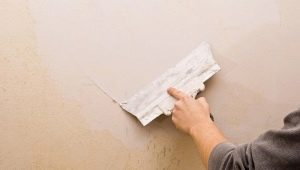
Sanding begins with preparation. You must wear personal protective equipment and create sufficient and good lighting in the room. Large bumps and defects putty remove the spatula.After we prepare the working tool, we fix a grid or paper on a bar. DTo facilitate the work, the entire surface can be visually divided into meter sections and process them in turn.
- First, you need to find and select all the defective places and bumps on the wall. To do this, close enough to the surface we install a powerful flashlight or searchlight. In the light of the irregularities give the shadows and they are easier to detect and not miss. You can also select them with a simple pencil, just outlining the shadows on the contour.

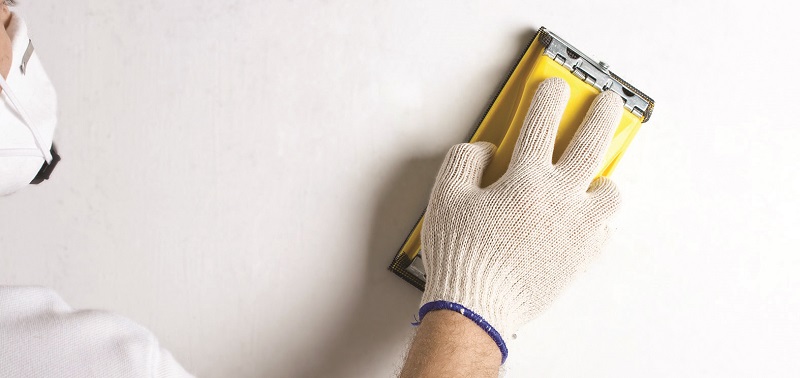
- Getting started is better from the corner. and move to the opposite side of the wall. We grab a strip of about one meter, the direction is from top to bottom, the movements of the hands should not be chaotic, but spiral or circle, smooth and with minimal pressure so that the putty layer is not damaged. So grind the entire surface.
- Handle corners and other hard-to-reach areas. For them, there are skins with beveled corners or simply sandpaper embedded in half.
- We brush away dust and we carry out wet cleaning of the room, we remove all the garbage.
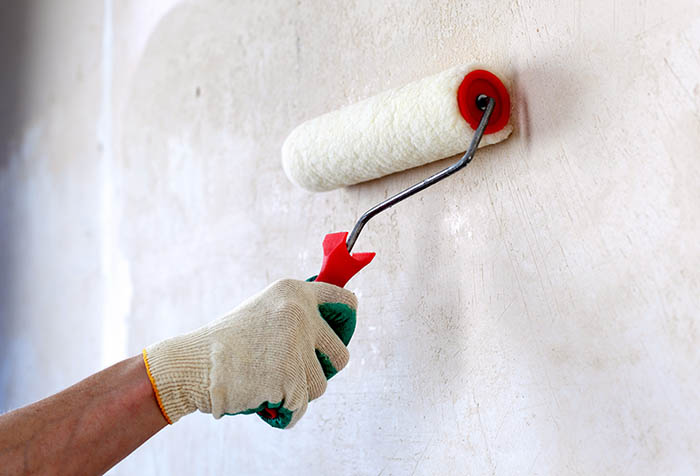
- The final stage is the finish grinding fine-grained device.The surface must be carefully treated, especially before painting or decorative finishing, as the paint highlights all the defects and defects, even the most insignificant.
- Again, remove the dust with a rag with long villi and ground the wall. After that, you can proceed to the finishing finish.
The end of the work is to clean and remove the generated dust. This can help the so-called construction vacuum cleaner. If you skip this stage, the dust, mixed with paint or glue, forms lumps.
Cleaning can be carried out with an ordinary brush with soft fibers or even with a broom. After that, we wet the cloth in the water and walk along the walls, while the fabric should not shed, otherwise it will leave traces.
Important: the rag should be well squeezed out so that it is slightly damp.
You can sand the walls with a wet grinder. Wet grout is convenient because there is no dust, but it increases the likelihood of damage to putty due to wetting.

Tips and tricks
Sometimes after drying the solution, rather large cavities are formed. They do not need to try to carefully clean and align around,since visually they will appear to be aligned, but by applying a level, it turns out that a large hole appeared in this place in violation of the integrity of the putty. Therefore, the discovered recess is temporarily left and further we sand the wall. After we dredge the hole and gently putty with a rubber trowel, it will help seal up the defect in one level with the wall.
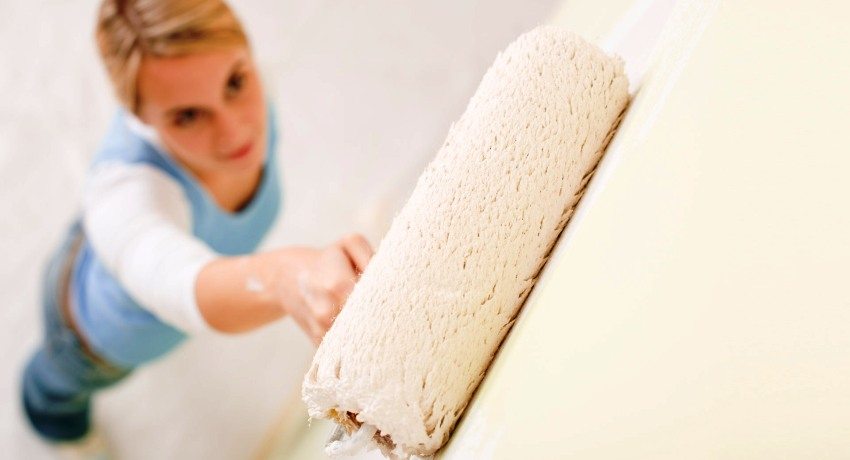
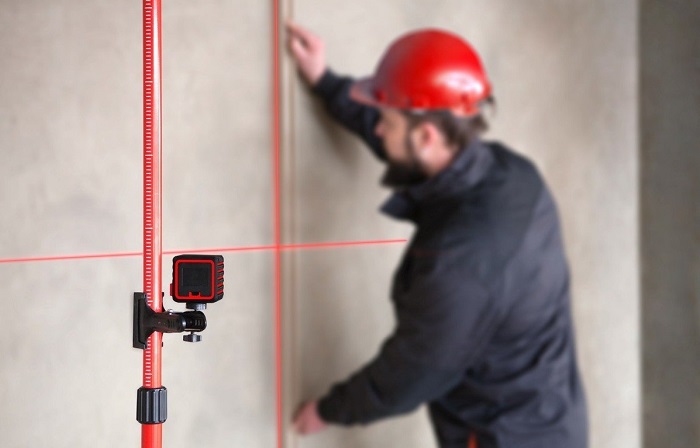
Upon completion of grinding, we check the surface with a level, since missed irregularities can remain. Properly primed the wall only after grinding. If you first prime, then the defects of the putty layer can not be corrected and the surface will have to be cleaned and started all over again. Therefore, we can say that the key to successful repair is a strict sequence of actions.
In the next video, you are waiting for three methods of polishing putty.