Ceiling putty: features and process technology

If you are doing the repair yourself with the hands for the first time, you can face a very controversial situation about puttying. Each specialist has his own vision of where, when and what kind of putty should be used. Let's look at this issue in more detail.
Special features
Putty is often confused with plaster. And even use these concepts at the same time as synonyms. This is not entirely true, since the putty has a more complex composition and uniform texture. In addition to the base, various additives are added to it, which increase the hardness and plasticity. The grout is sometimes called plaster.
Confusion often occurs when the words "putty" and "putty" are used. They can replace each other when we talk about the application process. But if we are talking about building material, it will be more correct to use the word "putty".
This name came from tow, which caulked joints between logs or planks before the advent of modern building materials.
This building material performs the following functions:
- levels the surface (this is important when the decorative coating is applied with a thin layer, under which all the drawbacks of the ceiling will be visible);
- increases the strength of the working surface;
- improves adhesion with subsequent coating, can replace the primer;
- saves building materials, such as wallpaper glue or paint, as they are more evenly distributed and not absorbed into the ceiling base;
- It is an ideal base for colored materials, as it overlaps any colored or dark base well;
- Some species may be an independent decorative ceiling coating.
Kinds
The entire filler in the form of release can be divided into:
- ready;
- requiring preparation.
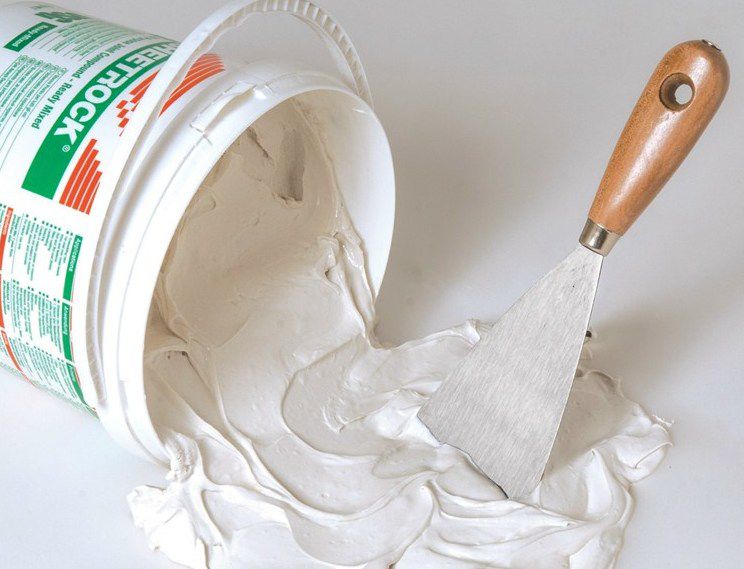
The finished solutions are a suspension that can be used immediately after purchase. Of course, this form of release is more convenient, it saves time and effort. At any time, you can remove part of the mixture and put in the right place.
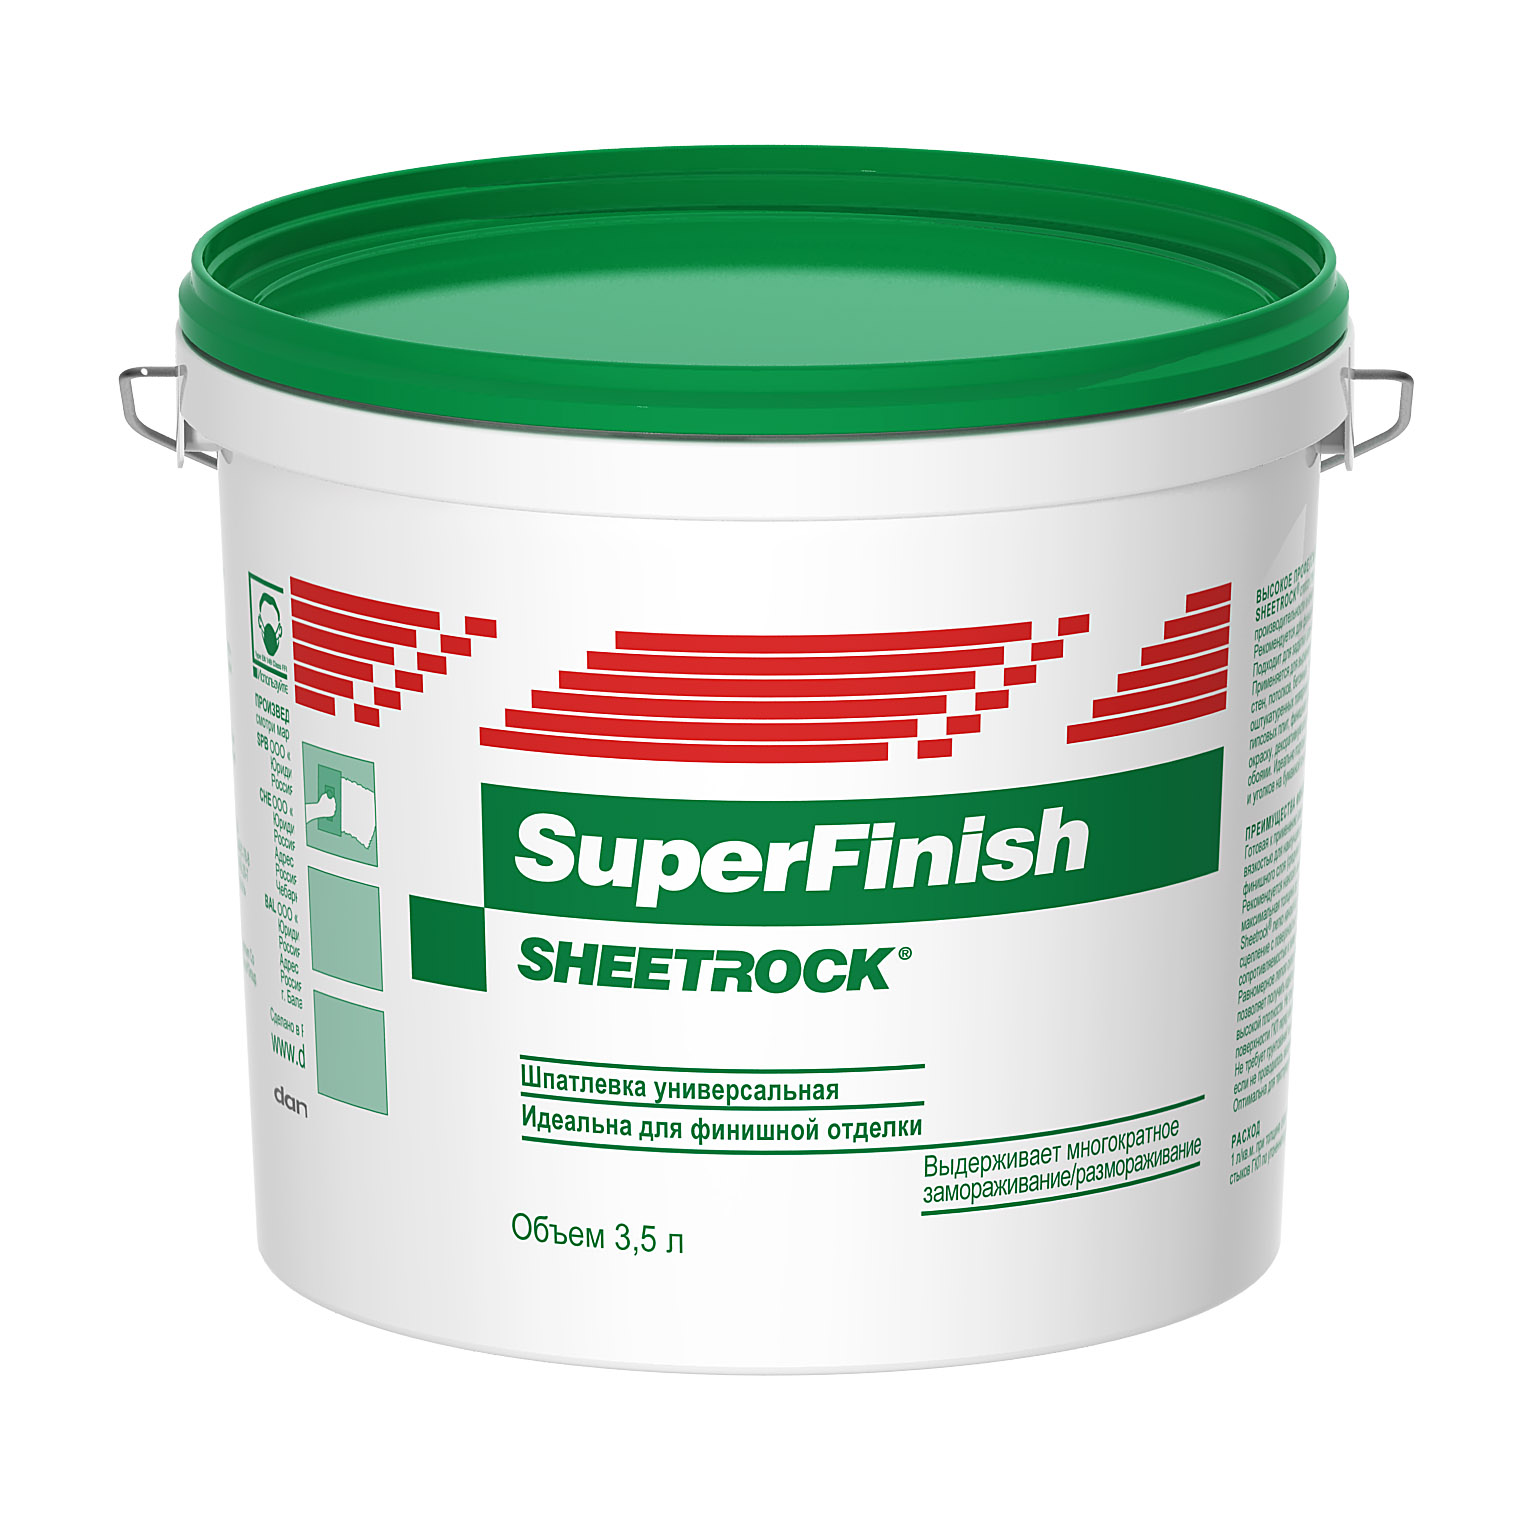
Dry mixes require dilution. This, of course, is less convenient, since each portion must be kneaded separately. But you can control the consistency - this is a definite plus, when the work is carried out on the ceiling and too liquid solution will smudge everything around. Moreover, in the dry state, subject to the necessary conditions, the shelf life is almost unlimited. Yes, and this option is cheaper.
In turn, dry plaster for the ceiling can be diluted with water or a solvent. It largely depends on the base surface, as well as the properties of the mixture.
On the application of fillers for the ceiling are:
- The base. It is used to fill large dents or align the differences in height of the ceiling relative to the floor or corners, walls. For this more suitable formulations with large particles, this will apply them in a thicker layer.
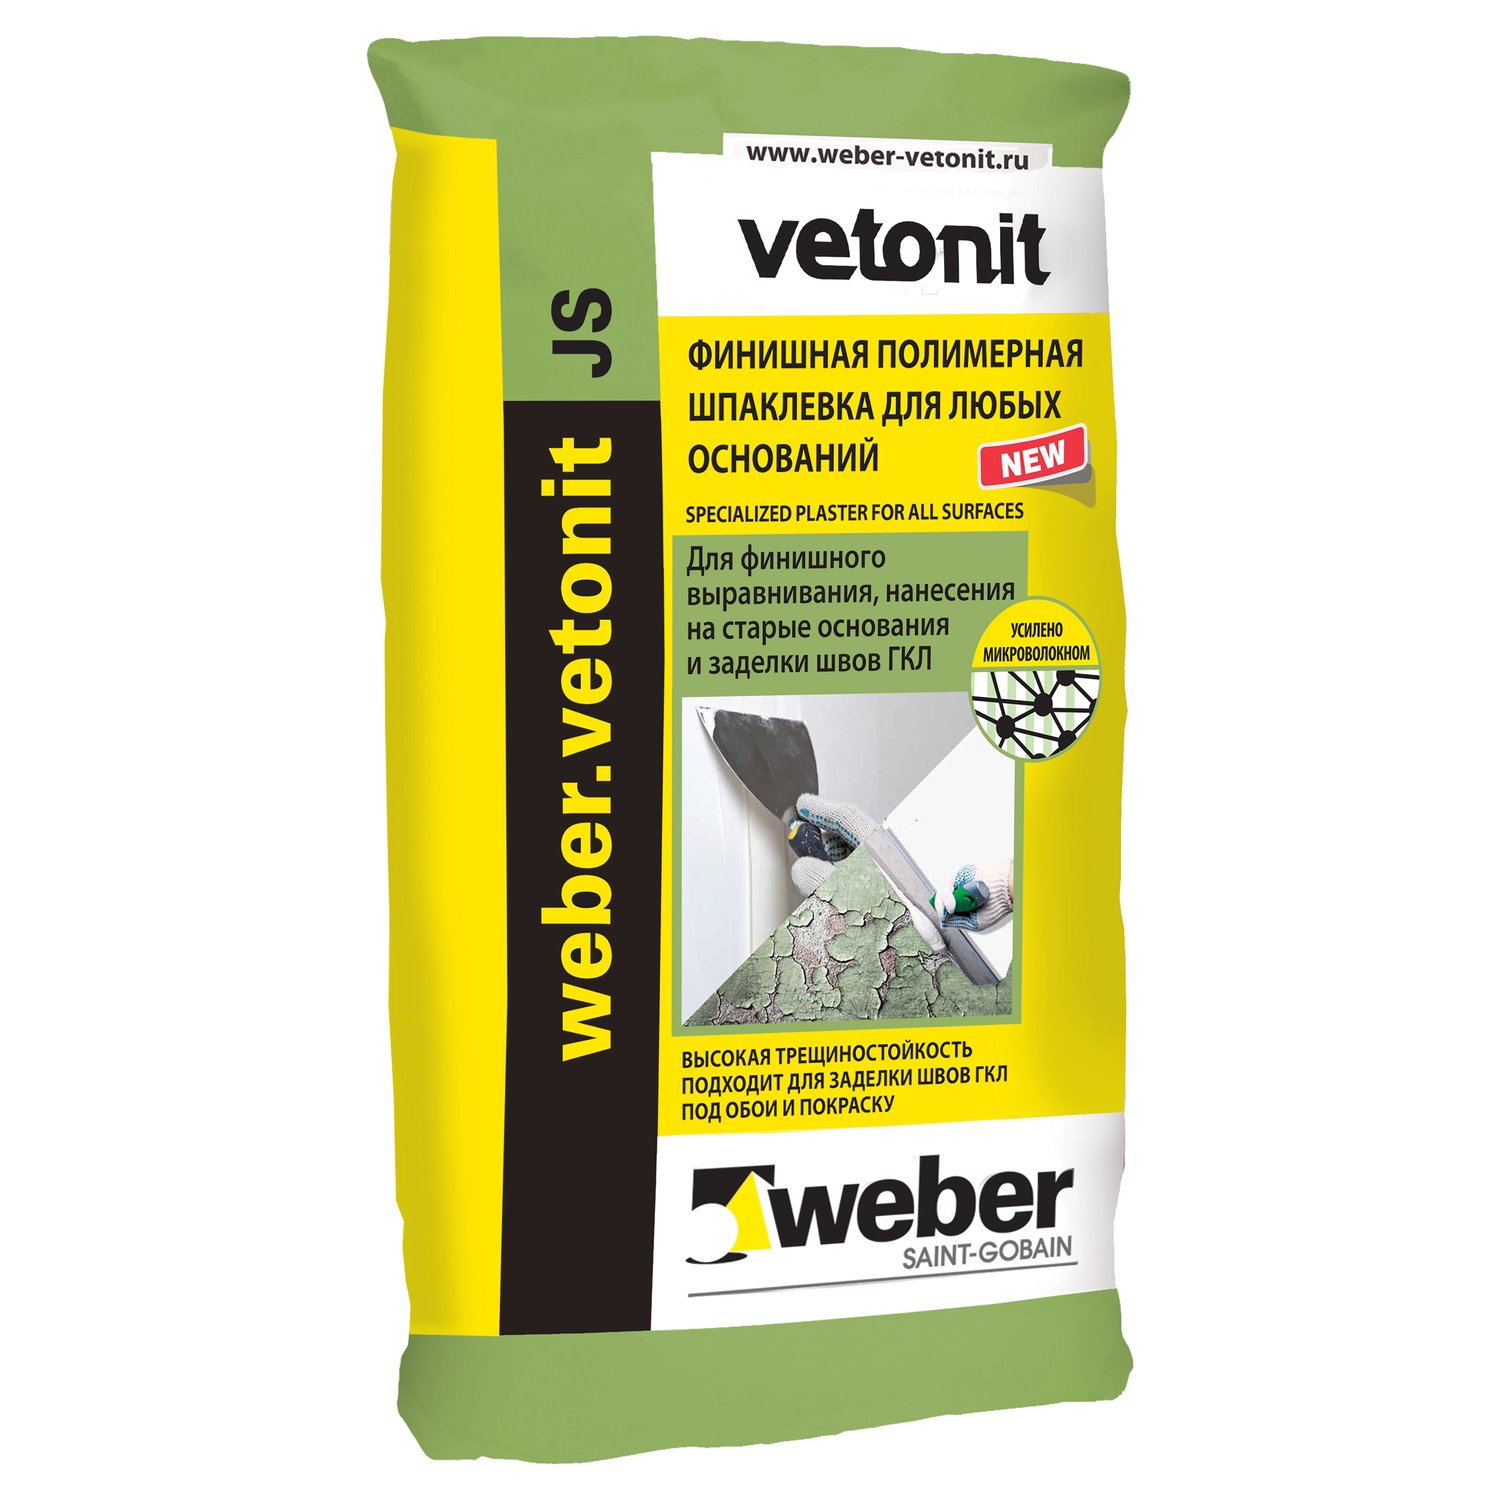
- Finish The purpose of its application - the creation of a perfectly smooth layer, which later will be attached decorative trim. It does not require grinding and leveling due to the fact that it is applied in thin layers and consists of smaller particles.
- Special. Apply when, in addition to alignment,the putty layer must perform a protective function - to be extremely durable, moisture-proof, heat-resistant.
You can also find a universal putty. It combines the properties of all three of the above and is used in almost any conditions. The convenience of this option is obvious. The disadvantage is only the high cost.
Putty can be classified by composition. Depending on the main substance, there are three varieties.
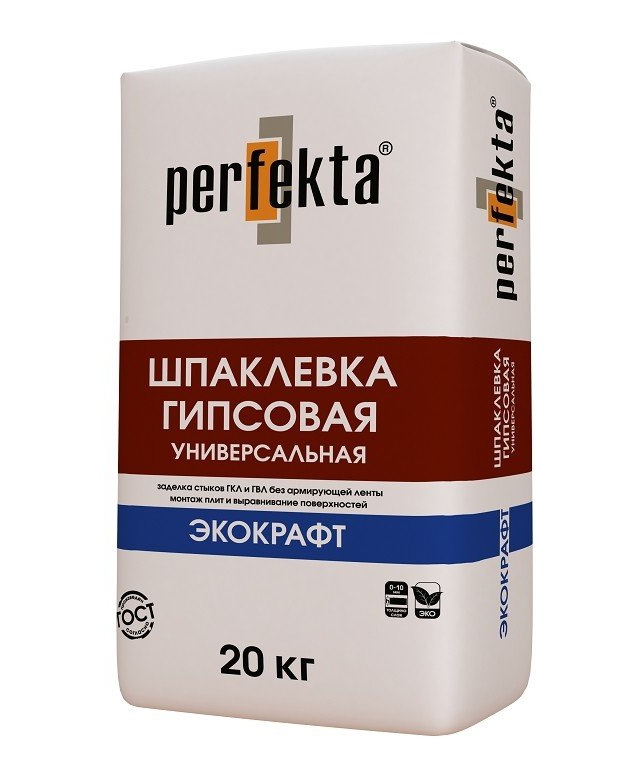
- Gypsum - less durable, deformed under the influence of water. But it differs in environmental friendliness, vapor permeability, ease of application, quick drying. Due to the availability is the most sought after.
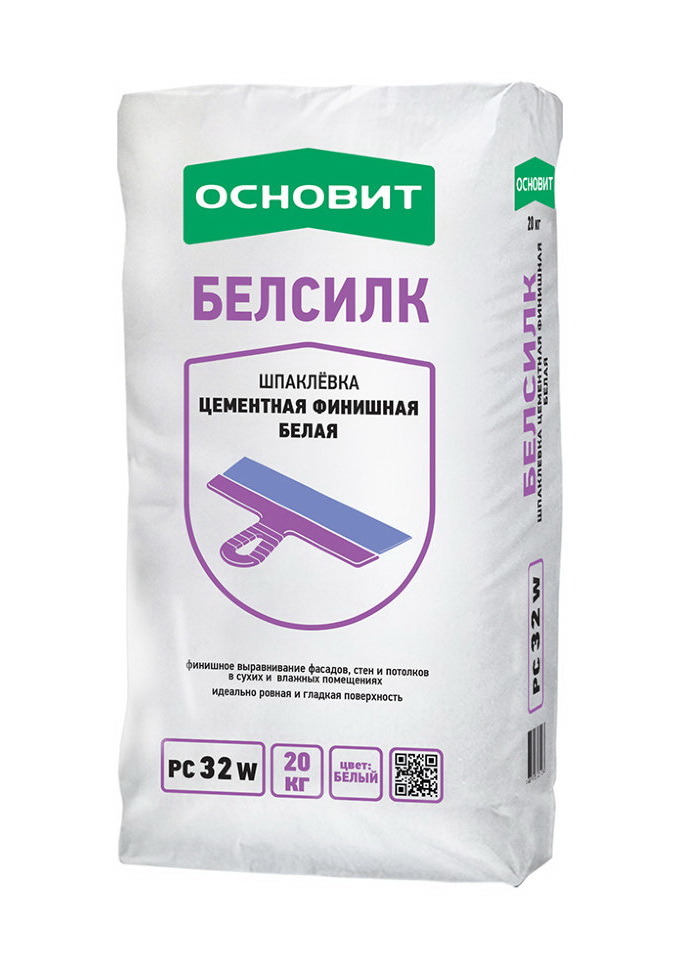
- Cement - for residential ceilings is rarely used because of the coarse texture, density of the material and gray. Applied with a thick layer, it protects the ceiling well from external influences, both mechanical and chemical.
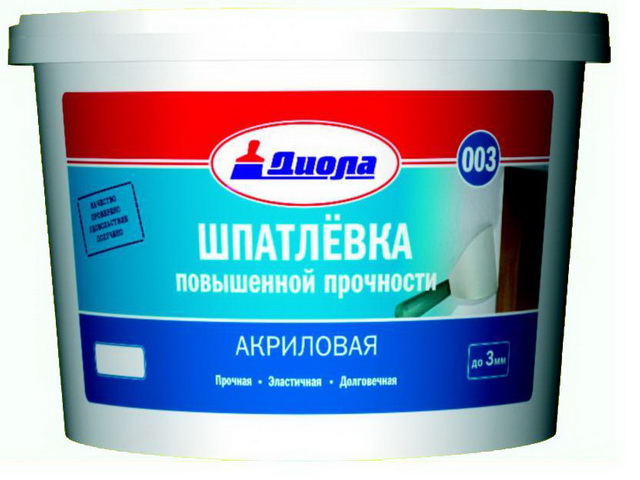
- Synthetic - based on polymers. Possesses the highest rates of plasticity and strength.
It is divided into:
- acrylic;
- latex;
- oil;
- glue;
- Shakril;
- nitro putty.
Of course, the composition includes additives that help the mixture to dry quickly, firmly lay down on almost any foundation and be used in different conditions.
Which one to choose?
The choice of putty is influenced by several interrelated factors:
- Skill level Professionals are able to navigate well in the compositions, their features and understand how and where to use them. For a beginner, it is important to weigh all the advantages and disadvantages of mixtures and put them into practice through trial and error. If the choice is not easy, you can stay on the universal brand.
- Budget. Unfortunately, this nuance sometimes becomes decisive. Therefore, it is important to assess the ratio of price and quality, before giving preference to cheaper options. If you have to redo all the work, the costs will double.
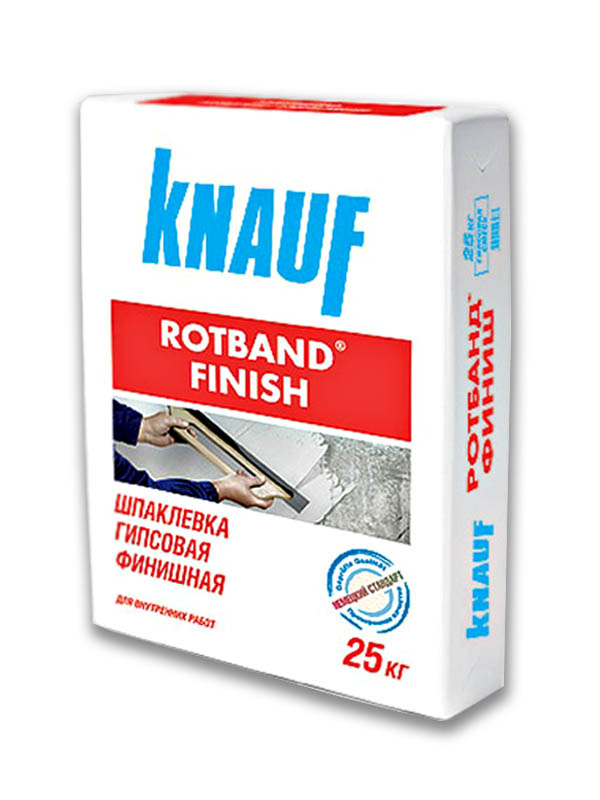
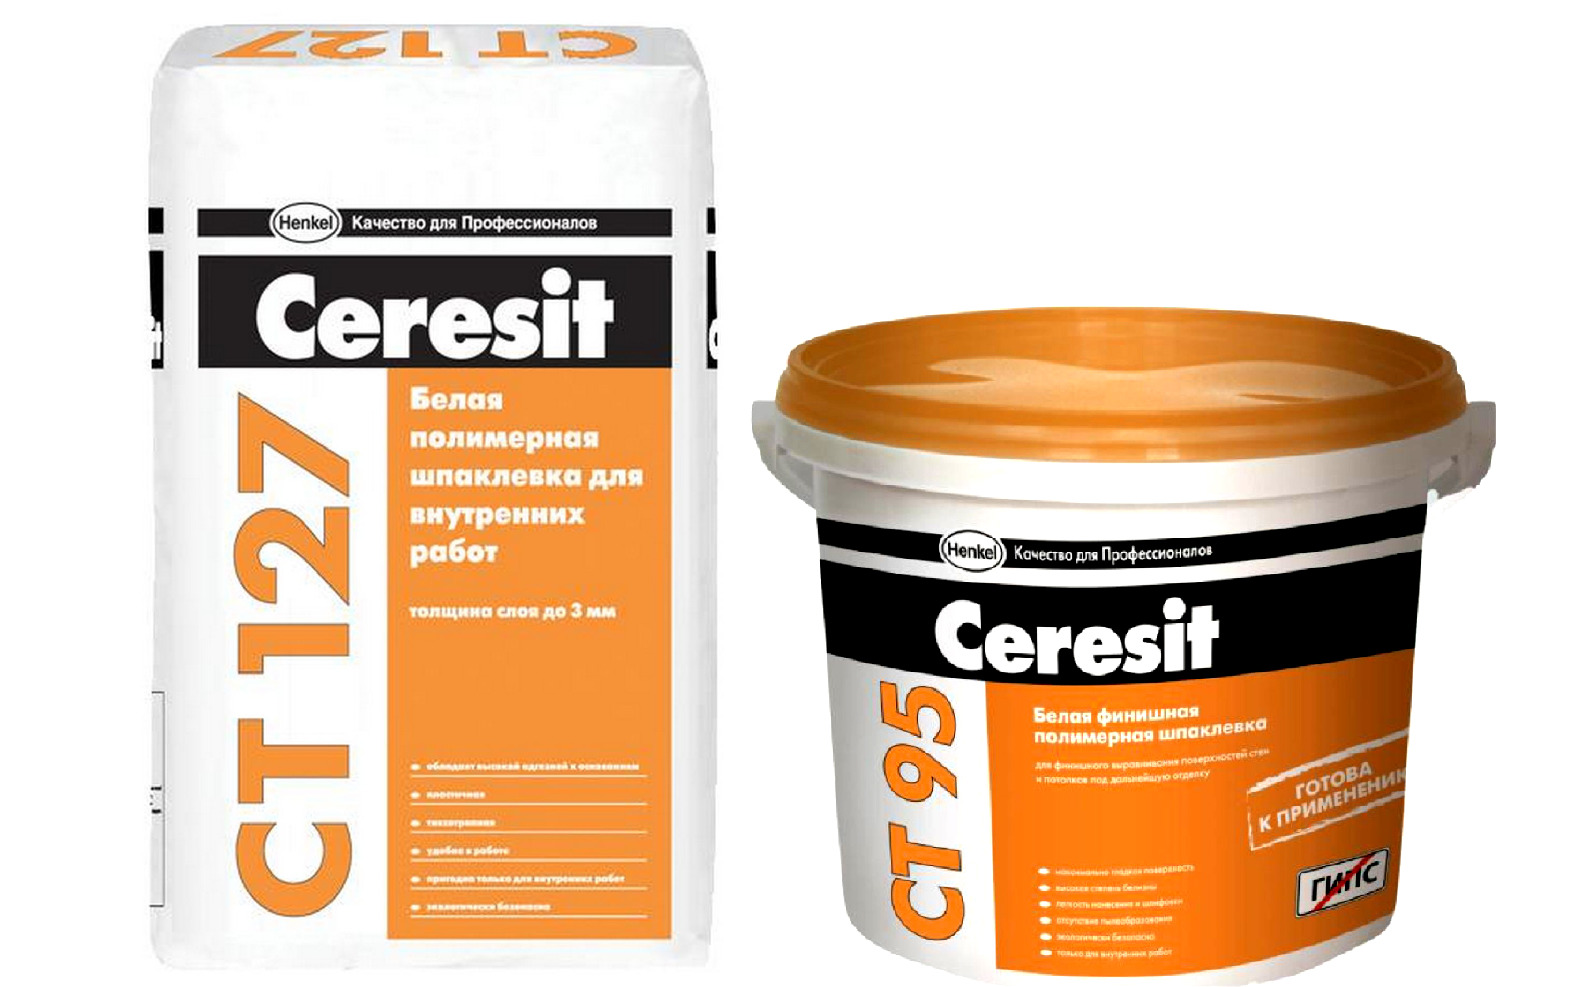
- Manufacturer. Proven brands with good reviews always have advantages over less well-known ones. The mixtures of Ceresit, Caparol, Volma, Master, Knauf are in demand.
- Decorative coating. Not all brands of putty are suitable for wallpaper, tile or painting. Therefore, if you have already decided what the ceiling will look like, check the compatibility of all the finish layers.
- The scale of the upcoming work. If the base of the ceiling is sufficiently smooth, it is not necessary to putty its entire area. Sufficient local application. And the volume of purchased products, respectively, should be small. If you plan to continue finishing, give preference to dry material - using a part of it, the remains can be saved for a long time.
- Planned time. Sometimes it's important to get the job done quickly. The quick-drying option is a mixture based on gypsum, and the longest polymer compositions set.
- Place in the apartment. In the bathroom or room without constant heating need special materials. In the living room will suit almost any option.
- Security. In the living room, and especially in the children's room, it is important to use the most environmentally friendly components without odor and harmful to the body of impurities. Therefore, when choosing it is important to check the documentation.
Application area
The choice of one or another type of putty depends on the material from which the floor is made, its trimming or finishing (if any):
- Concrete plates. Most often they are ideally smooth surfaces, therefore they do not require alignment,and their strength does not need to be improved with additional protective layers. Individual potholes, cracks, chips can be putty dotted.
- Drywall As sheet material does not require alignment. Joints, caps screws and other holes should be processed separately. Increase the waterproofing will help polymer solution. Discussions about the need for filling the entire surface of such a ceiling have been going on for a long time. There is still no definite answer. Experts still advise to carry out this procedure in order to protect the sheets themselves from penetration of paint or glue into them and subsequent deformation, as well as damage to the paper outer layer in case of removing wallpaper or paint from it. In order for the gypsum plaster not to soften from the putty itself, you should use the anhydrous option or pre-apply a coat of primer.
- Woodas well as products from the wood fraction (particle board or fibreboard) also need protection from moisture. It will not be superfluous to use a non-combustible mixture. Separate attention should be paid to the joints and fastenings, they should not be visible, especially if thin wallpaper or paint will be used.
Not all trimmed ceilings can be putty. Porous or textured substrates for application will be ideal, since such a layer is connected with them more tightly. Finishing putty can be covered with plaster. But on smooth enamel, it simply will not hold. Under the ban are some sound-proof materials and insulation for the same reason.
One and the same kind of putty cannot be used in premises of various purposes (for example, in the living room and boiler room), since the microclimate in them will differ. The presence of sources of moisture, heating, drafts must be considered.
In dry living rooms, you can use the most simple compositions based on gypsum. If the humidity in a residential area is constantly increased, it is necessary that the layer obtained is vapor-proof. In the same tree, moisture, accumulating, can not only lead to deformation, but also promotes the reproduction of fungi and the appearance of mold.
In unheated rooms, acrylic and other polymer blends will be the best option. They do not shrink, tolerate temperature drops and provide a reliable protective layer.
Surface preparation
The preparatory phase often depends on how repairs will be carried out, as well as their effectiveness. Therefore, do not neglect them.
First you need to:
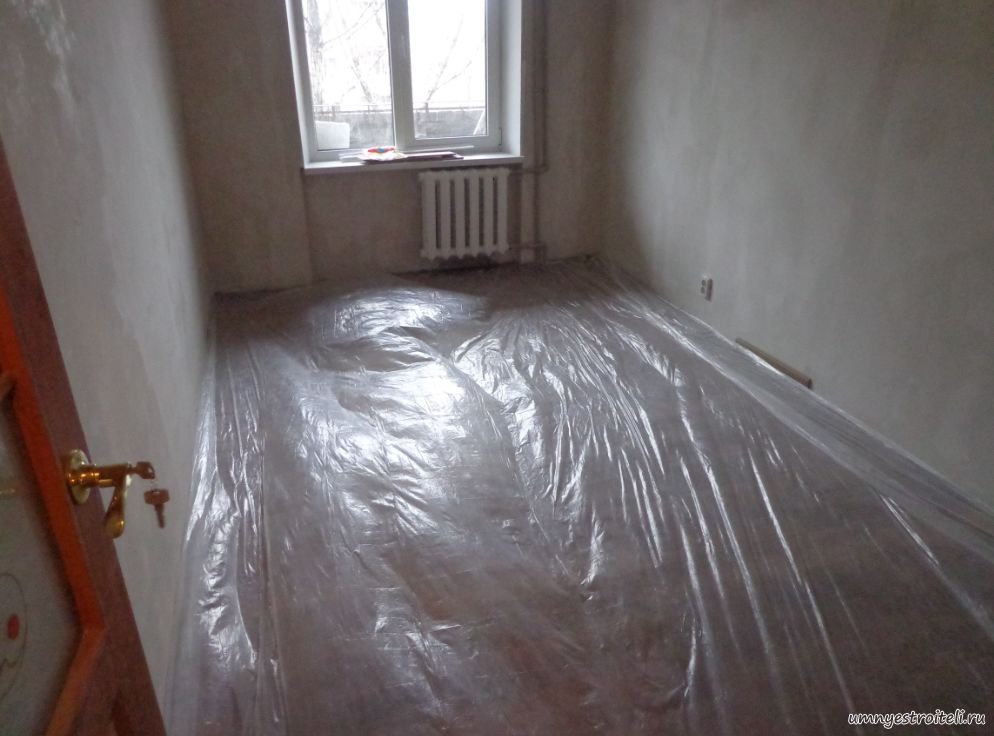
- Clear the room from objects that may interfere with free movement. The remaining objects, as well as the windows and the floor must be covered with a film.
- Remove the ceiling moldings, lamps. Apply masking tape along the perimeter of the ceiling.
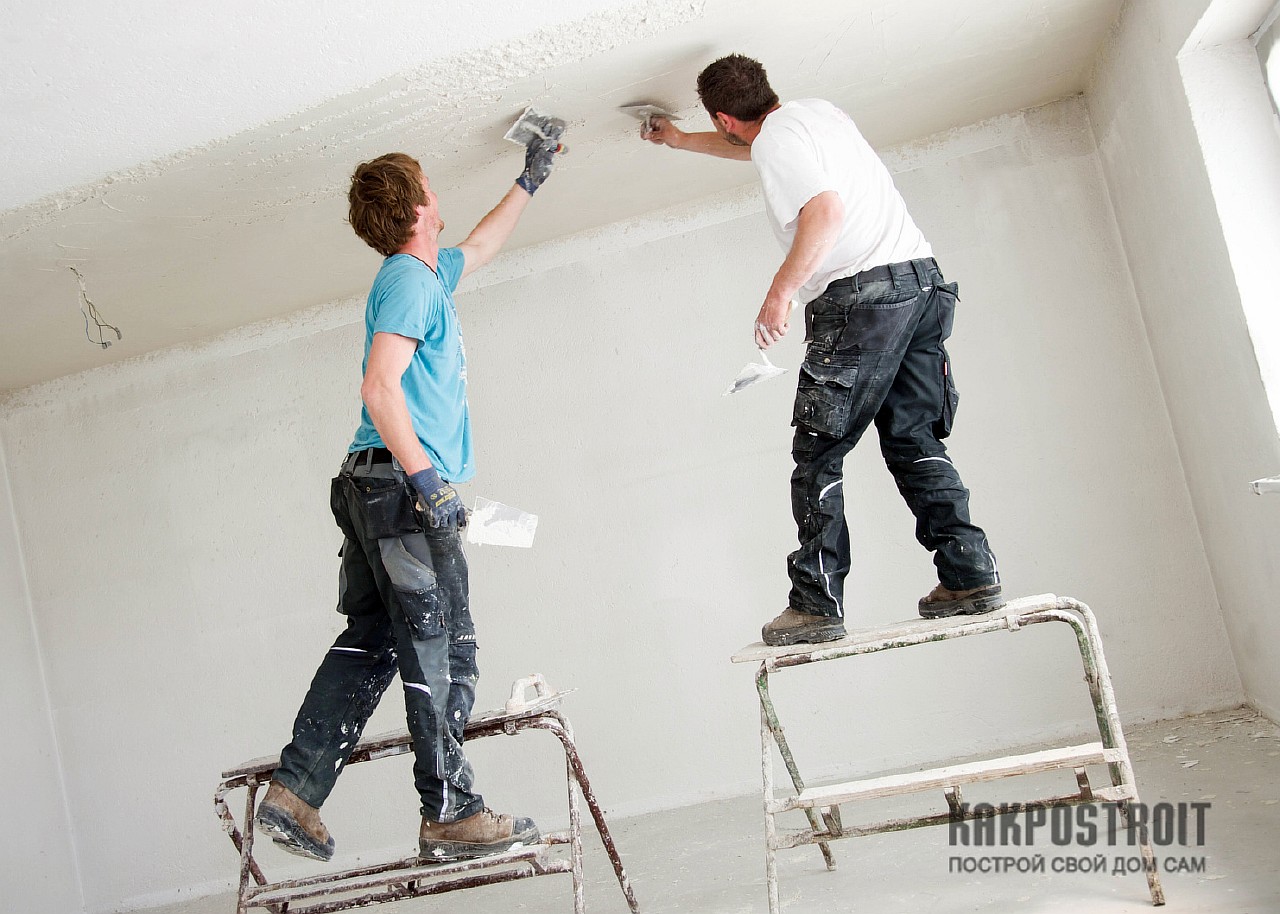
- Prepare a stepladder or make temporary scaffolding (for example, from stools and planks) so that you can work comfortably with the ceiling.
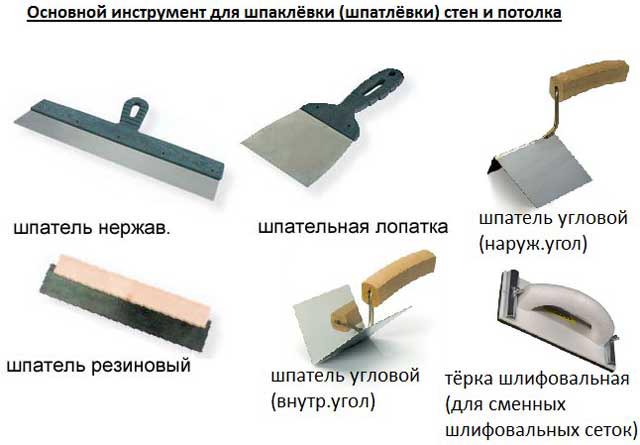
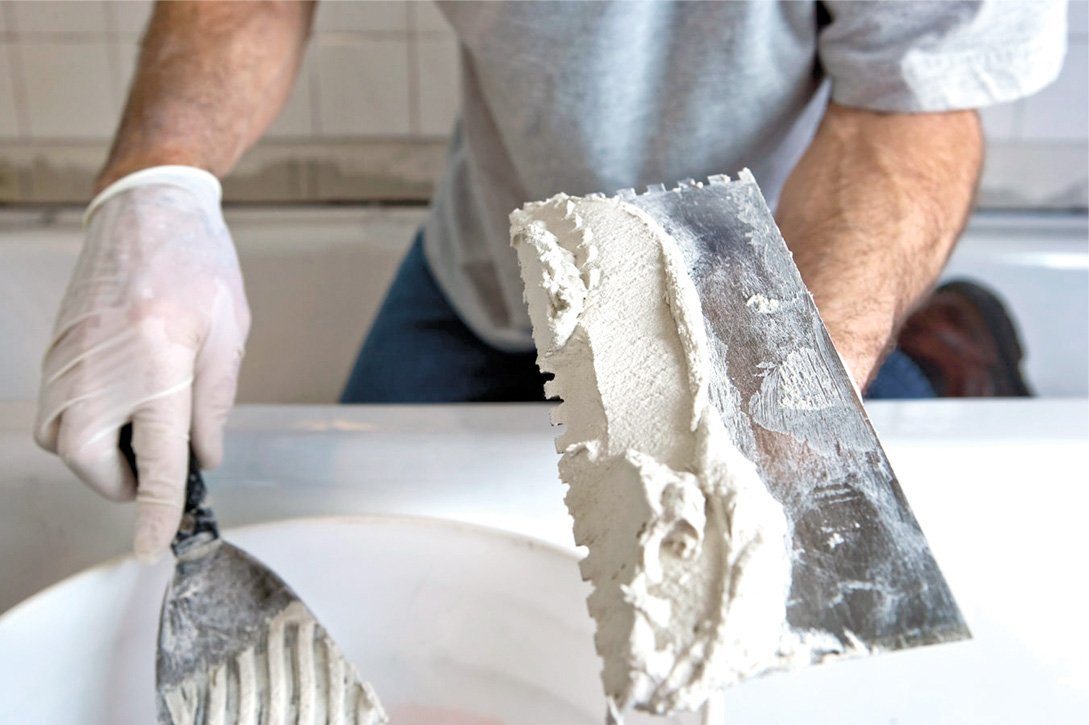
- Prepare tools for putty:
- spatulas (it is better to purchase two or three different widths) - stainless and rubber;
- spatulas to form external and internal corners;
- the rule;
- level;
- construction grater or sandpaper (sanding is carried out with their help).
Directly preparation flow is as follows:
- If the ceiling has a construction made of gypsum board or chipboard, you need to give it time to shrink. All building materials should dry well. Only in this way the putty will lie flat, will not crack and fall off.
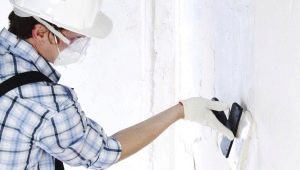
- The old decorative coating in the form of whitewash, paint, wallpaper or tile must also be removed. For this, a spatula is best suited. A layer of glue or whitewash pre-moistened with water, wet mass is easier to remove.It is also necessary to remove all dirt, stains and even dust.
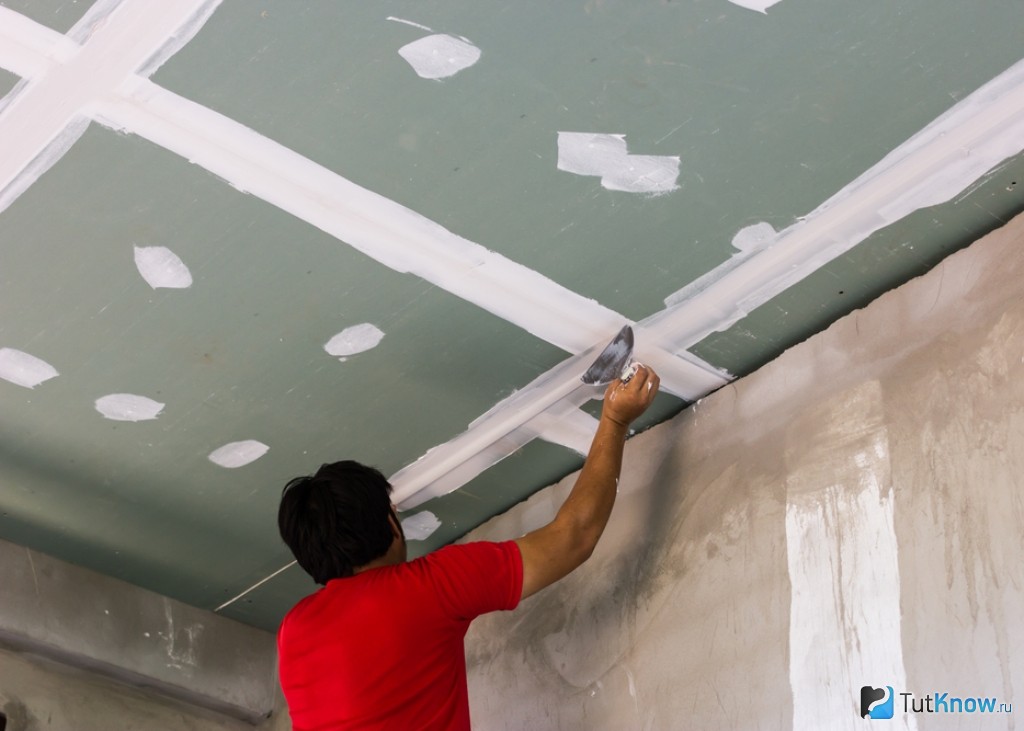
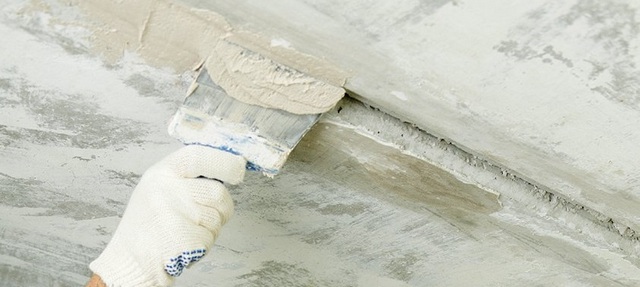
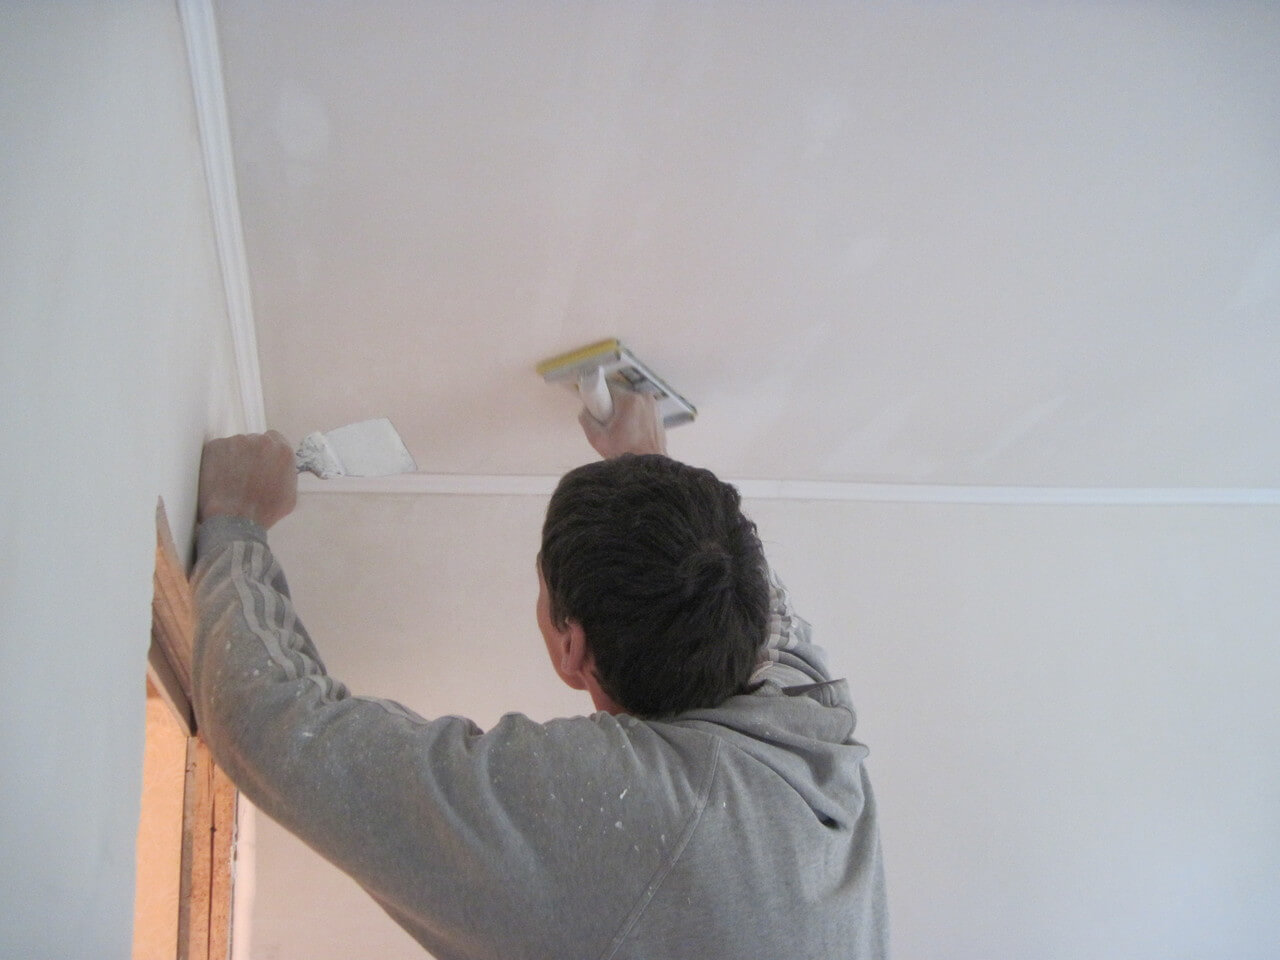
- Special attention should be paid to the joints. They need to be carefully cleaned, cut off the edge, forming a shallow chamfer. In the resulting recess lay glue.
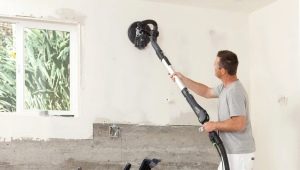
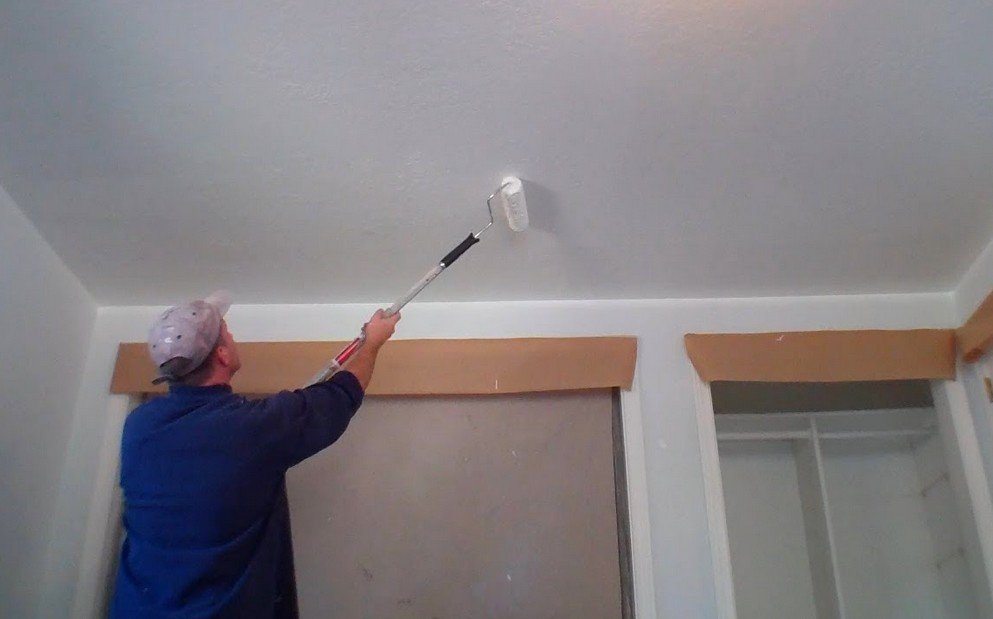
- Before applying the putty ceiling treated with a primer. It is applied with a brush or roller - first in hard to reach places, and then over the entire area.

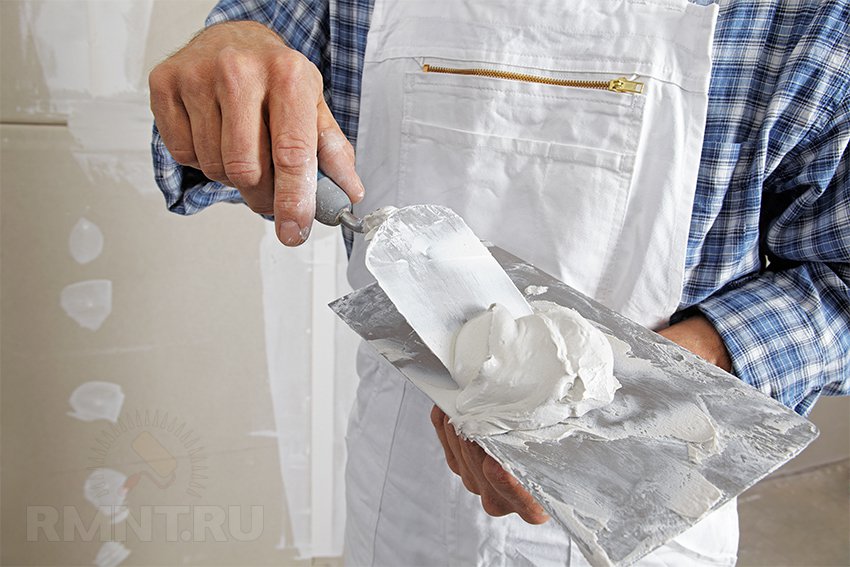
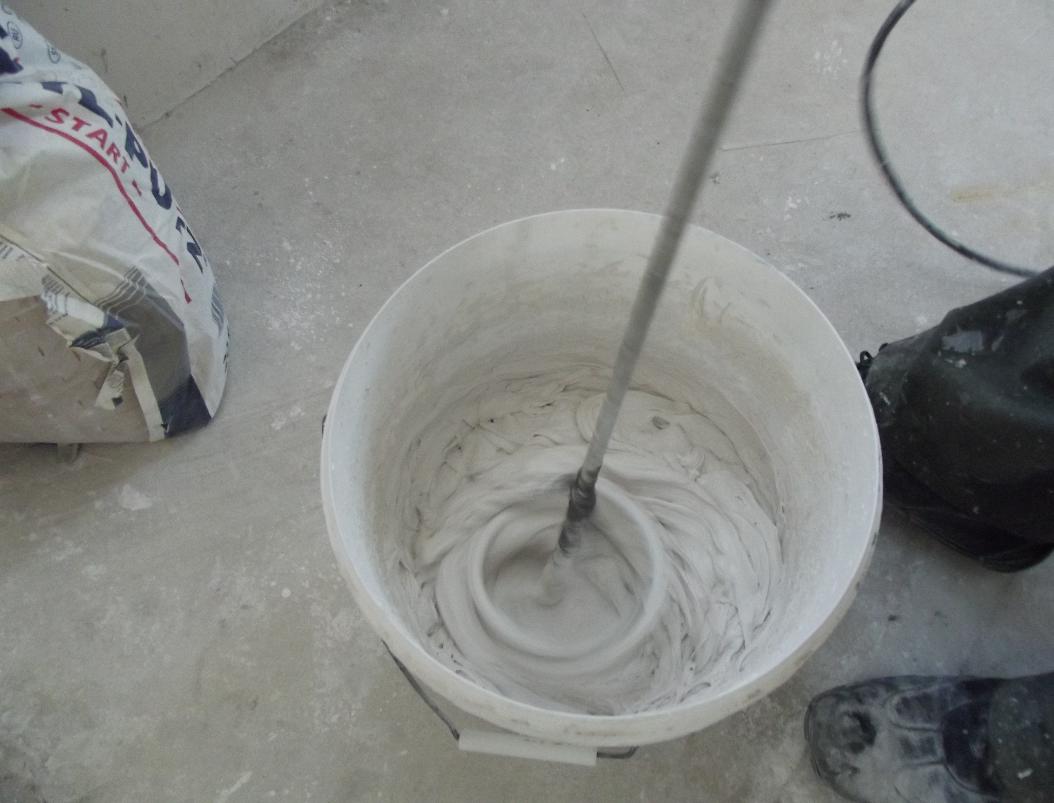
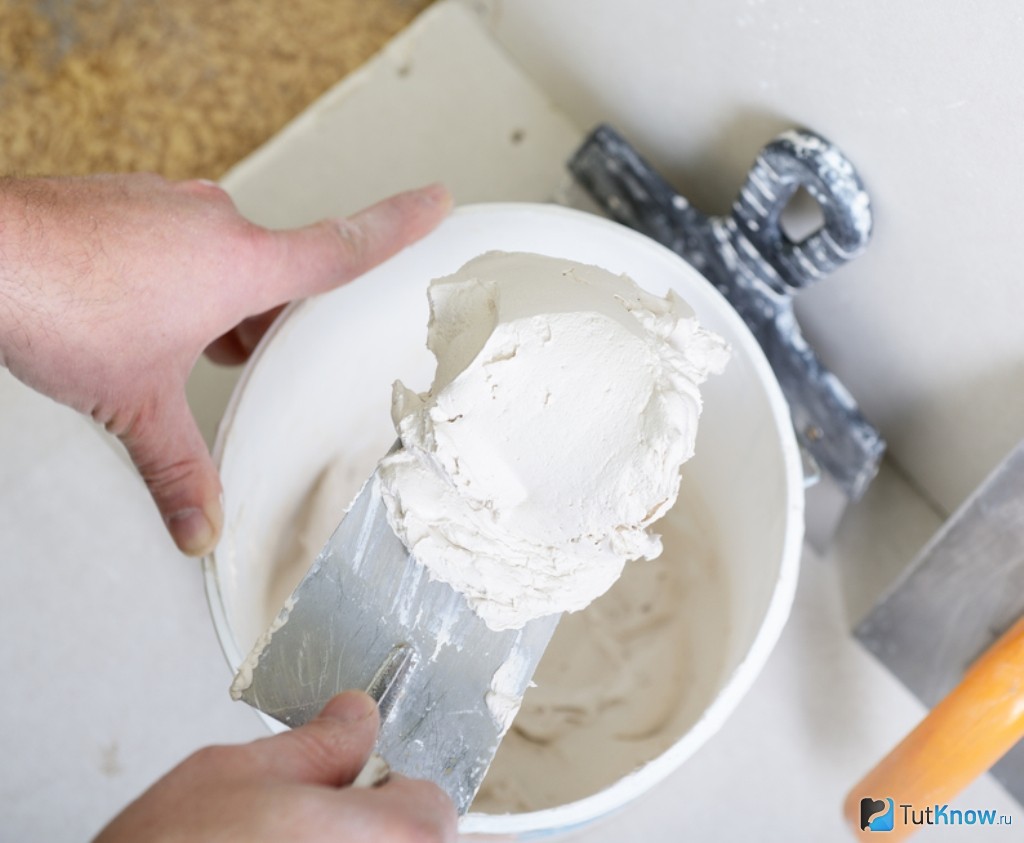
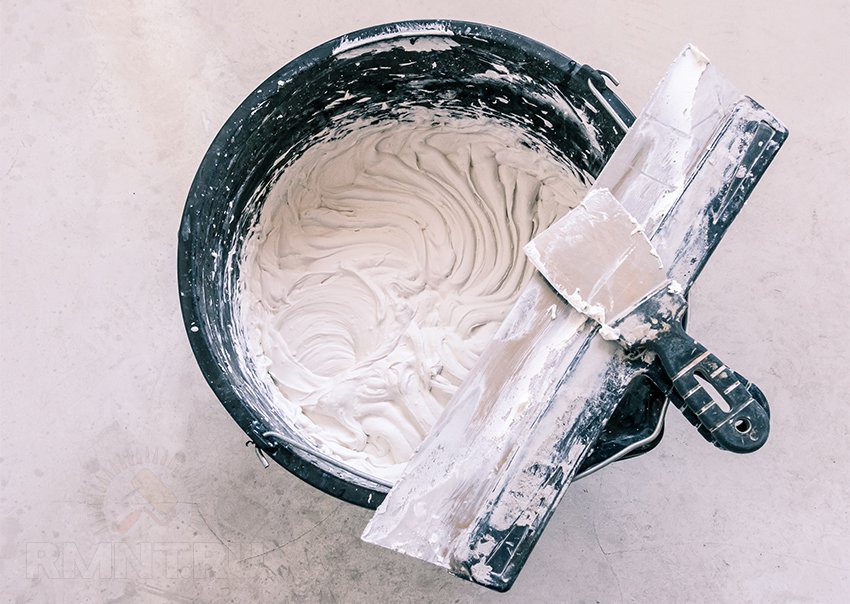
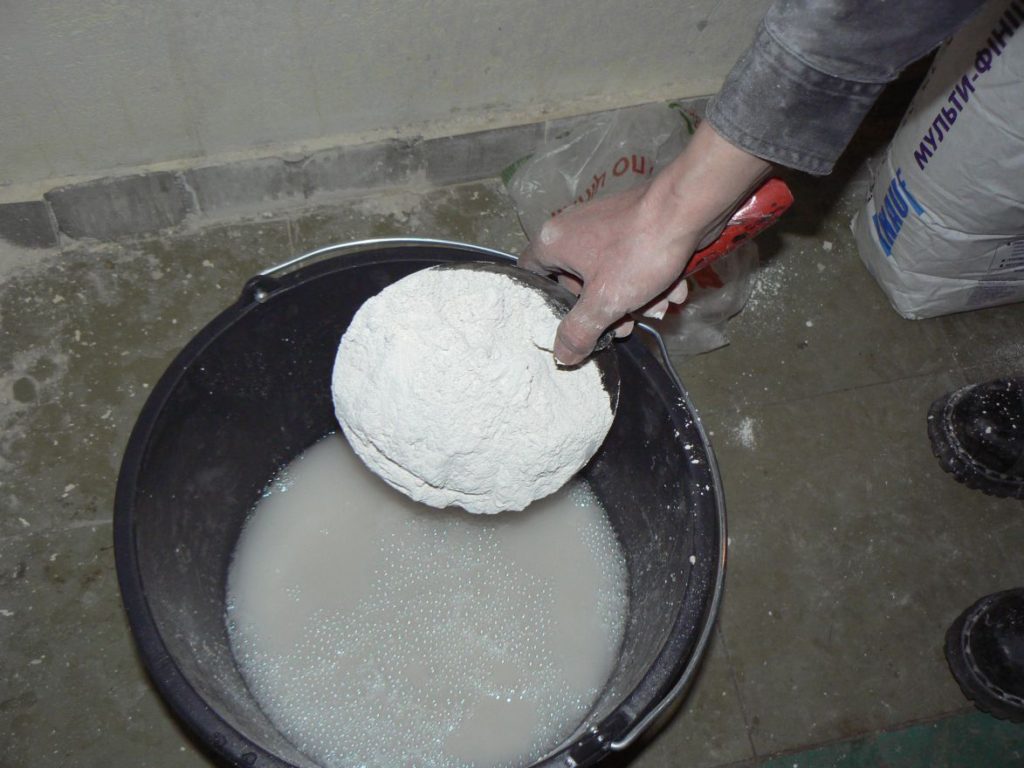
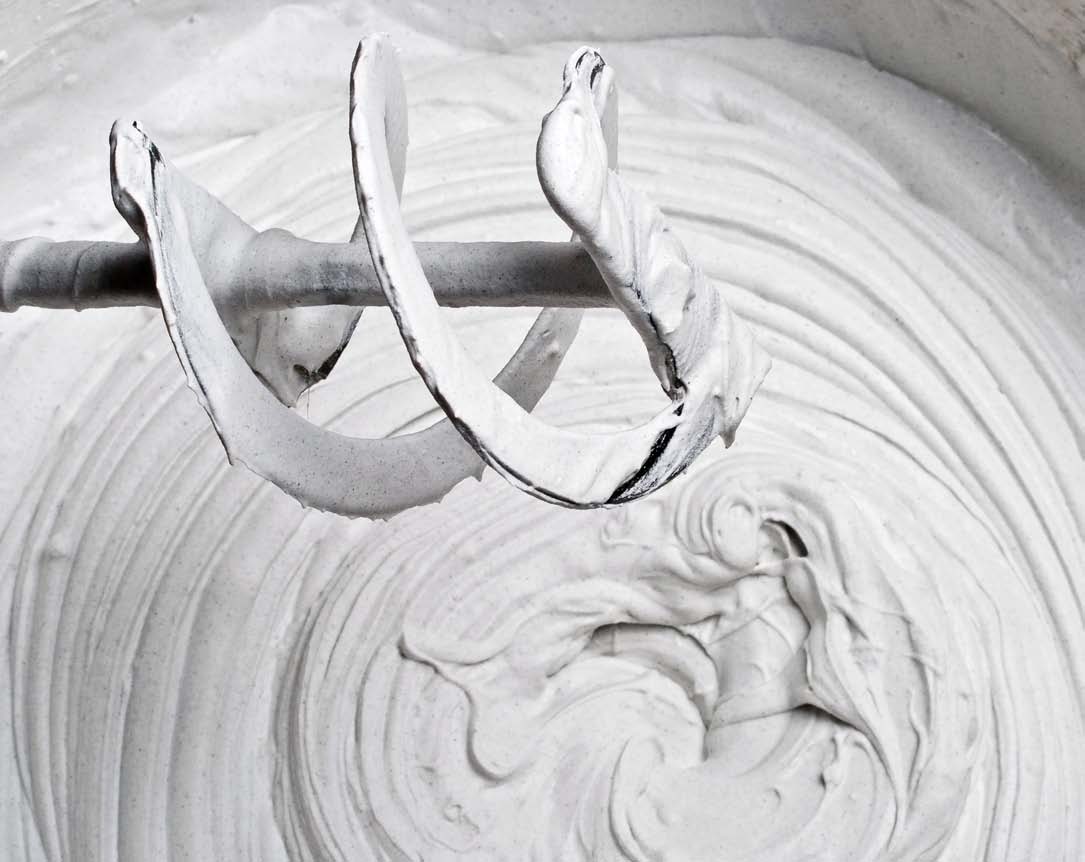
Open the finished mixture or make the solution must be immediately before using it. For breeding, you must comply with the proportions that are written on the package.
Preparation of putty on water is as follows:
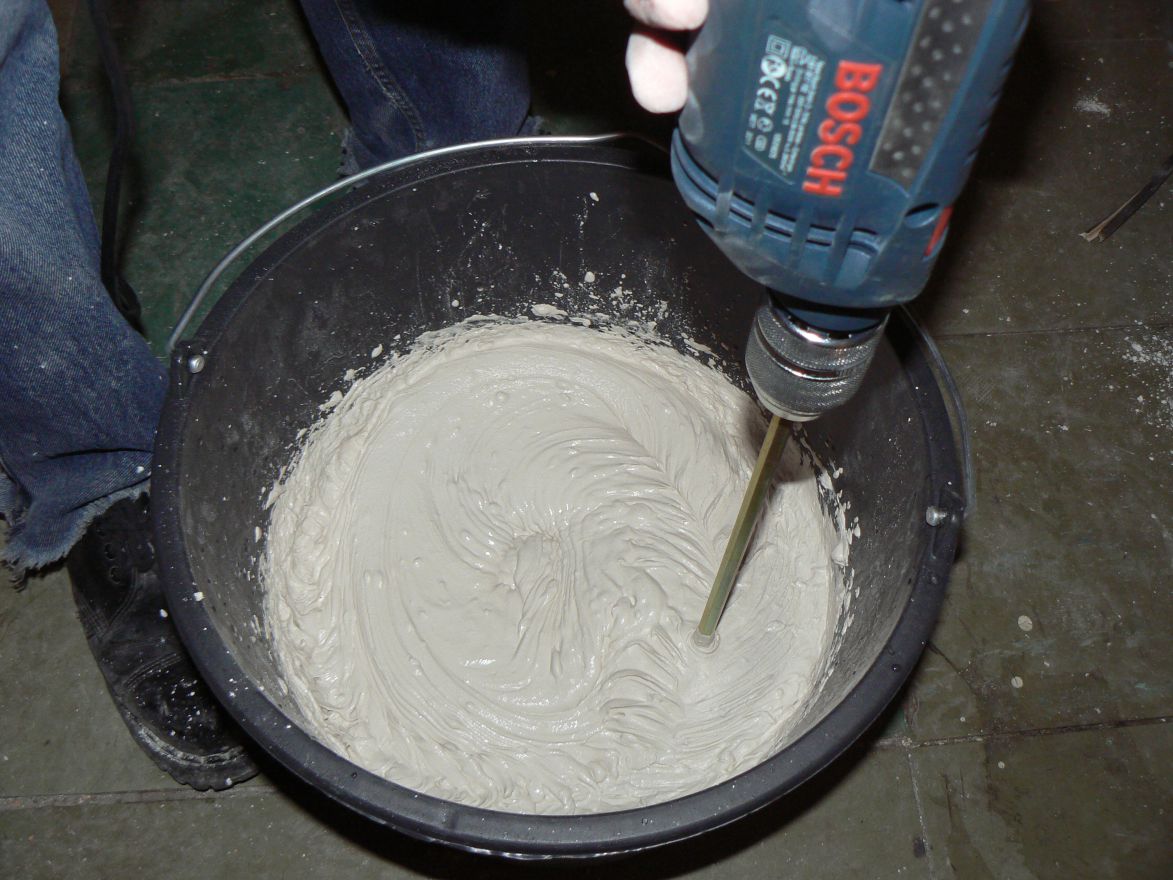
- dry mixture is gradually added to the container with pure warm water;
- should be stirred with a construction mixer, perforator with a nozzle or any clean improvised means until a homogeneous mass;
- after that, the resulting solution should be infused for about ten minutes, it must be mixed again and used.
You can prepare the putty yourself. For oil, you will need 2 kg of chalk in powder, 1 kg of drying oil and 100 grams of means for rapid solidification (desiccant). For glue - a solution of wood glue (five percent), gypsum and twice as much chalk.Components are added to the eye to obtain a viscous mass.
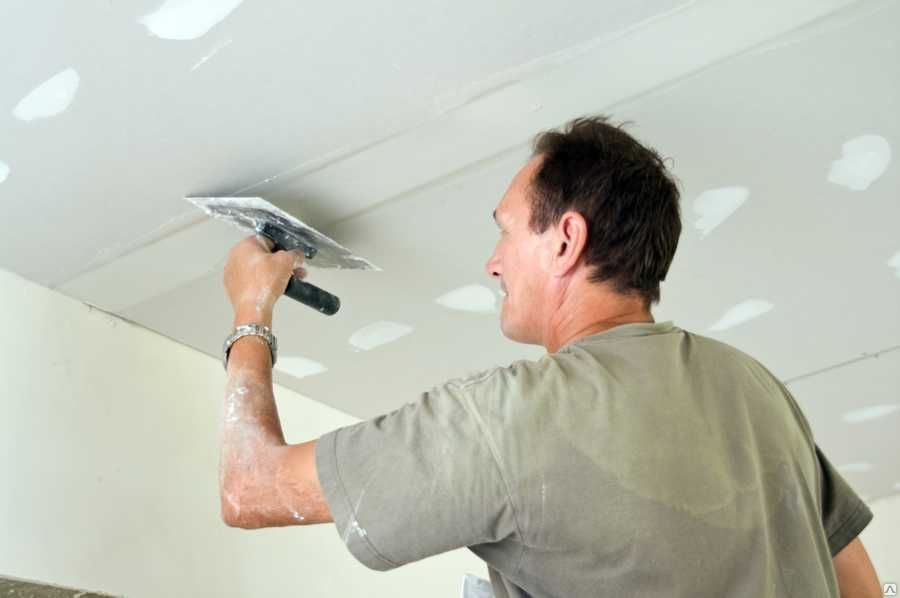
Work algorithm
There is nothing difficult in applying putty, but as in any other business, speed and accuracy of execution comes with experience. Because beginners can be advised to first practice on unnecessary sheet building material or wall.
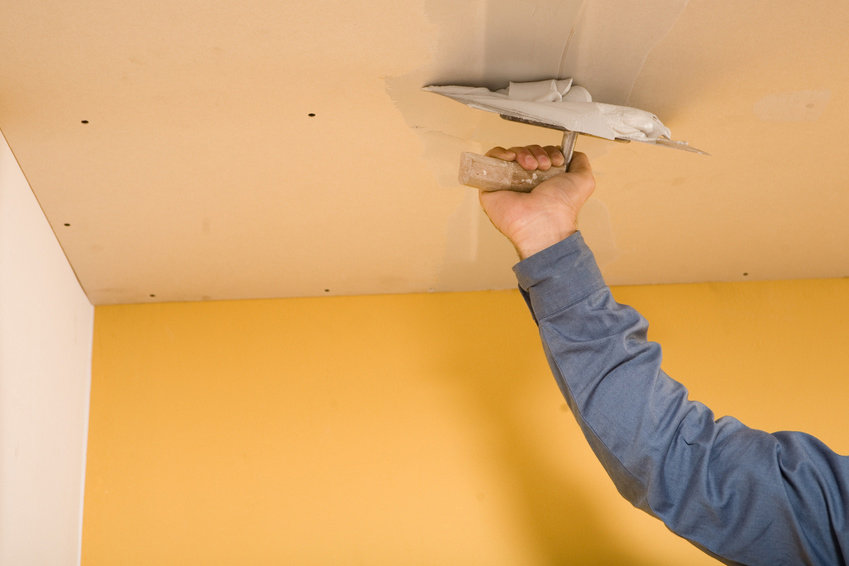
Spatula irregularities on the ceiling, dimples of screws, joints and cracksas well as corners (if the ceiling is multi-tiered). To bring them and strengthen, special corners are acquired. Hide them will help putty. Such a local putty can replace one or two layers, which means it saves material.
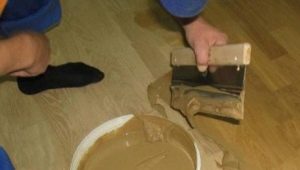
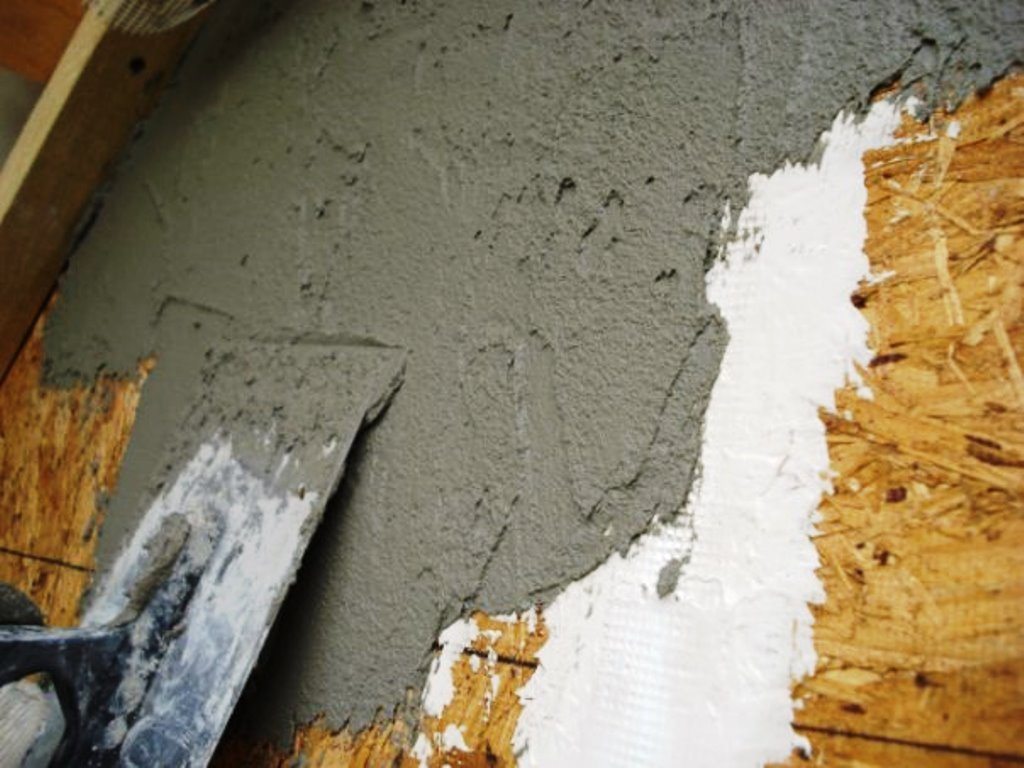
Cracks need to expand, deepen and fill with a small spatula. For a large area putty, apply a narrow spatula to a wide desired amount of starter mortar. Distribute it on the wall so that the layer of the desired thickness is obtained.
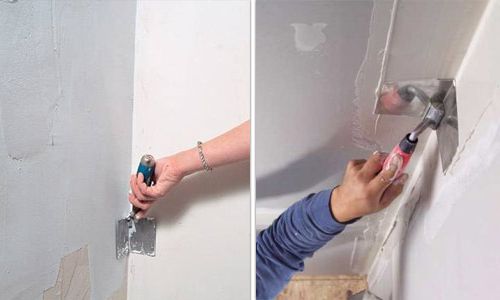
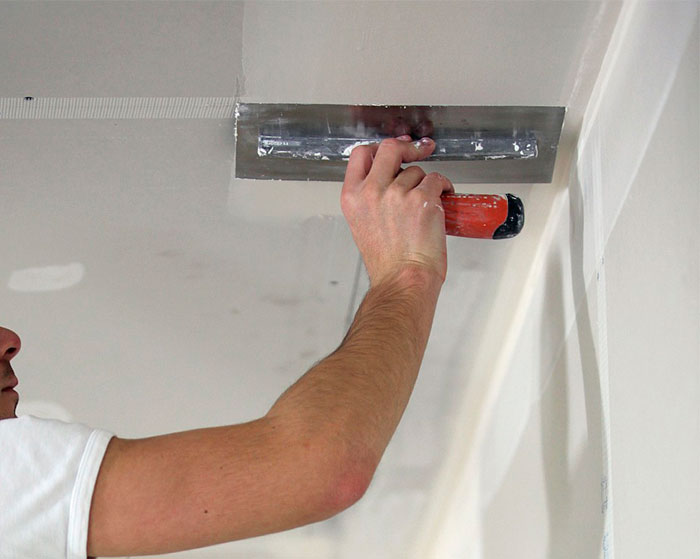
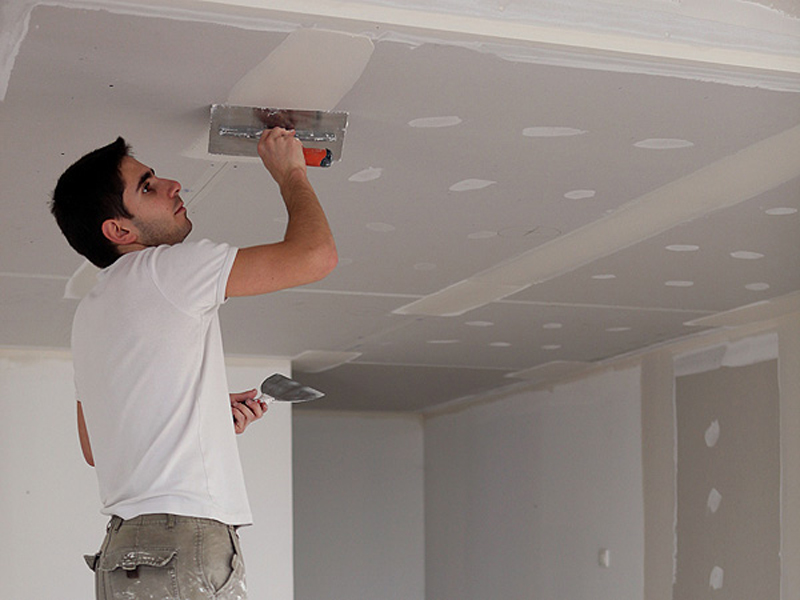
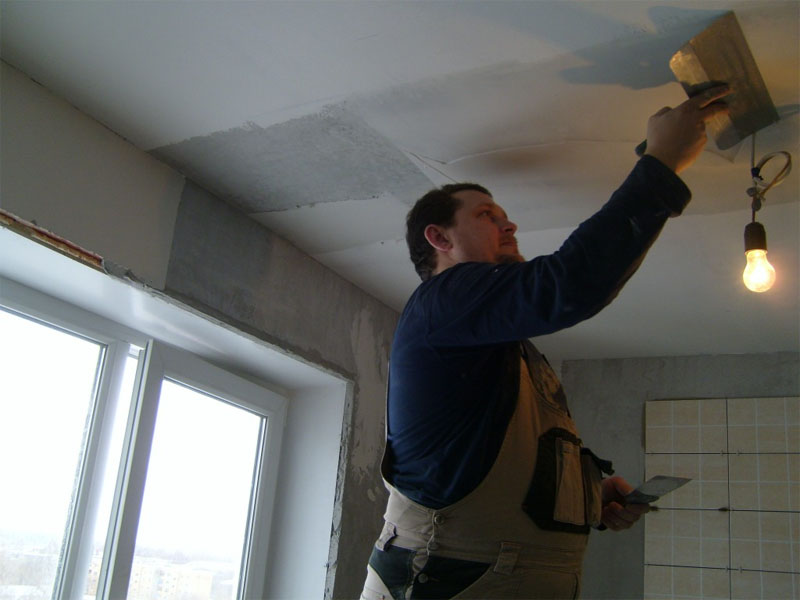
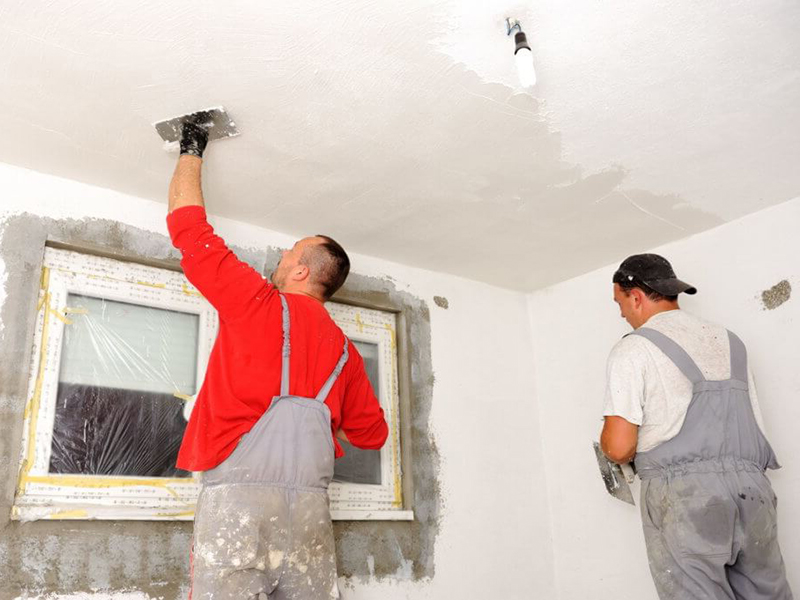
For the first layer, you can not follow any special application technique. Start better from the corner. The spatula is usually held at an angle. In order not to get waves or bumps, all subsequent portions are overlapped.
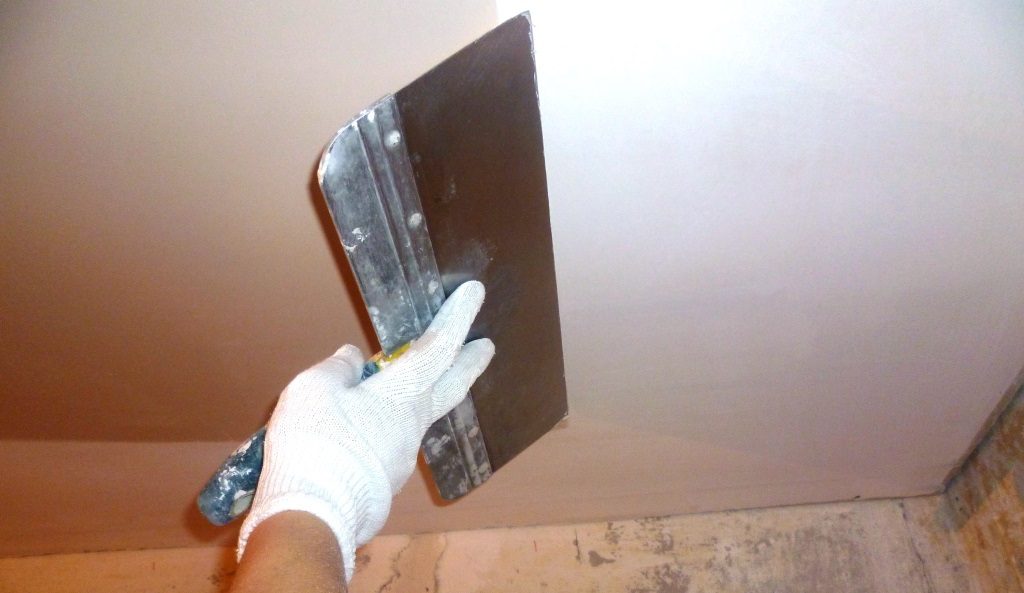
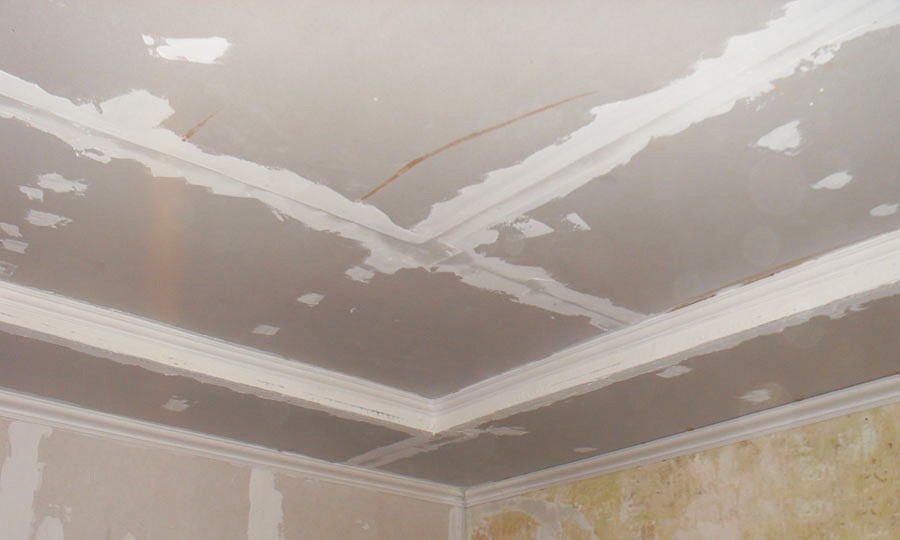
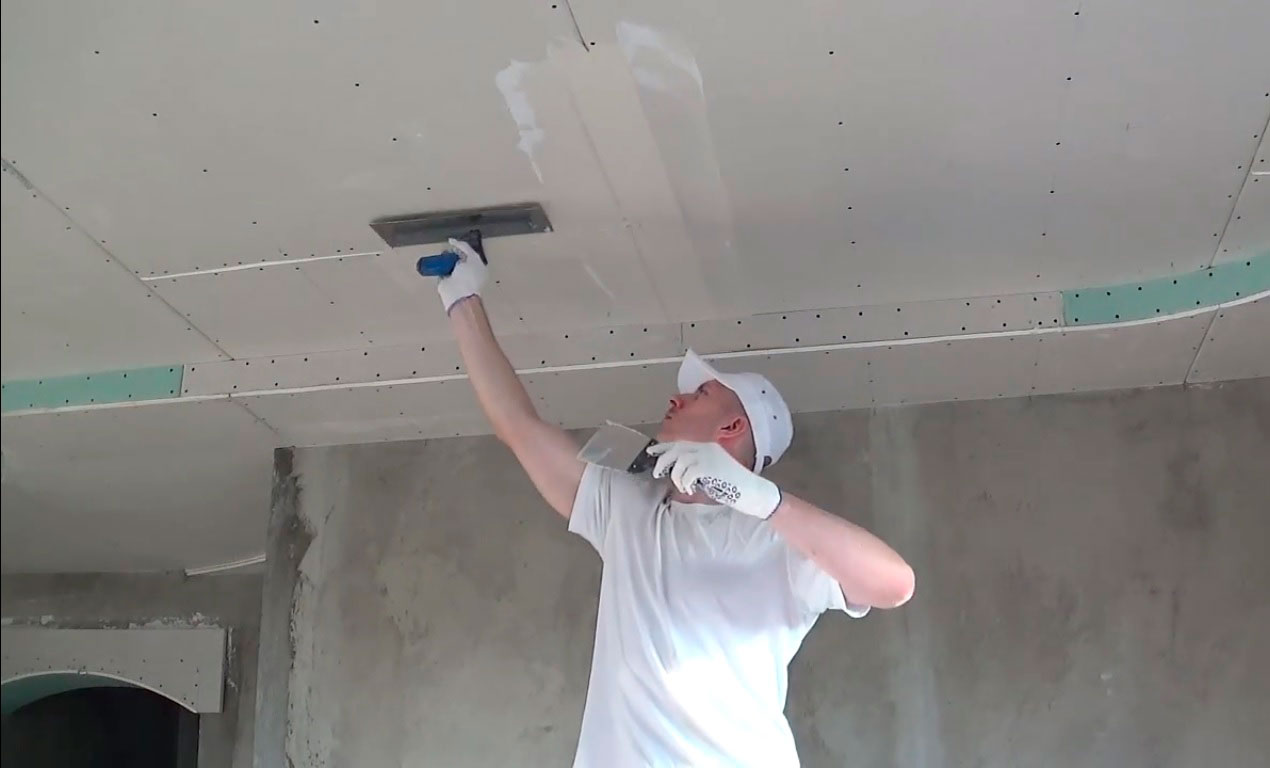
Alignment takes place using a wide metallic or wooden rule. If the planned layer should be dense, it will be difficult to apply it completely at once. And to align the resulting stripes and layering even more difficult. Let there be two or three layers.
In the corners, you need to use special angle devices. The distribution of their solution requires skill, but the coating is more even.


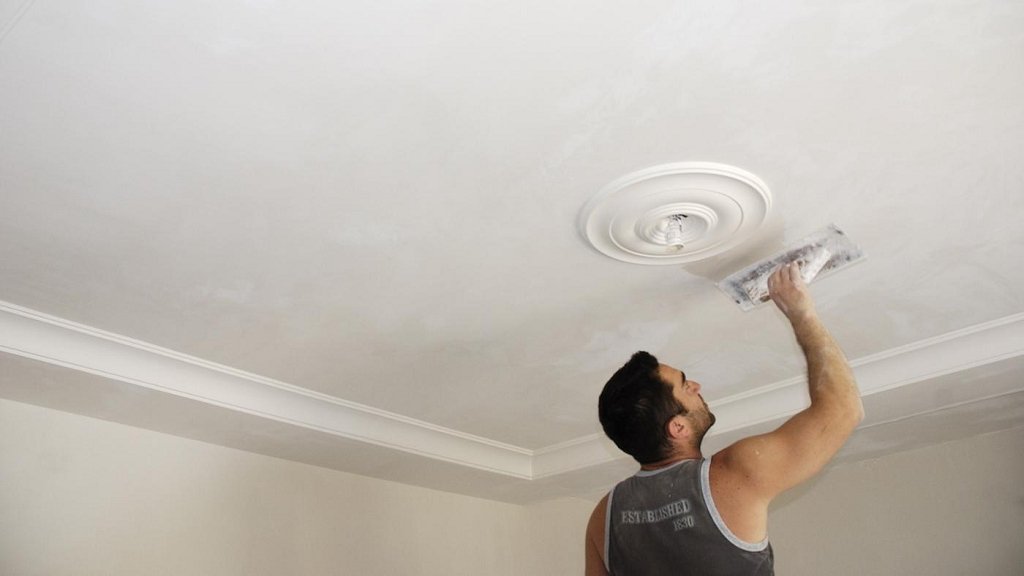
As the layers overlap, control is necessary. It is carried out using a level. Ideally, the frozen surface should not be visible stripes, drips and traces of the spatula. Slightly they can be eliminated by grinding with a grater or sandpaper.
The finishing putty is applied with a very thin layer and its main function is not smoothing, but creating a smooth coating. Therefore, it can not drastically affect existing defects. It is applied immediately in two directions. It is better to start from the window in accordance with the fall of the sun's rays.
Tips
- The finished solution will last longer if every time after taking its part tightly close the lid and wrap the container with film.
- The diluted composition can be filled with water, and before use, drain the supernatant and mix well.Stir thoroughly and at least 10 minutes.
- The consistency of the solution should resemble thick sour cream. Liquid is difficult to apply, be sure to drop and spray. Thick will badly cling to the base and flake off.
- The faster the solution dries, the smaller the serving size needs to be prepared.
- Apply each successive layer after drying the previous one. That is, after the applied color becomes uniform in color and wet dark spots disappear from it.
- You can speed up the drying process by keeping the room in low humidity conditions and temperatures above room temperature. It is better not to use heat guns and other heating devices.
- Detect defects during installation should be using a lamp, bringing it to the side. In general, for any installation work important good lighting.
- When applying water-based paints or glue, the putty may become wet and crumble. To avoid this, you need to consider the type of decorative coating. If necessary, you must use a waterproof putty, or at least before painting apply a primer and let it dry.
- In some cases, for example, when finishing panels, it is not necessary to putty the ceiling at all.
- If the height difference is more than a centimeter, it is better to use plaster as a base.
To learn how to properly putty the ceiling, see the following video.