How to level the walls with putty?
Only those surfaces look beautiful, the finishing of which was carried out as carefully as possible (of course, much depends on the materials used). This stage of finishing work is very important, as is the application of putty on the walls, because in almost all cases it is necessary to level the surface. So the basis is prepared for pasting of wall-paper, drawing painting composition.
To achieve the best results, when using putty material you need to take into account certain nuances. You can understand them by reading this article.
How to choose?
If you are going to buy suitable putty material, you should understand the variety of compositions,which are represented on the market. In the range of materials from modern manufacturers it is very easy to get confused. The following basic types of putty can be distinguished:
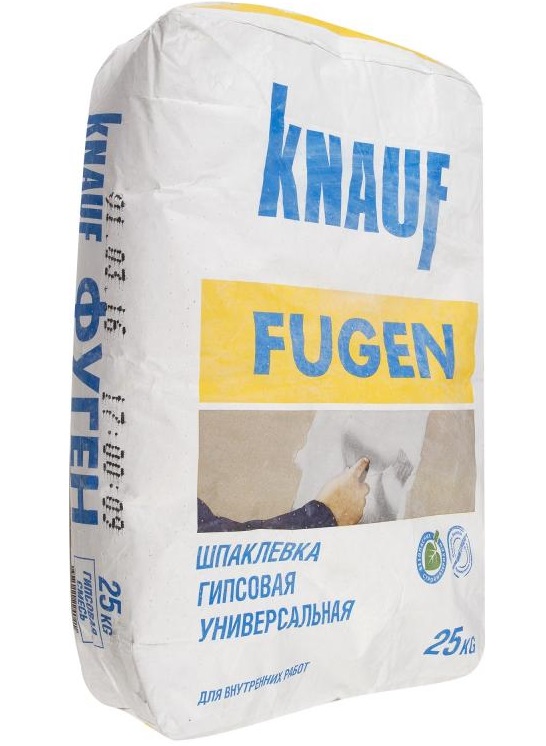
- Universal. Such materials can be used for different purposes and for different surfaces, which attracts many consumers.
- Starting. Such coatings can get rid of serious defects on the surface.
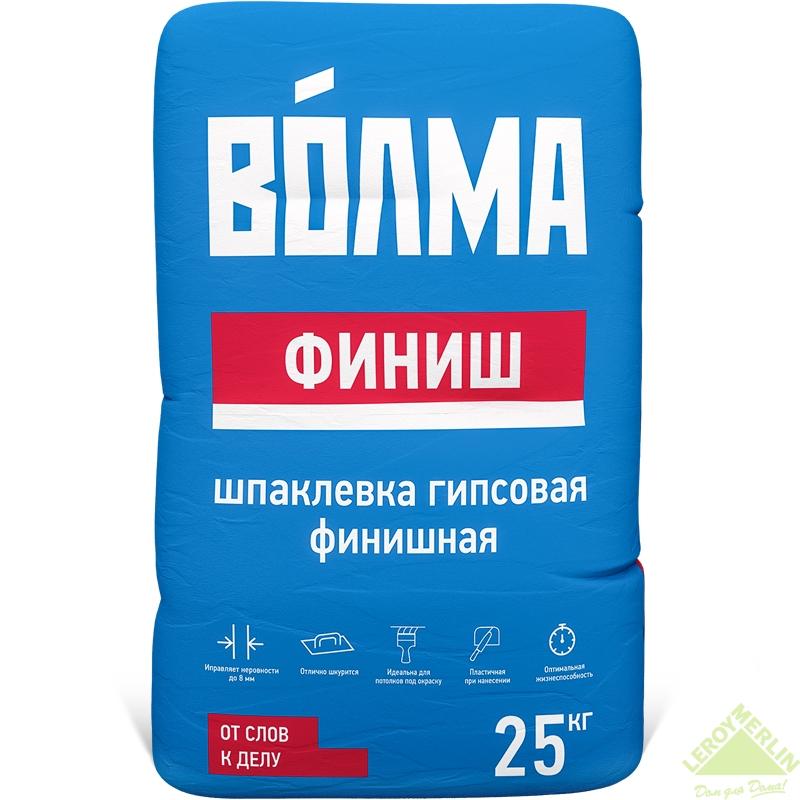
- Finishing. After using such putty base becomes as smooth as possible.

It is also necessary to consider the basis of the leveling putty (component base). The following types are possible:
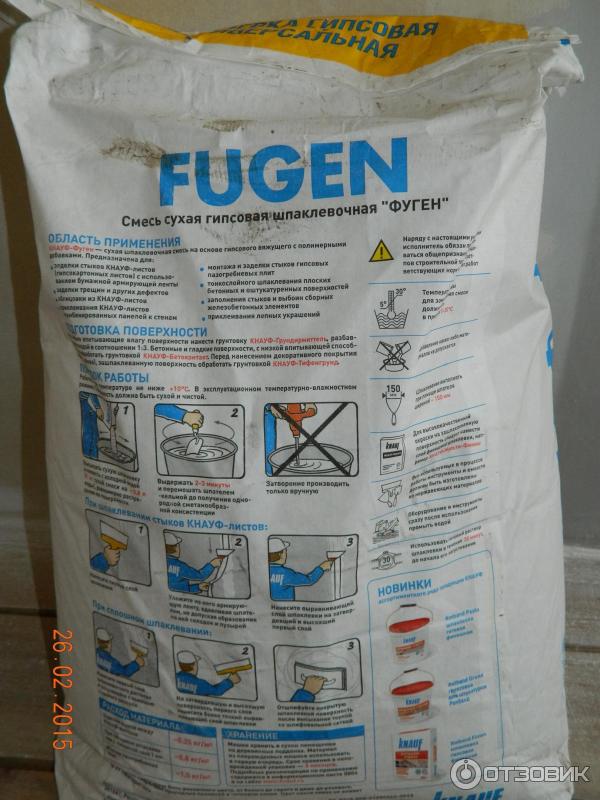
- Gypsum. Such materials are used for the implementation of finishing, as well as in order to effectively level the surface. They are not suitable for rooms where humidity is too high or where temperature drops are observed. They can not be used for external walls and bathrooms.
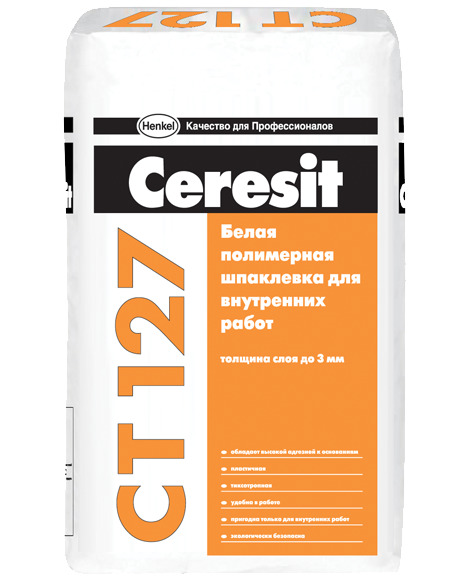
- Polymer Such materials can be called universal. They are great for surfaces that will later be applied to any paints and varnishes.Polymer putty can also be used for rooms where humidity is high. The main disadvantage of such mixtures is quite high cost, but the price is usually justified by remarkable quality.
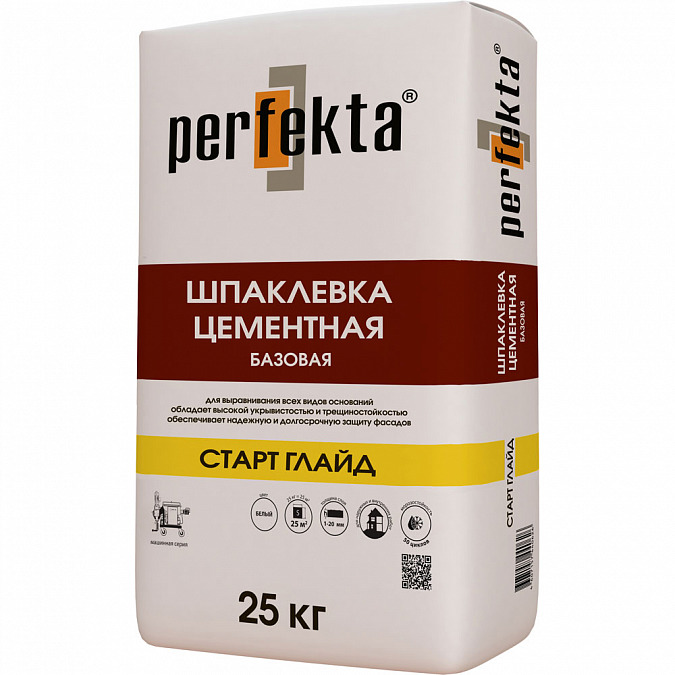
- Cement. This putty is suitable for use in a variety of rooms. Cement coatings are characterized by increased resistance to temperature changes and the effects of liquids. However, these putties have a minus: they can crack, so additional finishing is needed. This putty material hardens for a long time, which prevents the implementation of finishing works (however, this disadvantage can be called insignificant).
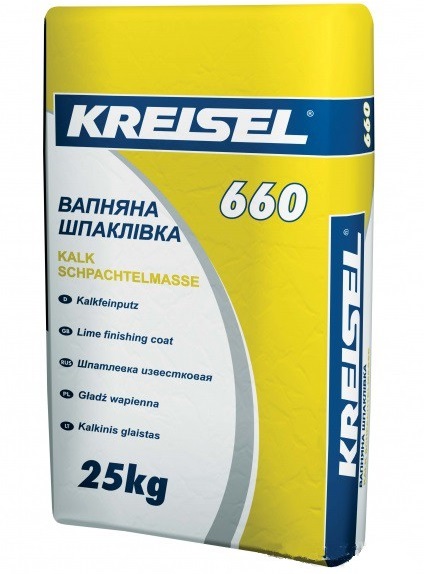
- Calcareous. These coatings combine the advantages of several listed materials. They are well suited for the implementation of exterior decorating.

Choosing the most suitable option, you should consider the characteristics of the room where you are going to use putty. It is necessary to select the material correctly, otherwise the coating will not be durable.
Required fixtures
It is not necessary to contact experienced craftsmen; with putting putty material on the walls, floor or other surfaces in the apartment it is quite possible to cope on their own. When applying putty with your own hands, you need to take into account certain recommendations and use suitable tools.
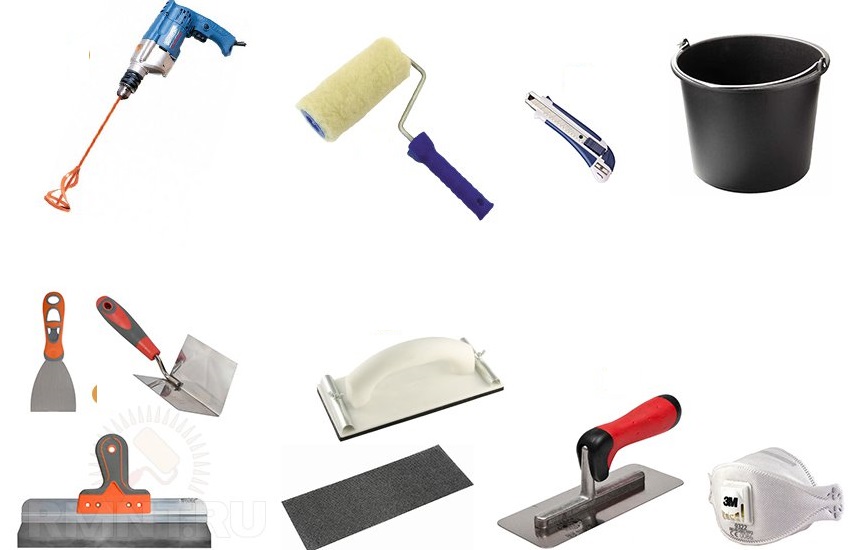
Prepare the following:
- roller for applying a primer material;
- drill with kneading nozzle or mixer;
- building rule;
- various emery skins;
- a bucket for the preparation of the mixture;
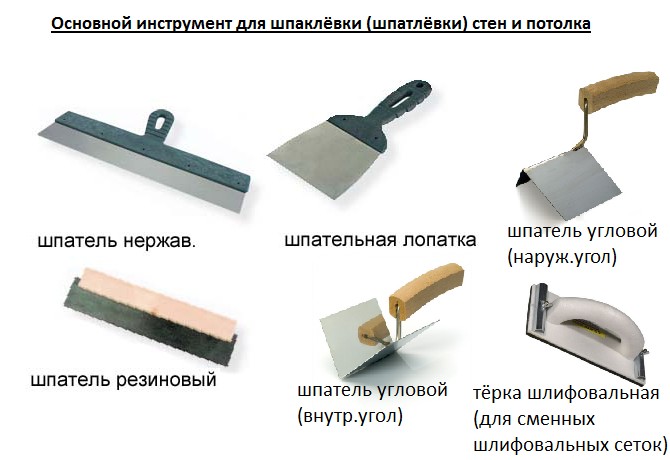
- spatulas (for corners, small, large).
Alignment
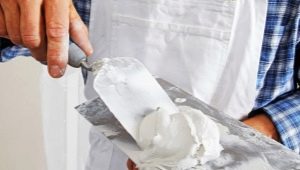
Preparation of the solution
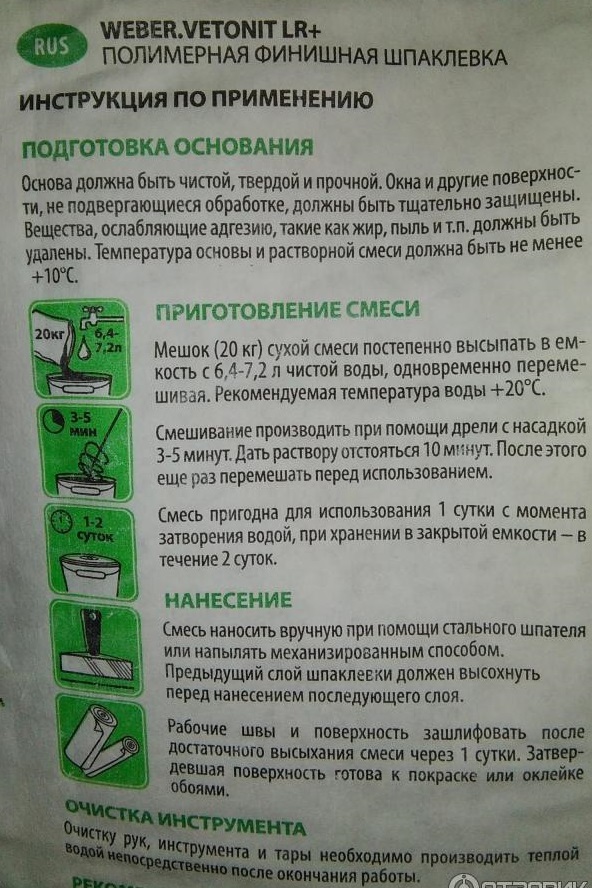
Some prefer to use ready putty. If you get a dry material, you will need to properly prepare it.
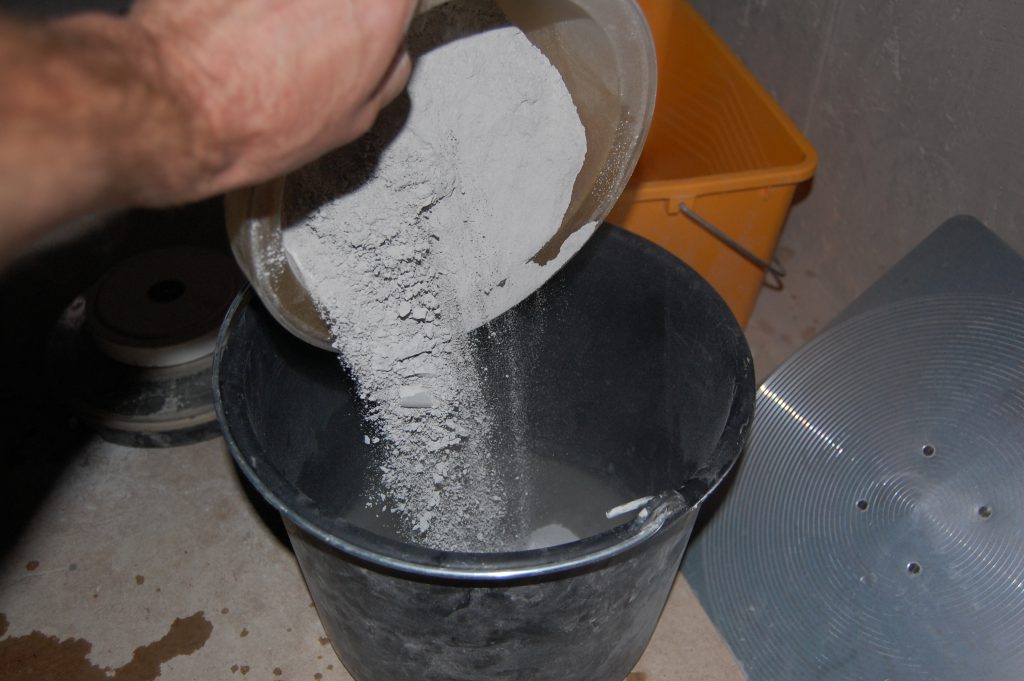
- Take a suitable container (for example, a clean bucket).
- Dry putty should be taken in small portions and gradually added to room temperature water.
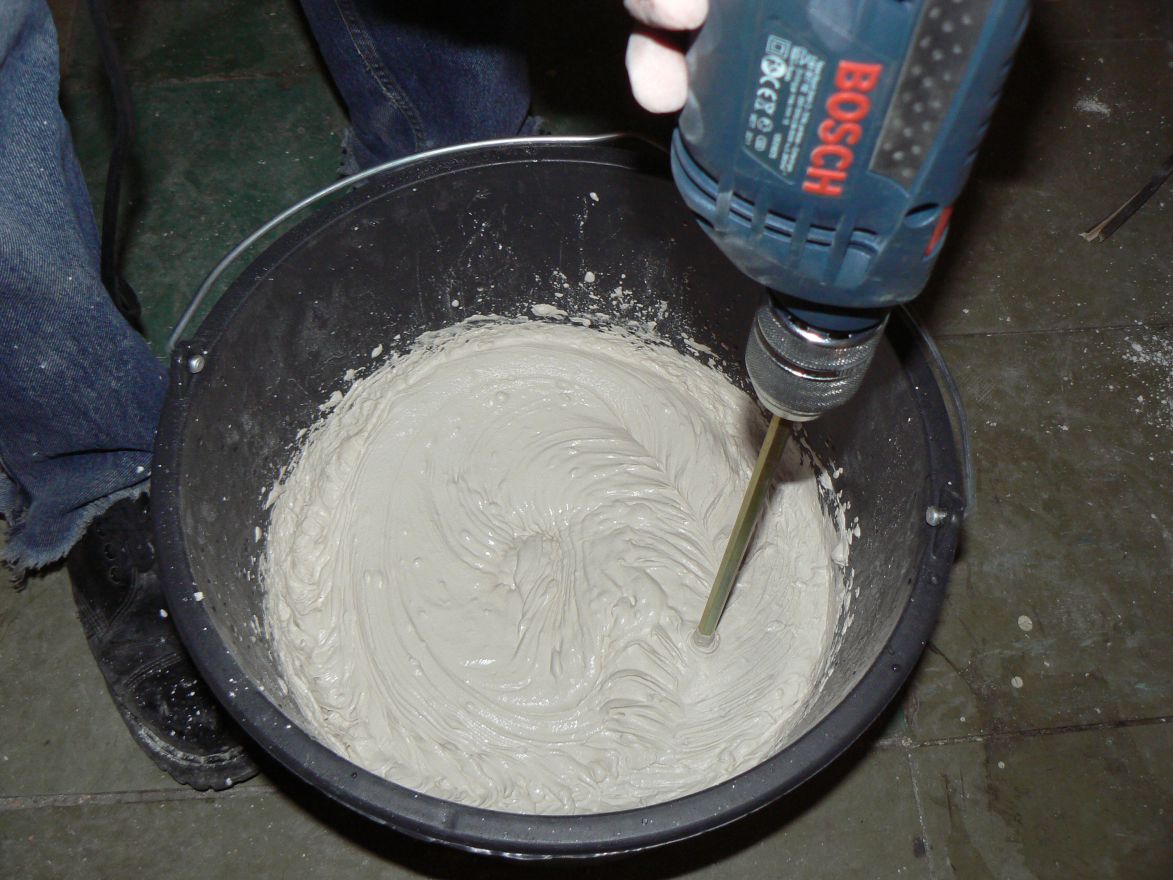
- To obtain a uniform consistency, mix the material with a drill or mixer. In the absence of such devices it will be possible to mix the putty manually. The proportions are usually indicated by the manufacturer. Make sure that there are no lumps in the mixture.
- After mixing the material, immediately clean the device with which you did it. Otherwise, the mixture will harden, and it will be very difficult to remove it.
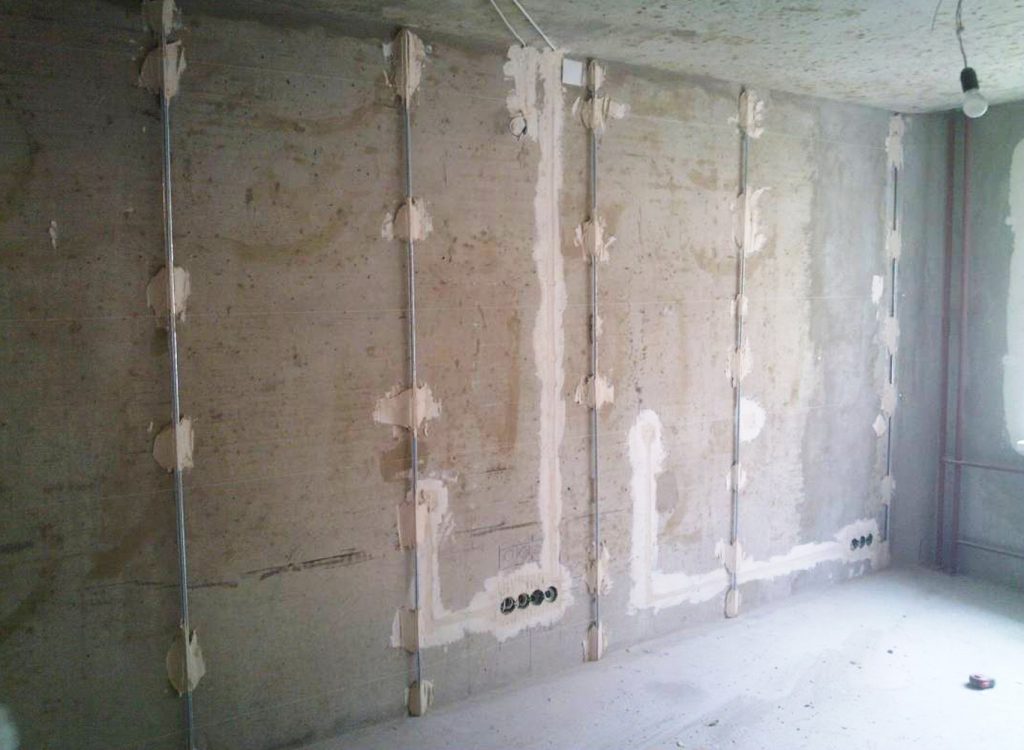
Preparatory stage
To begin to understand how to apply putty yourself, it is not at all necessary to do this many times. It is only necessary not to miss the important stages. Remember that before applying the putty material it is necessary to carefully prepare the base. The result of finishing work depends largely on the preparation.
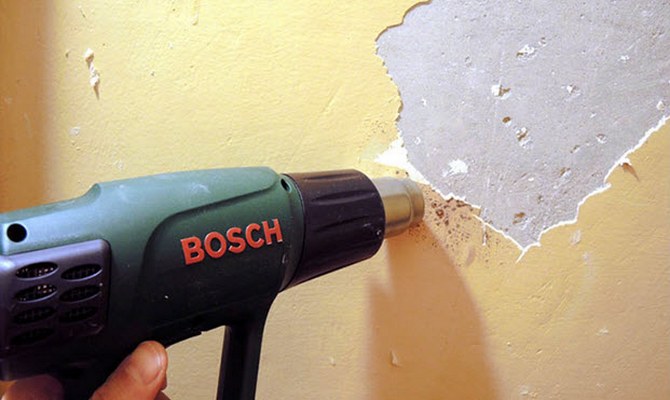
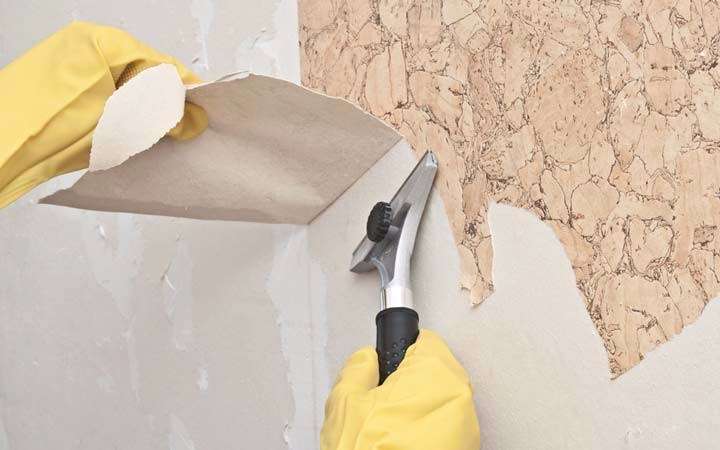
- The surface should be as clean as possible. You should also remove the cracked layer of plaster, wallpaper, old paint. If the plaster is thick, you can leave it.
- In general, cleaning the base is quite simple. To make it easier to remove gypsum plaster, wallpaper, moisten the surface with water. After that, start to remove the old coating using a spatula. Scraping old alkyd and acrylic coatings is much more difficult. To remove such paint, beat it down with a hammer or use a wash.
- Remove dust and minor dirt from the base. To do this, you can use a dry brush.
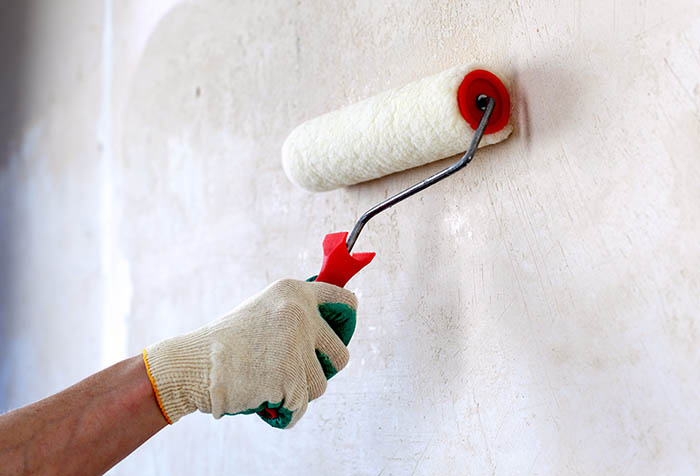
- Before use, putty will need to be applied to the base of the primer. It helps to improve adhesion. If the room is too high humidity, it is better to stop the choice on a primer with antiseptic properties. So you can prevent the occurrence on the surface of the fungus, mold. Only one coat of primer can be applied, but you will need to make sure that there are no untreated areas on the surface.

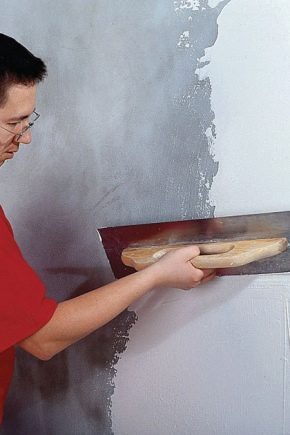
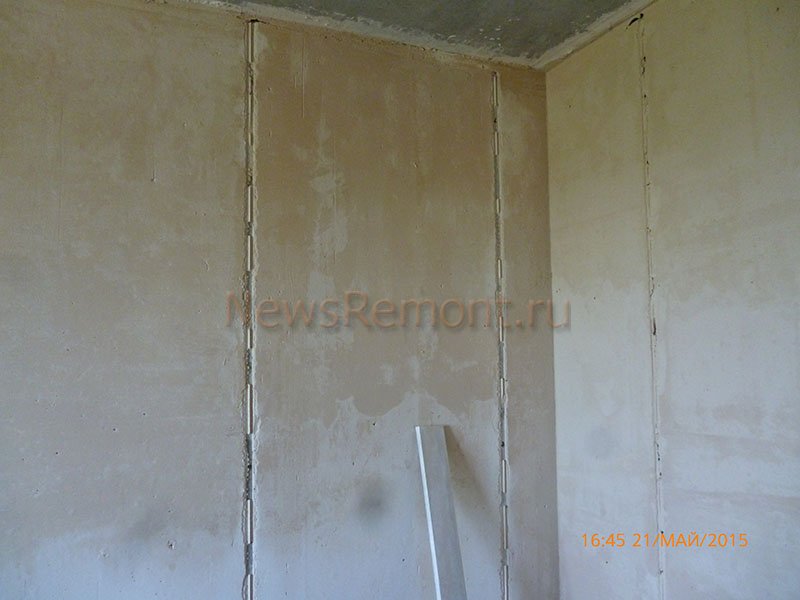
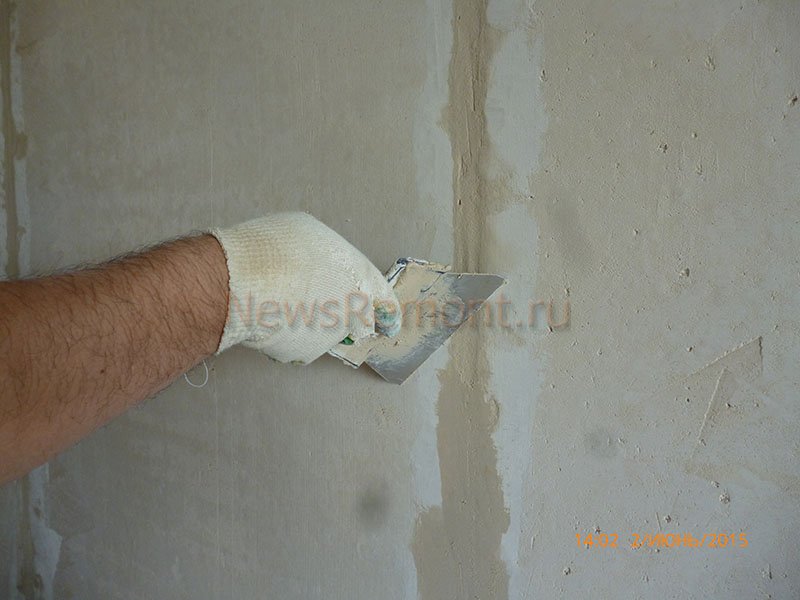
Starting putty
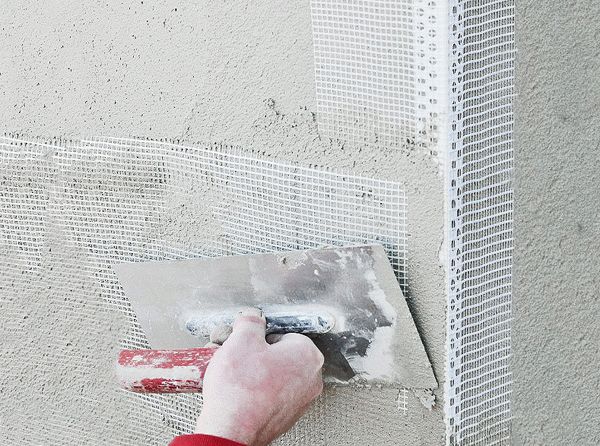
The starting layer of putty will eliminate serious defects on the surface, it turns out quite thick. If the irregularities are significant, it may require several layers of putty material. It is necessary to dry the coating as much as indicated on the package.
To the mixture did not move down the wall, you can use the paint grid. So you can also make the surface more durable, the coating will not crack.
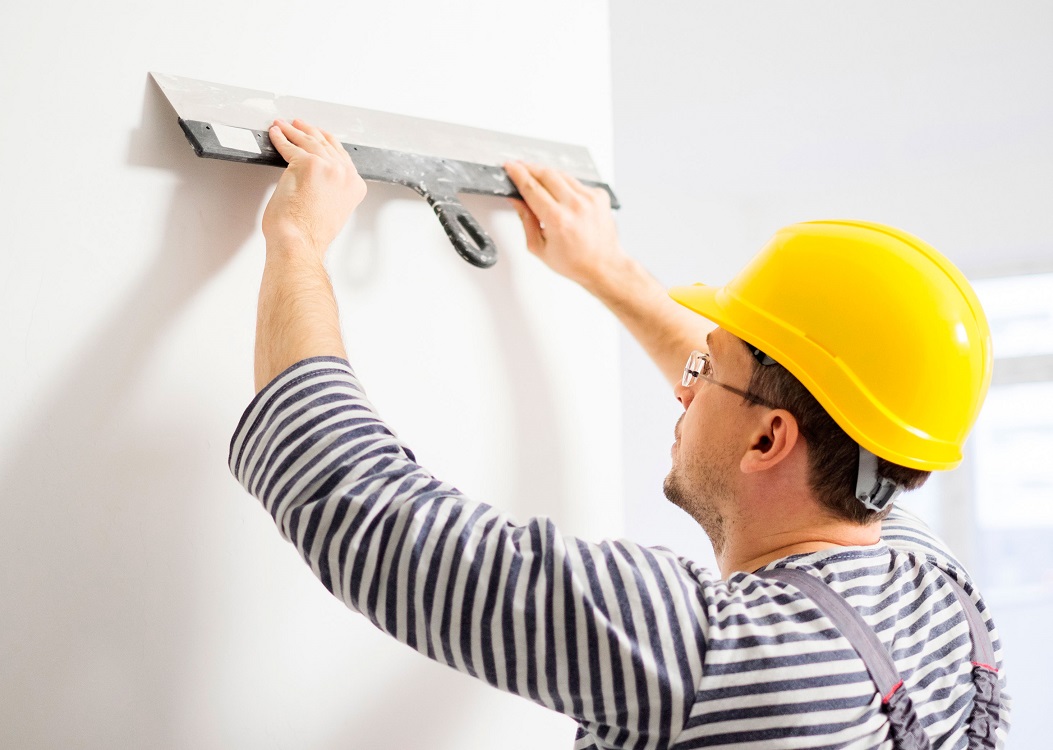
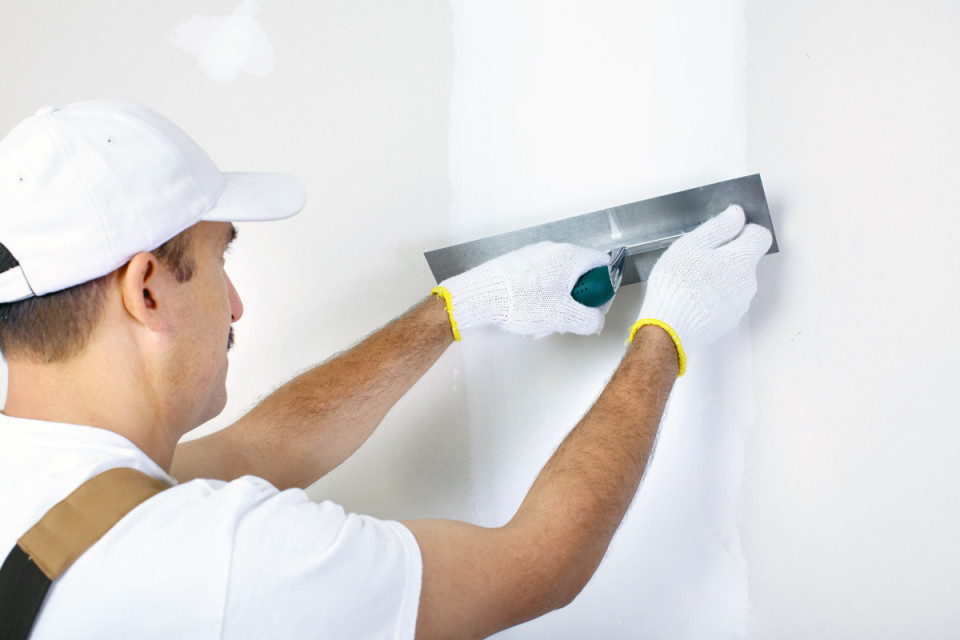
Finishing work
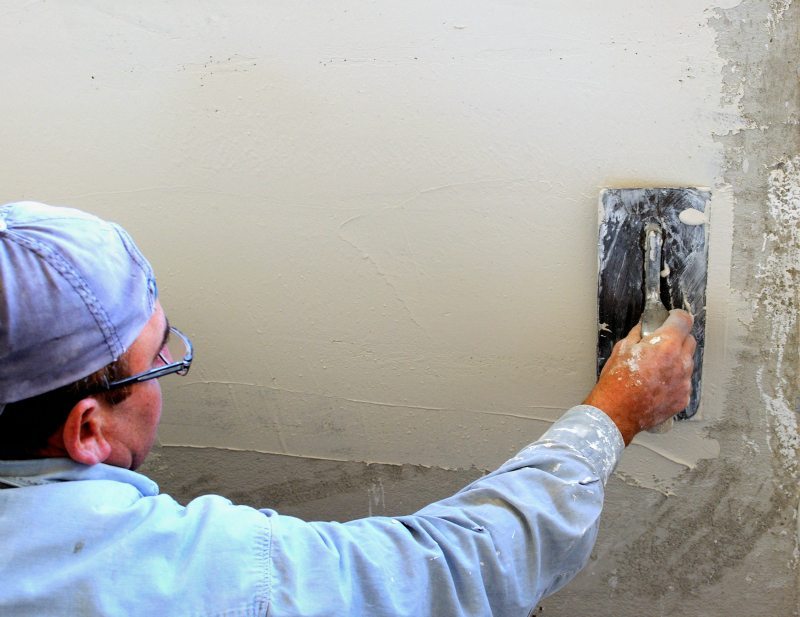
After drying of the starting layer of putty, it will be possible to start applying the topcoat. This layer is less dense, it will mask a rather coarse starting surface. Drying time and kneading technology manufacturer indicates the packaging.
The finishing layer of putty material is not intended to correct irregularities on the base. To do this, use the starting putty. When the finish layer hardens, it will be possible to proceed to the next stages of finishing work.
It is possible that before using the paint will need to apply an additional layer of primer. It depends on the type of primer material.
Do I need to use beacons?
The use of the beacon system is relevant in the event that there are serious defects on the basis of it. If the irregularities are not very strong, you can do without the lighthouses. With significant irregularities, you will need to apply a fairly thick layer of putty material, and use a specific technology.
Contact the hardware store and purchase special lighthouses. Consumers are offered galvanized products having different sizes. Using putty material, fix the beacons on the ground. To set them as smooth as possible, you can use a level. When the material hardens, the fixtures will be securely attached to the surface.
After application, make the starting coating between beacons even with the help of the rule. This is much easier to do when there is a small gap between the fixtures. To make the layer of putty as dense as possible, break the process into certain stages. It is better to first put the material on the wall at a distance of half a meter from the floor, then you can move on to other areas. If you do everything wrong, it is quite possible that the putty on top will flow down onto the bottom coating and the surface will be uneven.
When the filler material hardens, remove the beacons, fill the holes and make the base completely level. If the beacons remain, corrosion may occur. This method of finishing is very difficult (in the implementation of such work takes a lot of time and effort), so it is used infrequently.
Tips masters
To achieve the best results of finishing work, remember the advice of experts. The following recommendations should be considered:
- Do not forget to carefully prepare the surface before applying the putty material.
- Approach the selection of suitable materials as seriously as possible.Consider what the room is intended for, what are the characteristics of a particular surface.
- On the packaging of putty material usually there is an instruction for its preparation.
Do not skip any stage of preparation, otherwise the performance of putty will significantly deteriorate.
- Choosing the right tools, you should not get the cheapest fixtures. It is recommended to stop the choice on spatulas, differing in durability, reliability. Do not forget that after using the tool will need to be thoroughly cleaned of putty material, otherwise there will be problems with cleaning in the future.
- When the putty becomes hard, in some cases noticeable bumps appear on the surface. To remove them, use the sandpaper fixed on the bar. When applied putty material almost never manage to do without the occurrence of minor defects. Grinding will help eliminate them fairly quickly and easily.
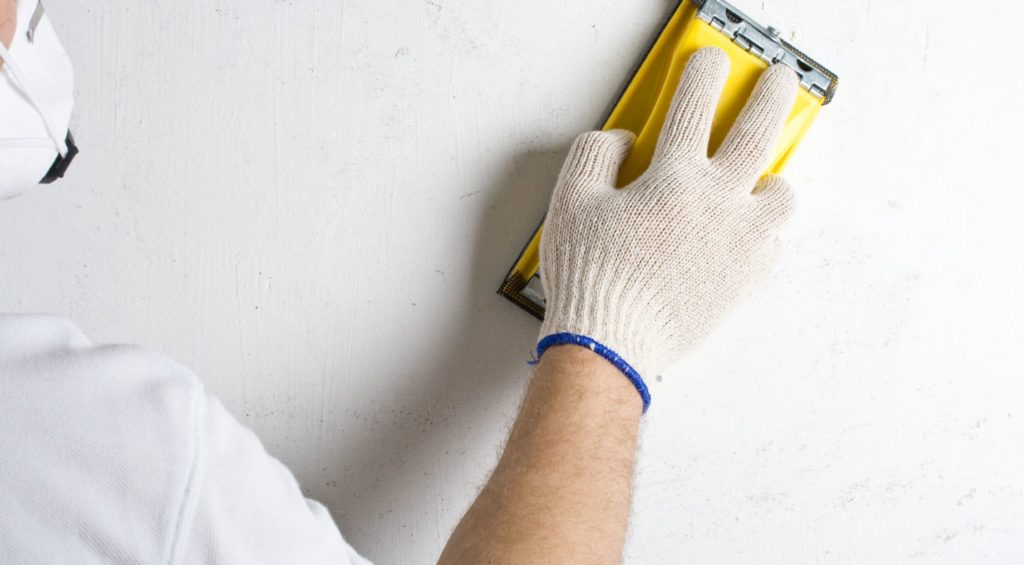
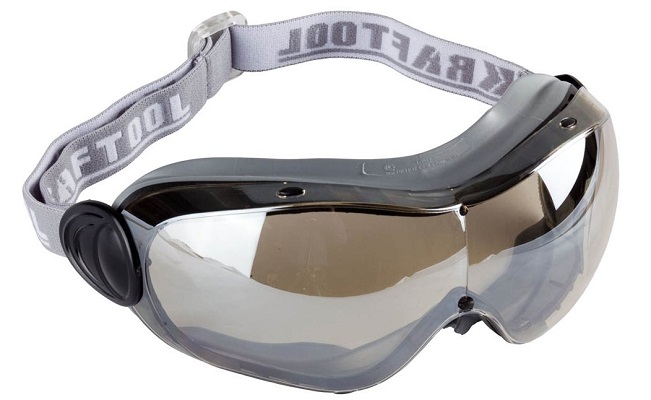
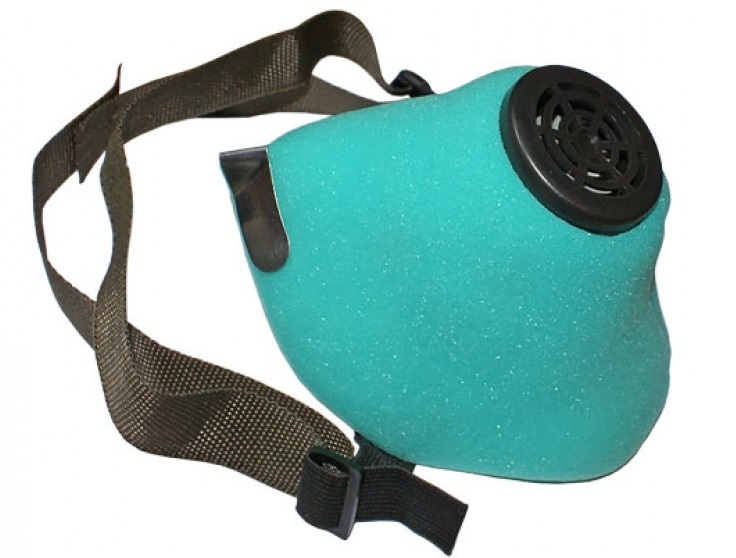
- Remember that you must use personal protective equipment (special glasses, a respirator).Otherwise, dust can get into the airways and into the eyes.
Alignment of various surfaces with the help of putty material is a task that can be handled with patience and perseverance. Then you will be able to finish the walls using a variety of coatings: painting compositions, wallpaper, and so on. You just need to do everything right, and then the results will not disappoint you.

Secrets of puttying walls with their own hands, see the next video.