How to dilute the putty?
Conducting repair work, it is very difficult to do without putty. This material helps to get rid of the flaws on different surfaces and eventually make them completely smooth.
Putty is easy and convenient to use, but there are certain rules and nuances in working with it that you need to know and take into account.

Features of mixing formulations
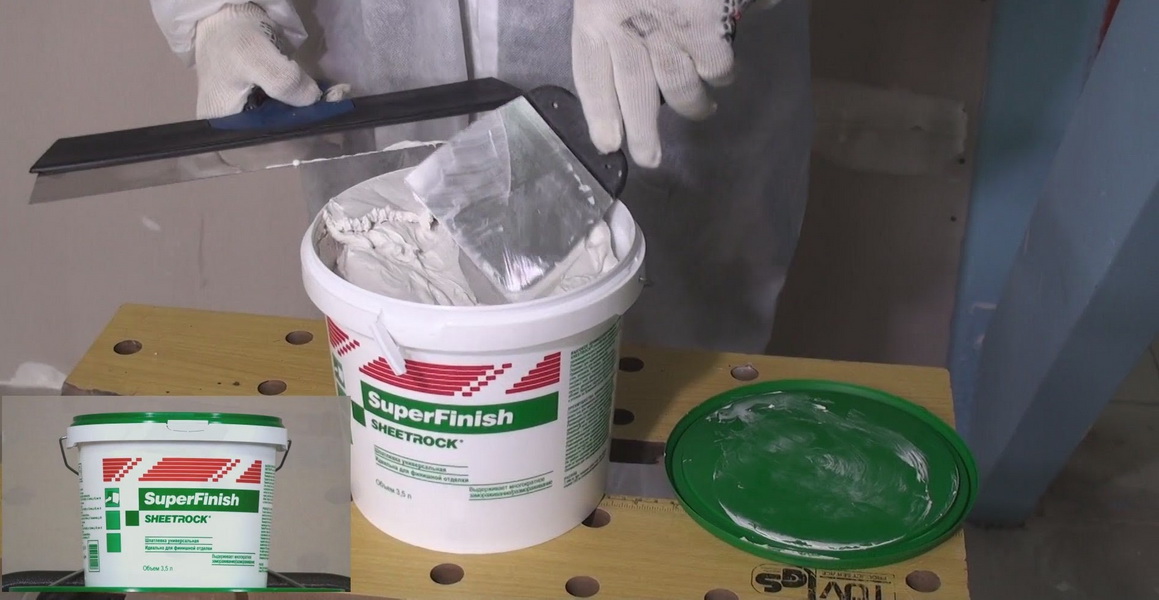
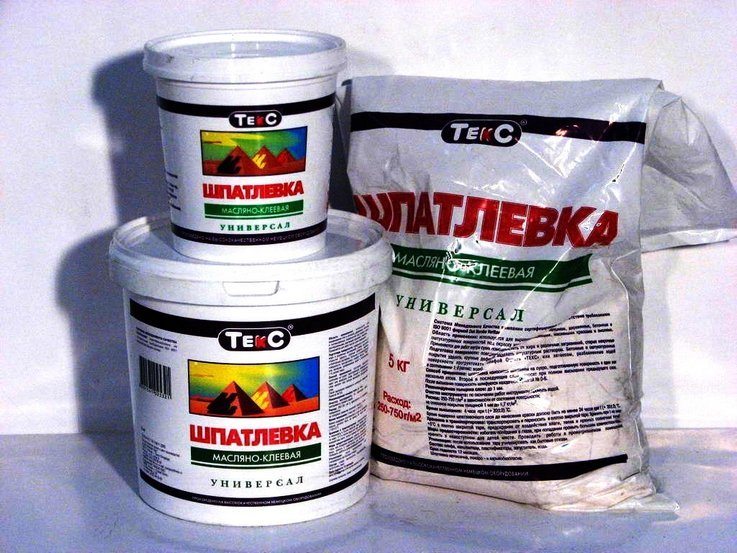
In order for the walls and the ceiling in the room to have a beautiful and even appearance, the basic material for their processing will be putty. This mixture allows to achieve the desired result. In cases where the work surface is small and there is little work, you can buy ready-made mixture, which is diluted in the right consistency and ready to work.
If you need to veneer all the walls, and maybe even the ceiling, it is much more profitable to buy a dry mix, dilute it and make repairs.

Based on the types of work to be performed, starting and finishing putty can be used. If the mixture is diluted for rough work, the composition will have a certain consistency.
There are two options for obtaining a finished solution:
- using power tools;
- manual preparation of the solution.
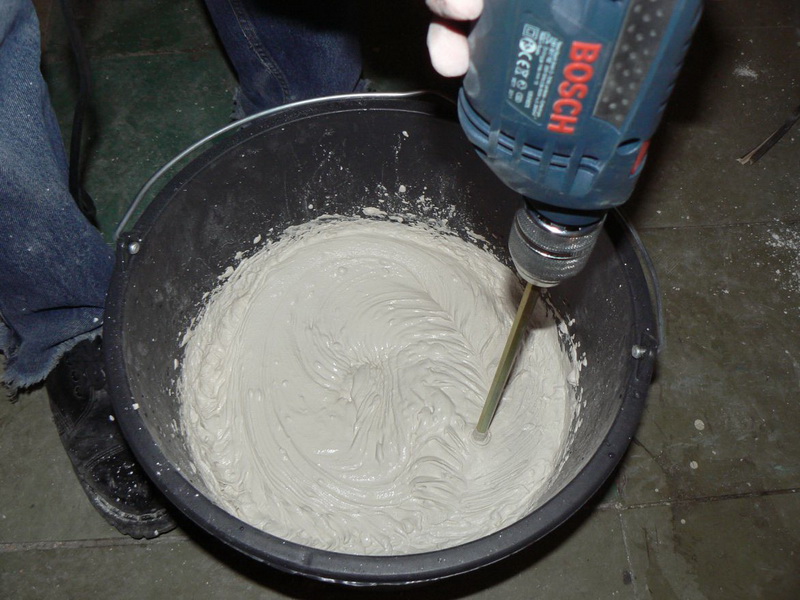
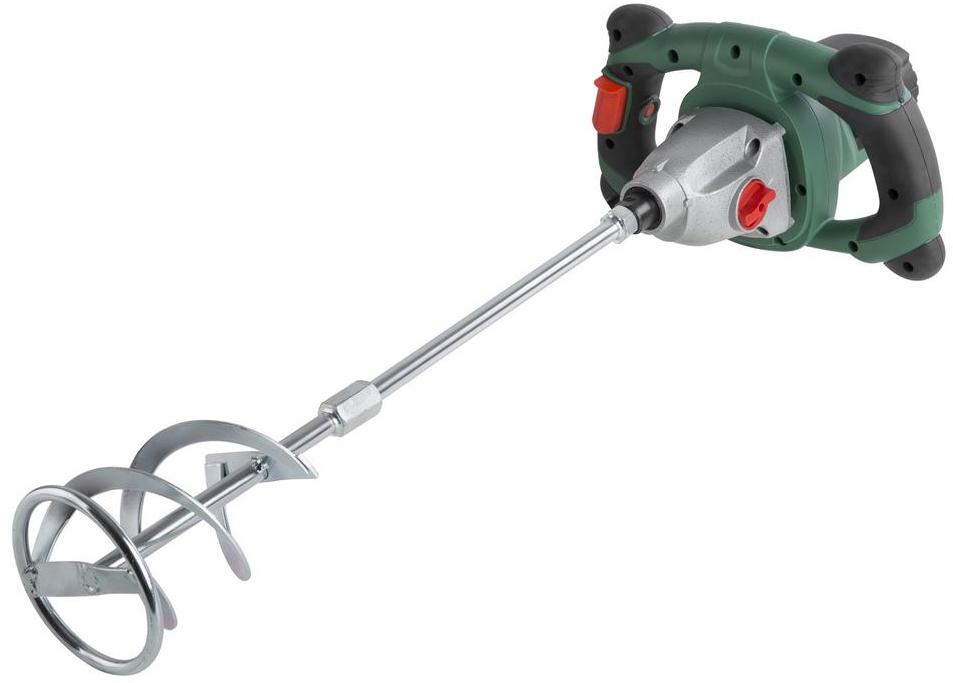
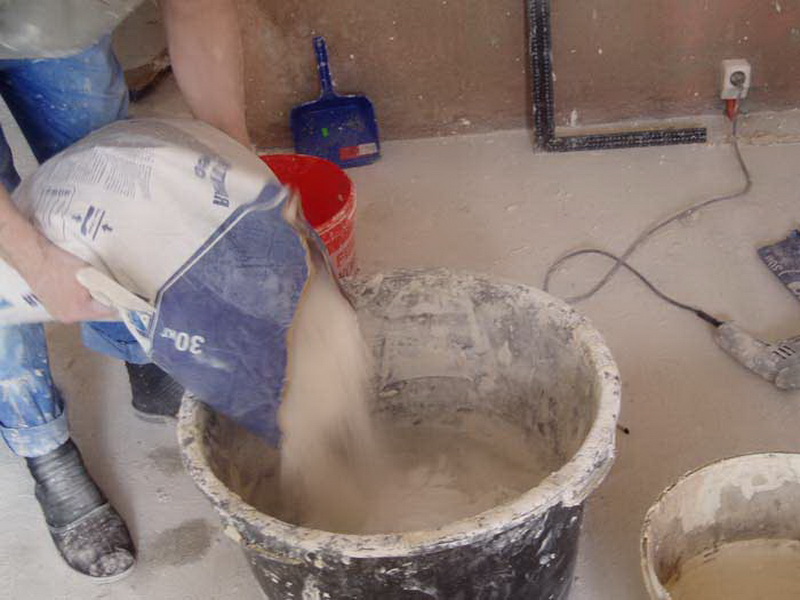
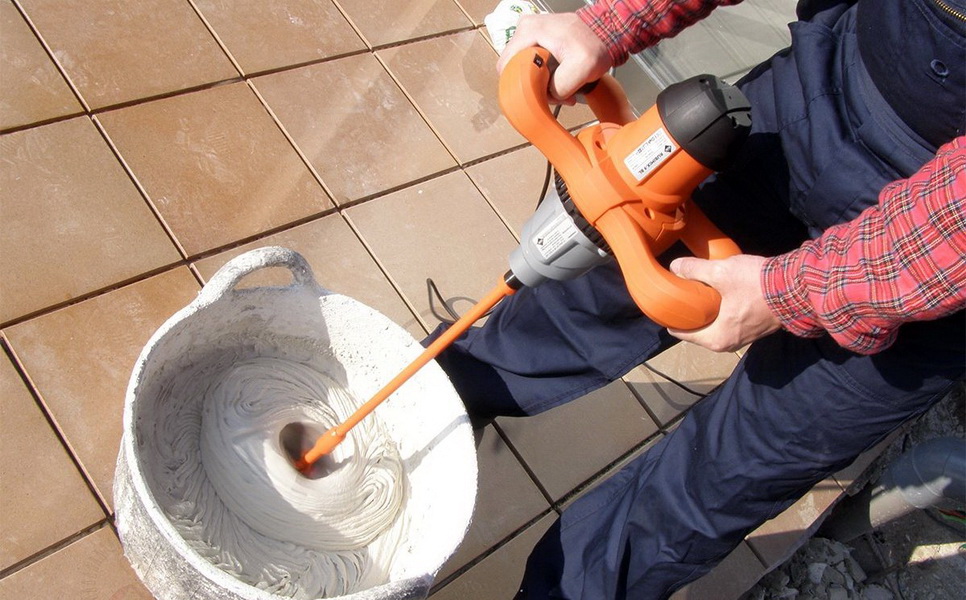
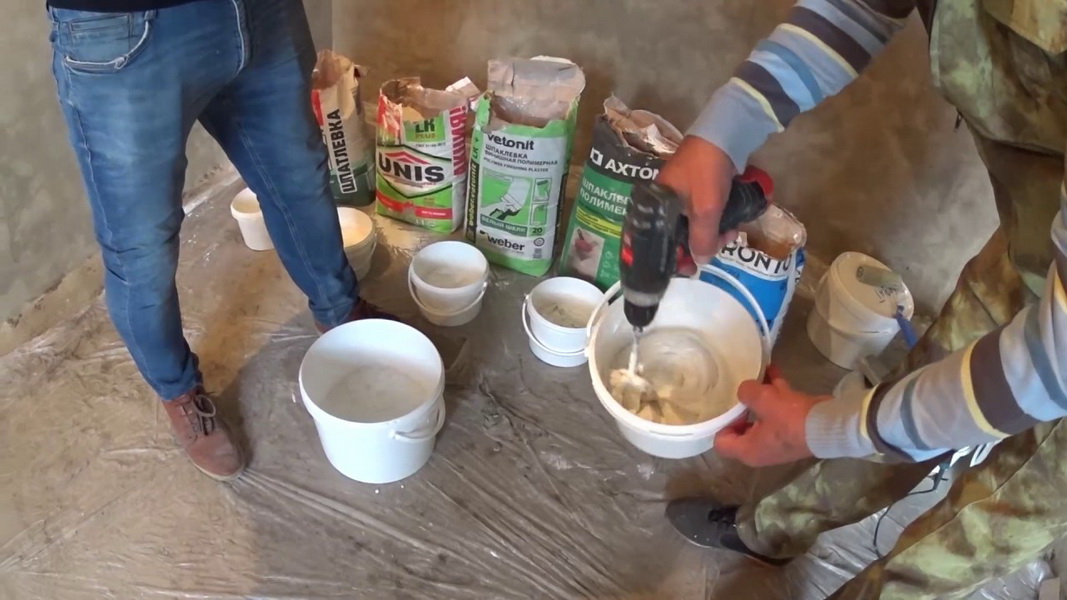
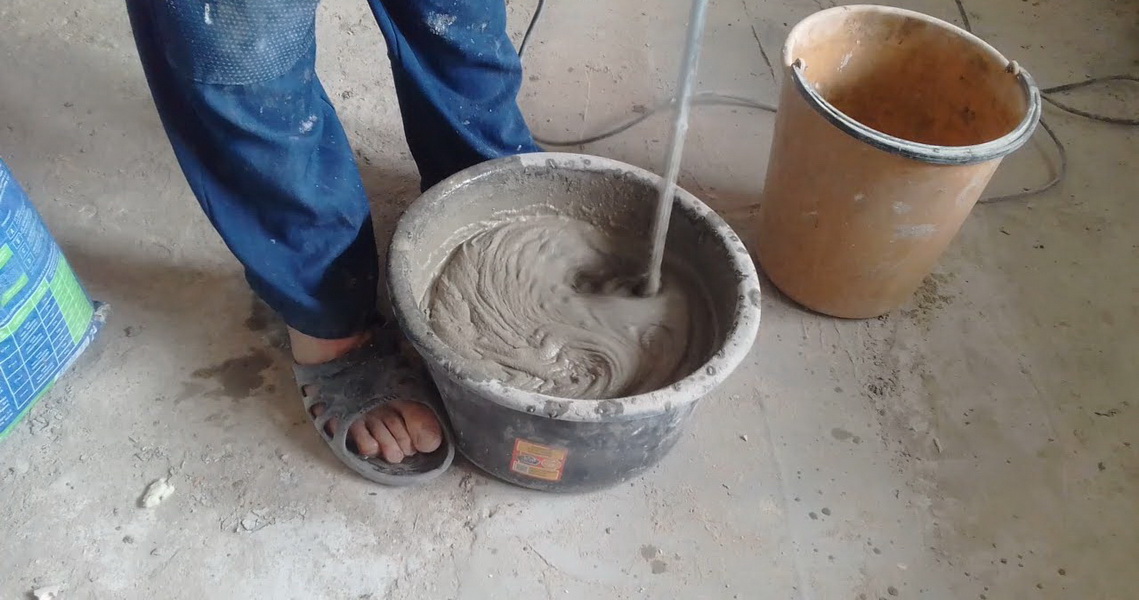
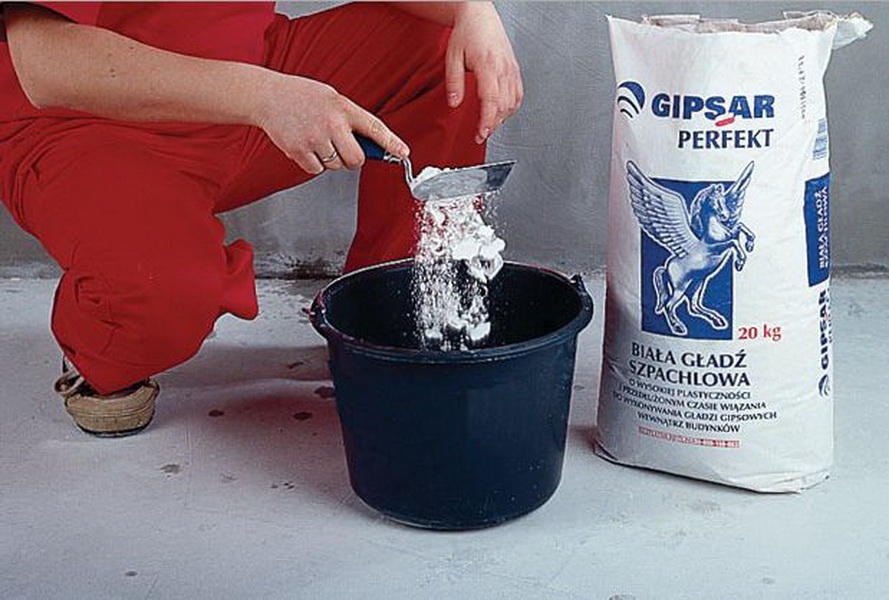
If there is a construction mixer available, then the work on preparing the putty solution will go quickly, efficiently, and most importantly, a large amount of work can be done immediately. For this you need a dry and clean container where water is poured, and only then the dry mixture is added. The amount of ingredients must be read on the package and adjust the composition as it is prepared.
When the ingredients are ready, using a mixer, they are mixed for at least two minutes.

As soon as the solution is obtained, it is recommended to leave it for fifteen minutes and after the expiration of time, mix again. Working in this mode, it is important to tune the instrument to a speed not higher than 800, otherwise the finished mass will be saturated with oxygen above the norm, which will make its structure porous, and therefore not strong.
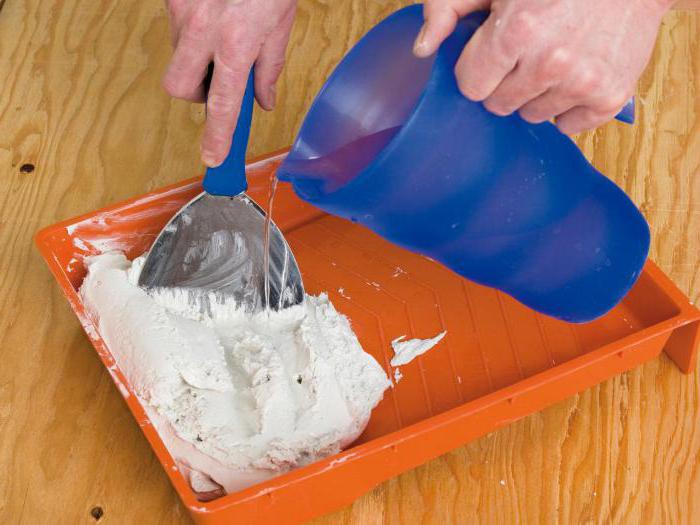
Manual dilution of putty differs from automatic kneading. First of all, you need to pour the solution, and then add water and mix everything thoroughly. The process of insisting in this case is only three minutes.after which everything is mixed with a spatula and the material is ready for operation.
Finishing putty is mixed practically also, forming an optimum consistency, not liquid and not too thick.
For woodworking it is especially important to correctly knead the solution, because it is necessary to create the structure of the material, and then form the necessary appearance of the surface.
If during plastering there are concerns that the surface may crack, it is advisable to use fiberglass.which has a very thin but strong structure and prevents any changes in the structure of the wall.
What should be the solution?
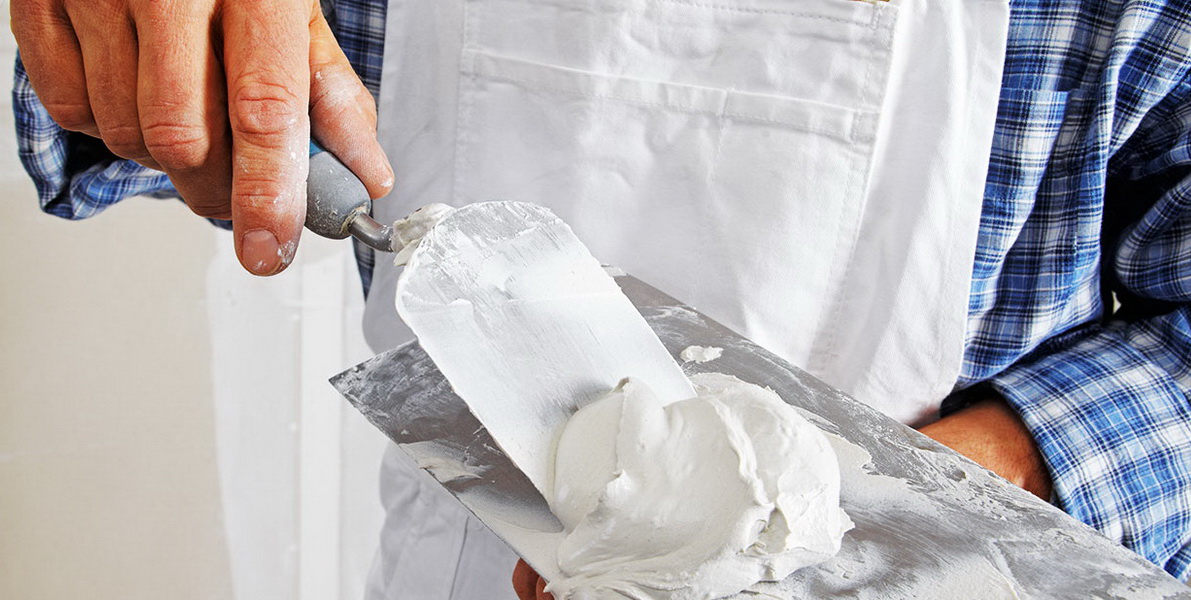
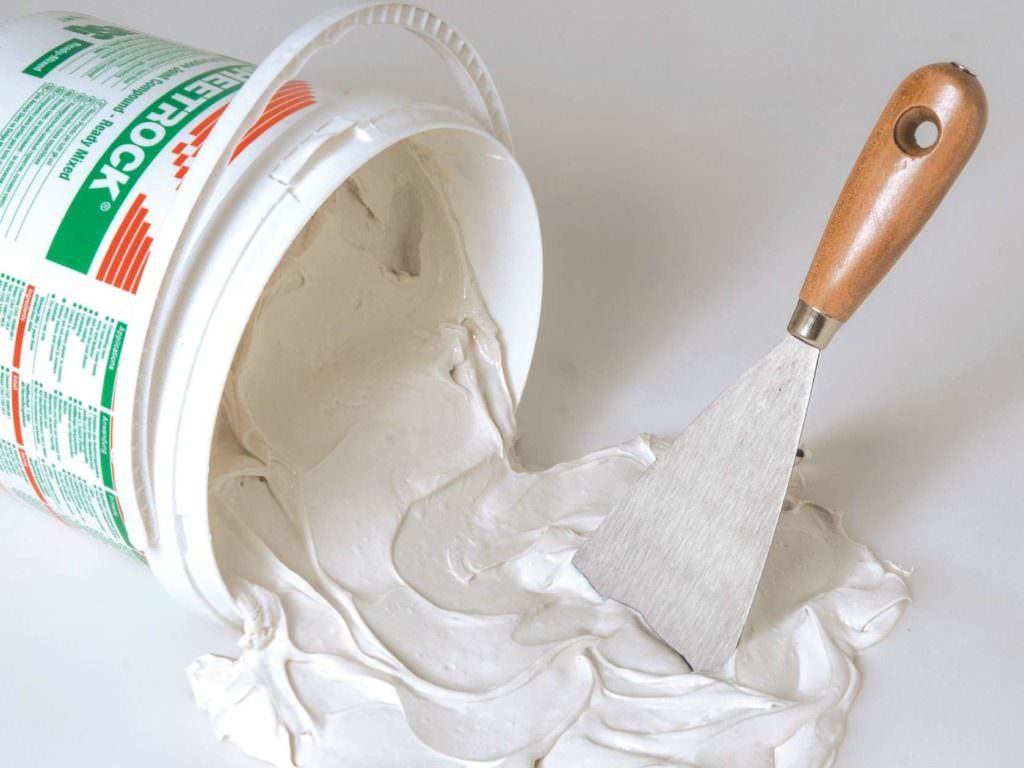
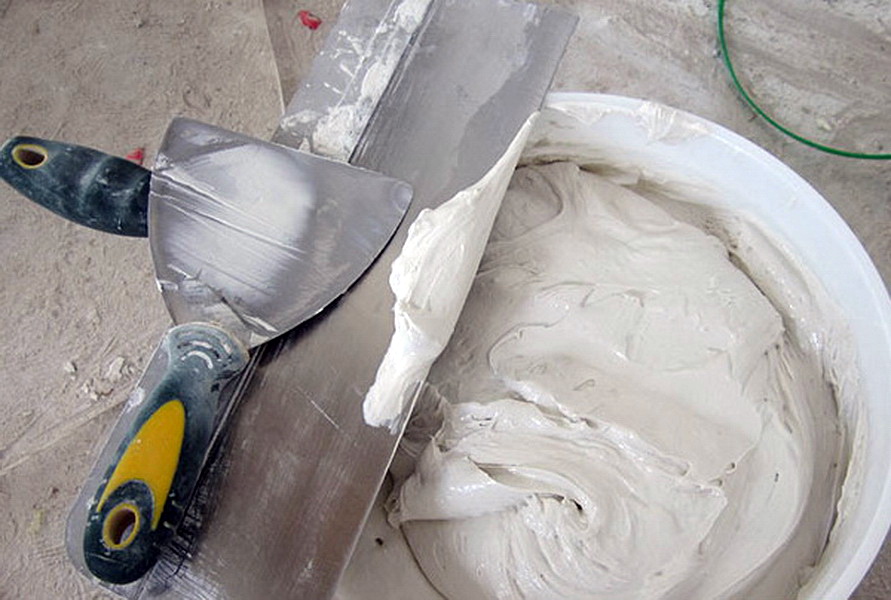
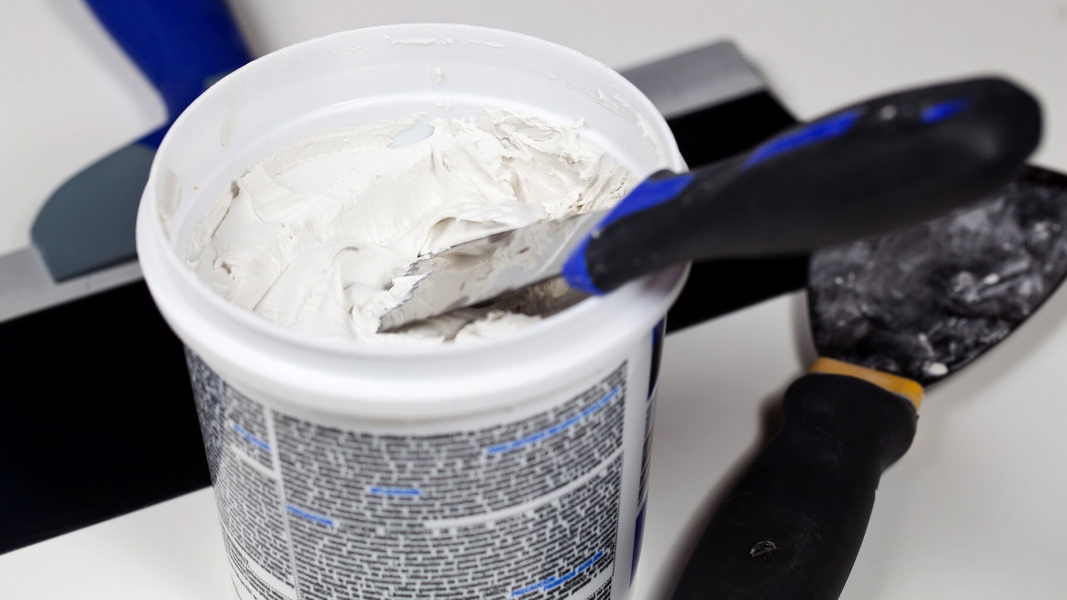
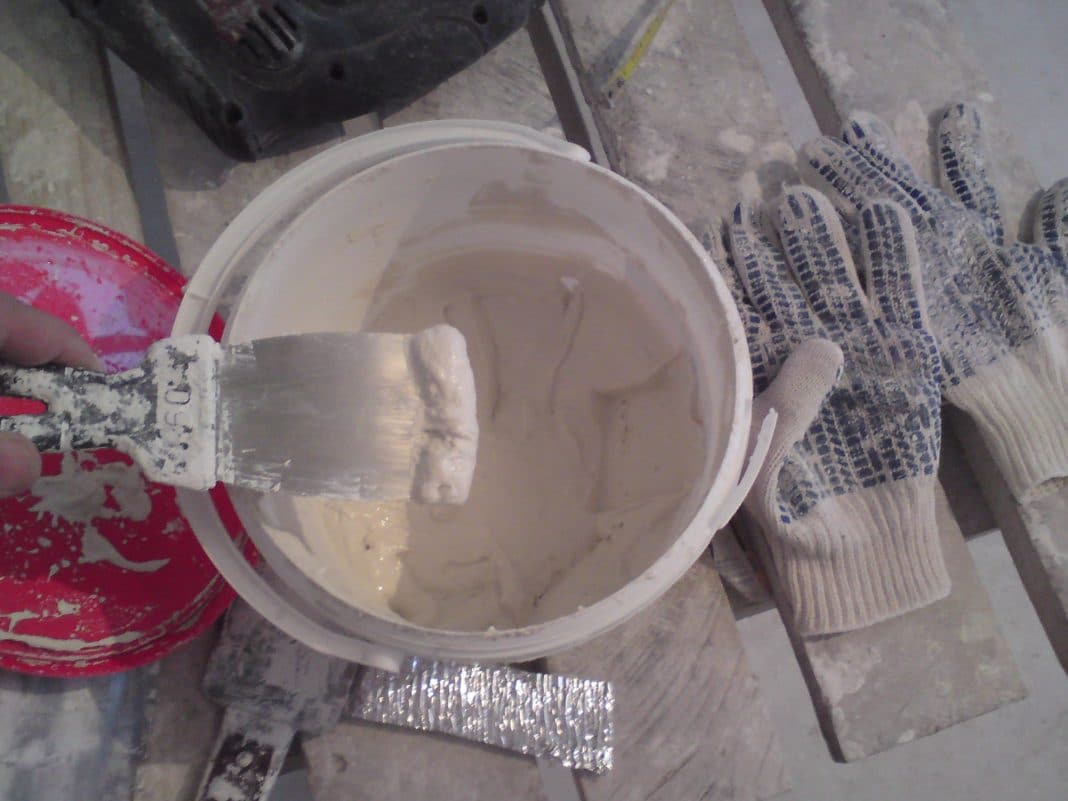
The final result of the repair will depend on the quality of the putty and the ability to properly dilute it. In order for work to proceed quickly and efficiently, the putty consistency must have elastic and plastic characteristics. The ease of application to the surface is one of the basic qualities that allows you to quickly carry out all the work.
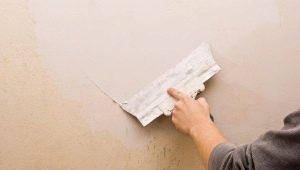
If the material sticks to the spatula and rolls into a tube instead of being evenly applied to the surface, it means that it has not been properly bred.
When diluting the putty, it is important to do this carefully, without missing any dry areas, so that later no pebbles or hardening will form.
In order to properly dilute the required mixture, you must carefully read the instructions, where the manufacturer, taking into account the characteristics of his material, suggests the number of ingredients and the necessary proportions.
In terms of repairing the premises, it may be necessary to have a thicker or liquid solution for certain works, therefore you need to know the conditions for obtaining it.
When carrying out the cultivation process with your own hands, it is important to keep the tank clean, where the putty and spatula will be mixed, because any garbage will cause the solution to dry much faster and some of the mass will remain in the form of fossils on the walls of the tank. Too much solution is inappropriate in this case, because after twenty minutes it will start to dry up anyway.
In order to finish the putty surface does not crack, you need to process the wall well and make the desired solution.
When it comes to finishing putty, the technology of its mixing is almost the same, but in this case, you need to further monitor the cleanliness of the container and the tool. During mixing after settling, you need to check the nozzle for any debris, and during mixing, make sure that there is no hardening in the mass, pieces that are not stirred.
After each dilution, the nozzle is completely washed out, as is the capacity in which the dilution is performed.. In order to properly make a mixture for putty walls, it is necessary to follow the instructions on the package and follow the technology in which the inventory must be clean and the materials specially selected for a certain type of surface.
Proportions
In order to properly dilute the putty, you need to read the recommendations that the manufacturer leaves on the packaging. It is important to work with a moderate amount of the mixture so that it does not have time to harden. After the initial mixing it is necessary to set aside the putty for swelling. At this point in no case should water be added to the container.
To know how quickly the ready mix will dry,you need to take into account the temperature in the room and the thickness of the resulting solution. The thicker it is and the temperature is higher, the faster the putty will dry. These nuances should be paid attention to in order not to waste too much material in vain.
Dilute the putty for walls should be based on proportions. Usually a 25 kg bag is used and ten liters of water are taken to mix it..
If there is a need to apply several layers, then it is important to make the solution so that so it dries slower. River sand is used for this function and must be cleaned of debris and dirt.. The proportion of its addition to the putty is equal to its mass part - by mixing the components in a 1: 1 ratio, you can get the desired effect.
Stirring the dry mixture with the nozzle at the end of mixing It is necessary to pour a tablespoon of PVA glue into the container. With this component, after settling, the mass will receive an even greater percentage of elasticity and softness.that will help you more comfortable with the task of plastering walls.
After settling with the glue for fifteen minutes, it is necessary to mix well again.
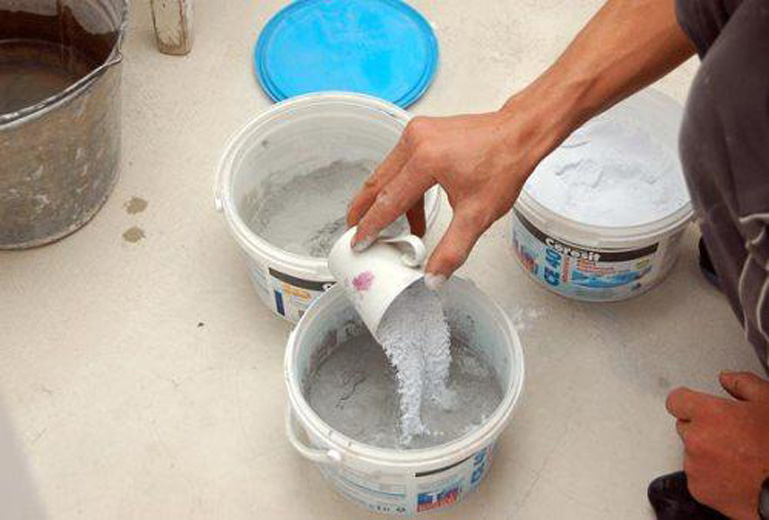
Having available putty of different firms it is possible to mix it, the main thing that it was either starting, or finishing. Expensive mixture can be mixed with cheaper, which ultimately will give a sufficiently strong materialwhich will serve well on the wall surface. There are no proportions of mixing per se, it all depends on the amount of materials available and the area of the room for repairs.
How to breed?
The process of cultivation of plaster begins with the preparation of inventory, which may be needed in the work. It is important to clean and wash all the components, because the putty does not tolerate dirt and dries quickly with any dirt.
From the tool you must have:
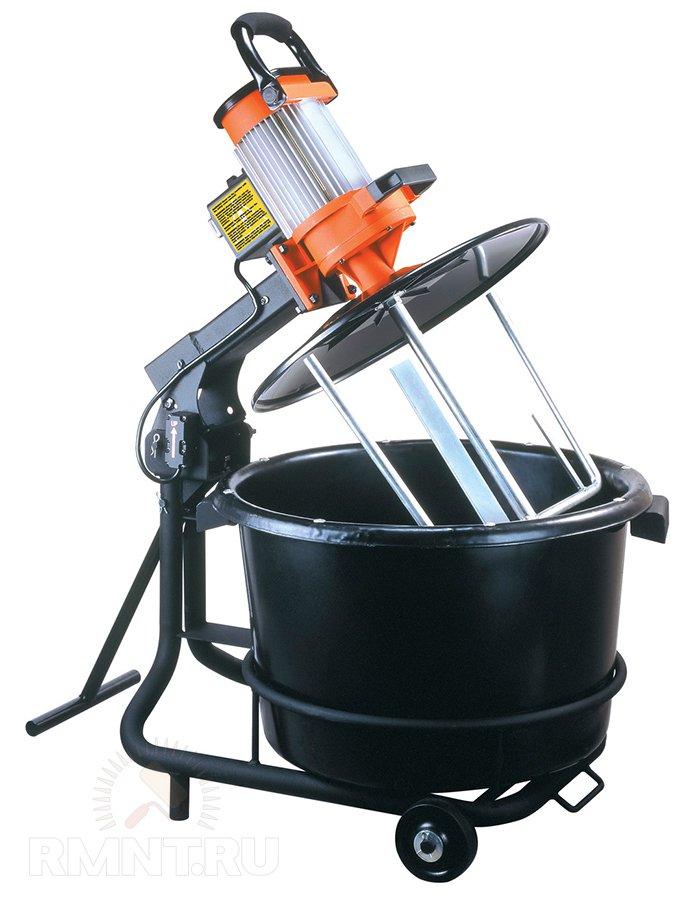
- Mixing container. Any bucket that can be quickly and efficiently cleaned and where it will be convenient to knead the solution several times will suit.
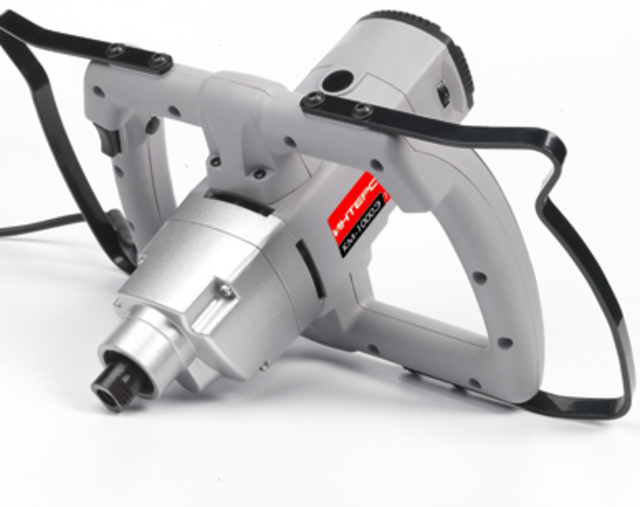
- Power toolsin which the nozzle will be inserted. This may be a screwdriver or a drill, to which the corresponding part is selected.
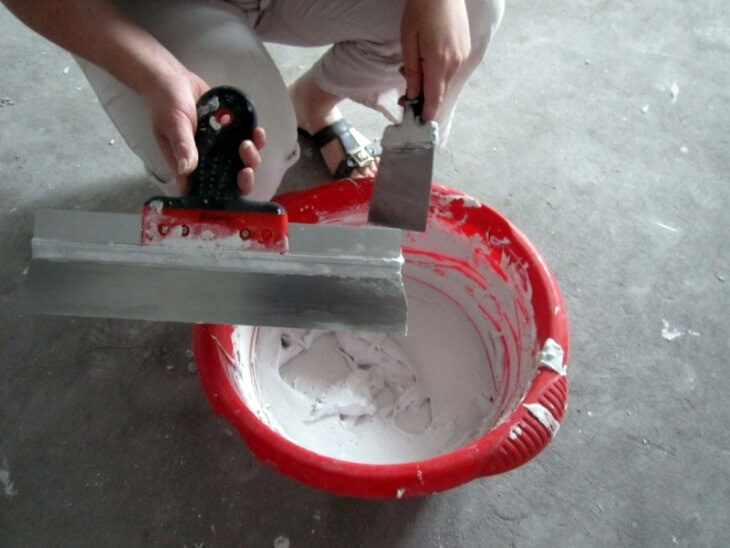
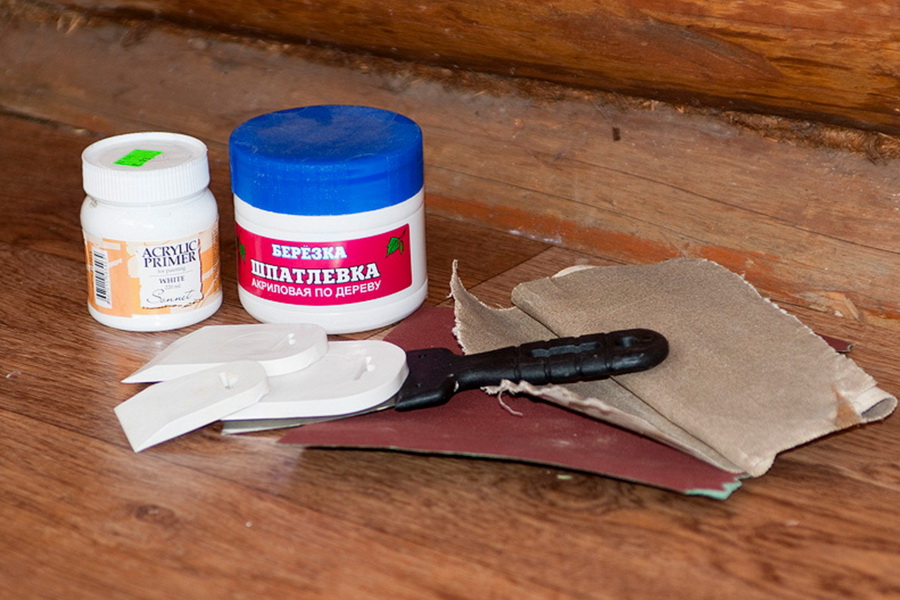
- Putty knife. It is better to prepare tools of different widths so that you can comfortably knead the mixture, apply it to the wall and level.
- Water. It is necessary to use clean running water, without impurities, without extraneous odors and unusual color.
- Dry mortar putty. For a particular stage of work, either starting or finishing putty is selected.

If the entire tool is ready, you can begin the process of kneading the finished solution and applying it to the surface of the wall. Using the nozzle greatly speeds up the process, but without it you can cope well.
In order for the process to proceed correctly, it is necessary to adhere to a clear plan of action:
- Choose a dry putty of a certain brand in the right quantity, read the instructions and start the breeding process. The standard ratio is 25 kilograms of the powder mixture per 10 liters of water. Each manufacturer reserves the right to change these proportions in any direction.
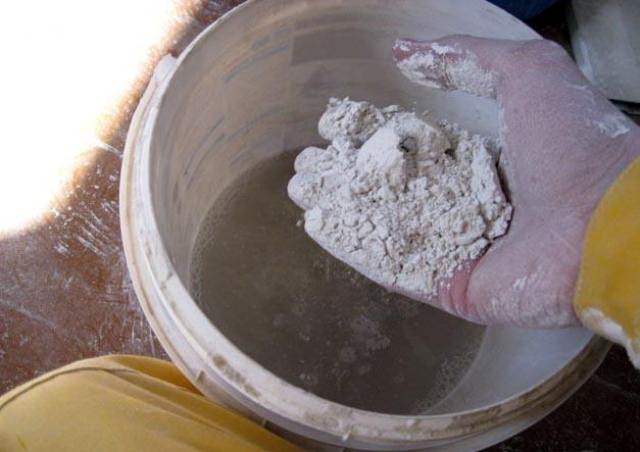
- Water is poured into a clean container, for a construction bucket it is 1/4, and for a usual one - 1/3 of the total volume of the container.
- Add putty to the water, pouring it right in the center of the bucket until it reaches 1/4 more than the water level. On some packages, the norms of the amount of the substance to be poured in the first batch are indicated.
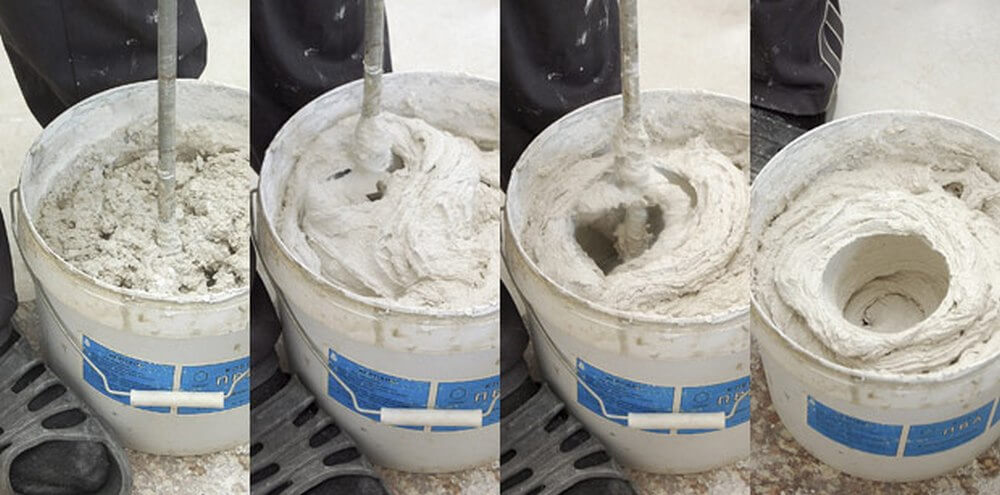
- You should not immediately take up the mixing of the mass, otherwise some of the material will be dispersed around the room.After waiting for about thirty seconds, you can get to work. During this time, the putty mass will sink into the water and be ready for processing.
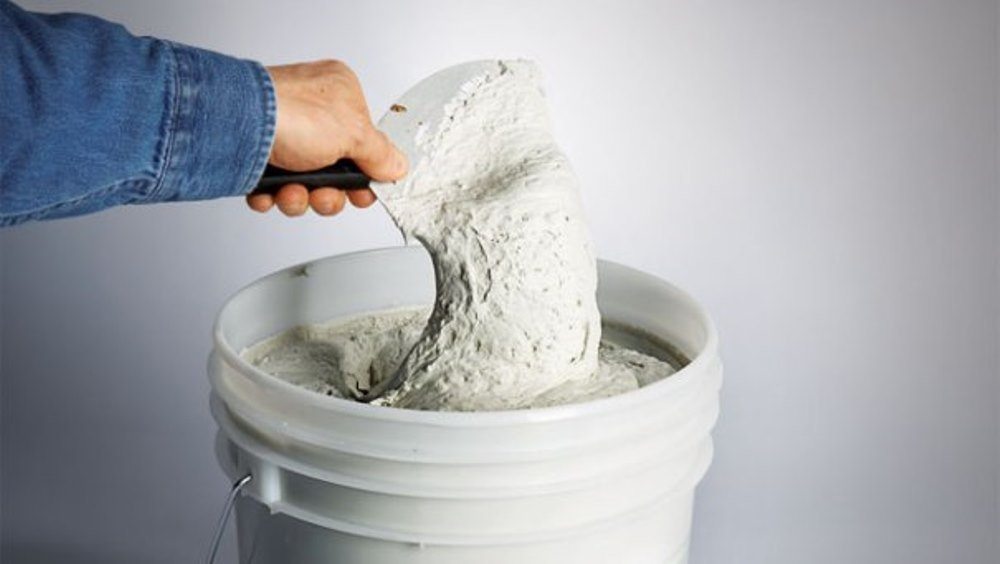
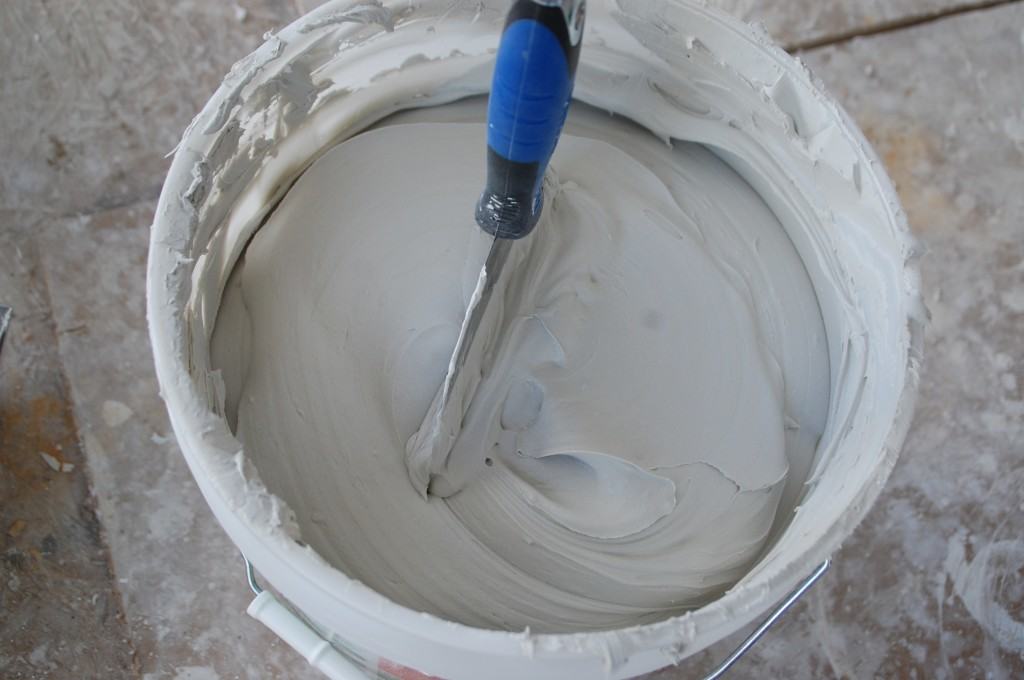
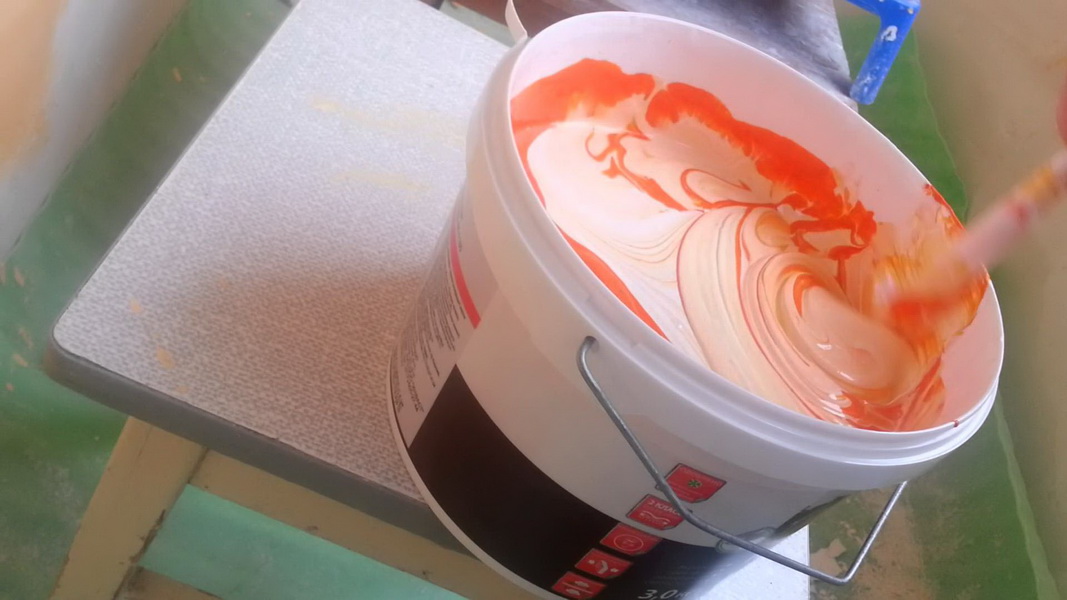
- Using a nozzle on a screwdriver or a drill, stir the contents of the container for at least two minutes until a homogeneous mass resembling thick cream is formed.
- In the case of deviation of the resulting mass from the required proportions, it is necessary to pour in some water or add a certain amount of solution and mix everything again. It is important to achieve the desired result at this stage, because then nothing can be changed.
- After pre-mixing, the putty mixture remains for a while to swell. Time depends on the amount of material and can vary from a few minutes to 10-15.
- When the time is up, you will need to re-mix the entire contents. In this case, all the same rules work as for the first time.
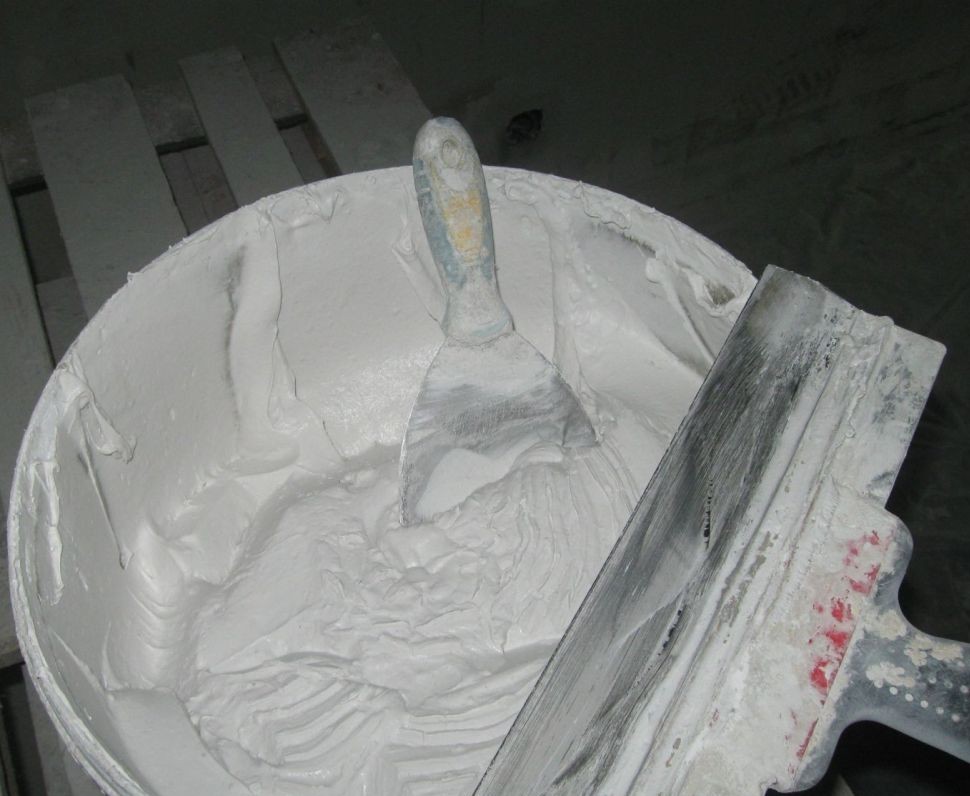
- To find out if the mixture is ready, you need to insert a spatula into it. If he did not drown and was not stuck, then everything is done right.
At home, there is not always a nozzle and a power tool with which you can easily and quickly make a putty solution,therefore, this work can be done by hand. Preparing the mixture in this way is not much more difficult, although it will take a little longer. In order to manually knead the putty, you need to know the sequence of actions, which is slightly different from the one that was described earlier.
So:
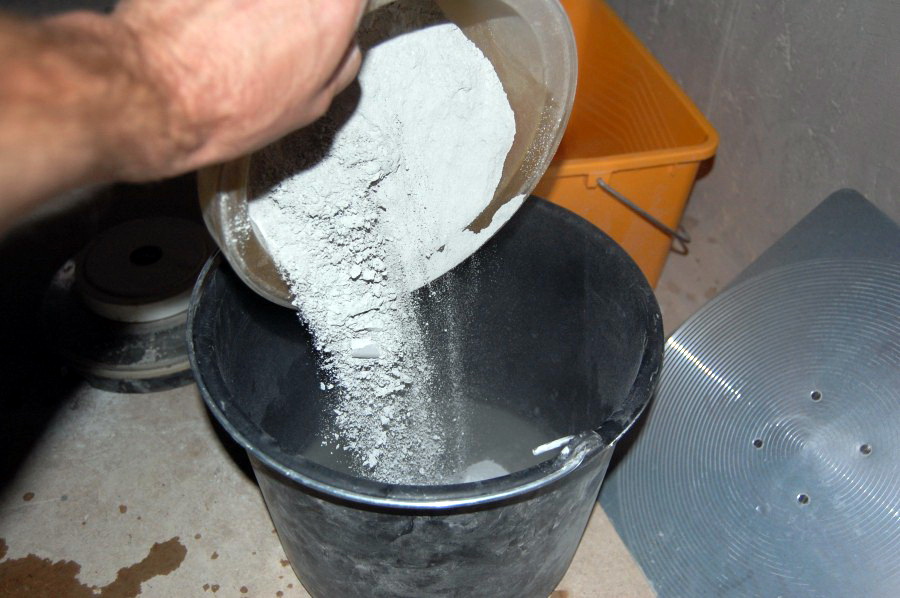
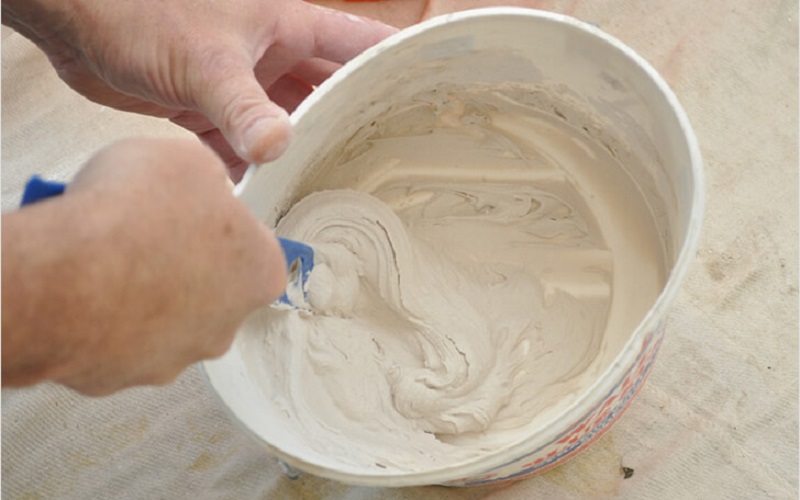
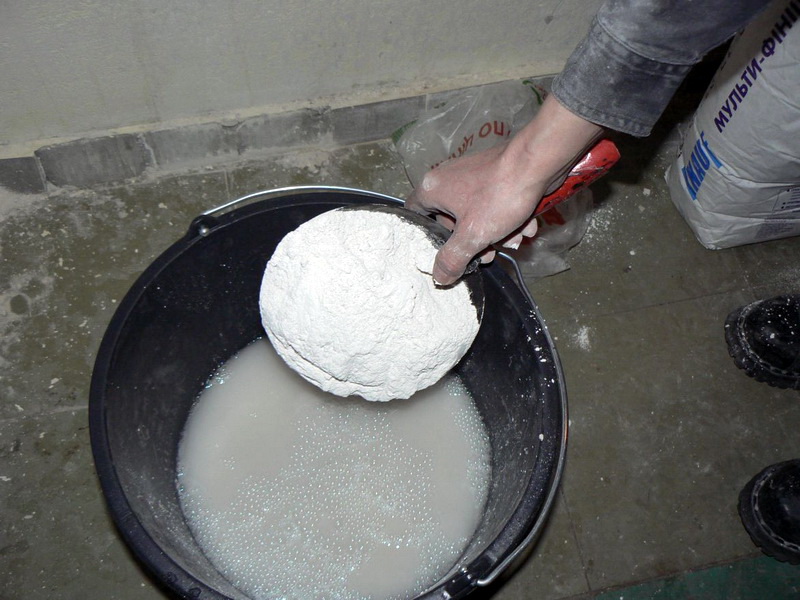
- The first step will be to put the putty in a completely dry bucket, and then add water. If you do the opposite, then lumps can not be avoided and the resulting solution will fall badly on the wall.
- As soon as it turned out to achieve the desired consistency, the rest of the putty is poured into the container and the water is also poured in stages. Gradually, the dry mass turns into an elastic and pliable.
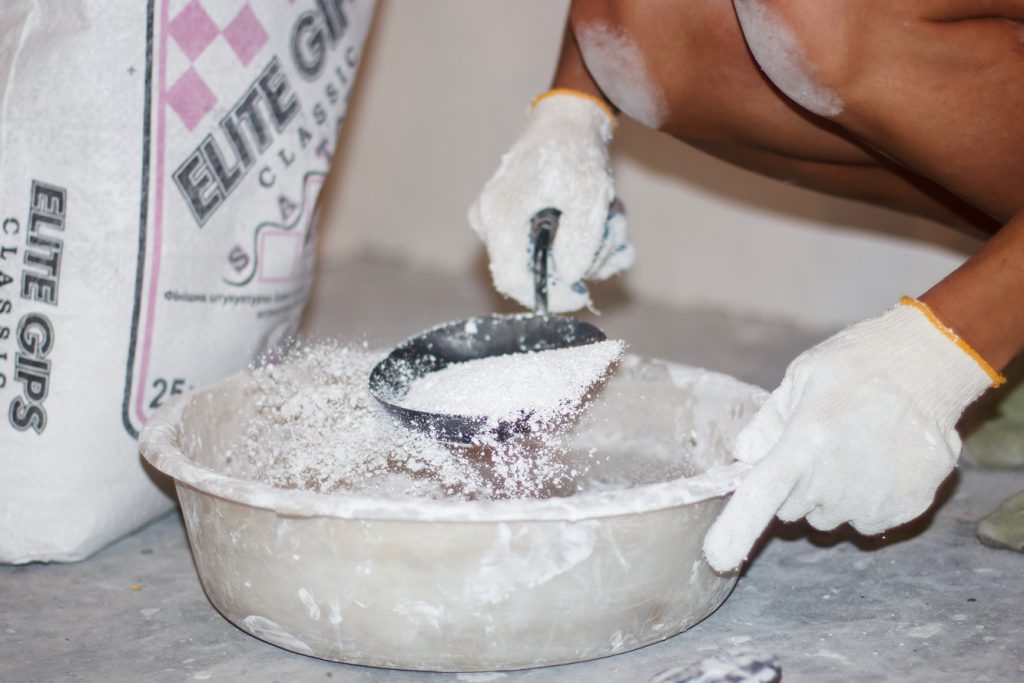
- In the tank you need to collect seven spatulas of the mixture and pour some water into it. The resulting mass should be mixed well. Each time, adding water, the mass is mixed and brought to the desired state.

Hard putty is applied to different surfaces and by the principle of action it can be divided into such types as:
- cement;
- gypsum;
- polymeric.
If it is necessary to knead the cement putty, the dry mixture is also placed in a dry and clean bucket, to which water is then added.In this case, it is also worth paying attention to the proportions that manufacturers declare and, on the basis of them, knead the solution. The consistency in this case should be similar to thick sour cream.
The same methods are used for working with gypsum plaster. A distinctive feature of this material is its fairly quick drying, because of the time swelling should take no more than three minutes and the process of working with walls is better not to delay.
For this variant of putty it is especially important to use the right proportions of ingredients for cooking, otherwise the coating will crack with time. To avoid this, you need to carefully read the instructions and stick to it, use the correct methods of mixing, thoroughly clean the walls before use and apply a layer of more than 5 mm.
Polymer putty can be latex, acrylic or polymer cement. The latex version is sold already in finished form, but during storage it often becomes thick, so it needs to be mixed with water in a ratio of 1: 1. Preparation of such putty is done according to the recommendations of the manufacturers, but better to look at the consistency of the finished product.If you need to add water, it is better to do it right in the process..

Acrylic putty is already sold in finished form, so in this case you do not need to waste time on its preparation. The cost of such a product is several times higher than a dry mix, but a number of advantages make it popular and in demand.
Polymer cement putty is sold as a powder and needs to be prepared for use. Per kilogram of the mixture, you must take 240 ml of water and mix well. The mass should be homogeneous, without lumps. Consistency depends on the type of work..
To fill the cracks need to do a thick mass, and for applying to the walls more liquid.
Useful tips
When planning to dilute the putty for external or internal work on leveling the surface of the walls and ceiling, you need to know some of the nuances that make the process of mass preparation and work with it easier and faster.
All containers and tools must be clean, so that there are no traces of dirt or particles of other building material. All additives will cause a faster hardening of the putty, and it will be difficult to work with it.. Wash everything you need, and mixing a new portion of the mixture, otherwise dried lumps will damage the finished surface.

The optimal amount of solution is that which will be enough for a half-hour workflow., otherwise the putty will start to dry out and it will be very difficult to apply it. Making the mixture too thick, its service life will be significantly reduced. Very liquid solution will spread on the wall, leaving streaks and stains that are difficult to remove.
If the solution is prepared, settled and mixed again, then no ingredients can be added to it.. It is important to carefully choose the dry mix in the store, paying attention to the expiration dates, which in this case are of great importance.
During the mixing of the dry mixture and water using a nozzle, you need to choose small turns, otherwise air gets into the material, which bubbles on the surface of the wall will leave irregularities and will have to be polished further.
You can make the mixture without a mixer, using a spatula of medium width for mixing. In this case, it is important to follow the correct sequence of actions.
If a water is poured for mixing with an electric appliance, and then putty is poured, then in the manual version it is the opposite. Pouring a certain amount of putty, it is necessary to add a small amount of water. The mixing process is phased, it is important not to rush and mix all the contents well, so that no lumps remain that will significantly interfere in the process of applying the mixture to the surface of the wall.
Building materials are updated annually, to replace the powder options putty come pasty, which are already sold in finished form. Use them can and should, most importantly, choose a trusted manufacturer, look at the date of manufacture and, if necessary, dilute a little with water.
The cost of such products is much higher, but there is no cost for the preparation of the mixture, you do not need to carry additional inventory and the workflow can be started from the moment you open the container.
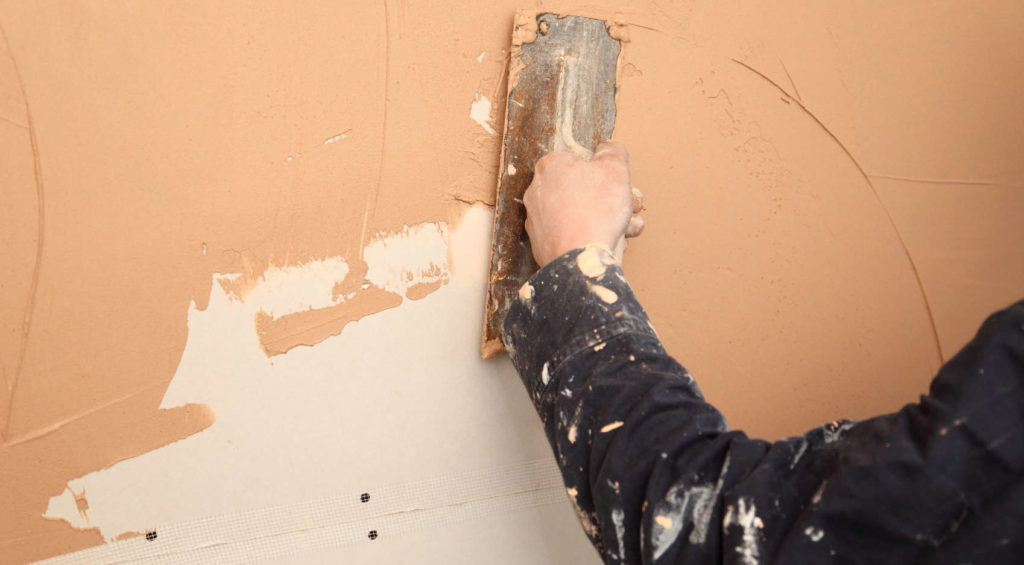
Starting putty has the function of the surface corrector, because it is often applied with a thick layer. To make it easier to work, the work goes in two stages. The first involves the grouting of all cracks and irregularities and pre-treatment of the wall, and the second is more carefully hides all the flaws and forms a smooth canvas. It is important to wait until the first layer is completely dry, and then apply the second.
Finishing putty is applied with a thin layer, and after using it, the walls are rubbed, finally leveling.
For information on how to properly dilute the putty, see the following video.