Features of wood putty for interior work
It is easy to putty wood if the components of the mixture are suitable for the surface to be treated, and the process conditions are strictly observed during the application of the composition. So that wooden structures are not subject to wear over time, you need to protect them from external influence. Consider the features of putty wood for interior work.
How to choose?
Putty wood is a mixture, the purpose of which is leveling the surface. The method of using it is quite simple. This is the filling of microcracks, potholes, chips, any surface defects and the preparation of the base for finishing. The construction market amazes with the variety of choice of this material. Therefore, you need to competently approach the issue of purchase and take into account several basic selection criteria.
- High degree of adhesion to the surface. This is one of the main conditions.The better the composition penetrates the base and is fixed there, the longer the coating will serve.
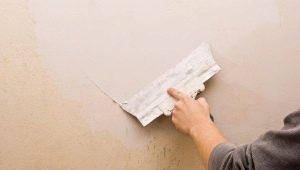
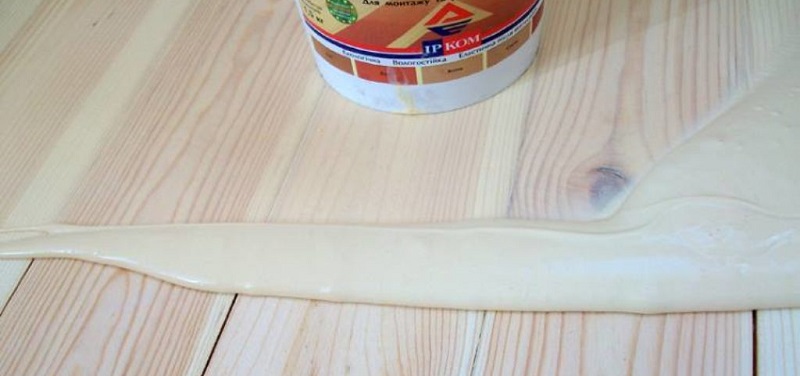
- The leveling compound should be easily applied to the surface with a spatula, it is important that it be plastic.
- The drying process must be fast (this composition is considered the best). With this material, you can handle a large surface without significant interruptions in time for drying.
- Products must comply with environmental standards (no harmful impurities are excluded).
- The ratio of price and properties of putty should be optimal.
Kinds
One of the best types of material is gypsum plaster, which has many modifications. It is plastic, has good adhesion. It may well serve as a base and finishing layer. Such a mixture is recognized as an ideal material for indoor work. The putty based on latex copolymers and acrylic dispersion are far ahead in technical specifications.
However, their disadvantage is the cost, which is much higher than gypsum counterparts. The peculiarity of their application is the layer thickness, which should not exceed a few millimeters,otherwise there is a risk of cracking putty.
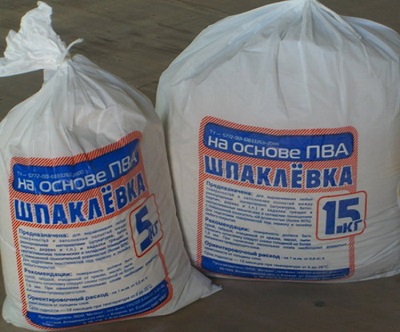
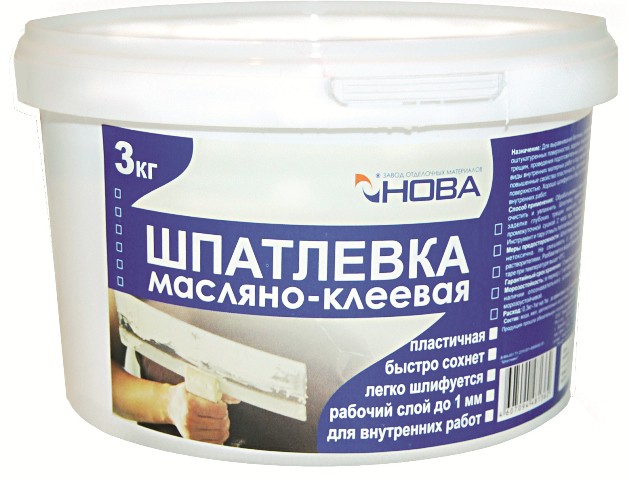
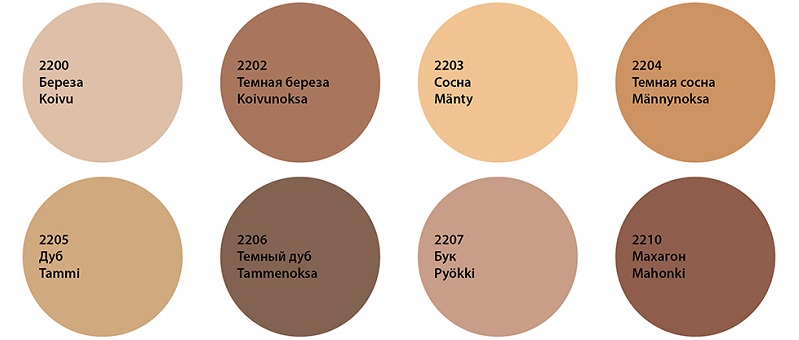
For filling windows and doors using oil and adhesive mixtures. They can be used outside buildings and in places with high humidity. They have a wide palette of shades, allowing you to pick up any color and treat the surface with varnish without subsequent painting.
Homemade
Specifications
In the base putty larger fractions. Therefore, the coating layer varies from a millimeter to several centimeters. After drying, it has a rough surface. Finishing application is after starting, it is used for the final alignment of the layer of application. Under the wallpaper you need to apply putty in 1-2 layers, for painting you will have to perform 3-4 layers.
Calculate the flow of the mixture should be strictly according to the instructions. As a rule, it provides data on the consumption in kn per square meter.
For the mixture will need the following components:
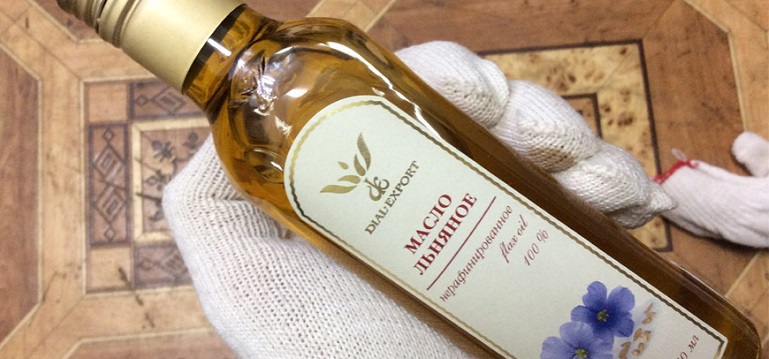
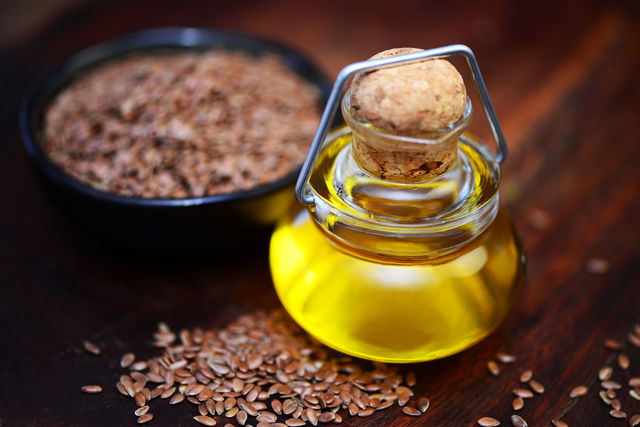
- linseed oil;
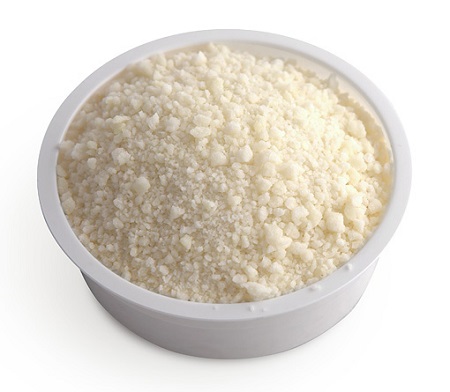
- pumice;
- casein;
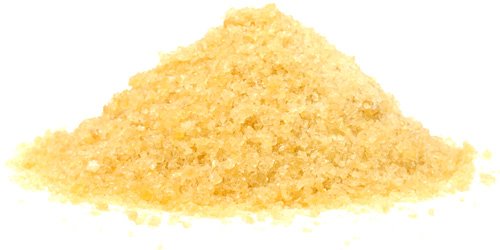
- gelatin;
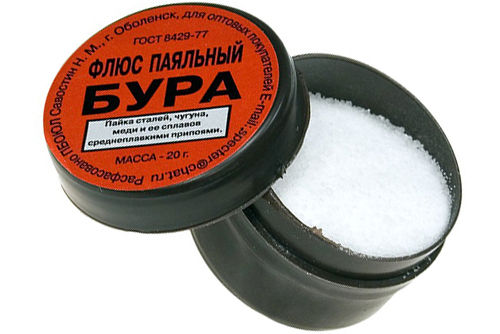
- borax;
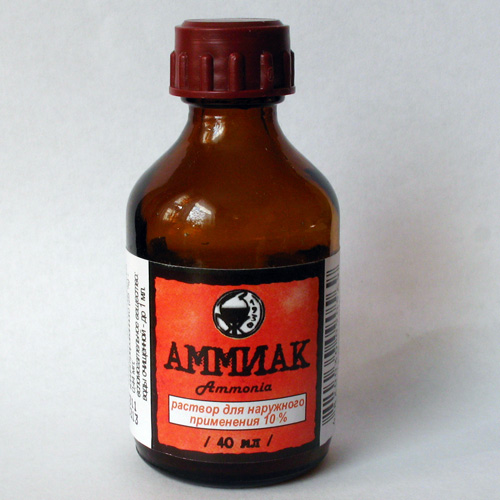
- ammonia 18%.
First, mix the pumice and oil, then add water and bring to homogeneity. When the mixture warms up to 90 degrees, add all the other components.After complete cooling, you can start repair work, but remember that the life of the home putty is small (from 30 minutes to an hour). Then its technical characteristics will deteriorate.
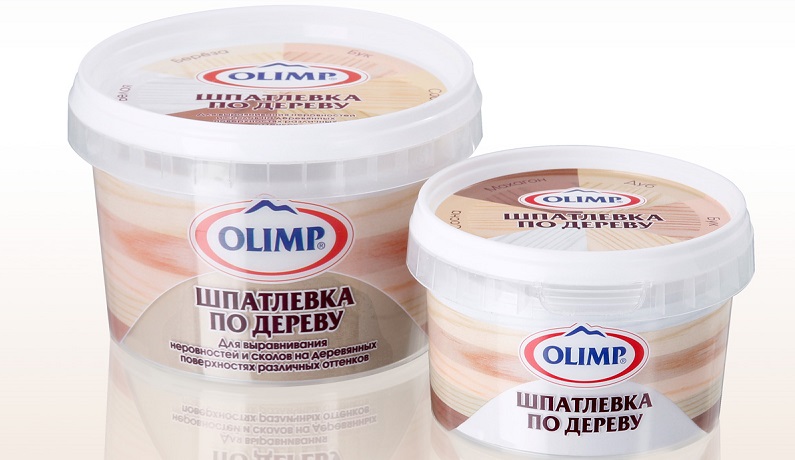
Preparing the perfect mixture is almost impossible (you need to know chemistry). Therefore, experts advise to buy the finished product in specialized stores, paying attention to moisture-resistant materials for interior work.
Work
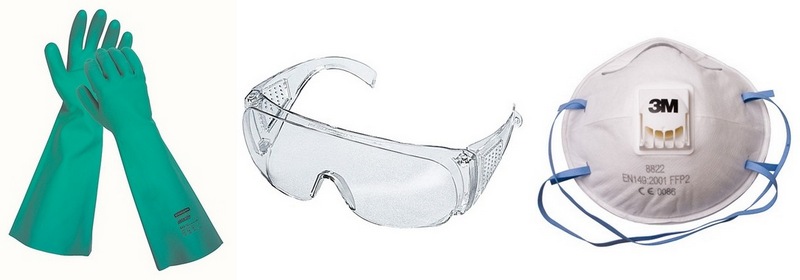
Preparation of the surface for the upcoming work is a mandatory process. If large-scale work is to be carried out, unused surfaces should be covered with a building film. Do not forget about the protection of hands and face. You need to buy rubber gloves and a mask or respirator.
Cooking surface
Putting putty precedes the preparation of wood. Old coating must be removed, otherwise it may lead to the lag of the composition from the base. It can be removed mechanically by scraping the surface or with a solvent. In particularly difficult cases and large areas use a hair dryer. The remover is applied in a thin layer on the surface to be treated with a brush or spray gun for 15 minutes. The chemical composition raises the paint, after which it is removed with a spatula.
Precautions must be taken, as the fumes from the cleaner are toxic. The room in which the work is carried out should be well ventilated. You can remove the old paint through the building dryer. It is recommended to paint the protruding metal parts of nails, self-tapping screws, wood screws, so that over time they will not rust and will not appear on the surface of the putty.
The plane must be cleaned with a brush, remove visible dirt, then walk with a sponge and collect small fractions.
Primer layer
Putty wood should have good adhesion to the base. To do this, apply a primer layer. At the same time, it protects the surface from moisture and fungus, increases the useful life of the material and additionally makes the coating even. These materials are made on the basis of gypsum, cement, acrylic, there are alkyd varieties. The base of the primer and putty should be the same. For example, putty on the basis of drying oil will be suitable for an oil primer. Under the nitrofishing take the impregnation of the same type.
Mixing solution
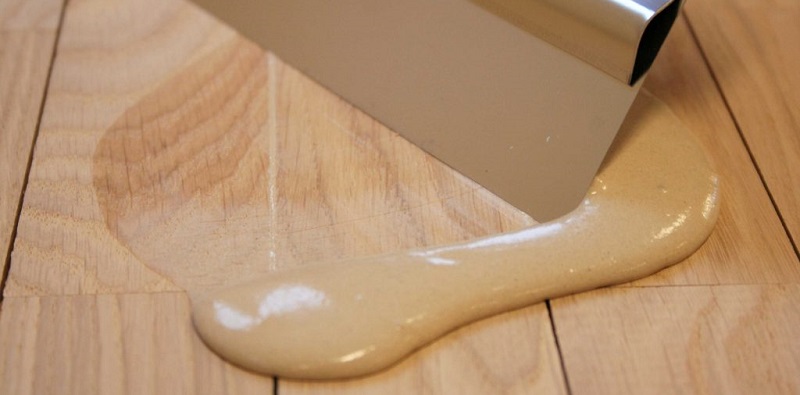
Any container can be used for mixing the mixture (for example, you can use a plastic bucket from under the old paint).If the amount of the mixture is small, knead manually. Large volume needs to be mixed with a drill with a mixer nozzle. The walls of the bucket need to be moistened, then pour water and, while constantly stirring, pour the dry mixture. It is necessary to make a homogeneous composition, similar in consistency to thick sour cream.
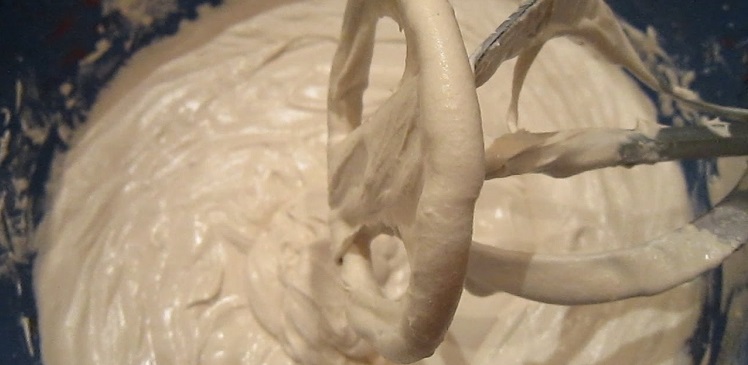
After mixing, the mixer should be washed immediately, otherwise the mixture will harden, it will be impossible to remove it.
Putty
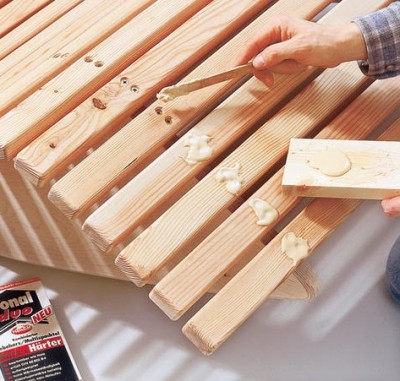
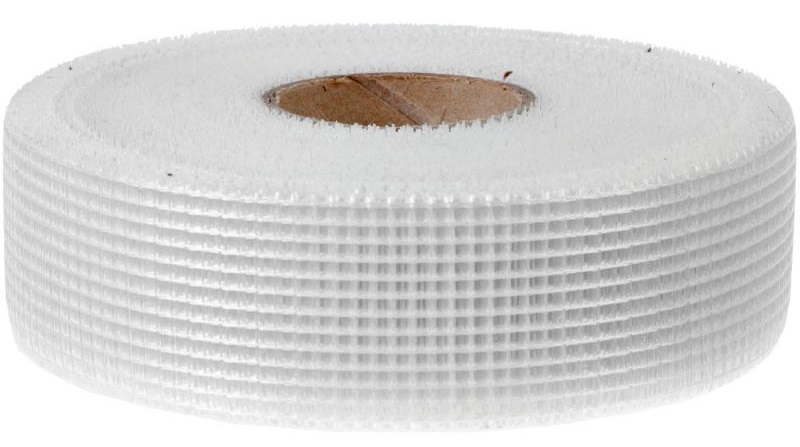
Before processing the wooden surface, it is necessary to inspect for seams or cracks. If the affected area is large, apply a special construction tape - serpyanka. It is glued to cracks and seams. So no need to fill the void with other material, because later it can lead to even more cracking. Be sure to remove excess solution from the base with the help of construction tools.
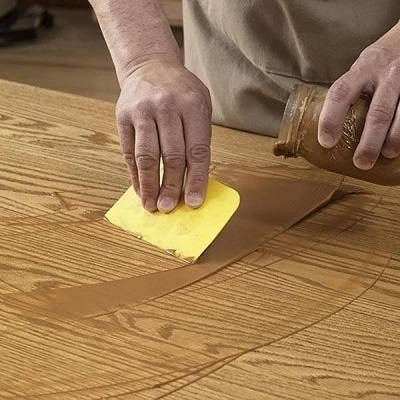
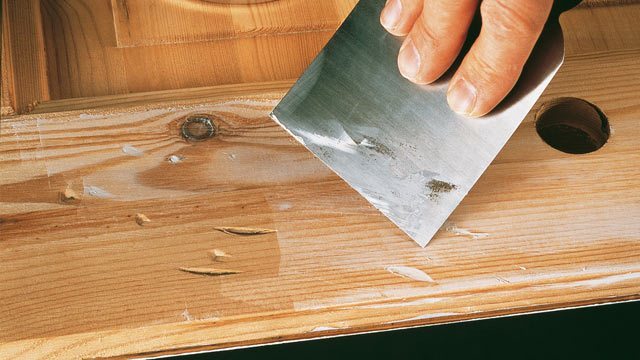
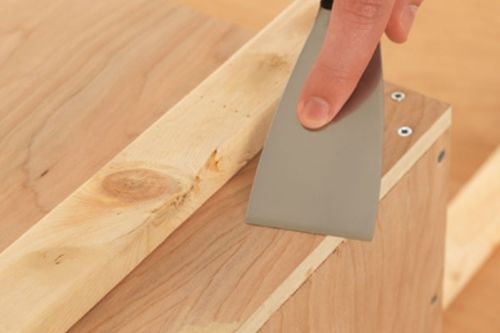
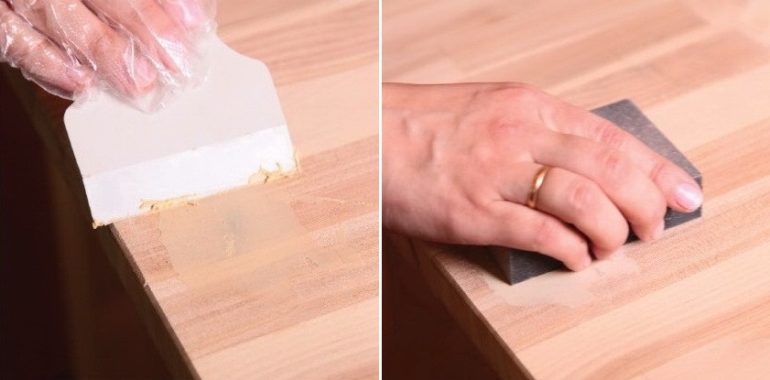
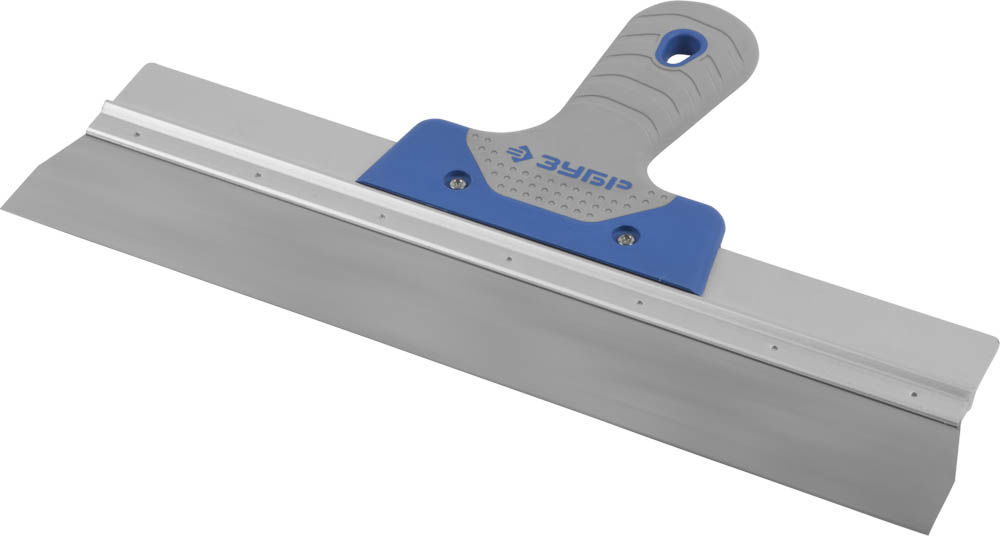
For the work will need two spatulas (one more, the other less). Putty put on 20 cm of the tool. Its working part is about 20 cm, total - 60 cm. Hold the spatula while working should be at an angle of 30 degrees. The solution is applied diagonally: it ideally distributes it over the surface. To begin work it is necessary from the left wall from you.
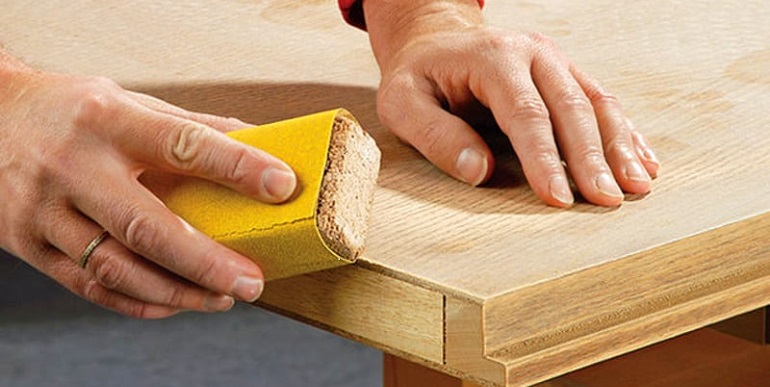
The thickness of the applied layer should be 2-3 mm. When applying the stripes may appear, but on the starting layer is not scary. After complete drying, you can walk on the surface with a grinding float and eliminate this drawback, as well as sand the joints. The finishing layer is applied with a thickness of about 1 mm. Then you need to wait for the surface to dry, then re-clean it. Sponge is needed for dusting the base after applying the grinding grater.
Drying
In order to comply with all the technical conditions for the putty drying, the following factors should be taken into account.
- The room temperature should be optimal (from 20 ° C to 25 ° C at a relative humidity of 50%).
- The putty dries on average 24 hours, if all factors are normal.
- The rate of drying is influenced by the type of putty surface. If it absorbs water well (wood), the process will accelerate. If the surface is non-hygroscopic, it will slow down.
In the next video, see the master class on putty wood surface.