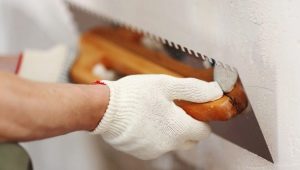
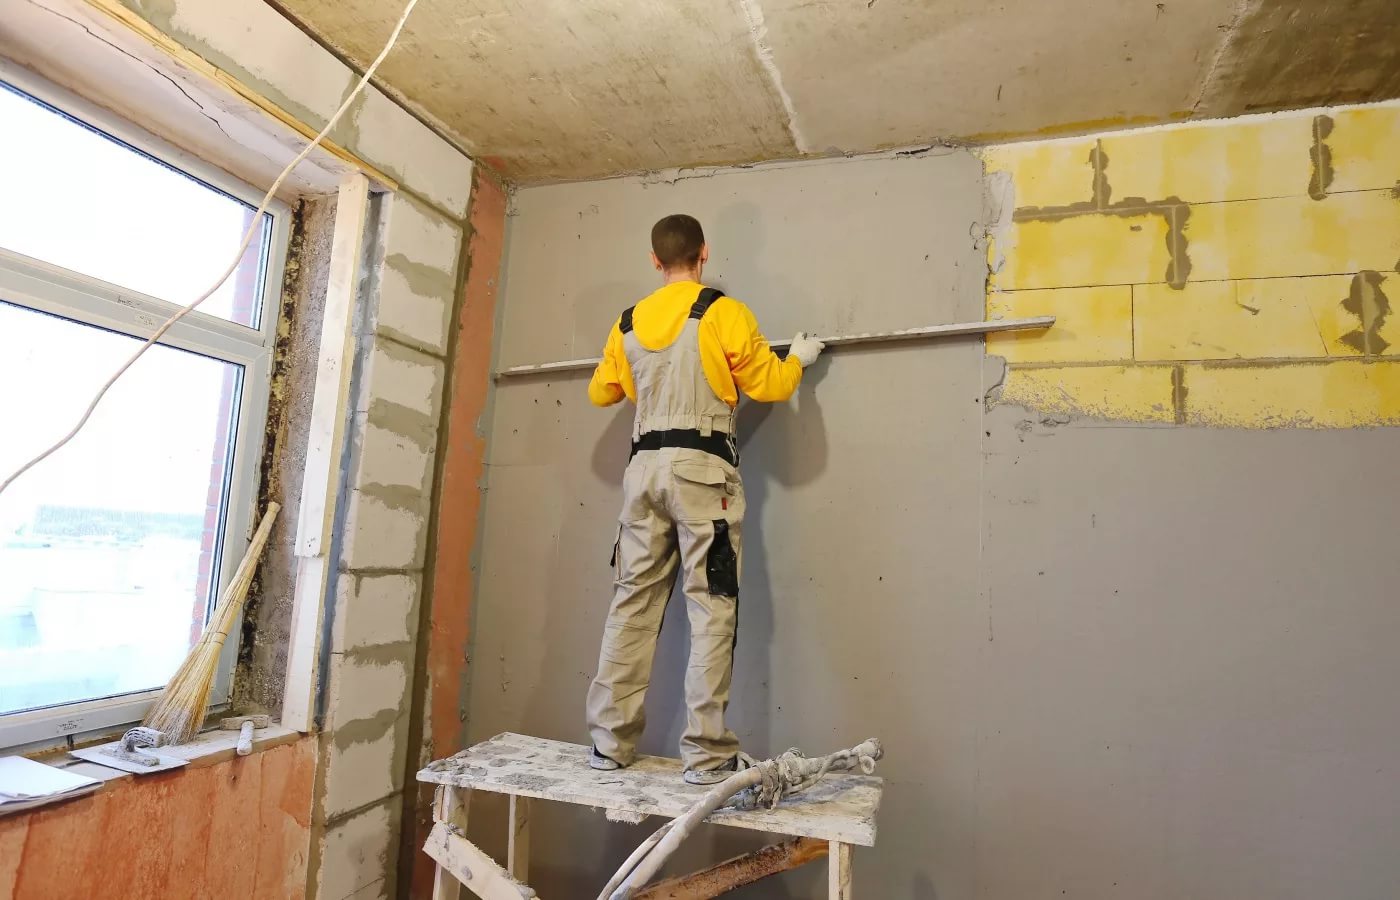
The process of plastering the walls of the beacons
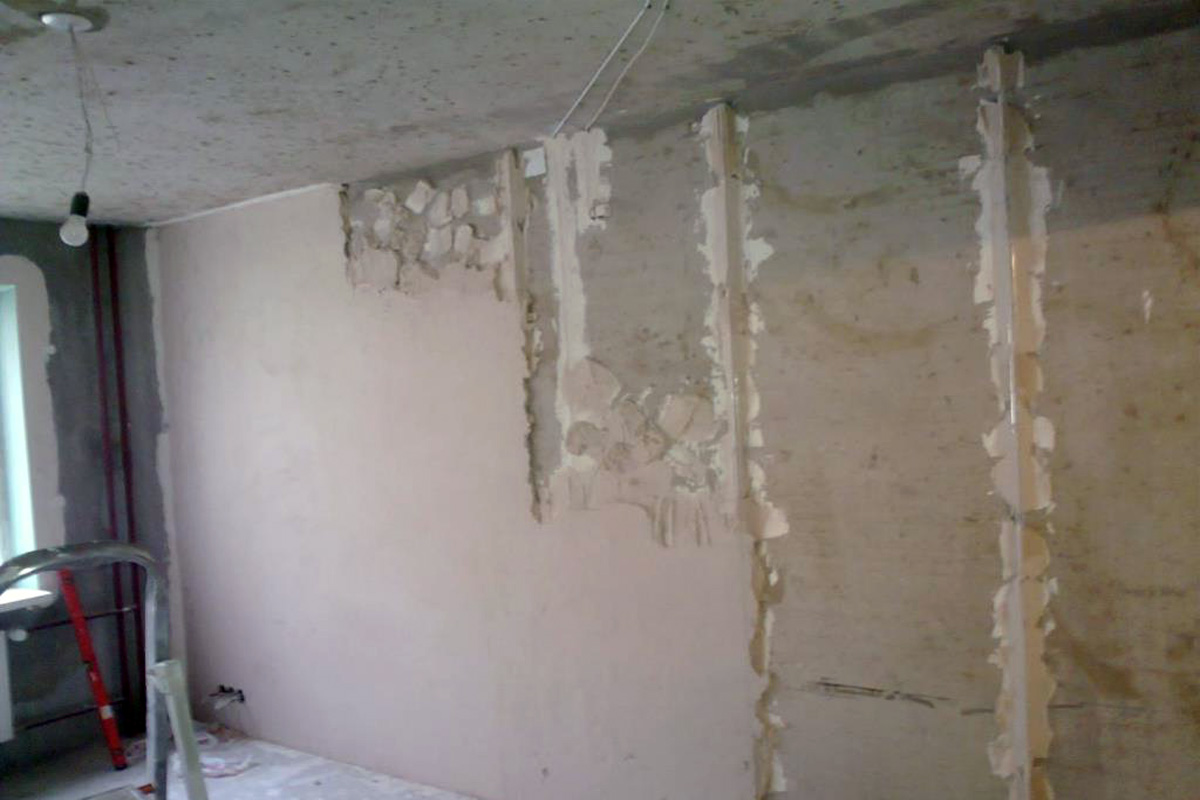
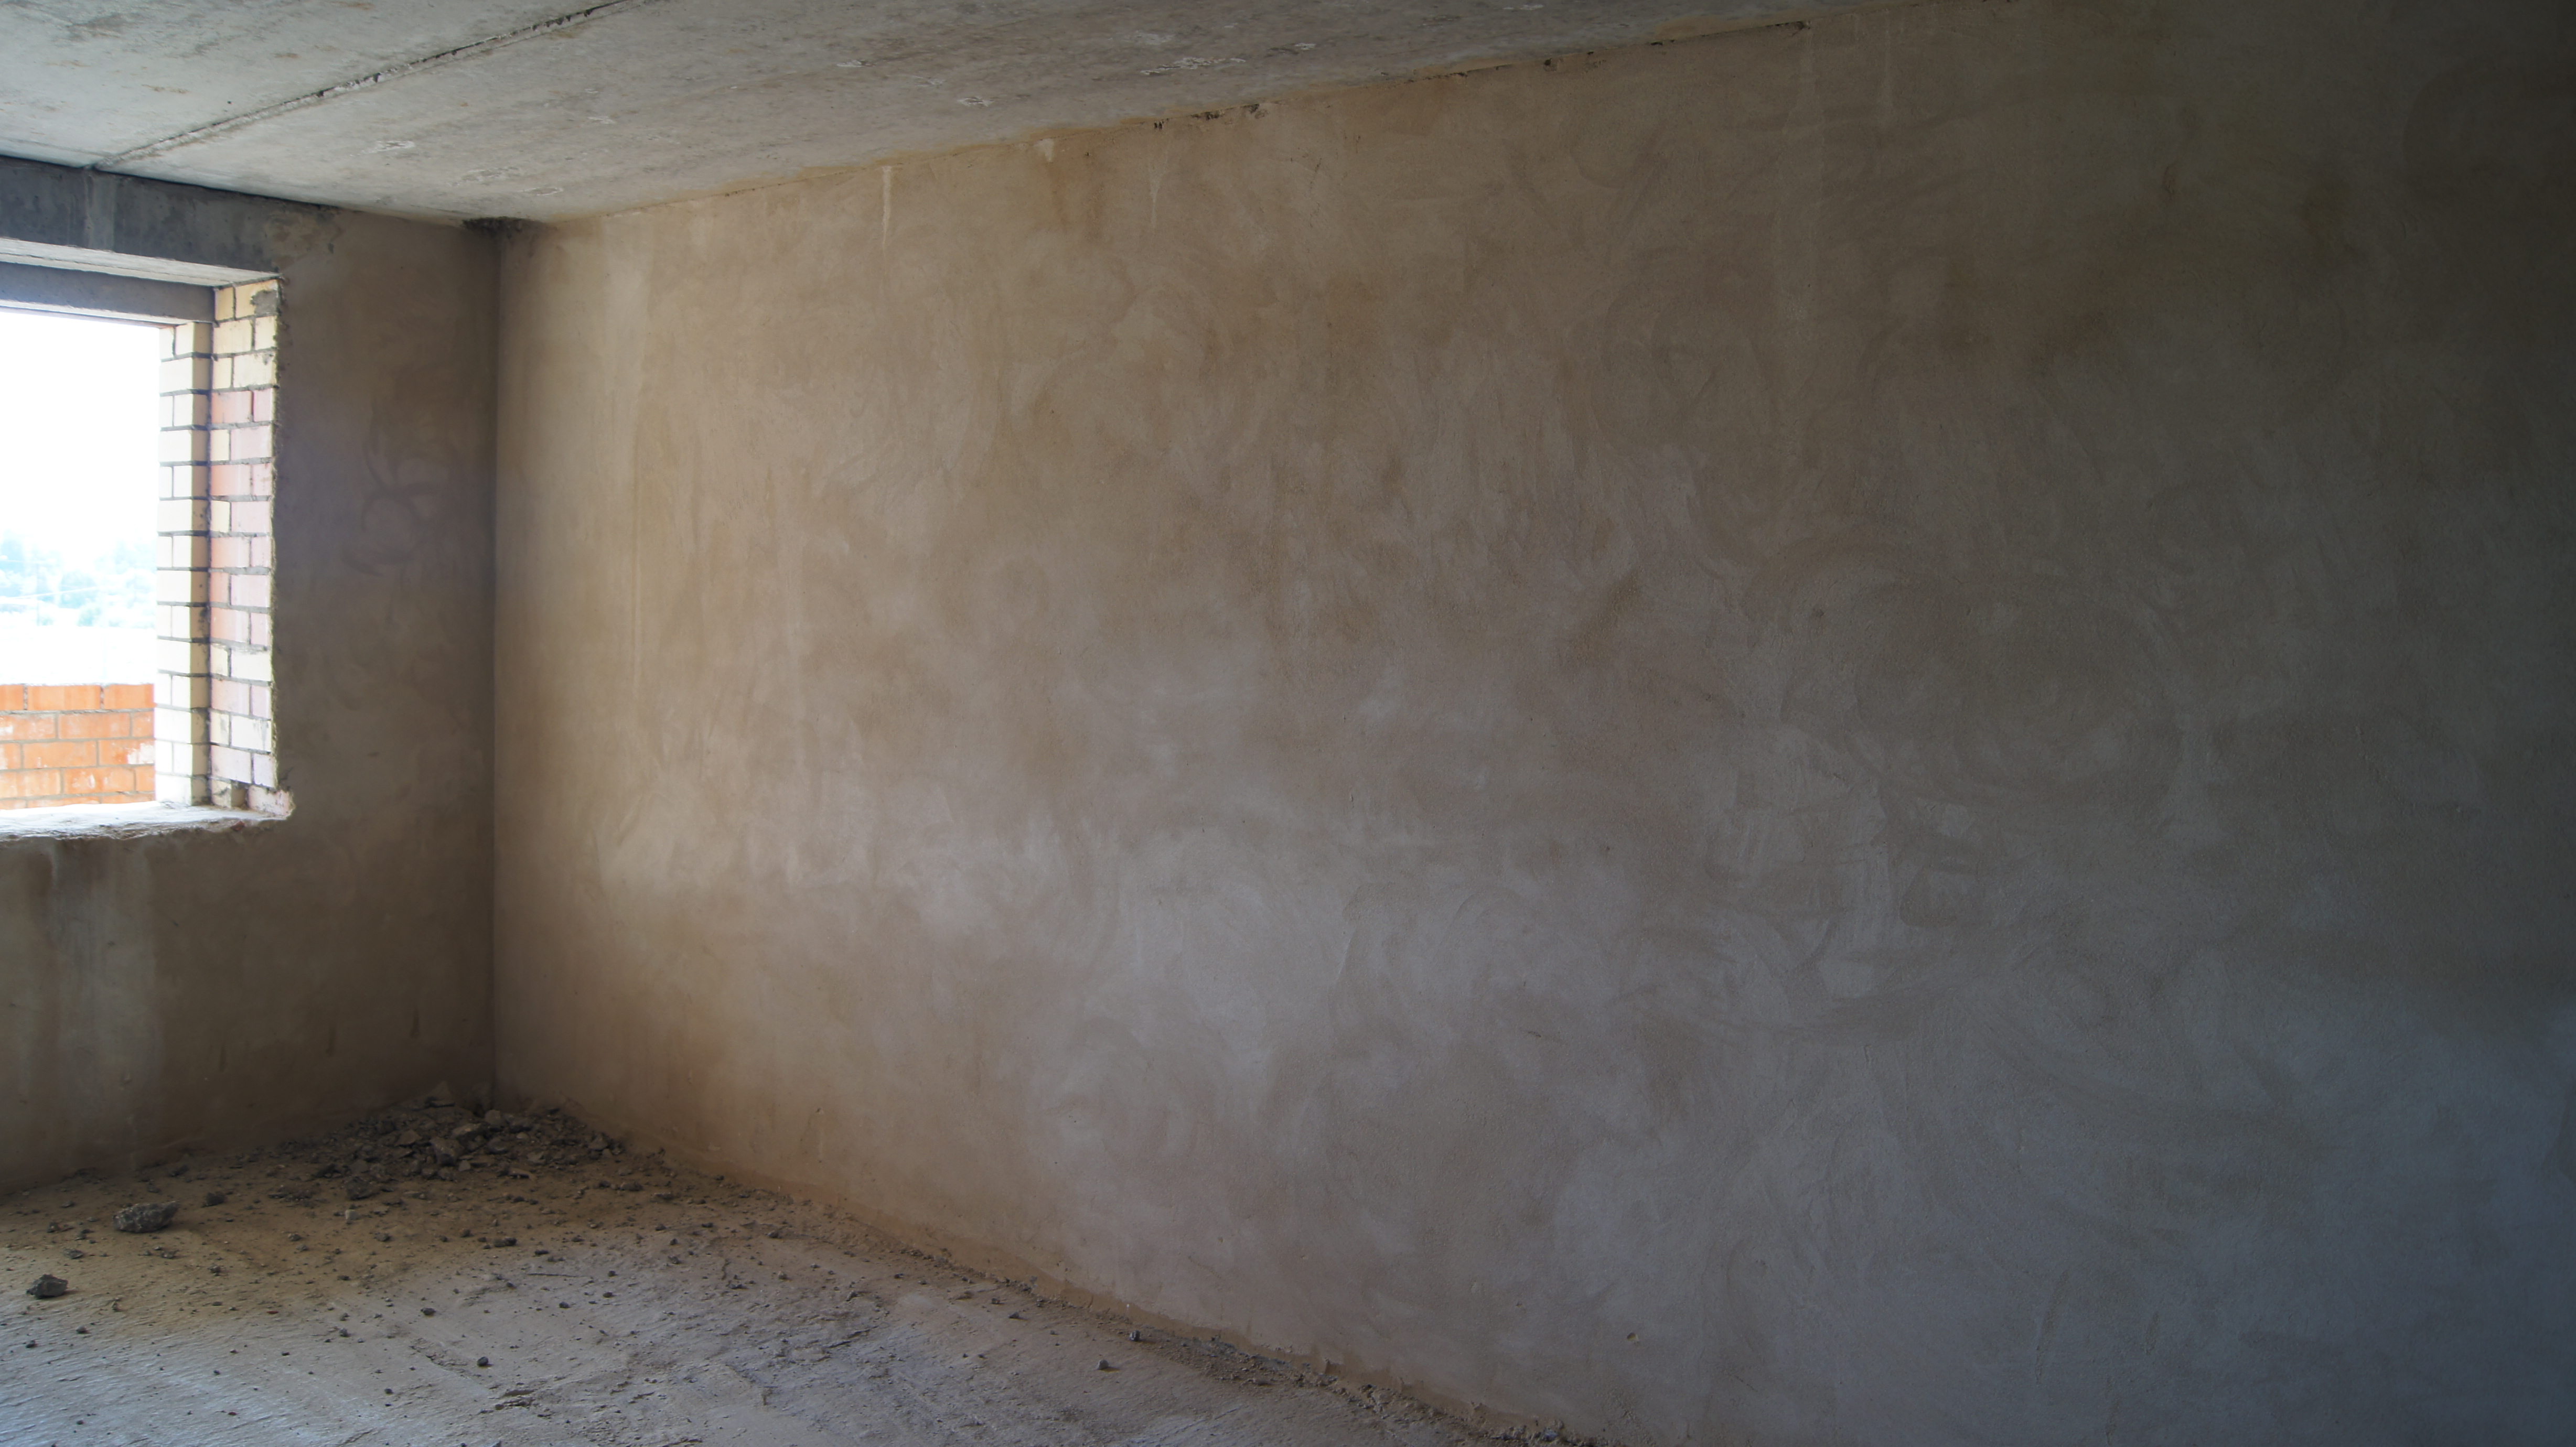
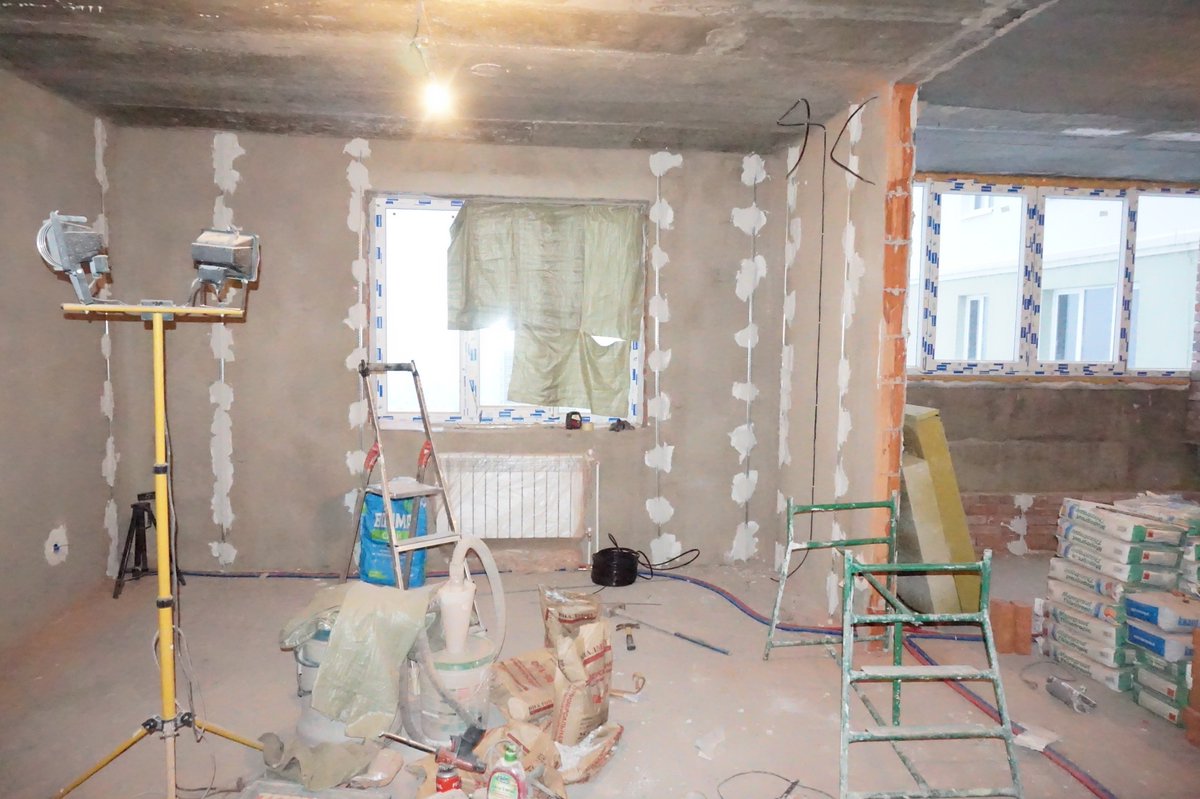
Even if you move to a new building, and not to an old house, then you will most likely have to face the problem that is widespread today - jagged walls. Due to this lack of repair process, many unsolvable problems arise. First, most of the finishing materials fall on uneven walls, and secondly, in this case, you may have problems with the design of the ceiling. To avoid such unpleasant surprises, the overlap must be plastered using quality beacons.
Special features
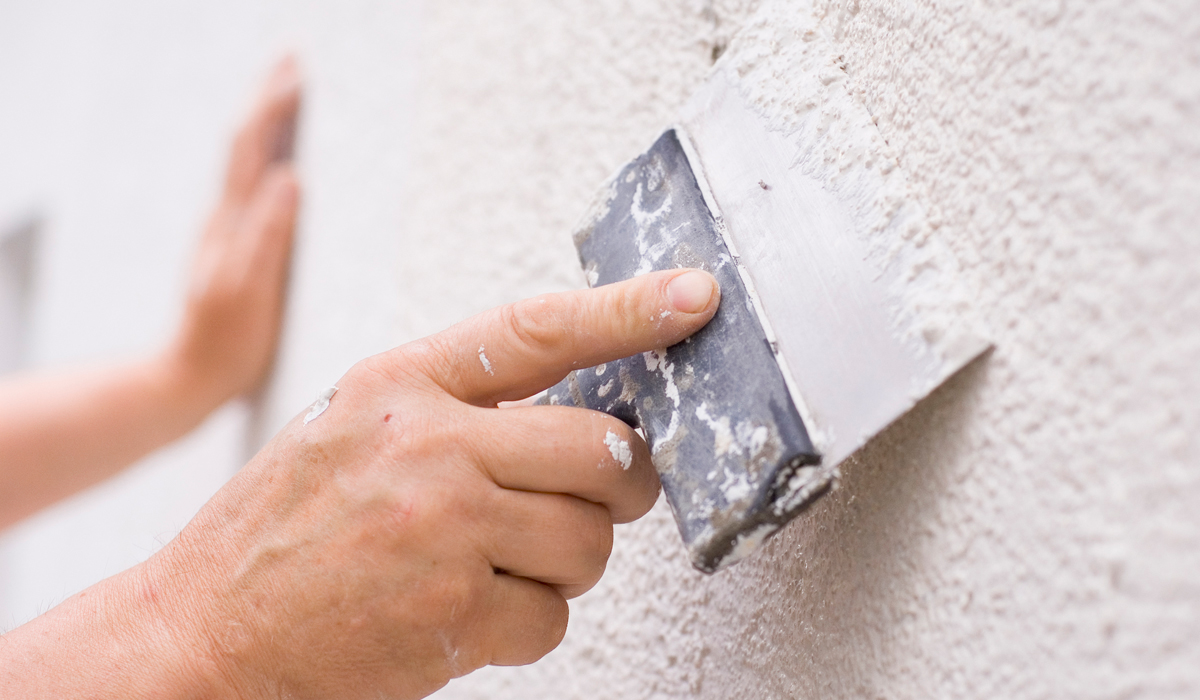
Thanks to the laying of high-quality plaster on beacons, you can achieve smooth and neat surfaces of the walls. Most finishing materials require an ideal base.Such coatings include thin paper wallpaper, various paint coatings, plastic and wood panels, as well as different types of tiles. On uneven foundations, these materials will not hold reliably. Moreover, they can highlight the drawbacks of the walls, attracting too much attention to them.
Currently, there are many ways to align the walls. However, the most common and popular is their plaster coating. To make such work is not difficult, especially if you use special beacons.
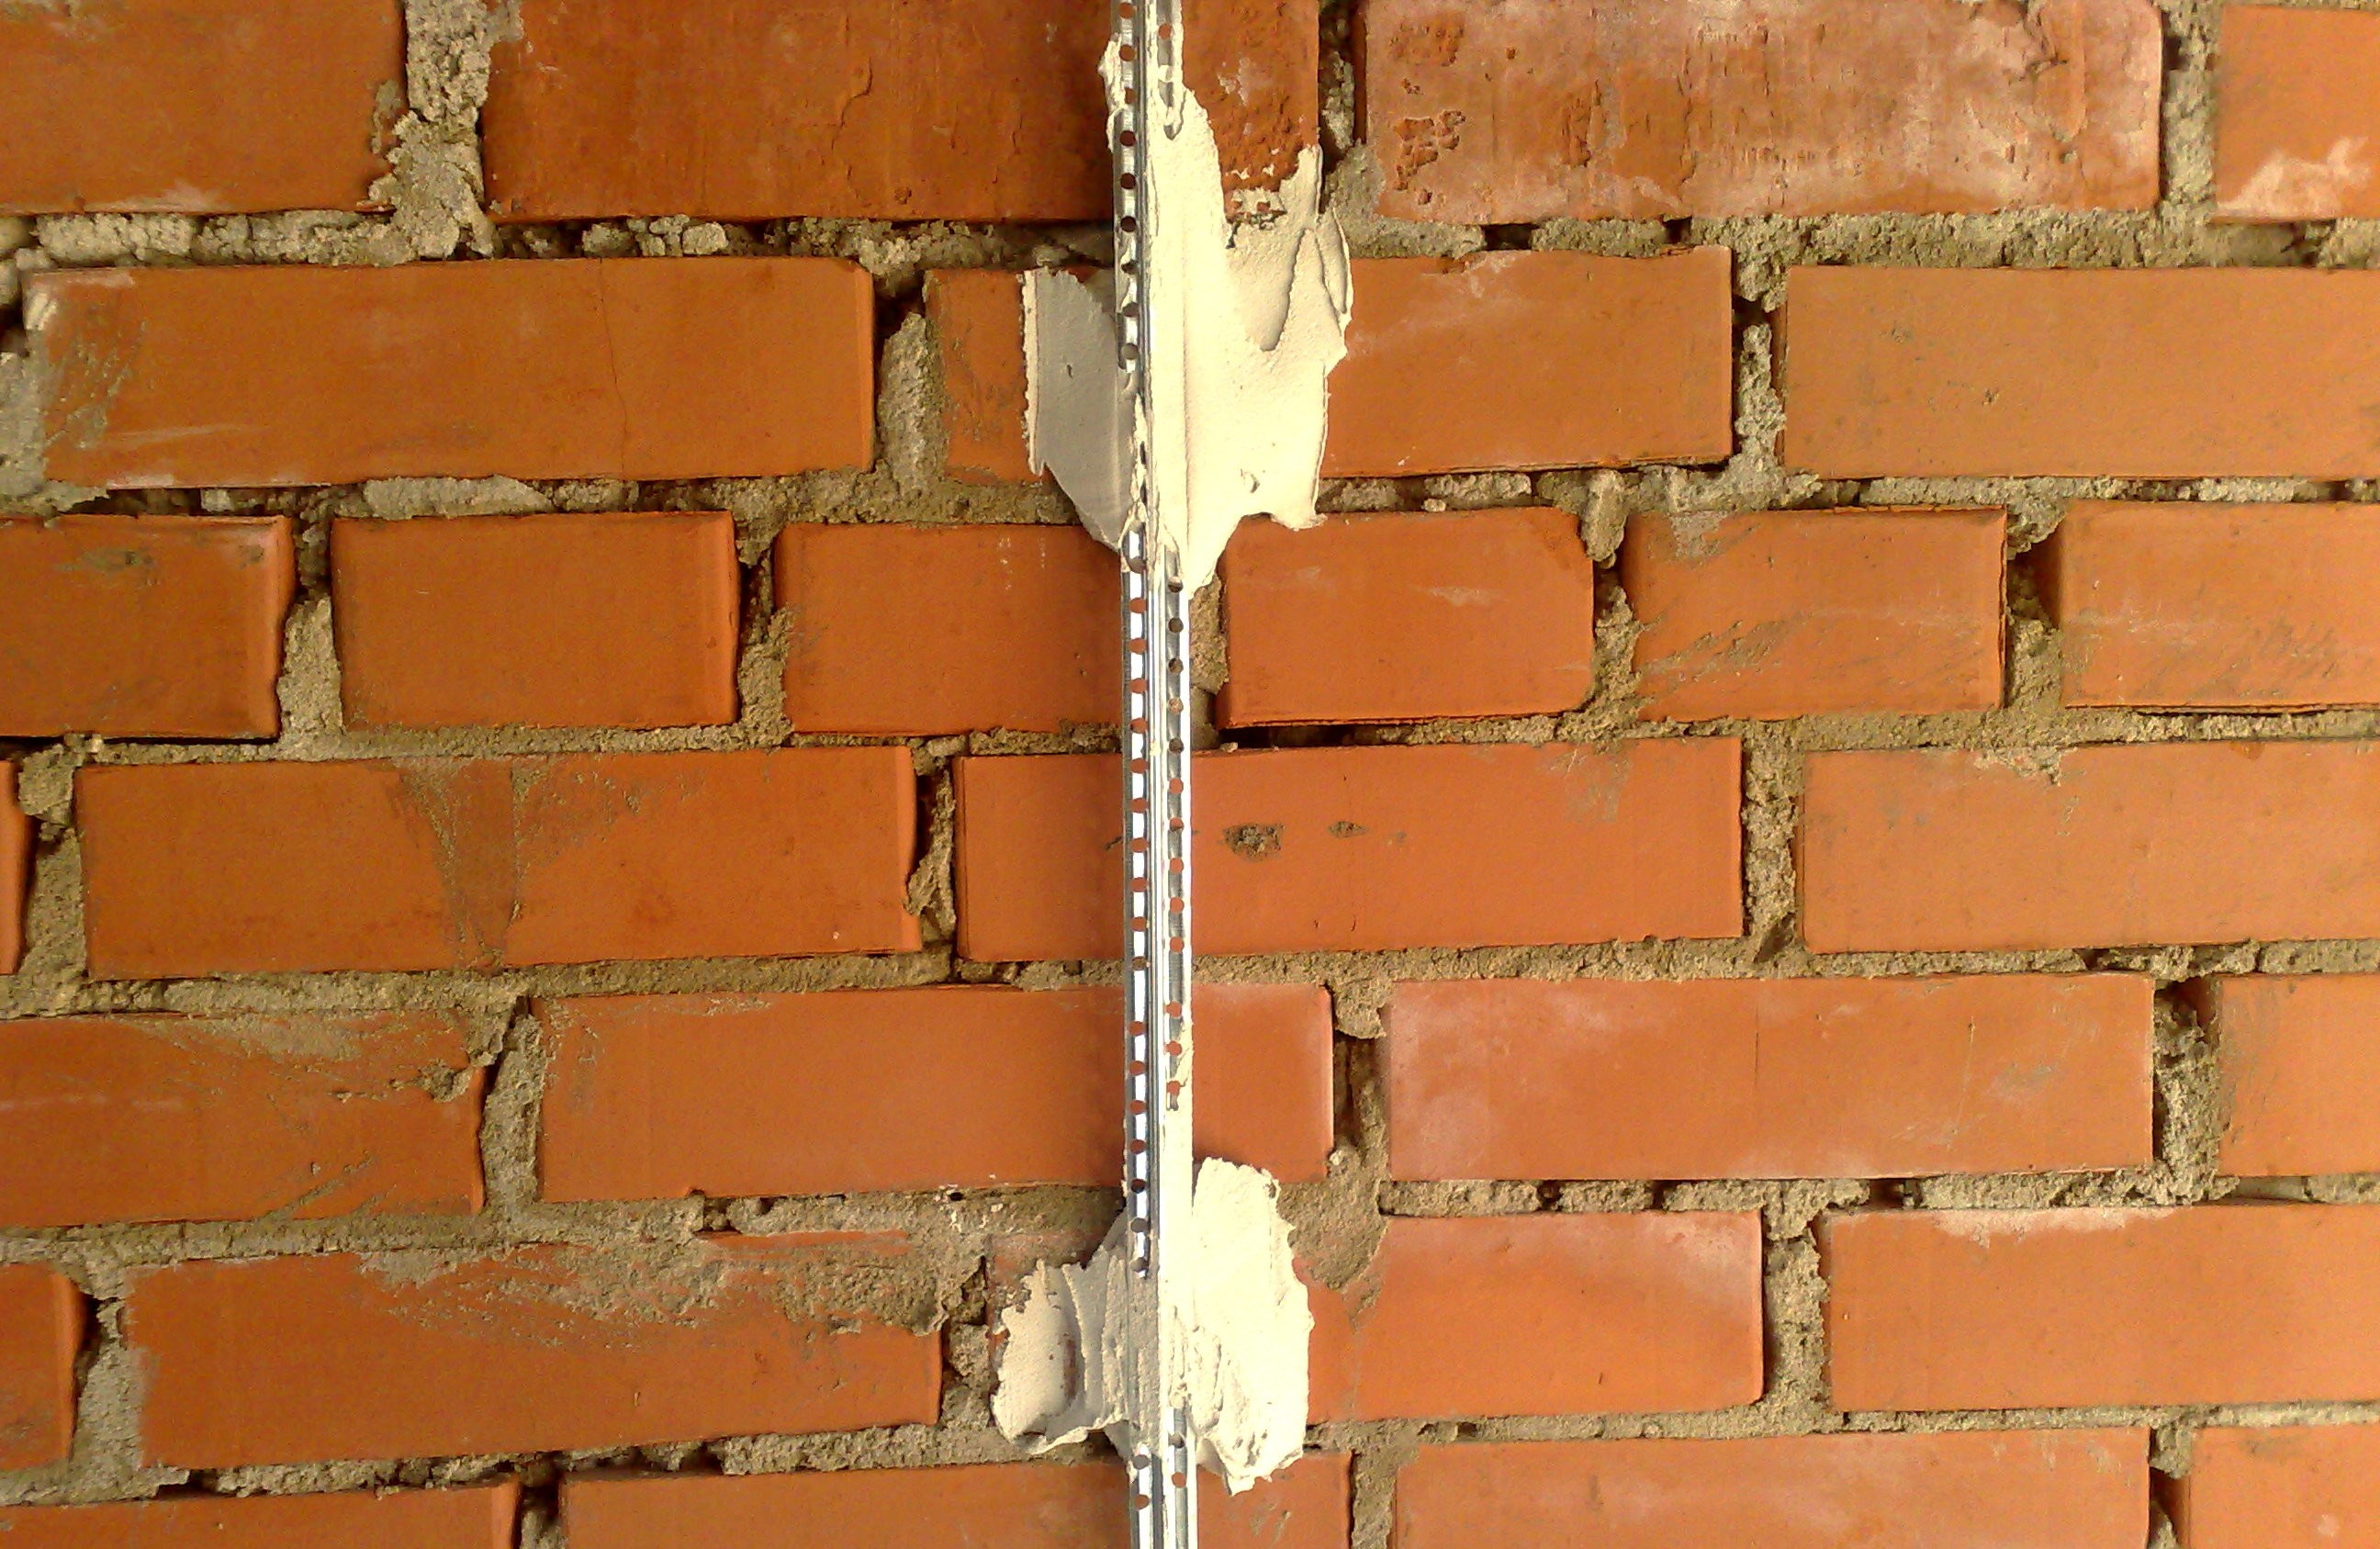
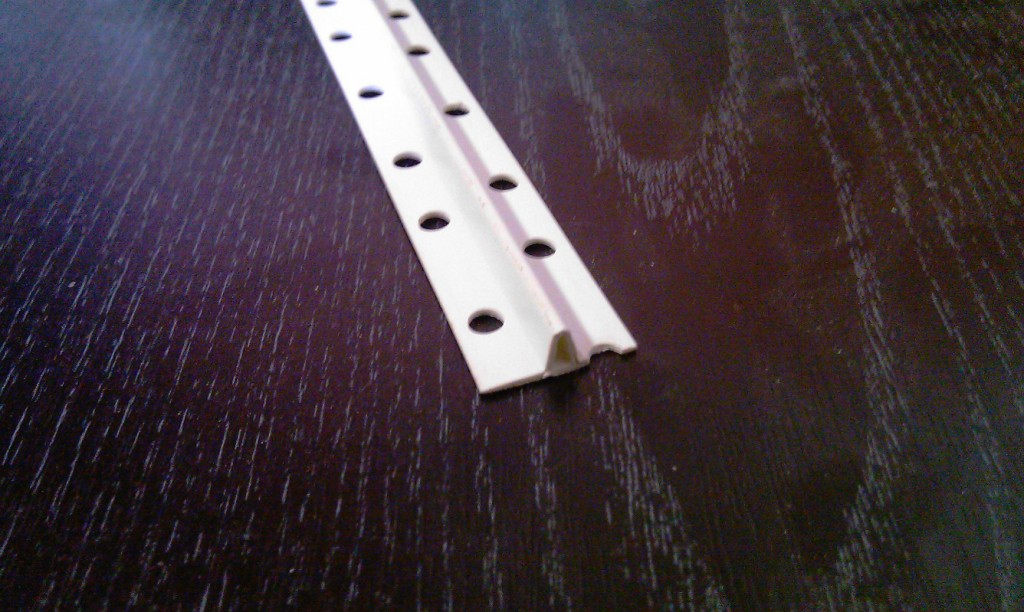
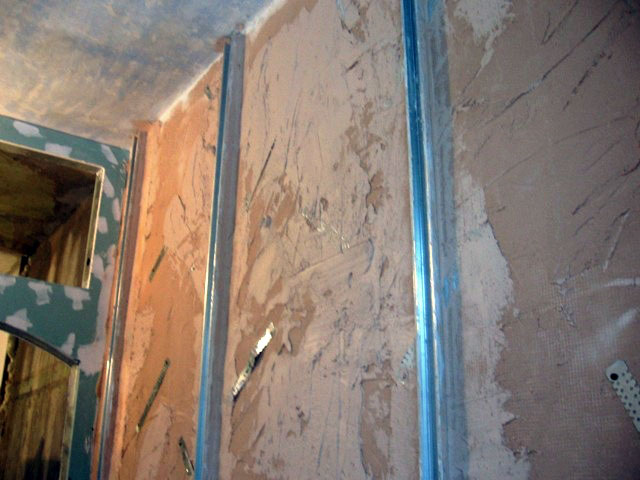
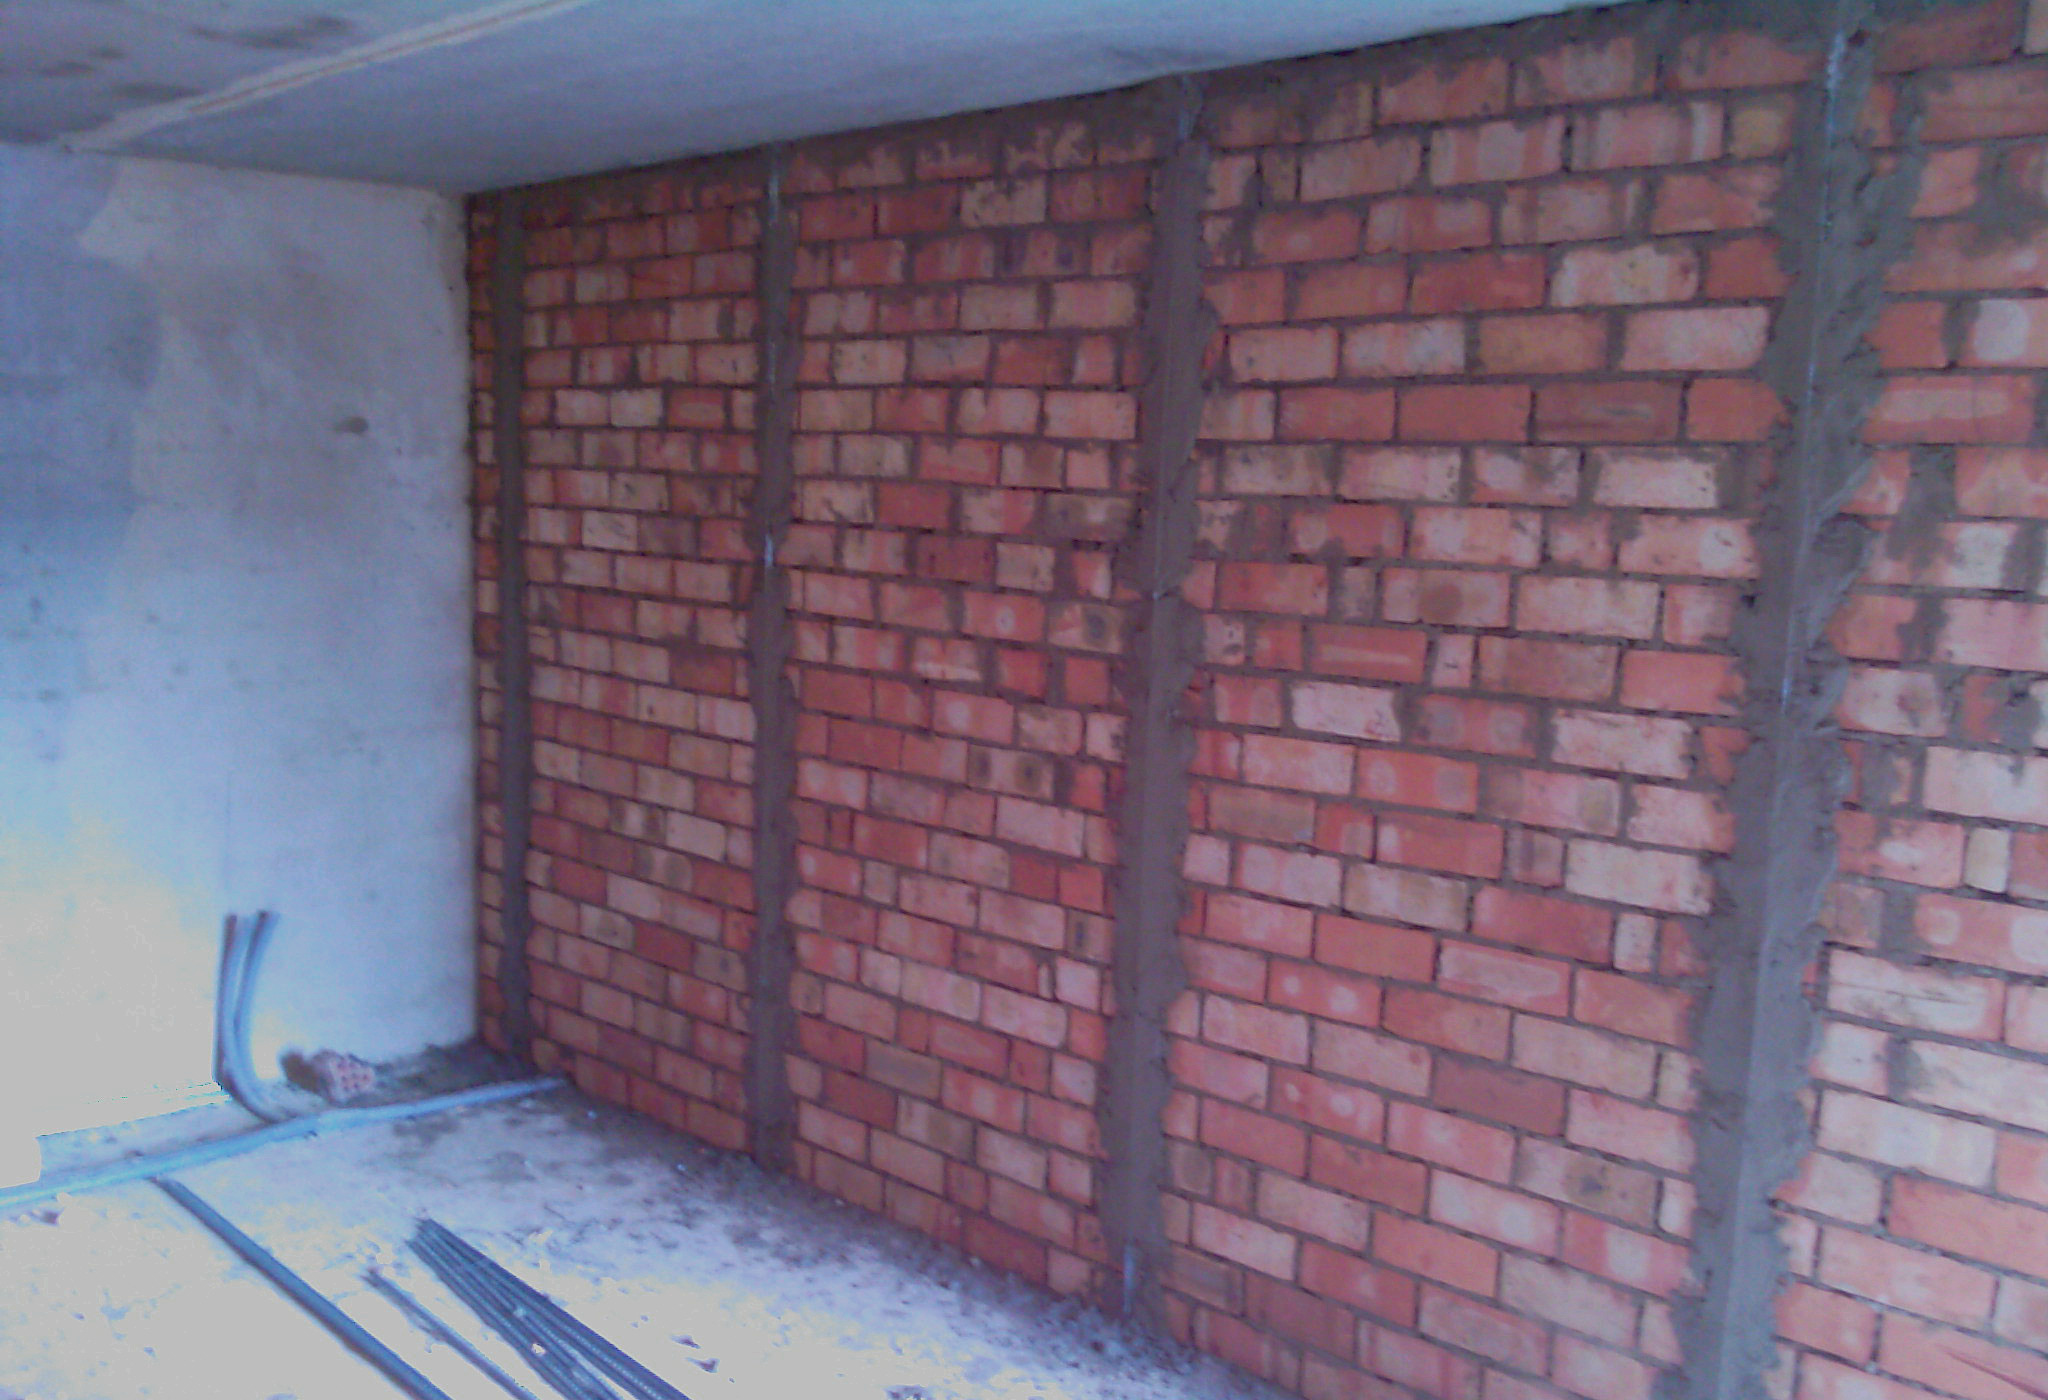
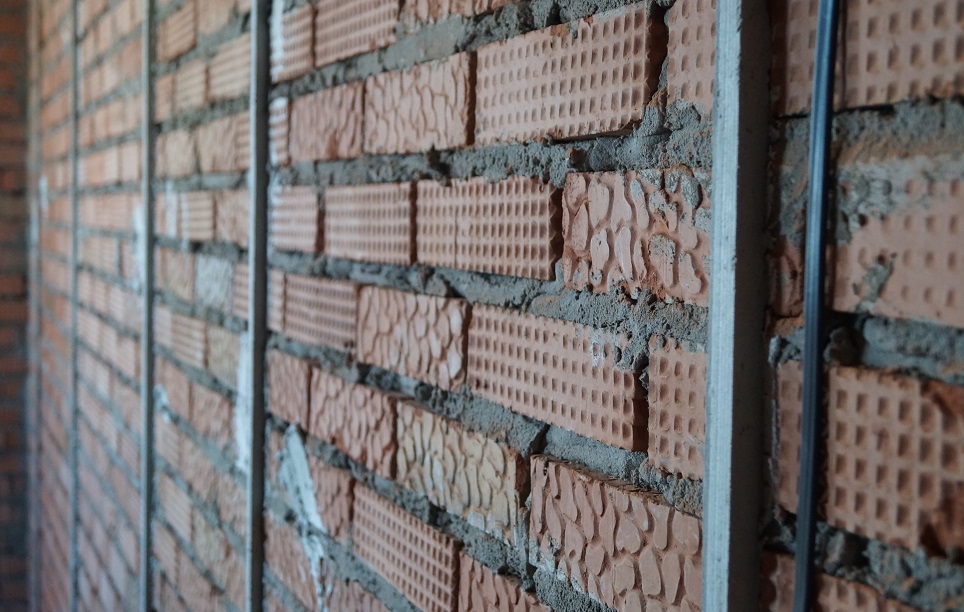
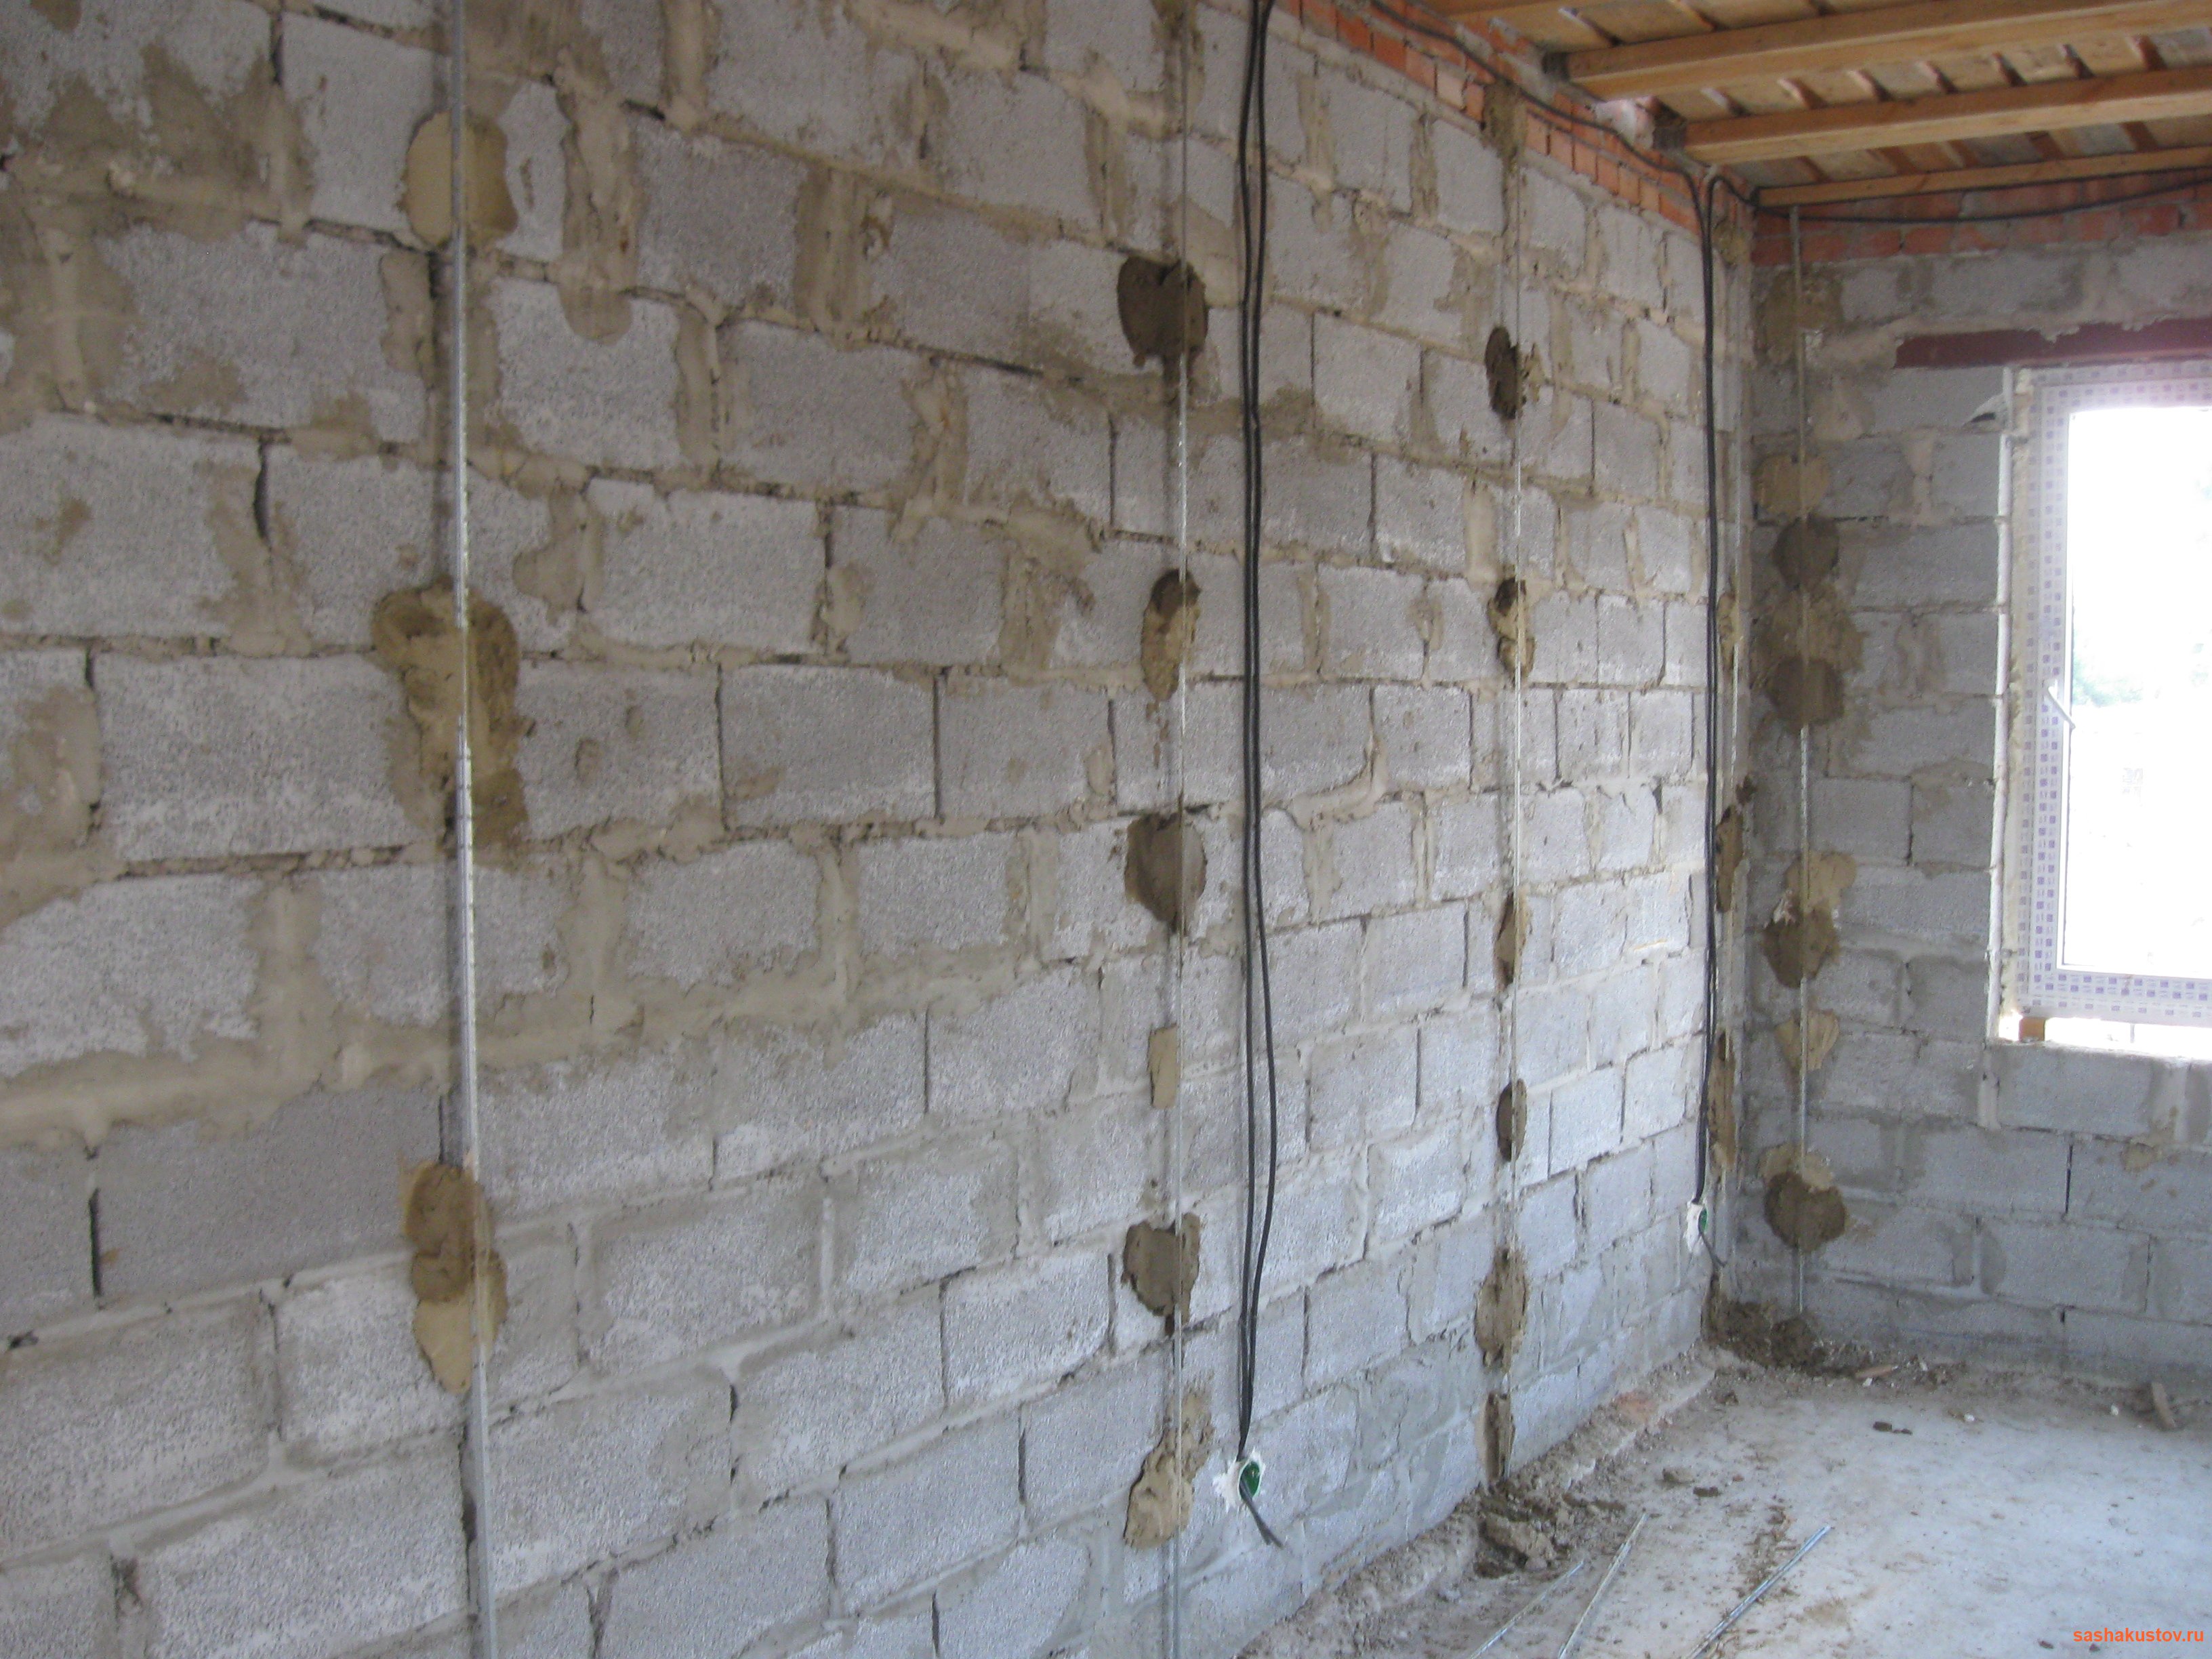
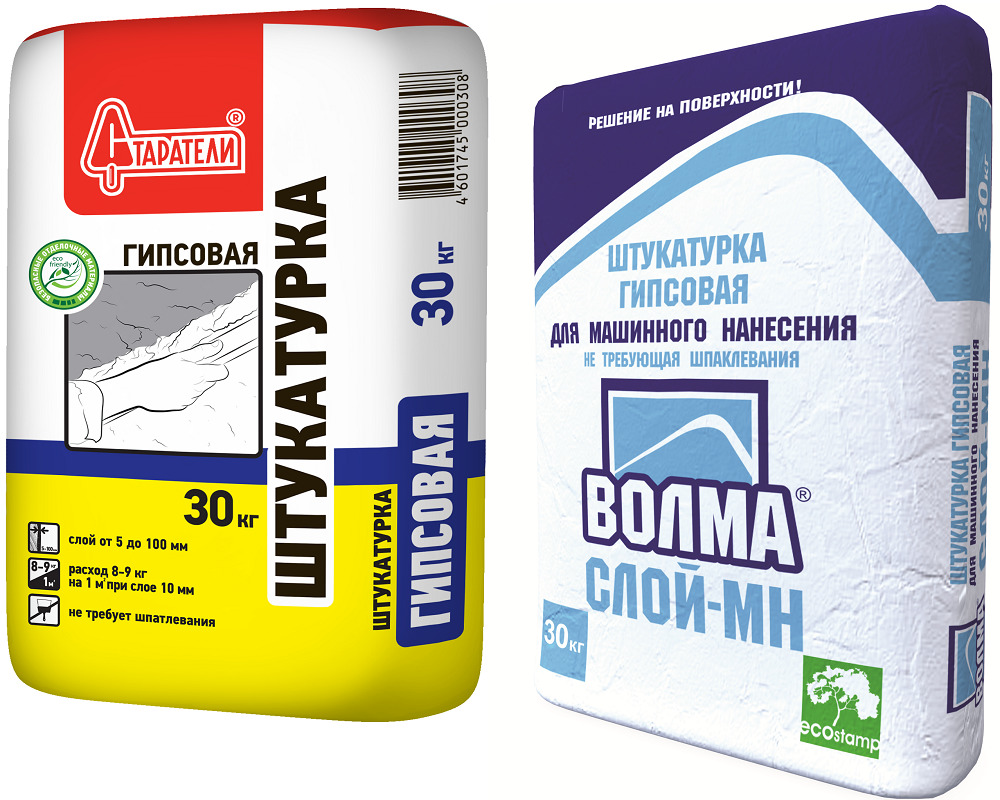
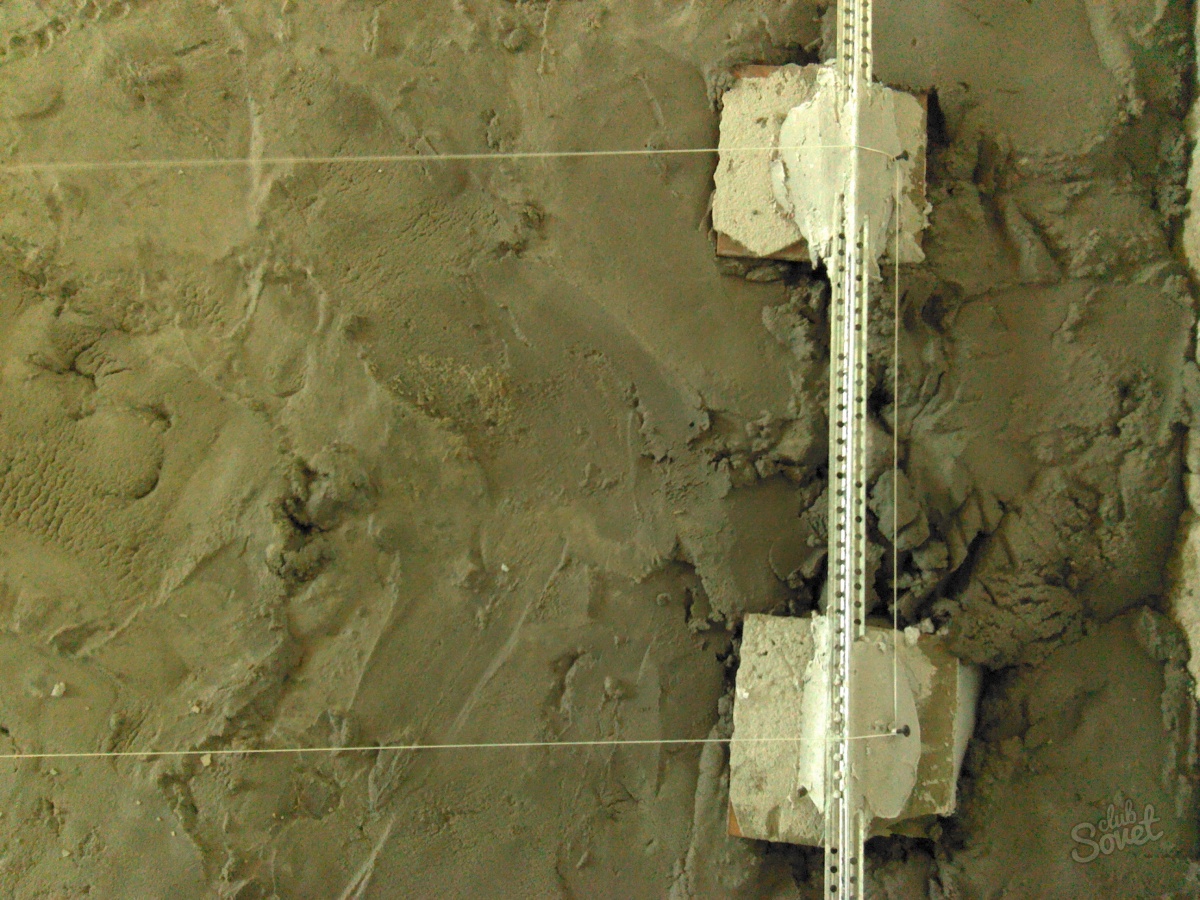
Plaster beacons are special metal profiles that act as restraints when decorating walls. The most common parts with a standard depth of 6 and 10 mm. Suitable options must be selected based on the slope of the walls. With beacons, plastering is much easier and easier. Various mixtures are used to level the walls. In the shops you can meet the plaster with different compositions and components. They can be calcareous, CPS (cement-sand) and even clay. A suitable product should be selected according to the condition of the walls in the dwelling.
Many owners cope with such work on their own, without resorting to specialists. So you can significantly save money. The main thing is to choose high-quality plaster and correctly set the lighthouses.

Kinds
To align the walls with plaster, you can use different types of beacons.
Metallic
These types of beacons are most common. The popularity of such parts is due to the many advantages that they have:
- Metal lighthouses are inexpensive and are found in most stores / malls.
- Using such parts is quite easy and convenient. If you perform all actions in accordance with a simple instruction, the result will exceed all expectations.
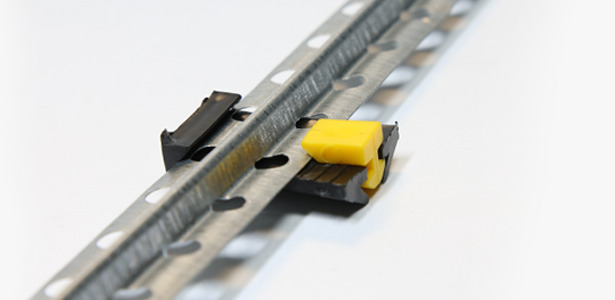
- Metal beacons may have different dimensions. The stores are parts in 3, 6 and 10 mm. Small options in 3 mm are less common. More common are beacons in 6 and 10 mm. The size of beacons, first of all, depends on the thickness of the plaster layer, as well as the degree of curvature of the floors.
- Correction of metal beacons can be made independently using scissors for cutting on metal.
However, such details have their disadvantages:
- A frequent defect of metal beacons is the curvature of their geometry. That is why experts recommend carefully inspect the guides before making a purchase.
- After completion of all repair work on the walls may appear rust. This is due to the fact that the zinc present on the metal surface is destroyed and the oxidative process begins.
- Lighthouses made of metal are flexible, so during repair work they need to provide additional rigidity - to fill the base.
Plastic
Slightly less often plastic guides are used for plaster laying. Such details have their own characteristics:
- As a rule, lighthouses are made from simple plastic.
- The installation process is quite simple - even an inexperienced master is easy to handle.
- Plastic beacons are lightweight, so their installation is not energy-consuming.
- Such elements retain the original geometry. Even after deformation, plastic beacons take on their original form.
- Plastic is unpretentious material that does not undergo oxidation and the formation of corrosion.There are no dark stains and rusty marks on the trimmed walls.
Despite these advantages, plastic lighthouses have their own drawbacks:
- These parts are only suitable for interior decoration - they cannot be used for exterior cladding. This is due to the fact that in conditions of low temperature values, plastic can crack and break.
- Beacons made of plastic can not be called durable and wear-resistant. They do not withstand shocks and heavy loads.
- If you set the plastic guides incorrectly, they can sag when pressed by the rule, and this will lead to deformation of the floors.
Reusable steel
Most professional builders use reusable steel lighthouses. As the name implies, they can be used many times, thereby recouping the money spent on them. Such parts have two main distinguishing characteristics:
- They are distinguished by high strength and rigidity. Such guides do not have to be carefully fastened and constantly monitor the deformation. All you need to do is fix the beacons in certain places. After that they can be put into action.
- These items are reusable and can be reused.
Reusable steel beacons have their weak points:
- They are expensive, so they are chosen less frequently.
- Steel beacons can be broken or irretrievably ruined, if you get out of the fully frozen solution of plaster.
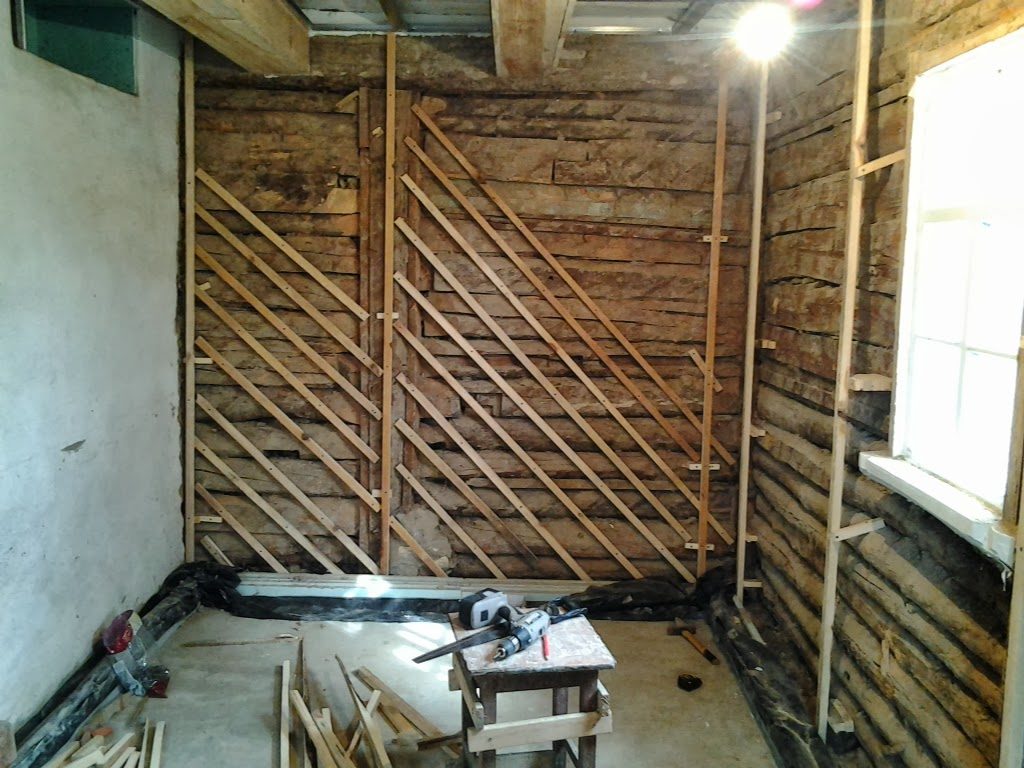
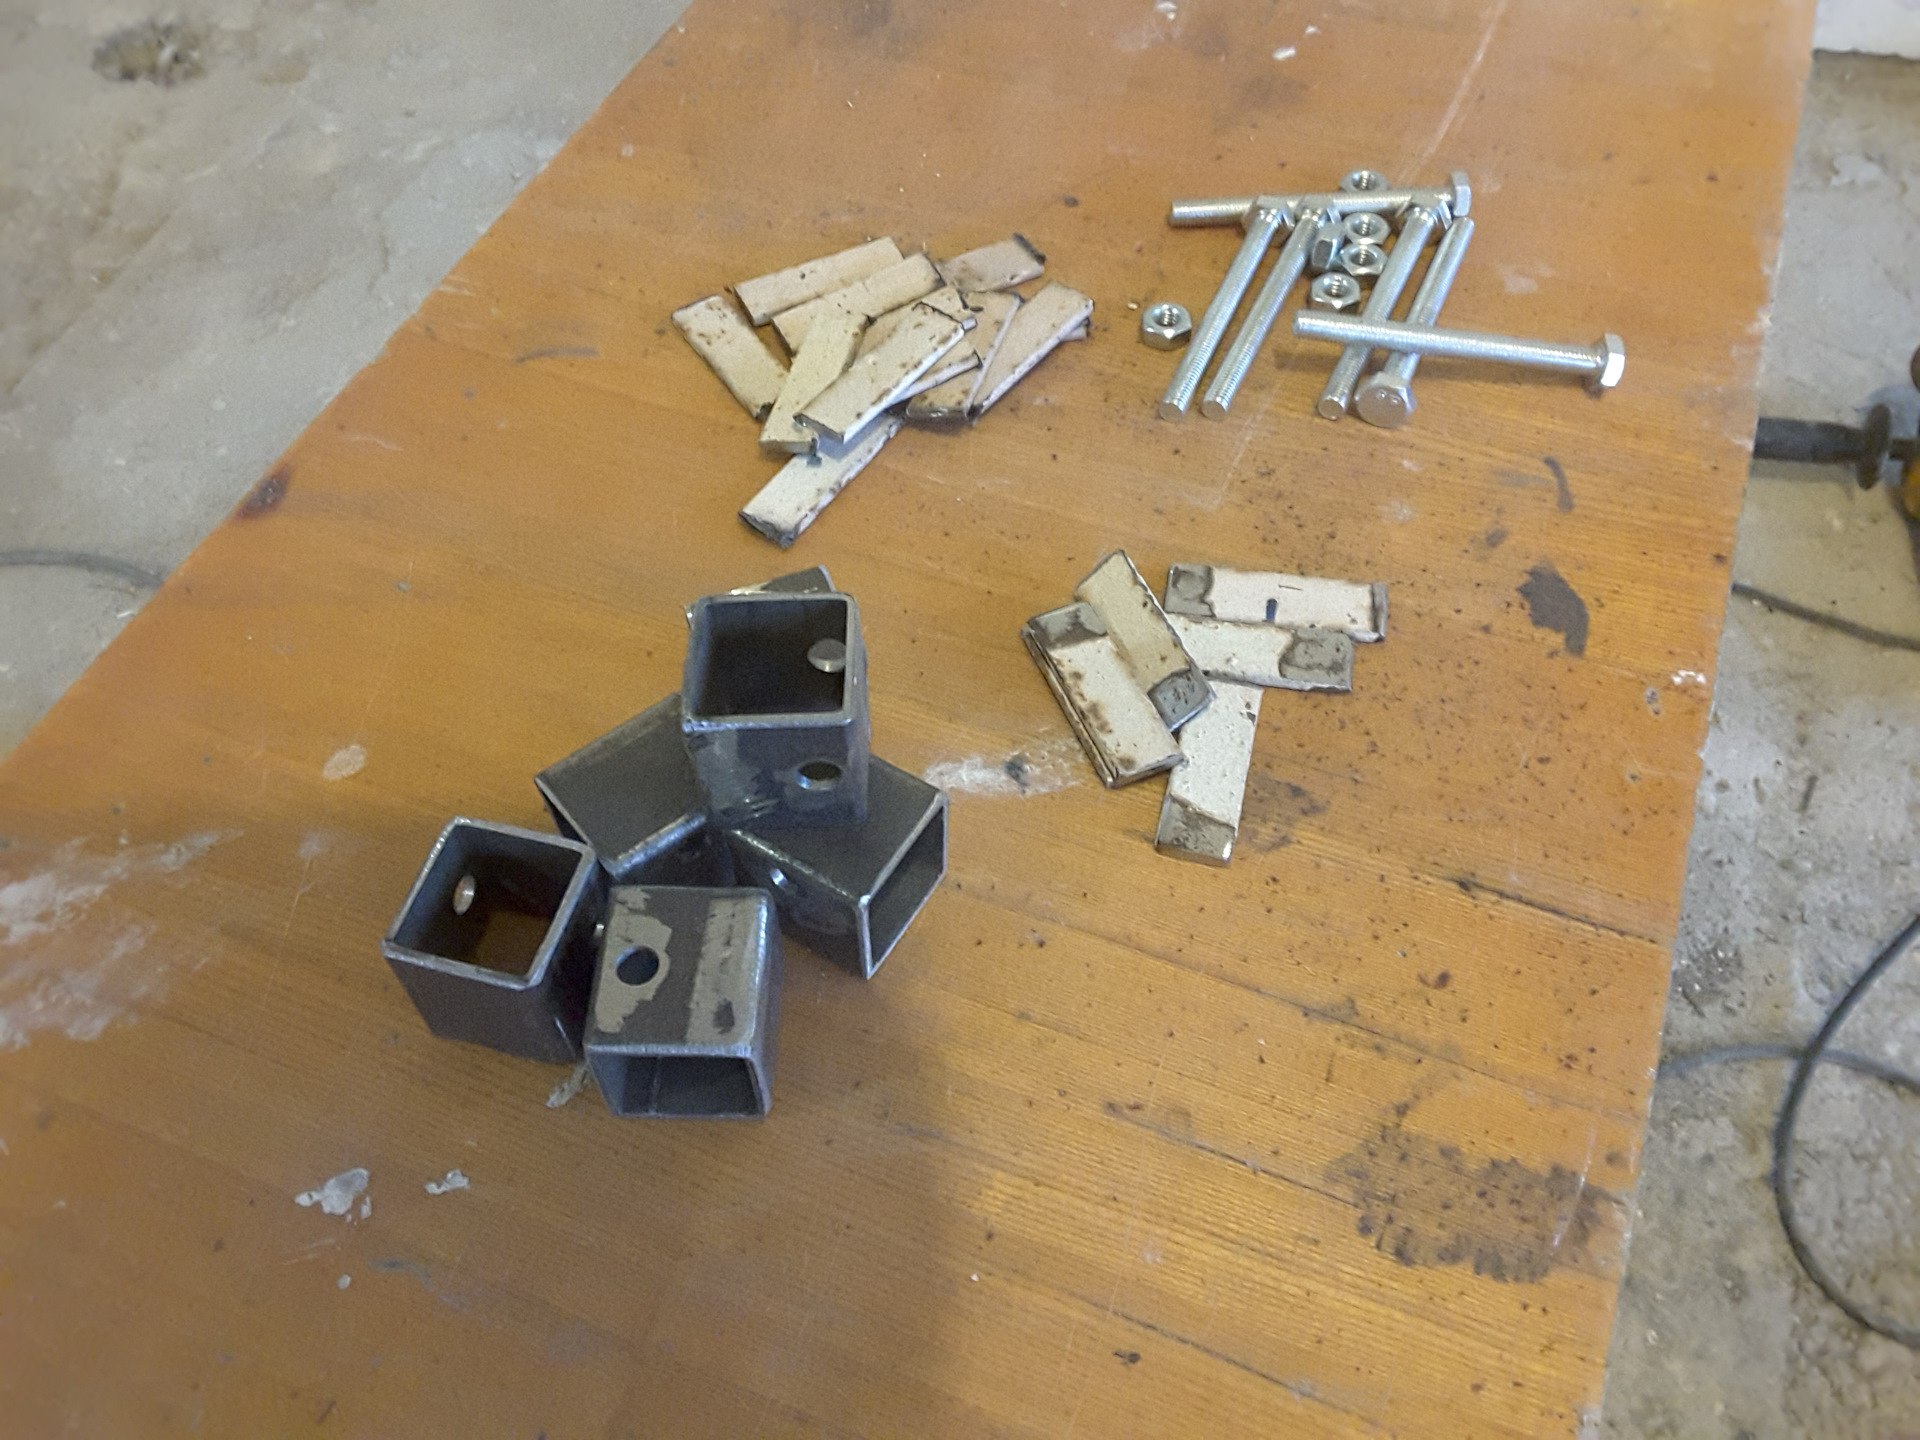
Homemade
Despite the fact that in stores you can buy ready-made beacons, many consumers continue to use home-made parts. They are cheap and easy to make. A metal pipe or corner is often used for such elements.
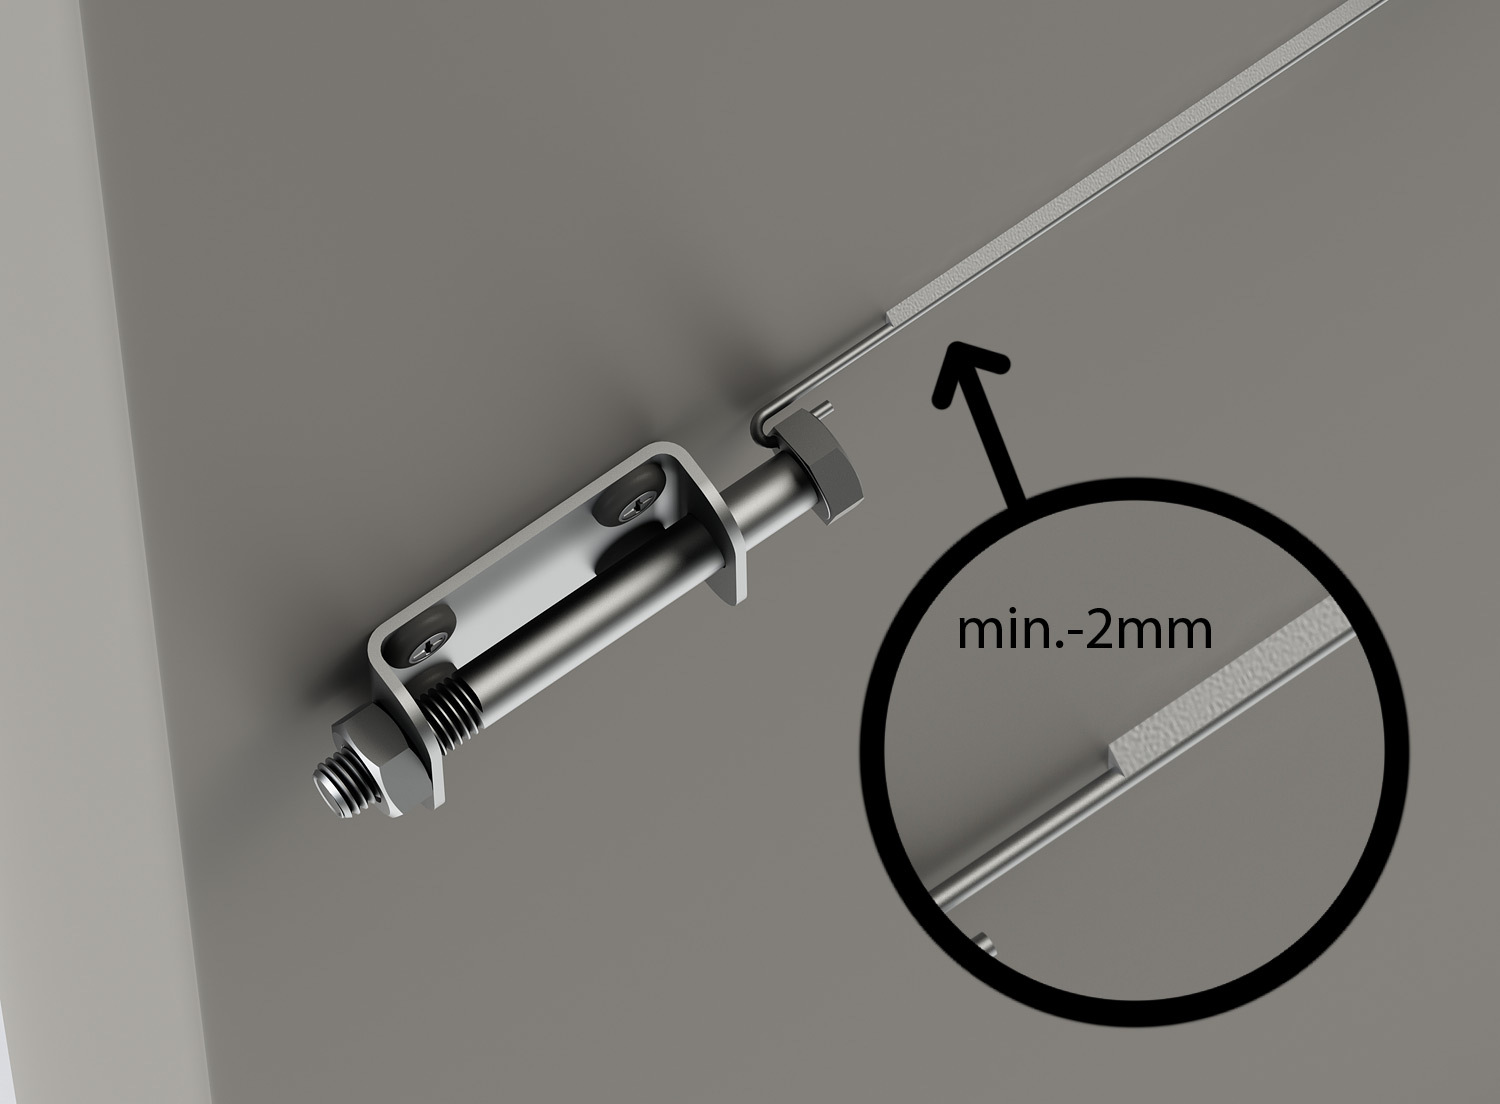
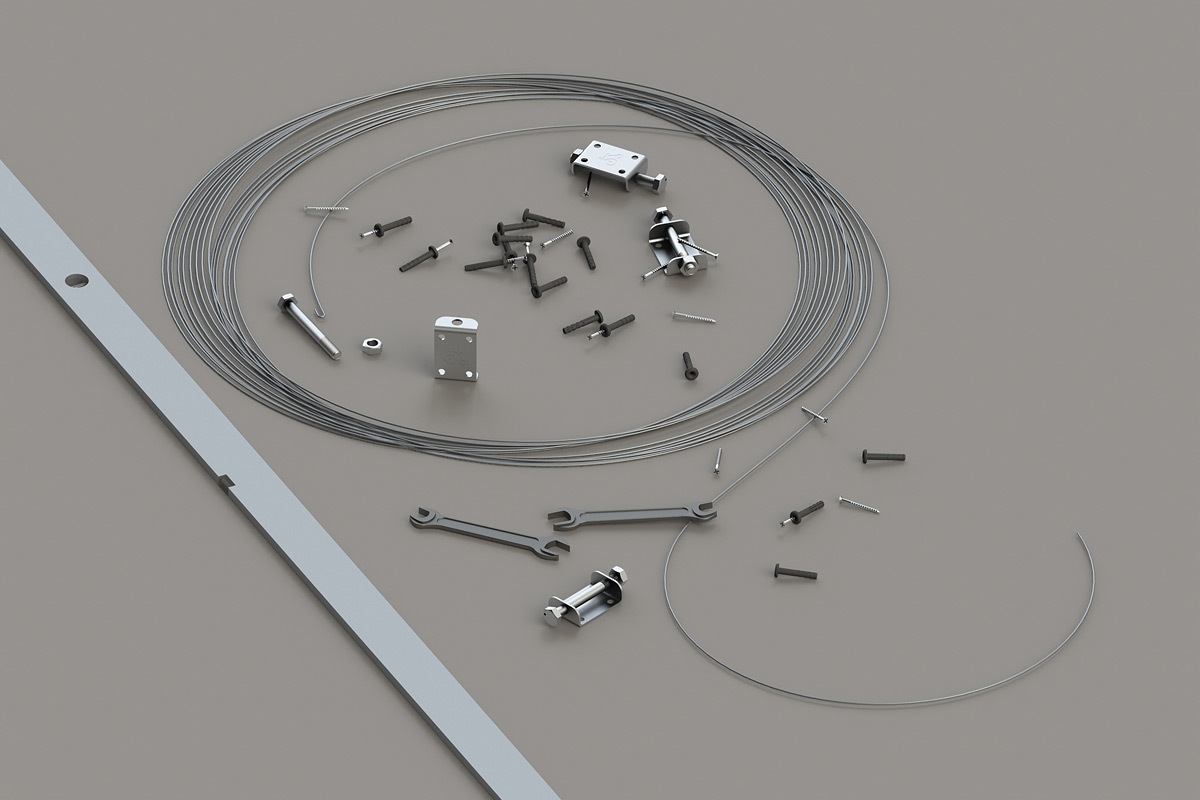
Strings
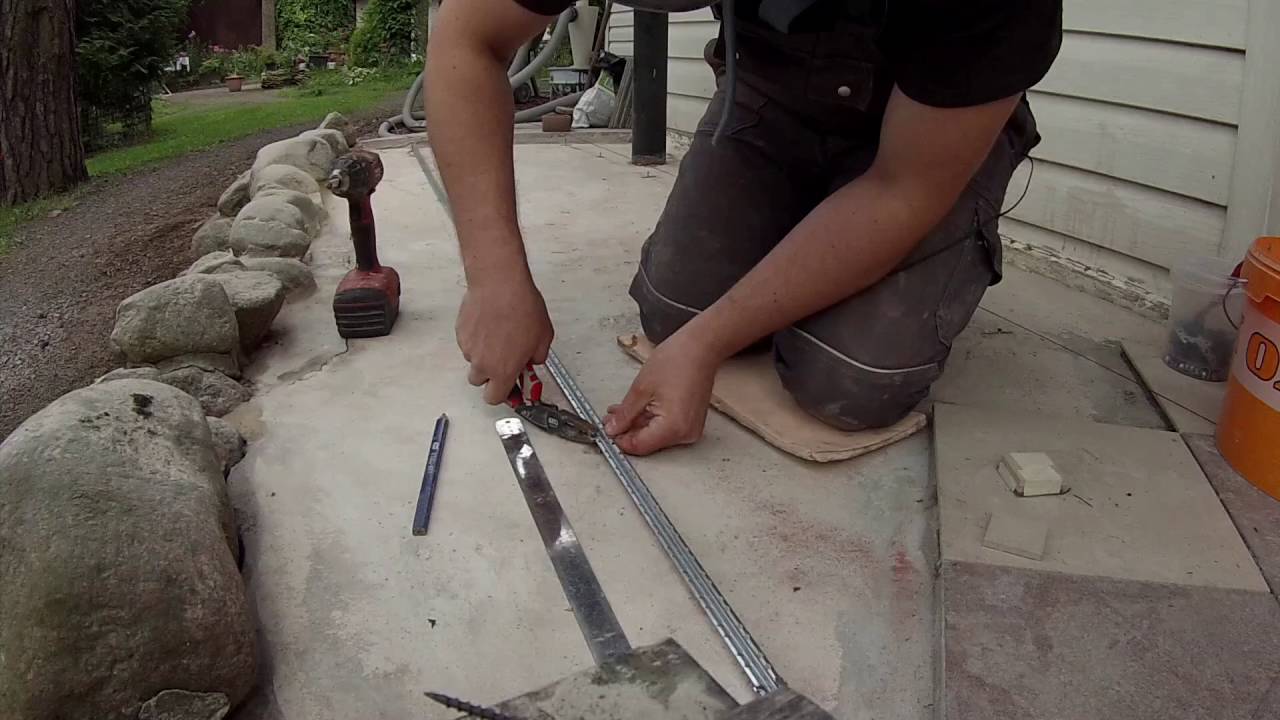
The budget are string beacons. They are made as follows:
- first prepared screws, wire and perforator;
- then using a perforator, drill holes into which the dowels will be inserted;
- further, screws will be screwed into them and the wire will be tightened at a uniform level;
- plaster solution will need to be laid under the wire;
- after the plaster layer is completely dry, the upper layer is cut off and a peculiar landmark is formed, on the basis of which the walls should be leveled.
The disadvantages of string beacons include:
- the probability of inaccurate location of the screws, because of which the surface can turn out curves;
- the possibility of improper removal of the top layer of plaster, which can also lead to curvature of the bases.
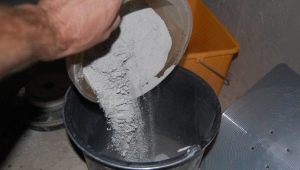
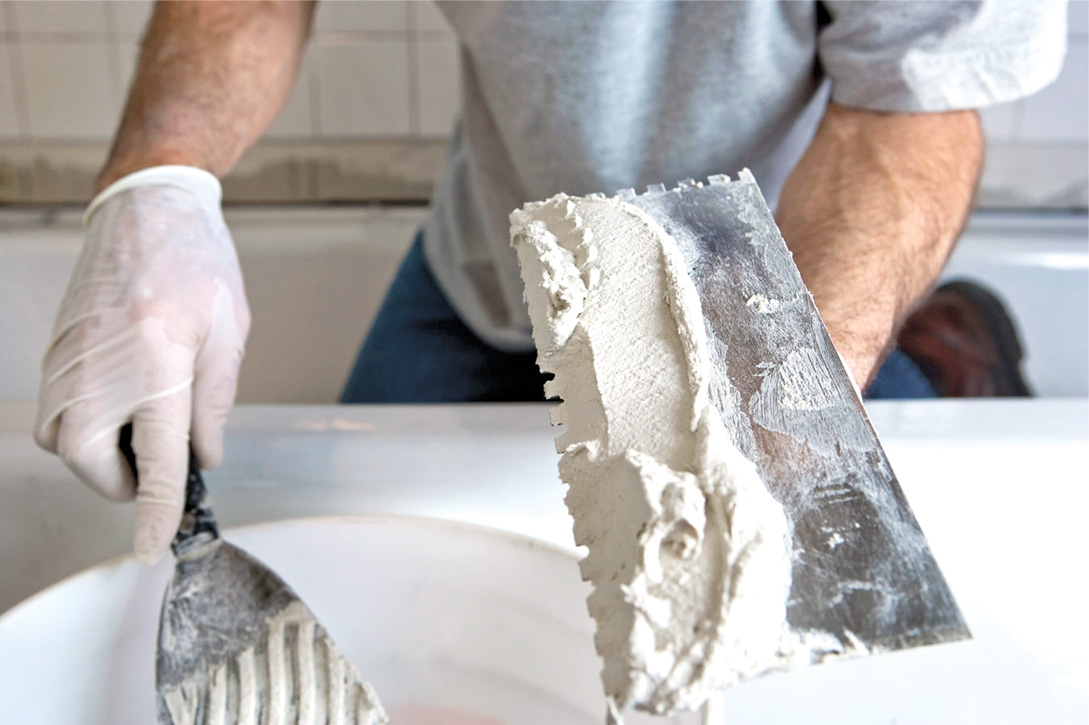
Mix Options
The walls can be plastered with various building mixtures.
- Popular is mortar. It can be applied to walls in dry and heated buildings. The main advantage of this composition is a long service life and affordable cost of all components (lime, sand).
- Clay plaster it is used not only for wall decoration, but also for the design of fireplaces and stoves. In addition to clay, this mixture also includes fine quartz sand and lime. Before directly applying the clay plaster must be wiped through a sieve with cells 5x5 mm.
- Of building sand and cement is cement mortar. To improve the quality, add different impurities.
- Not less popular is considered gypsum mixture. It differs in high plasticity and environmental friendliness. In addition, the "breathing" plaster mix is not afraid of temperature changes and moisture.
- In addition, plaster can be “Dry” and “wet”. Wet plaster mixes are based on cement and plaster. “Dry” are leveling materials that are cladding for wall and ceiling ceilings. This may be, for example, sheets of drywall.

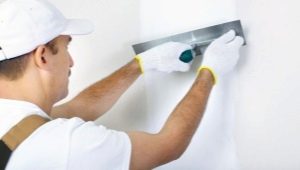
Subtleties of use
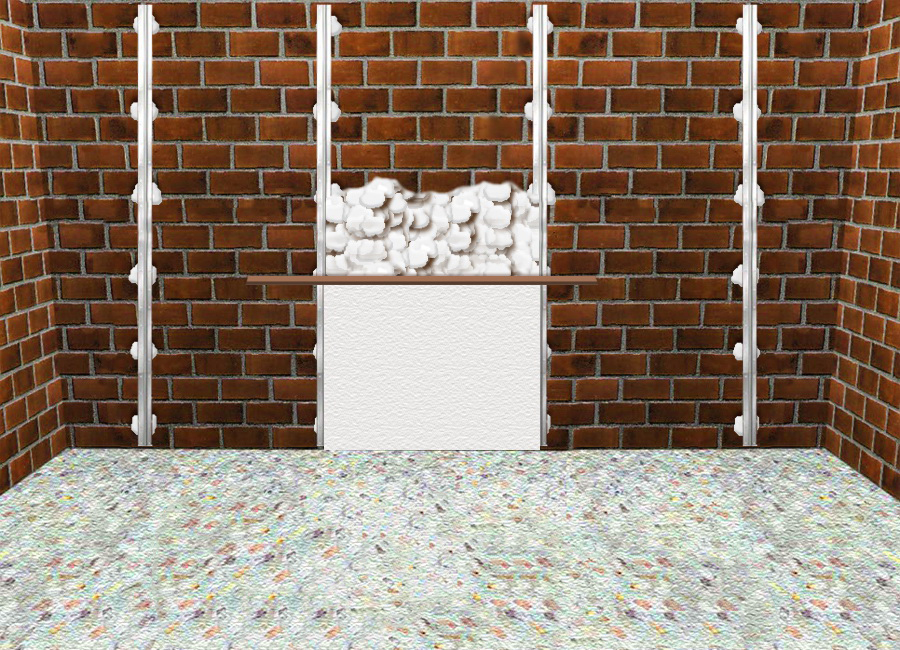
Lighthouses for plaster must be properly set. Then as a result of finishing work you can achieve perfectly smooth and neat walls. Consider some of the subtleties of using these details:
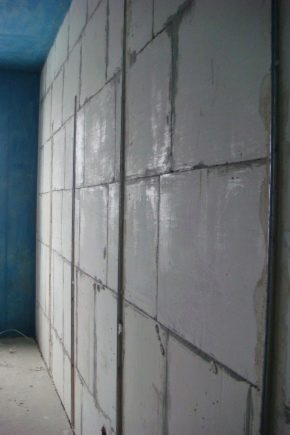
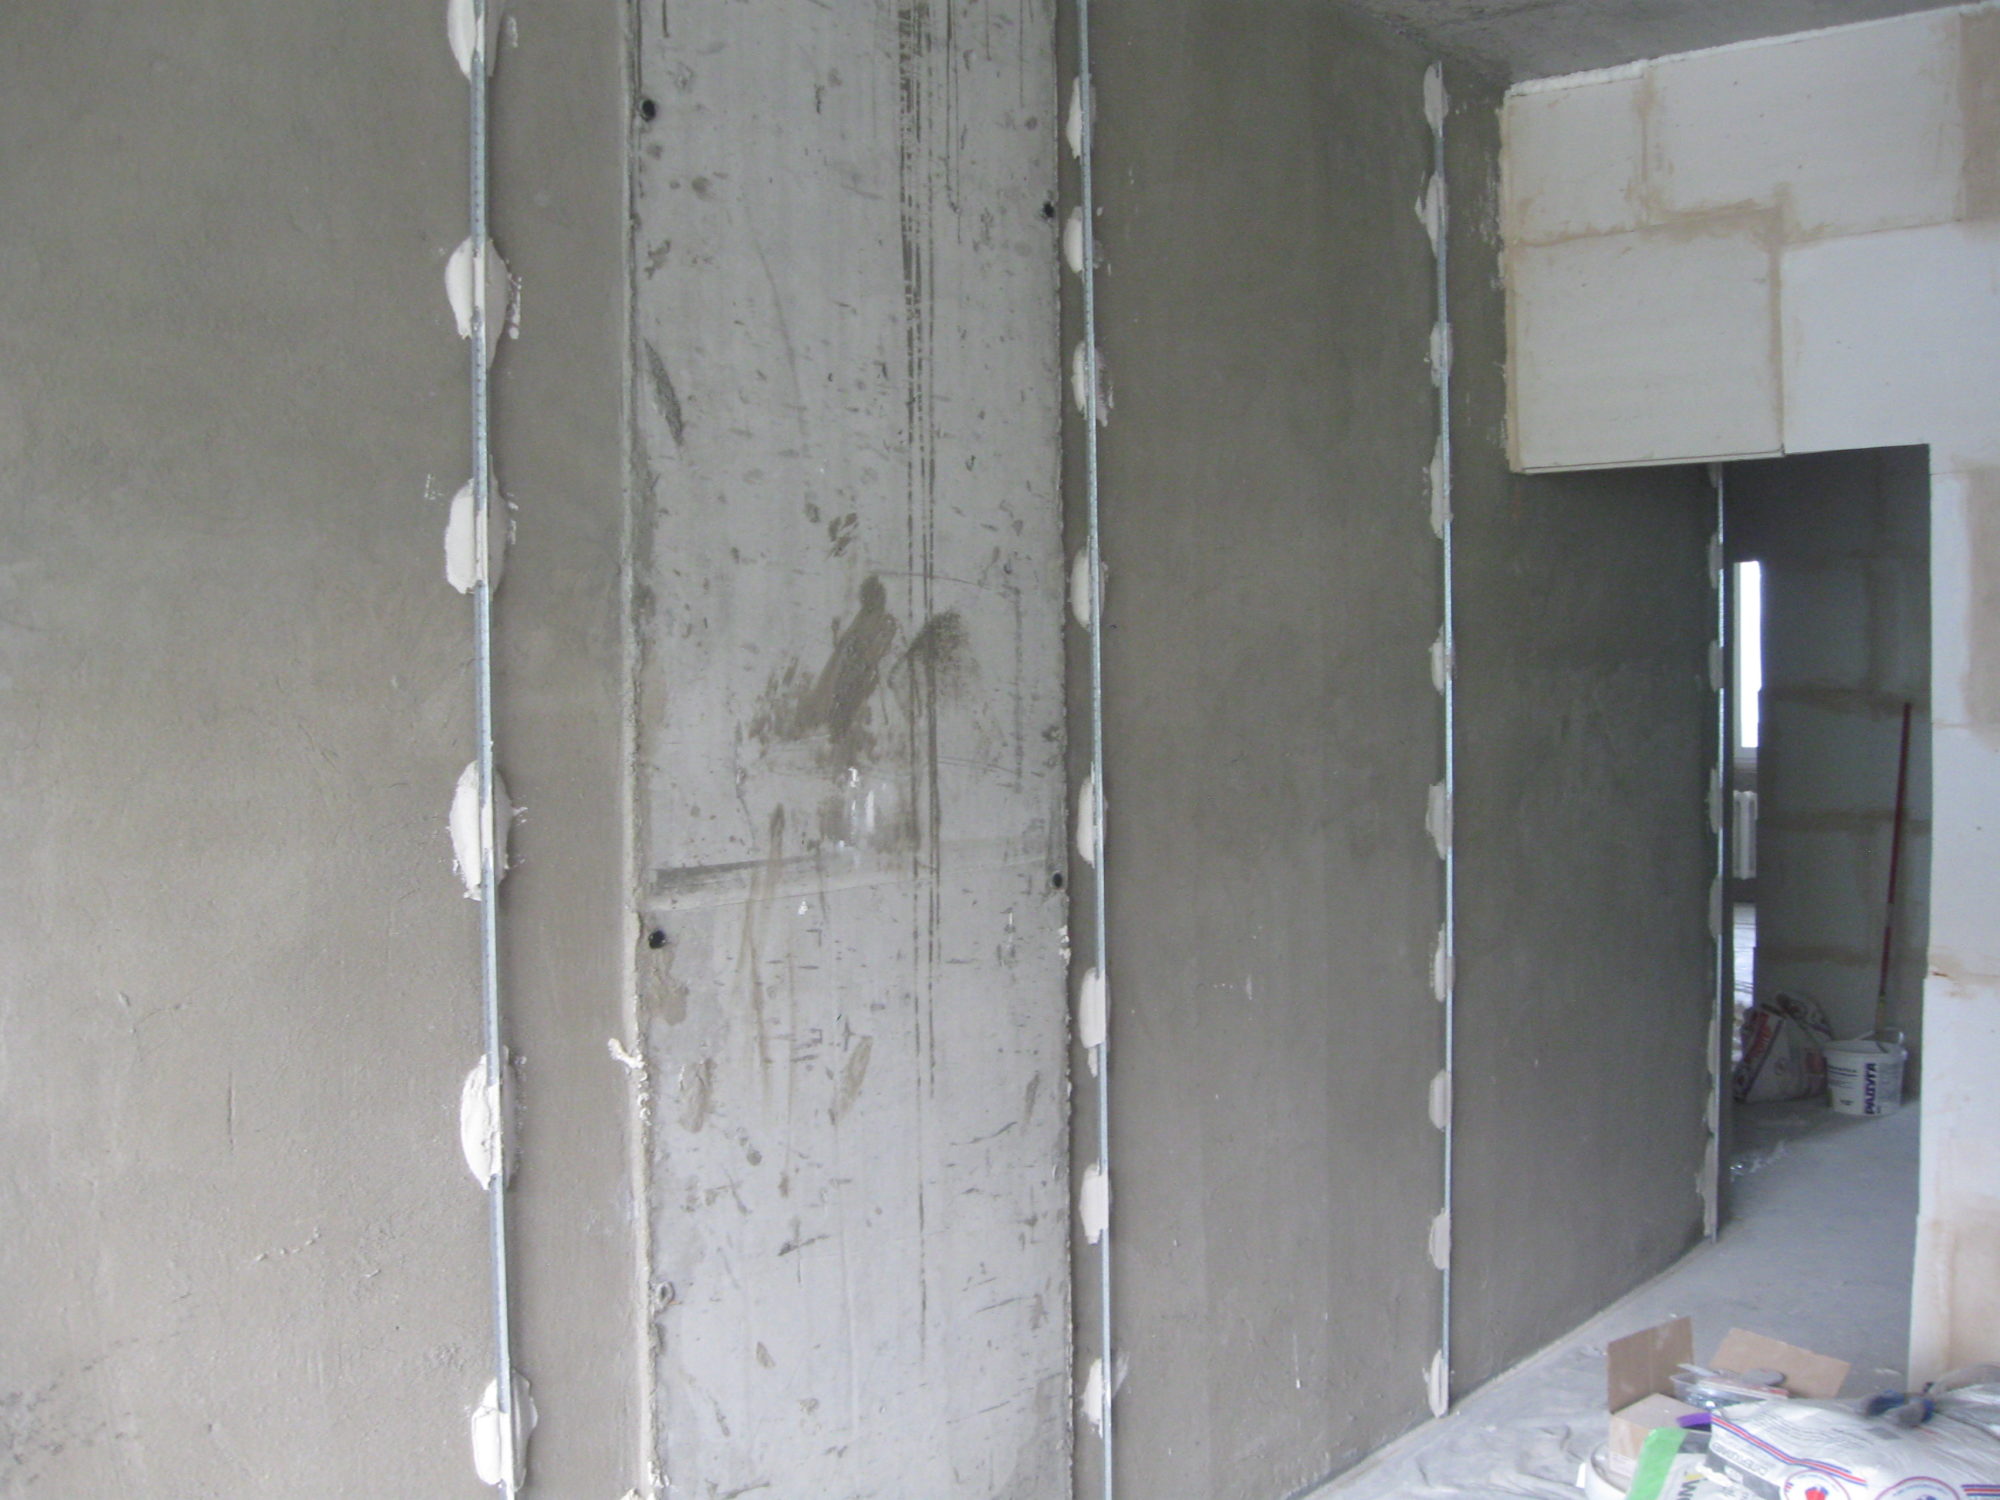
- Currently available T-shaped and L-shaped guides. The latter should be placed on the outside corners.
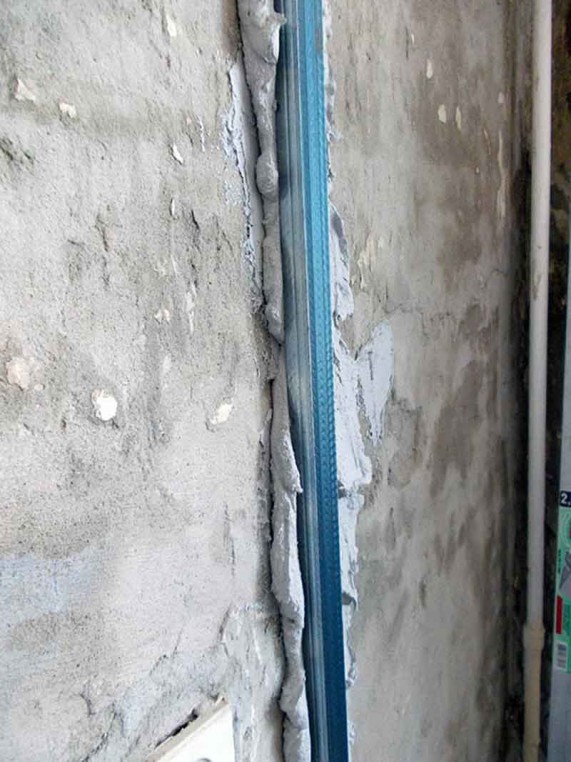
- Mount beacons should be perfectly vertical. In this way, the curvature of the floors can be avoided.
- To fix the beacons correctly, use flat-head screws. In addition, they must have different lengths - 40-80 cm.
- To increase the rigidity of the walls with a beacon, you should add a couple of “lapses” of gypsum to the fully hardened finish.
- At the end of all the work you should not leave beacons in the finished ceiling. It is advisable to dismantle them, especially if the guides are made of metal.
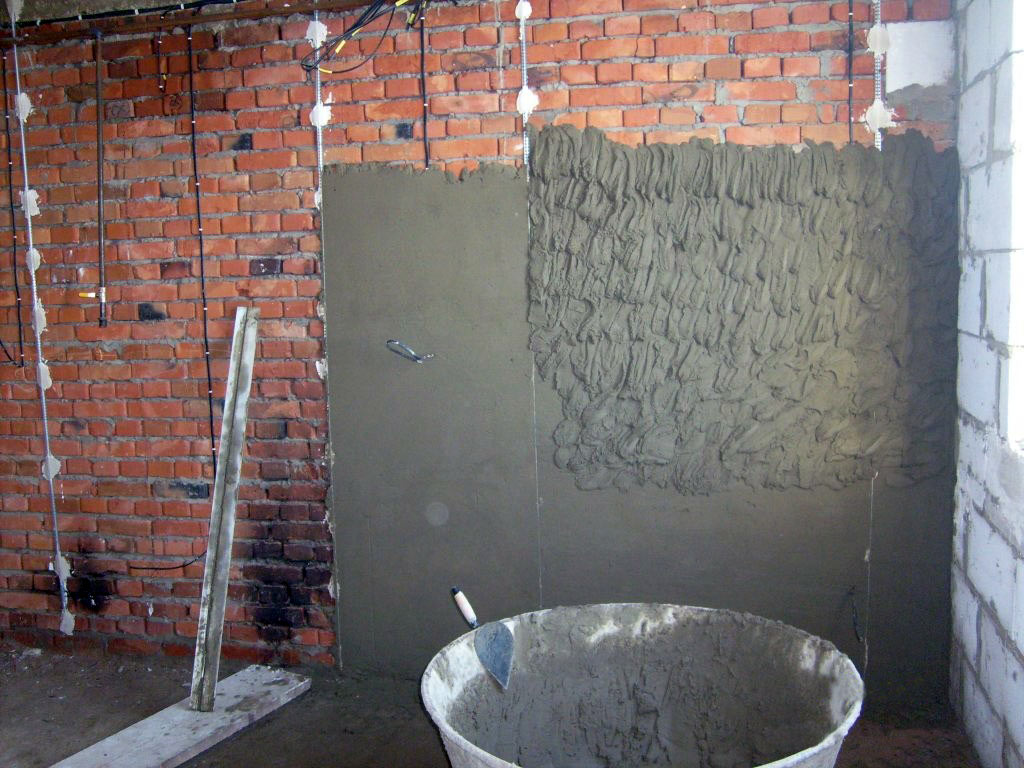
Preparatory work
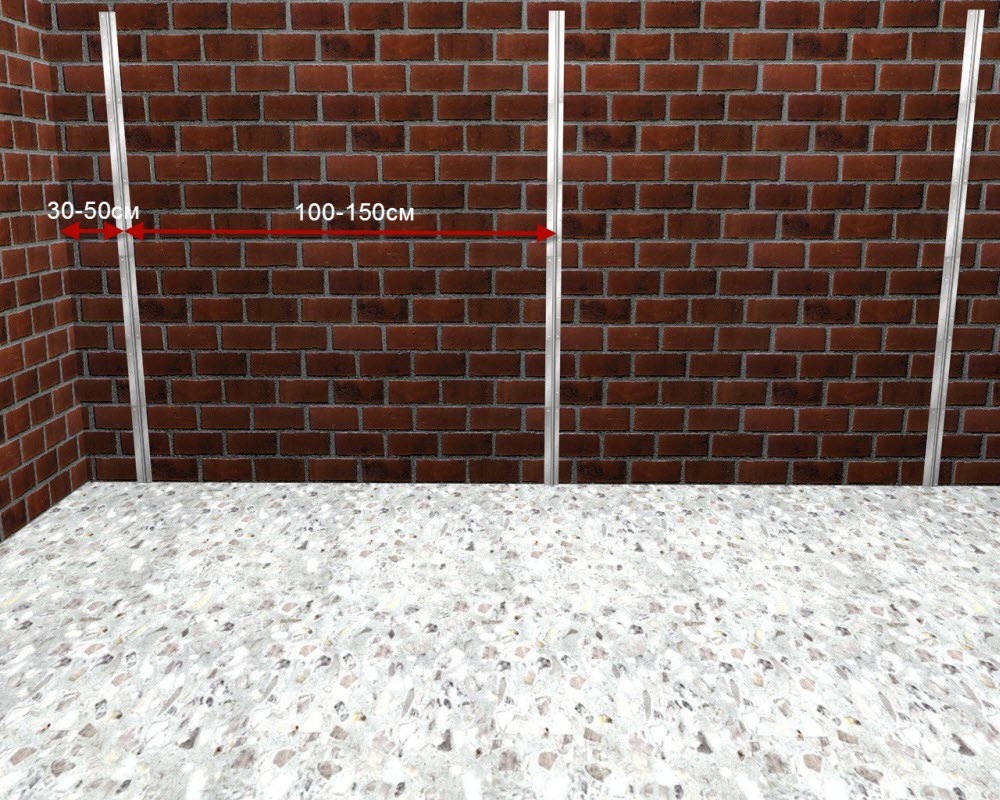
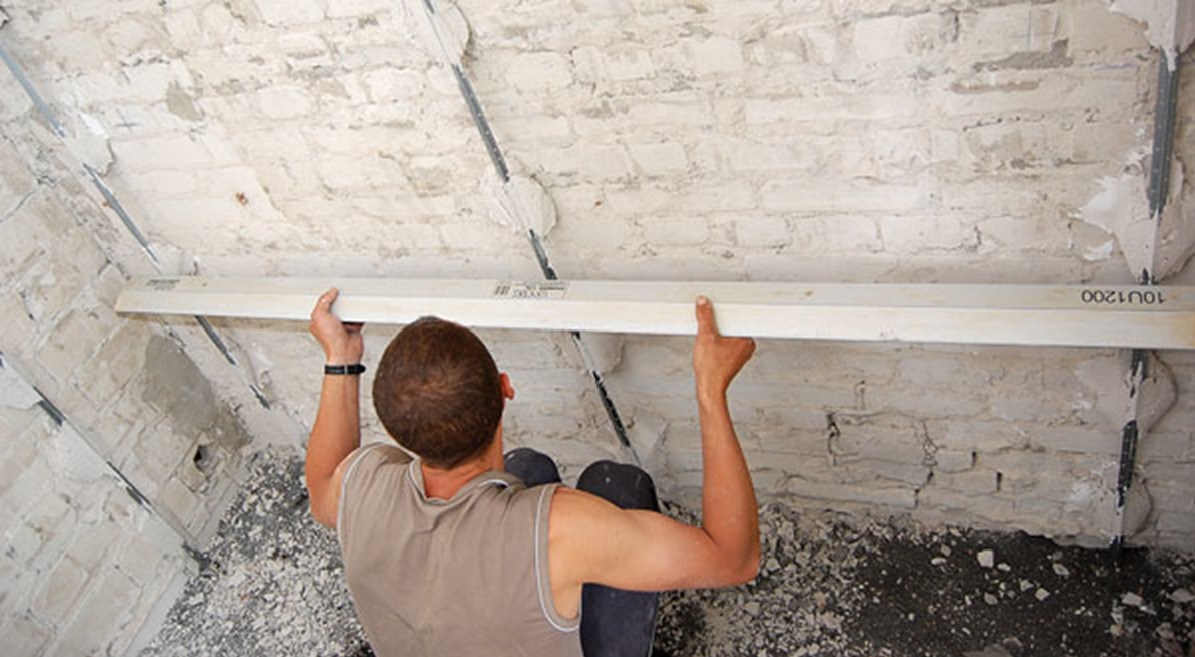
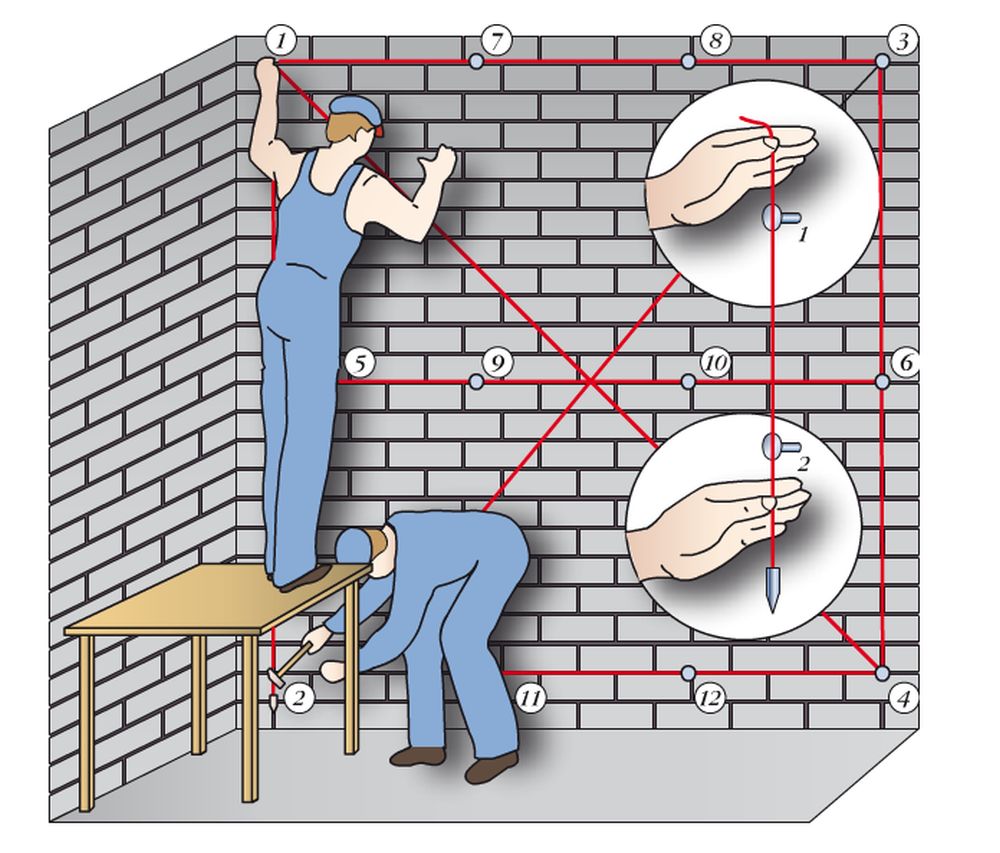
Before installing beacons and plaster wall installation, it is necessary to prepare well. To do this, it is necessary to determine the degree of base irregularities with the help of a building level. You should also draw the markup for mounting beacon guides with a special pencil or marker. Extreme elements will need to be put on 2 sides of the overlap, maintaining a gap from the corners or slopes of 30 cm.
Next, draw a vertical strip on the base. If you have a rule with a length of 2 m, then the gap between the beacons should be about 160 cm. Then you can proceed to the horizontal marking. Make a distance from the floor of 15-18 cm, draw a line that will be perpendicular to the vertical marks.
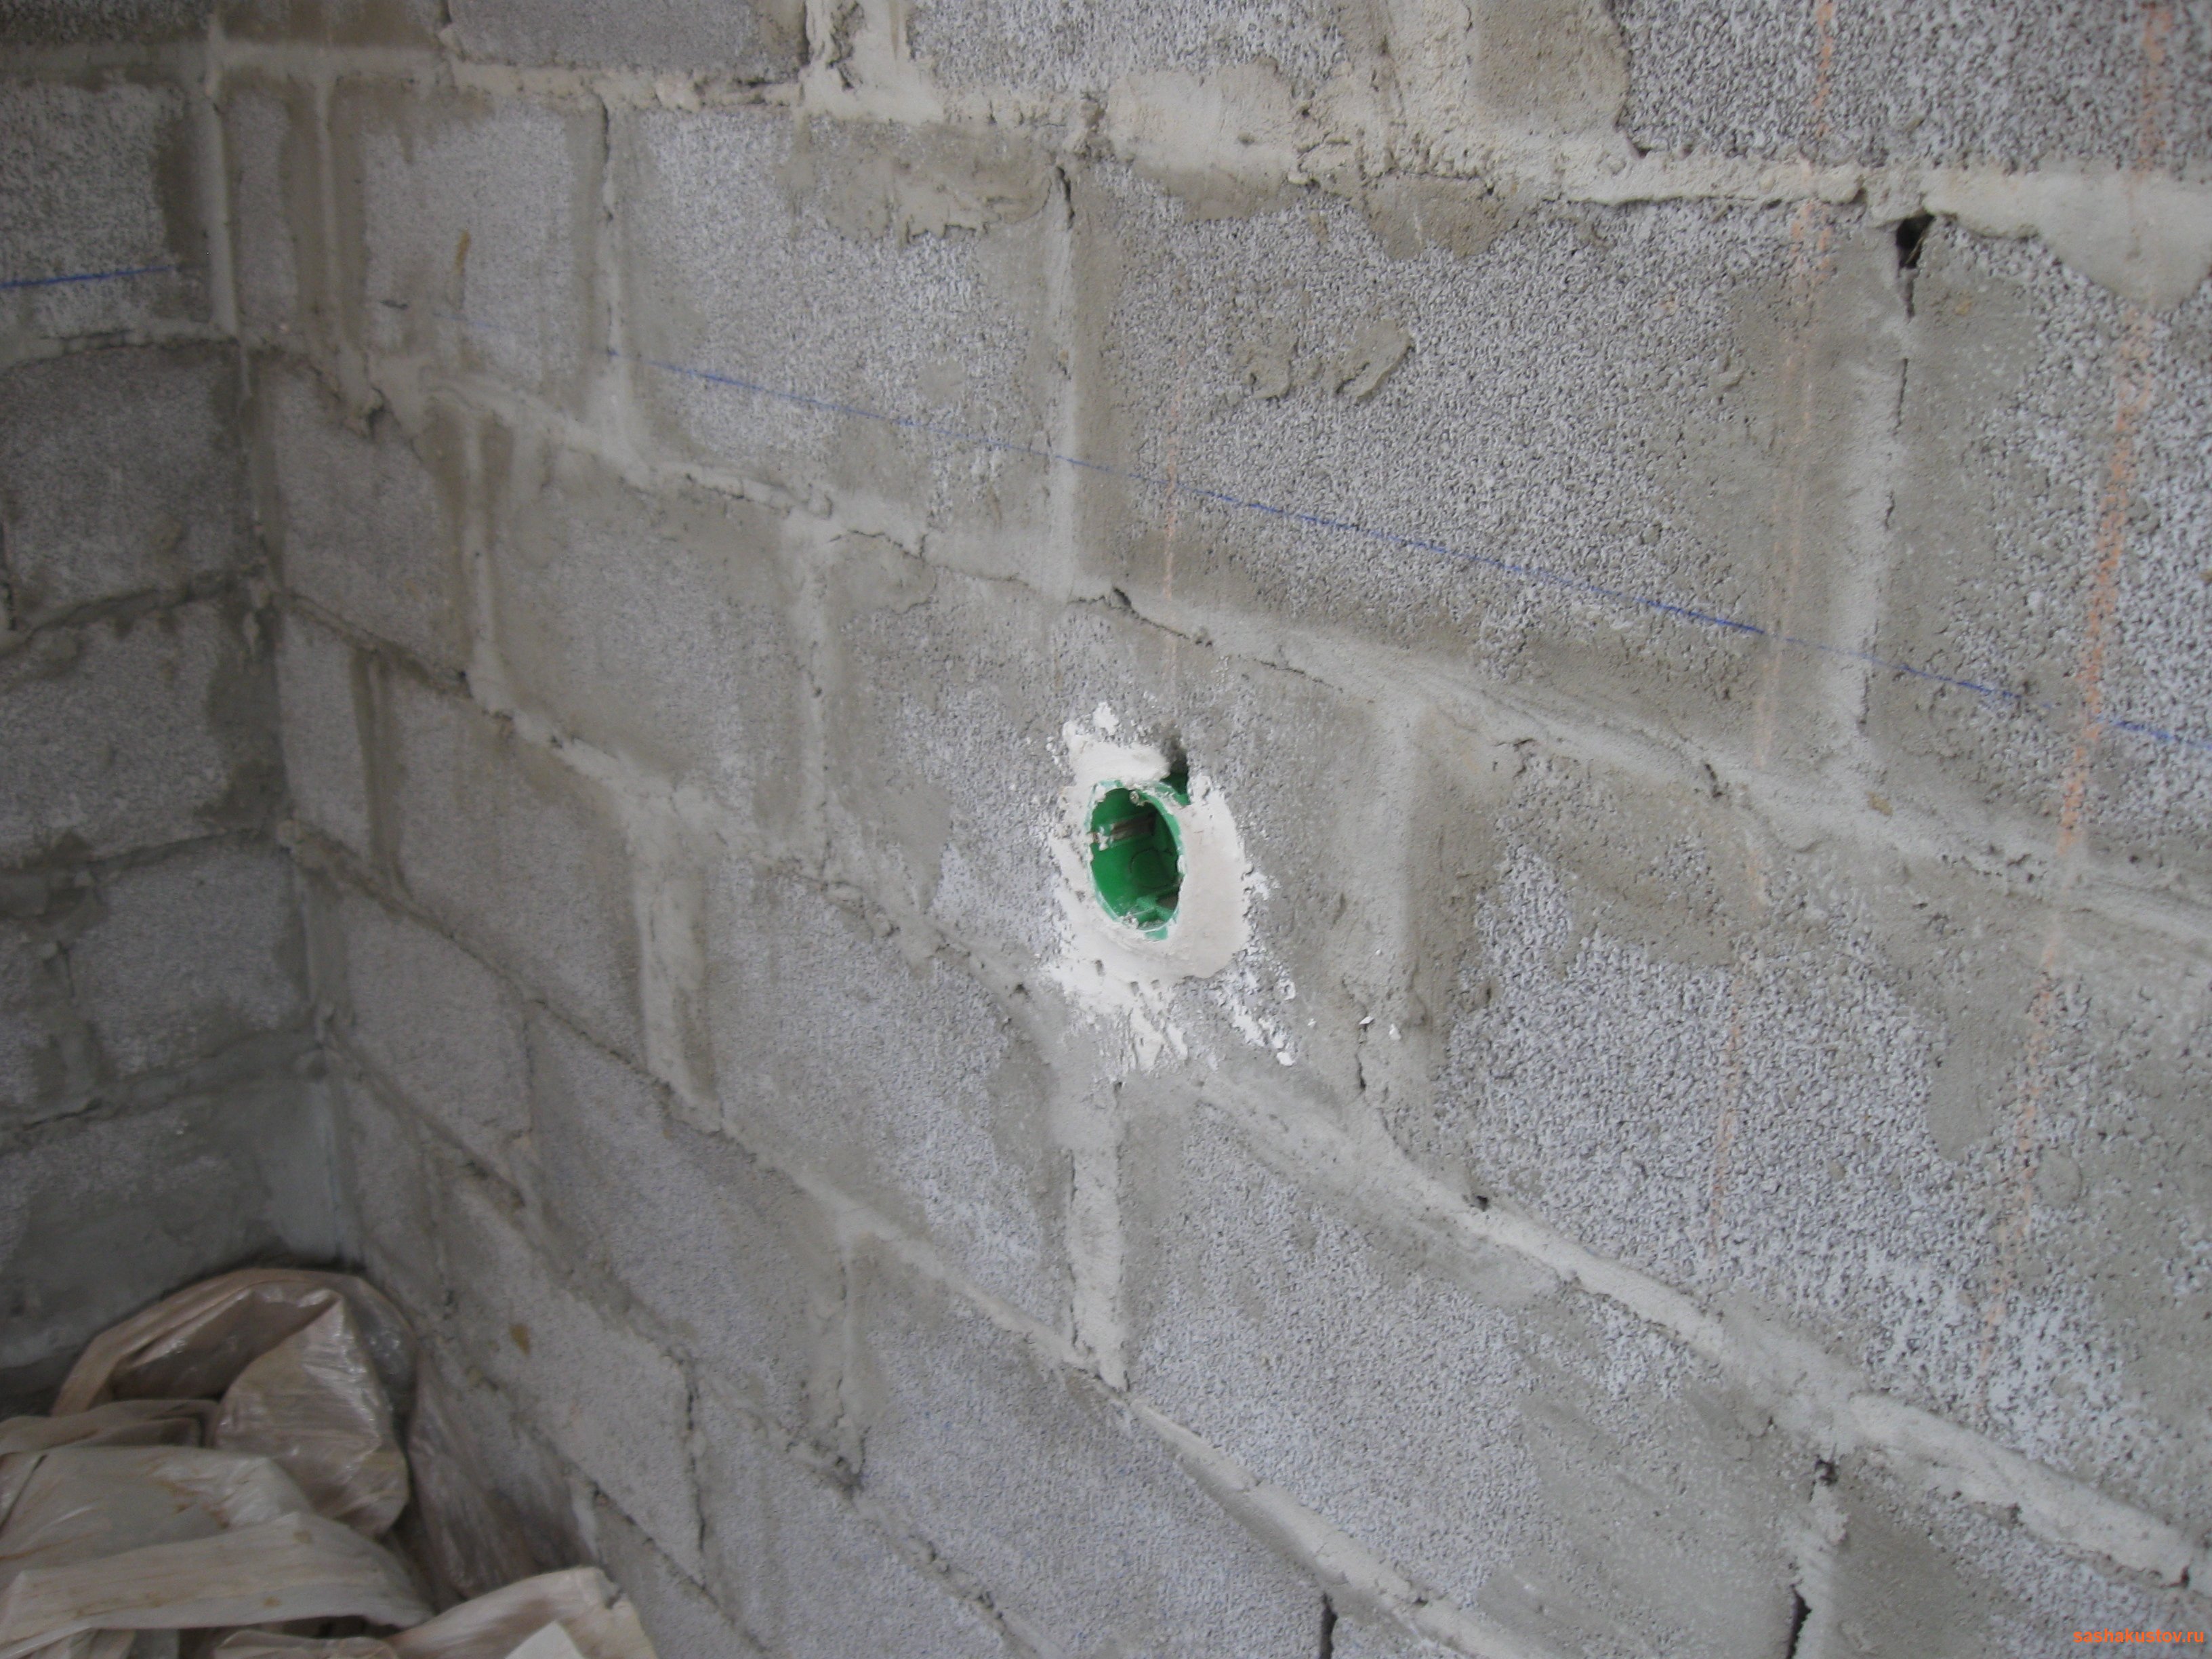
Now at the intersection points you need to make holes, install dowels, insert self-tapping screws. Through the fixed dowels need to stretch the construction cord. 245 cm should be measured from the marking, if the ceiling height in the room is 2 m 75 cm. Now, make holes and insert dowels. After the markup for the installation of the beacons is ready, you need to prepare the base for the application of plaster.Remove the old finish. Remove dust and dirt from the base, degrease it and put a primer on the wall and wait until the primer is completely dry.

Next, in the upper and lower holes, install the screws and correct their bulging - all the caps should be located in the same line. Be sure to check the evenness of the structure with a plumb line. You also need to make sure that the beacons are not issued after installation. To do this, it is necessary to stretch the rope diagonally, stretching it through the caps of fasteners. Try on the lighthouse profile. It should fit seamlessly. Stretch another cord diagonally.

Work with guides should be more careful. Do not bend them too much - this can lead to serious damage and the future curvature of the walls.
How to set your own hands?
To install beacons, use the following tools and fixtures:
- the lighthouses themselves;
- perforator;
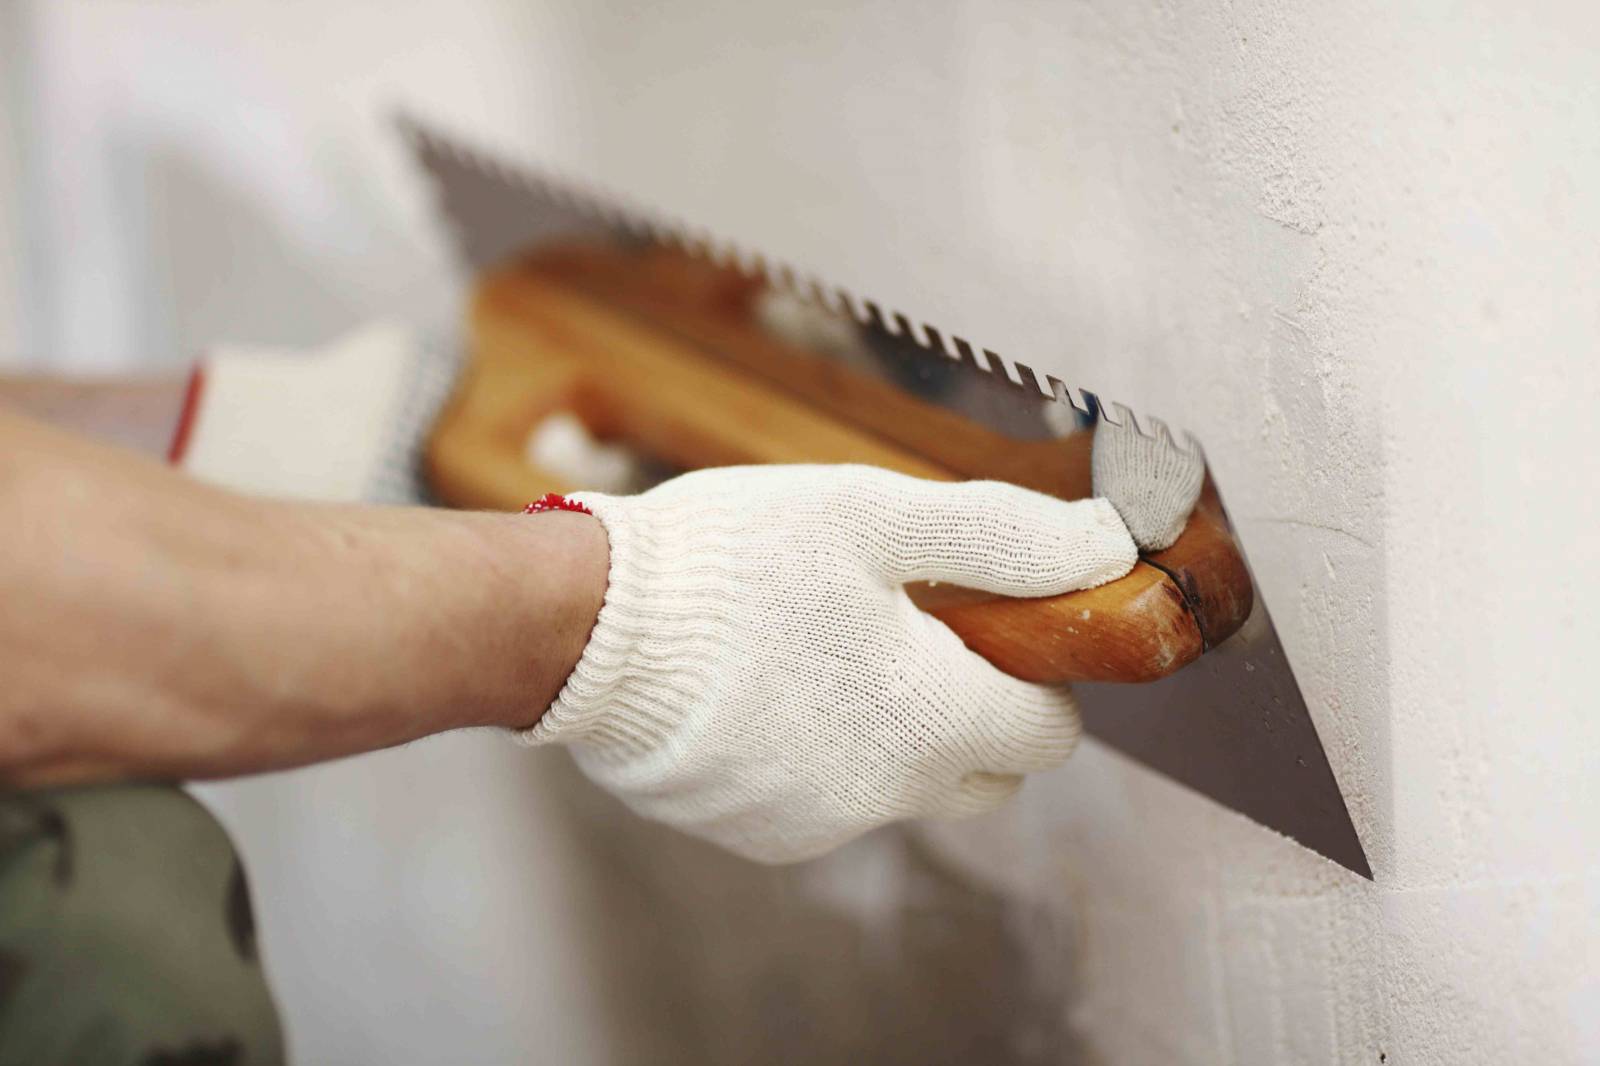
- trowel;
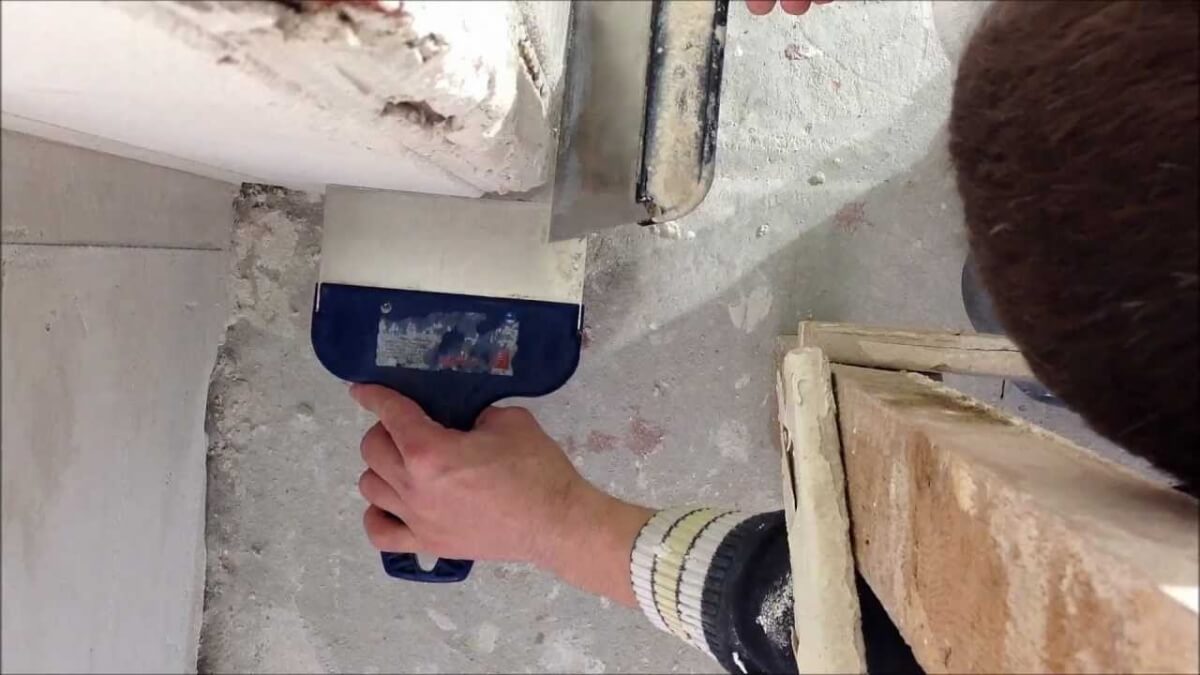
- putty knife;
- short and long rule;
- level;
- fasteners;
- equalizer to level the corners.
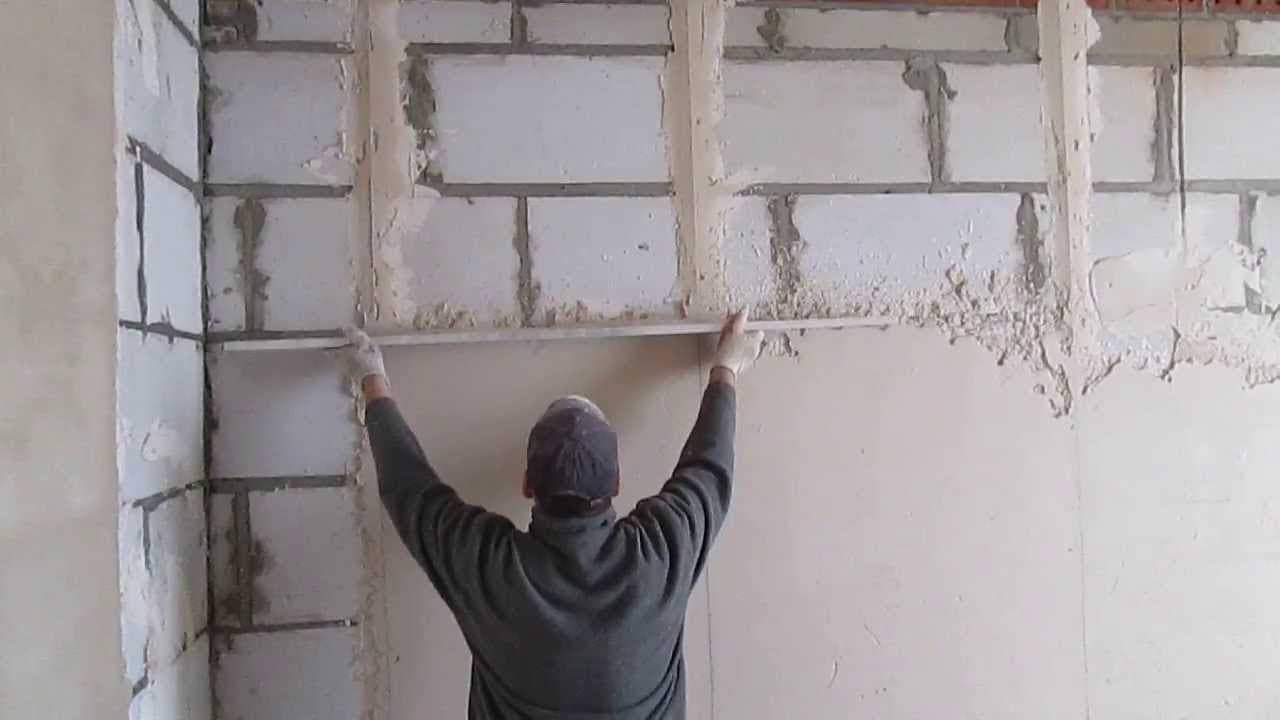
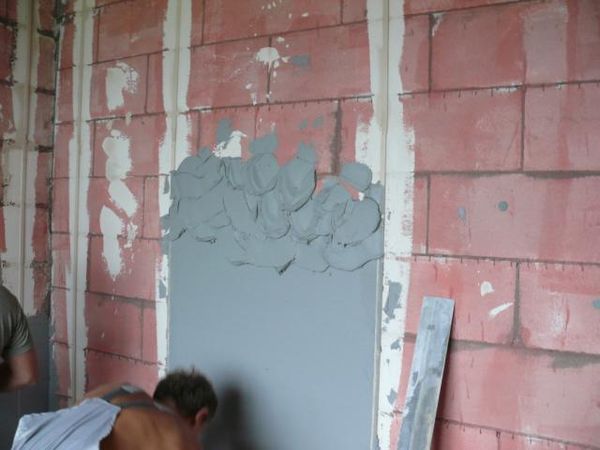
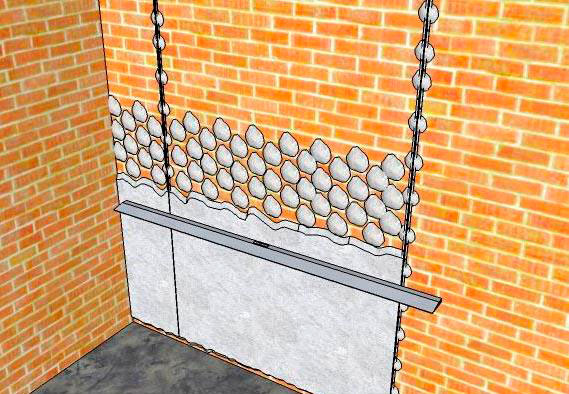
After applying the markup, you can put beacons. There are two main ways of fixing these elements. First, consider the simplest version of the installation technology of beacons:
- Knead the composition with high cement content. To make it more frozen, mix the plaster into it.
- Put this mixture on the overlap. Ensure that the thickness of the plaster layer exceeds the depth of the profile.
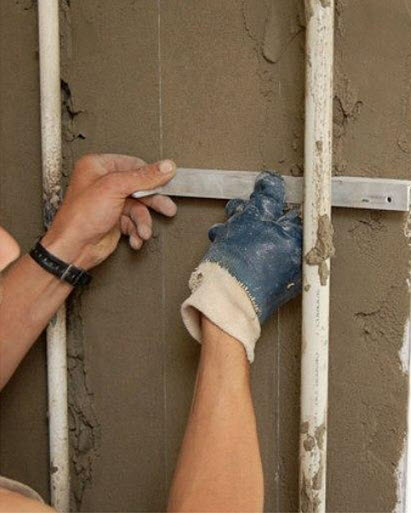
- Now put a beacon on the solution and press it. Swipe the rule along this part.
There is another way of placing beacons:
- after setting the level of the beacons and applying horizontal strips, drill holes, maintaining a distance of 30-35 cm for the dowels;
- Screw the caps of the screws, setting them on the same level;
- Next, you need to install beacon mounts and fix the guides.
Only then can you proceed to the preparation and application of the finishing solution of plaster.
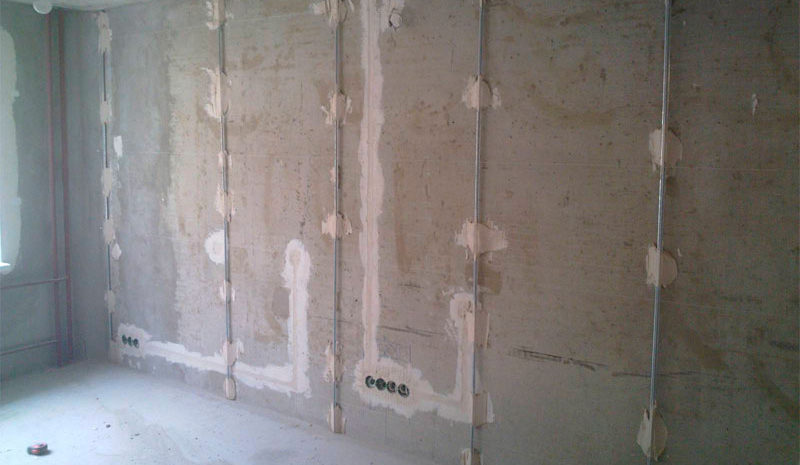
Should I remove after plaster?
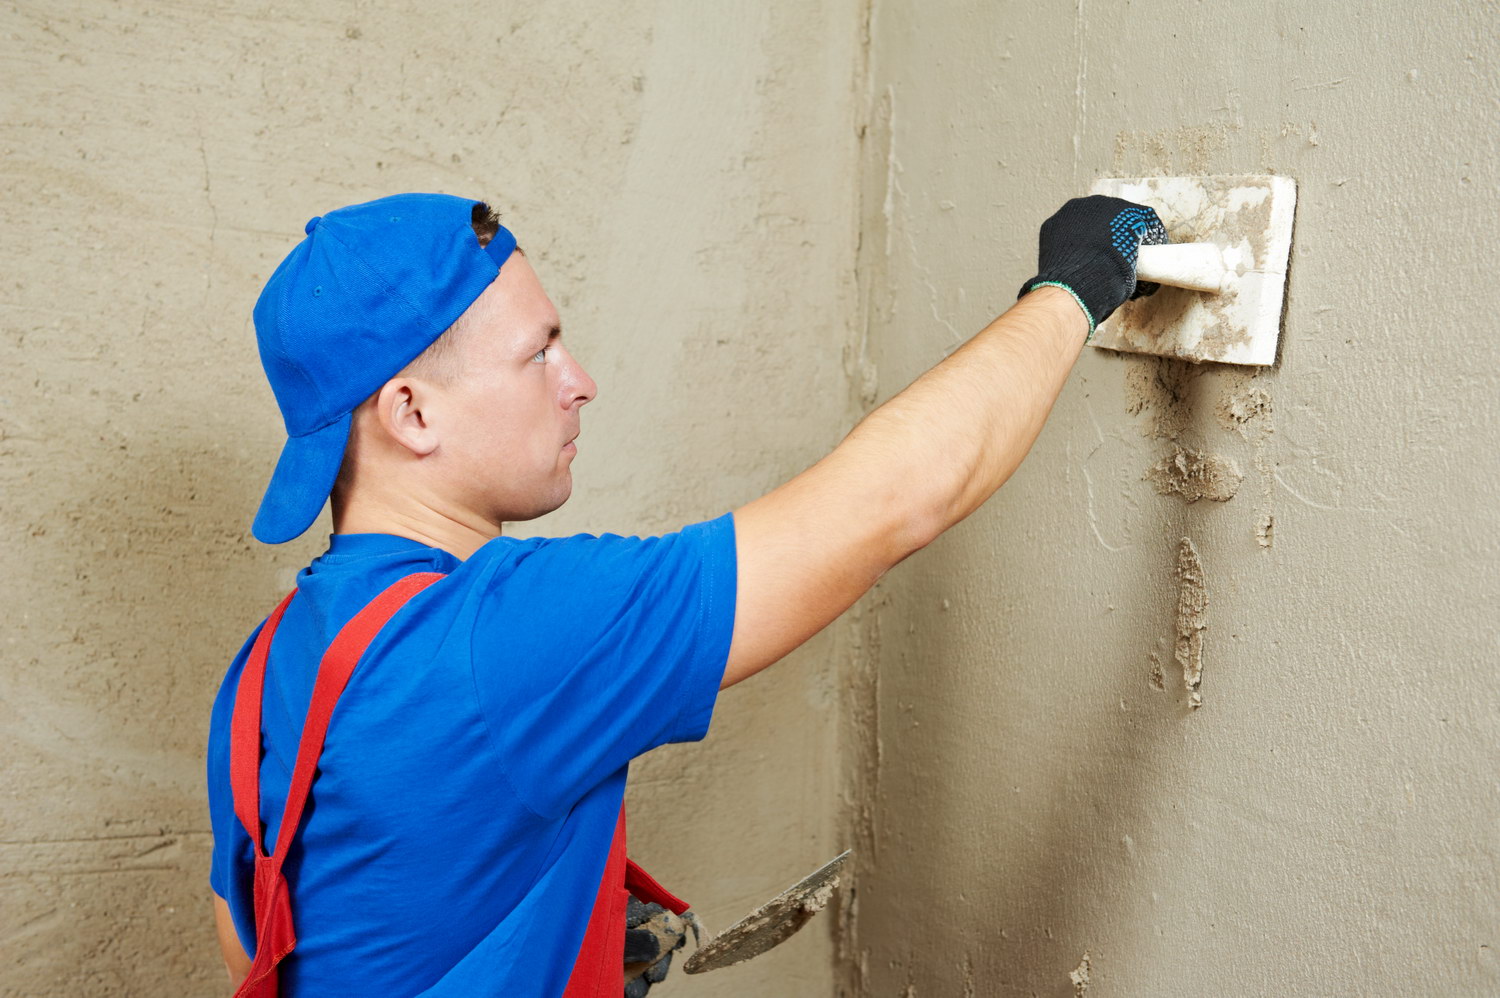
Many owners are wondering whether it is necessary to pull out the installed lighthouses upon completion of the plaster laying. According to experts, the plaster beacon must be removed from the finished wall after the mortar has dried. This must be done for several reasons:
- After its complete curing, the plaster mortar will shrink. Metal (if you use metal guides) while in its size will remain the same. Because of this, a small but noticeable irregularity may appear at its location.
- Do not forget that any kind of metal is prone to rust. Her footprints can make themselves felt with time, showing up on decorative paint or wallpaper. That is why the removal of metal beacons is a particularly important procedure.
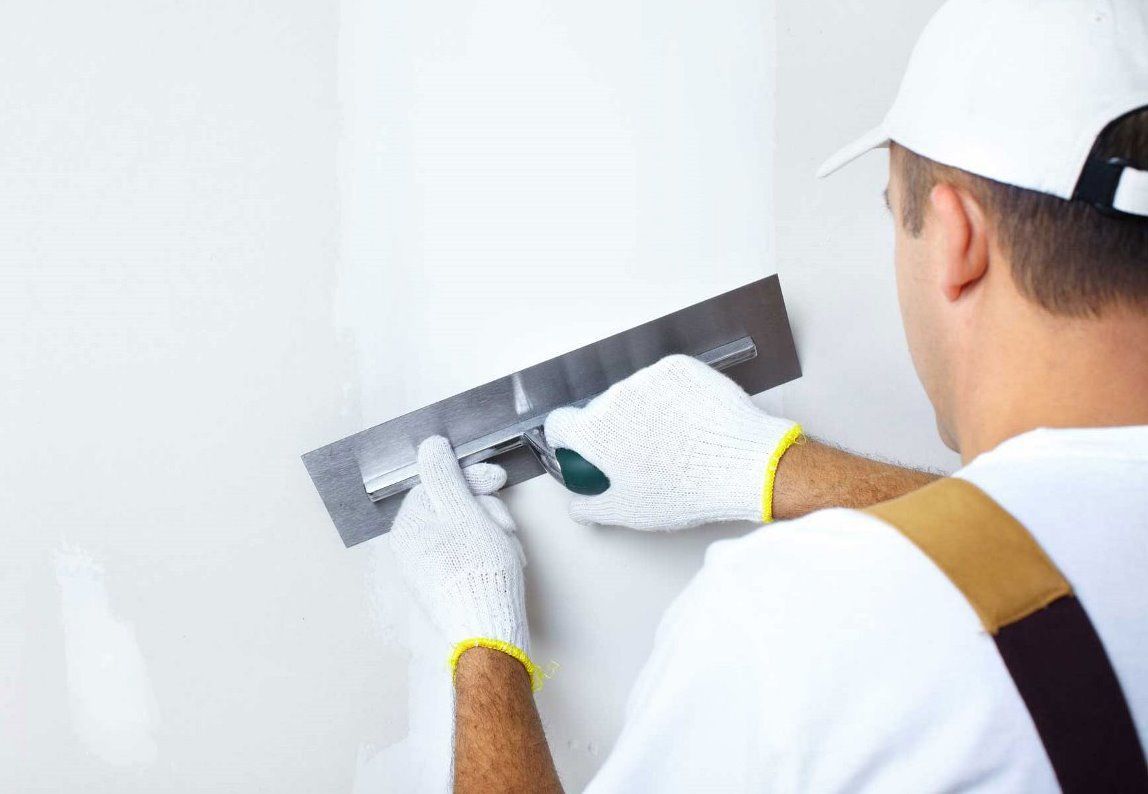
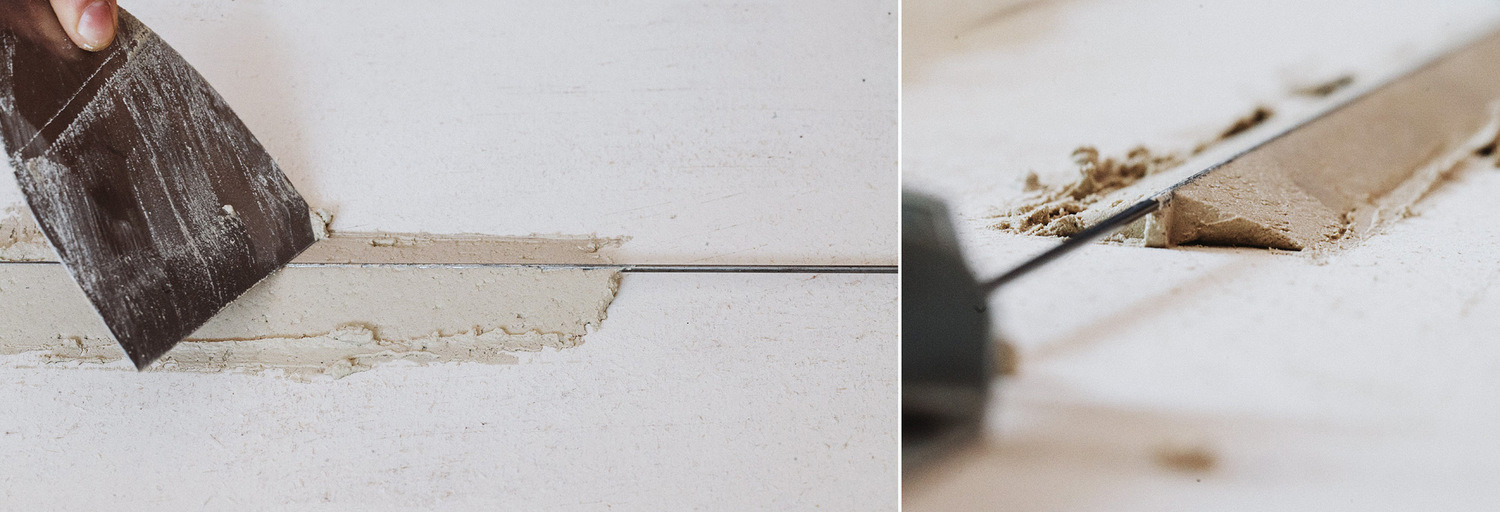
To pull the beacons out of the plastered wall, you do not need to have special knowledge and skills. Just hook the edge of the profile with a screwdriver. Then it must be jerked to get out of the dried layer of plaster. As a result, you get a small depression. Do not be afraid of this defect. Put the plaster solution in the “groove”. After this, it is necessary to level the freshly laid mixture using the rule. In this case, the dried plaster will play the role of beacons.
Next, be sure to wait until the plaster is completely dry. Only after that you can proceed to the final stage of repair work - the installation of a covering layer on a surface moistened with water.
Tips and tricks
Putting plaster mixture on beacons is quite simple and affordable. However, you should listen to some of the advice and recommendations of experts, if you decide to carry out all the repair work:
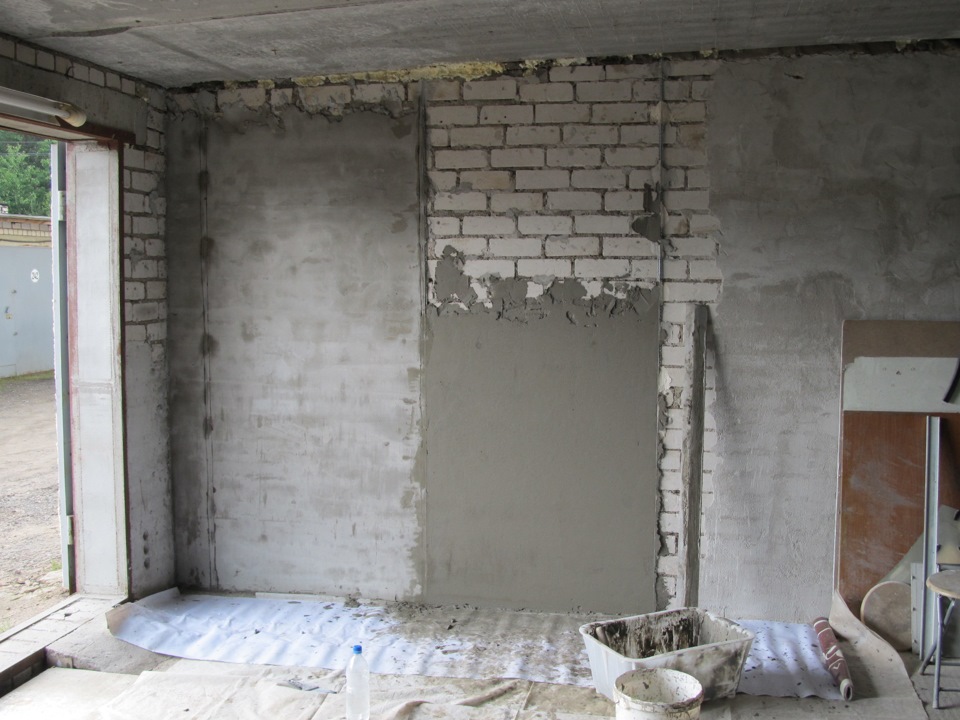
- Before proceeding to the application of plaster, it is necessary to remove the old finish from the walls. If we neglect this stage of preparatory work, then sufficient adhesion of materials will not be achieved.
- After the plaster hardens, the lighthouses may not be removed if you plan to finish the walls with ceramic tiles.
- Before buying and mixing plaster mixtures, it is necessary to calculate the material consumption per m2. In this case, it is recommended to rely on the surface area to be leveled. In addition, often the rate of production of plaster is indicated on its original packaging.
- Today in the shops you can find plaster, designed for any reason. The choice of the appropriate composition depends on what material you plan to put it. For example, simple cement-sand mixtures are not suitable for ceilings made of aerated concrete - it is necessary to purchase a special compound designed specifically for foam blocks.This must be taken into account when selecting plaster.
- Experts strongly recommend buying only high quality plaster mixes. Before choosing the optimal variant, it is necessary to take into account not only the admissibility of its application to one or another basis, but also compliance with all state standards and maximum tolerances.
- Purchase only branded plasters from famous brands. For example, today many consumers line the walls with high-quality plaster "Teplon".
- In order for the finished floors to acquire an ideally smooth and neat surface, it is necessary to perform high-quality grouting. However, if you are going to tile the walls, then there is no point in producing such works.
- As beacons for plaster it is possible to use reinforcement. Such elements are good because in the process of finishing their work it is much more difficult to knead or accidentally bend.
- Do not rush to proceed to the application of decorative coating after adjusting the walls. It is possible to carry out such works only after the plaster has dried. It may take 28 days. If you put a mixture of a thick layer, then it will take more time.
- Ensure that the plaster is flexible. Otherwise it will be more difficult to stack.
- It is recommended to fasten beacons on the walls with the help of special fasteners, which are sold in many stores. Most often on the shelves are items designed for galvanized and plastic guides.
- If you want the mixture to dry quickly, then instead of the usual plaster, you can use plaster or alabaster - they set in the shortest possible time.
- Inspect the guides before purchasing, especially if they are made of metal. If they turn out to be uneven, the walls will be oblique, and it will be difficult to remove such beacons after the mixture dries.
- Decide in advance what kind of plaster you will use - ready or dry, which you need to prepare yourself. Most consumers choose the first option. If you decide to make a mixture with your own hands, then you can add slaked lime to it. Plaster with such a component will not be cracked.
- Performing all the work yourself, it is recommended to rely on a clear instruction or step-by-step master class. In this case, the result will not disappoint you.
How to apply plaster on the beacons, see the video below.