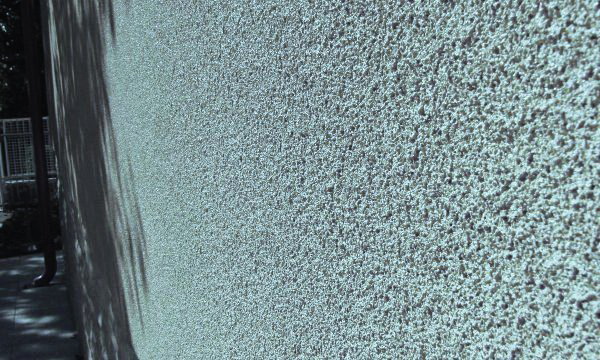
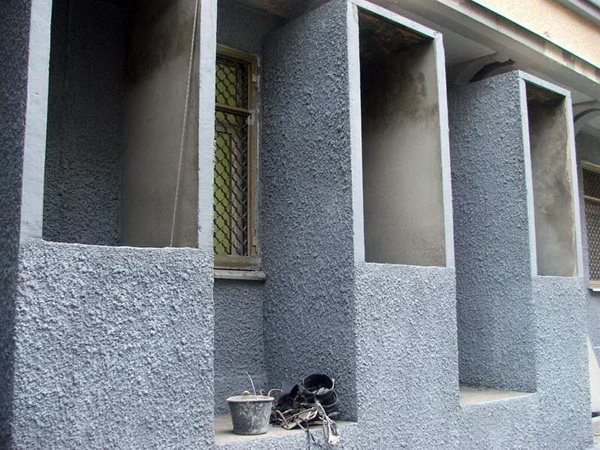
Plaster under a fur coat: the pros and cons
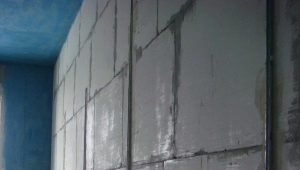
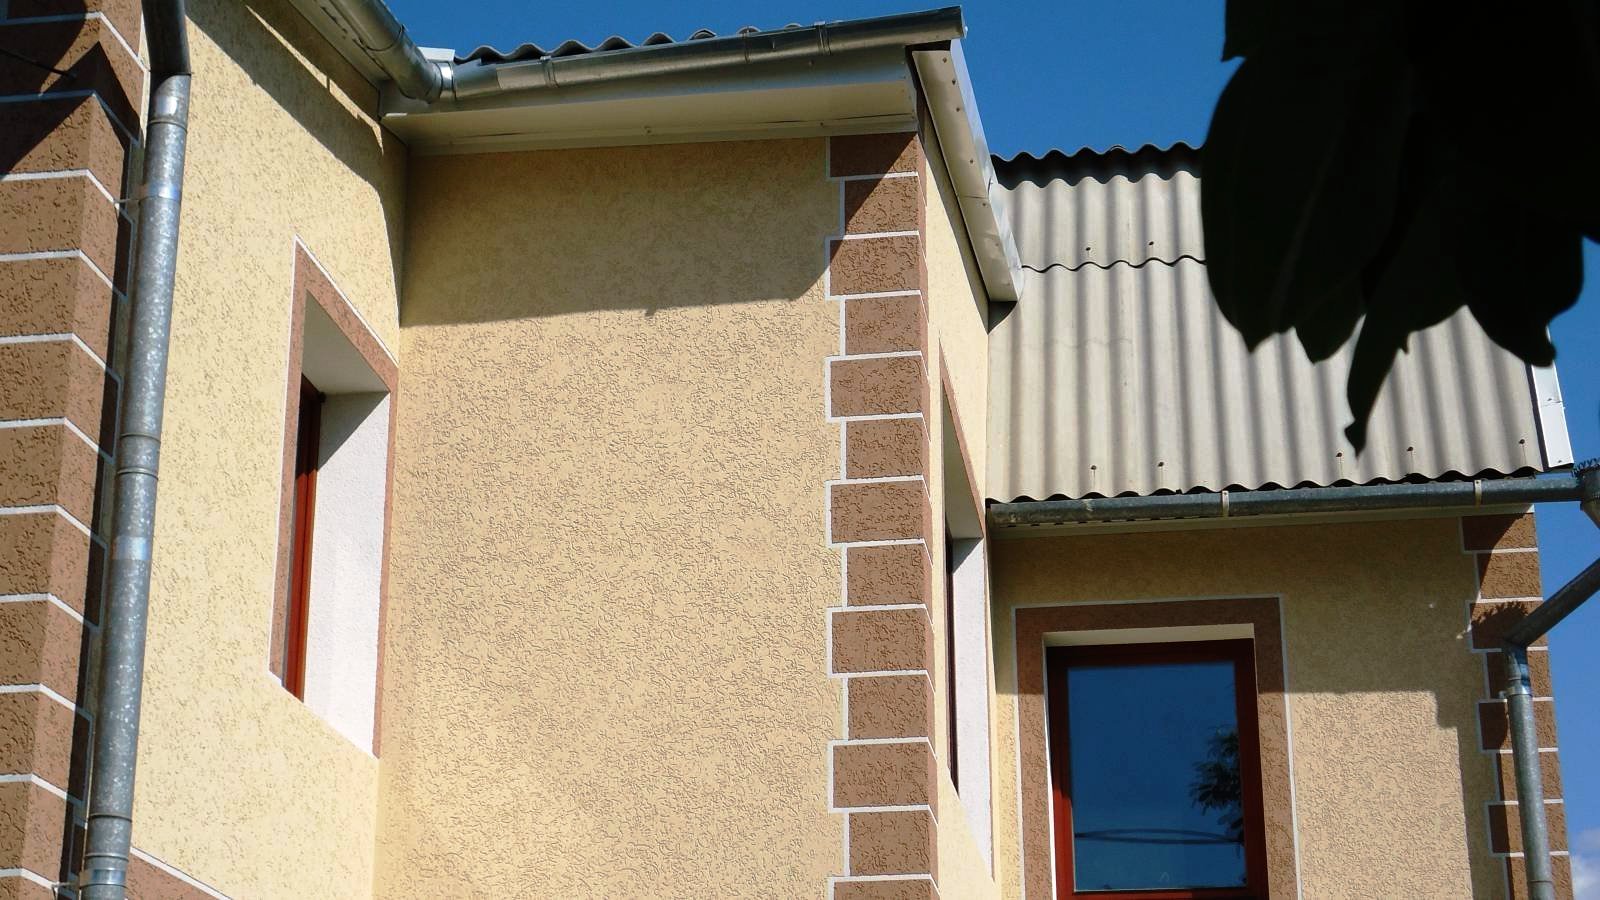
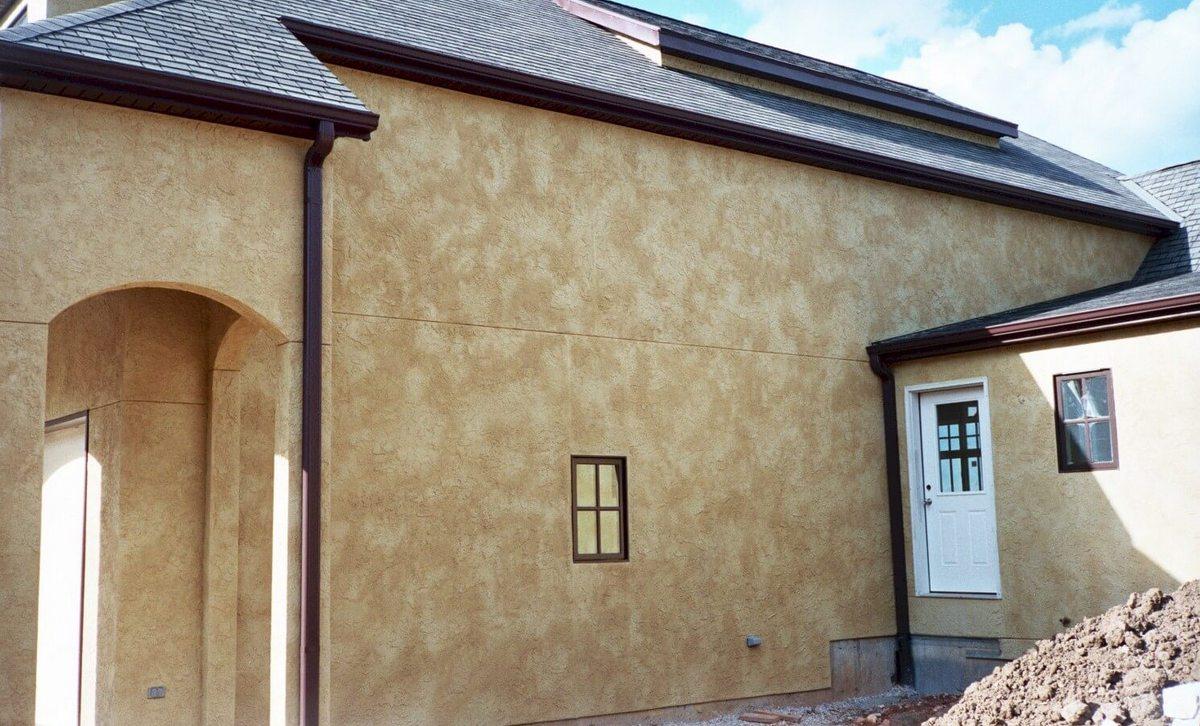
Decorative plaster under a fur coat is the most affordable and versatile way to facing facades. The technology of finishing consists in applying a thick cement-sand layer on the wall, followed by adding to it the necessary chaotic textured pattern and the required volume. This method is used for more than a dozen years.
Previously, the “fur coat” performed primarily protective and insulating functions. Today, in the presence of a huge amount of heat insulators available, the role of bulk plaster is more in providing a decorative effect.
Special features
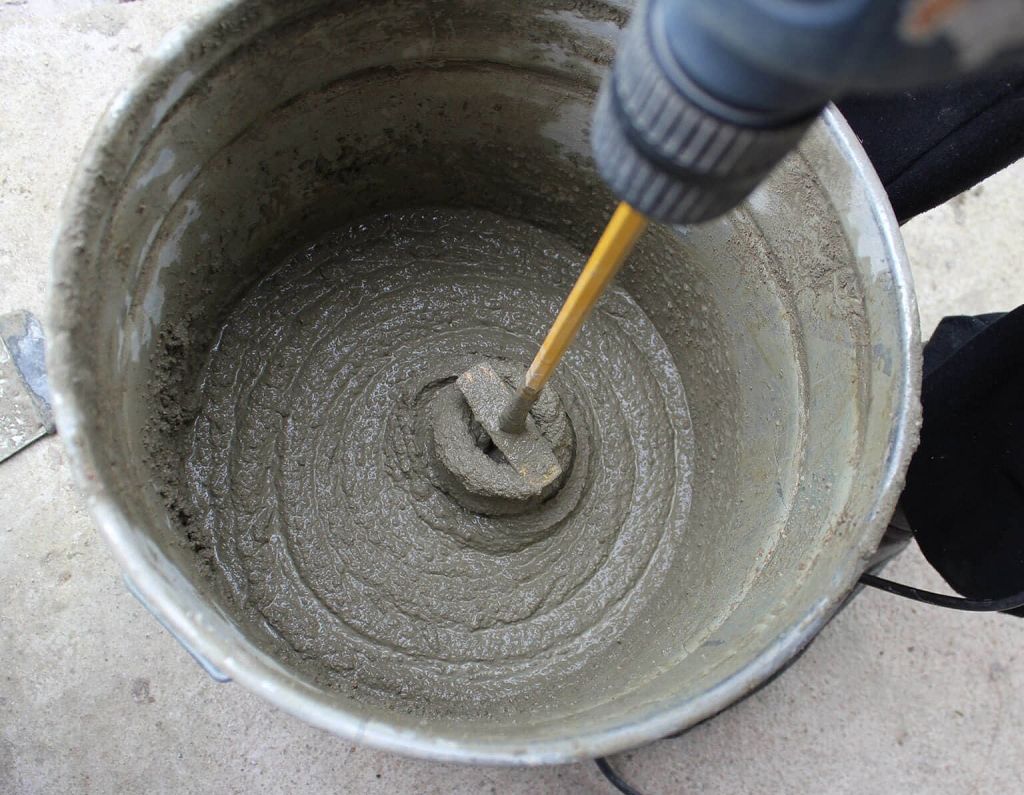
The traditional solution for applying plaster under a fur coat is a mixture of sand and cement, taken in a 1: 3 ratio and diluted with water to the desired consistency.
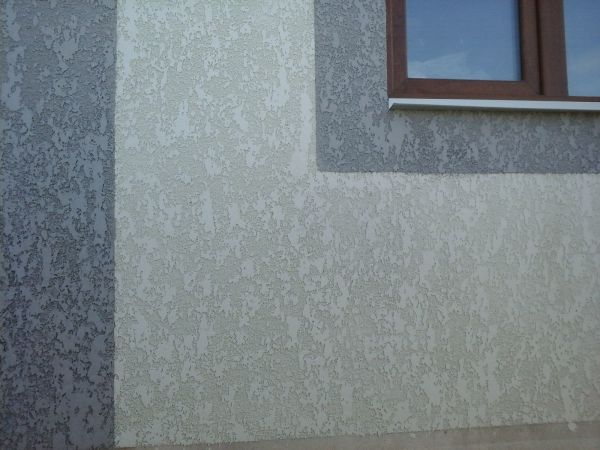
The sand is chosen in accordance with the requirements for the formed surface: when performing a rough, rough “fur coat”, you should take mountain or ravine sand,and to obtain a smoother texture, use fine quartz crystal.
Before adding to the sand solution should sift. Lime, gypsum and clay can be used as the main binder.
The advantage of this composition can be considered the low cost and wide availability of composite components, and the disadvantages include the low ductility of the material and the probability of cracking with uneven drying of the layers.
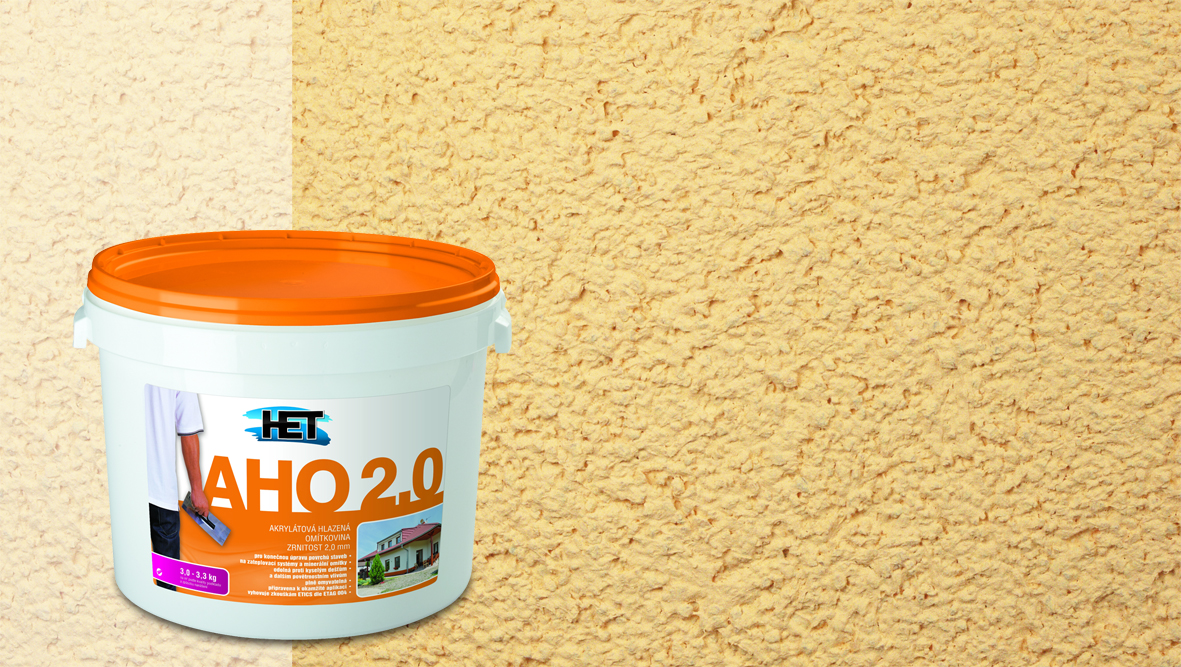
Ready-made acrylic-based dry mixtures are considered the most modern and convenient to use.. The material is available in white, gray and color design, which allows you to purchase a ready-made composition of the desired shade or paint it yourself. Coloring is done using coloring powders and pastes.
The disadvantage of self-staining is the need for strict compliance with the proportions of the dye, with a deviation from which a difference in shade between solutions of different batches is possible. For to avoid problems with coloring the mixture, you can resort to the method of painting the finished surface after it dries.. Coloring is made with the help of moisture-resistant and light-resistant facade paints, which solve not only the decorative task, but also perfectly cope with the elimination of small cracks.
Advantages and disadvantages
The popularity of plaster walls under a fur coat is due to a number of indisputable advantages of this method of finishing:
- Low cost and wide availability materials for the solution allow you to quickly and inexpensively elevate the facade and warm the room.
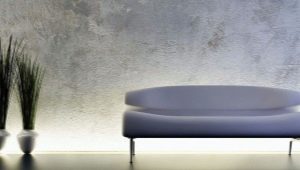
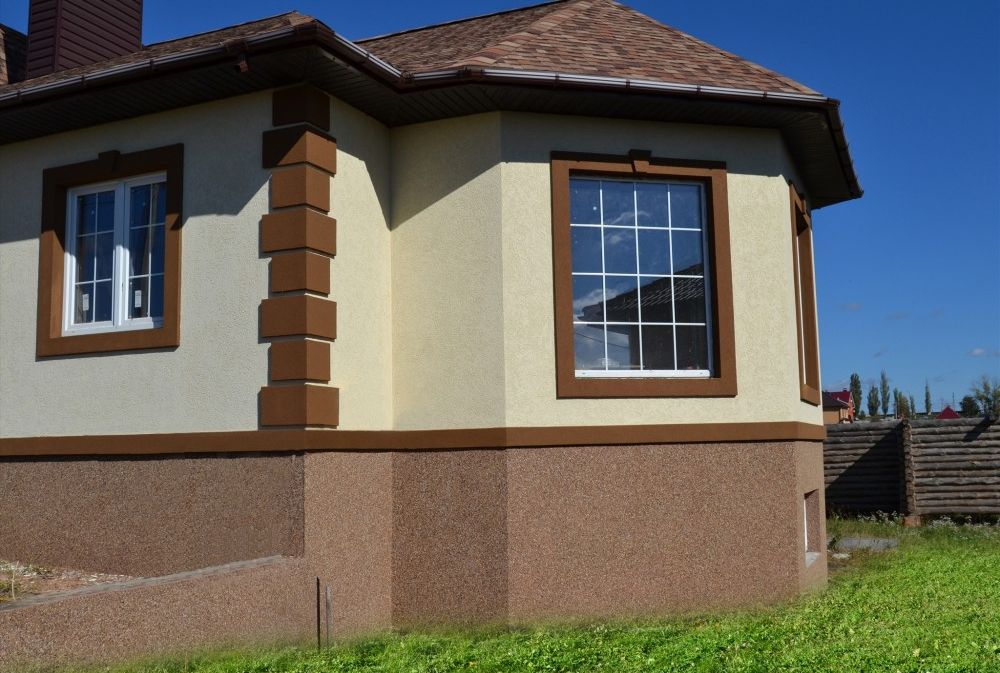
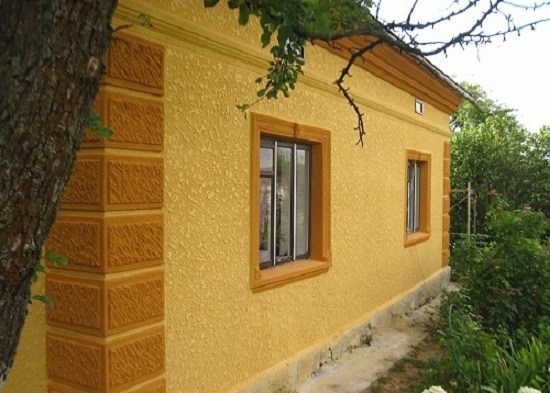
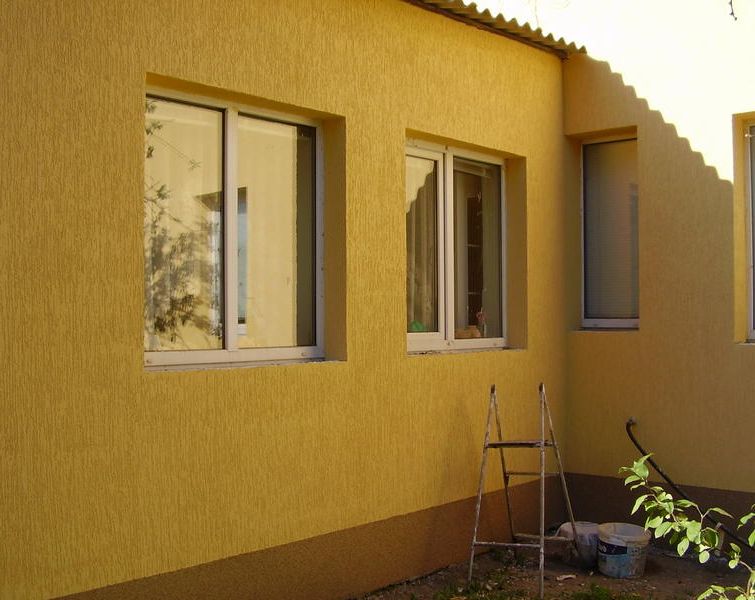
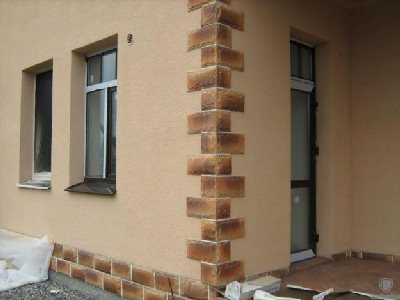
- Wide color range ready-made compositions and the possibility of self-coloring allows you to choose the material for every taste. Color "fur coat" perfectly transforms the facades of houses and refreshes the interior of the premises.
- Easy installation It gives the opportunity to make facing of the facade independently, without using expensive equipment and attracting specialists.
- Excellent sound and heat insulation properties material will reliably protect the walls from freezing, and the room - from extraneous noise.
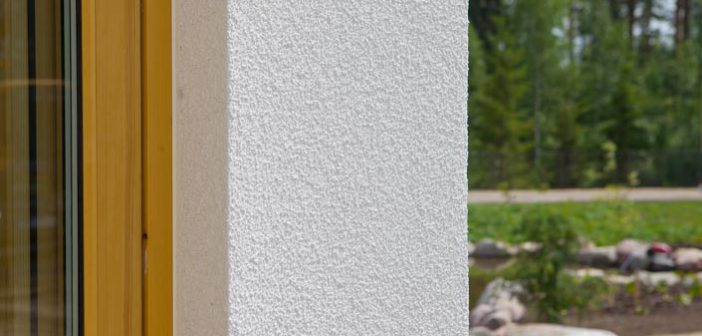
- Aesthetic and neat appearance “Fur coats” are in no way inferior to the surface lined with expensive facade plaster.
- High wall protection from aggressive external factors due to good moisture and heat resistance of the material, as well as its ability to withstand mechanical loads. "Fur coat" is not of interest for rodents and insects, and is also not a favorable environment for the development of mold and fungus.

The disadvantages of plaster under a fur coat can be attributed to the tendency of the coating to the accumulation of dust and small mechanical debris, as well as some obsolete technology. There is also a not very harmonious combination of “fur coats” with ultramodern styles of facades and landscape design of the houses.
Ways of forming "fur coat"
The application of the solution on the wall can be done in several manual ways:
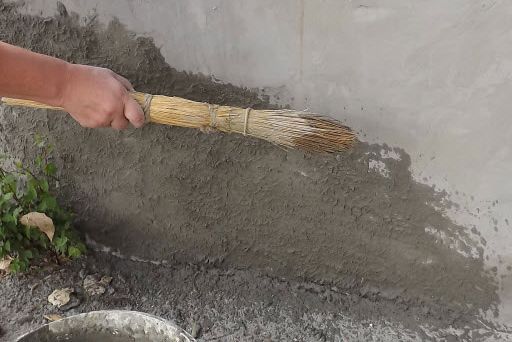
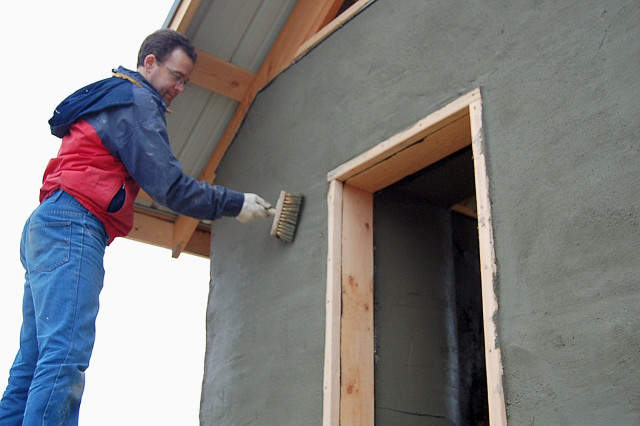
- With a broom. This is the oldest method of lining, which is as follows: an ordinary broom is dipped into the mortar and hits a wooden stick, which is placed close to the wall. As a result of the impact, directed sprays are formed, which fly on the wall and settle on it. The downside of this method is a long installation time and the need for certain skills for uniform application of the solution.Another method of spraying is a method using a stiff brush and a wooden bar, which is dipped into the solution and sharply drawn along the stiff brush bristles. The method also requires experience.
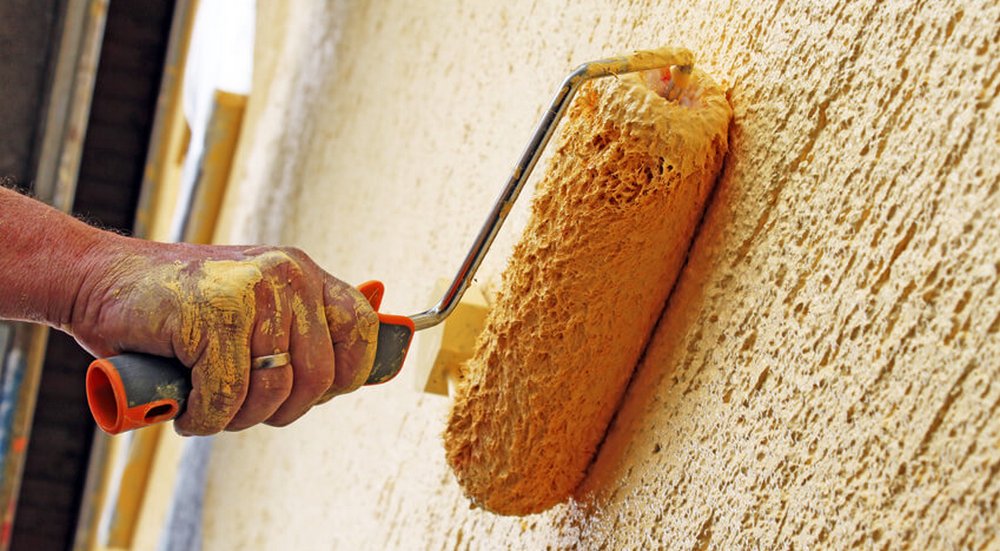
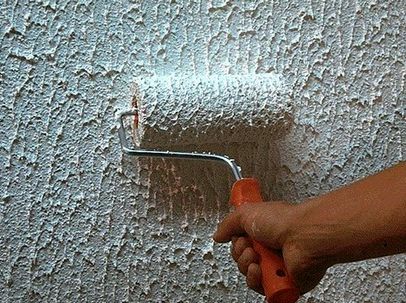
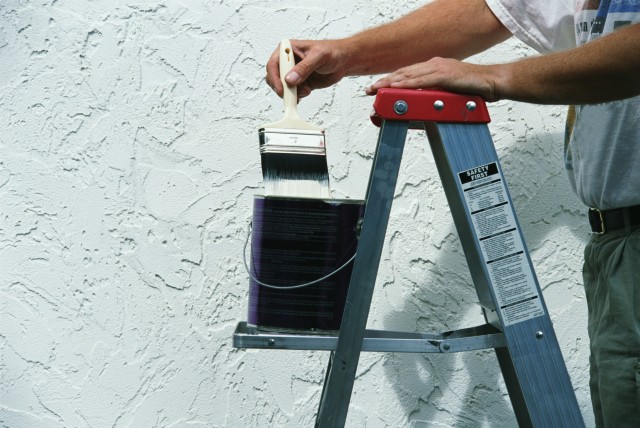
- Using a roller. The method consists in applying a thin layer of mortar to the wall and then rolling it with an textured roller. The method does not require the skills of plastering and is well suited for people who are first involved in facing the facade and interior decoration. After the initial drying, it is recommended to treat the surface with a wet trowel, due to which the formed “fur coat” will resemble a cork texture.
- Using mesh. Quite actual method, the essence of which is that a fine-mesh grid is fixed on the wall, above which a solution is applied. Then the grid is carefully removed, resulting in a classic “fur coat”.
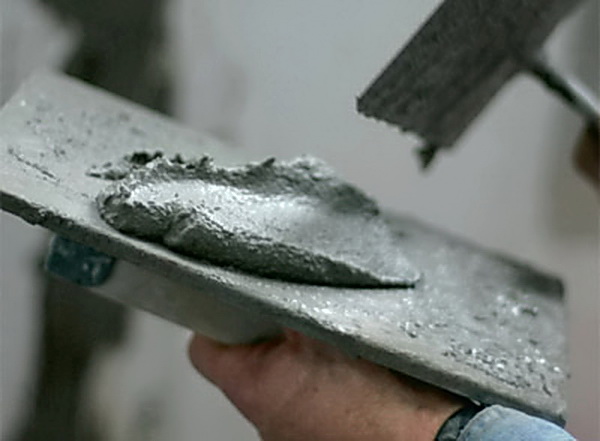
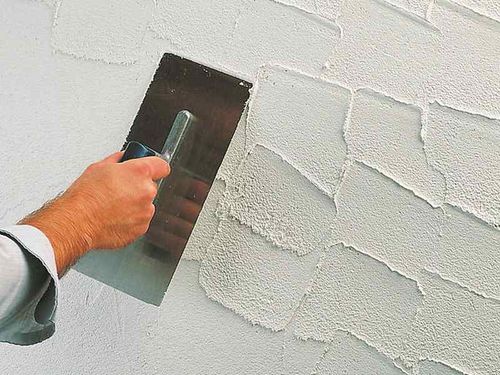
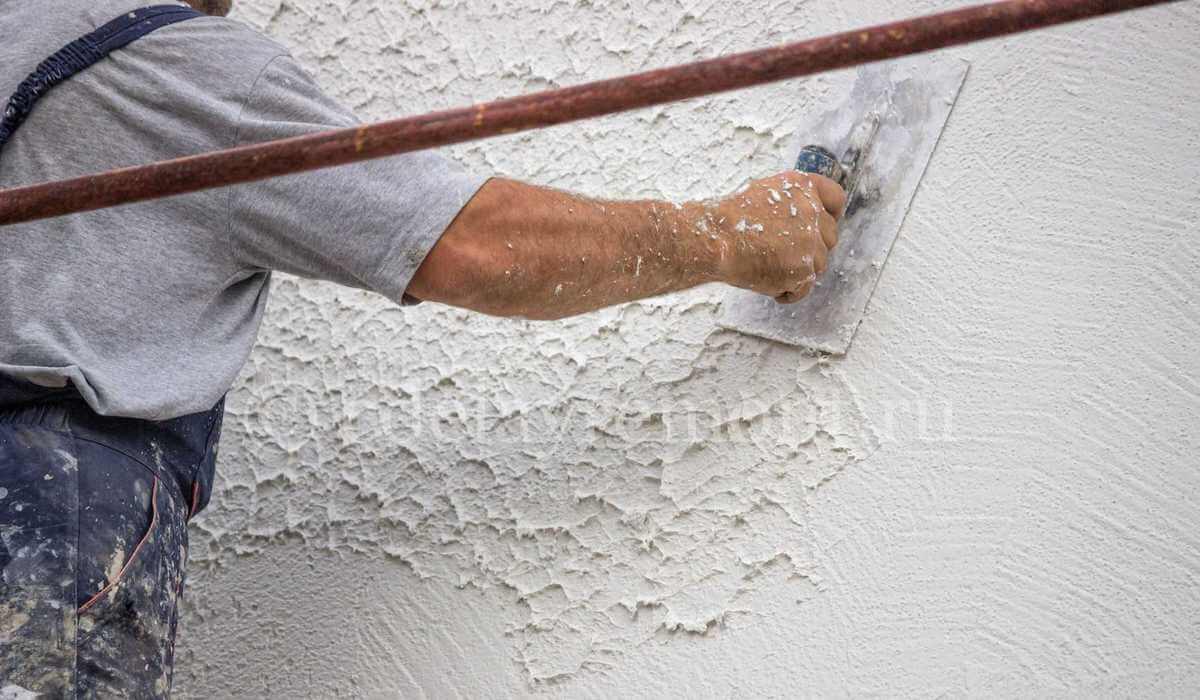
- With trowel and spatula. In this case, a solution is applied to the wall with a thin layer, after which the trowel creates the desired structure. To do this, attach the tool to the wall so that it is imprinted in the solution, and then abruptly tear it off.The result is a rather coarse texture, which is recommended to be slightly smoothed with a wet trowel after the initial setting of the composition.
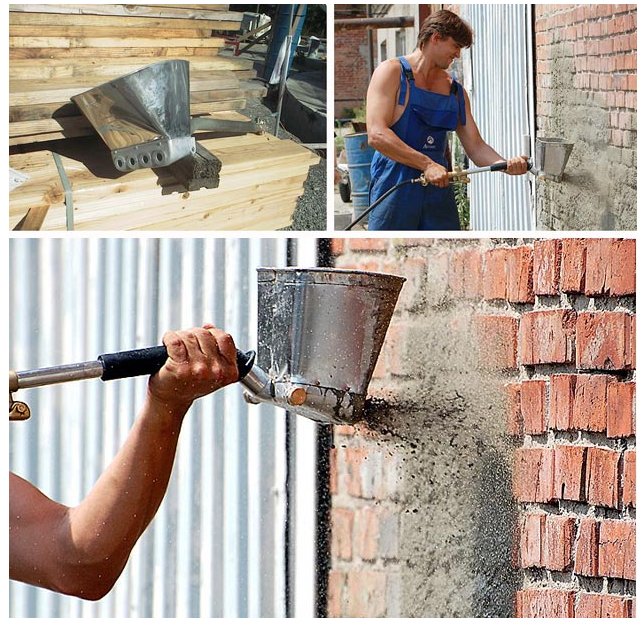
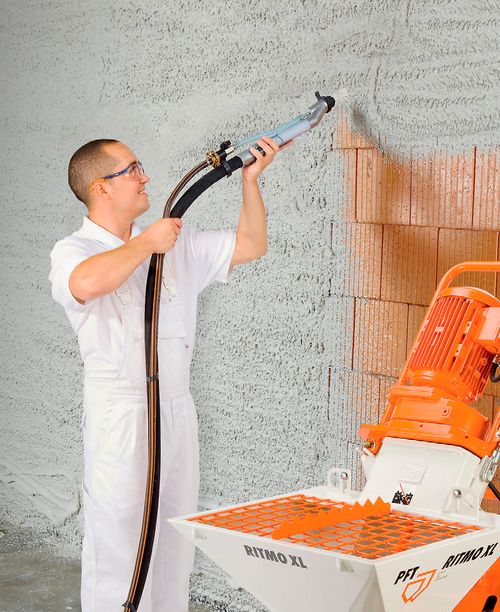
There are also mechanized methods of applying the solution:
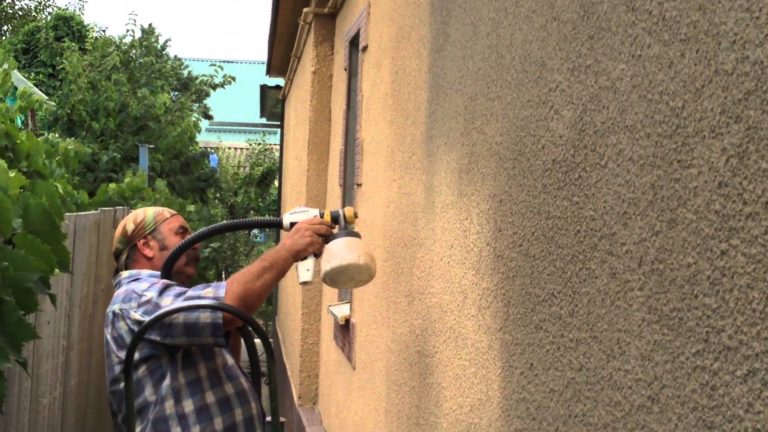
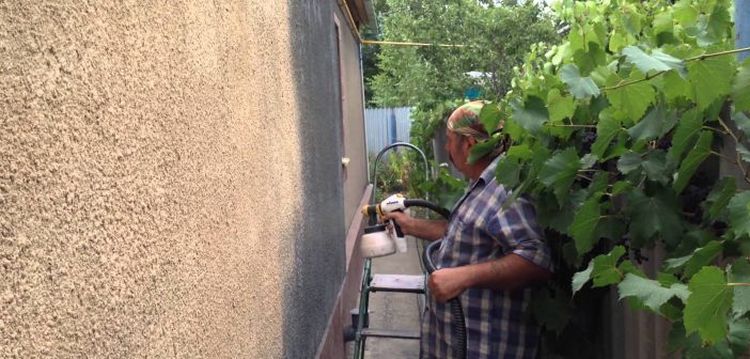
- Compressor and Hopper. The fastest method to monitor both the uniformity of the coating and the texture of the formed “fur coat”. The use of technology allows you to independently adjust the size and shape of the droplets, which provides ample opportunities to make the “coat” of almost any structure.
- Homemade sprinkler. The device is a solution tank with a shaft placed in it, which is supplied with rigid wire cables slightly fluffed at the ends. The shaft is driven by a crank. As it rotates, the mixture is gripped and sprayed on the wall, and the thinner the wire, the finer the textured coating is obtained.
Installation steps
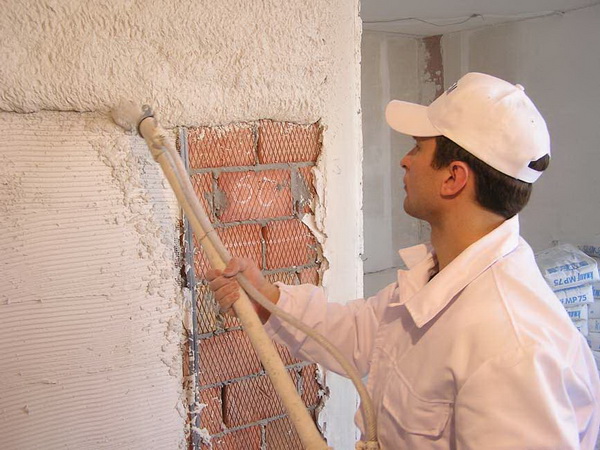
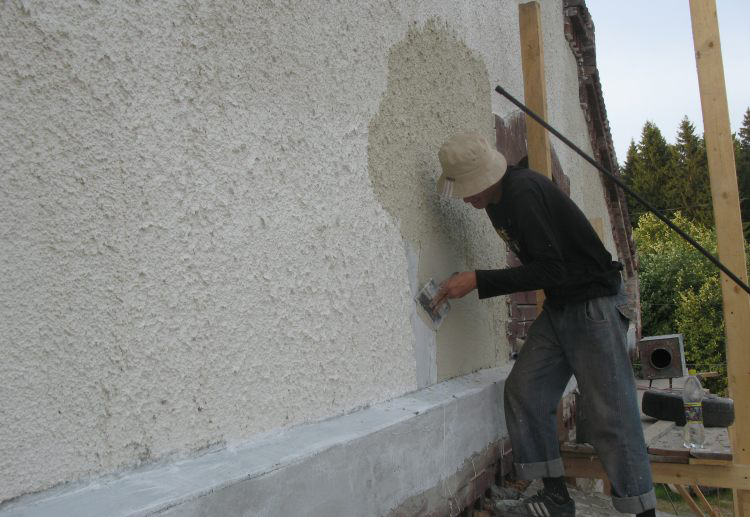
The first step is to thoroughly prepare the surface. It is necessary to remove the old coating from the wall and eliminate major defects. Cracks and chips should be covered with a cement-sand mortar, and large projections and curvatures should be cut off with the help of a grinder. After the mortar has dried, the surface needs to be dust-free and primed.
When processing large areas it is recommended to use a spray. This will allow more economical use of the primer, as well as significantly reduce the time of application of the composition.
After complete drying of the primed surface, proceed with the preparation of the working mixture. Mix the components should be until a homogeneous creamy mass. For better mixing and reduction of kneading time, it is recommended to use a construction mixer or a drill with a paddle attachment.
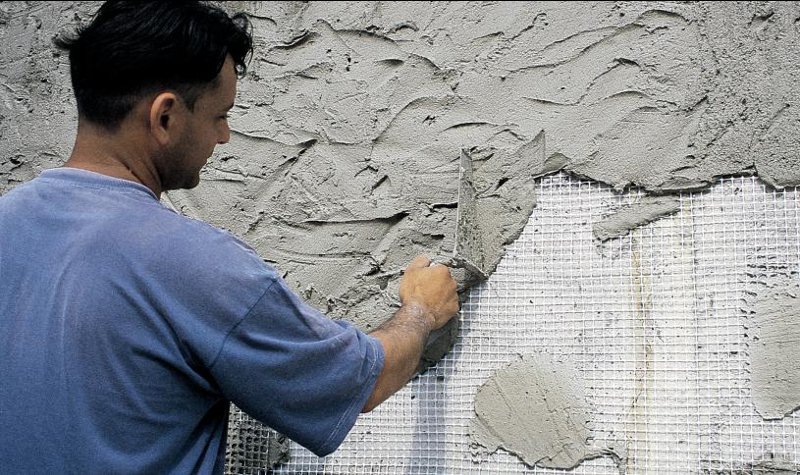
The second stage will be the formation of a draft layer. Apply the mortar with a trowel, followed by leveling the formed layer with the rule. Then you need to put another layer up to 10 mm thick.
The third step is to apply the “fur coat”. The way in which the decorative surface is formed is chosen individually, and depends on the technical capabilities and the desired result.
To achieve decorative effects in the solution, you can add a little crushed marble or glass, red ironstone, white asbestos or ground coal.
Useful tips
In order for the formed coating to be beautiful and durable, it is recommended to follow some rules:
- Works are allowed to be carried out at a temperature from 5 to 27 degrees of heat.
- If possible shade the work surface. Direct sunlight on the freshly applied solution can lead to uneven drying of the layers and subsequent cracking of the “fur coat”.
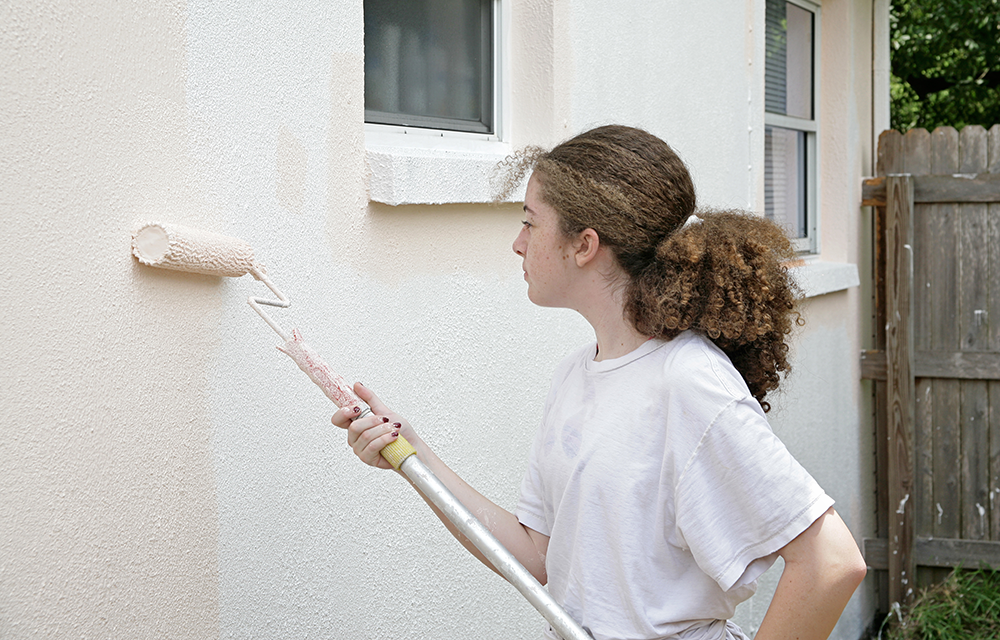
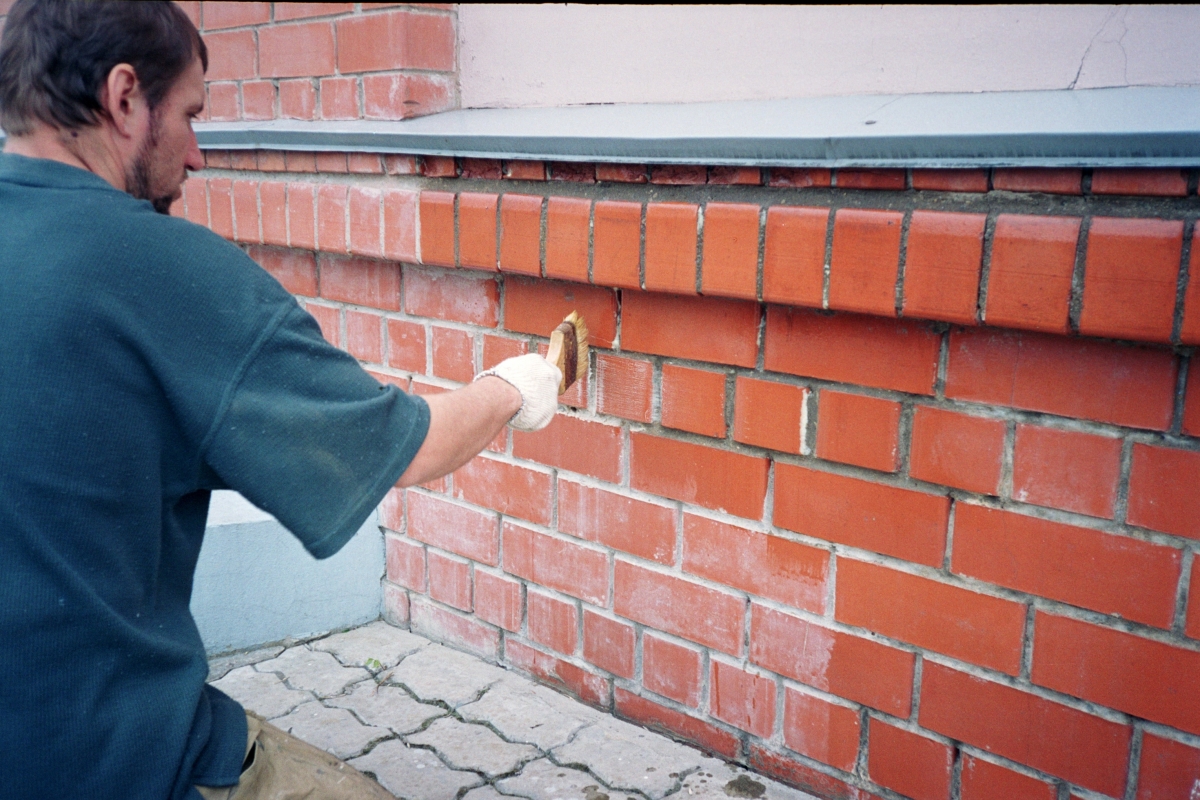
- Staining of the surface should be done after complete drying of the composition. Silicone facade paints have proven themselves well. They perfectly repel moisture and dirt, do not fade and do not peel off over time.
- After completion of the work, paint residues should not be thrown away. After some time, when the decorative layer shrinks, small cracks may appear, which will differ in color from the painted surface. If such defects occur, then you need to take a small brush and carefully paint them.
Plastering under a fur coat is a cheap and proven way to quickly tidy up the facade of the house or refresh the repair indoors. A simple installation and a wide range of colors of materials will allow you to finish yourself and realize the most daringdesign ideas.
How to put plaster under a fur coat with your own hands is described in the next video.