Profile for Knauf Drywall: Varieties and Features
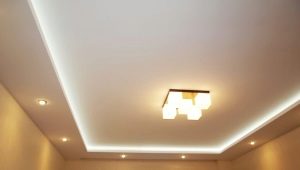
The German company Knauf is a well-known manufacturer of galvanized profiles and connecting elements. The company has long been recognized as a leader in the production of finishing materials and components. Any construction (ceiling, false wall, partition in the room, arched opening), assembled from parts of this company will be of high quality, reliable and will last for many years.
Special features
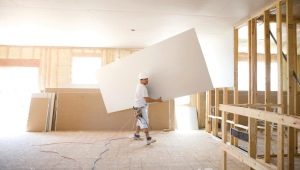
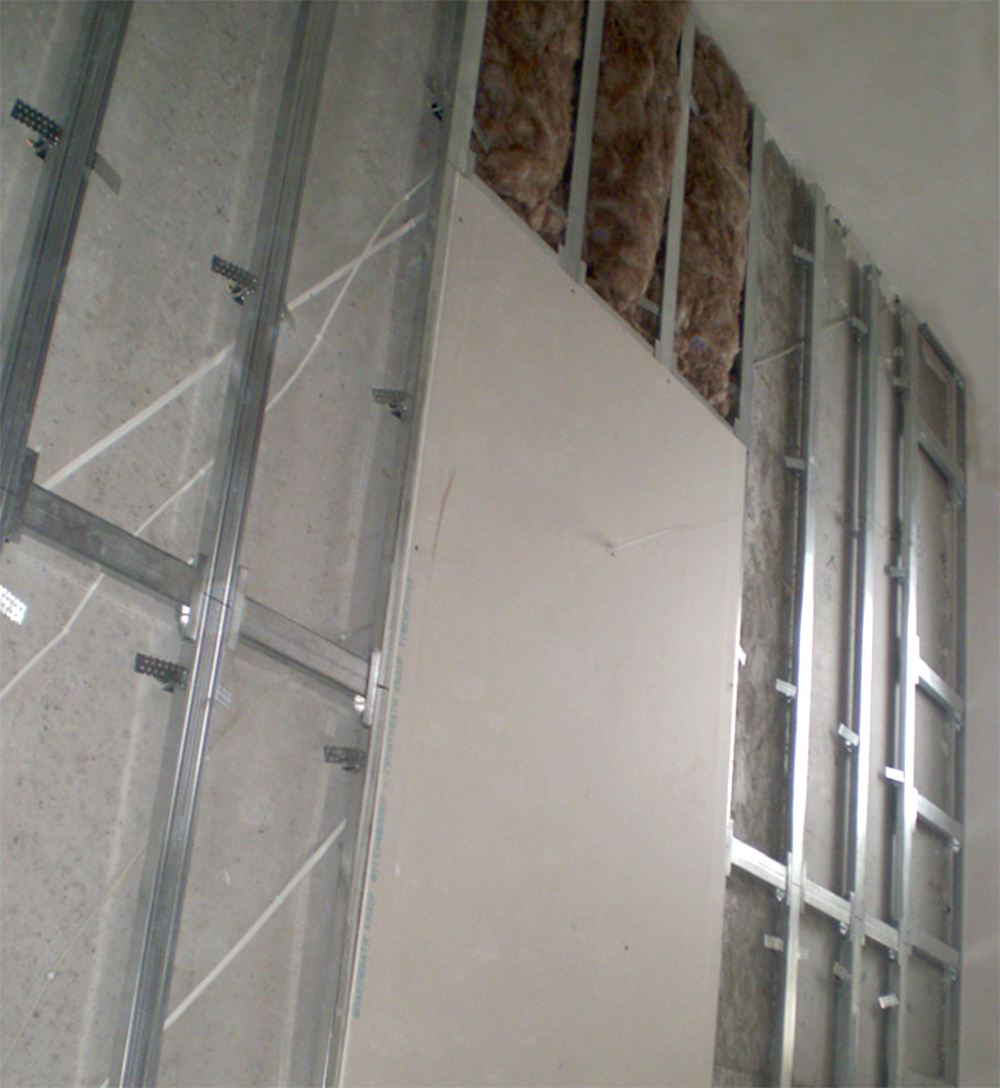
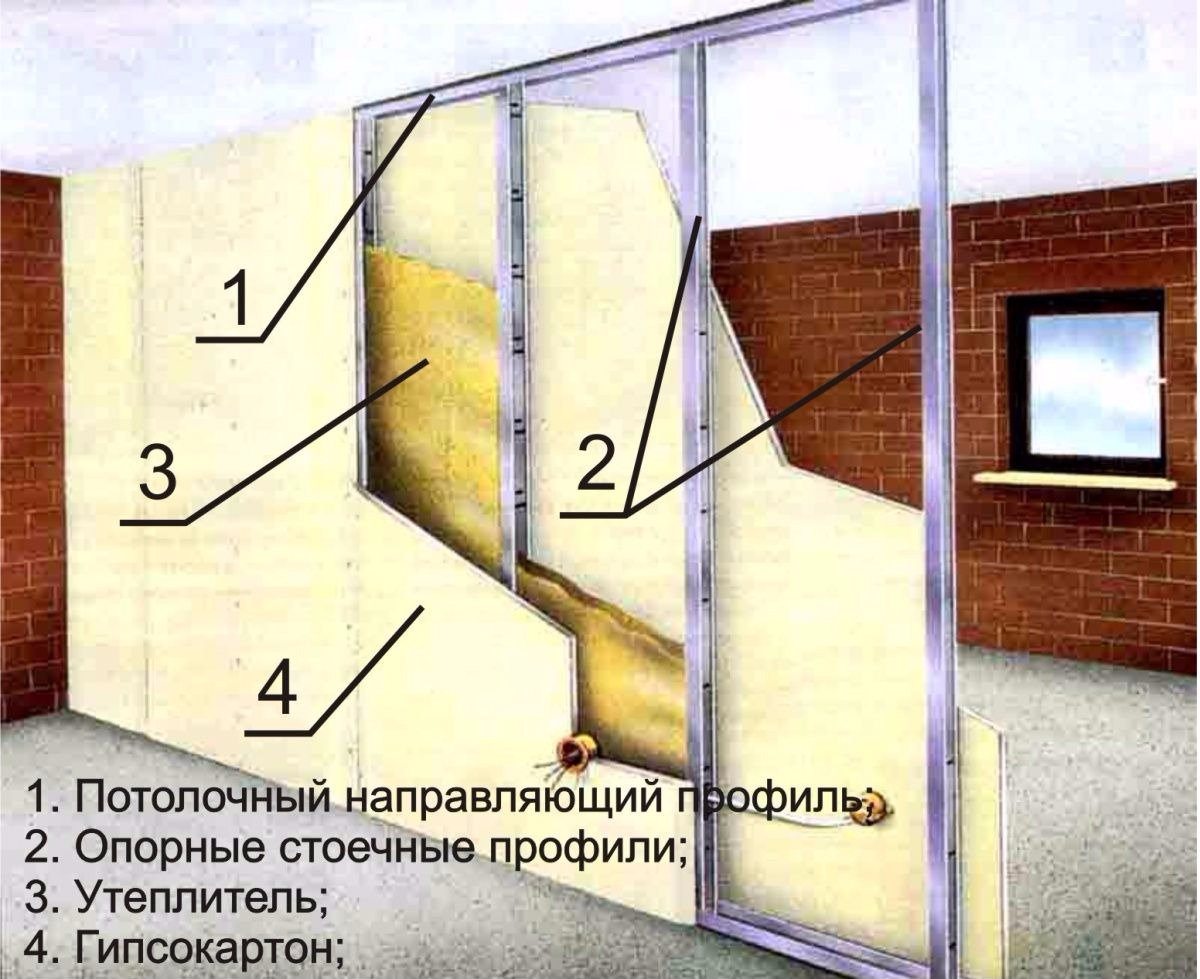
The finishing sheets of drywall are mounted on an iron sheathing, which consists of metal profiles. They are fixed with galvanized screws. To create a supporting structure that will keep the weight of the gypsum on itself, different types of galvanized elements and connectors will be needed.
Steel structures of the German company Knauf are easily mounted and serve for a long time. Assembling a frame of such metal components for a professional is not difficult.
Knauf’s reputation is impeccable at the moment. Profiles for drywall from this brand are recognized as an ideal model in the field of building structures and interior cladding. Builders reviews about working with profiles are extremely positive. Products of the company are considered quality and reliable. Their release is strictly regulated, the marriage is eliminated even in the production process.
When choosing Knauf profiles, you can be sure that in a few years you will not have to disassemble the ceiling or wall again to rework the structure. But before buying it is worth getting acquainted with the features and types of brand products.
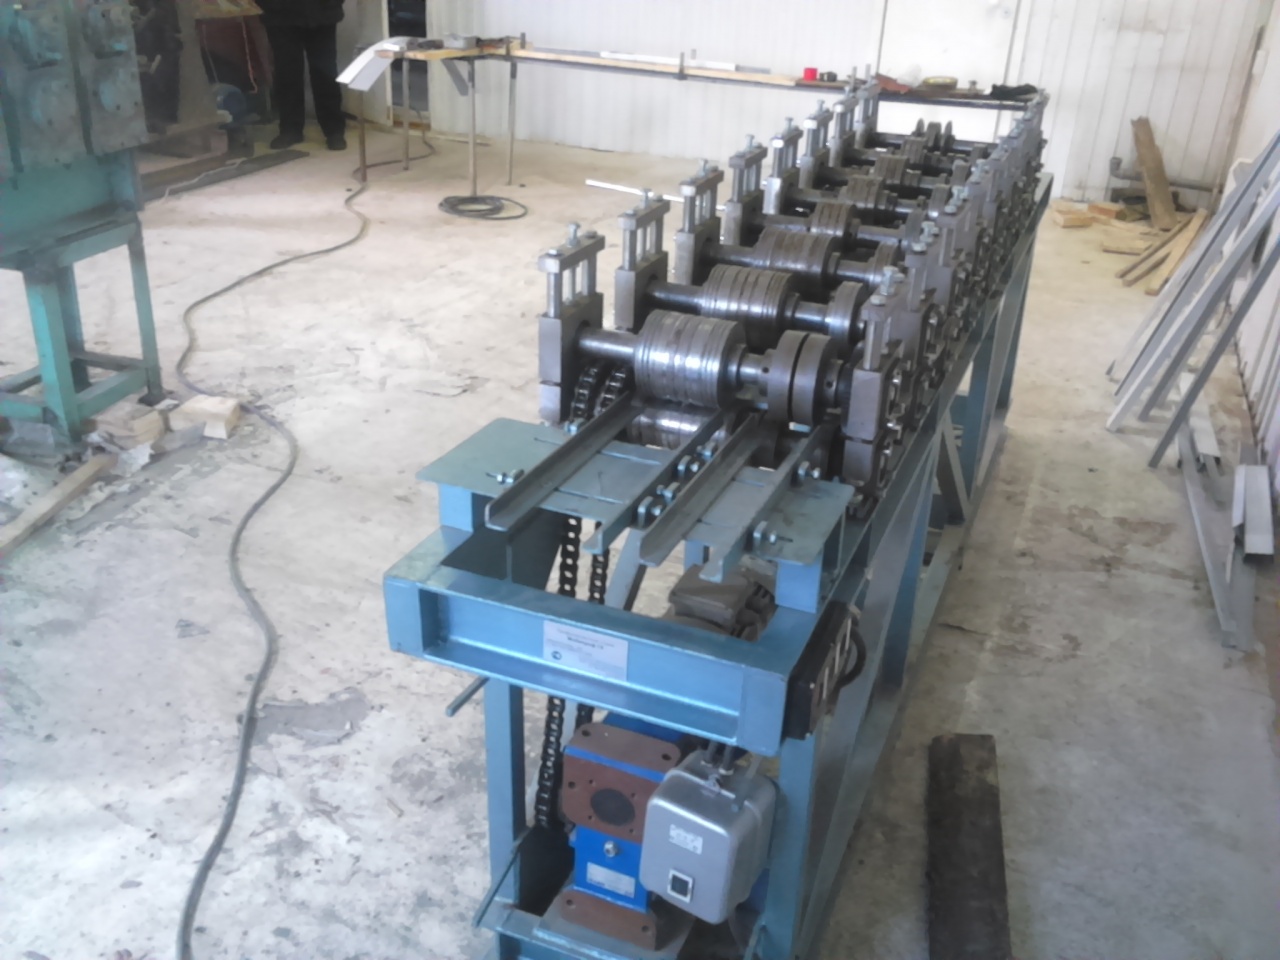
Production technology
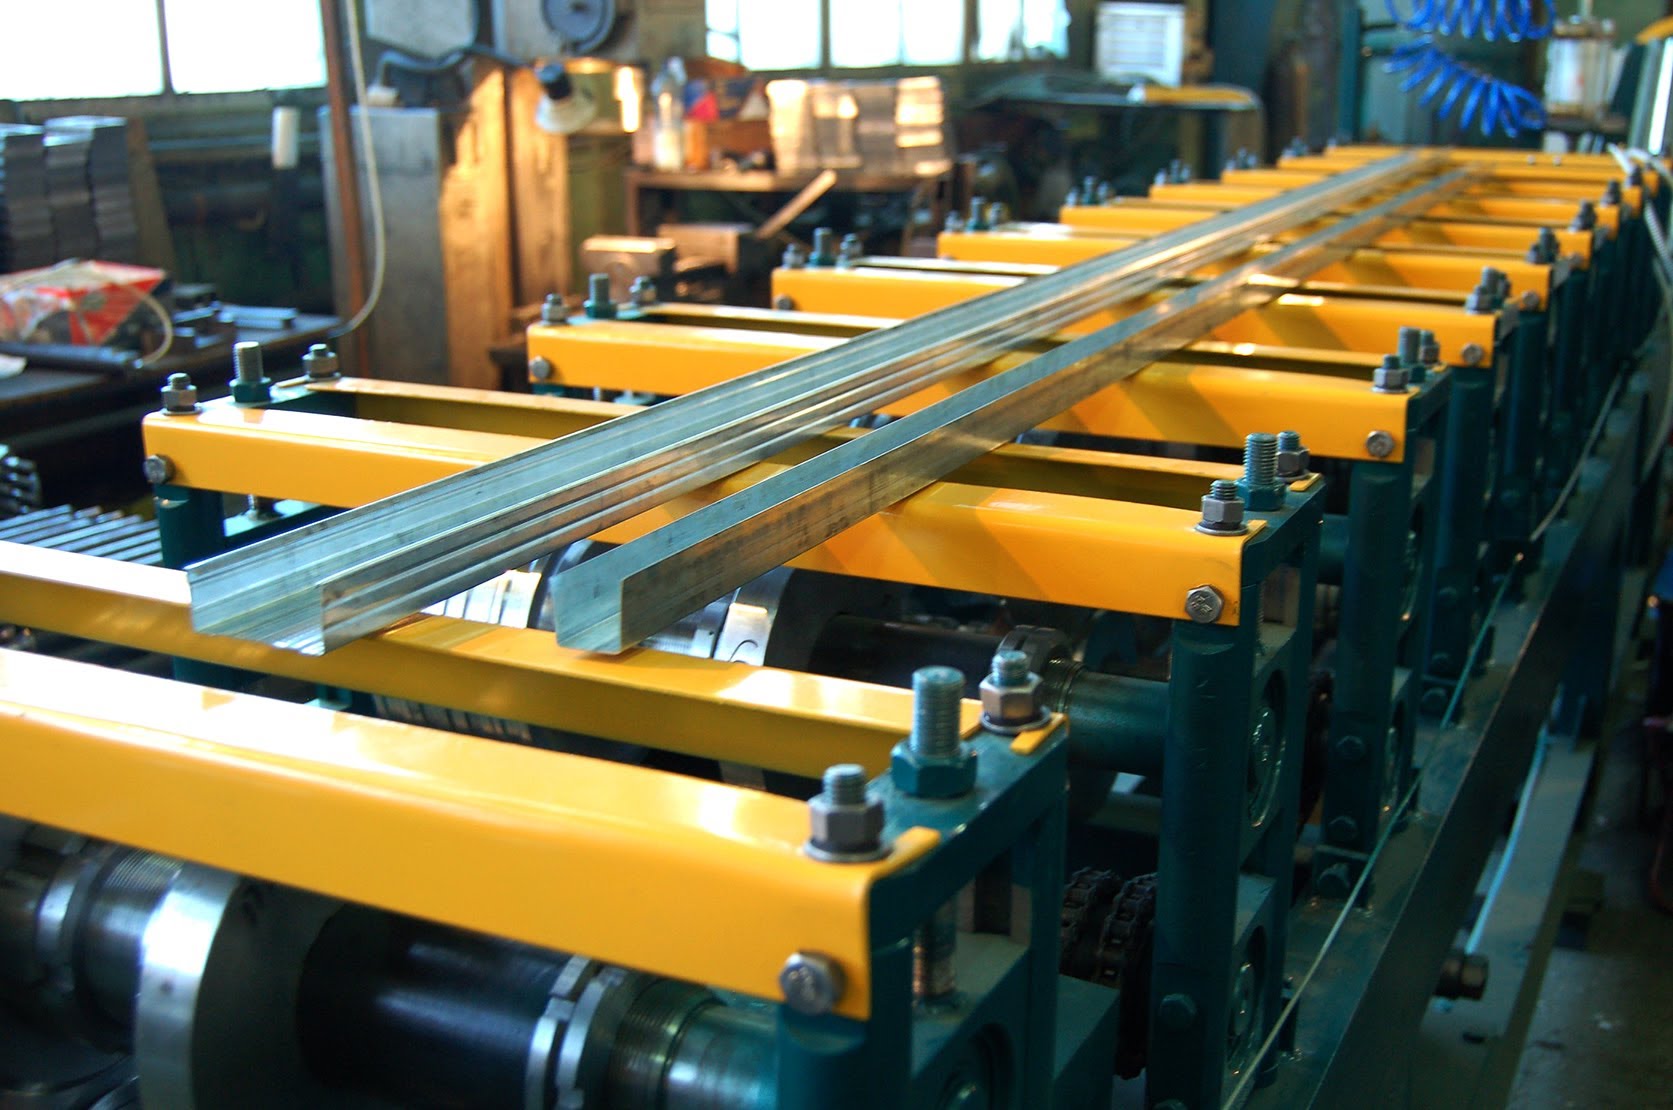
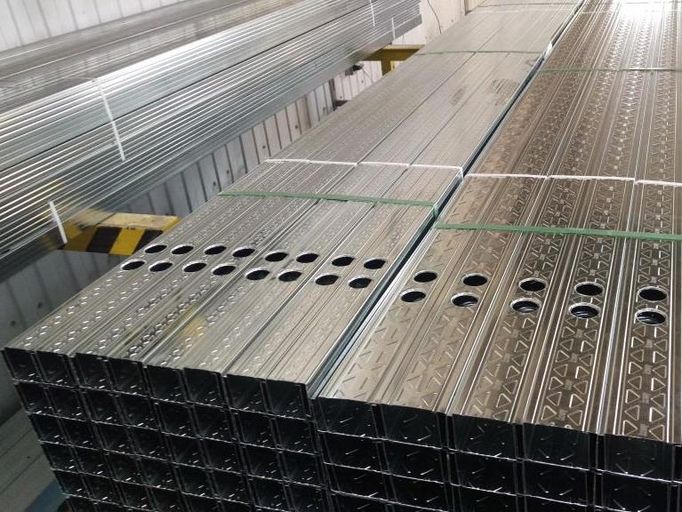
Elements of frame construction are made of steel (roll tape) using cold rolled products.
Profile properties:
- high level of strength and stiffness;
- resistance to corrosive effects;
- resistance to temperature extremes;
- unlimited period of use.
Galvanized profiles create a strong and unbreakable base for the subsequent fixing of drywall. You can use them in all types of rooms, both small and large.Metal slats have a different section and size.
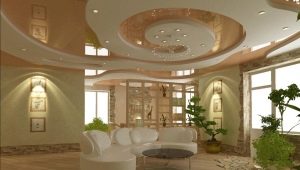
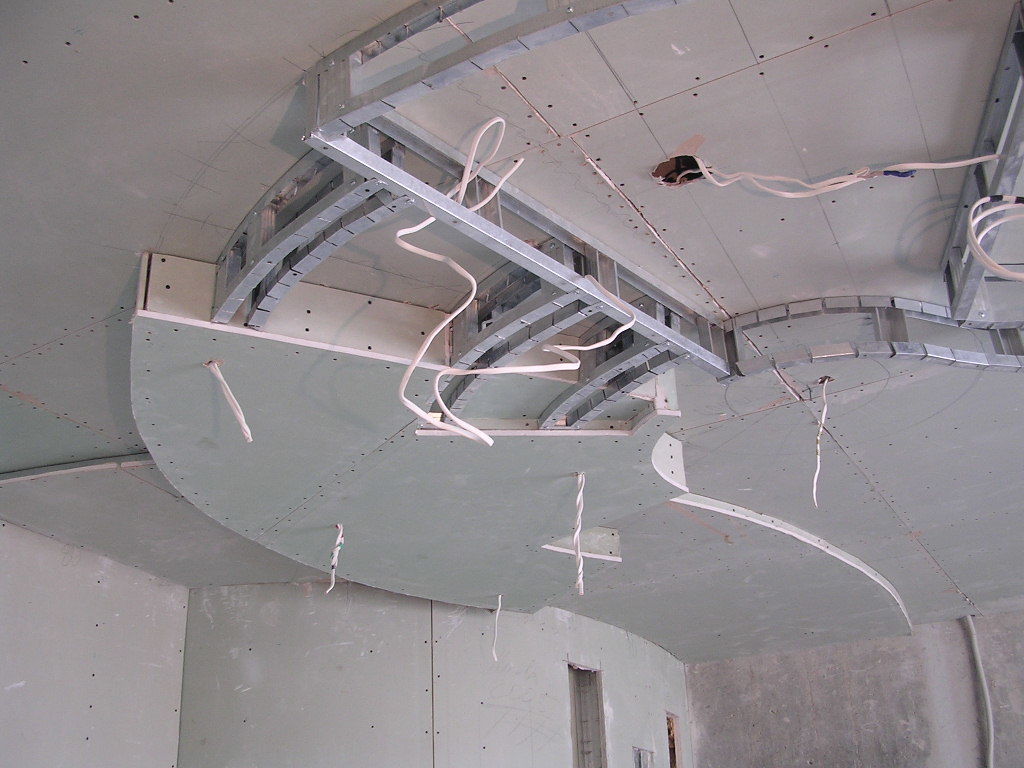
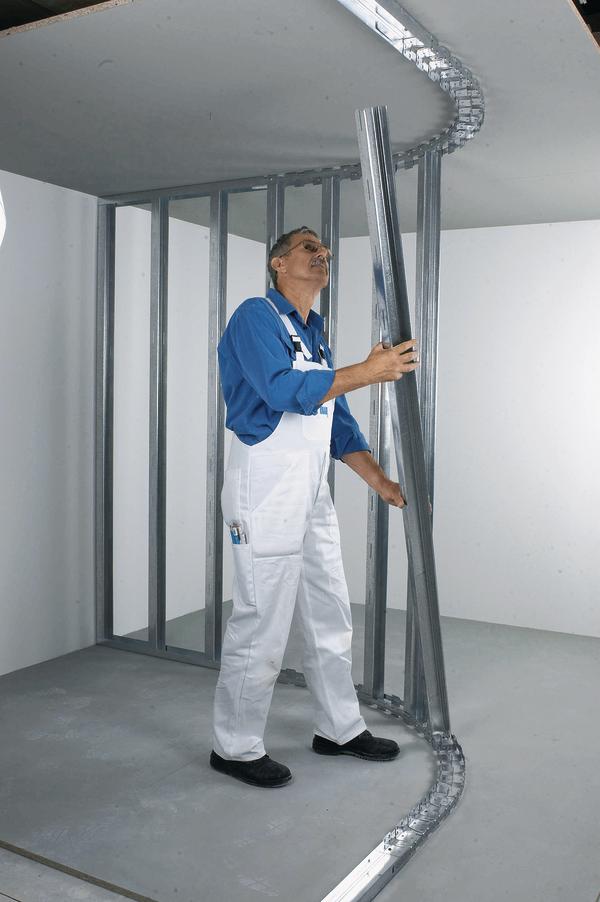
A variety of types of profiles allows you to create simple suspended and curvilinear structures, frame openings (windows, doors), install niches and arches.
Kinds
Before the start of finishing works with the use of drywall sheets, you need to decide which profiles will be used in the process.
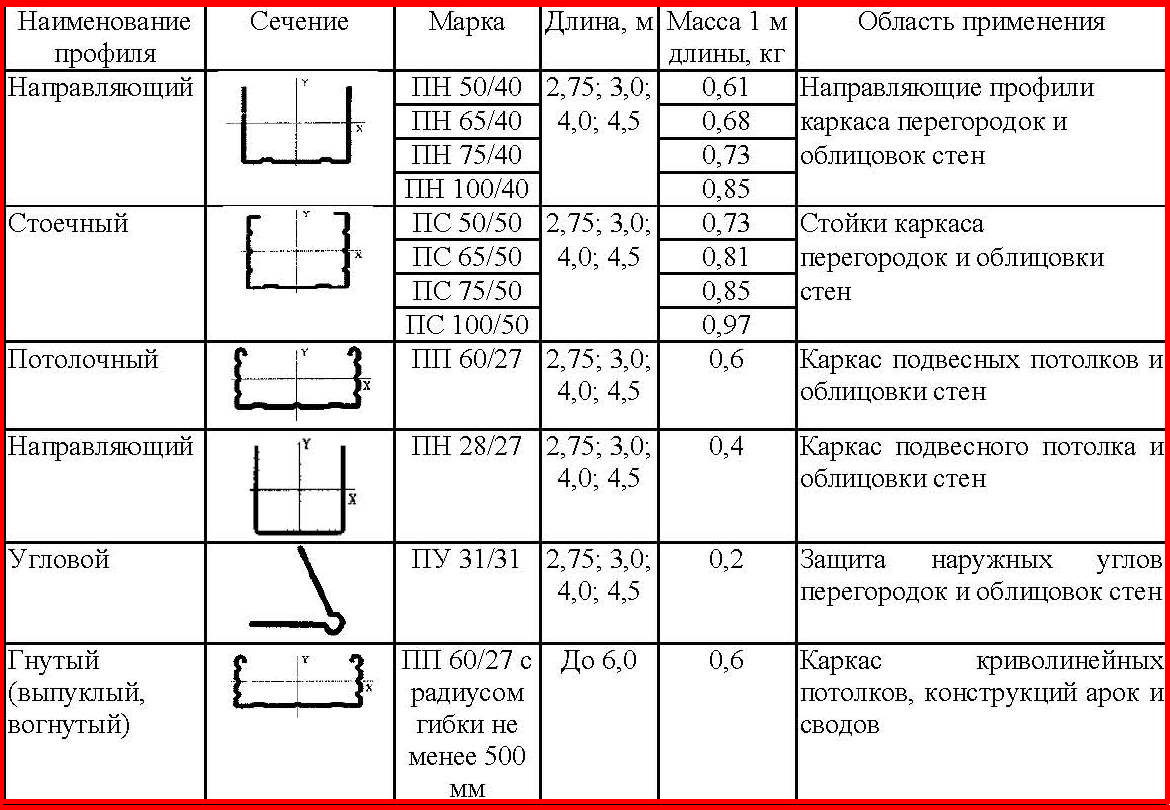
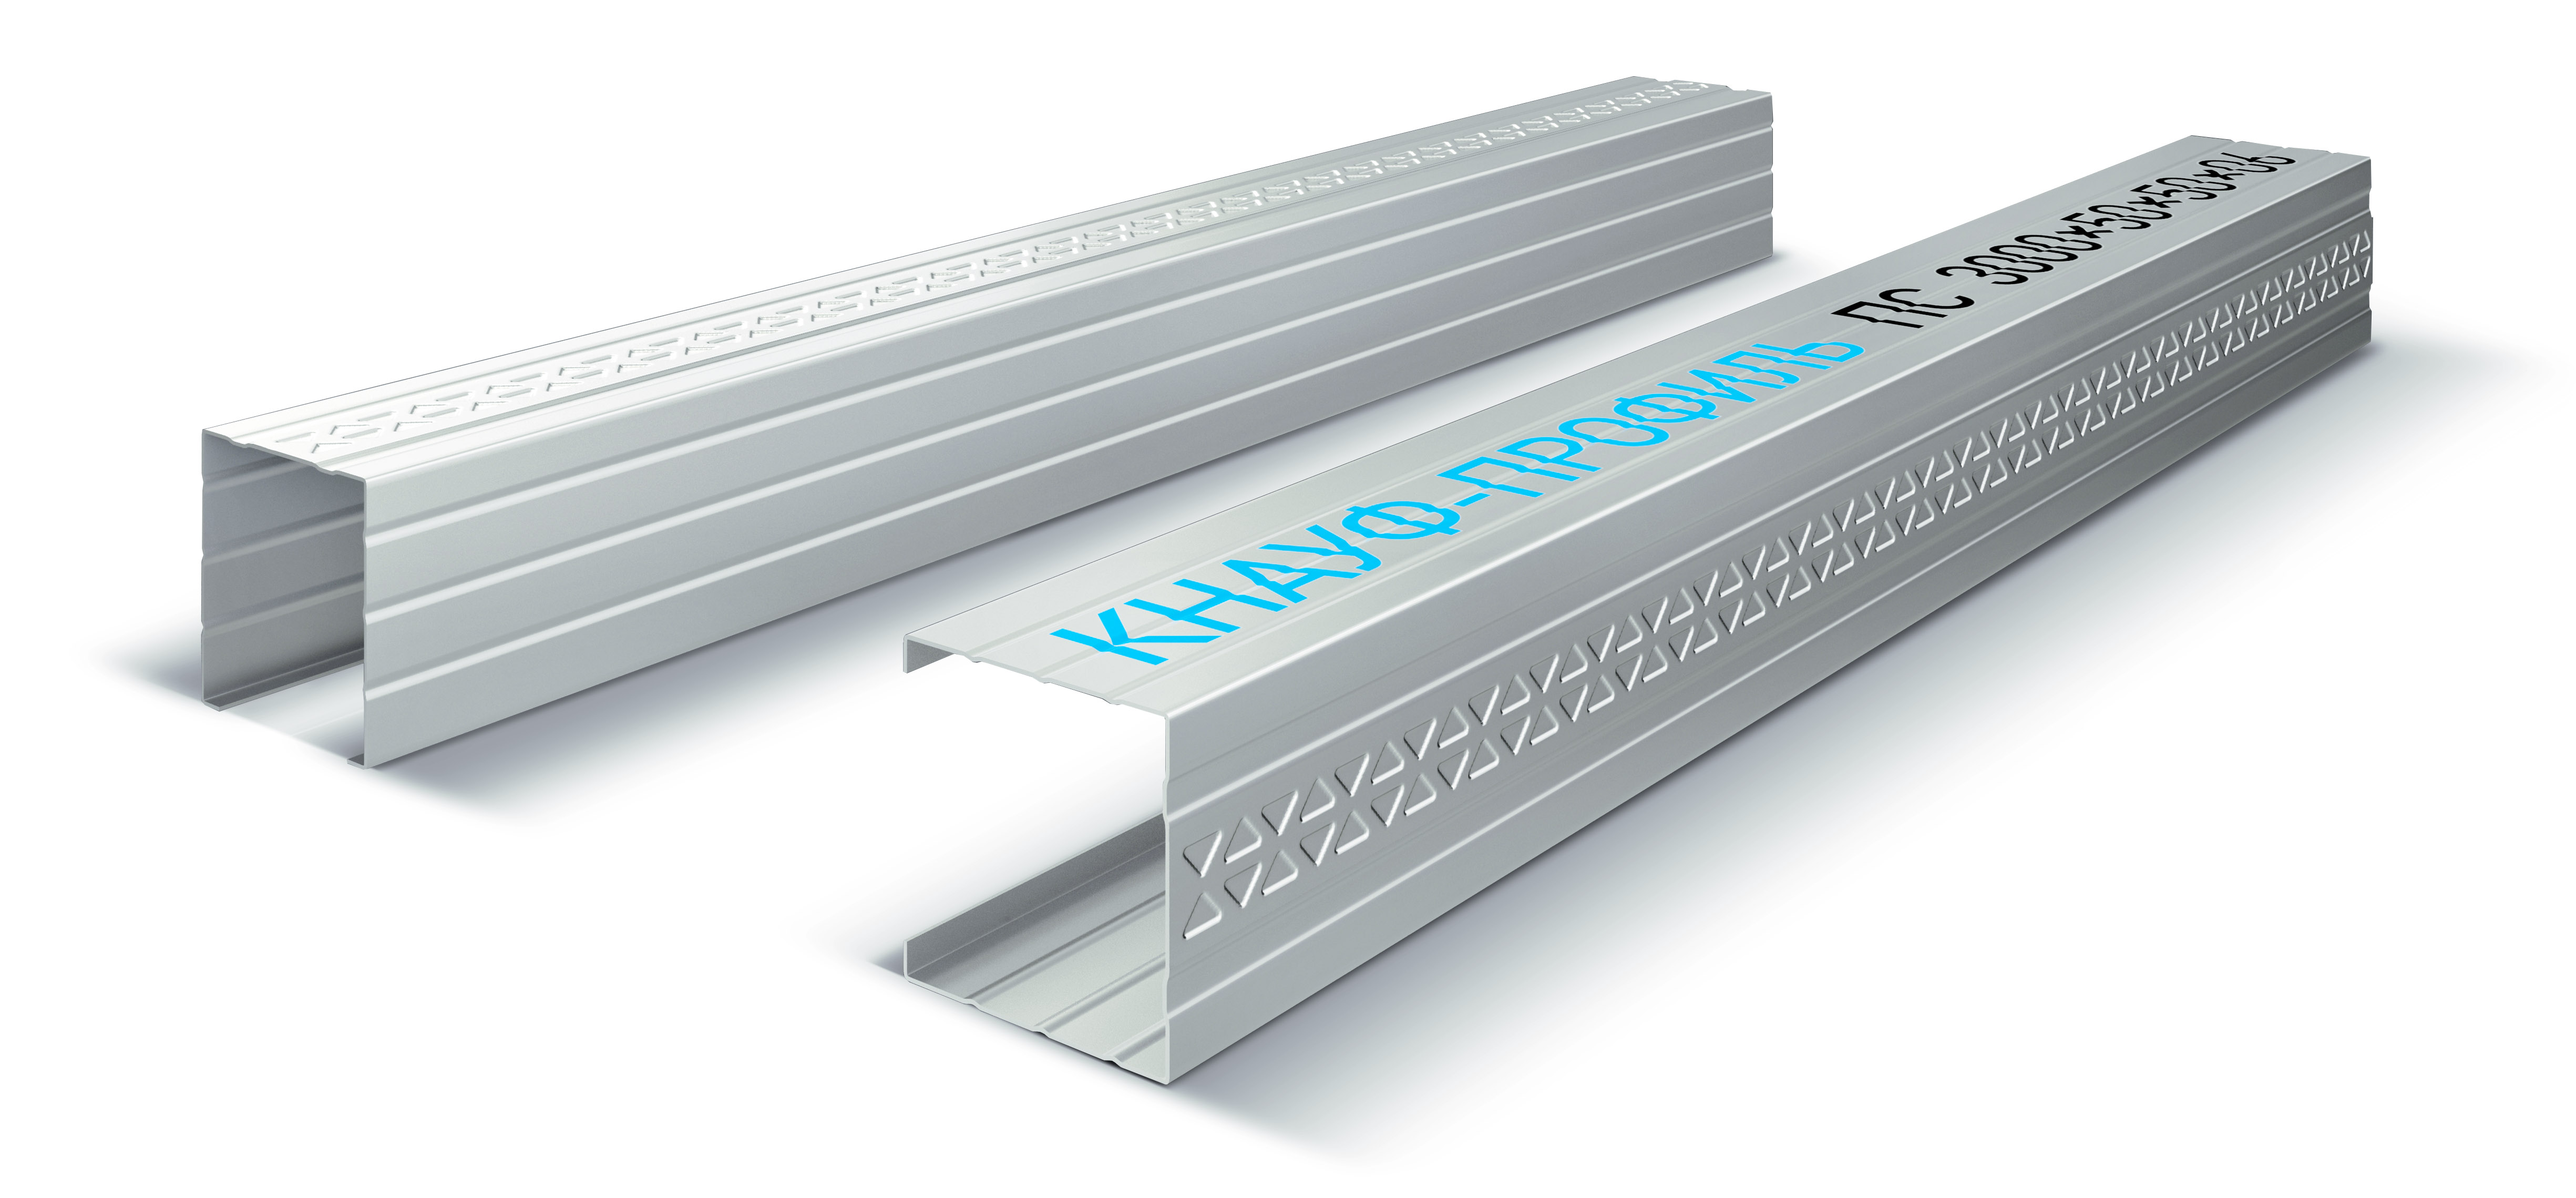
Wall and ceiling bases
To create an iron batten on the walls and ceilings, a pair of structures (CD, UD) is used. They have a standard size. Differences appear in the metal and footage. Can also be used arched rack profile.
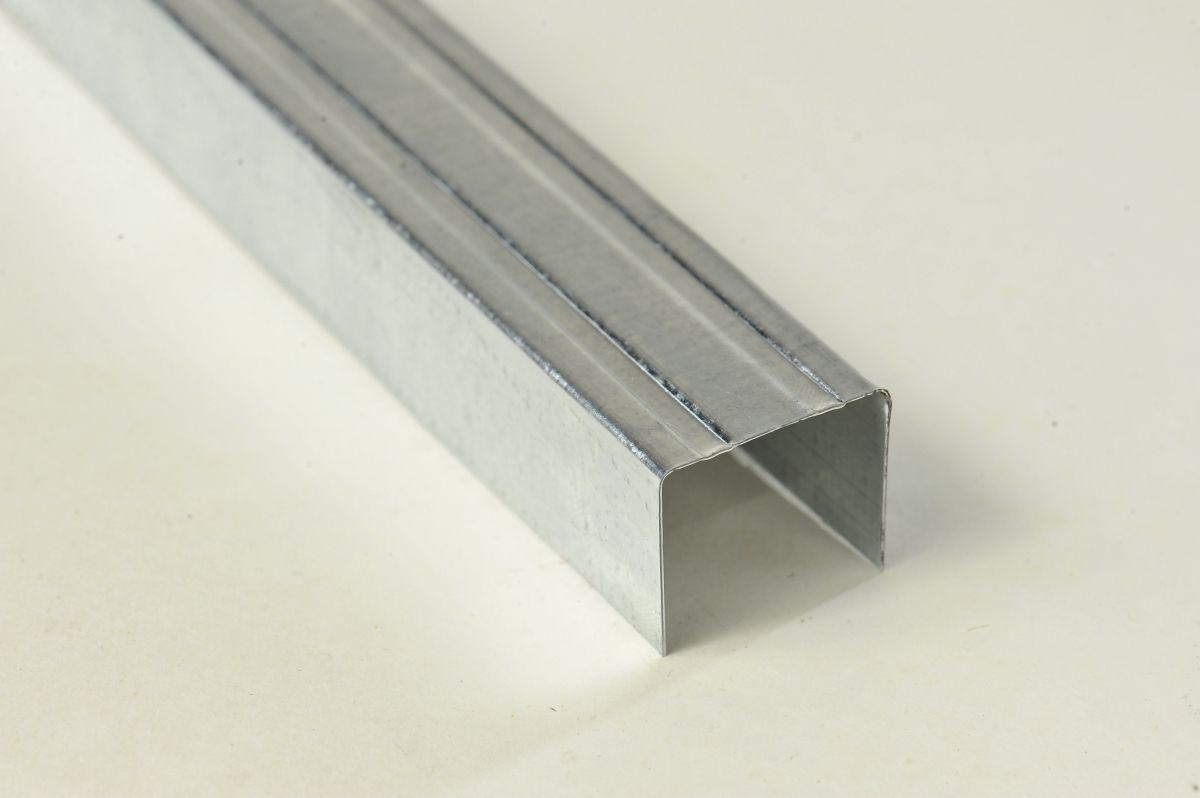
- Direction specifies the UD profile. The main objective of this element is to delineate the parameters of the treated area. If a base is formed for the gypsum plasterboard finishing, then this profile is placed along all four surface boundaries. Its standard size is 27x28 mm in width. In length, such products are three-and four-meter. A key indicator of profile resistance is the thickness of the metal from which it is made. The thicker the metal, the stronger the walls of the product. Accordingly, the overall stiffness of the structure increases.For example, for the ceiling it is better to use thicker profiles, and on the walls you can get by using sheet steel elements.
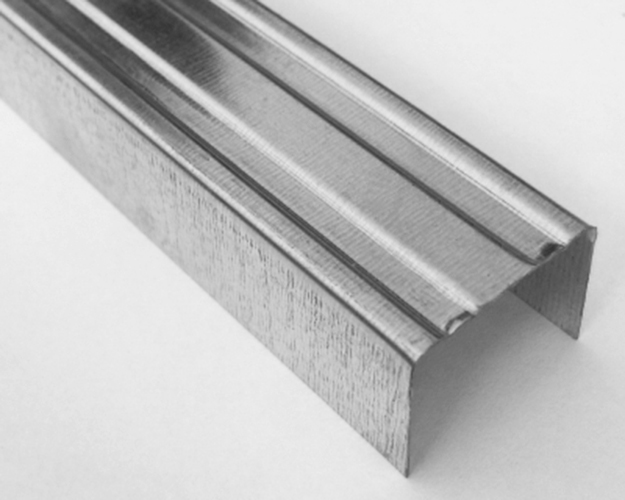
- CD profile carries the brunt of the design. It is used for the final creation of frame structures. GCR is attached to it, it is responsible for the stability and rigidity of the crate. The product can be made of steel of different thickness. Thin profile is unreliable. In addition, it will need more additional fasteners. The standard profile size is 60x27 mm. The length of the steel element can be 3 or 4 meters.
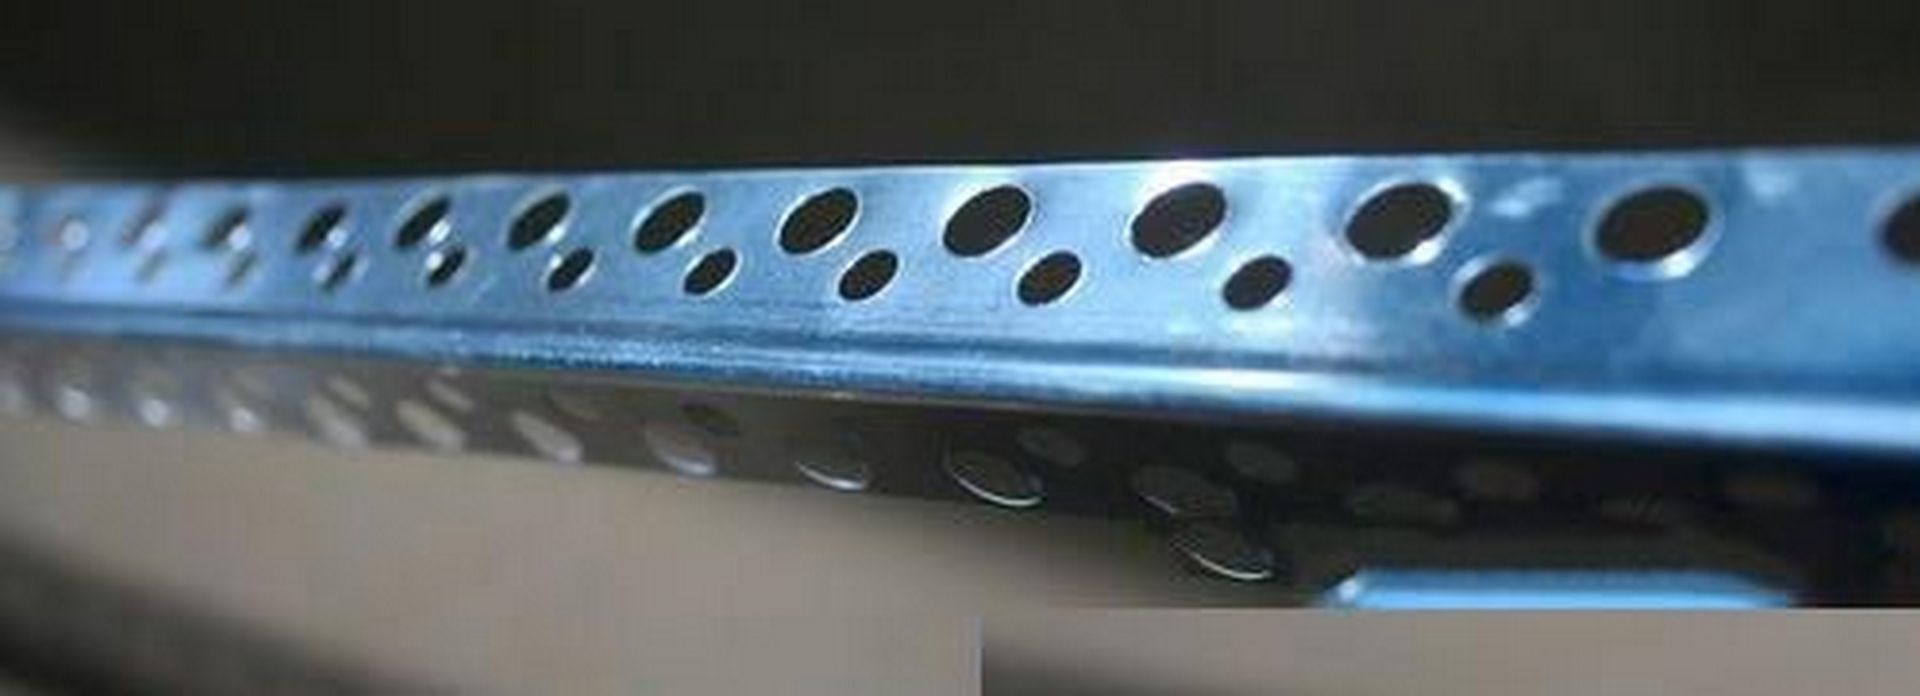
- Profile for arches characteristics similar to the CD profile. It also has a bearing load. The main difference is that it is perforated and has cuts. This quality allows you to bend the profile and give it the shape of an arc. The length of the product is usually the same as that of the CD and UD profiles.
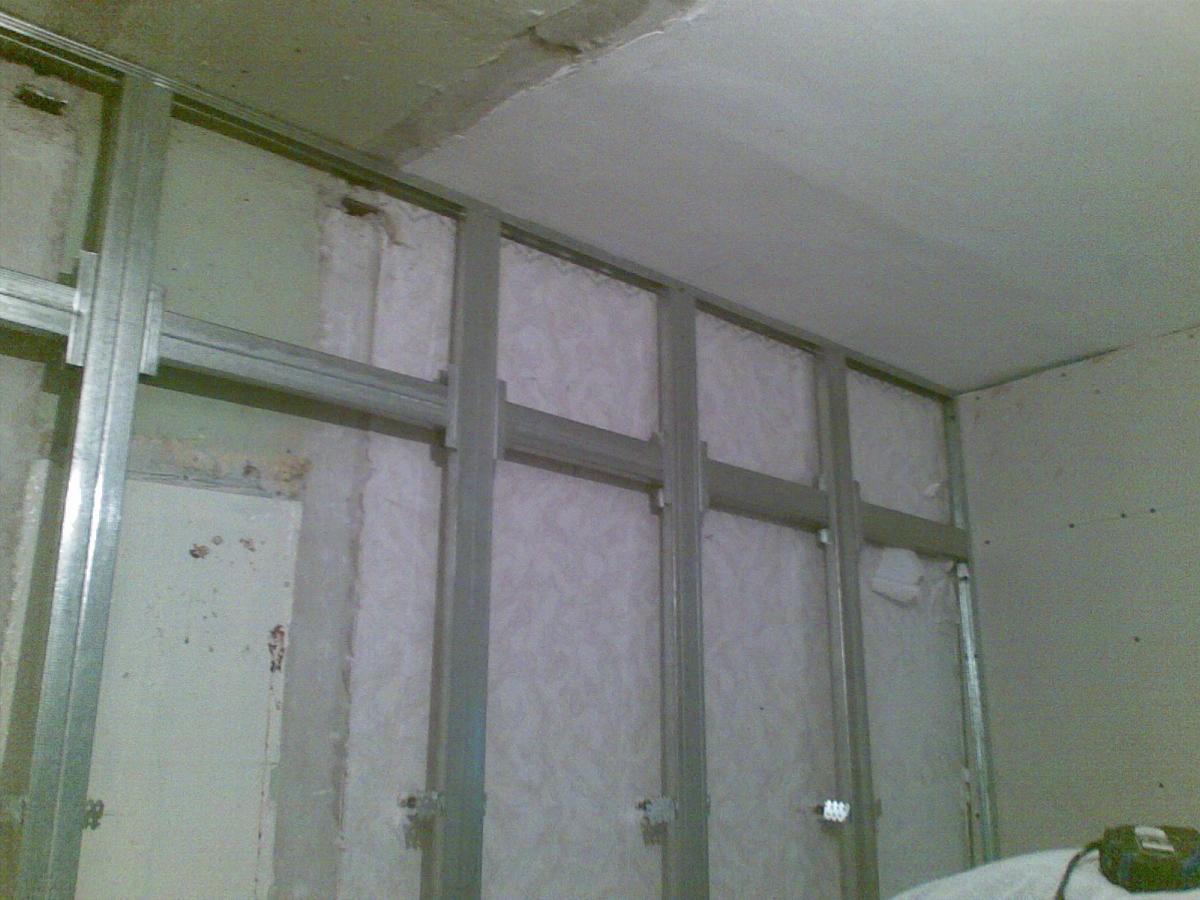
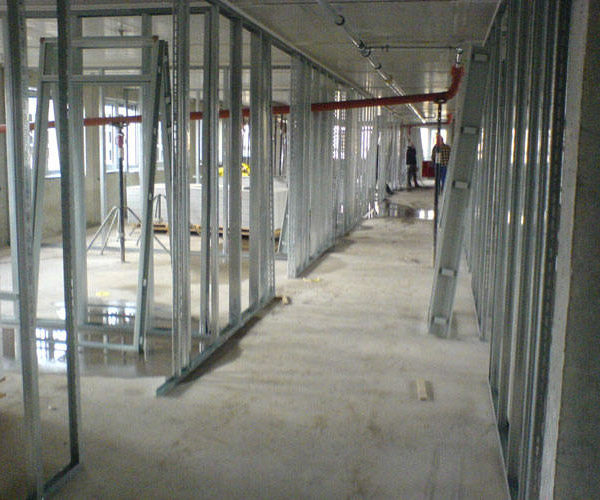
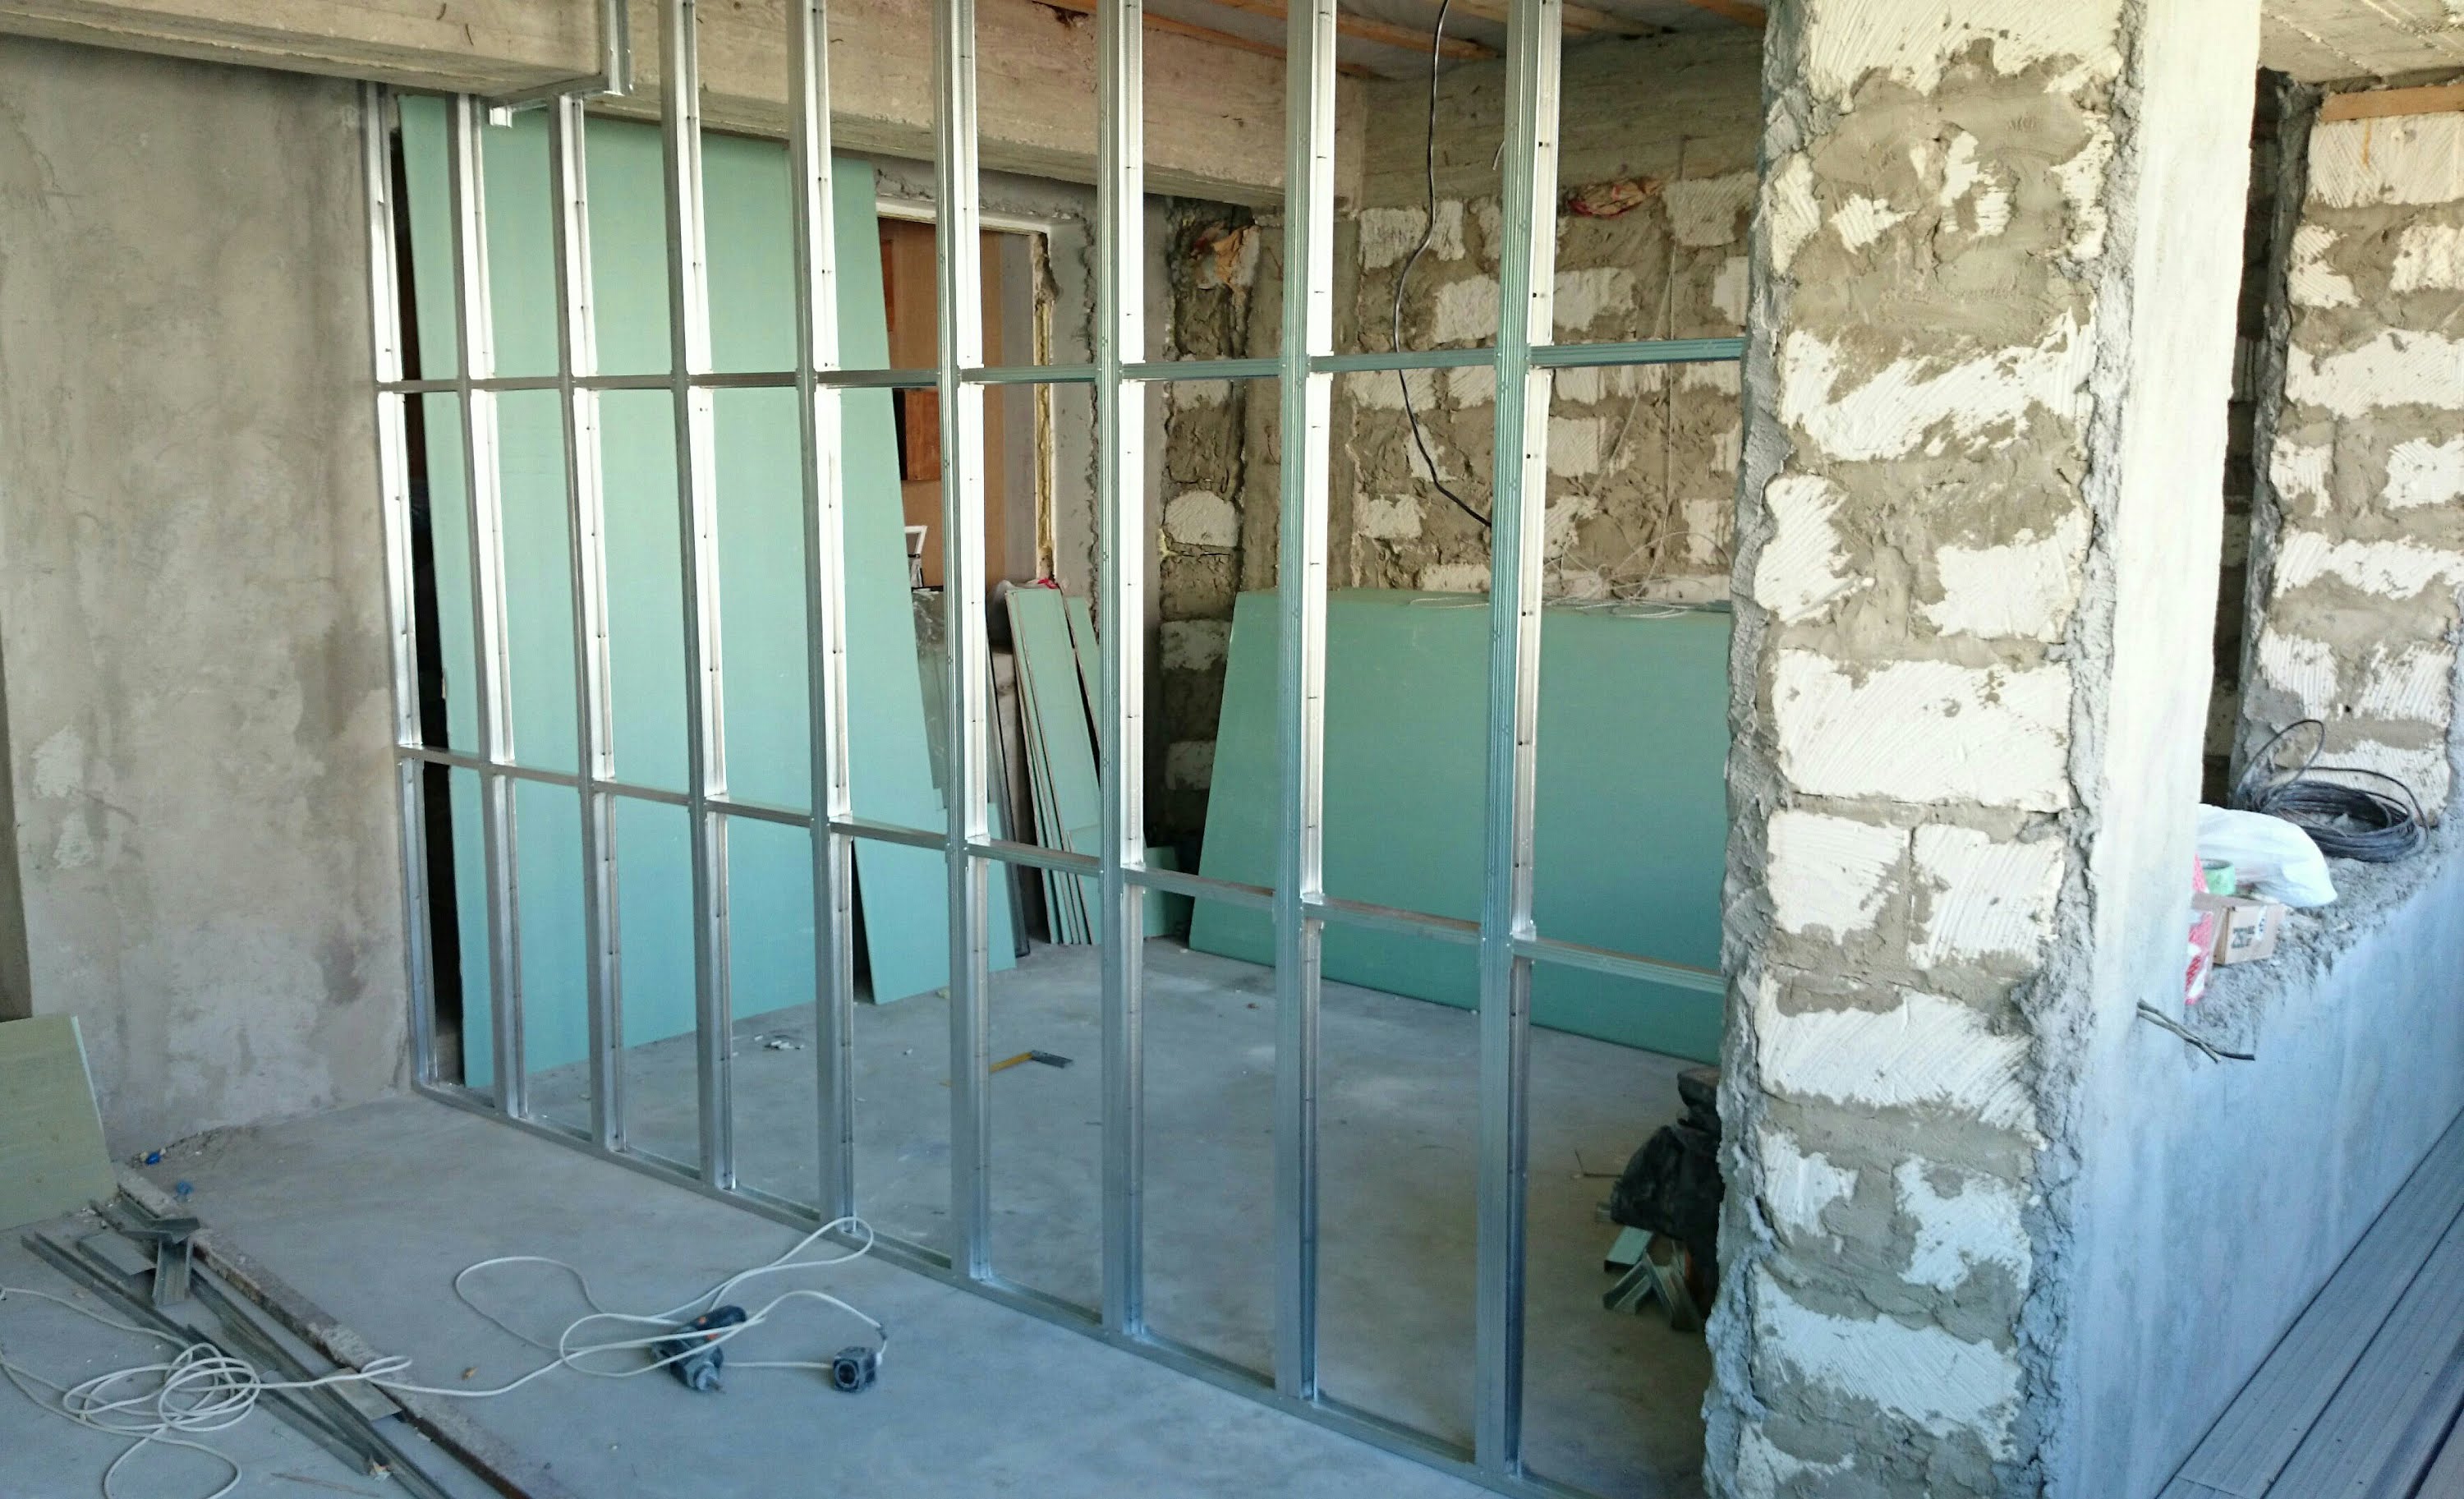
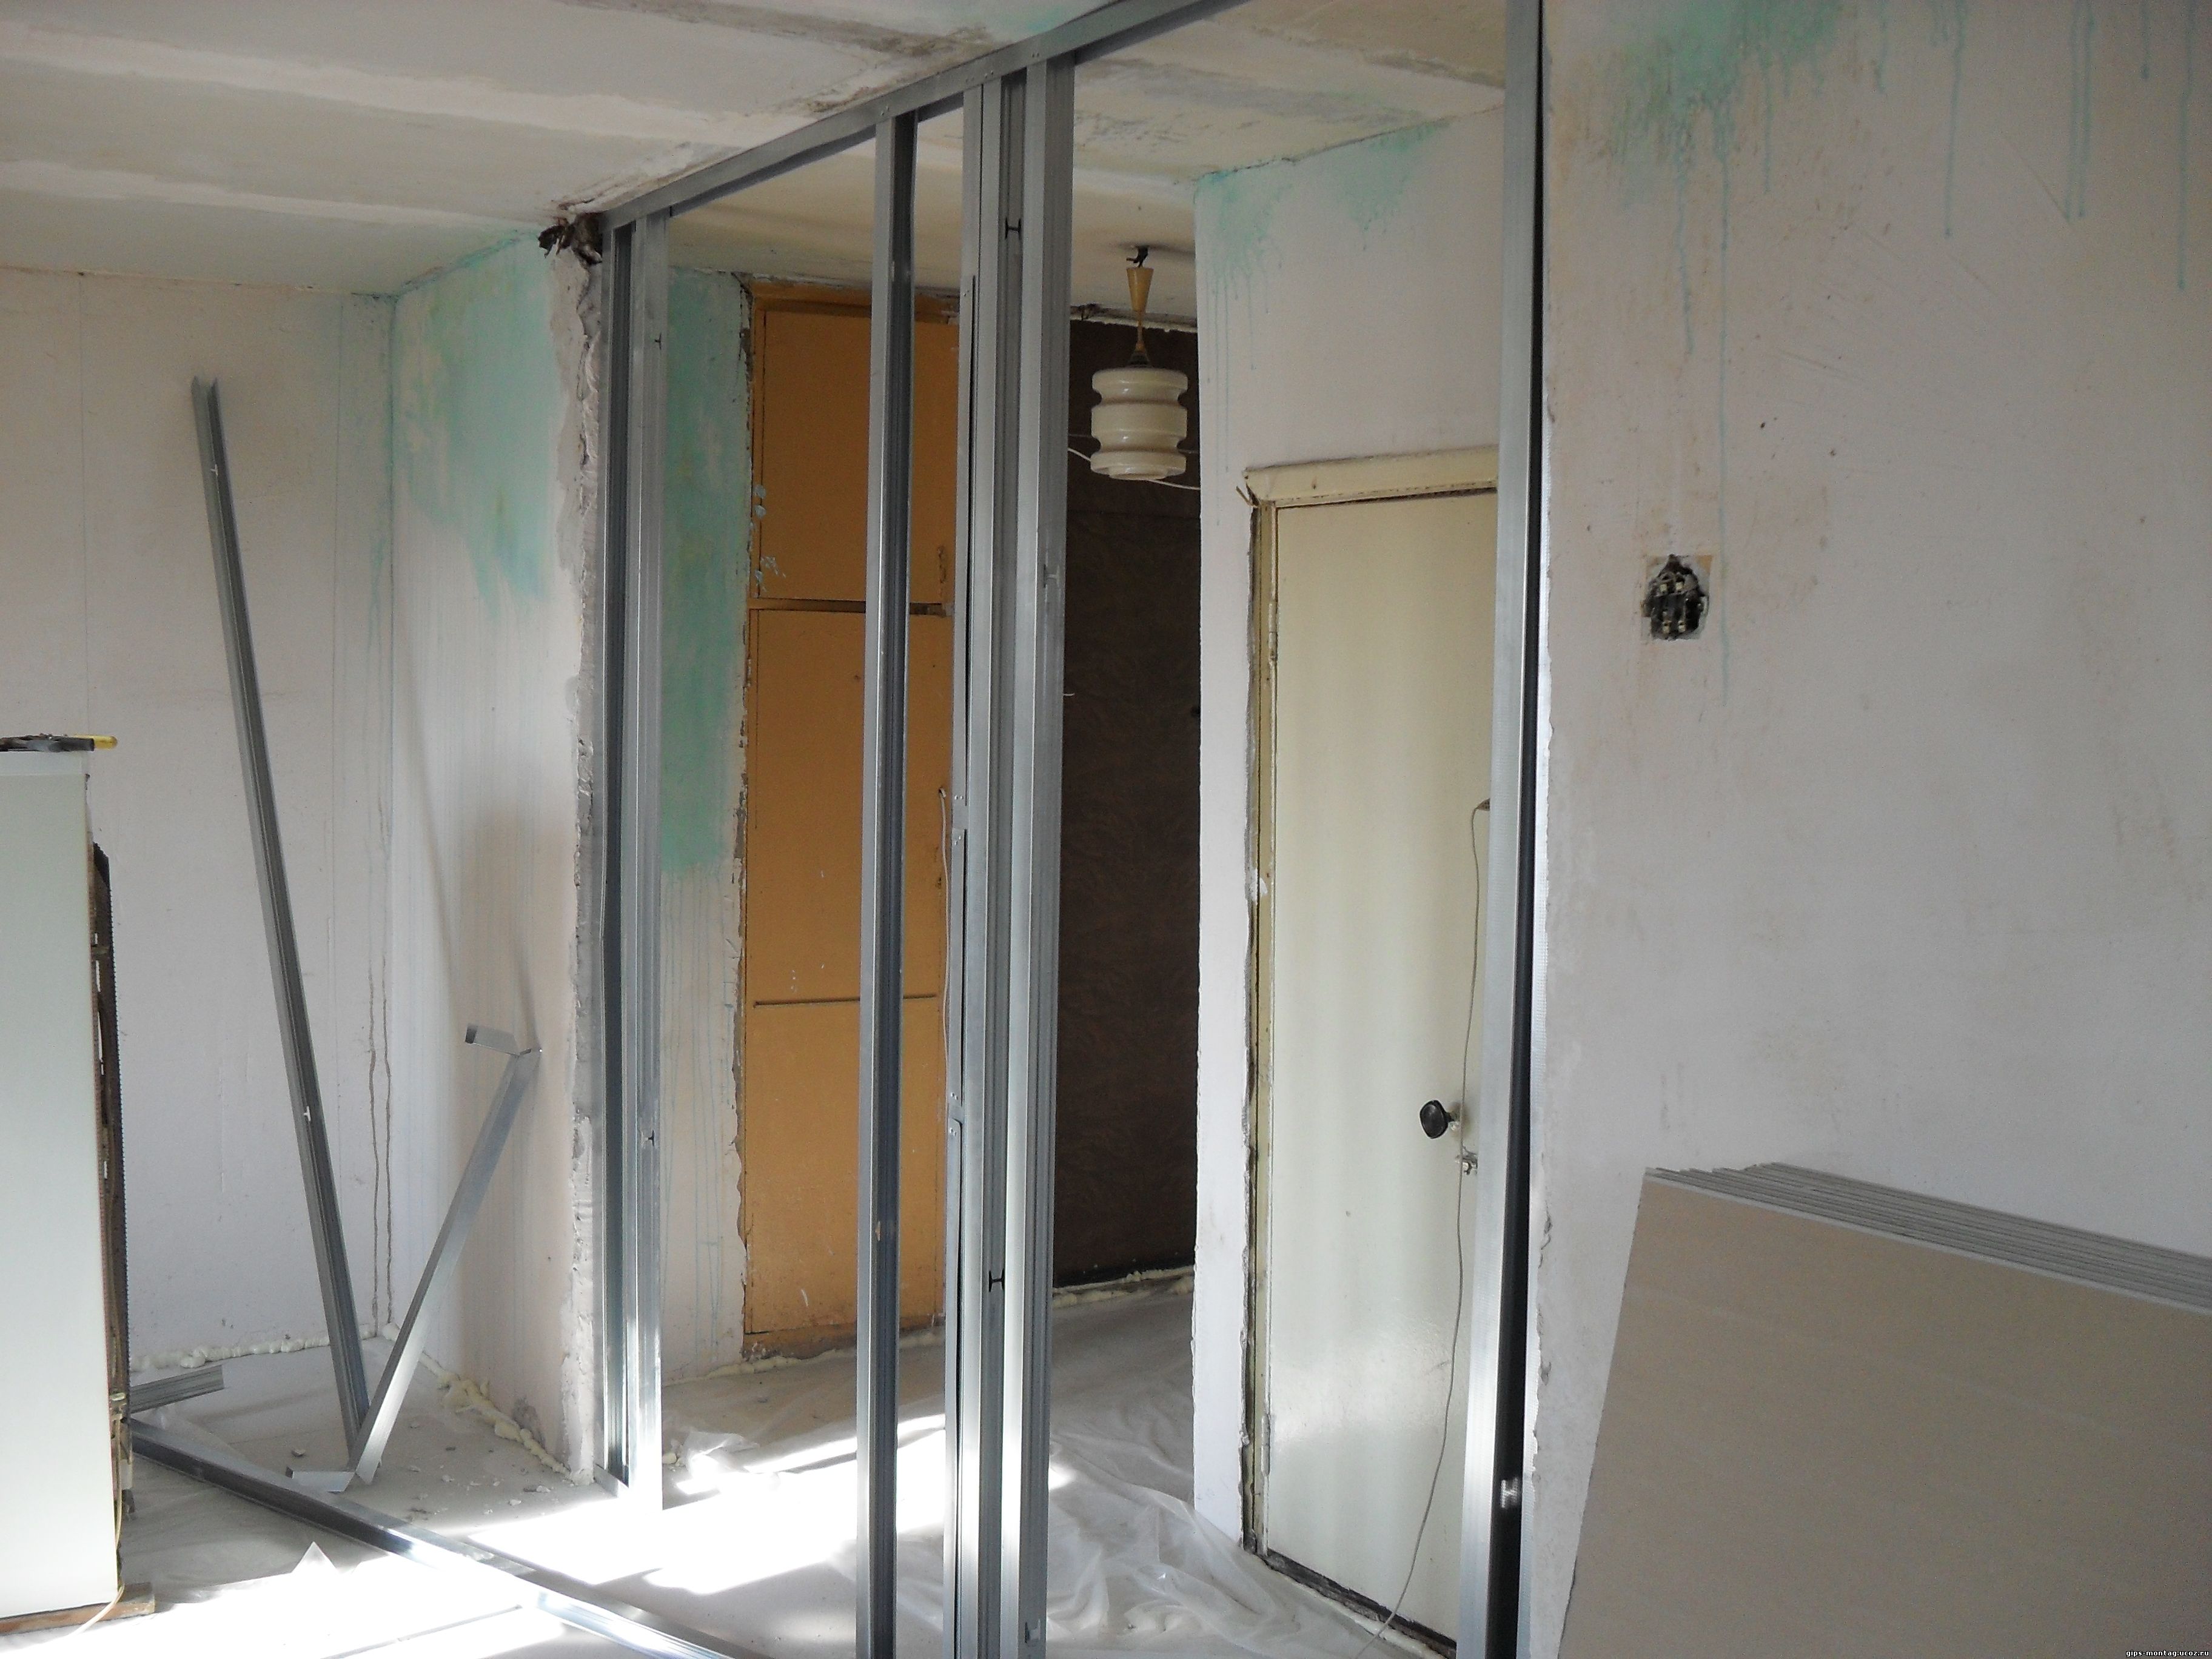
Construction of partition elements
Steel structures for false walls are characterized by the fact that they have a larger size and other purpose. Their size range is in the range from 50 mm to 150 mm (50, 75, 100, 125, 150). For example, a product can have a size of 100x50, etc.The width of the profile is selected based on what the partition will be used for. For example, for building large communications, a wider profile is needed. The higher the required parameters of thermal insulation and sound insulation, the wider the galvanized element should be.
- UW profile sets the direction. Its attachment area is a predetermined perimeter.
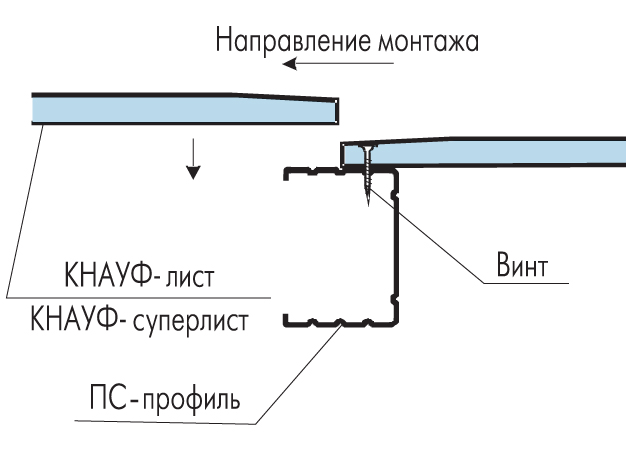
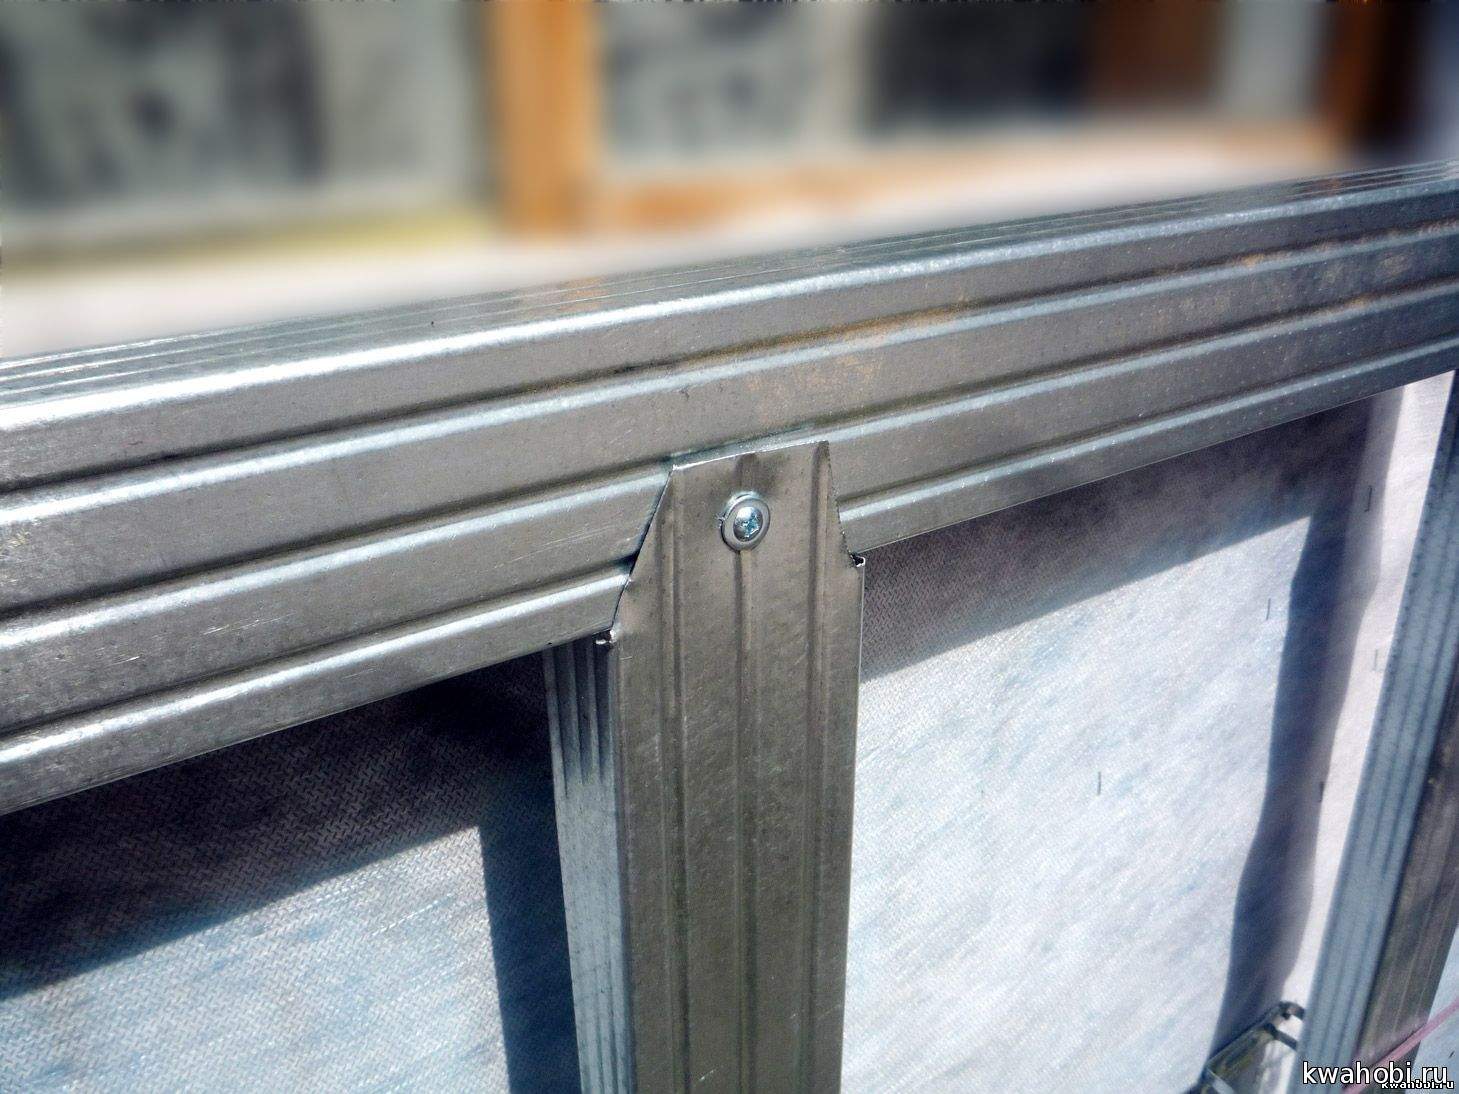
- CW profile strengthens the crate and gives it rigidity. The fastening pitch of the steel element is 400 mm. This allows you to fix a sheet of plasterboards on both sides.

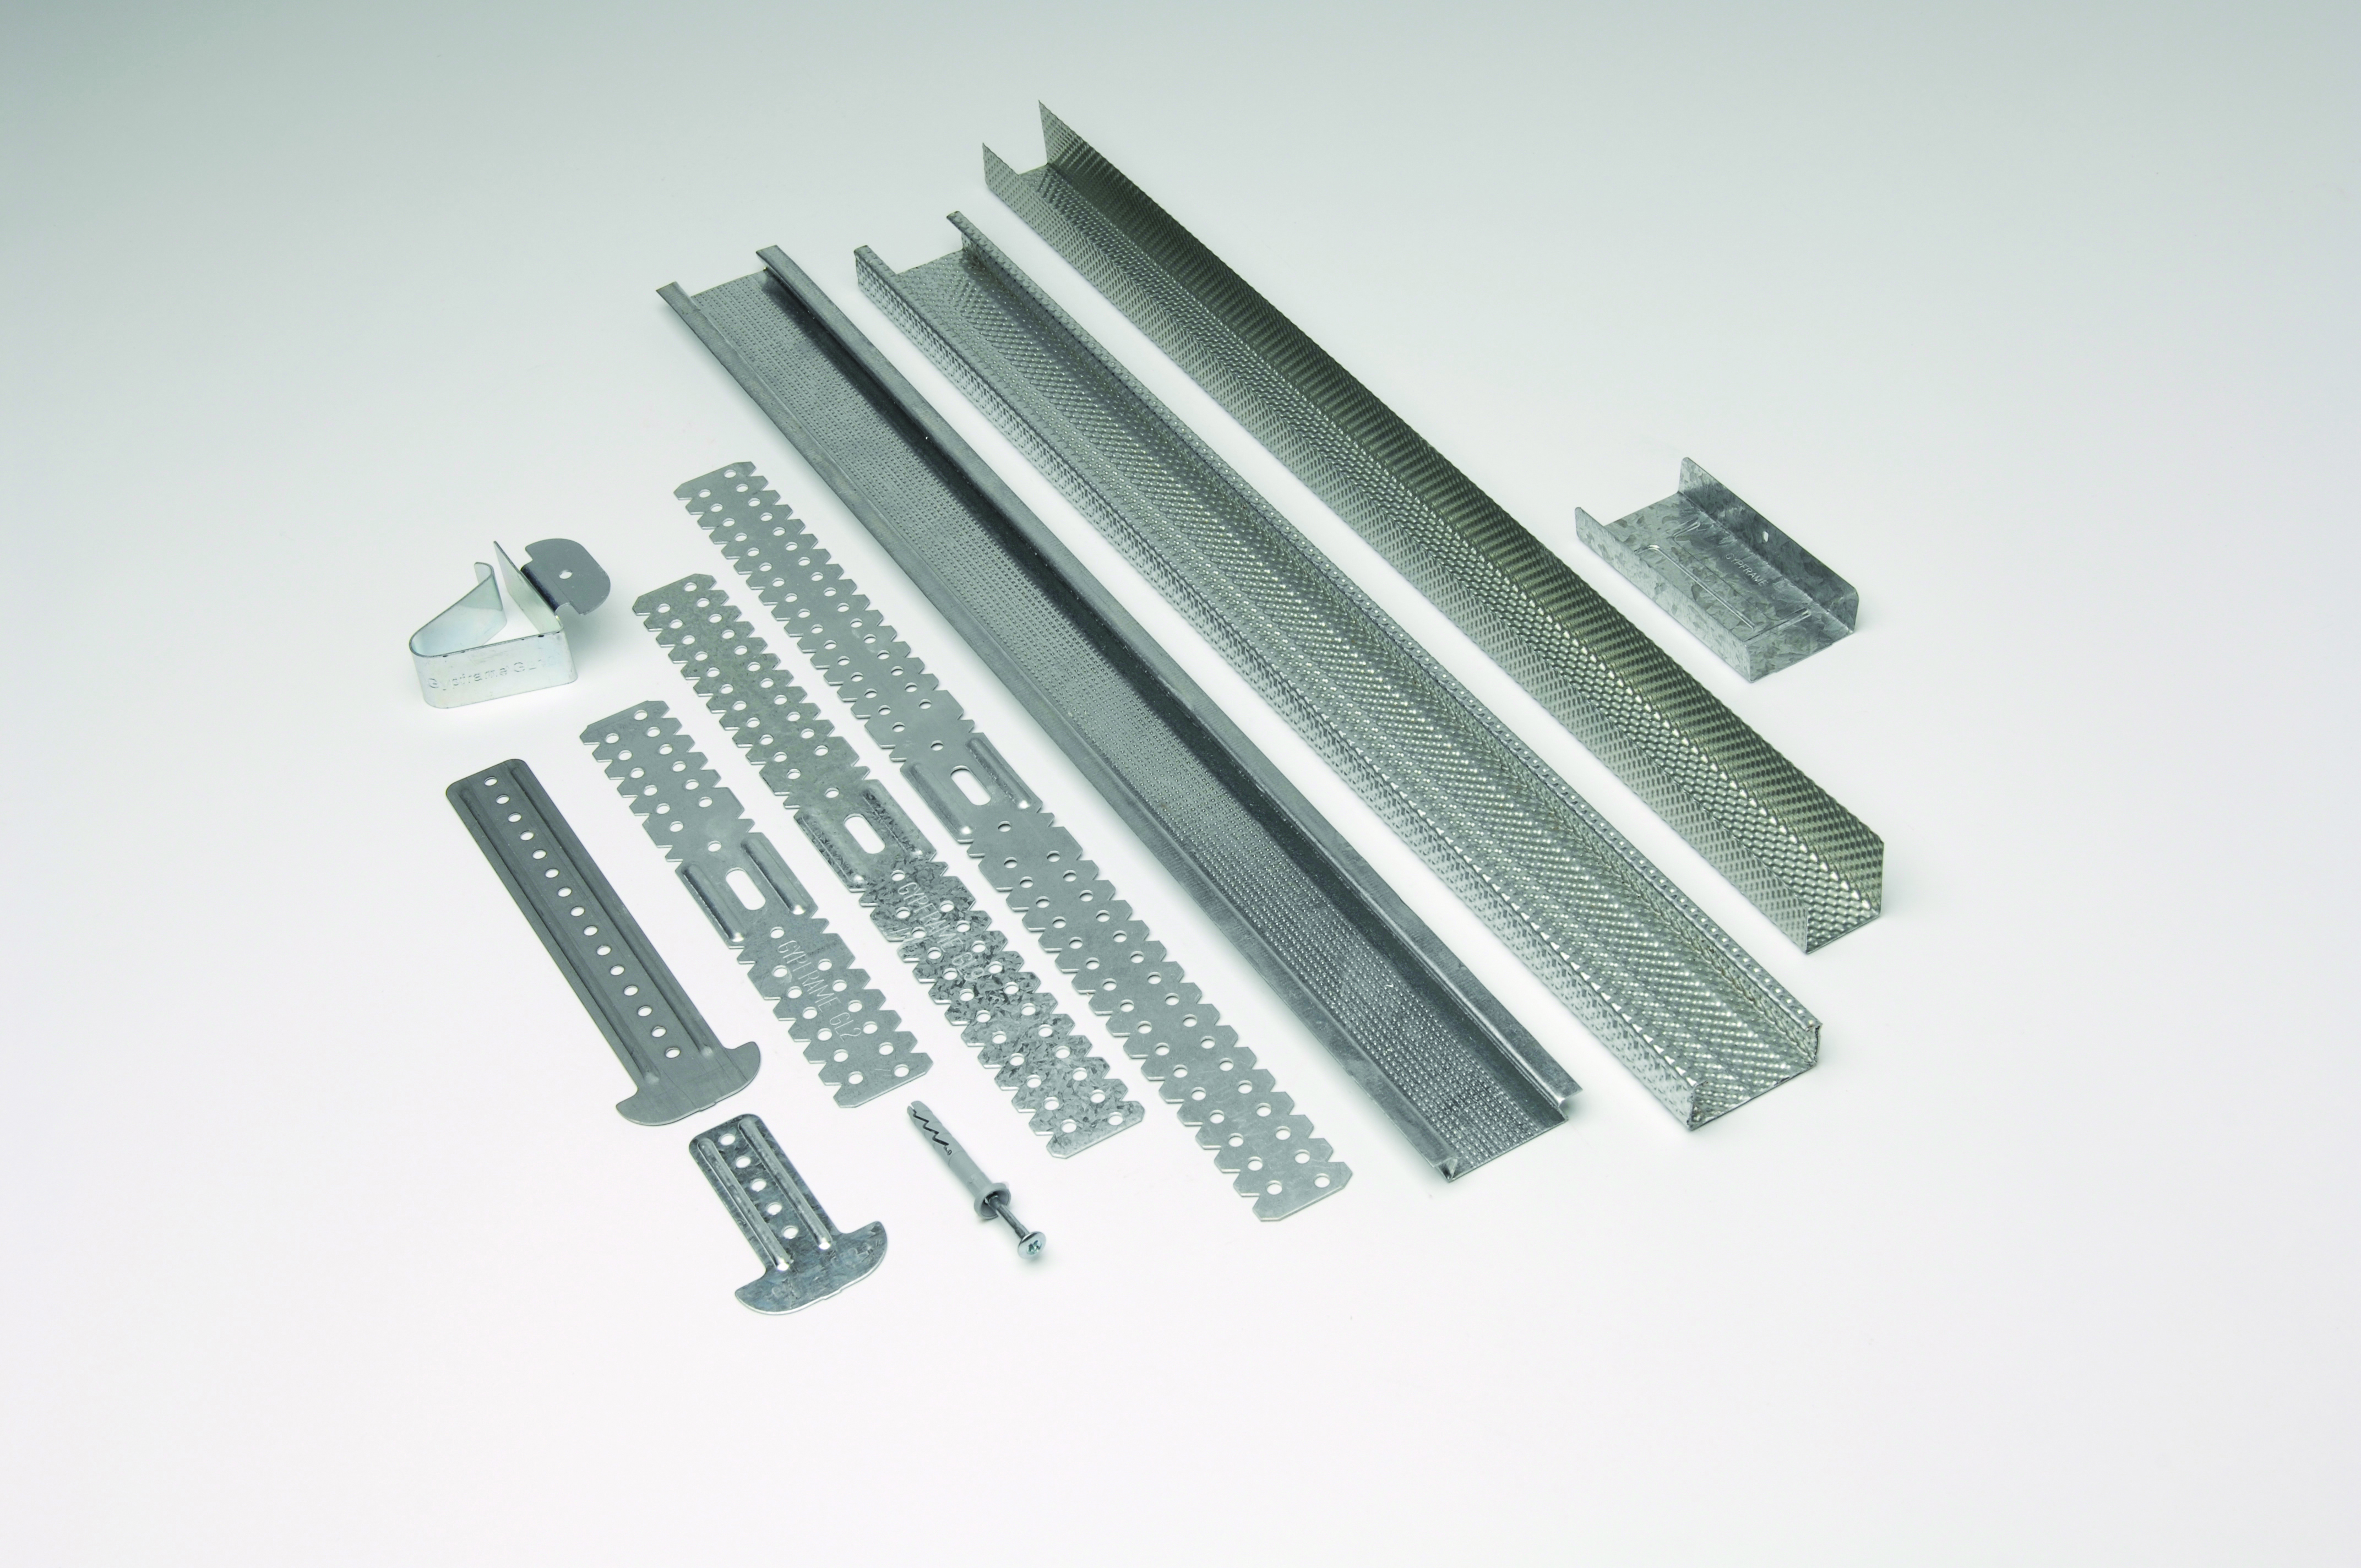
Mounting and additional parts
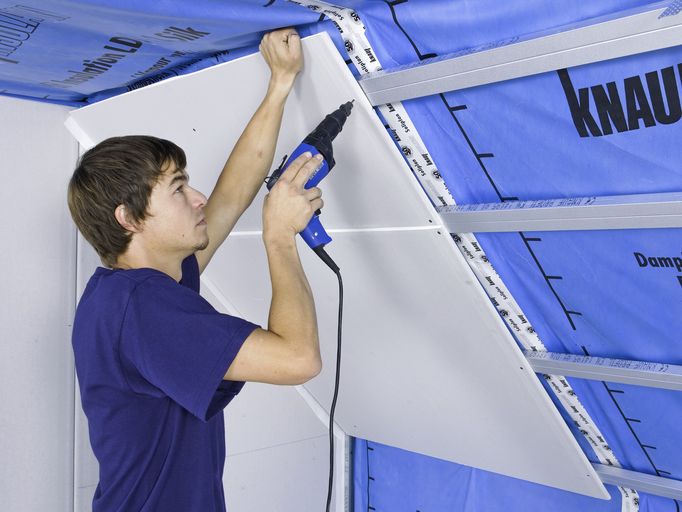
To install cladding plates, we need not only steel products, but also a number of auxiliary fasteners. With their help, galvanized profiles are interconnected, and the gypsum board is attached to a fixed frame.
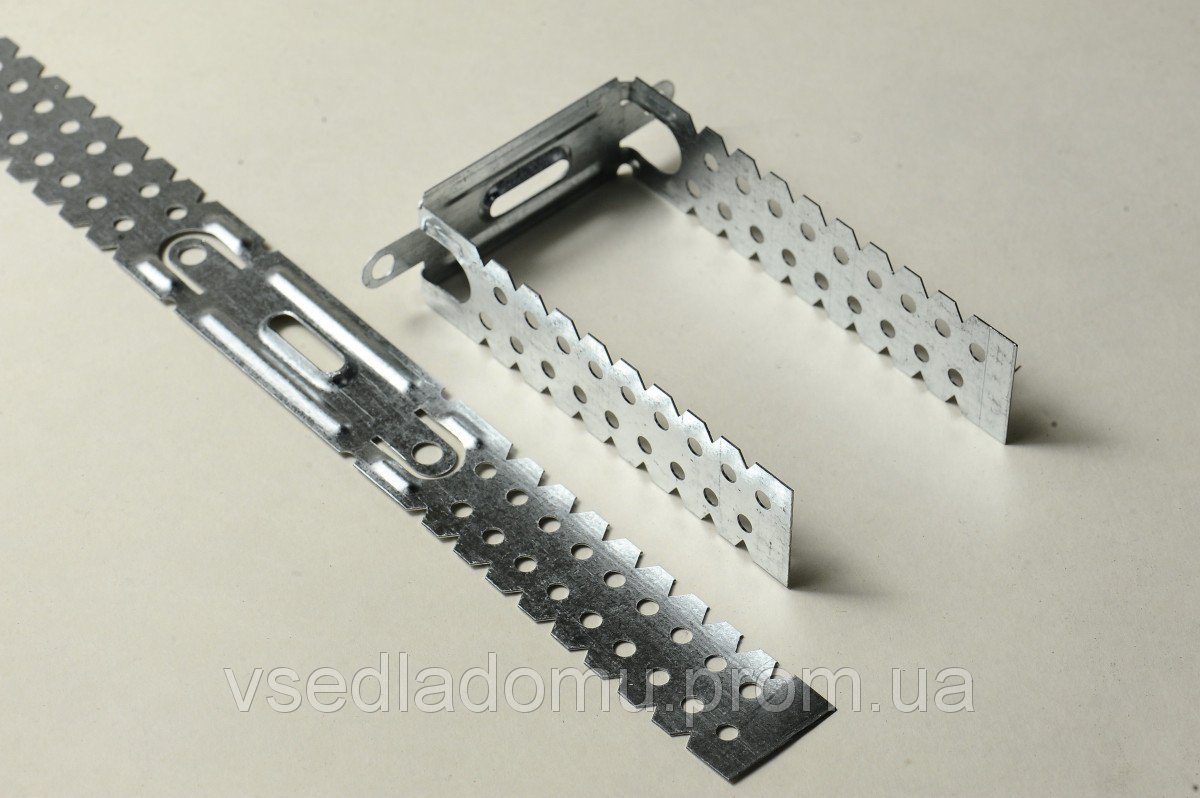
- Detail ES 60x125mm. This is a plate made of metal, which can bend and take the shape of the letter "P". It is perforated over the entire surface. Its main task is to connect the surface with the profile crate. In the middle of the product there are holes for mounting to the wall. The sides of the parts are attached to the main galvanized element with screws.
- The “butterfly” quick-mount serves as an attachment where the ES part cannot cope (lack of the required length). It consists of several elements.This is the needle and eyelet, which is attached to the main profile of the CD. The length of the wire with a loop is 25 cm, 50 cm or 100 cm. The spring fixes the wire and the “butterfly” together. It is regulated by simply pressing a finger. However, such a system has a drawback. The spring can weaken, and this will lead to the fact that the ceiling will slack after a while.
Hangings "butterfly" is not used in the construction of walls. U-shaped brackets are used for this.
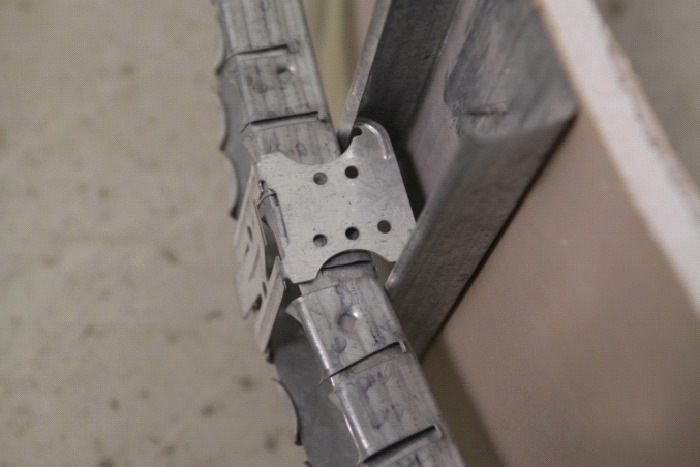
- H-shaped coupling in common is called "crab" for connecting CD profiles. It is used for perpendicular joining of the main profiles. "Crab" snaps to the element, and then with the help of screws and screws is finally fixed. To put a jumper between the profiles, you need to choose places with couplings and place it between them. It is fastened with metal screws.
- Connector for CD profile. It is used to build up the main profile. The element is located between the two guides, connecting them. On each side it is fastened with screws.
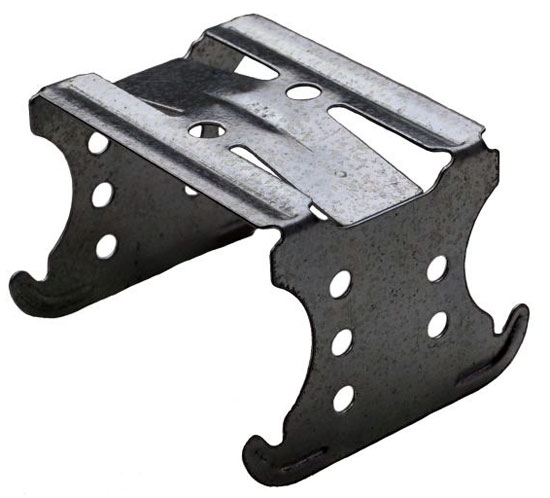
- Fastener for a two-tier connection it is rarely used during installation because of its specificity. Its use is advisable in cases where a wooden floor is used as a base. The metal construction is double. The first level of galvanized elements is not attached to the wall (floating). The second layer of the structure is attached to the first with connectors. Installation of such complexity is required due to the fact that the wooden base is subject to deformation changes (moisture level, temperature conditions). The fastening element compensates for these vibrations.
All types of galvanized profiles and additional parts are fastened with the help of expansion and driving dowels, screws for wood and metal, and screws of the wrench.
How to choose
When buying a profile, you should take into account the advice of professionals. The reliability of the structure and its durability depend on the choice.
- The best products are profiles with simultaneous deposition of zinc and polymer. Good and galvanized elements (with a two-layer application). So the future frame is protected from corrosion.
- The important point is the thickness of the product. The indicator of 0.5 mm is the minimum guarantee of stability of the frame.
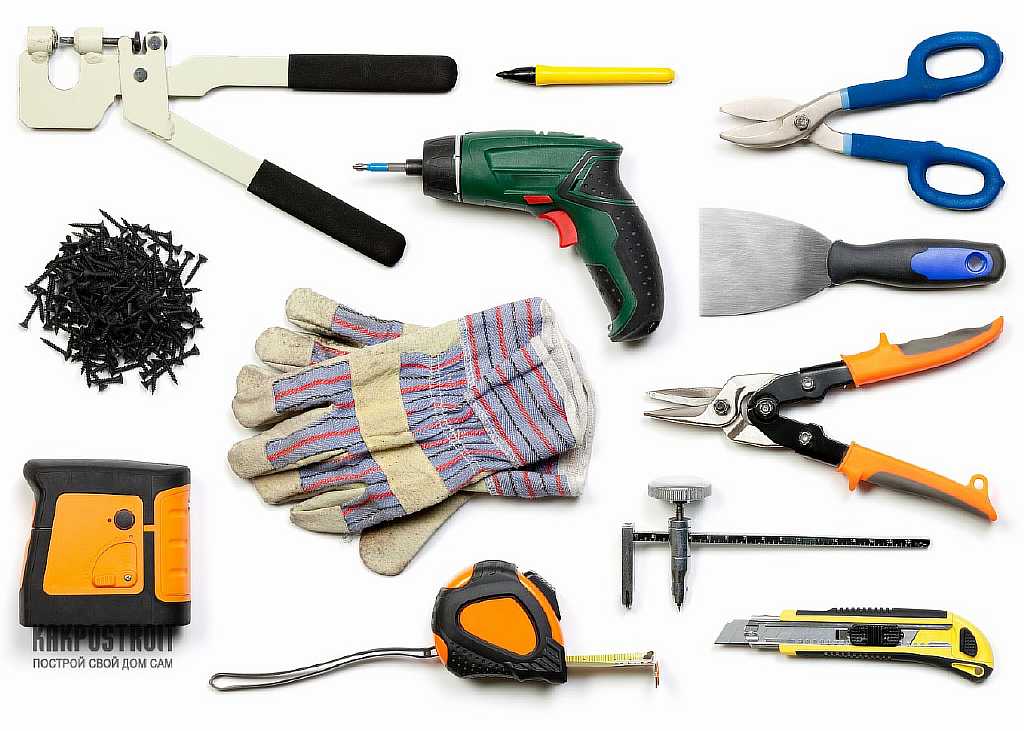
Tools for working with frame elements
The basic kit includes several basic tools.
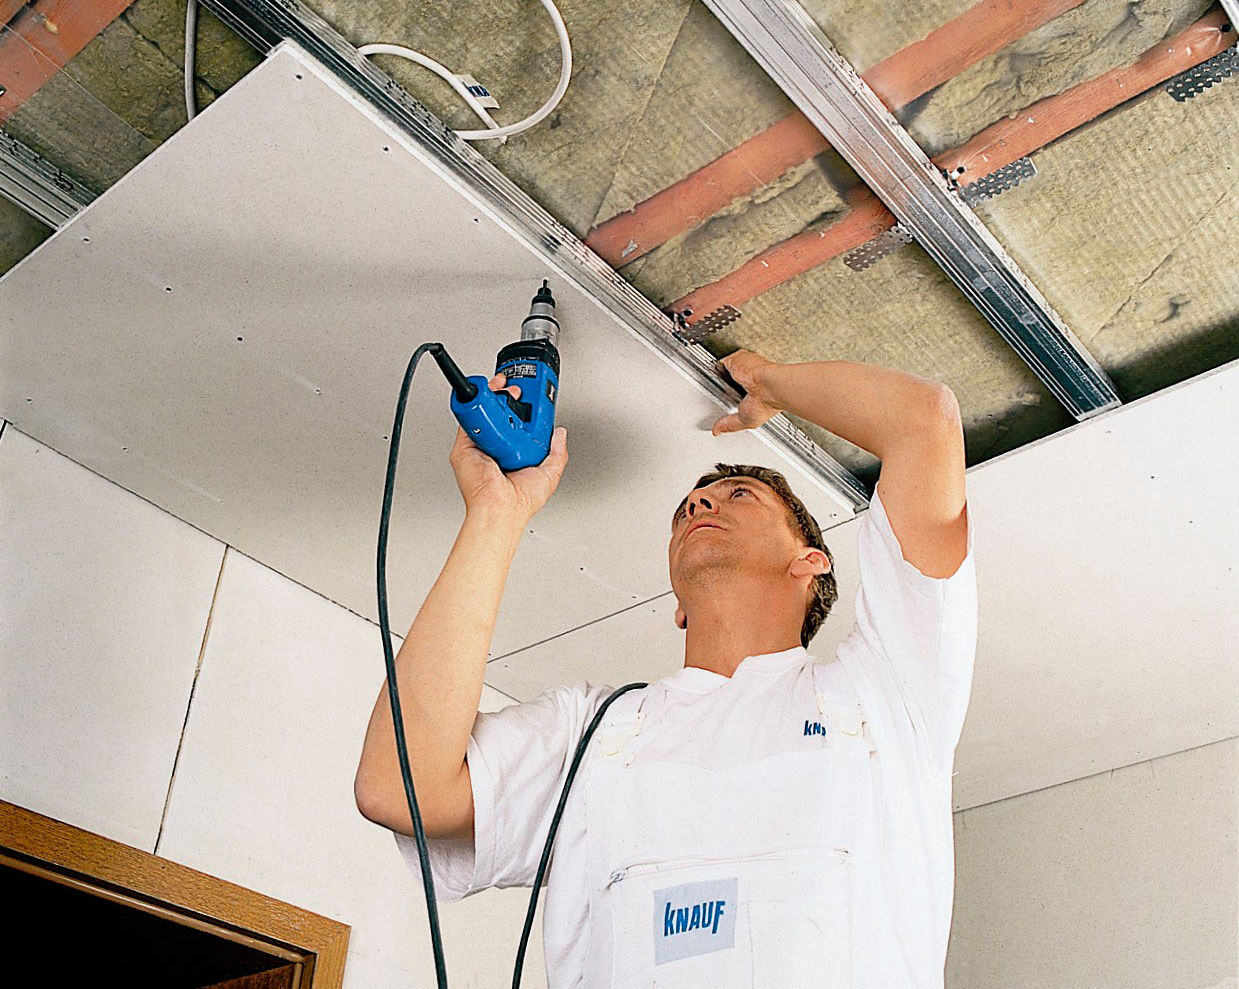
- Screwdriver. With it, a huge layer of work is carried out, it is involved in many processes. Therefore, you need to consciously choose this important tool. The cordless screwdriver is more suitable for “homemade” craftsmen, and the network one is suitable for professional use in large areas. In the latter there is a special nozzle tape type, which facilitates the work with screws.
- Perforator. It will be needed if concrete or brick acts as a base. With it, make round holes for dowels that attach the profile to the base.
- To cut metal elements, it is recommended to use saw. But if the amount of work is small, use scissors for metal or a handsaw with a small tooth. It is important to have several types of cutting tools in your arsenal (for example, for large and small notches).
- Prosekatel for profile. With it, it is convenient to make smooth holes in the metal. Steel frame fabrication is much faster.
- Special mites. Their use is possible where the screwdriver does not pass or does not reach the profile. Pliers connect the steel elements. Additional fasteners in this case is not needed.
- Laser or normal building level with a bubble inside. Modern laser measuring device, of course, more convenient, but more expensive than conventional.
- Roulette with limiter. It is more convenient to use roulettes with a length of 5 m and 7.5 m.
General installation guidelines
A variety of profiles produced due to their purpose. Each type has its own individual characteristics and is mounted in its own way. However, there are several important recommendations that can be applied to any type of product:
- installation work can be carried out only in a dry room;
- Before starting work, you should apply accurate markup (this will save time in the process and save you from errors);
- Before direct installation of galvanized profiles, you need to verify the markup with the level data;
- Before fastening sheets of gypsum boards, it is necessary to check the rigidity of the structure in order to avoid skewing in the future.

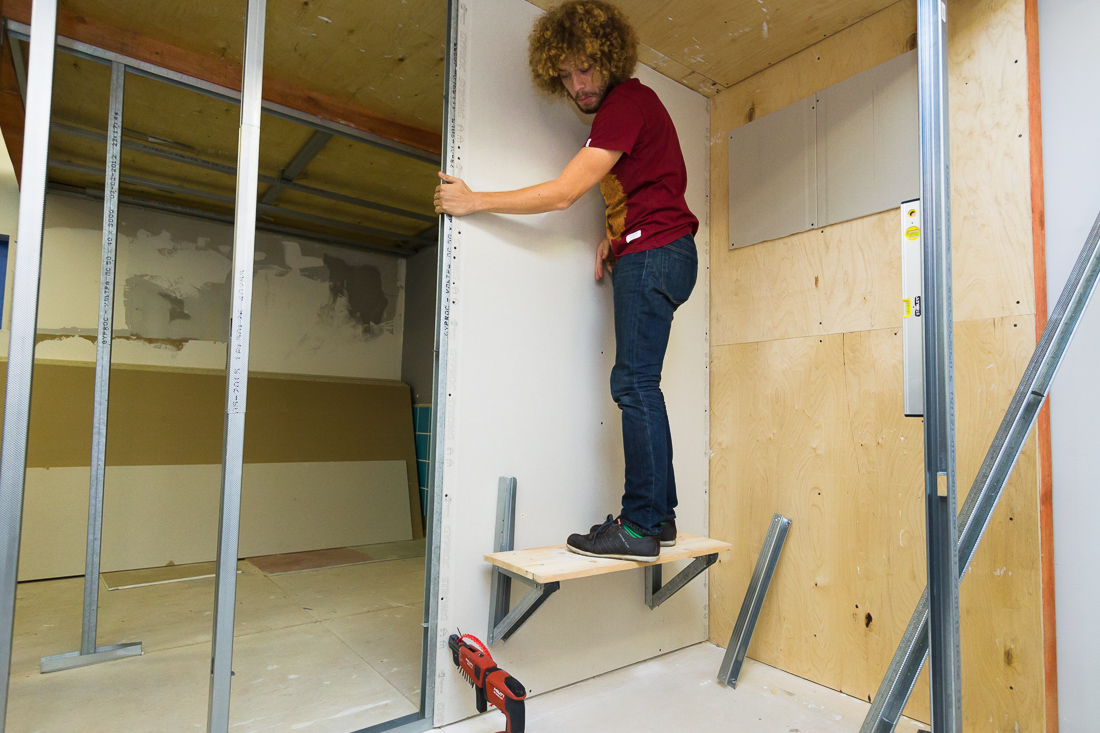
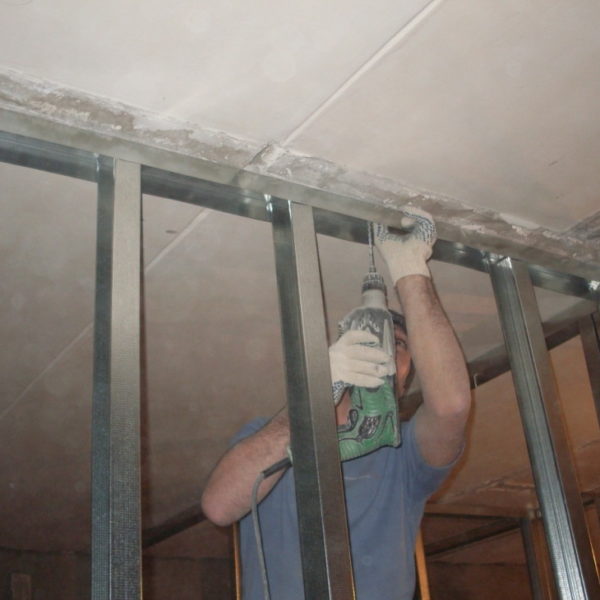
Work
The metal frame with Knauf profiles is mounted in several simple steps.First of all, the corner of the room is selected, which is located lower than all others. It is determined using the tape measure.
Then you should move 4-6 cm away from this angle and apply the markings on all sides of the room. Formed line is applied with a cord. It is a guideline for fixing UD profiles and hangers (their ends are bent).
At the last stage, the main profiles are attached with fasteners and the jumper sticks are put. The basic design is ready.
For how to choose a profile for drywall, see the video below.