Is it necessary to primer drywall before putty: under wallpaper, tile or before painting?
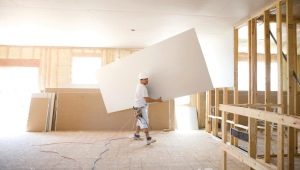
Starting repair, it is important to accurately represent what needs to be changed in the room, and based on this, select the necessary materials. The easiest and most convenient now is drywall, which can be used for a wide variety of purposes, with which it copes perfectly.
If walls are erected with the help of such material, then they can then be used to glue the wallpaper, lay the tiles, and even paint them, but all these tasks must be properly implemented.
Benefits of priming
Creating indoors walls or ceilings made of plasterboard, further processing is often assumed to be one of the options; it can be painting walls, wallpapering and laying tiles. Based on each material it is necessary to process the surface of sheets accordingly for further work.. The primary step in this is to work with a primer.
There is a disagreement in the opinion of whether it is necessary to primer drywall before puttying, sticking wallpaper or plaster, but there are quite objective reasons that indicate the feasibility of such a procedure. The advantage of such The treatment is surface disinfection, which subsequently will not allow the appearance of fungus or mold on the coating.
Another important feature is the increase in strength of sheets that are primed. This, in turn, helps to maintain the integrity of the coating during impact and other damage.
If the wallpaper is glued onto the drywall wall, then It is important to saturate the surface with a primer so that the glue does not soak into it too fast and hold the wallpaper tightly. For tile laying it is not so important, because the solution is not so liquid, but protection from pests in this case will not be superfluous.
When walls or ceiling of plasterboard to be painted, then it must be primed to paint was applied evenly.
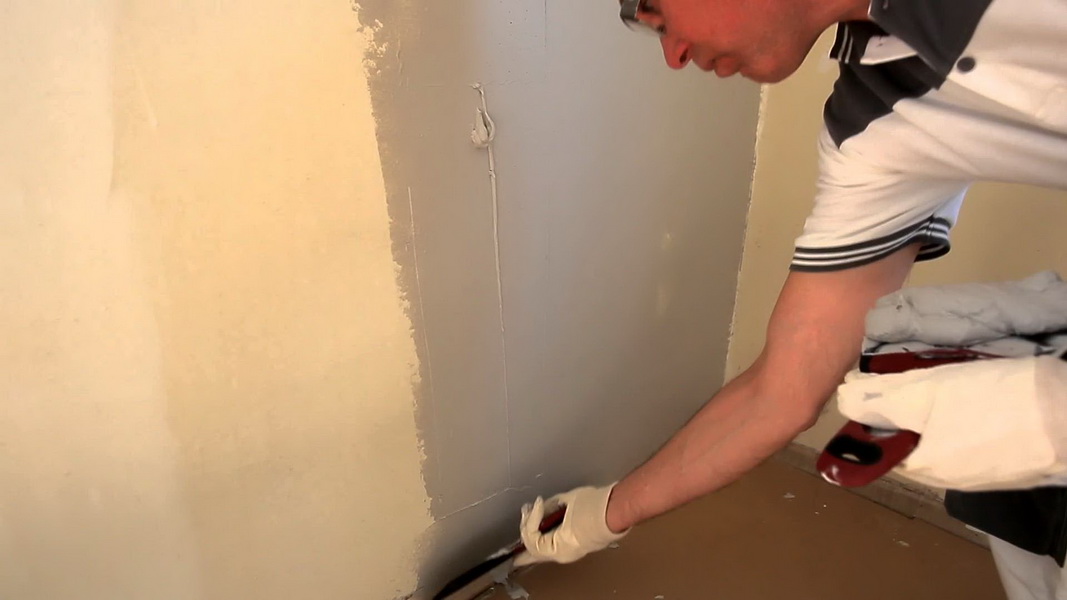
If there is no possibility to process the entire space, then it is important to do this at the jointssubject to processing and closed with screws and screws.
There is a case when priming will really be superfluous, it concerns those moments when walls are constructed of moisture-resistant drywall, which has a green or blue color. These sheets are initially impregnated and protected.therefore, the primer itself will not hold onto them.
In addition, such GKL are protected from all sorts of pests and are not afraid of either mold or fungus. Due to the additional initial processing, this material is more durablethan simple sheets, and can withstand high load.
Types of soil
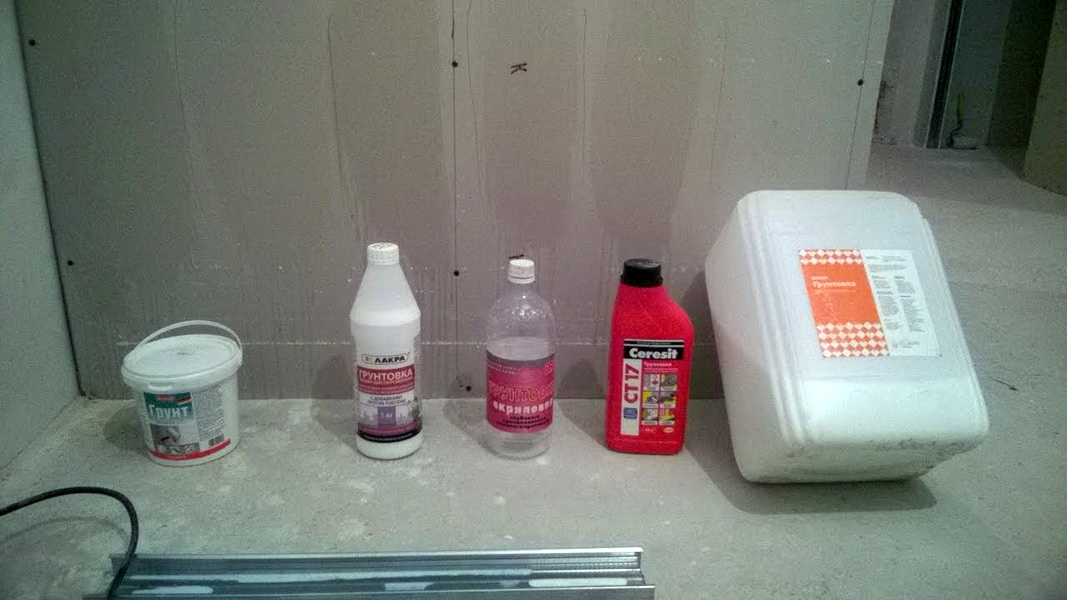
Since the primer is a very important material and is used both on an ordinary wall and on gypsum plasterboard, it was not possible to limit it to one variant of this tool.
So, there are two main types of primer:
- acrylic;
- water dispersion.
The first type is considered the most common and popular, for its preparation are used such components as:
- alkyd resin, which serves as a binder;
- filler, most often used chalk with mica;
- pigment for color allocation, frequent is the use of red lead, zinc crown.
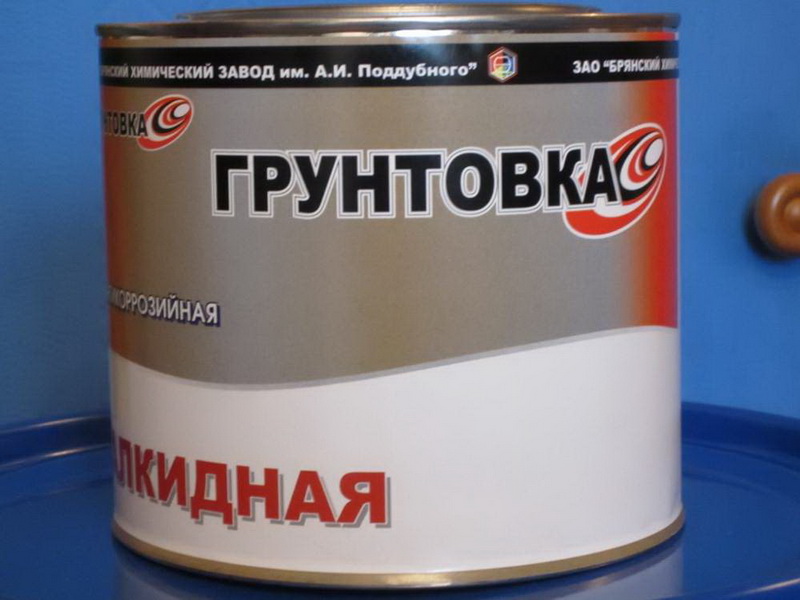
Acrylic primers can be liquid or viscous, if you have to work with plasterboard, the first option will be much more correct. It is this composition that quickly and easily penetrates the surface and can create the desired effect.
If you choose a primer, you need to understand what will be the specific advantage of a particular option.
Acrylic version is characterized by such advantages as:
- maximum penetration into the surface of the processed material due to the liquid consistency;
- homogeneous composition of the mixture, which allows you to apply it evenly, which is reflected in the subsequent appearance of the wall or ceiling after final processing;
- the ability to increase the strength of the material to which it was applied;
- helps to save the amount of putty, because it contributes to good adhesion to the surface and easy work with it;
- safety at work: an odorless acrylic primer, because it can be used indoors, even very small;
- moisture resistant effect that occurs after its application is comparable to drywall, which was originally designed for exposure to moisture and impregnatedcorresponding compositions.
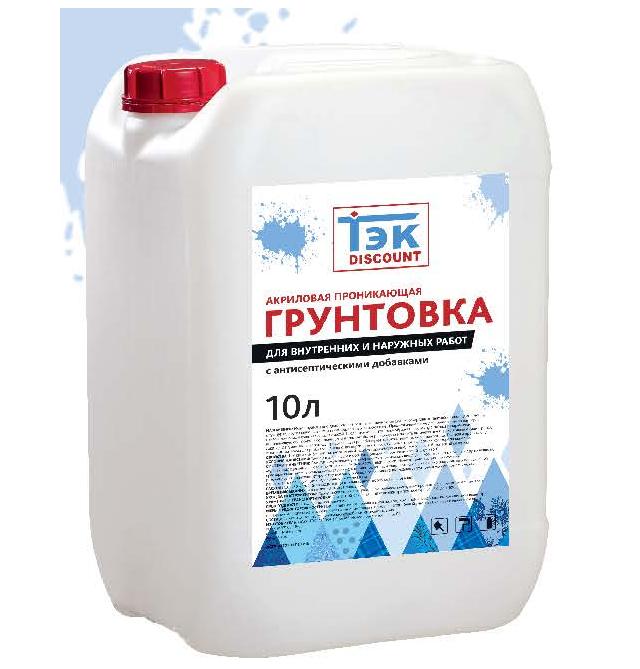
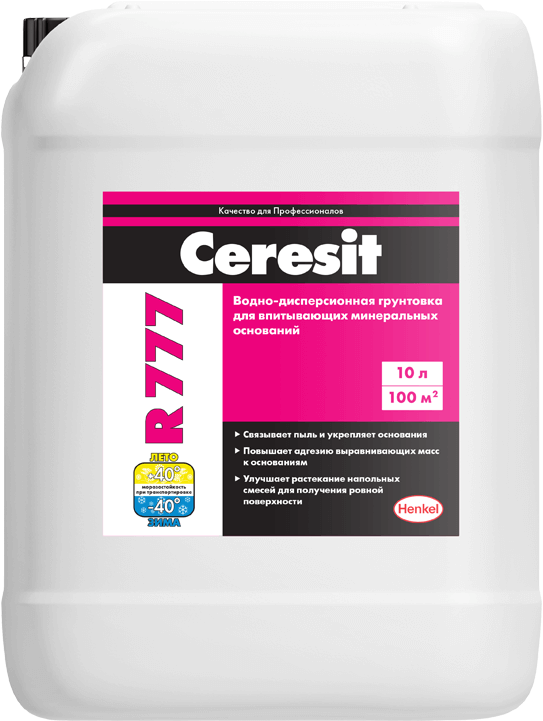
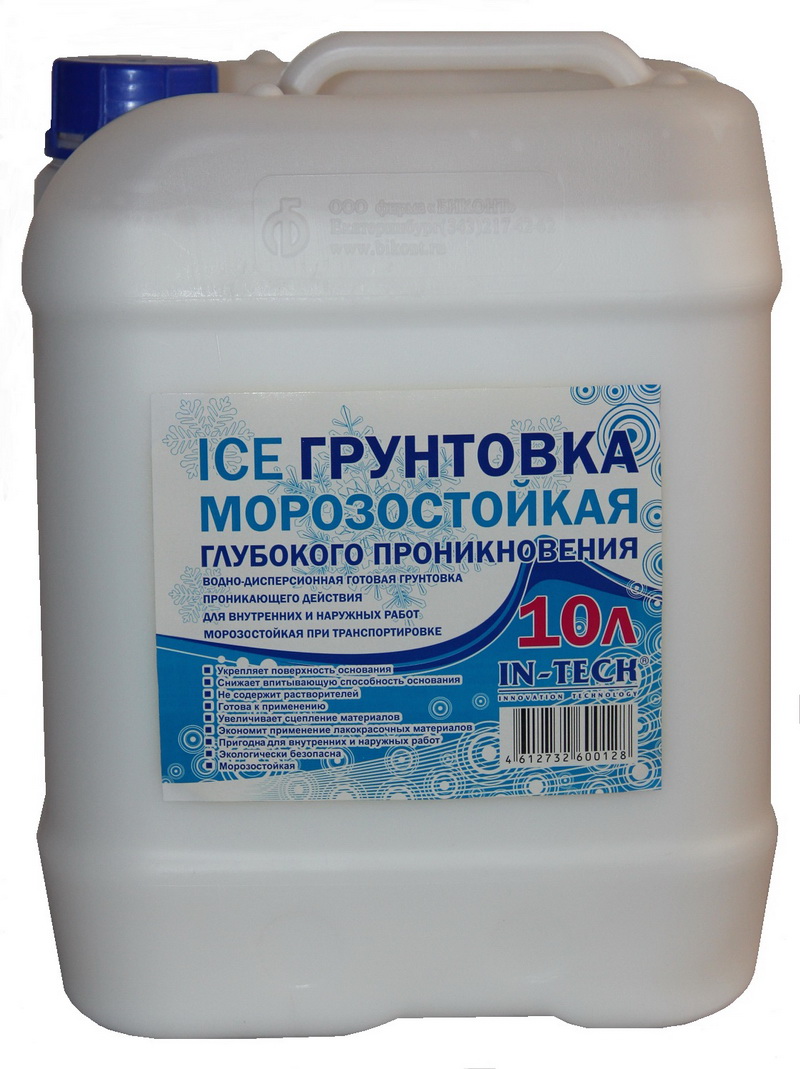
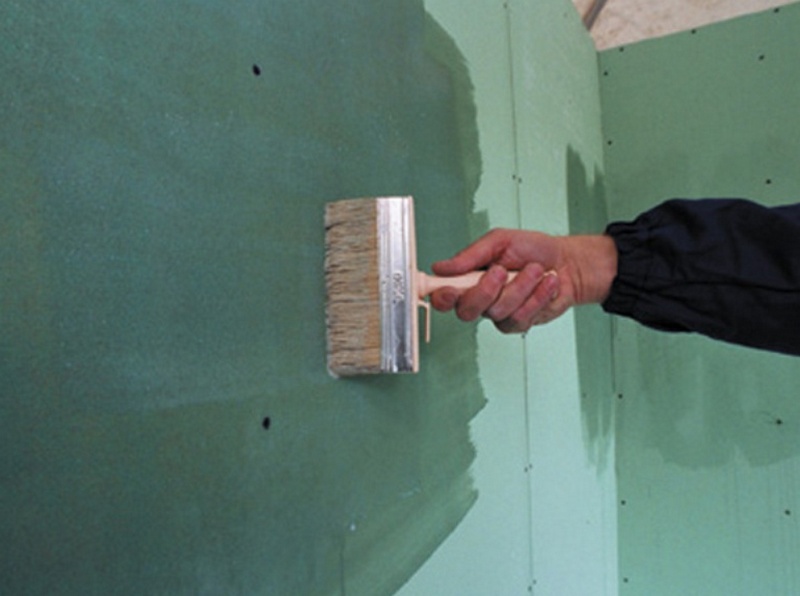
If we are talking about water dispersion primers, then they are ideal for drywall, because they have a liquid composition and they are very easy to apply to the surface.
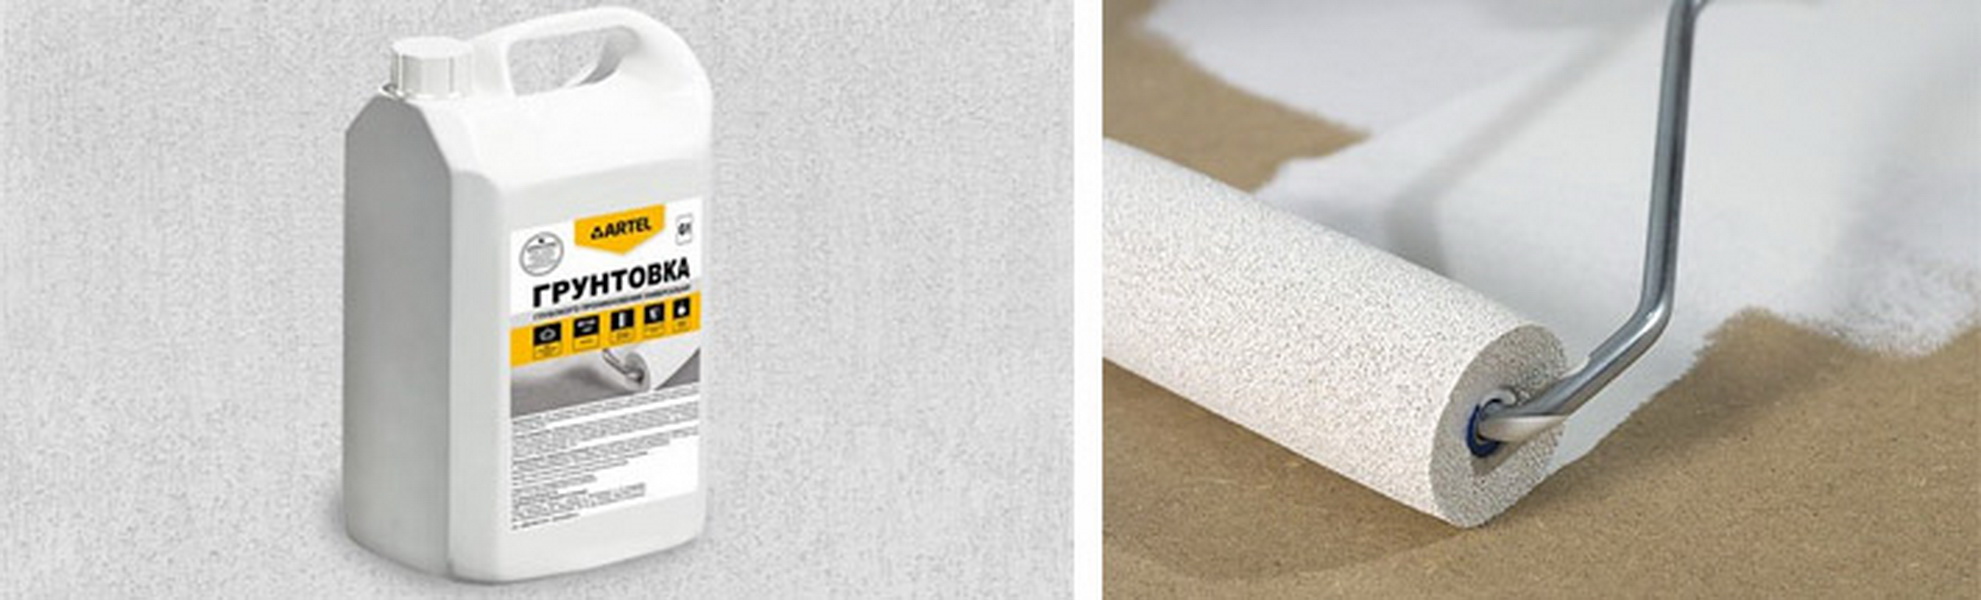
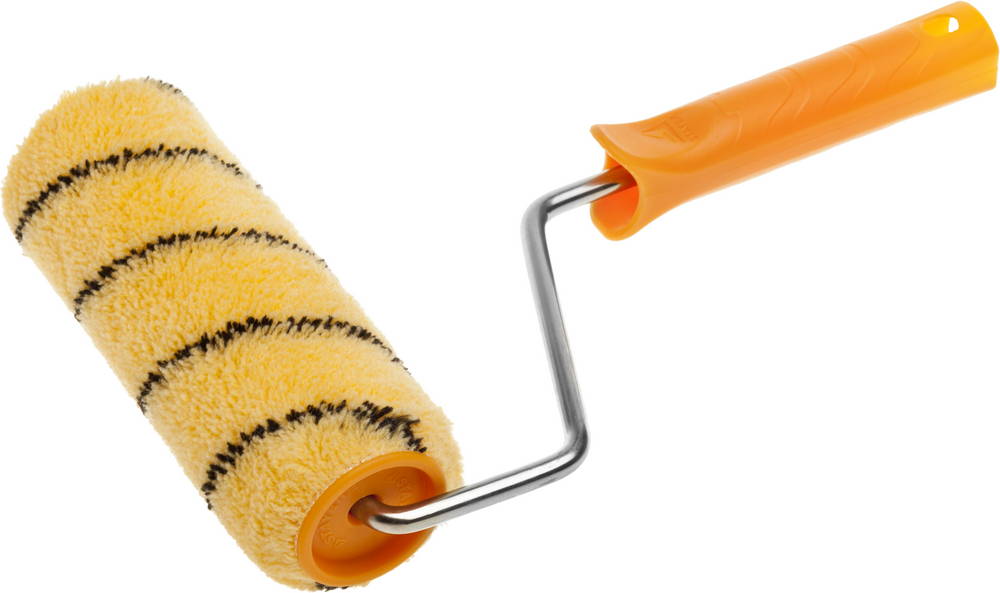
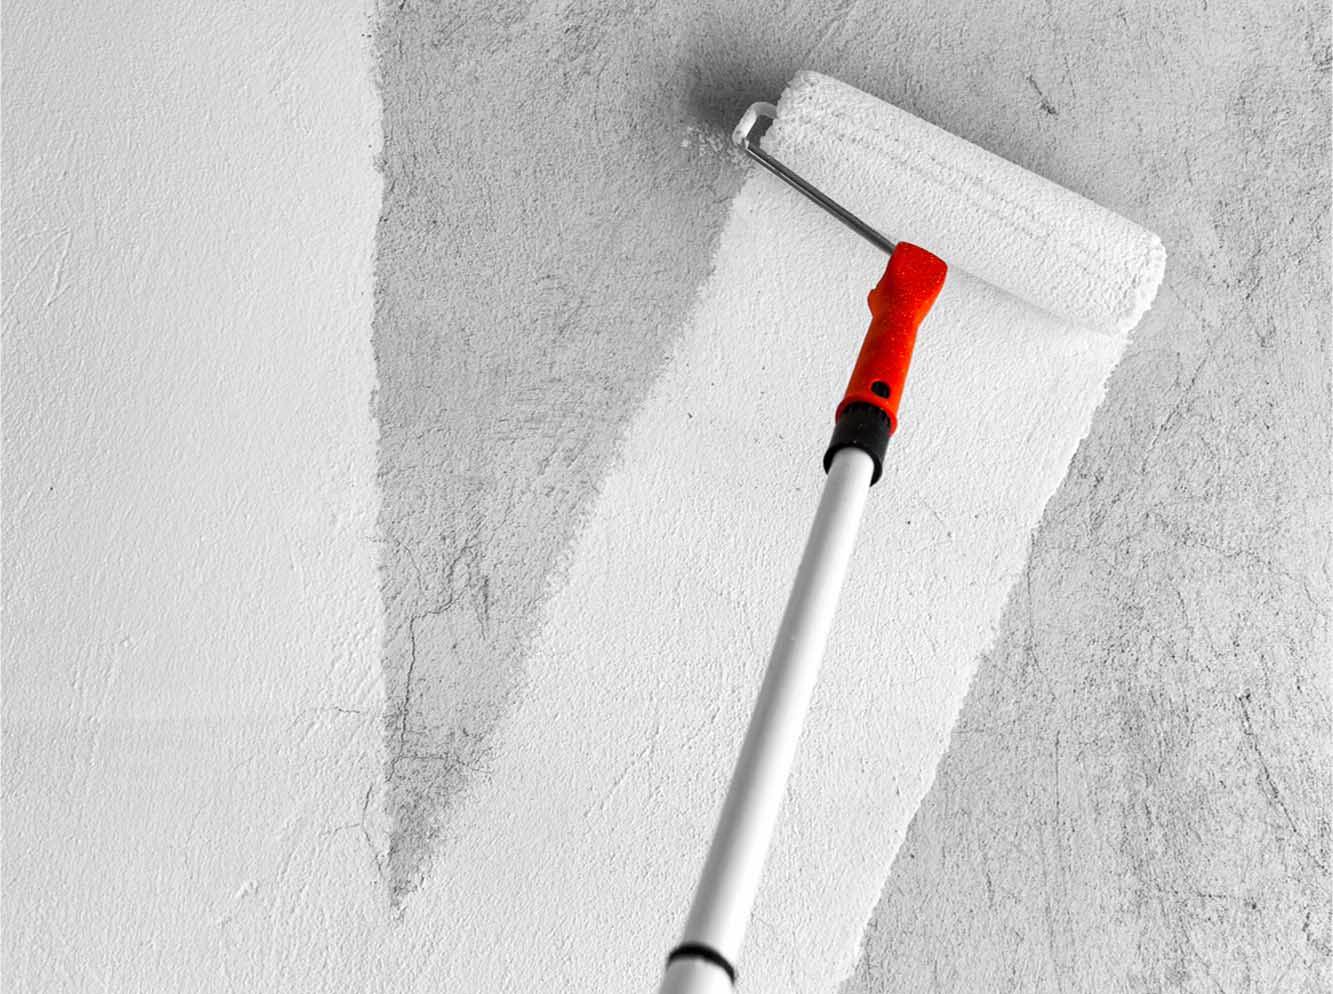
The process of applying such a coating consists in the use of any painting tool: a brush or roller, containers with a primer that easily falls on the wall or ceiling, does not require their prior preparation for work.
A distinctive feature of this type is efficiency in use, one or two layers of primer will require a very small amount and significantly save the budget. Water-dispersion version can be applied even with a spraythat is especially valuable when you need to handle uncomfortable zones in which the brush, and even more so the roller to get very difficult.
If we talk about the types of primer, they can be divided into the following types:
- deep action;
- adhesive type;
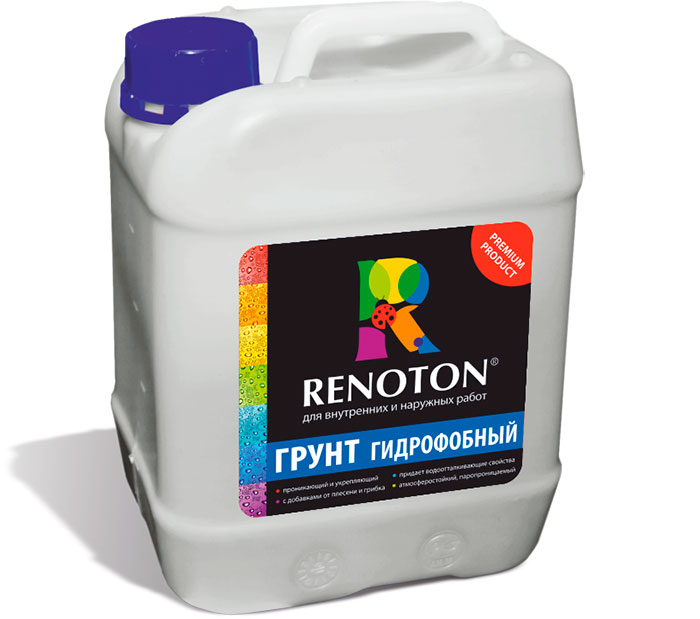
- water repellent;
- fire fighting;
- antiseptic.
Primer with deep penetration suitable for any coating., it is recommended to be used in case the wallpaper is glued or the putty is applied.
Adhesive primer helps shrink pores in drywallthat increases the density of this material. It is necessary to use it if later wallpaper will be glued onto the coating or the surface will be painted.
Primer with a water-repellent function to prevent moisture from entering the surface wall or ceiling.
It is recommended to use this material for outdoor work or in rooms where the humidity level is significantly above the norm.
The use of fireproof primer is very important for rooms made of wood or timber.. With the help of a specific composition, the plasterboard surface does not ignite and prevents the spread of fire.
As for the moisture resistant type of primer, it is used in those regions where the humidity level is above the norm. The composition of such a substance is characterized by the presence of gypsum, which is an antiseptic.
How to choose a composition?
In order to choose the right primer, which is suitable for drywall, you need to pay attention to a number of criteria:
- Composition of matter. The primer should be liquid and should contain acrylic and a range of polymers with a water base.
- Purpose of means. We need to find a primer that will provide maximum penetration into the surface.
- Product quality level. When choosing a primer, it is better to focus on well-known and proven brands, although the cost of such products will be slightly higher.
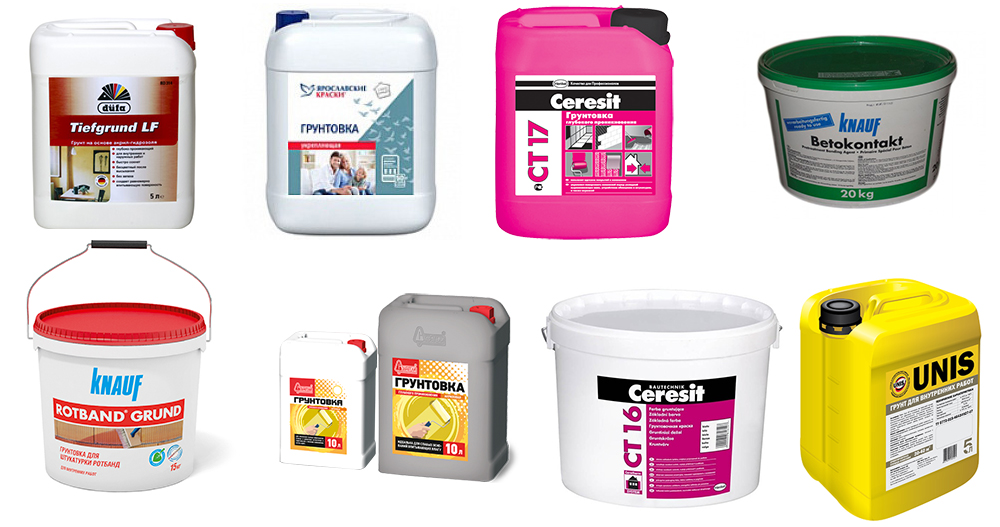
Choosing a primer, you can learn about the composition and purpose of the label on the packaging, but the quality of products must be selected experimentally or on the advice of people versed in such matters. Save in this case can not be, otherwise all subsequent work will have a short-lived result..

If you need to prime a large area, and there is little money, you can buy a high-quality concentrated solution and dilute it with water. So it will save almost half the money.
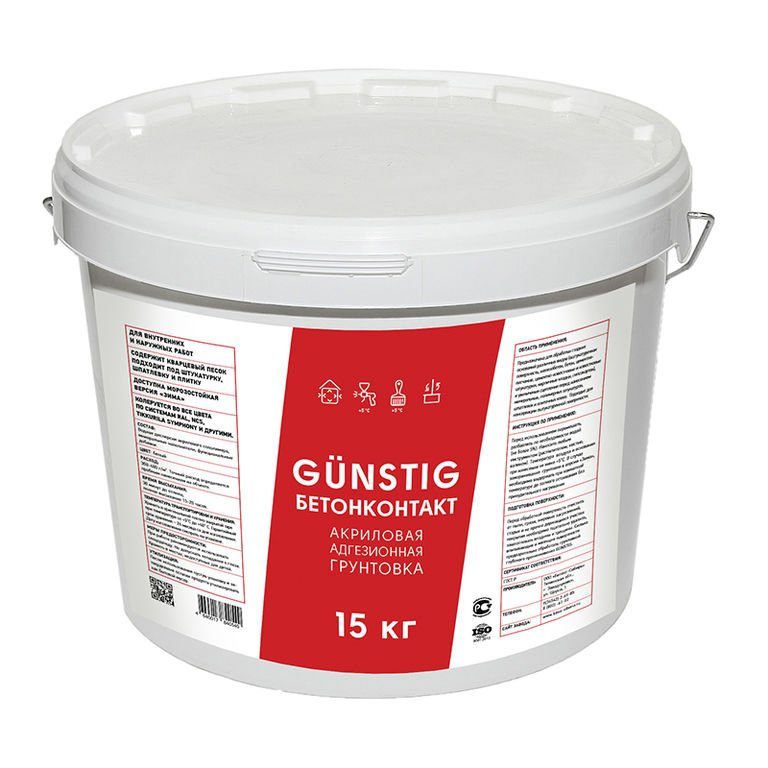
So, picking up a primer for drywall, it is important to look at the percentage of its fluid: the bigger it is, the better. Such impregnation can be more fully absorbed into the coating and better protect it. From the species diversity, you can choose two options that will be suitable for internal workings of a given type: it is an acrylic primer, but its most liquid variation and water dispersionwhich will be the most suitable option in the work.
Application Tips
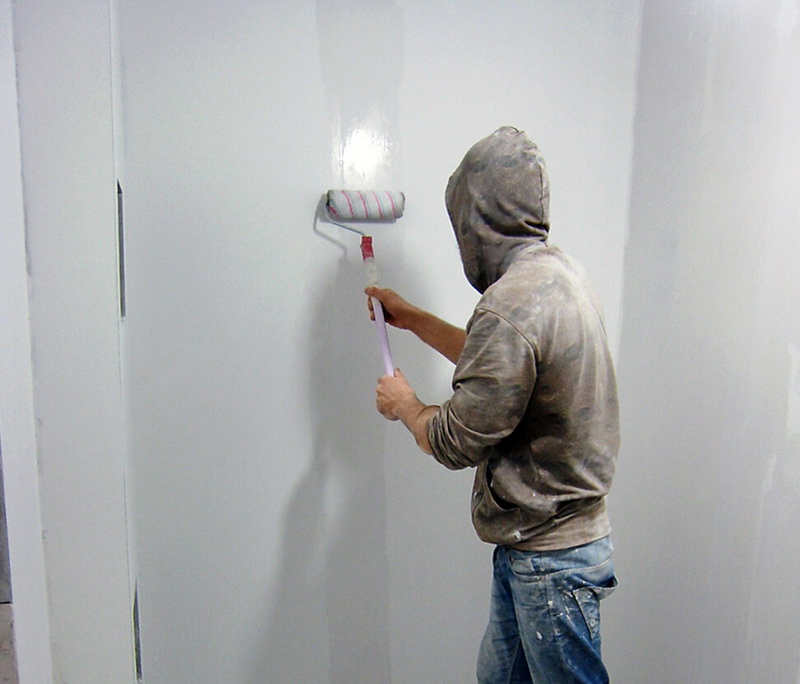
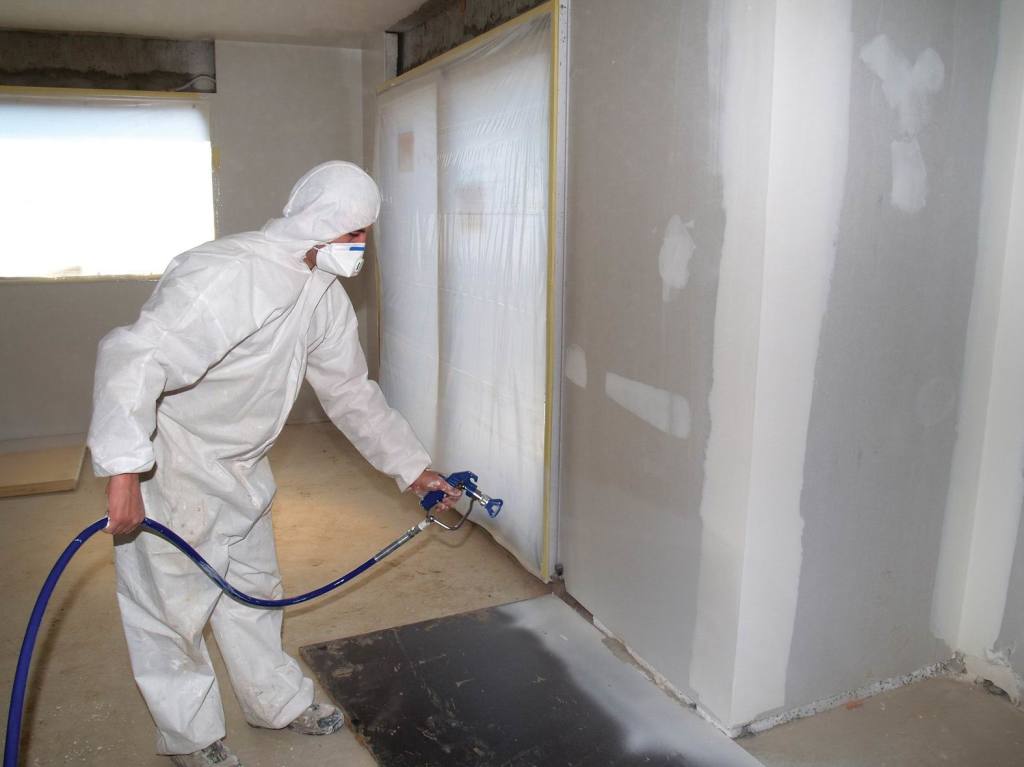
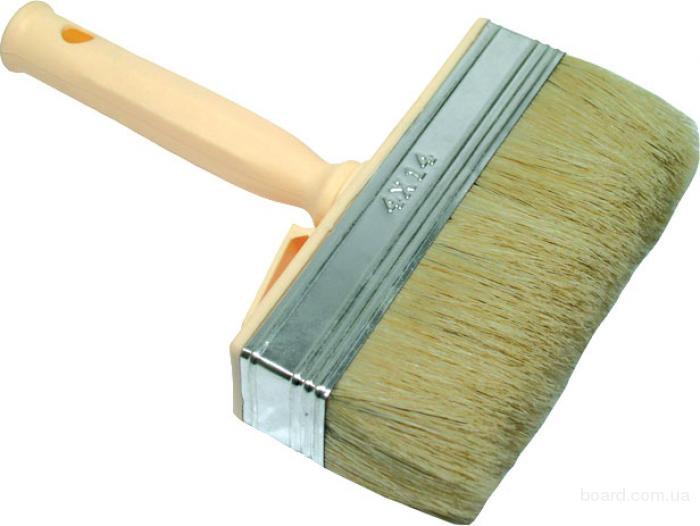
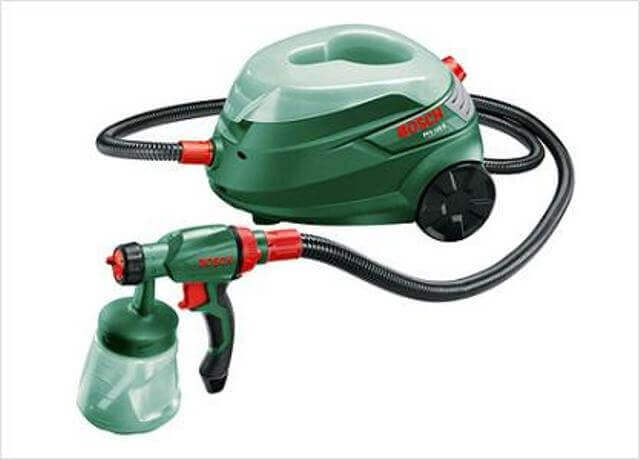
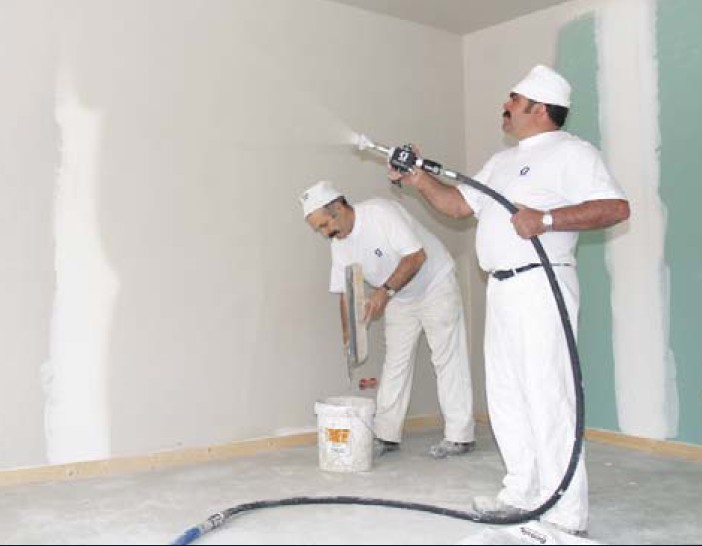
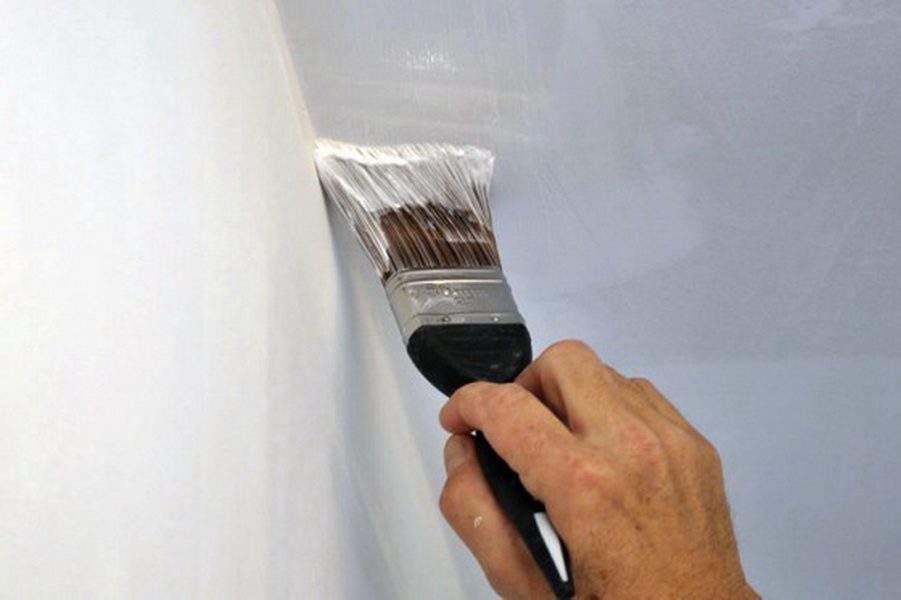
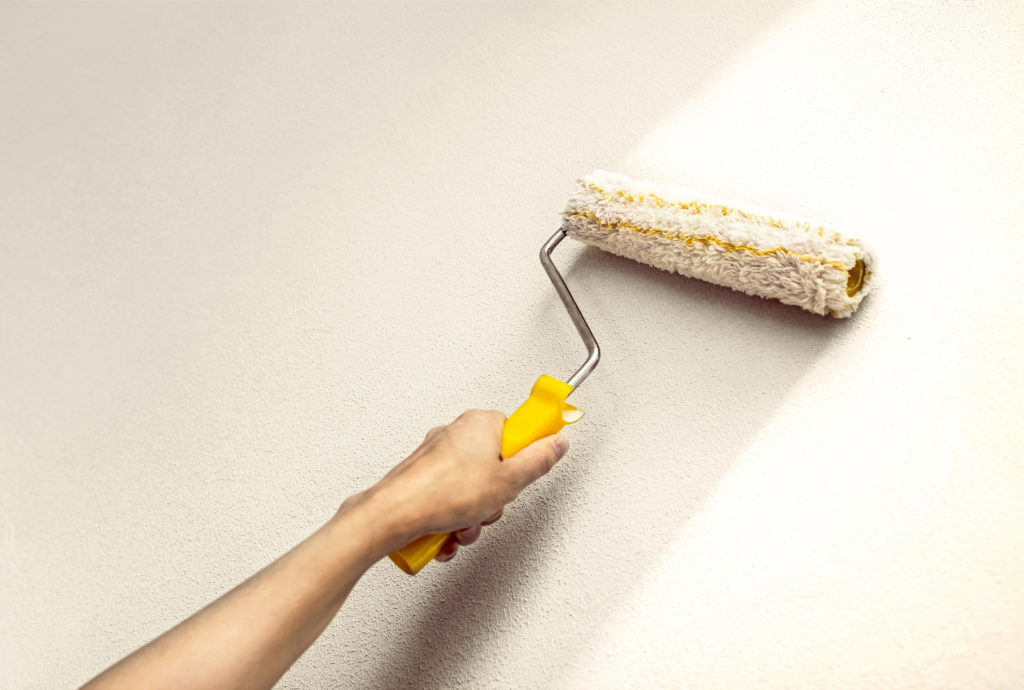
Drywall priming can be carried out with various tools:
- roller;
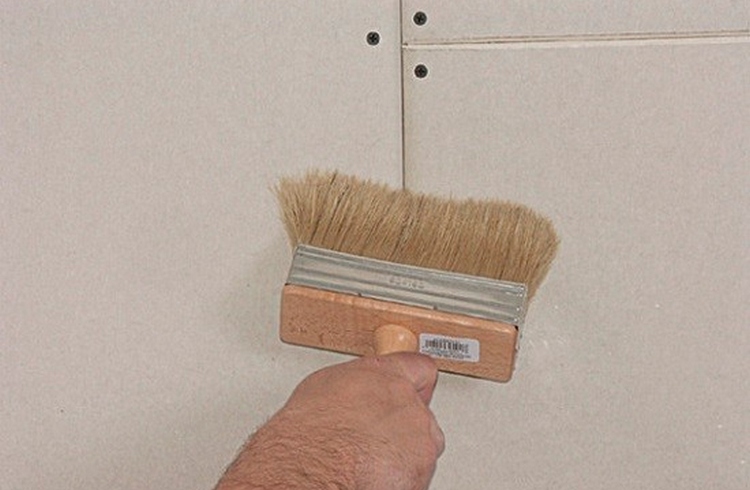
- tassel;
- spray gun.
You can choose one or another option on the area that needs to be primed.
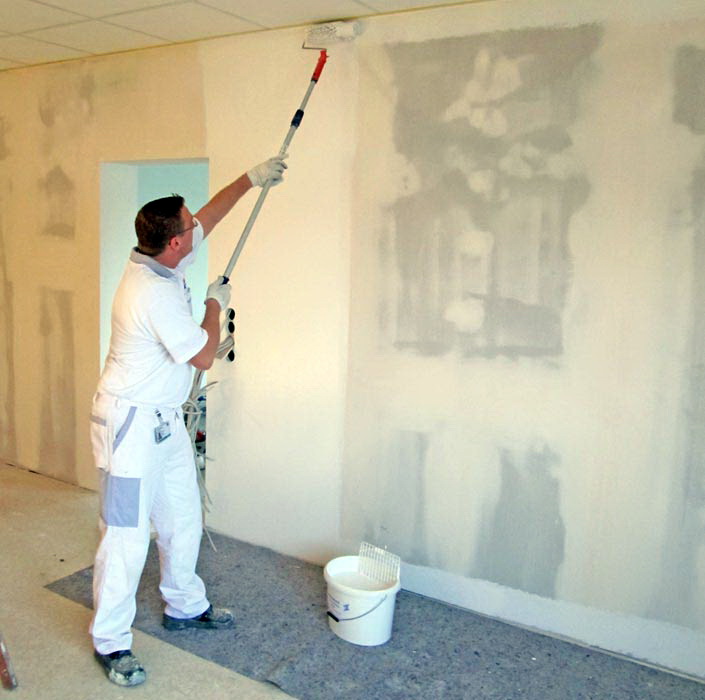
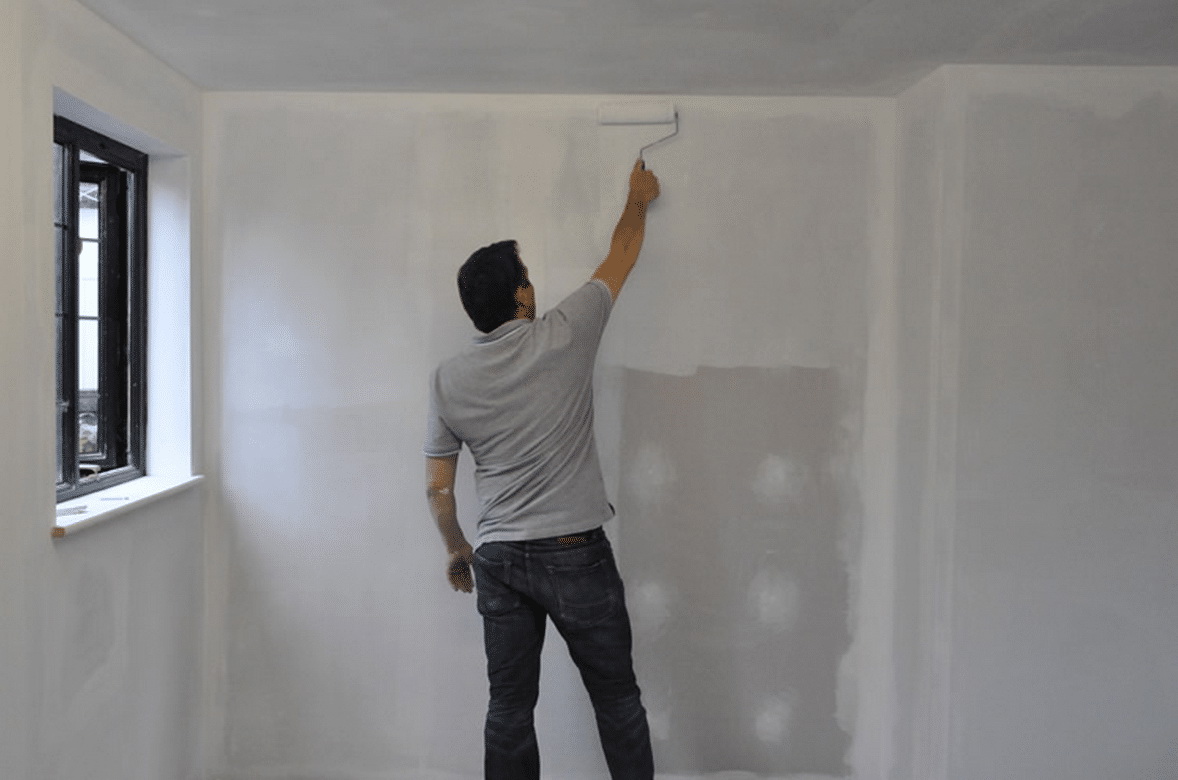
If it is small, then it is better to work with a brush, if it is medium, then the roller can be as efficient as possible, but for large spaces the spray gun will be the most convenient. To work with the ceiling, it is most convenient to use a roller, and in inconvenient places to tint with a brush.
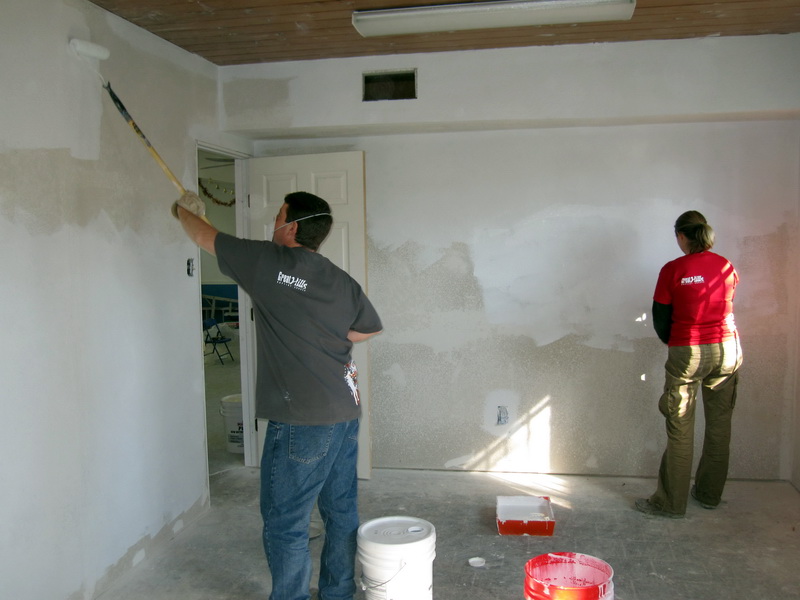
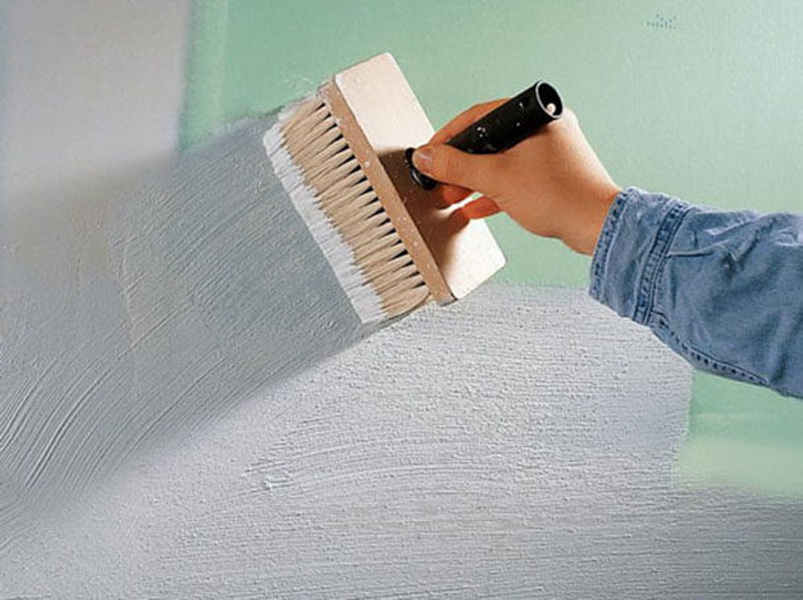
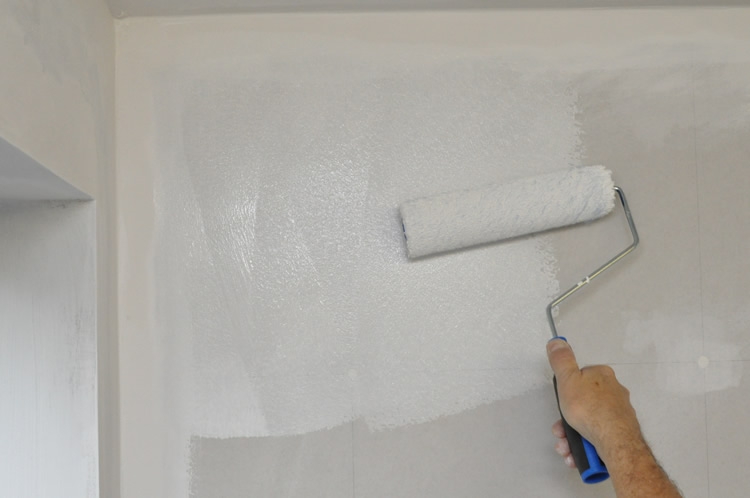
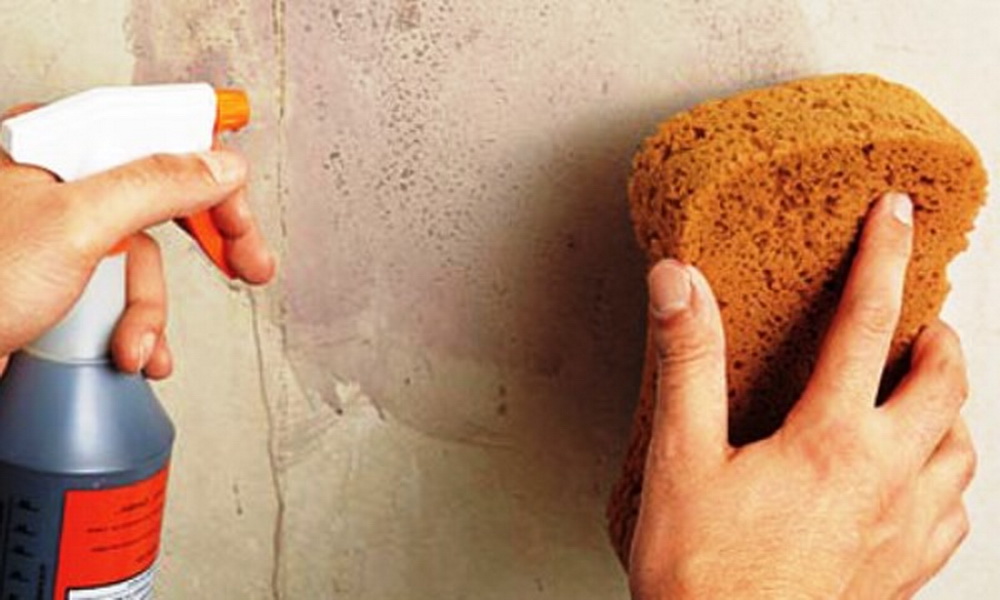
In order to start work on the primer wall, you must first remove from it the dust and dirtto make the composition better lay down.
The primer itself in the tank should be shaken and mixed, then a small amount should be poured into the tray. When everything is ready, the selected tool should be dipped into the tray and the primer should be applied vertically in even stripes. In particularly uncomfortable places you need to work with a brush, which will be able to get to the remote corners and prime them.
When choosing a good mixture, it absorbs quickly and dries evenly. If this process is different, it is better to apply the second layer.which evens out all the flaws and provides a good result.
Working with the spray gun, it is important to correctly follow all instructions on the package, because each manufacturer has its own characteristics of the primer material. In this case it is better to apply two layers, but with an interval of five hoursfor the first layer to dry.
Putty after priming will go to a thin and uniform layer, which will provide material savings, ease of handling, and a good final result.
Under the wallpaper
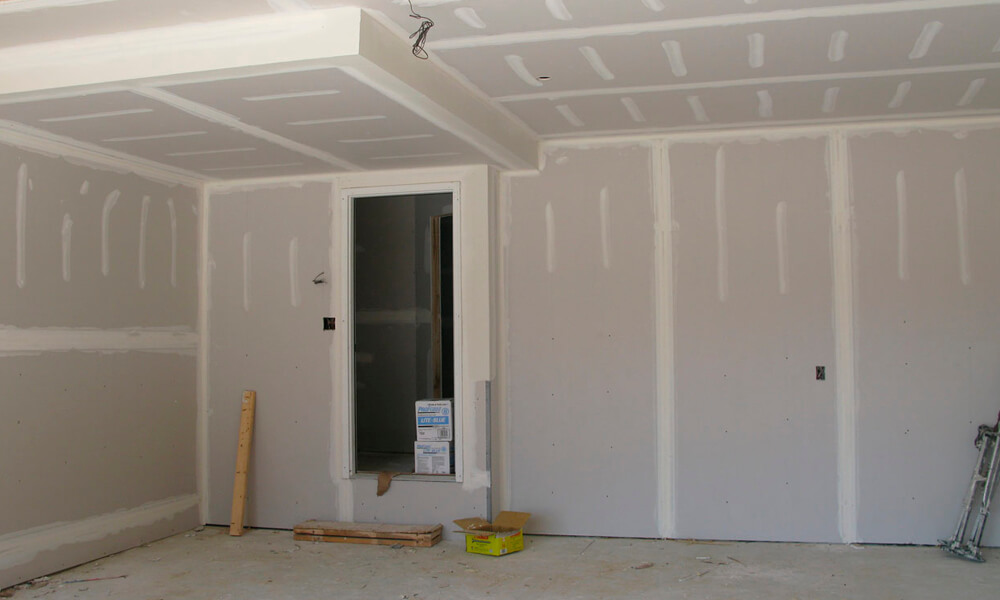
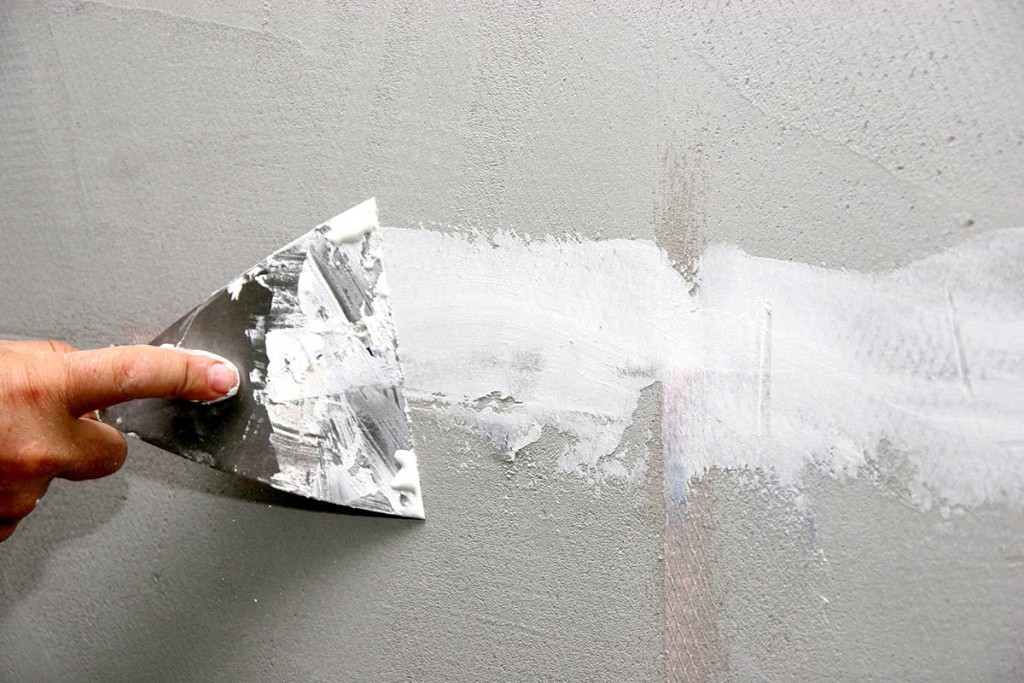
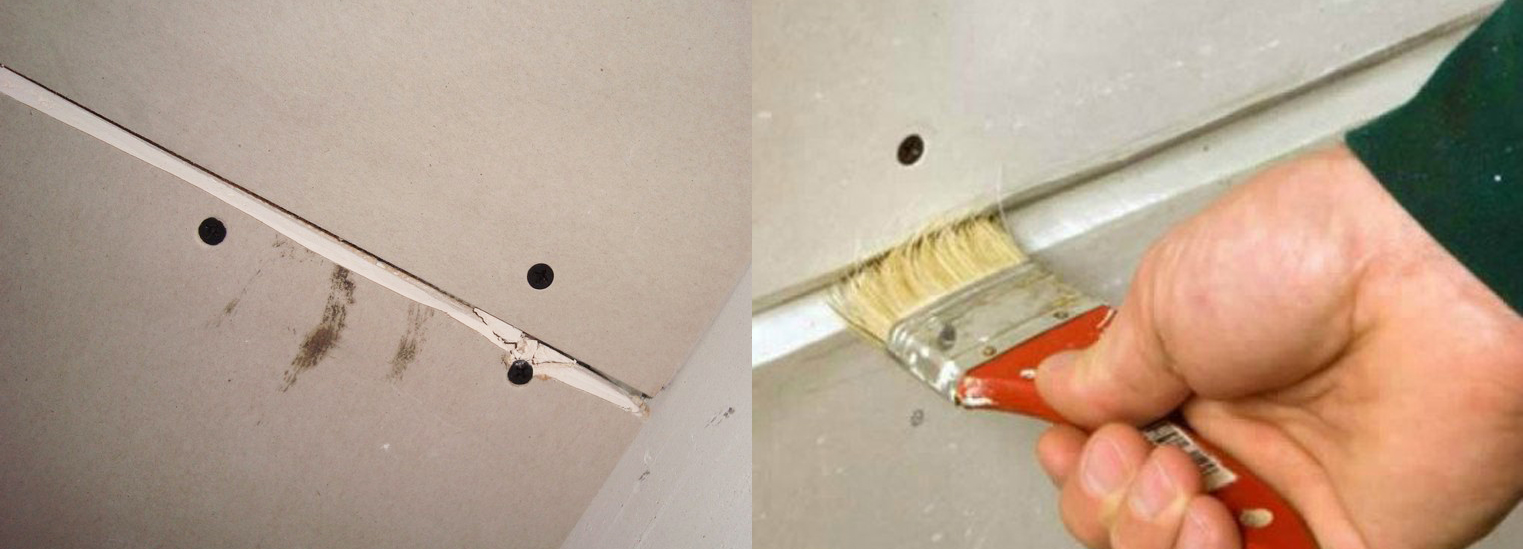
As soon as indoors the walls were made of plasterboard, the next step is the jointing of joints and work with joints. It is after this the priming process, which must be done with a brush so that the composition penetrates well into all slots, joints and mounting points of the screws.
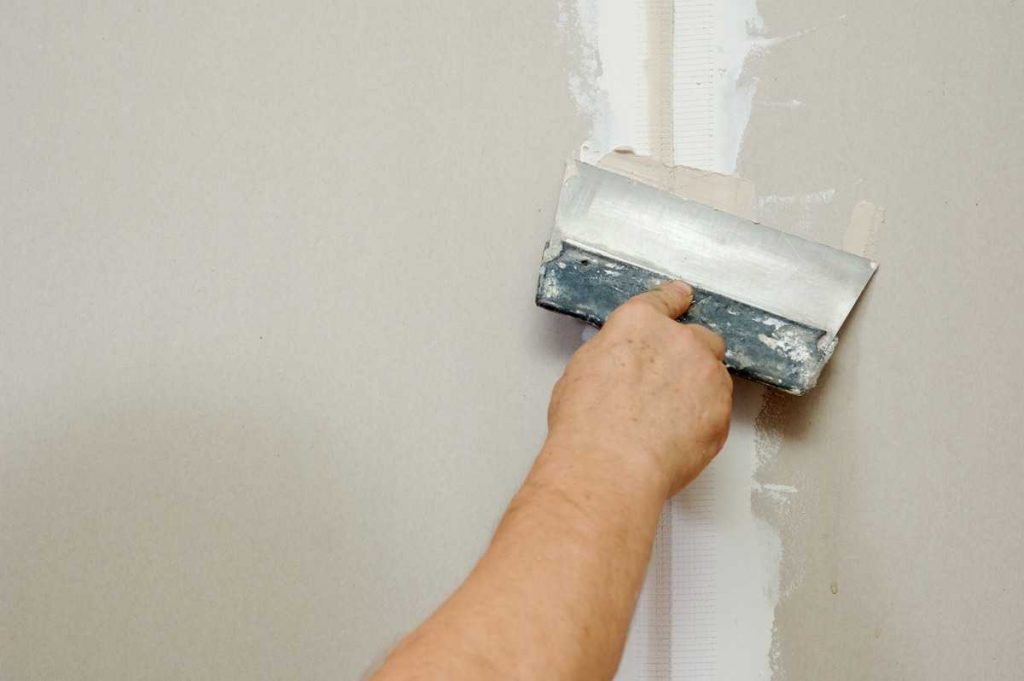
When this process is over, the next step is the filling of problem areas that need to be leveled and hidden. Part of the mixture is applied to the joint or hole of the screw, leveled, and the reinforcing tape is laid on top, on which the finishing layer is already laid, which will need to completely level the surface.
Once the stage of puttying is over, you need to wait a certain amount of time for the material to completely dry out. Only after this comes the surface grinding.
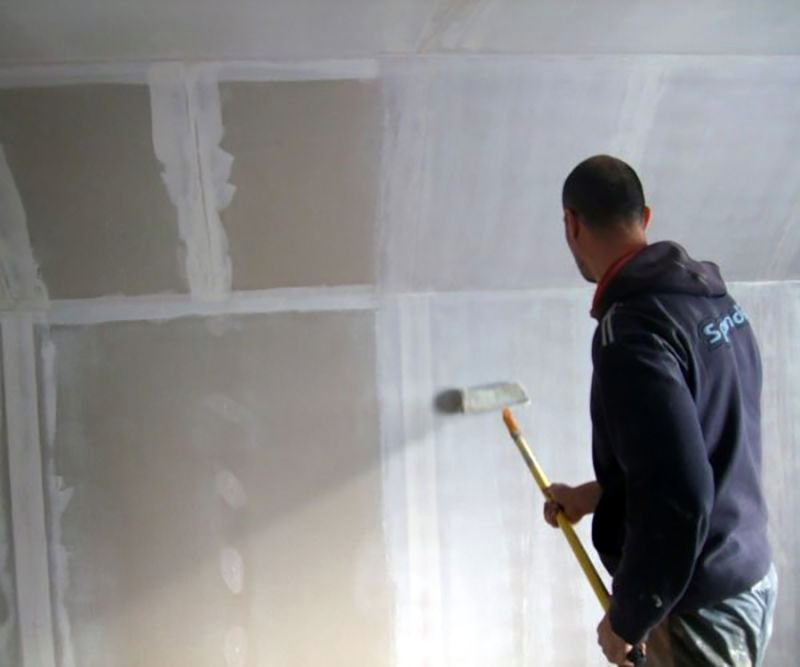
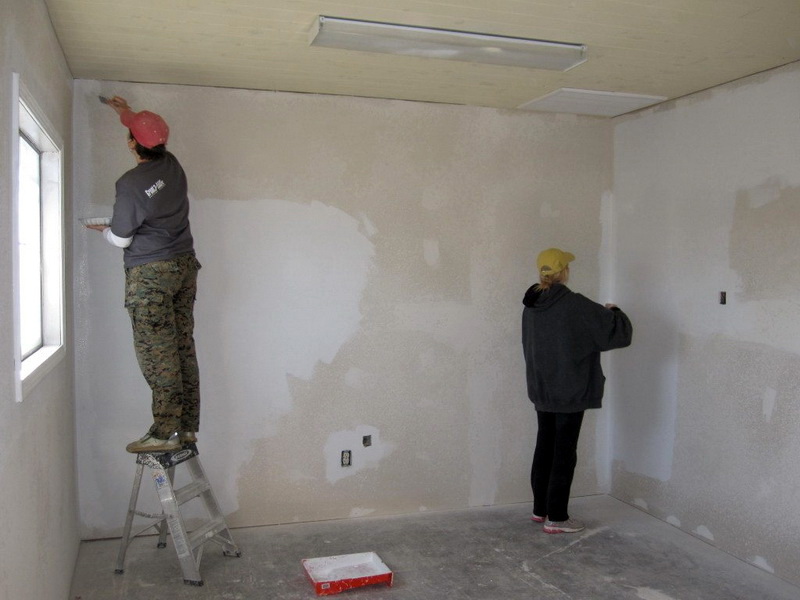
When all the walls have become completely smooth, there are no flaws on them, you need to re-apply the primer, but already on the entire surface of the drywall. If large areas can be treated with a roller, then in the corners it is necessary to use a brush.
Dries primer about six hours, and only after its full readiness can we move on. The next step will be puttying the entire surface of the drywall.
If you intend to stick wallpaper, one layer will be enough. As soon as the applied layer is completely dry, it is ground to a completely smooth state.
When this stage is completed, you need to remove the remains of dust from the walls and cover them with an acrylic type of primer, which penetrates deep into the surface and helps to better attach wallpaper to the wall.
Before laying tile
In order to plasterboard walls did not differ from the usual, they can be laid tile, it is especially important in the bathroom or kitchen.The work process has its own characteristics, without the knowledge of which it will not be possible to achieve a good result, and for a long time the tile on the wall surface will not hold.

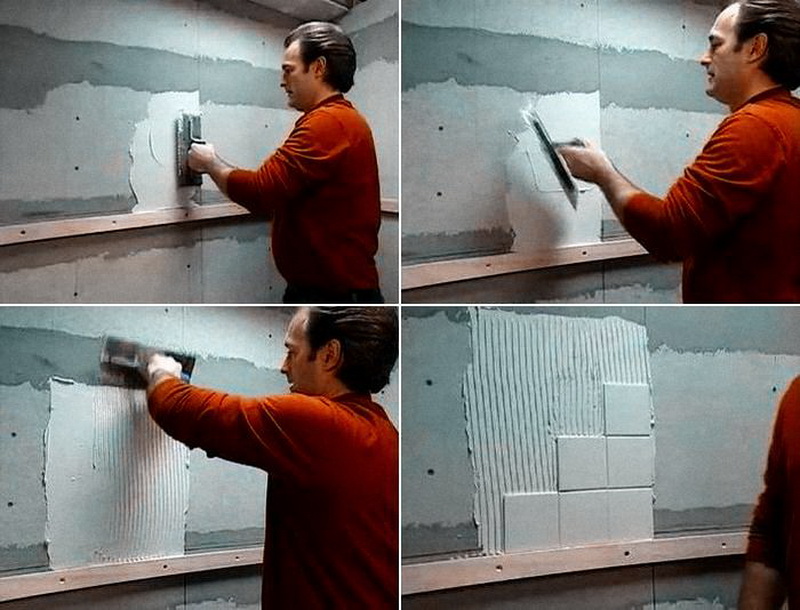
Work with plasterboard walls begins with the fact that they are primed, it gives the opportunity to subsequently begin the process of putty. The primer will help to keep the material on the drywall, protect it from moisture, prevent the appearance of fungus and mold.
As soon as the primer has been applied, it is necessary to wait until it is completely dry., and then take up the spatula.
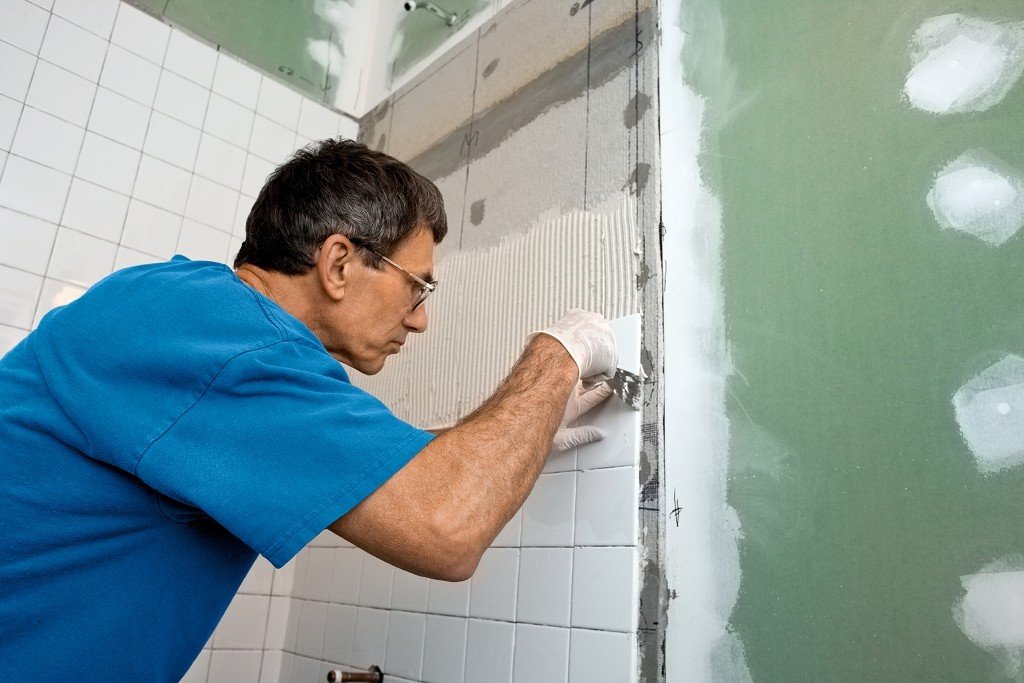
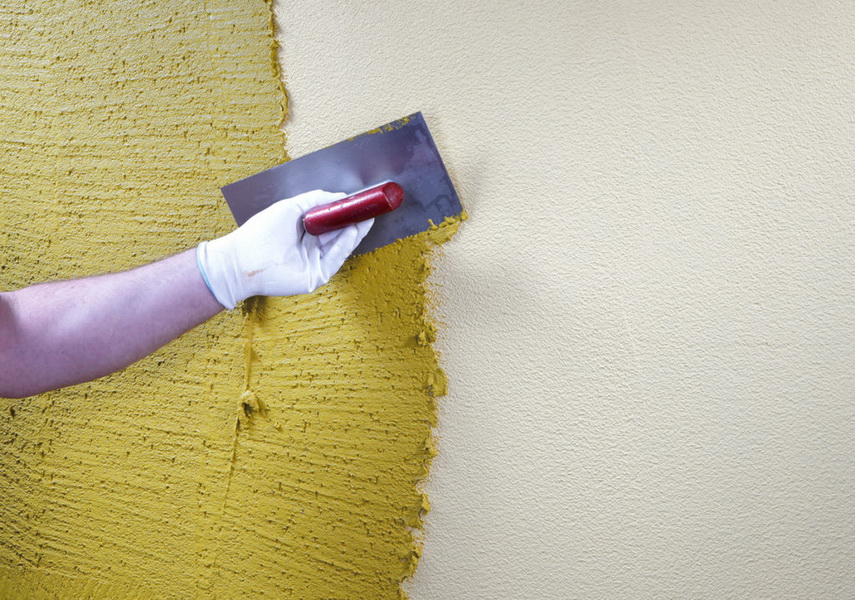
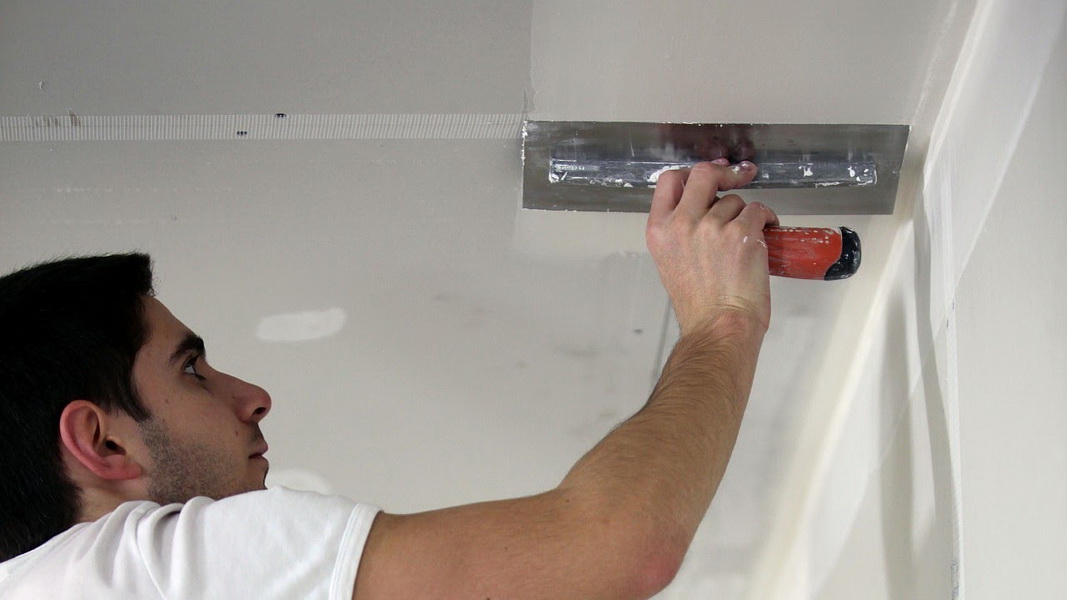
A wide tool is best for working.on which the solution is applied and applied to the wall in parallel, gentle movements along the wall. The first layer should not be completely smooth, because all flaws will be masked by finishing putty.
As soon as the first layer has dried, you can begin to finish the wall. When the second layer is ready, it needs to be well sanded.
After the wall is fully prepared, you can dilute the mixture for laying the tile and apply it with a notched trowel onto the surface of the wall or tile.
In the process of work, it is important to keep track of the flatness all the time, checking it with a level.
The tile on the prepared plasterboard wall will look very impressive, it will also have a functional load.
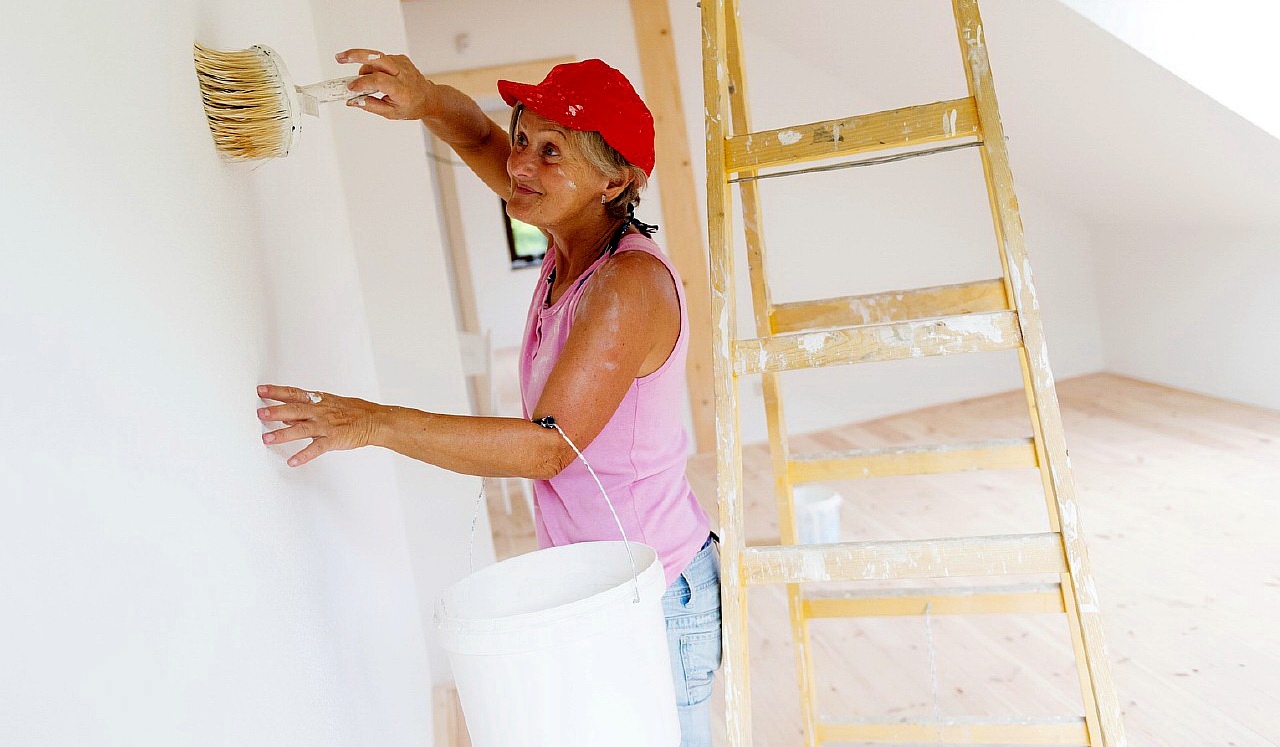
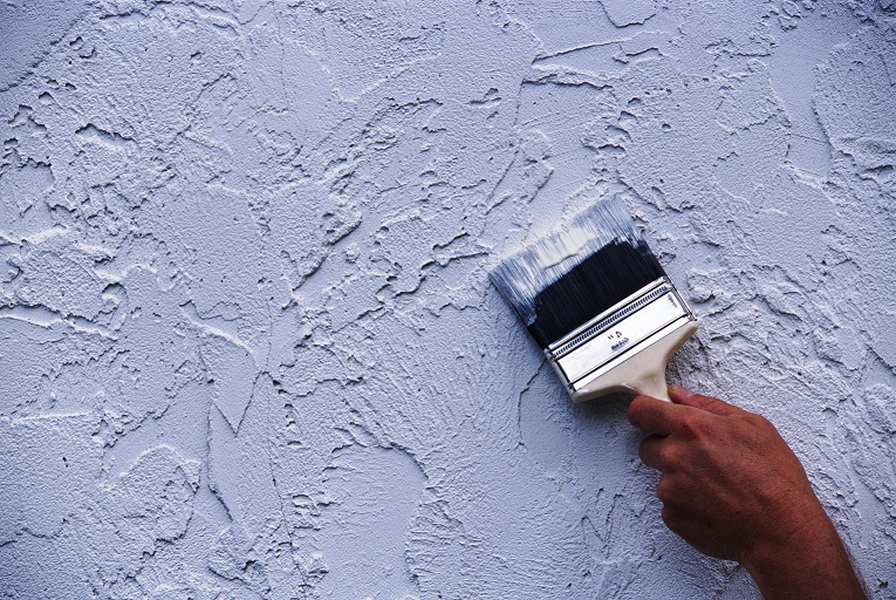
For painting
When creating plasterboard constructions that will eventually be painted, it is important to properly treat their surface so that the result fully meets expectations.
The first thing that needs to be done is to primer the joints and places with self-tapping screws, on which the first layer of putty is then applied. This allows you to close the obvious irregularities, but for a more significant result, it is important to use a reinforcing tape, on which the putty is applied for more serious tasks. Only after removing all the obvious irregularities on the wall, you can begin to apply primer over the entire surface of the wall.
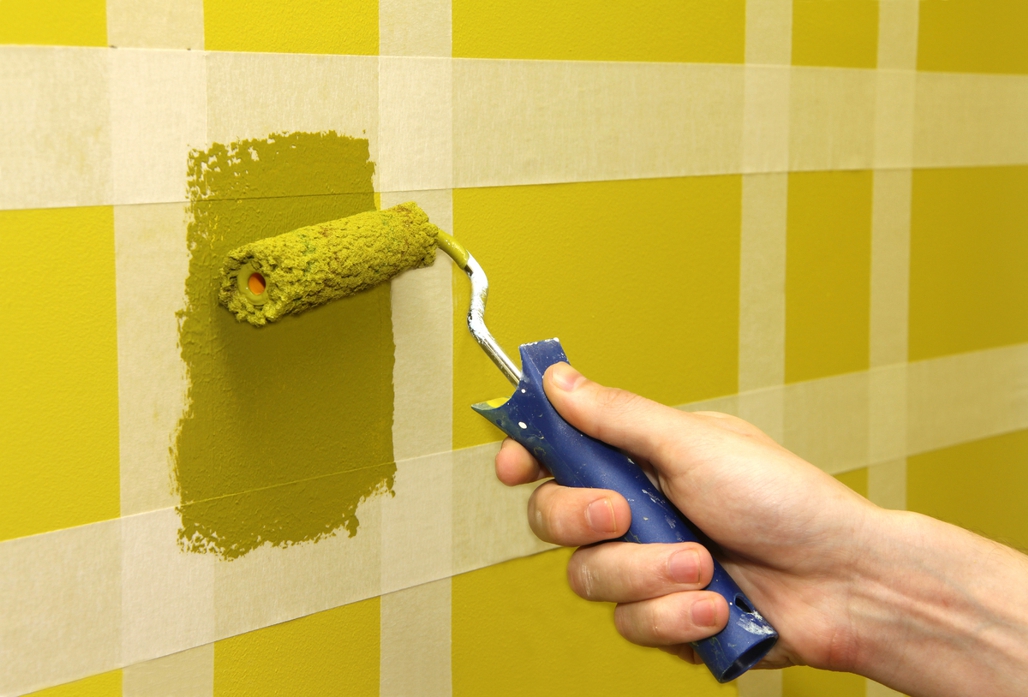
The first layer of putty is applied on the primed wall and its complete drying is waiting. It is advisable to grind obvious irregularities., then apply the finishing putty, wait until it dries, and grind to a completely flat surface.Only after that the final layer of primer is applied, on which the paint will be applied.
Due to this procedure, the painting process will be as easy as possible, the paint will not be absorbed into the drywall or flow through it.
If at the first puttying it was possible to achieve a smooth coating, then you can do without the use of finishing putty, replacing it with a quality primer, which later will be applied paint. In both cases, the result will be of high quality.
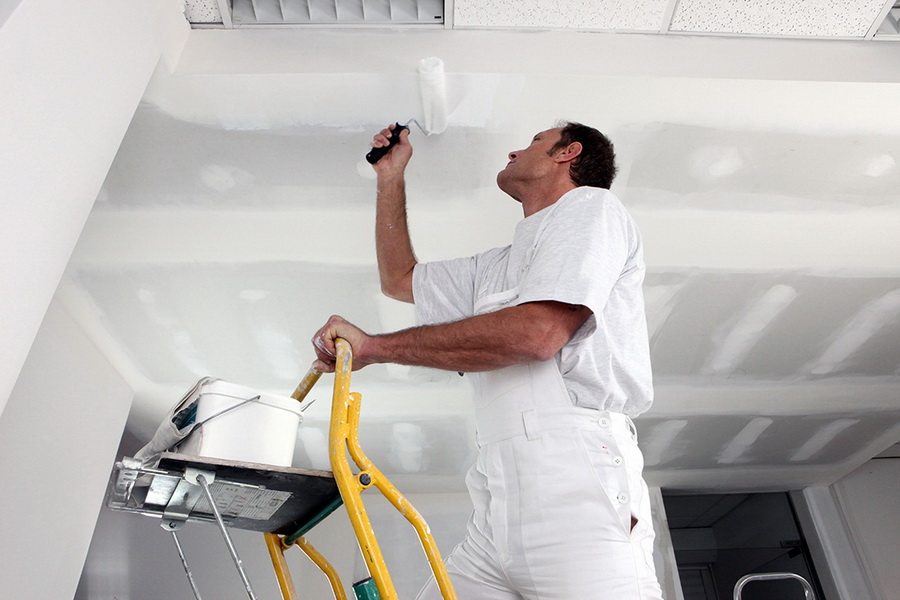
How to apply on the ceiling?
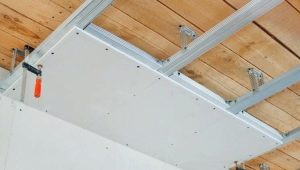
The use of drywall on the ceiling is not uncommon for a long time, and the variety of structures that can be erected with it can not help but admire. After the main material is installed, the stage of working with it begins.
It is important to hide all the irregularities of drywall, to make joints and places invisible.where the sheets are bolted to the metal profile. Putting is best for this.
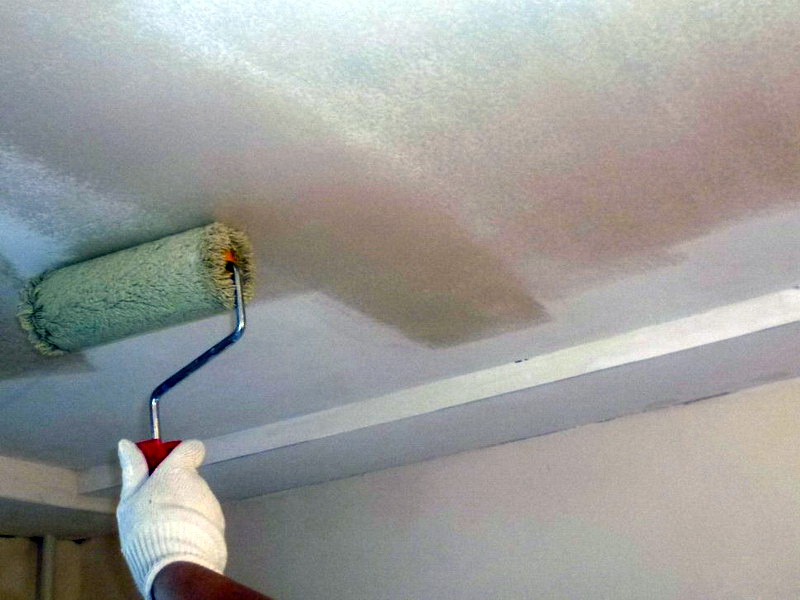
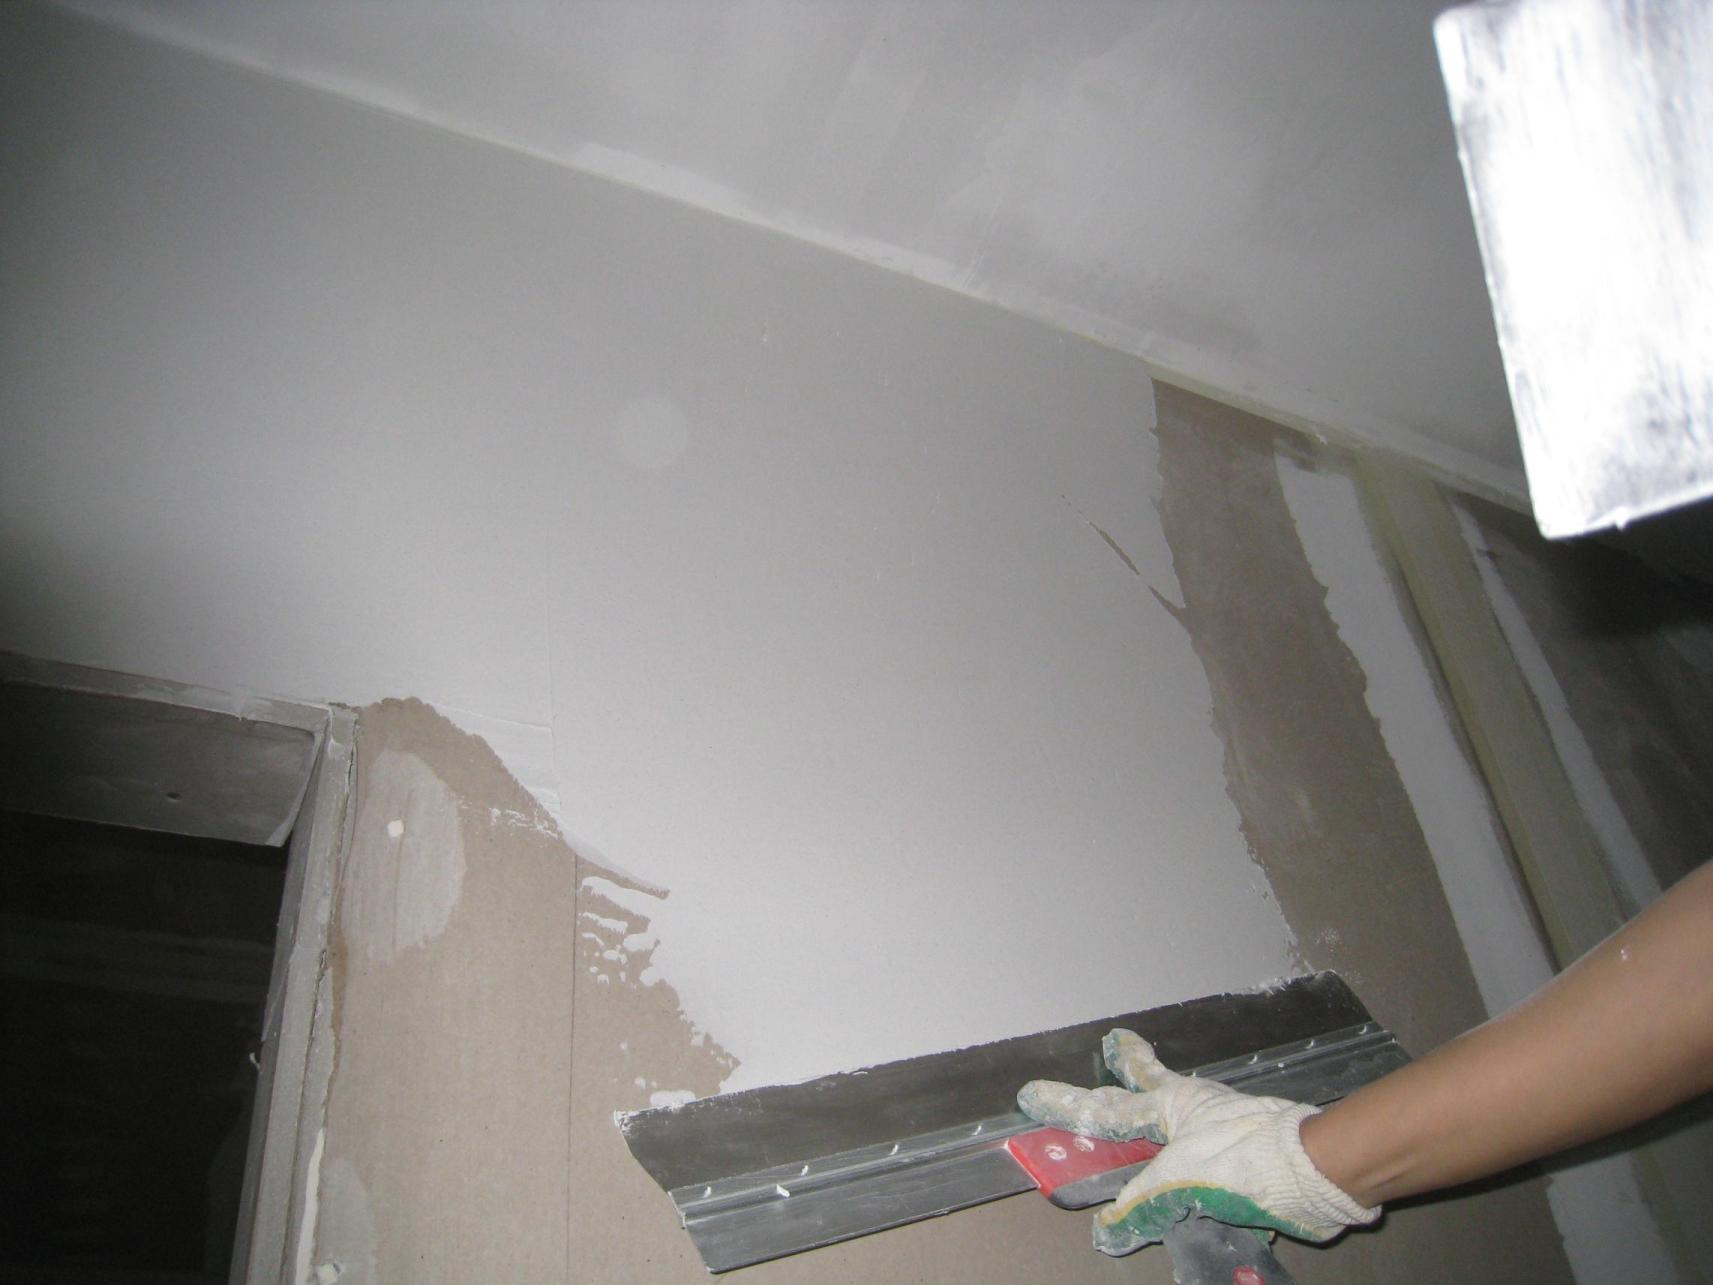
To apply the putty to the ceiling, it also needs to be primed.. It helps to protect the material from changes in temperature and humidity levels, then the putty with putty is carried out a little faster and easier. It is convenient to use a roller for priming the main coating, and in the corners and problem areas it is better to take a brush.
As soon as the work is done and the primer is dry, the first layer of putty is applied, while especially carefully handled the joints and meta with screws. At the joints it is necessary to use the serpianka and drown it a little in the putty solution.
When the first layer of plaster is dry, you need to remove the obvious irregularities with a spatula and apply the second layer, which should be as smooth as possible. When this layer is completely dry, you can apply the final layer of finishing plaster. The application goes from the corner to the center on each side, which allows to achieve the most even result.
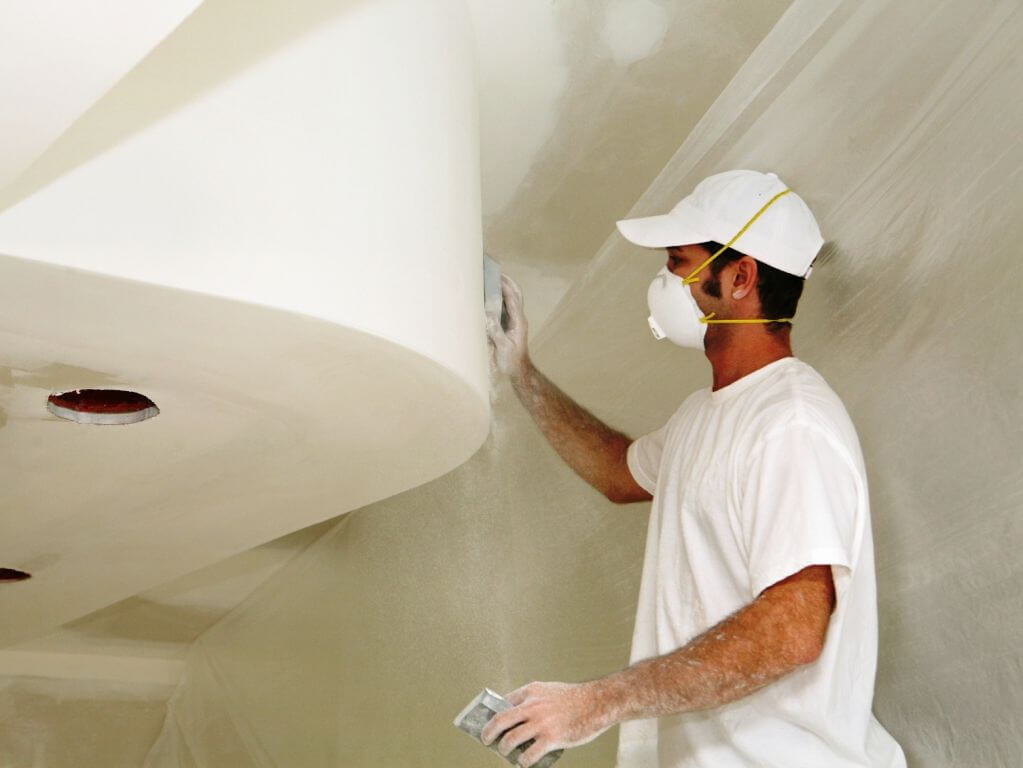
When everything is dry, be sure to grind the ceiling with emery paper and prepare it for future action.
Useful recommendations
When applying a primer to the surface of the wall It is important to ensure that stains do not form., they will subsequently interfere with the smooth application of putty, and the work will be performed poorly.
Putty can only be started when the primer is dry.. It usually takes about six hours, but not necessarily, time can be adjusted depending on the room temperature and humidity level.
Planning to finish the drywall with any of the options, the first thing you need to prepare the material for work. An important task is to sew a seam and putty it. At each stage of work it is recommended to use a primer., which makes the sheets more sturdy, and allows you to firmly grab putty, and subsequently facing material.
See how to primer drywall before puttying in the next video.