Laying cable in drywall: features, work order
During the overhaul is usually made replacement of all elements, including the wiring. It depends on the work of electrical appliances, and today there are many in every home. In order to properly lay the wiring, you need to take into account certain nuances, for example, how to draw conclusions for connecting sockets in drywall.
Consider the features and order of such work.
Protection
In modern production for the manufacture of electrical wires mainly used copper. The finished wire is placed in an insulating sheath.
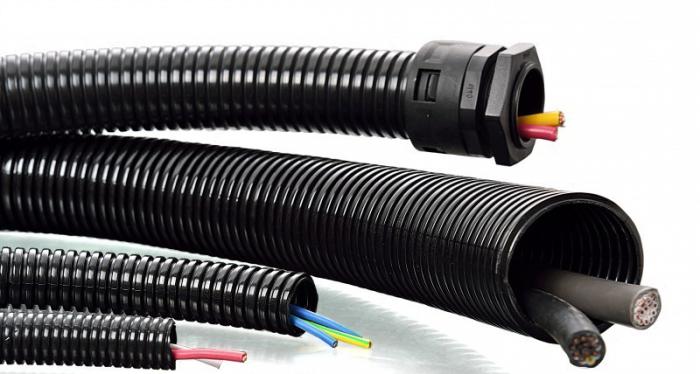
In order not to damage it while laying the wire on a metal frame or self-tapping screws for the profile, the wire must be placed in a special protective sheath.
In this case, the handset does not interfere with the installation and prevents damage to the cable, which will make it possible to avoid a short circuit.Also, such a sheath can protect the wire from small rodents, which is especially important in some household premises.
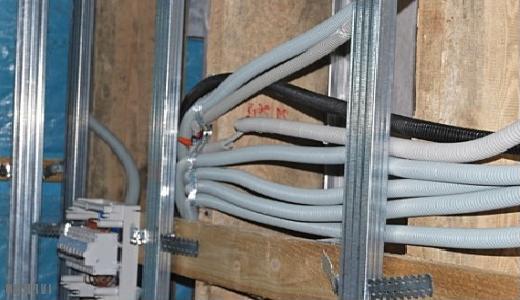
Also for this purpose PVC (PVC) pipes or special hollow cables are sometimes used.made of plastic. They are not so convenient at assembly, they are difficult for laying in hard-to-reach spots.
Laying and wiring
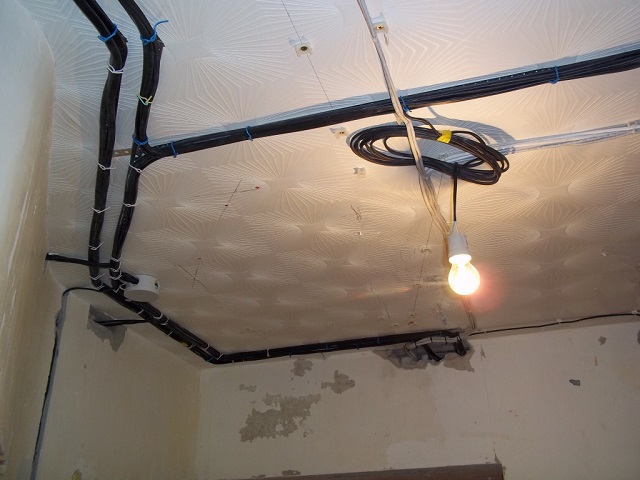
The method of wiring depends on how the plasterboard finish is mounted. The method without installing the frame is used quite rarely. In this case, it is necessary to grind down the surface of the main wall, and place the wire into it. For places in which switching and switching facilities will be installed, holes must also be prepared. After that, the cable is attached to the wall with special clamps.
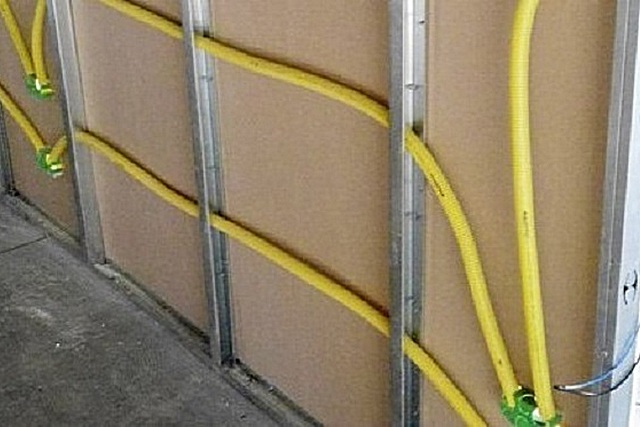
In the frame method of plasterboard plating, wiring under it can be carried out on the wall (as in the variant described above) or directly at the base of the finish, using the frame stands in the form of a cable support. To do this, you can purchase special slats, in which there are ready points for posting. Fastening in this case is often done with a plastic cable tie.
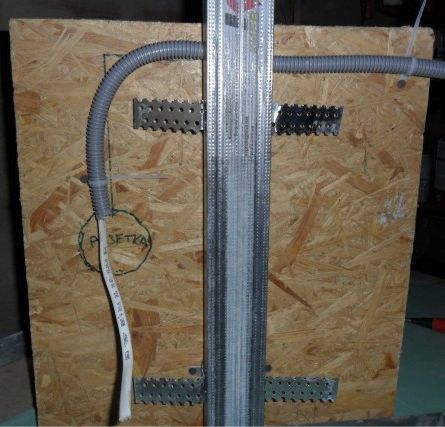
You can also drill holes in horizontal profiles for rack profiles.Most often, the wiring is laid using a frame base.
Posting under drywall from metal profile
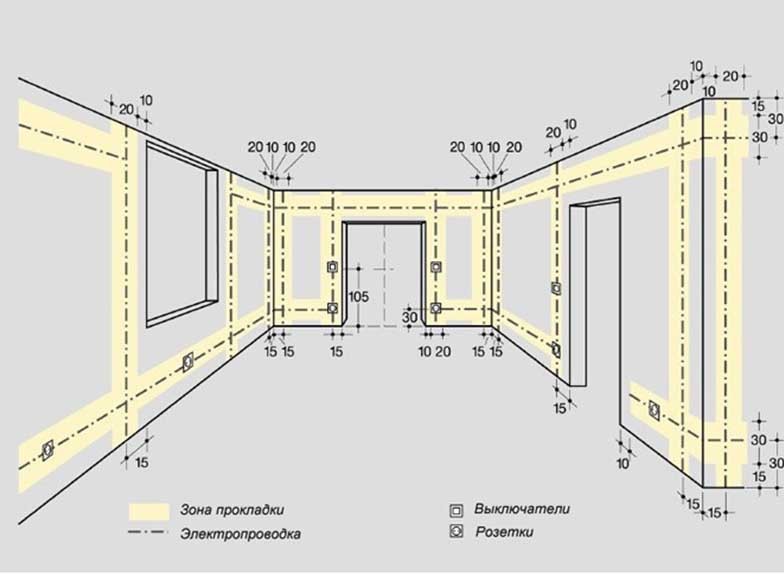
The first thing to do before starting work is to plan the layout of all the inputs and outputs for the attachment points of sockets and switches. Also, be sure to plan where and how electrical lines will be laid. Use two methods: wiring on the ceiling and along the walls. The choice of method depends on whether the ceiling overlaps or not.
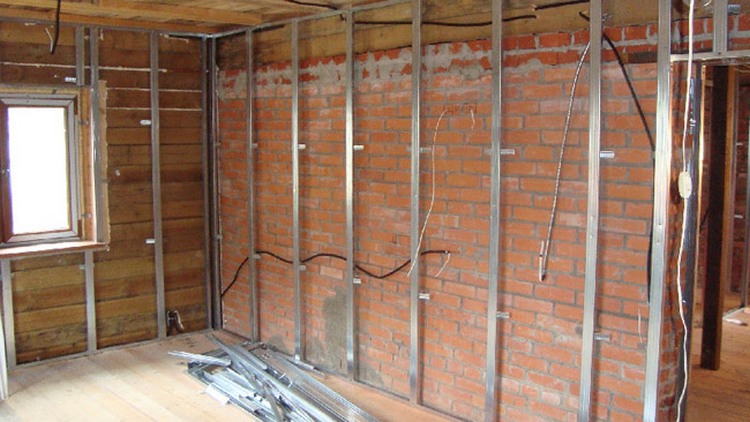
If you have installed a suspended or suspended ceiling of plasterboard, then the line should be laid inside the ceiling. In the case of its absence, the wiring is done on the walls, while the cable is laid horizontally, the distance from the ceiling is 150 mm.
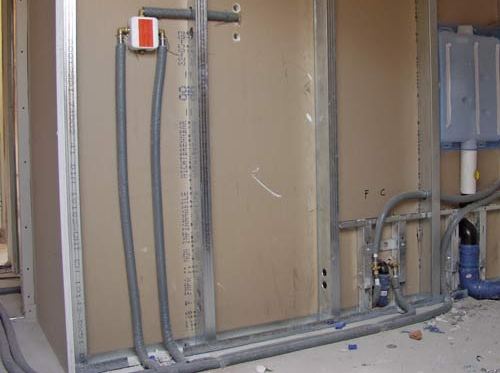
First, the frame is made of a metal profile using the standard method. In the necessary places are installed slats with special holes for the cable (if such were purchased).
To make it much easier to work, it is recommended to apply the layout scheme for electrical cable lines, as well as switches, sockets and distribution boards to the surface of the ceiling or walls. So you do not miss anything.
In the next step, it is necessary to fix the distribution panels in each room. To attach them to the wall, you can use the most common dowels or screws for drywall.
In the next step, power lines are laid. To begin with, clamps or clips are fastened along the entire length with screws, which will fix the cable previously enclosed in the corrugation. Fastening ties can also be used as a fastening material.
In the frame racks need to drill holes. Through them will be stretched horizontal cable.
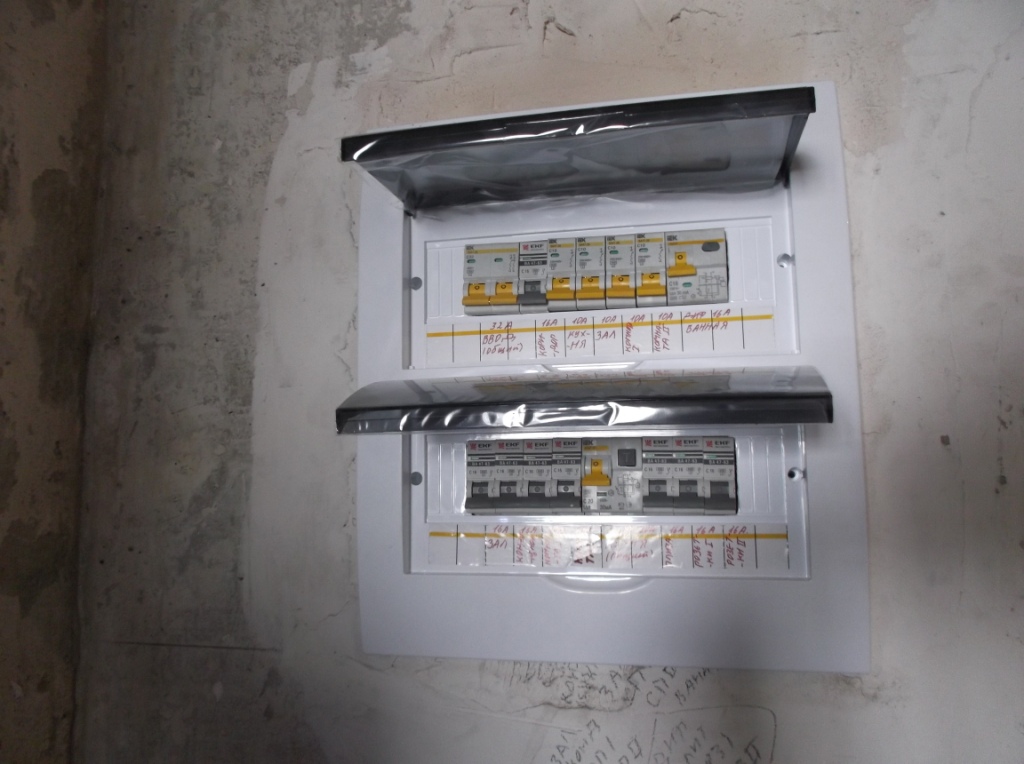
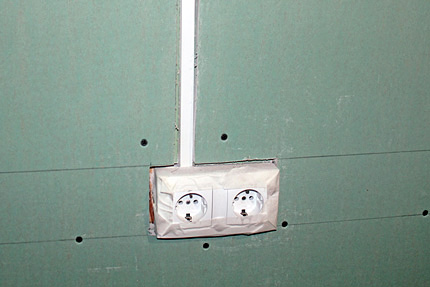
Be sure to draw conclusions for connecting sockets and switches. As a rule, sockets are placed at a height of about 300 mm from the floor, and switches - 800 mm. It is recommended to make marks on the floor near the place where they will be placed, so that later they can be easily found under the drywall.
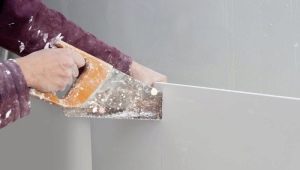
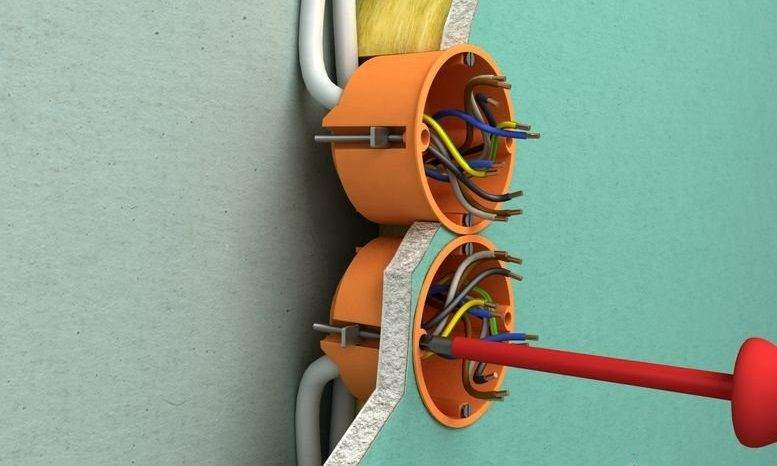
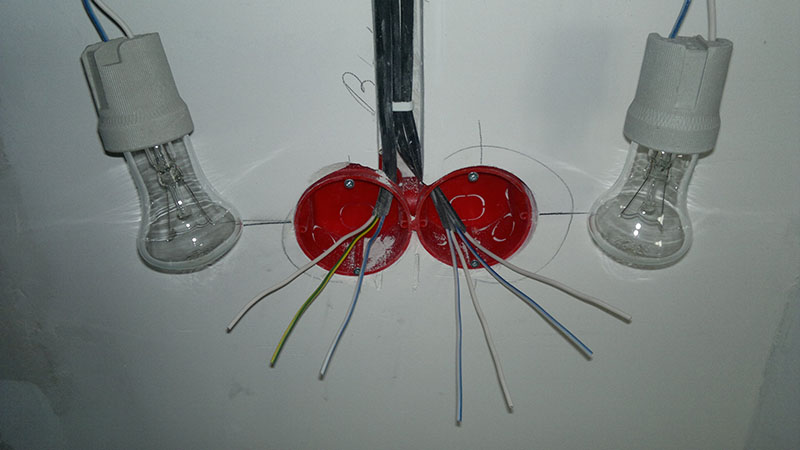
Upon completion of laying the wiring frame is sheathed. Then you can begin to drill the holes for the glasses into which the sockets are installed.
Installation of wiring on the wall
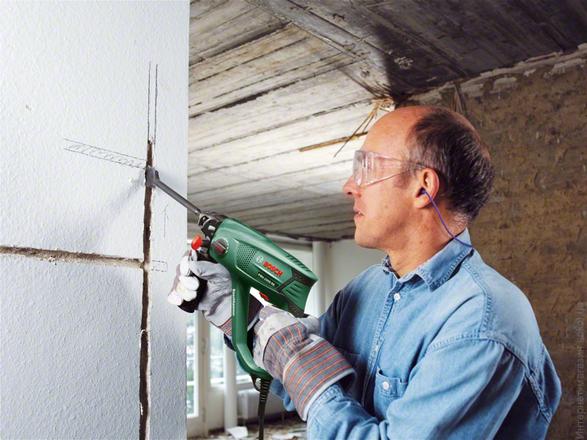
This method is used if the drywall is mounted on the adhesive from plaster for installation without the use of a frame. In this case, the space under the upholstery will be small, so the wiring lines and sockets must be recessed into the wall. For this, holes for wiring are made in the wall.
Gouging is the cutting of longitudinal grooves (grooves) on the surface. For this you can use the most diverse hand tools: chisel, hammer or chisel. This can also be done using a grinder, wall chaser or perforator.
For more convenient stroking is necessary, as well as in the frame version, you must first transfer the entire wiring diagram to the ceiling and walls, after which you can begin to carve the surfaces. When working with concrete, foam concrete or brick, it is better to first make longitudinal cuts (channels along which it is necessary to carry out gouging).
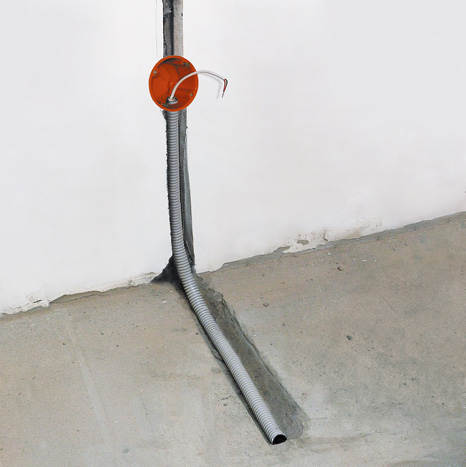
Along the markings made, the lines are broken down for wiring. At the same time, in places where sockets, switches and distributors are installed, recesses of the corresponding diameter are made. If the house is wooden, then make such grooves better chisel. After the main lines are broken, junction boxes are installed, and the cable chosen in advance is laid along lines in a corrugated pipe, securing it with plastic clips.

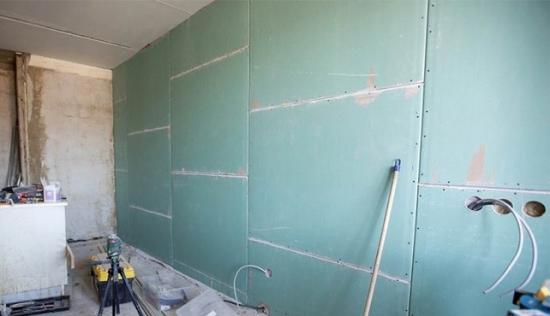
After finishing the laying of wires begin to mount the drywall. Wherein it is necessary to take into account the location of the laid cables, so as not to damage the wire with screws.. Having finished the installation of drywall in the places where the switches and sockets are installed, you need to drill holes of a suitable diameter and install the socket, leaving the wiring terminals outside for further connections.
All electrical connection work must be done before final finishing. This is necessary so that if necessary it is possible to change the wiring without destroying the final decoration of the walls of the room.
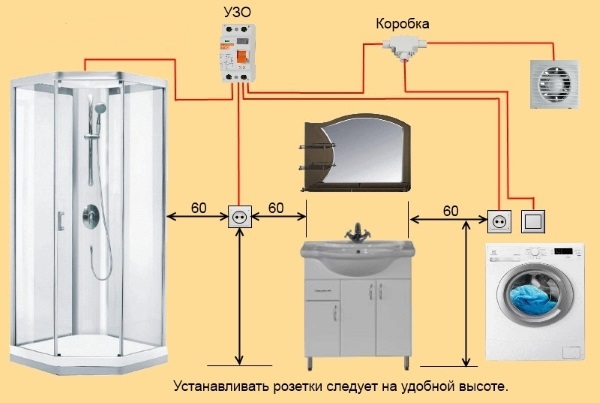
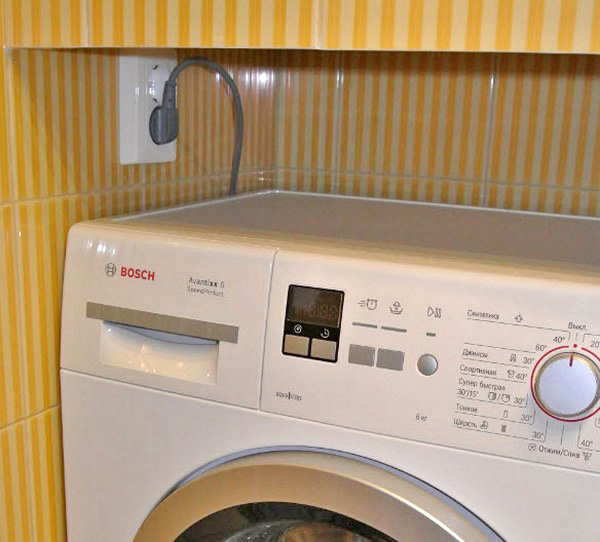
Features of the wiring in the bathroom
The implementation of wiring in rooms with high humidity, which include a bathroom, has its own characteristics.This is due to the fact that wet surfaces are an excellent conductor, an electric current can pass through them.
This is what causes the special wiring requirements:
- Electrical switch and junction box must be installed outside the room (bathroom).
- Installation of sockets is carried out no closer than 65 cm from water pipes.
- Indoor waterproof appliances must be carefully grounded.
- The power supply line of the devices in the room is connected to a separate automatic fuse.
- All grounding tires are connected together to equalize electrical potential.
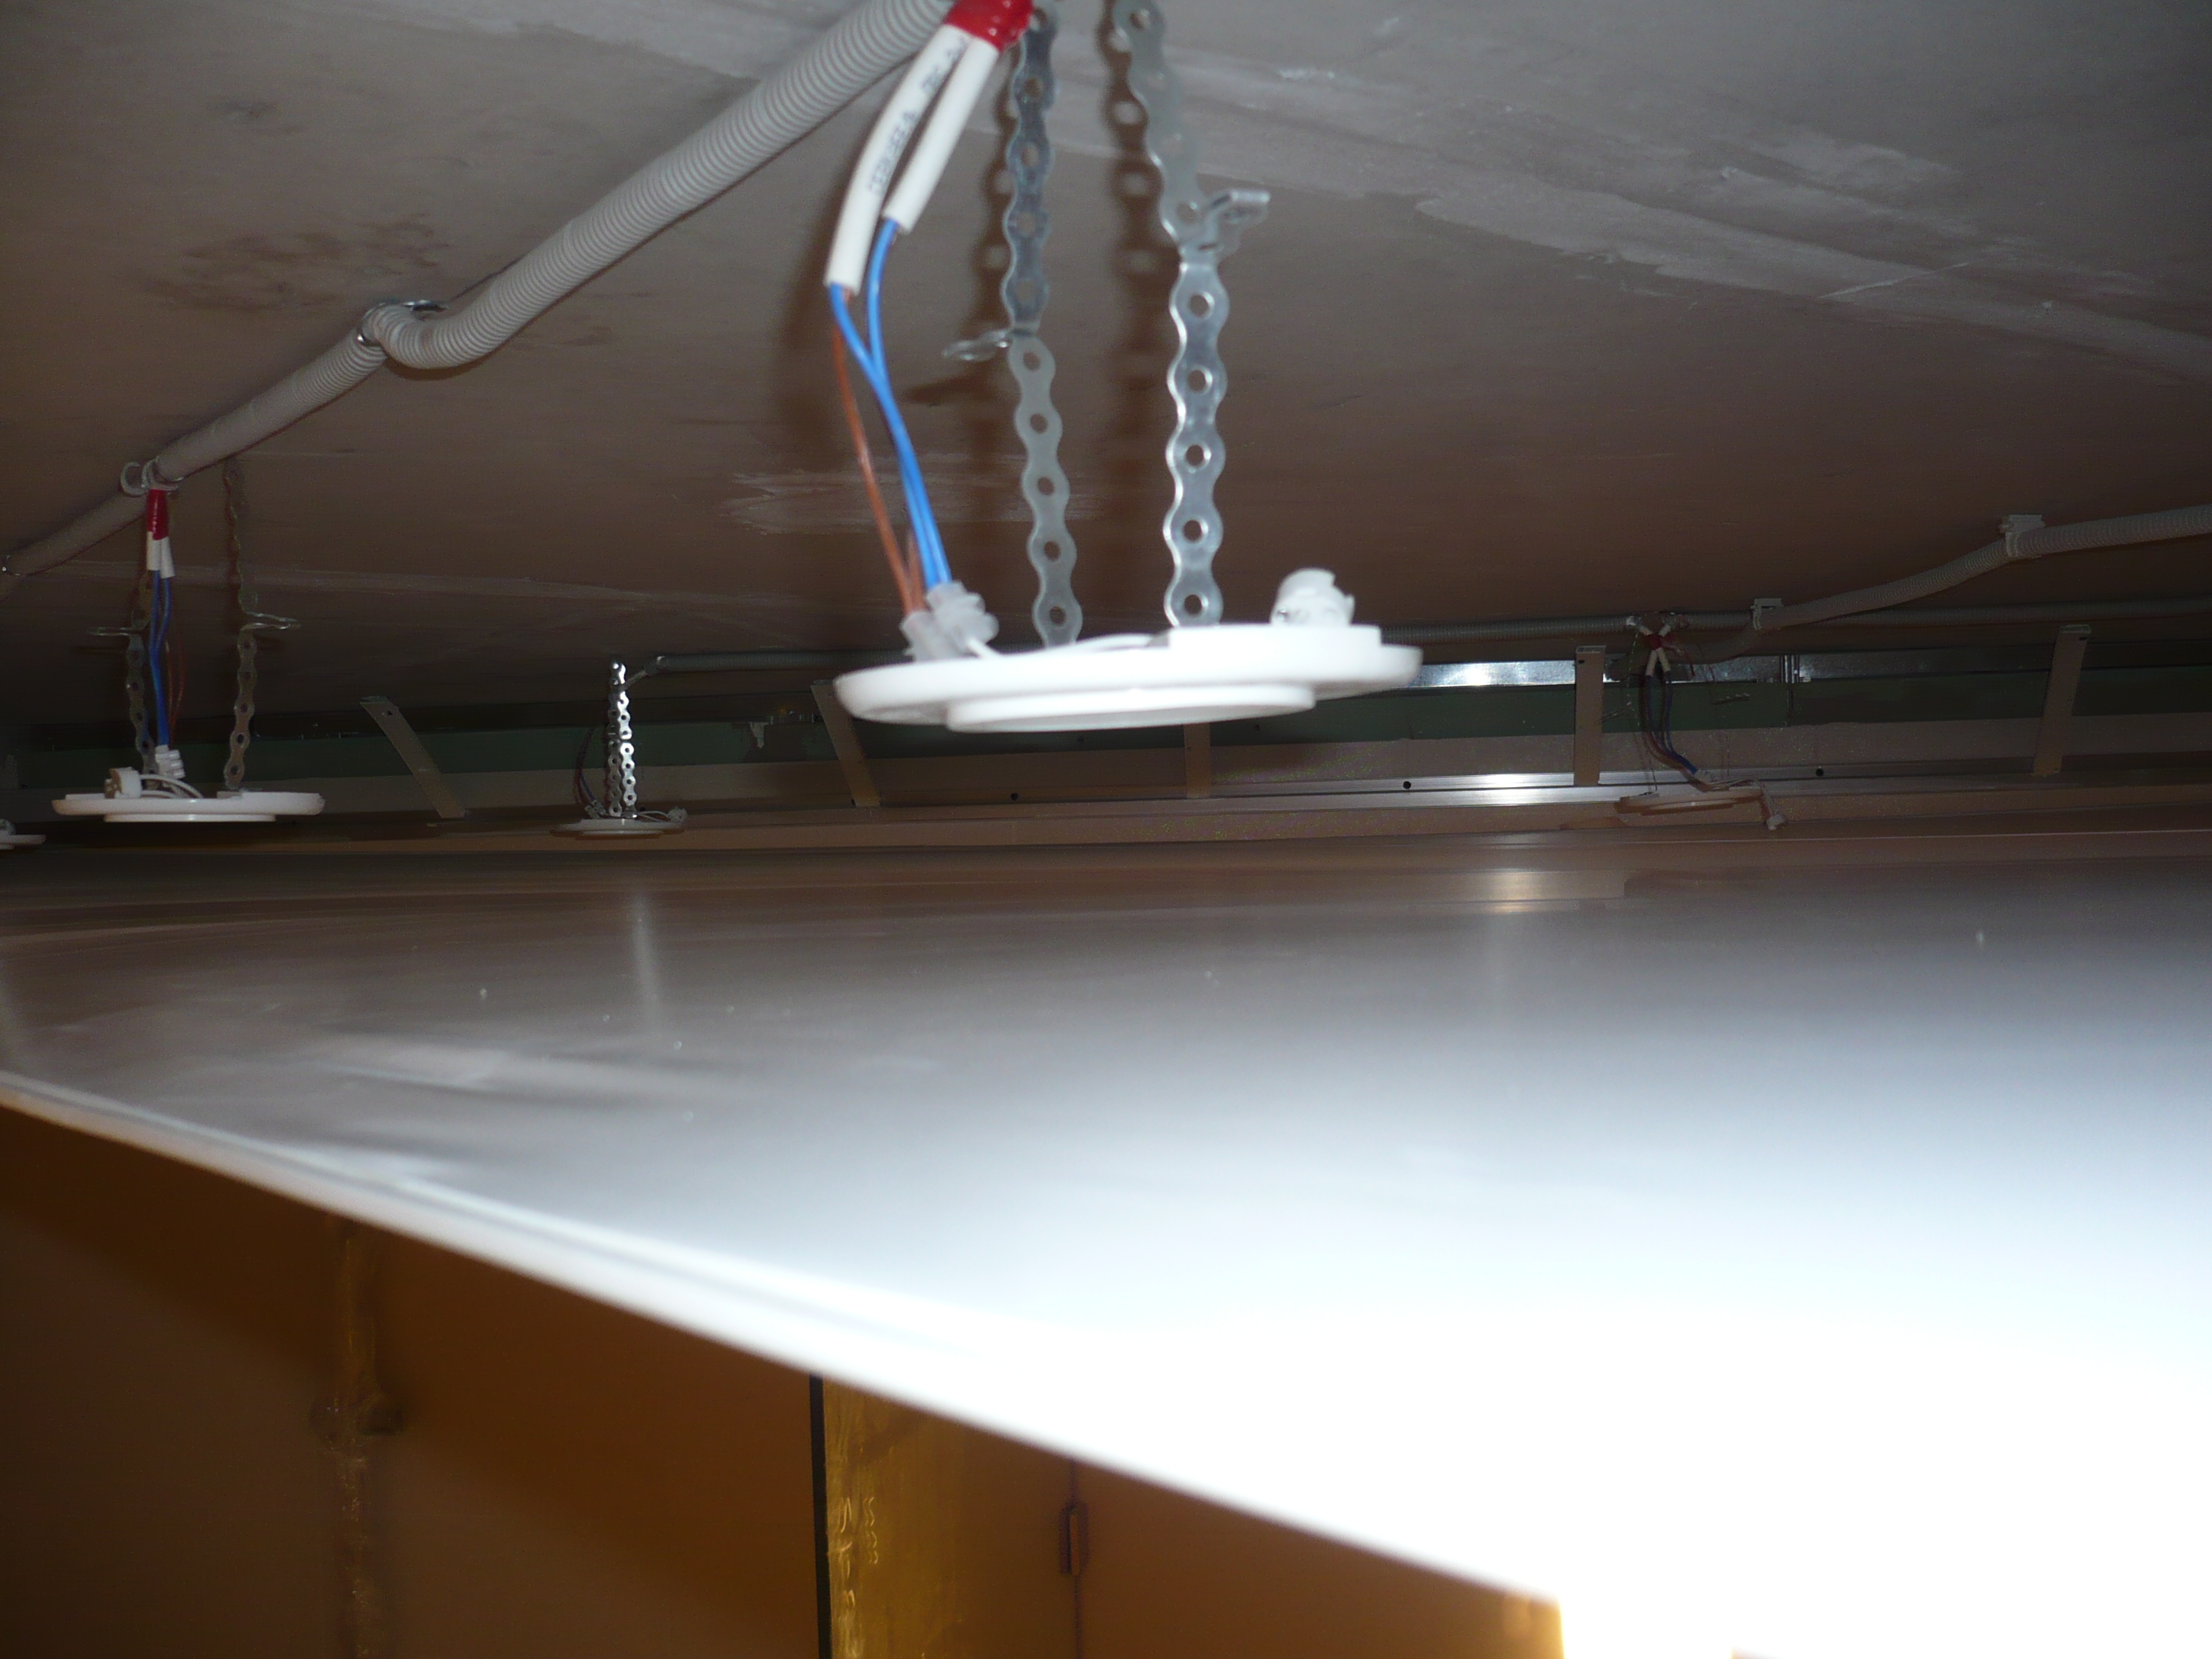
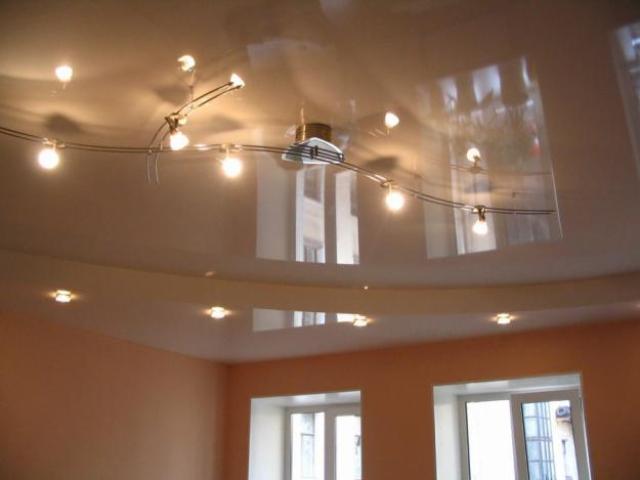
Electrical installation in a false ceiling
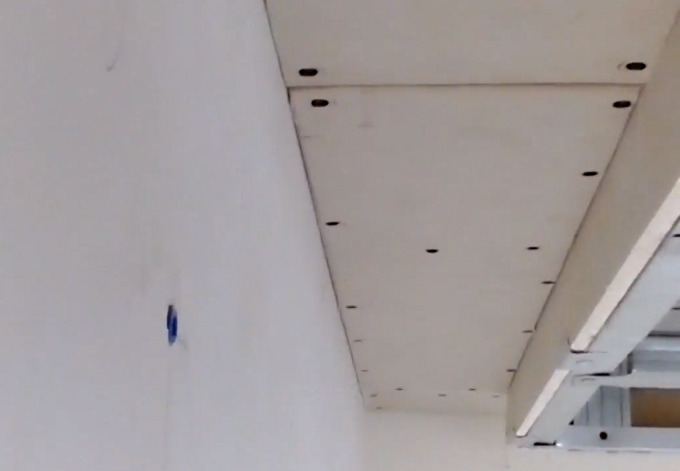
When planning the installation of wiring in the false ceiling with your own hands, it is necessary to take into account that this method is somewhat different from the installation inside the walls. In particular, the wiring to single lamps mounted on the upper edge of the walls of the room. Holes are drilled in sheets of plasterboard through which the cable is laid. Through them you can stretch a few meters of cable.
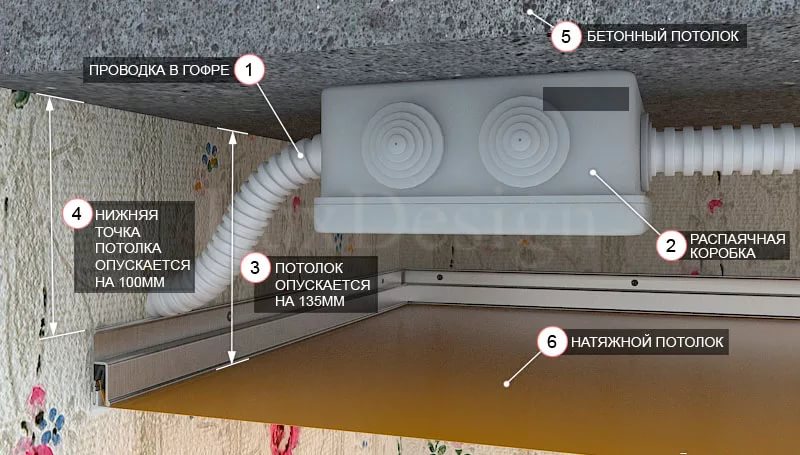
It is better to make the installation of electrical wiring before installing drywall.However, if the sheets are already secured, in some cases it may be necessary to dismantle them.
In general, the installation of hidden wiring in drywall requires special attention and consistent implementation of all stages. With proper consideration of the network load (especially 380 volts), selection of high-quality components and careful installation, the assembled circuit will serve for a long time and efficiently.
The visual process of laying the cable in drywall, see below.