Plasterboard drawers: installation features
Podrozetnik (or any other product of this type) is designed for mounting sockets and switches in sheets of drywall. First of all, this product serves for fire safety purposes due to the fact that the bare ends of the wires are hidden in the plastic case of the bottom plate. In addition, they are very convenient in terms of repairing a faulty outlet or switch.
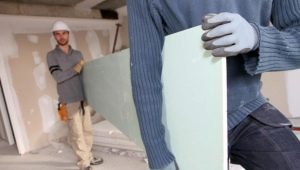
Plasterboard for drywall must be selected carefully. In this article, you will learn how to install a subdirectory in drywall, what features of installation and installation there are, as well as what sizes of sub-collectors to choose.
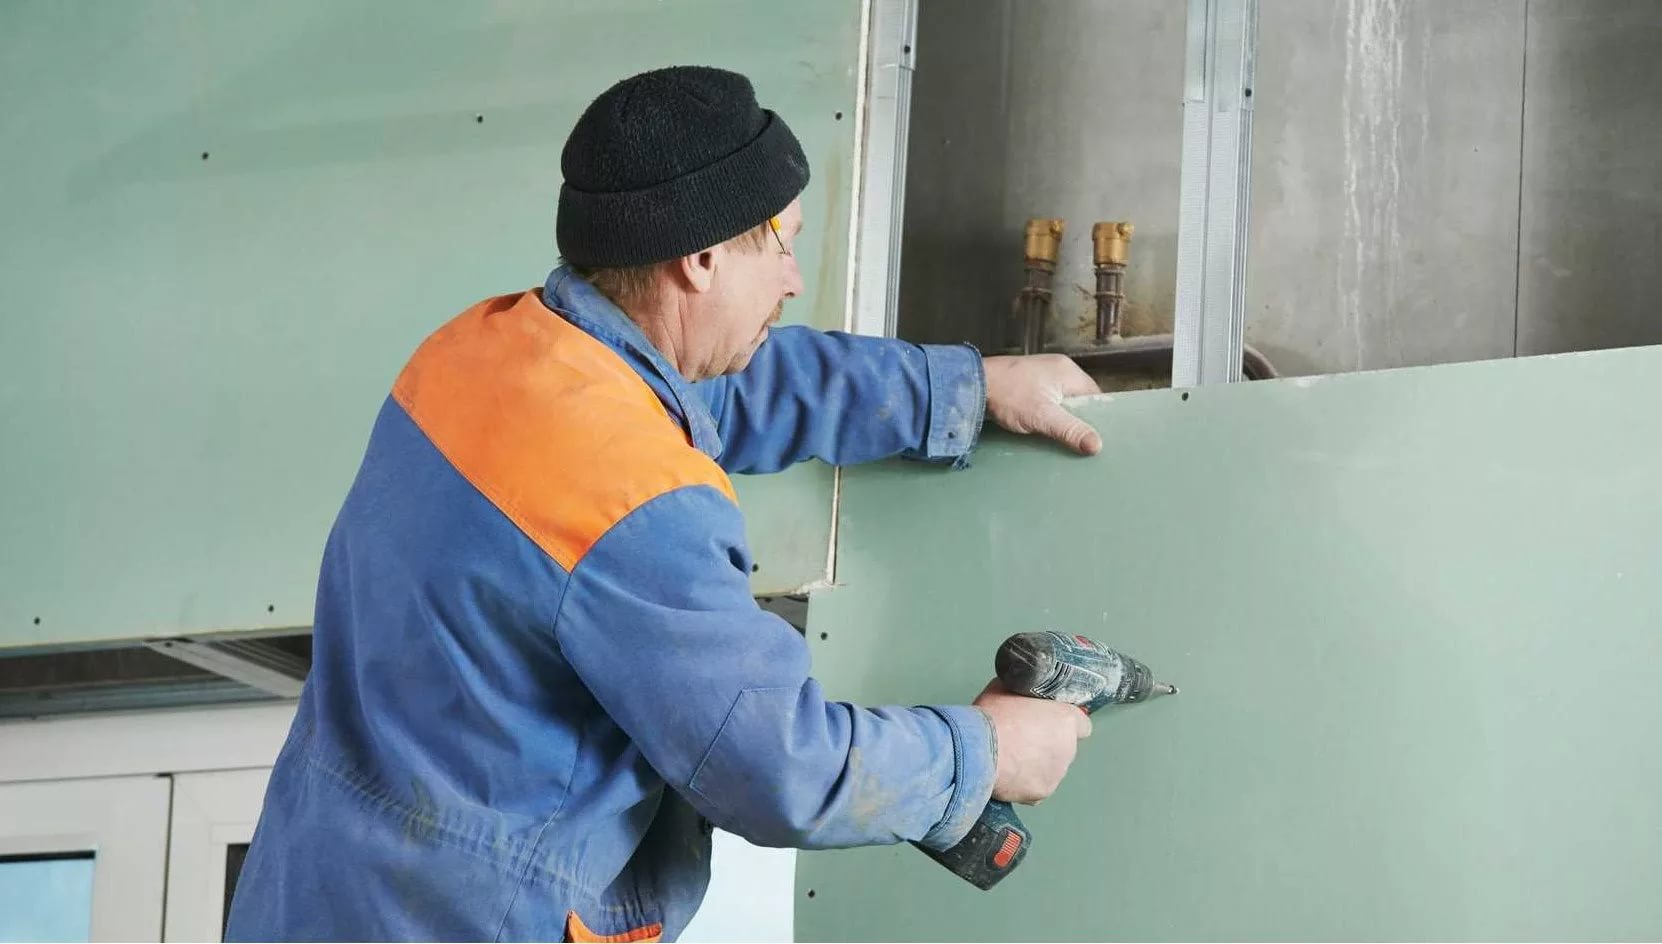
Wall preparation
Gypsum walls became popular in the early 90s due to the fact that they significantly reduce the repair time and the cost of material for repairs in old houses with uneven walls without the ability to align them well with bulk materials.
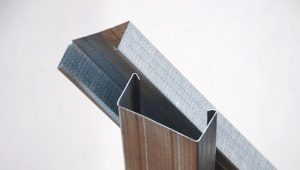
Drywall can be installed on profiles that are 5 centimeters wide, which leaves behind them free space for other necessary materials (such as insulation, sound insulation, etc.), as well as free space for wiring. Mounting boxes (podrozetniki) and the crown became an integral part of such repairs.
If we talk about laying electrical cables, then (in case you do not understand a good electrician), it is best to invite a specialist, as due to poor-quality cable laying, a short circuit may occur that will cause a fire.
You should buy podrozetniki together with the purchase of drywall - thus, you can save time and immediately pick up the necessary for the construction of the installation boxes.
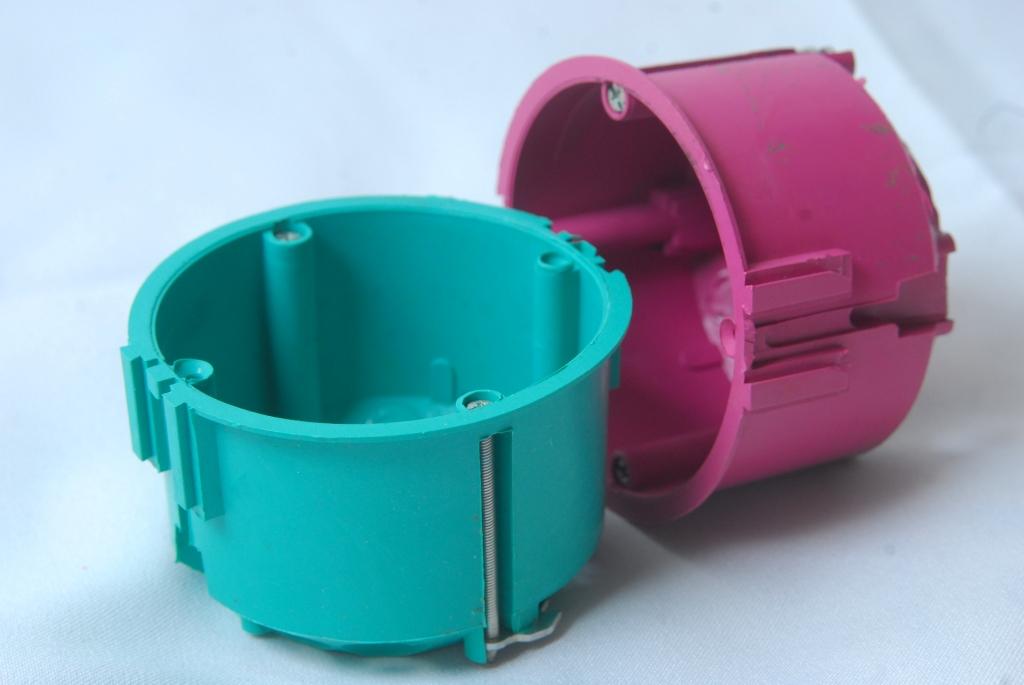
Plain plasterboard is a flammable material. The only exceptions are special sheets of drywall, which are fire resistant (they are usually different colors of pink or red, and also have a special marking). Therefore, the box should comply with all necessary fire regulations for safety.
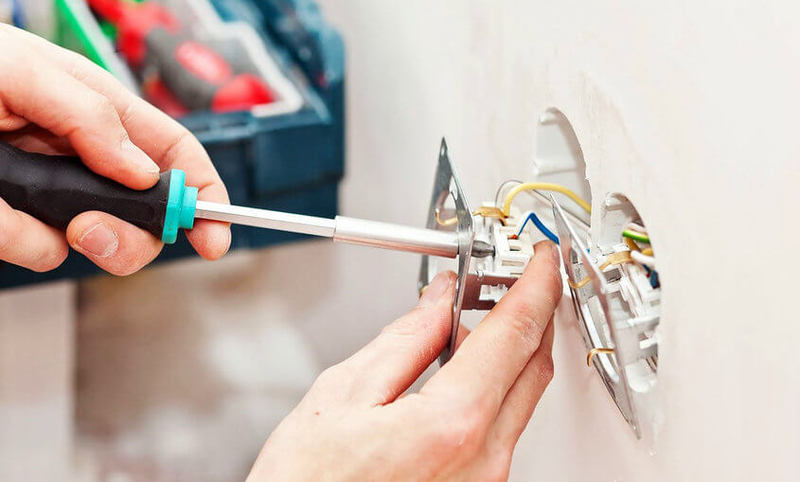
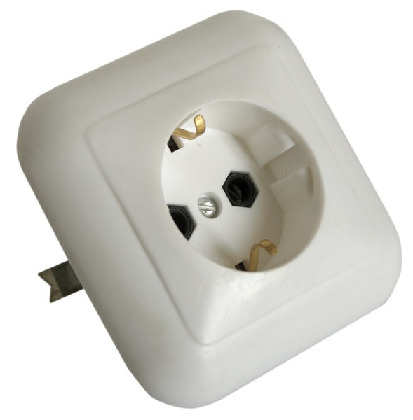
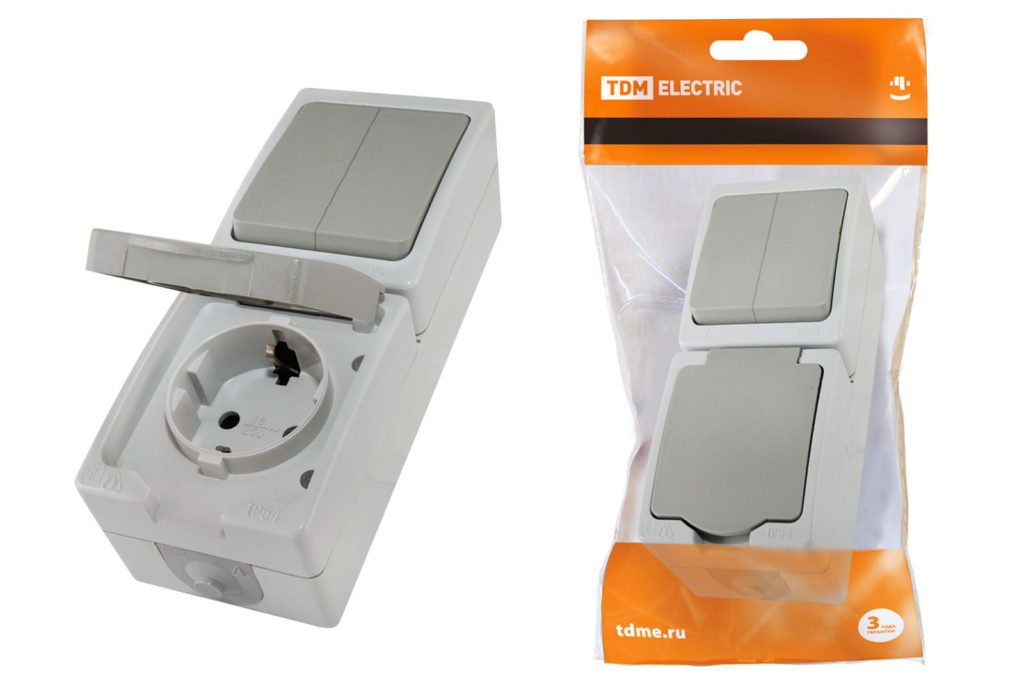
Choosing a socket for the entire structure, it is worth considering only those options in which the rim of the socket itself is metallic. At a critically high voltage, the current will pass through the metal, the protection of the fuse in the switchboard will operate and there will be a power outage, which will avoid undesirable consequences.
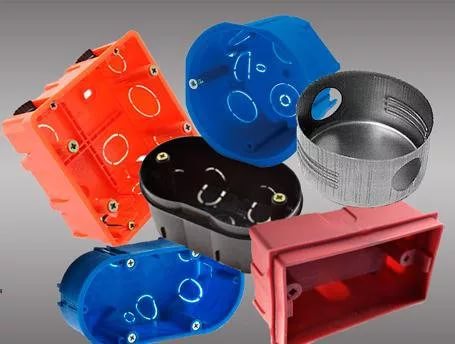
Assembly boxes are divided into two categories:
- distribution;
- installation.

Distribution are used to connect the wires, as the connections must be insulated not only with electrical tape, but also the box.
Installation boxes are those to which sockets and switches are attached. But due to their properties, they can serve as distribution boxes. It is advisable to put deep products.
If the profile is not metal, but wooden (or you have a wooden house), then you need to use not plastic boxes, but metal ones (with an appropriate level of protection).
Dimensions
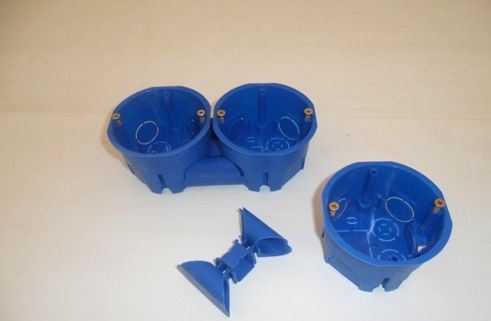
The main difference between the podozetnika under the GKP from similar products under concrete or brick is the method of its fastening. The diameter of such a sub-standard is -68 mm, and the depth is 45 mm. Sometimes there are other sizes, what you need to know in advance.They are written on the back of the products, marking includes the size and type of material from which the product is made.
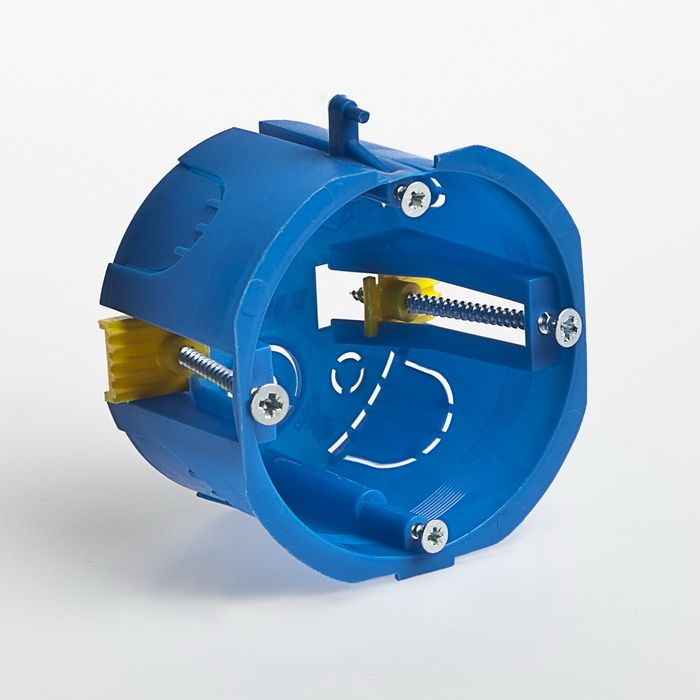
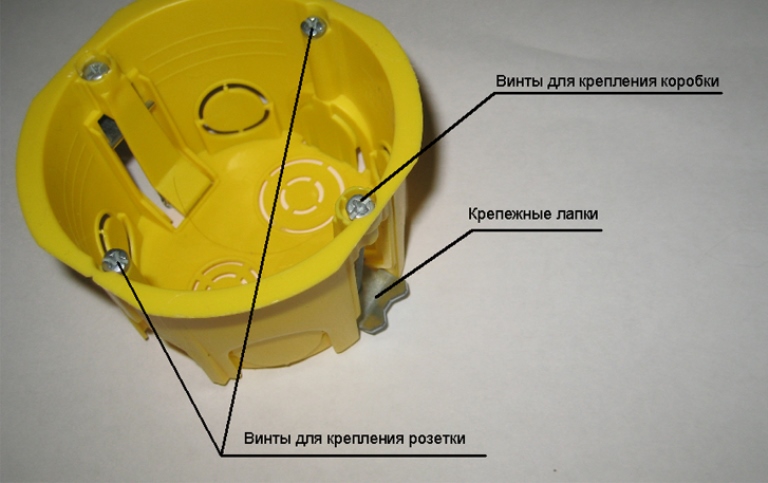
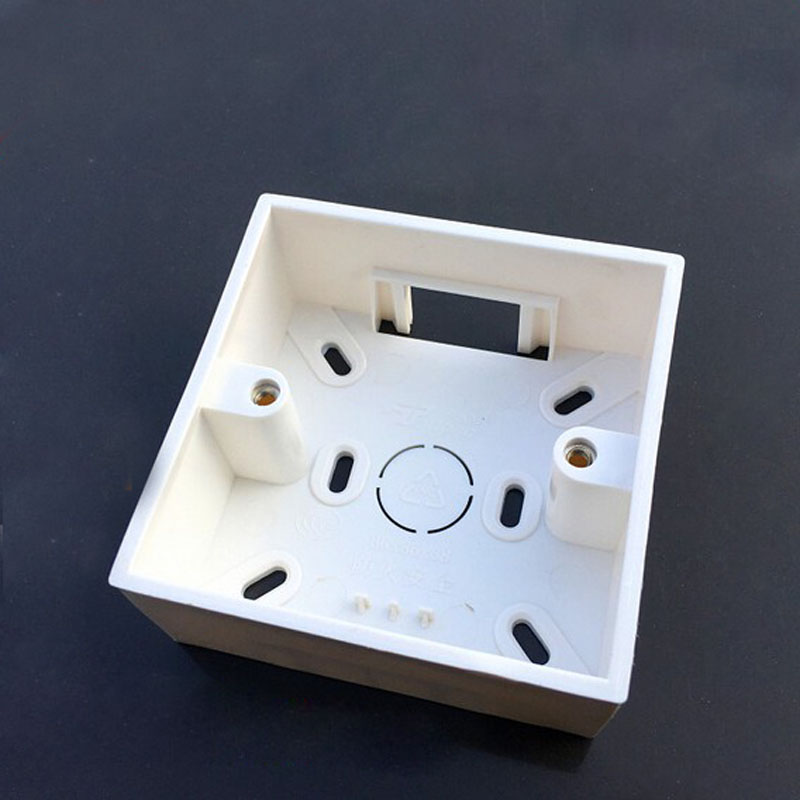
Design
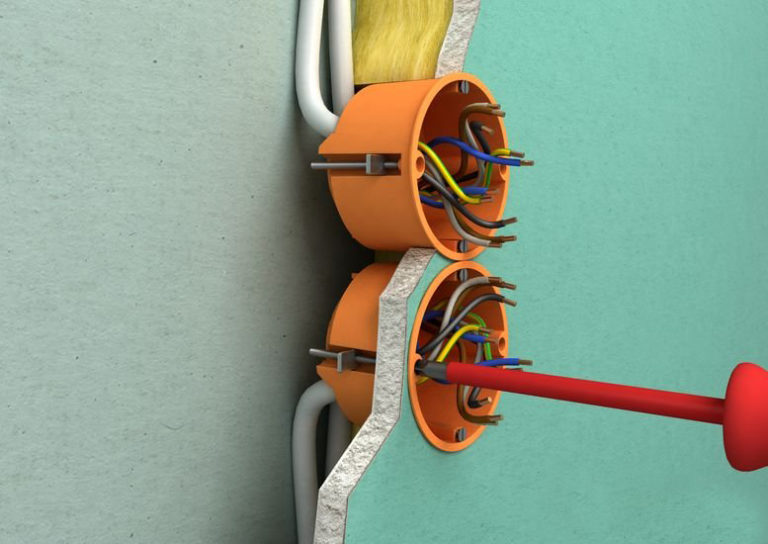
On the front of the box there are 4 connectors for screws, 2 of which serve as additional, preventing the box from being pulled out of the sheet. It is important to note that less than eight in the drywall sheets is better not to install such boxes due to their low strength.
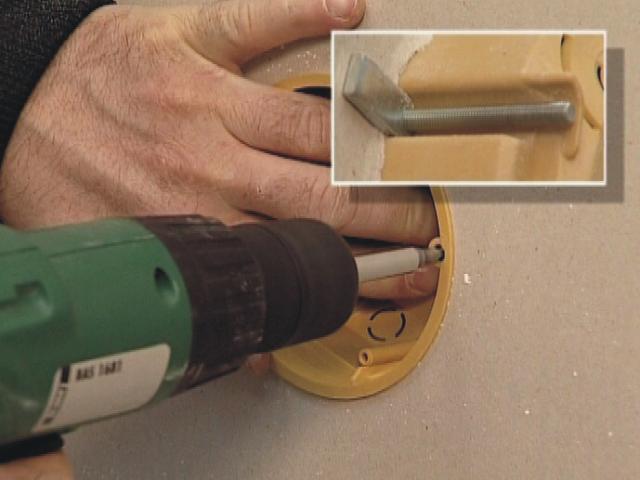
The main connectors go under the screws. The depth of this connector is equal to the depth of the box. At the end of the technological grooves under the screws are two metal "legs" that move apart. Also in the product itself there is a special connector for earthing cable installation, which many ignore, which is not recommended: it allows you to avoid short circuits from voltage drops.
Mounting methods
The steps necessary for successful installation of a wall plate in a wall made of plasterboard are extremely simple, but you should not forget that it is necessary to follow the proper procedure, otherwise the installation can result in the loss of a sheet of plasterboard, and its replacement is a costly procedure (materially and for time).
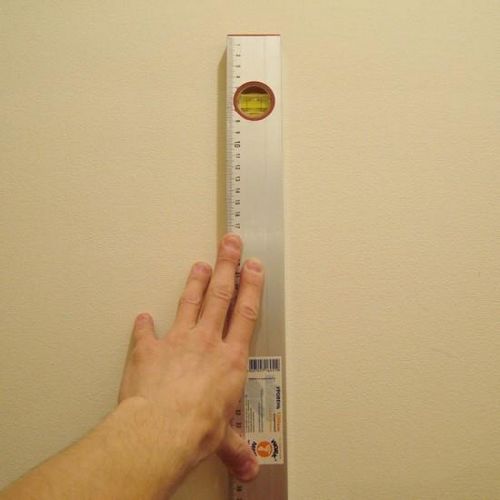
The first action that needs to be done when installing any products (electrical - especially) - is marking. First of all, it is necessary in order to bring wires or other communications to this place, as well as for ease of installation and calculation of the material.
We need logic, knowledge of the location of communications, a pencil, a tape measure and a level (to save money, you can use a ruler, the main thing is to catch the point). It is worth noting that you need to apply the markup taking into account what type of outlet or switch will be (for how many consumers).
In SNiP there are no restrictions on the height of the outlet, but there is a limit on its distance from doorways (at least 20 cm), as well as on distance from the table top (20 cm). It is also recommended not to make too low sockets (not less than 20 cm from the floor) due to the risk of a short circuit from moisture. In turn, a short circuit may cause a fire.
The distance from the gas pipe or other gas wiring should be at least 50 cm. It is also forbidden to make floor in rooms with high humidity.

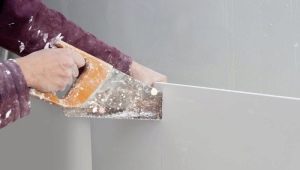
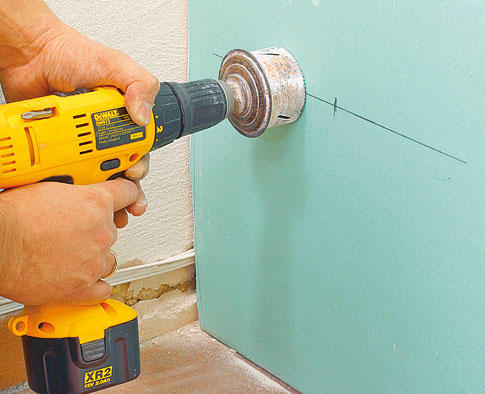
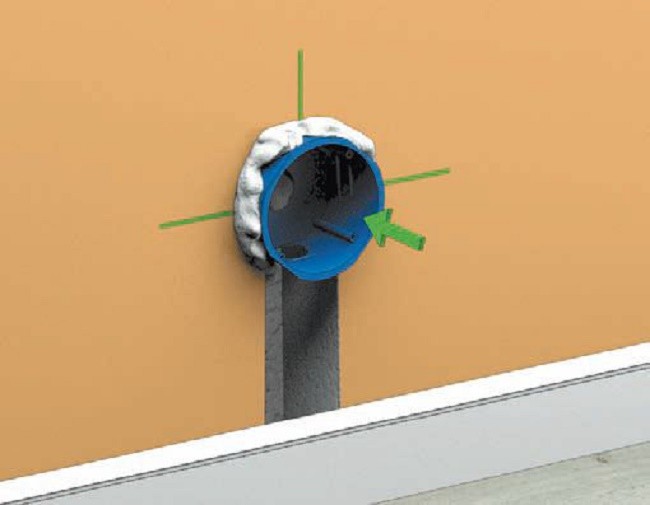
Next - proceed directly to the manufacture of technological holes.Drywall is soft, so you can use a regular paint knife, but it’s best to use a special drill with a special round nozzle. This should be done to avoid unjustified chipping or damage to the sheet.
Drilling with a ballerina needs to be done very carefully, as there is a chance to break the sheet of plasterboard with strong pressure on the tool. This is due to the fact that we are pressing on a certain point with a sharp object with a large area, which can lead to fracture.
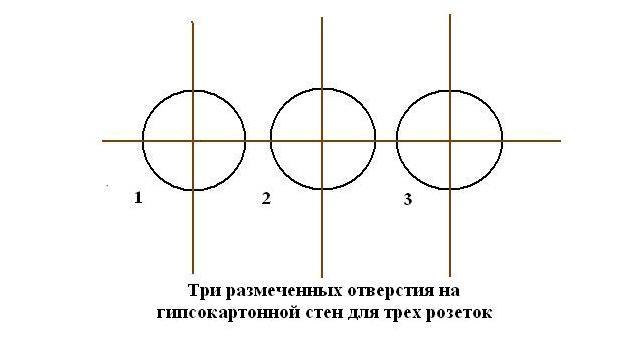
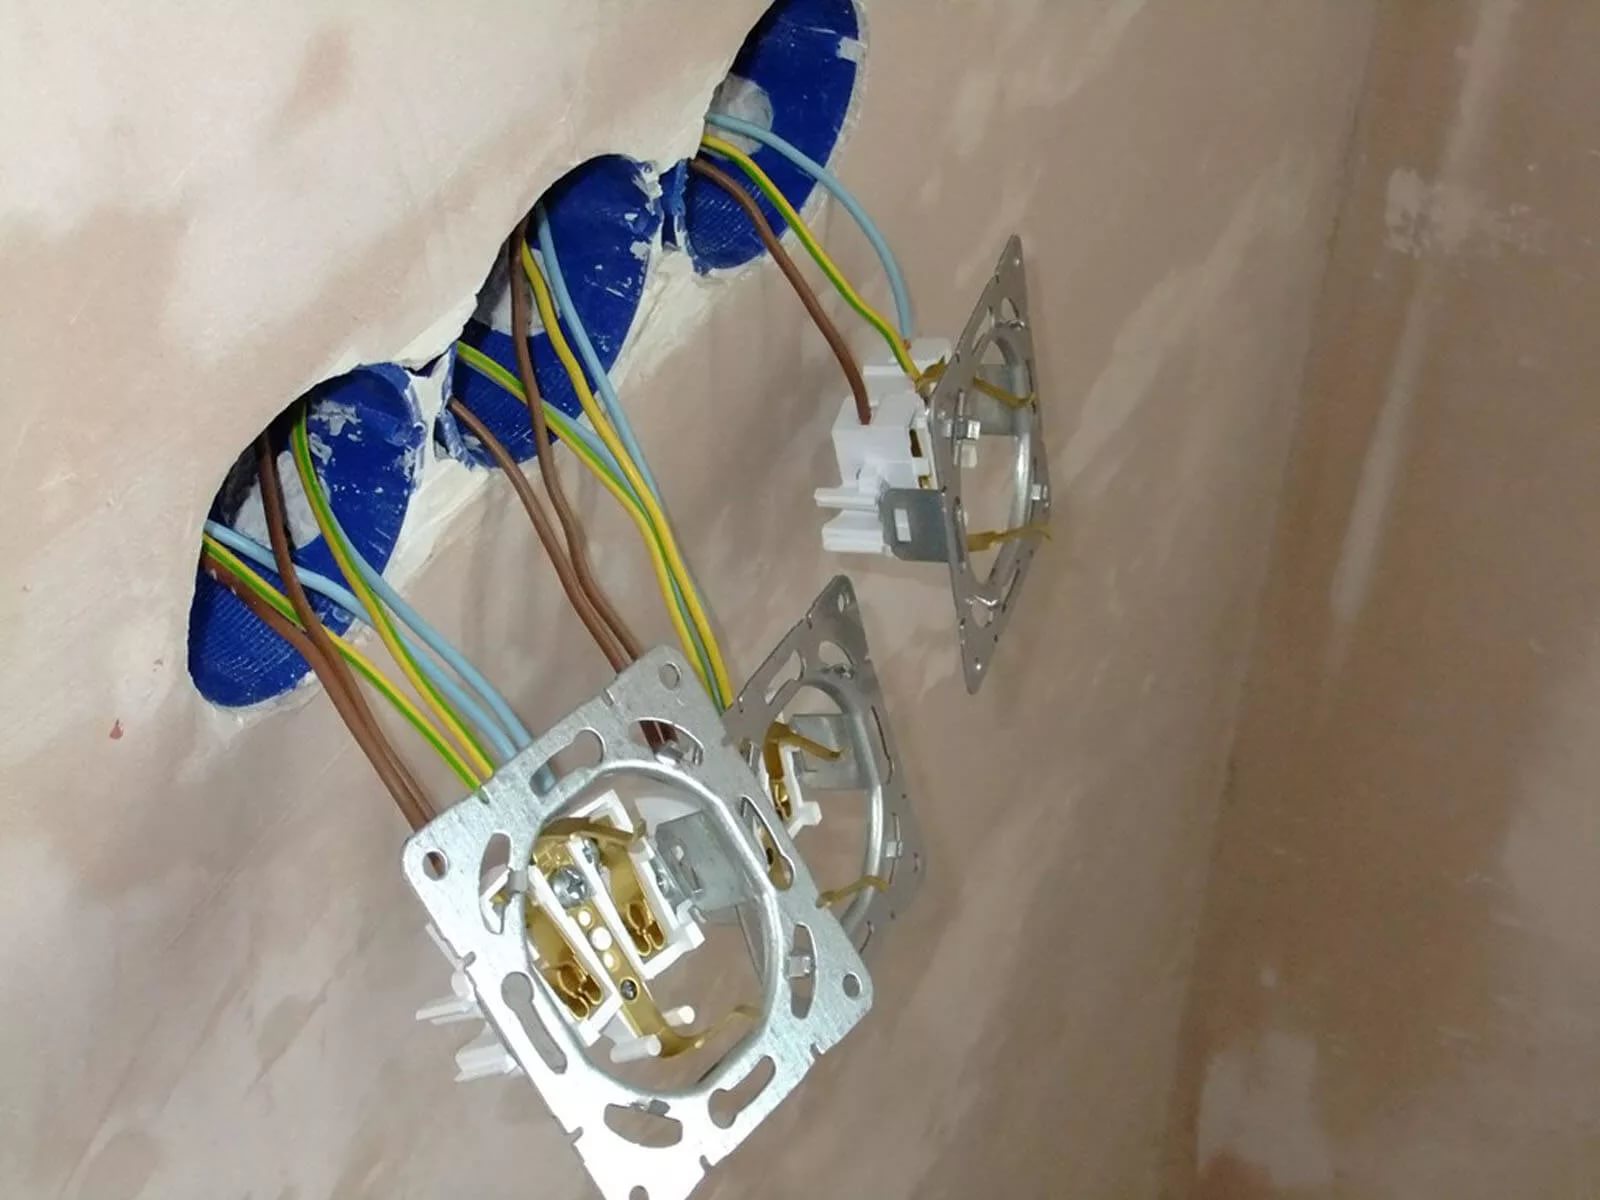
In cases where it is necessary to make a lot of holes, you need to use a specialized nozzle, since the connectors can be paired, triple and so on.

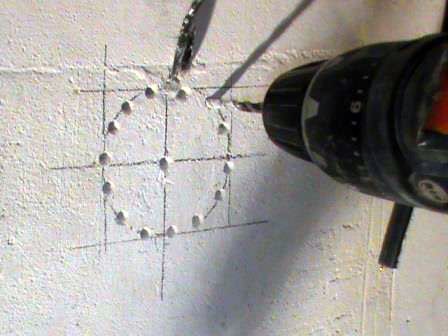
Another way is drilling. It consists in the fact that (instead of the special nozzle-ballerina), the usual drill is used. According to the contour indicated in the previous paragraph, the material is drilled, then it needs to be vyshkurit so that the hole is perfectly smooth and of high quality. When the connector is ready, we throw wires into it. It should be drilled carefully at minimum speed.
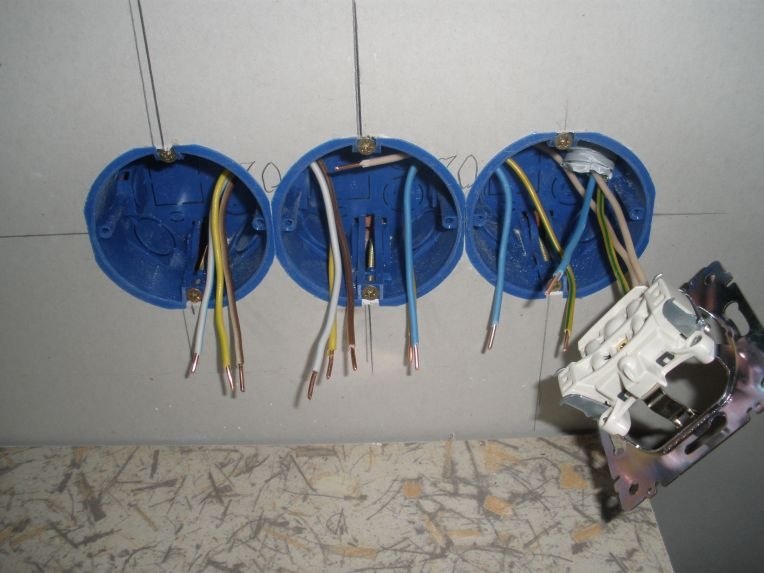
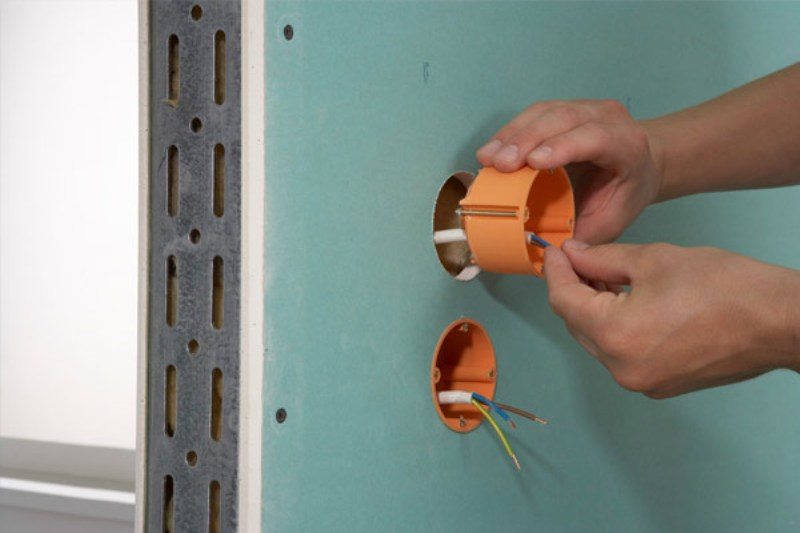
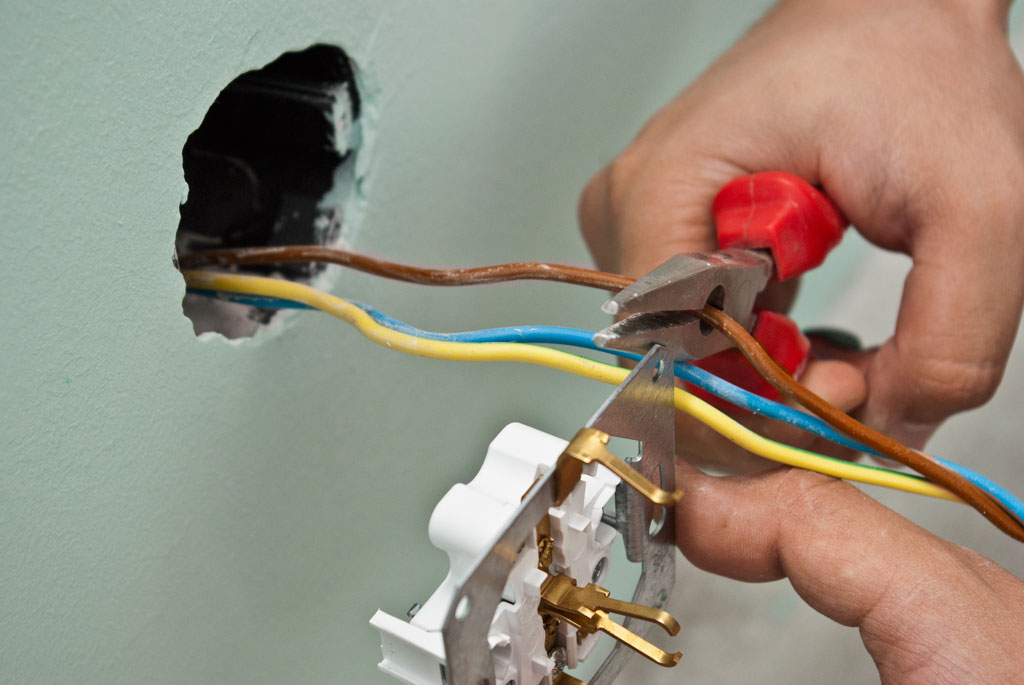
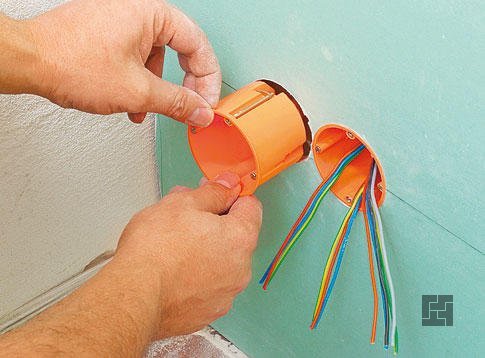
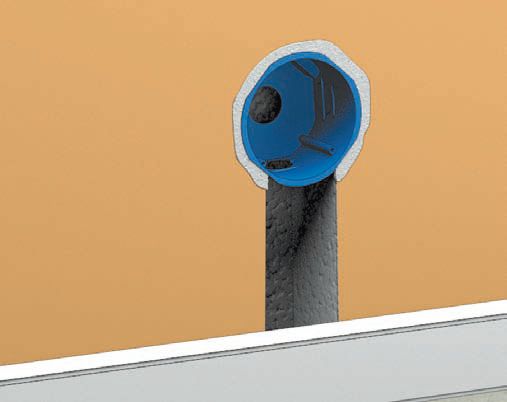
Now we proceed directly to the installation of the underside.We remove the wires into the holes of the bottom plate, specially provided for by the construction on the back side of the product, previously removing the plugs. After the plant wires begin installation podozetnika. To do this, we press the box close together, turning the screws clockwise (evenly each) until complete fixation, but do not pinch it, because it can also destroy the sheet and form a spall or crack.
Pads of mounting screws must be inside a sheet of drywall.
For better fixation, you can drive the additional two screws into the special holes. There are no legs there anymore, therefore it is necessary to use the usual screws on the plasterboard (wide thread pitch).
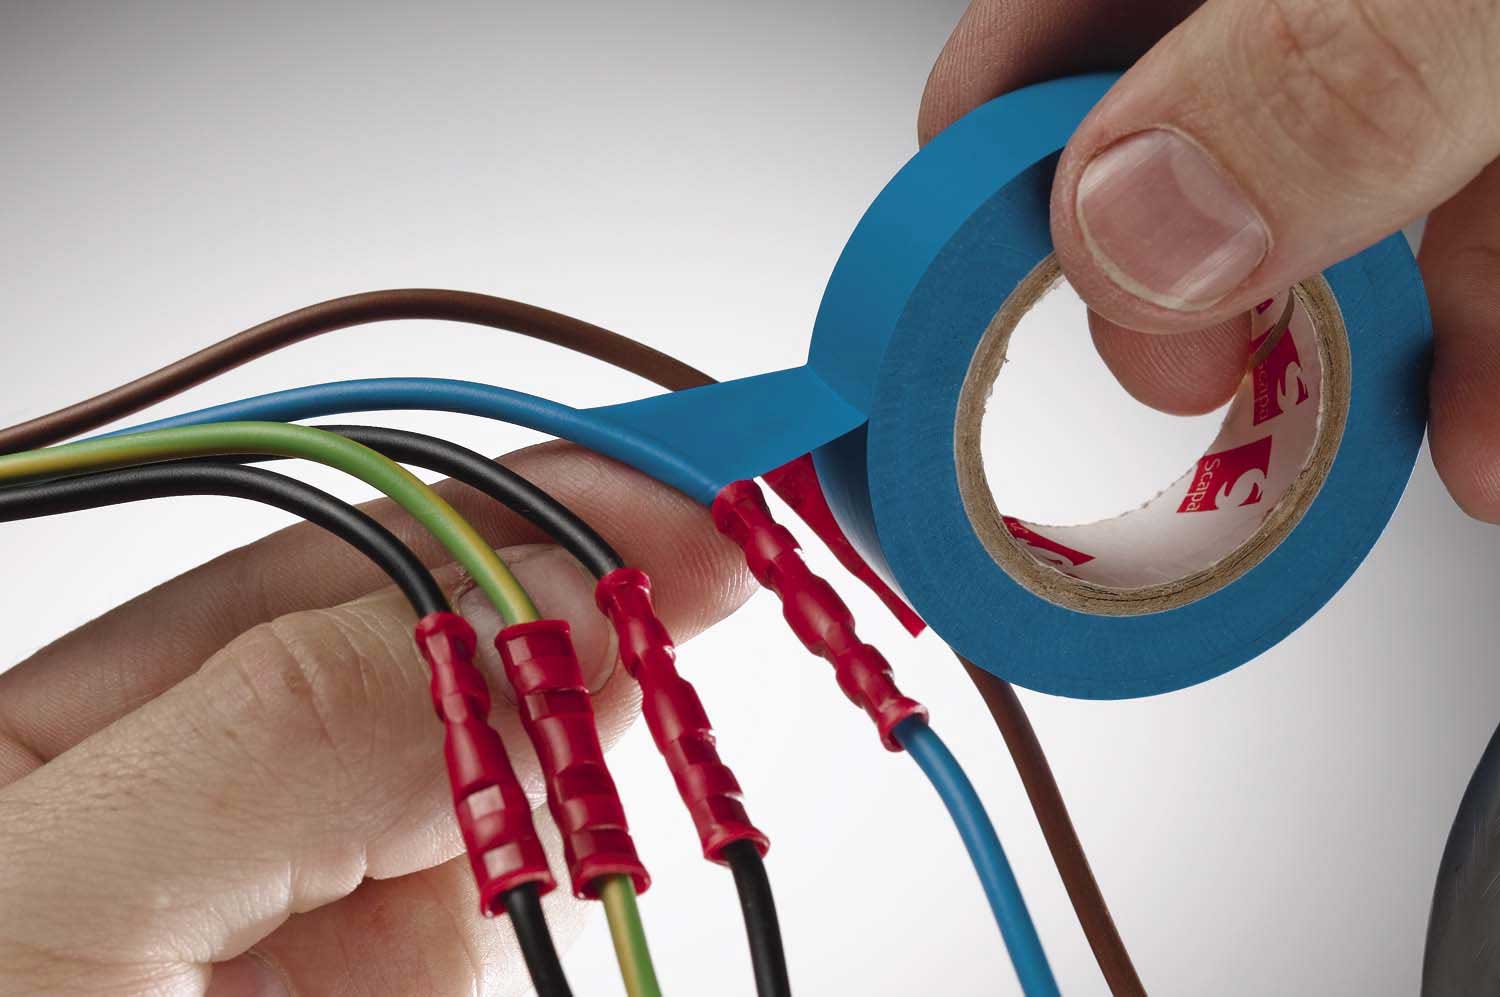
If you are not going to proceed to the next step right away, it is better to tape the ends of the cable with tape or put special caps on them to protect the cable from corrosion, which can adversely affect the quality of the wiring.

At this installation podozetnika GKL completed. The next step is the installation of an outlet, a switch. The principle is no different from how electrical devices are installed in a conventional socket. The only special condition is that you should not hammer the socket with a hammer, since it is possible to break the sheet, and this will lead to its replacement and installation of a new podozetnik.
Mount correctly double or podozetnik 3 post can everyone, if you follow our advice. You just need to insert and fix it correctly.
Useful tips
The materials from which products can be made differ depending on the price and on the required thermal loads caused by short circuits.
The most common and cheapest is polystyrene (also known as ABS), the melting point is 180 degrees, it will melt at the very first short circuit, combustible, and emit toxic exhausts during combustion.
A little more expensive - polyvinyl chloride, melts at 220 degrees, does not burn well, partial melting of the material is possible from a short circuit, it will survive 2 -3 node fires (not from an open flame, but from a short circuit).
Polypropylene is more expensive, it is not combustible, it melts at 650 degrees, ignition from the circuit is possible, but on condition of its use not in 220, but in 380 volts (however, such systems are carried out by electricians in living quarters extremely rarely).
Polyamide is the most expensive, it is also not combustible, but it melts at temperatures above 1000 degrees, which makes it the strongest and most fire resistant (220 and 380 volts), is used, for the most part, in commercial facilitiesas it is tested by a fire inspector and complies with fire safety requirements.
Do not forget about the connectors podozetnikov. Included is usually 2 pieces. The set of expensive podrozetnikov (about which it is written above) includes 4 pieces, but two additional ones are slightly longer. They are mounted in special connectors on the products themselves: rectangular plugs are designed specifically for them. Some manufacturers have integrated sub-slots, and it is impossible to remove them (just to saw off or cut off).
The wires lead directly to the bottom, but factory insulation must terminate directly inside the box - this is a fire safety requirement.

For its non-observance they will not be fined, but because of such trifles it is possible to get ignited in the stale space. And compliance with the rules will save the life of the owner.
Usually a little podozetnik (a few millimeters) protrudes from the wall. If this is critical, then before installing the product, you can cut a chamfer in 2 - 3 mm. This is done by circular movements of the knife: the upper edge layer is cut diagonally to a depth of 2-3 mm, with an angle of about 35-0 degrees.
Before installing the installation box, it is worth priming the wall (even plasterboard walls are primed) so as not to fill the tips of the wires and simplify further repairs.
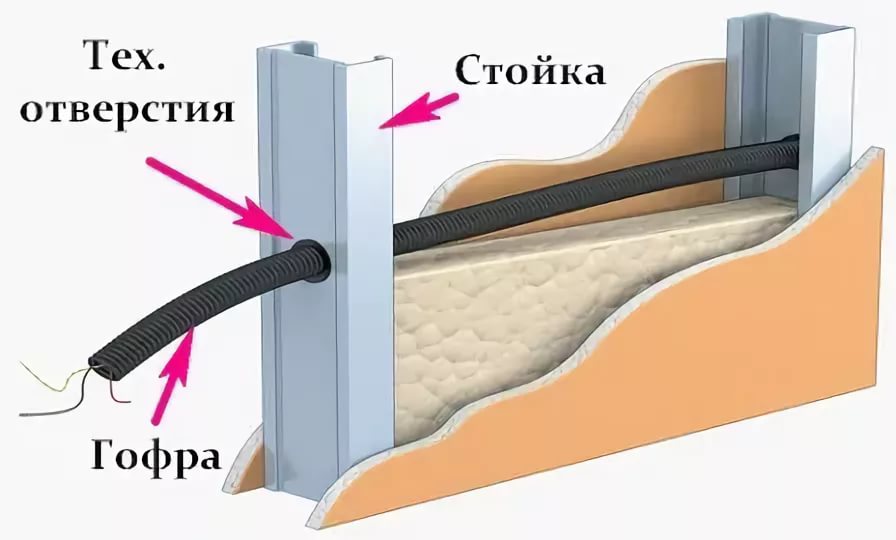
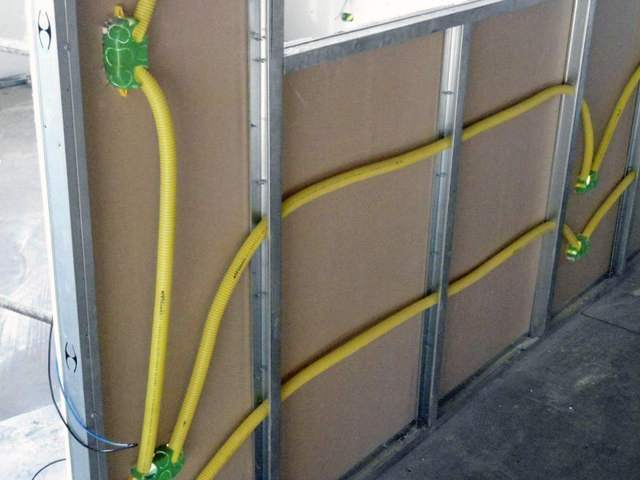
An important point when calculating and measuring is that many make holes directly on the profiles or near them. Due to the fact that metal profiles, and the metal has a high electrical conductivity, it is worth making the connectors as far as possible from the profiles and their intersections.
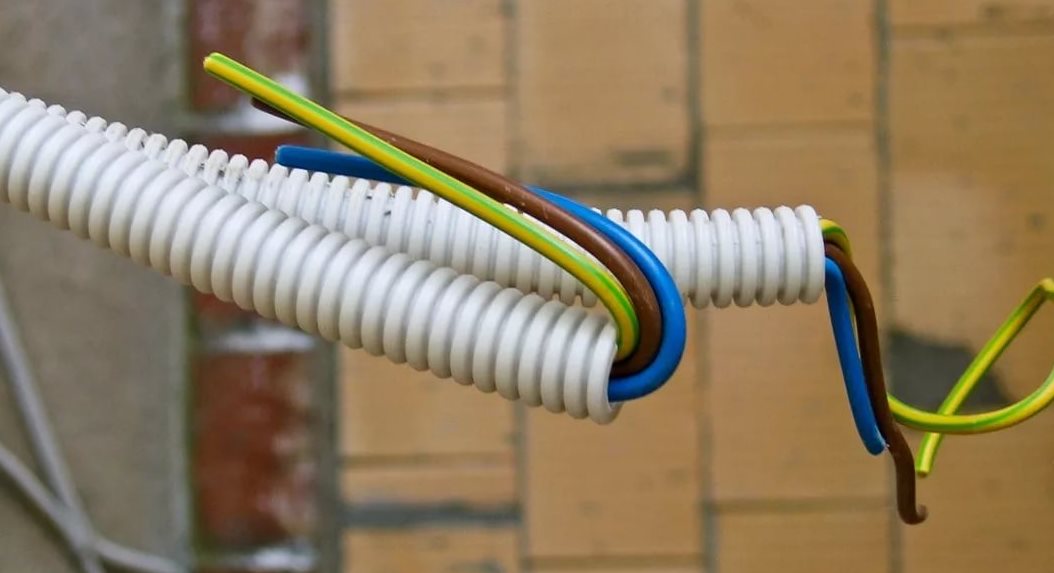
For greater fire safety, it is worth holding the cable in a special corrugation, which protects both the cable itself from external influences and reduces the risk of unwanted fires. Typically, such corrugations are attached to profiles - this simplifies further repairs.
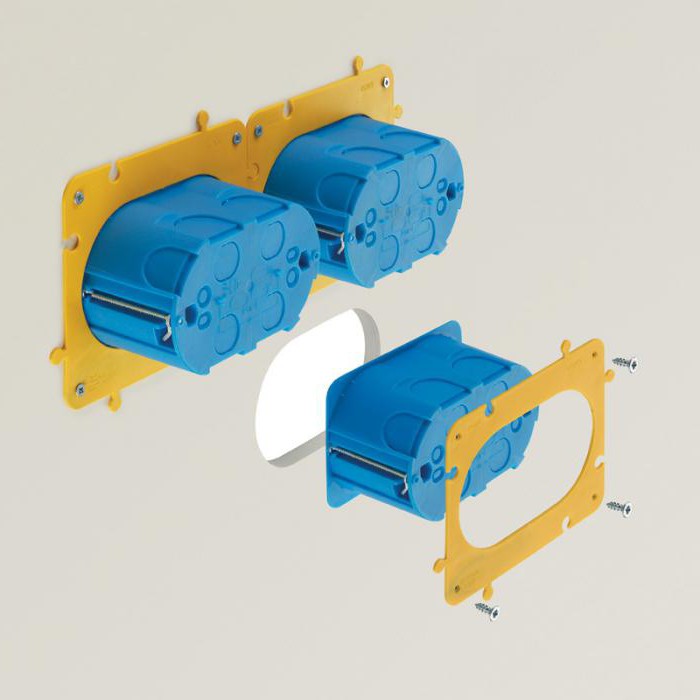
When installing three or more sub-sockets in the same row (one section using connectors), it is recommended to call masters if you are not an expert. The fact is that it is very easy to get lost in the branching and extension of the cable, which will definitely lead to malfunctions and other negative consequences.
Podzozhetniki can be not only round, but also square or oval. Square are used for additional cabling, combining in themselves both the transfer and installation box.Oval boxes are needed to install two outlets or switches, which are located vertically.
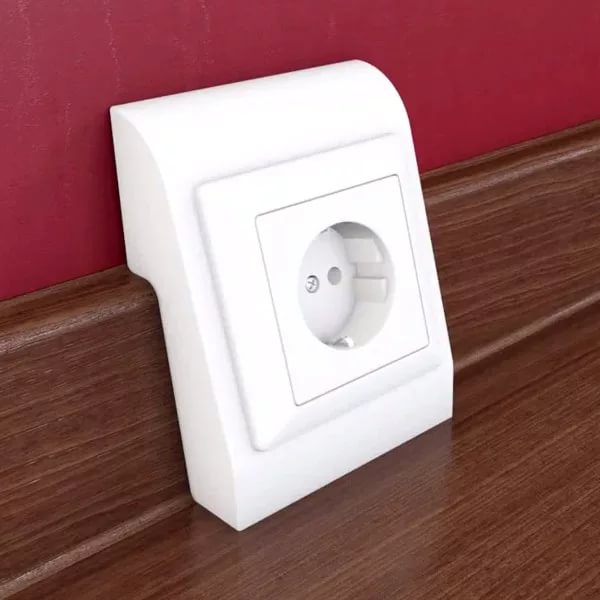
Separately, it is worth noting multiboxes. The multibox is a type of box designed for open installation on a plinth. Multiboxes are of two types: up to the baseboard and to the floor. These boxes look very original, but for fire safety they are not the first.
For information on how to properly install the underside into the wall of plasterboard, see the following video.