How to seal the gaps in the wooden floor?
For many centuries, people have used wood as a floor covering in their home. Of course, modern versions of high-quality materials began to force out wooden floors, but many people even now, contrary to fashion trends, prefer environmentally friendly and practical products made of wood.
However, the wooden floor has its own characteristics that are associated with the gradual formation of cracks in them. This feature entails a number of unpleasant moments associated with the creaking, clogging of these spaces household dust, and most importantly - the flow of cold air into the home. Therefore, those who decide to make a floor of wood, immediately need to consider options for how to seal the gaps in the wooden floor. Fortunately, for many years, people have learned to eliminate this nuance with the help of various modern methods and materials.

Process features
The formation of gaps between the boards covering the floor is an inevitable process. The more often in the house there are repairs and rearrangement of furniture, the faster the wear of the wooden coating.If you take care of the floor, take care of it, ensure optimum temperature conditions in the apartment, try to distribute the load created by the weight of the furniture, it will last a very long time. When used carefully, the tree will crack, but not much.
Small gaps are easy to repair by completing a simple redecorating the floor. in many ways available to almost everyone. It will be very laborious to close up large spaces that have been formed for a long time due to the large amount of work.
There are several options for repairing wooden floors:
- cosmetic (does not require serious interventions in the floor surface; it is performed only on its surface in the area of spaces);
- partial (assumes local dismantle of boards);
- global dismantle (replacement of the coating takes place completely).
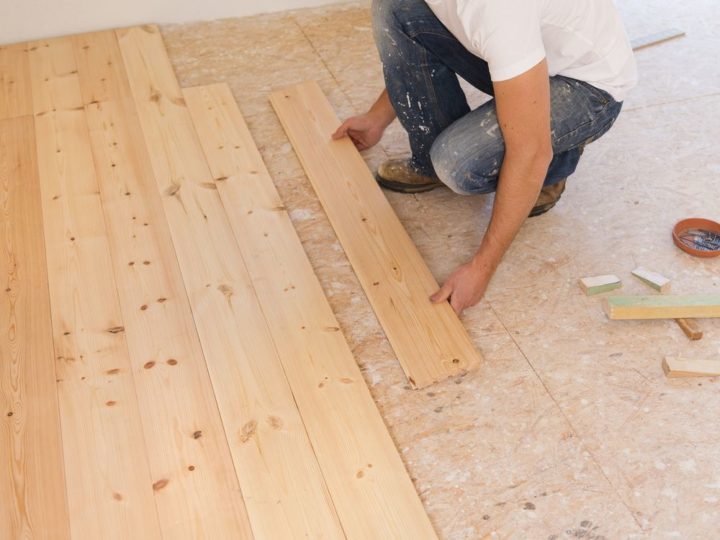
Of course, no one wants to change the entire floor. But if we are talking about large gaps, damage to the sheaths on which the flooring is fixed, then complete dismantling is the ideal solution. With the help of auxiliary tools, they remove old boards, inspect them for defects and select those that are suitable for reuse.
Boards in which cracks are found, subject to repair work.If possible, completely damaged floorboards are discarded, replacing them with new ones. Reinforcing logs are also inspected and dismantled if it can be seen that they will not last for a long time (the lag strength is essential, because it is their condition that determines the reliability of the floor itself).
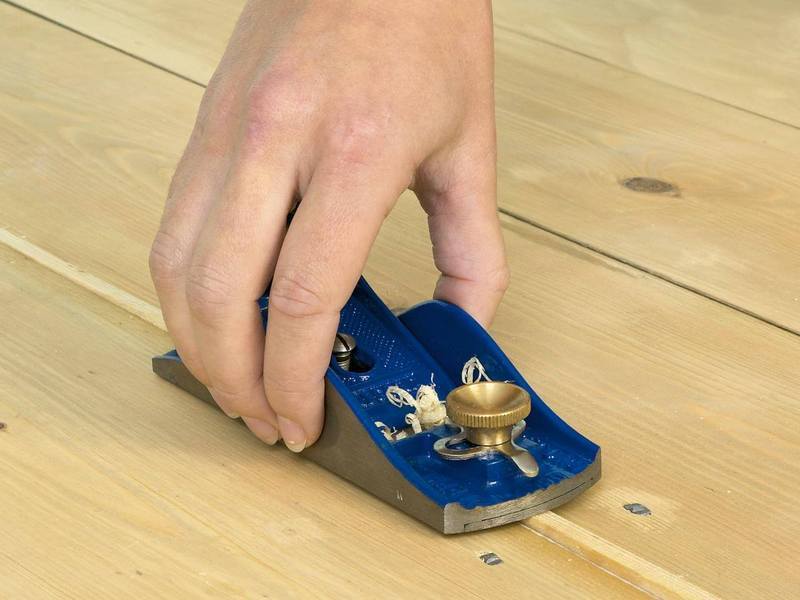
When all the floorboards are repaired and replaced, each of them is carefully adjusted to each other so that there are no gaps and differences in height. If necessary, such defects are smoothed by a plane.

If the floor is damaged locally, these operations are carried out only in the area that requires the replacement of floorboards.
Causes of
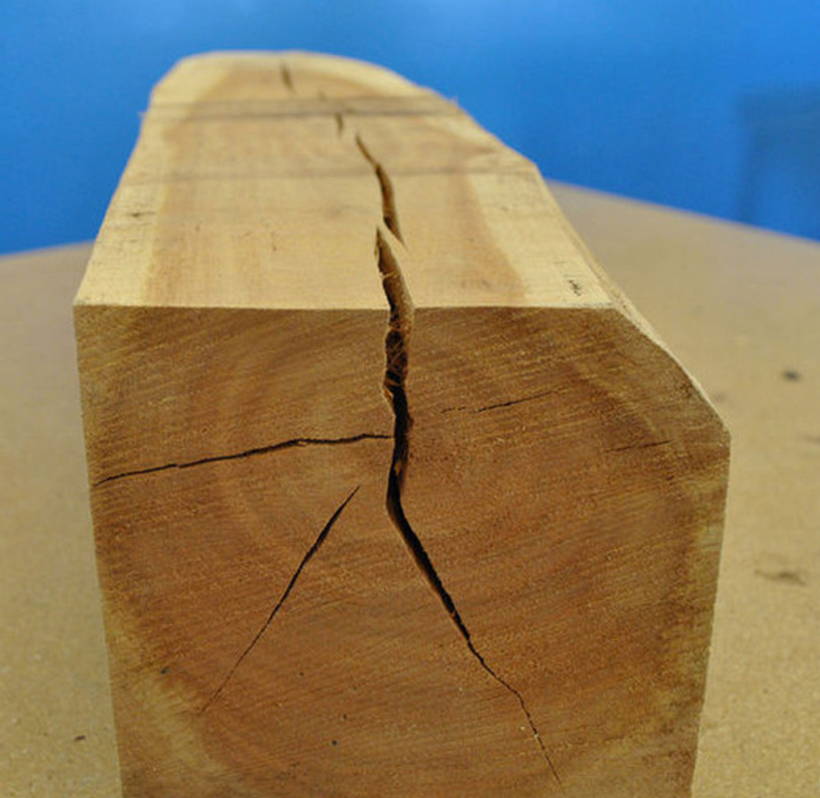
Wood gaps are a natural process for this material. You should not take this issue seriously. The main thing is to understand the reason why changes occurred in the tree, which led to the formation of voids and gaps, since repairing the floor can be a waste of time and money if the provoking factor is not eliminated.
The most common cause is wood drying. due to low humidity. Despite the fact that it changes seasonally, and in the off-season, when the humidity outside is quite high due to the large amount of precipitation and the board is also saturated with moisture, damaged floorboards, alas, cannot return to their original condition.since they are irretrievably deformed.
The problem of humidity can be removed with the help of special humidifiers and the right temperature. indoors, focusing on the installed thermohygrometers.
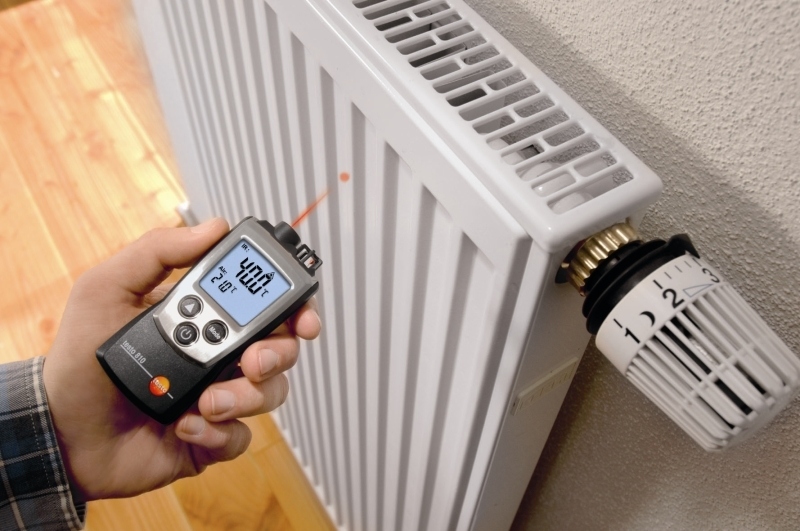
The optimal moisture range for wood is about 40-50%.
The second reason for the drying of the boards can be associated with the initially incorrect laying of the floor covering. First, it depends on the screed: if it is not properly dried, the residual moisture will be absorbed into the flooring and contribute to its deformation in the future. The screed must dry for at least a month. Its humidity at the time of laying the floor should not exceed the mark of more than 3-5%.
The durability of the flooring is influenced by the humidity of the plywood under the floorboards.. Before installation, it should be properly dried, so as not to take excess moisture in the wooden floor.
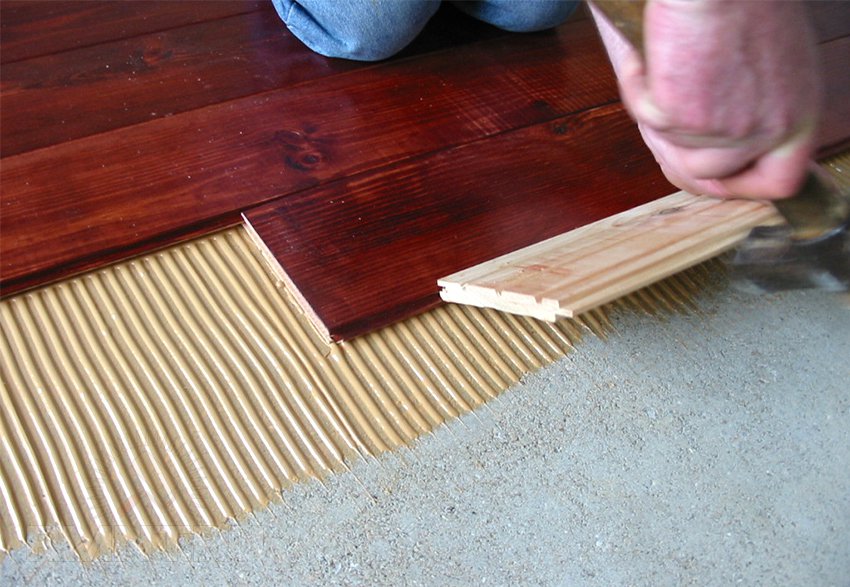
Glue, which is used when laying wooden flooring, also contains a large amount of moisture. It easily evaporates from the wood during the drying period only if the floor is not yet varnished. therefore in order to avoid an unpleasant situation, you need to leave the floor clean to dry the glue for about a week, and only then paint and varnish it.
If the wooden floor is laid in a private house, where the boards are thicker and thicker, choose glue with a minimum amount of solvents or without them, so that a thick layer of wood does not trap excess moisture. While the narrow plank (the floor of which can be found in the old "Khrushchev") easier to cope with this task.
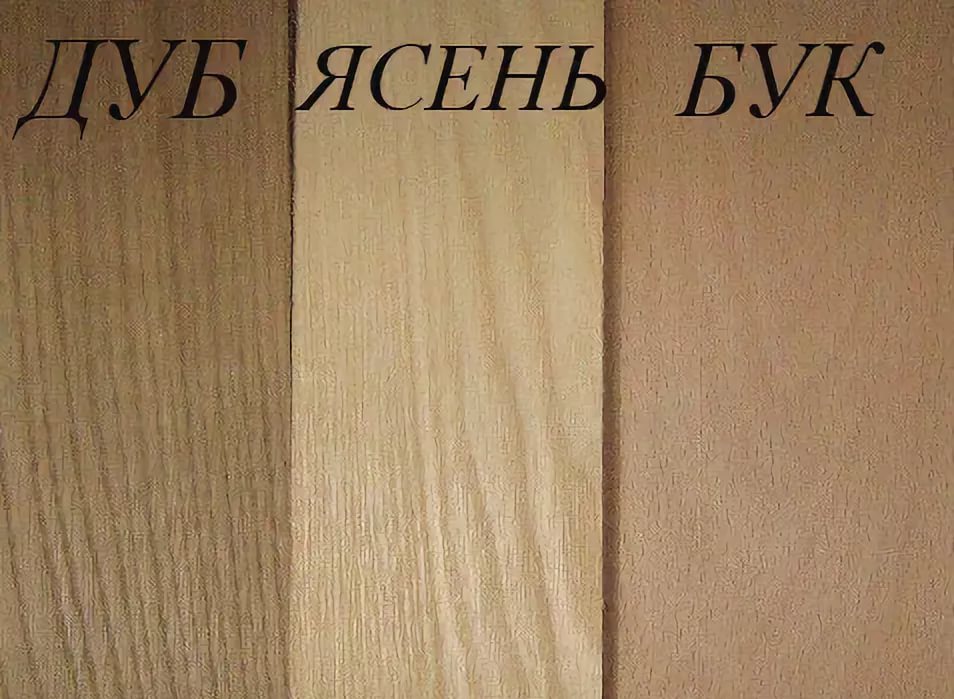
The third reason for the formation of cracks in the wooden floor is a type of wood. The most capricious in this regard - materials from ash, cherry or beech. They are able to easily give off moisture when the temperature in the room rises and take it under appropriate conditions. Such oscillations inevitably lead to changes in the density and geometry of the board. For the middle band the most resistant to moisture changes is oak. Tropical trees work very well with this problem.
In any case, if the problem of cracks arose, you need to fix it.
It is important that the restoration of the floor (sealing cracks, sanding, varnishing) will be most justified and effective when a stable humidity is maintained for a long time indoors.
How to troubleshoot?
Depending on the degree of damage to the floor, choose the most optimal way to repair it. The most well-known method of redecorating small crevices and cracks in a wooden floor is to fill them with special semi-liquid compounds (construction foam, sealants, putty, and other multi-component mixtures). You can make them yourself or buy ready-made in a hardware store.
If the tree is strongly deformed and wide gaps have appeared, they can be removed with the help of foams, narrow slats or rope cords. This is a fairly time-consuming method, but more durable than the first. Perhaps the most expensive and time-consuming floor repair is the complete or partial replacement of damaged floorboards.
Semi-liquid formulations
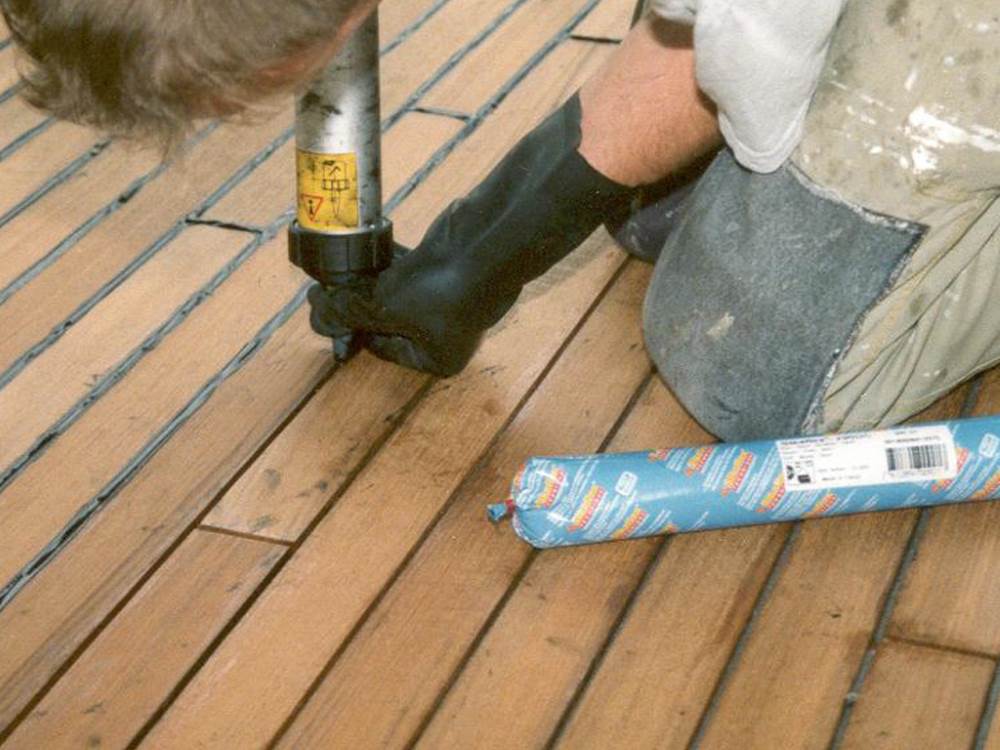
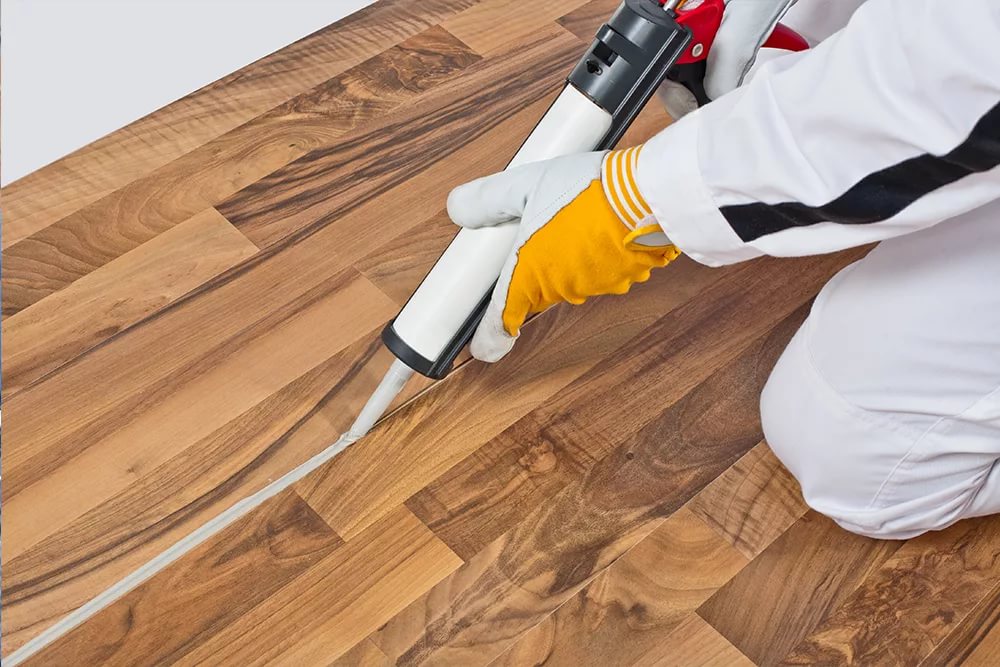
When the flooring is still far away or the replacement of old boards is not possible, but the gaps already cause a number of inconveniences, special semi-liquid mixtures are used to fill them.
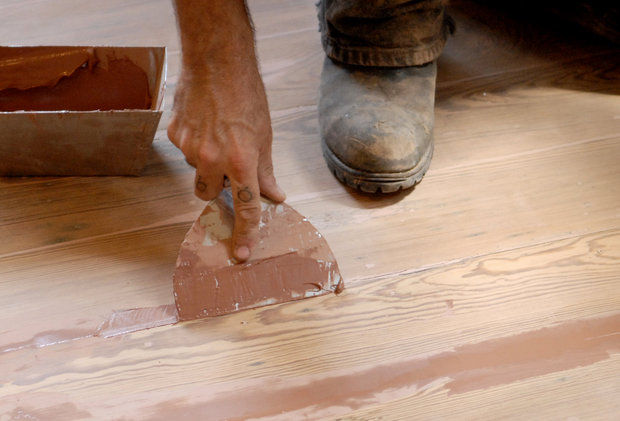
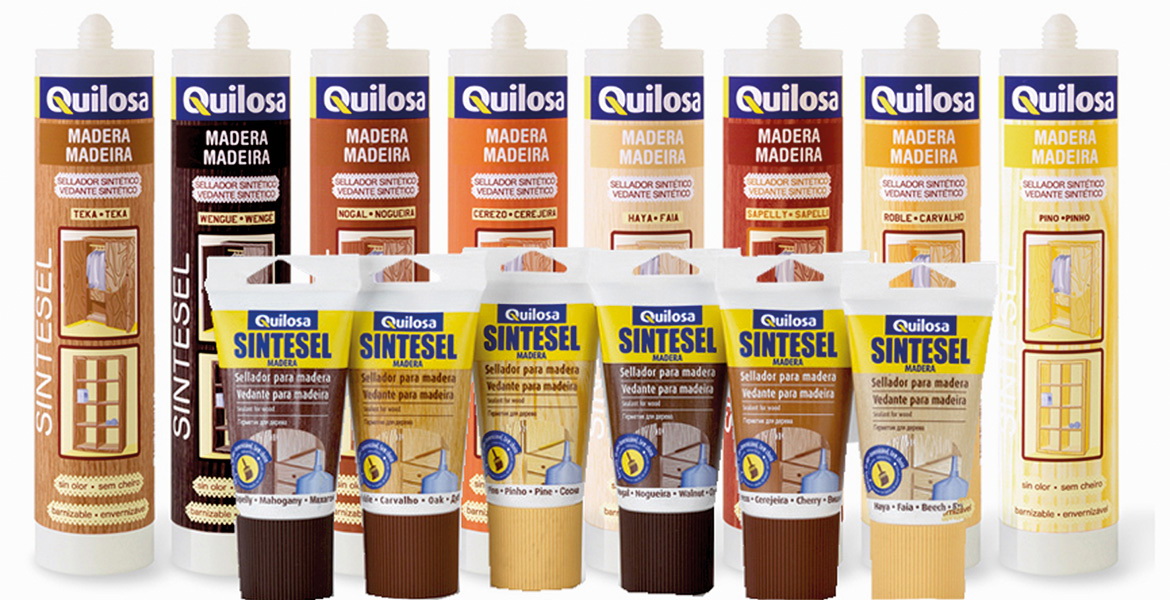
When choosing a filling mixture for the repair of the floor, you need to focus on those compositions that are suitable for woodworking. For sealing small seams silicone sealant can be used. Pigments are added to this material. Thus, you can choose a sealant that is ideal for the color of the floor. This composition has good adhesive characteristics against wood. Put it with a staple of rubber or plastic, evenly distributing and leveling the surface with it.
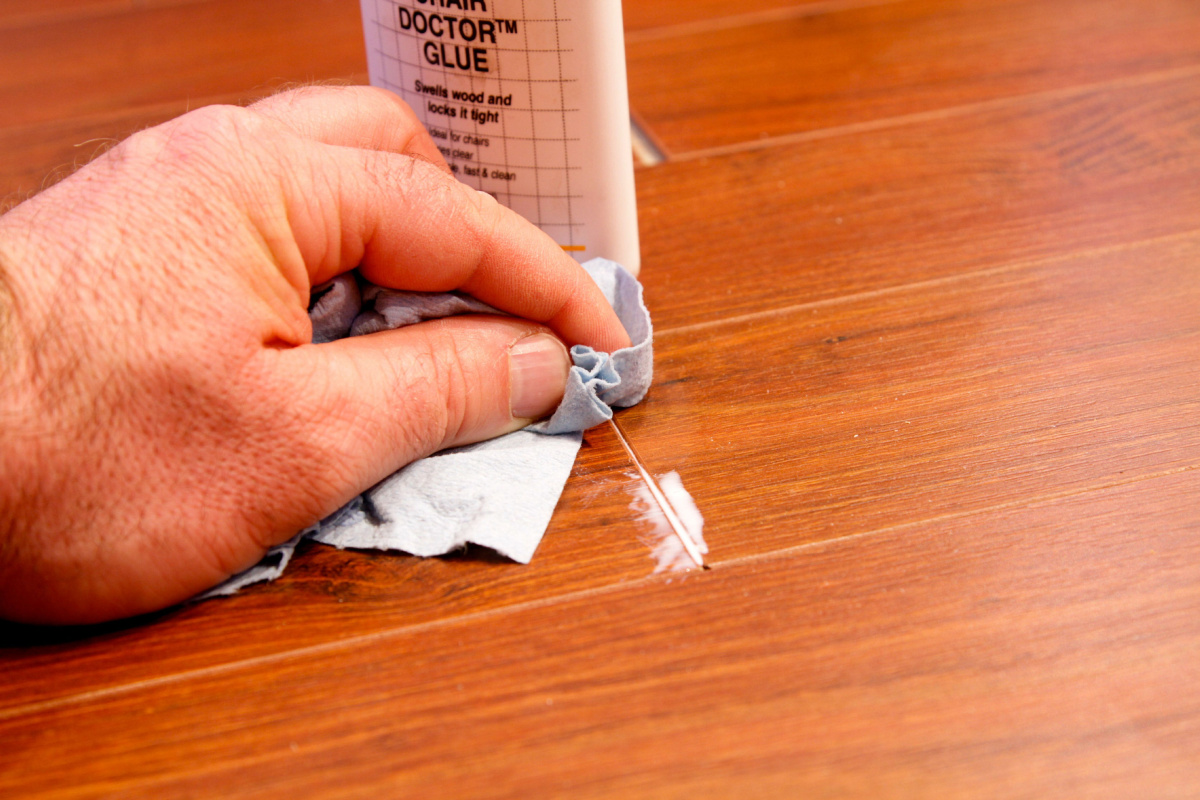
After the mixture hardens, a smooth surface is obtained, which does not absorb moisture and does not collapse under the influence of detergents. This, as well as the advantage that the material of this sealant does not crumble and is not removed from the cracks throughout the life of the floor, makes it very competitive.
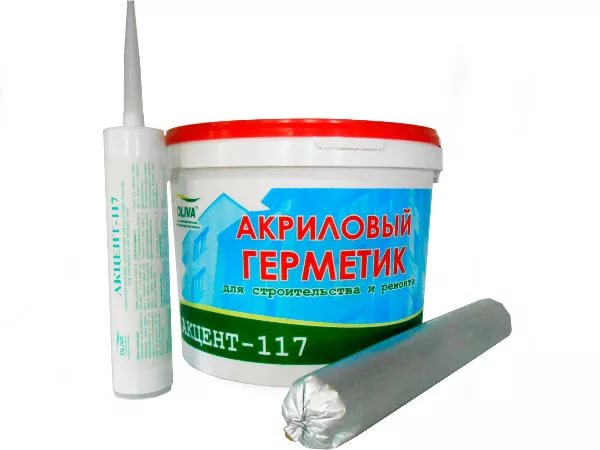
Similar to this material, acrylic sealants are used.. The only difference is that the filled gaps will have to be painted over, since no dyes are added to this mixture.
Concerning plaster fillers, they are also very popular in the repair of wooden floormainly due to its low price. Like the previous mixture, putty put staple and wait until it dries. Then the application is repeated, since a large amount of moisture evaporates on drying and the material shrinks.
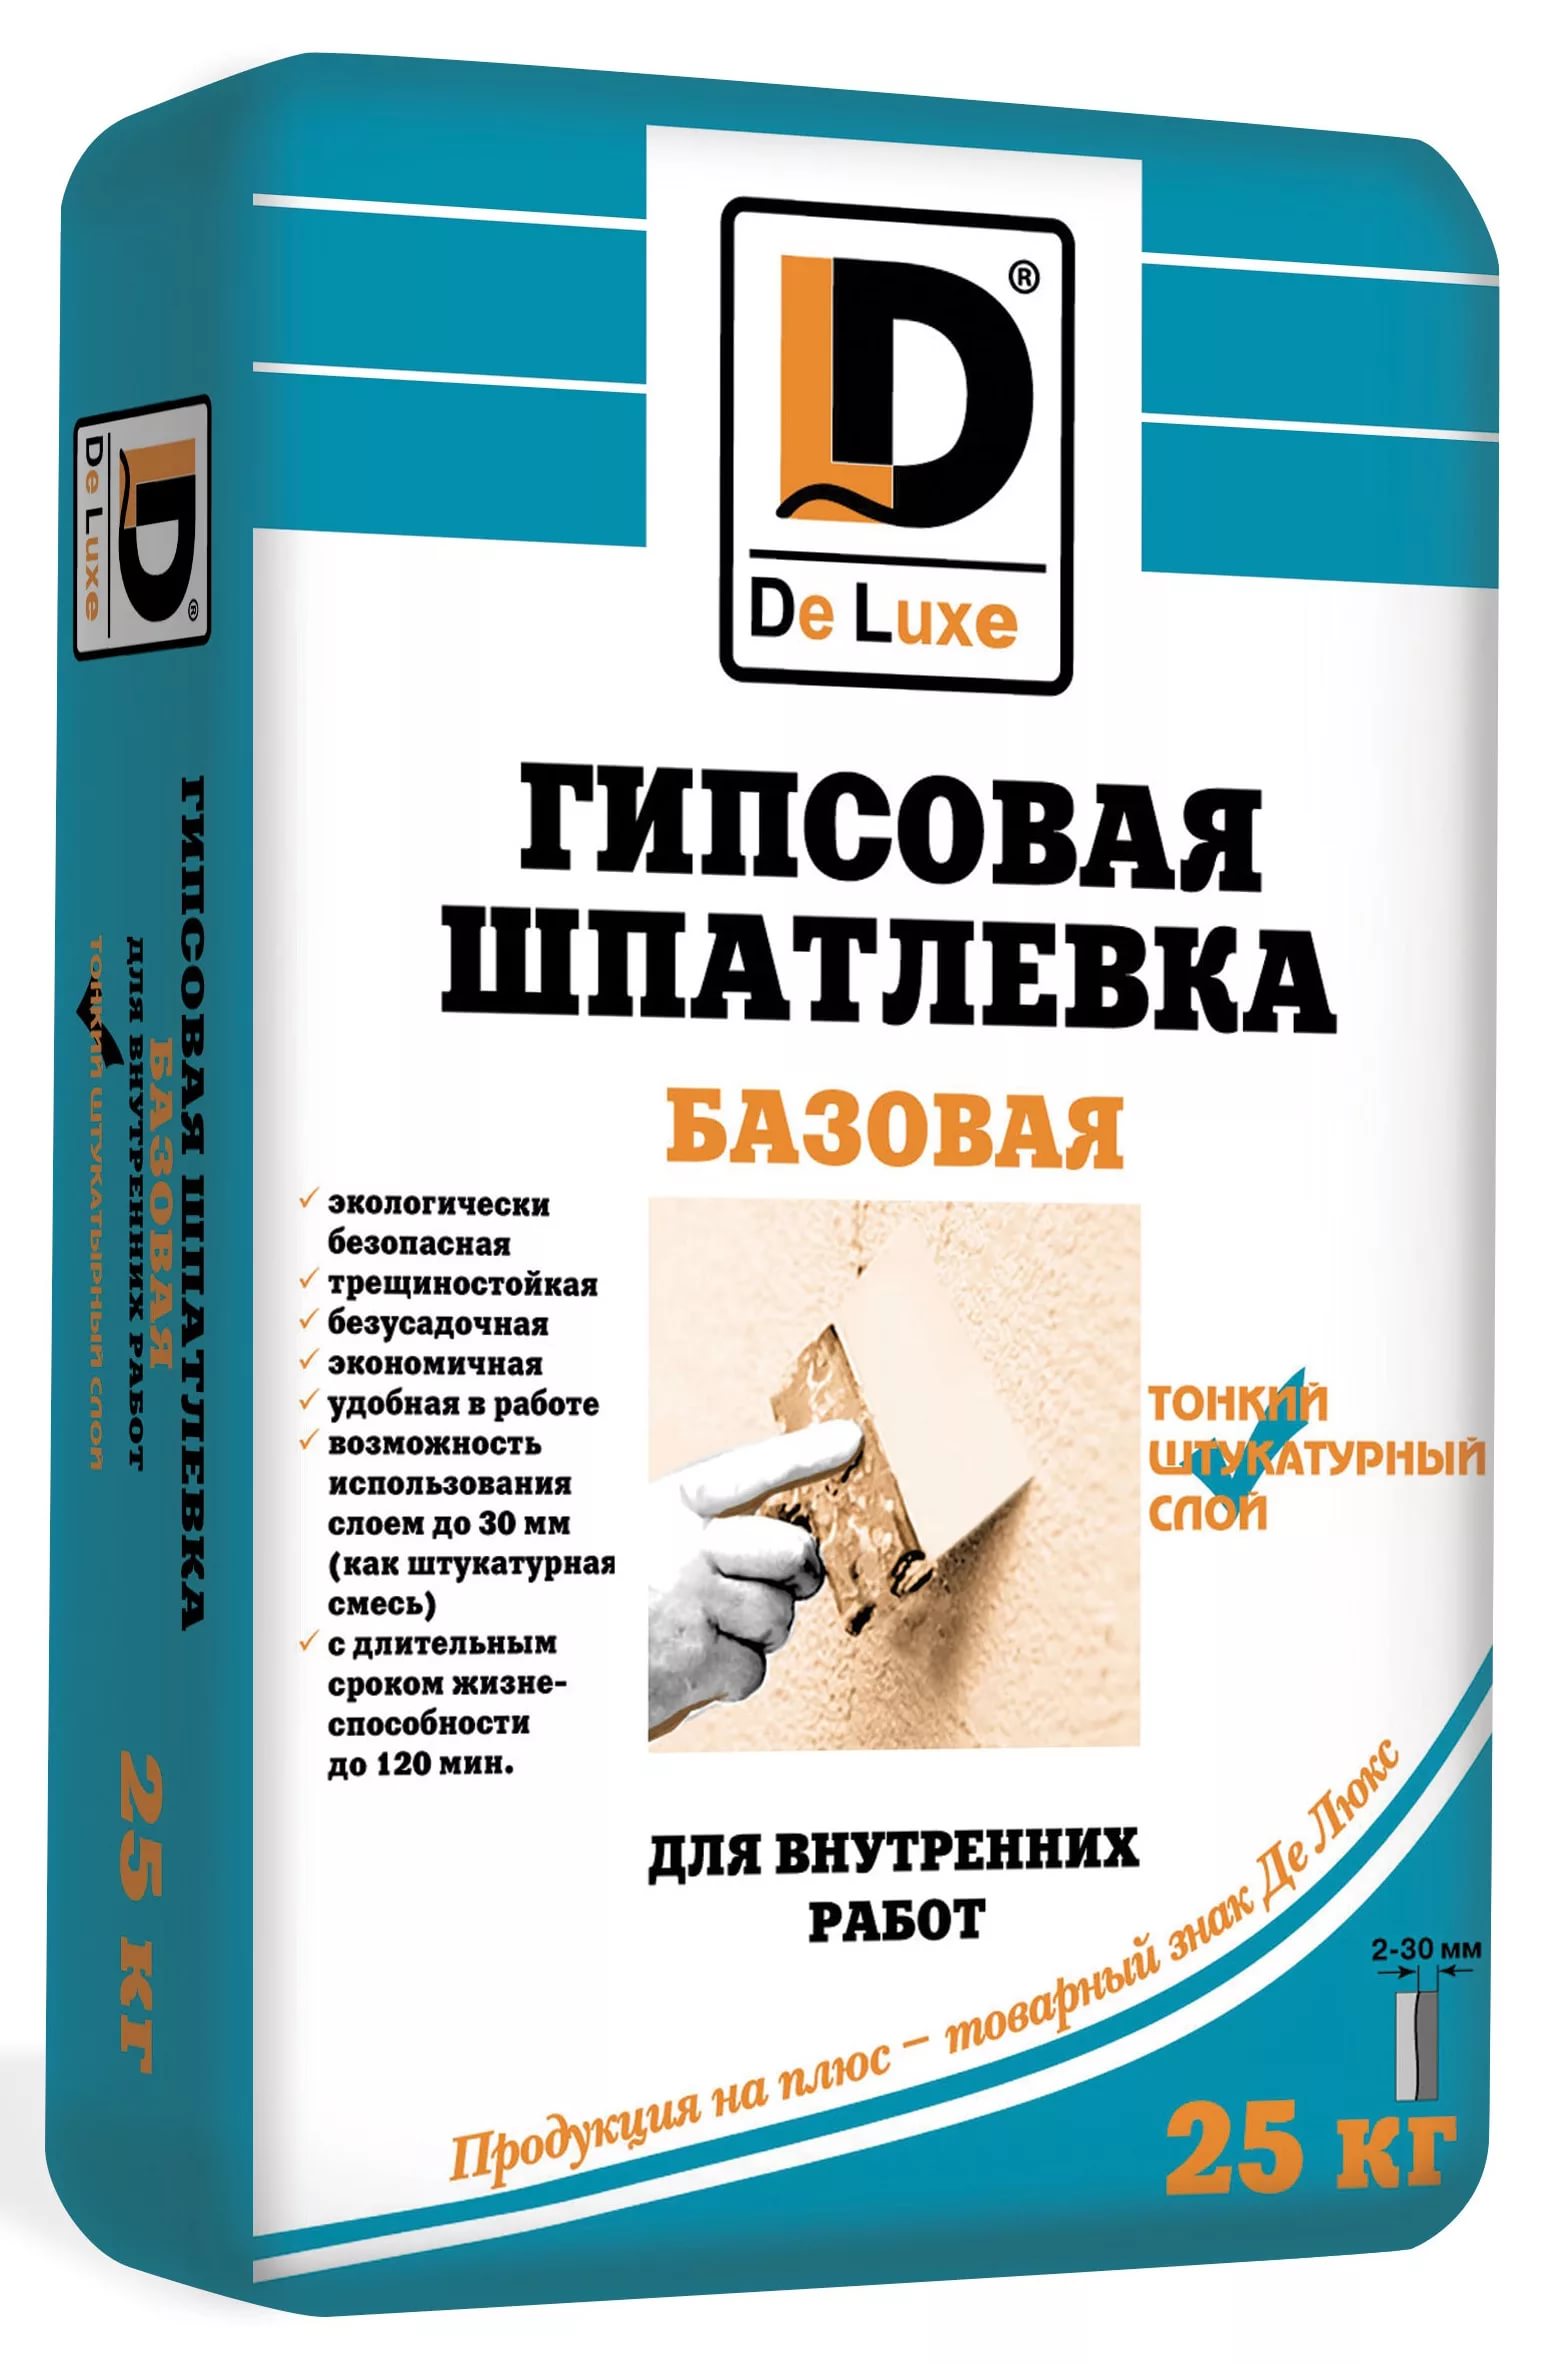
After the final layer has dried, the surface of the seams should be treated with sandpaper and painted over with the selected paint. The material of the putty does not polymerize, as described above sealants, so over time it can crack and the seams will have to be sealed again.
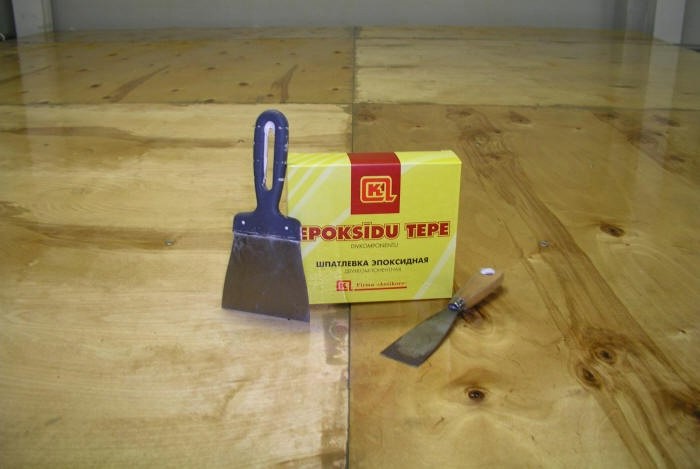
More practical are putty epoxy resins. Due to the high degree of adhesion and low shrinkage rate, this mixture is widely used to seal cracks and crevices up to 5 cm. After solidification, a very durable compound is formed, which does not require re-treatment.
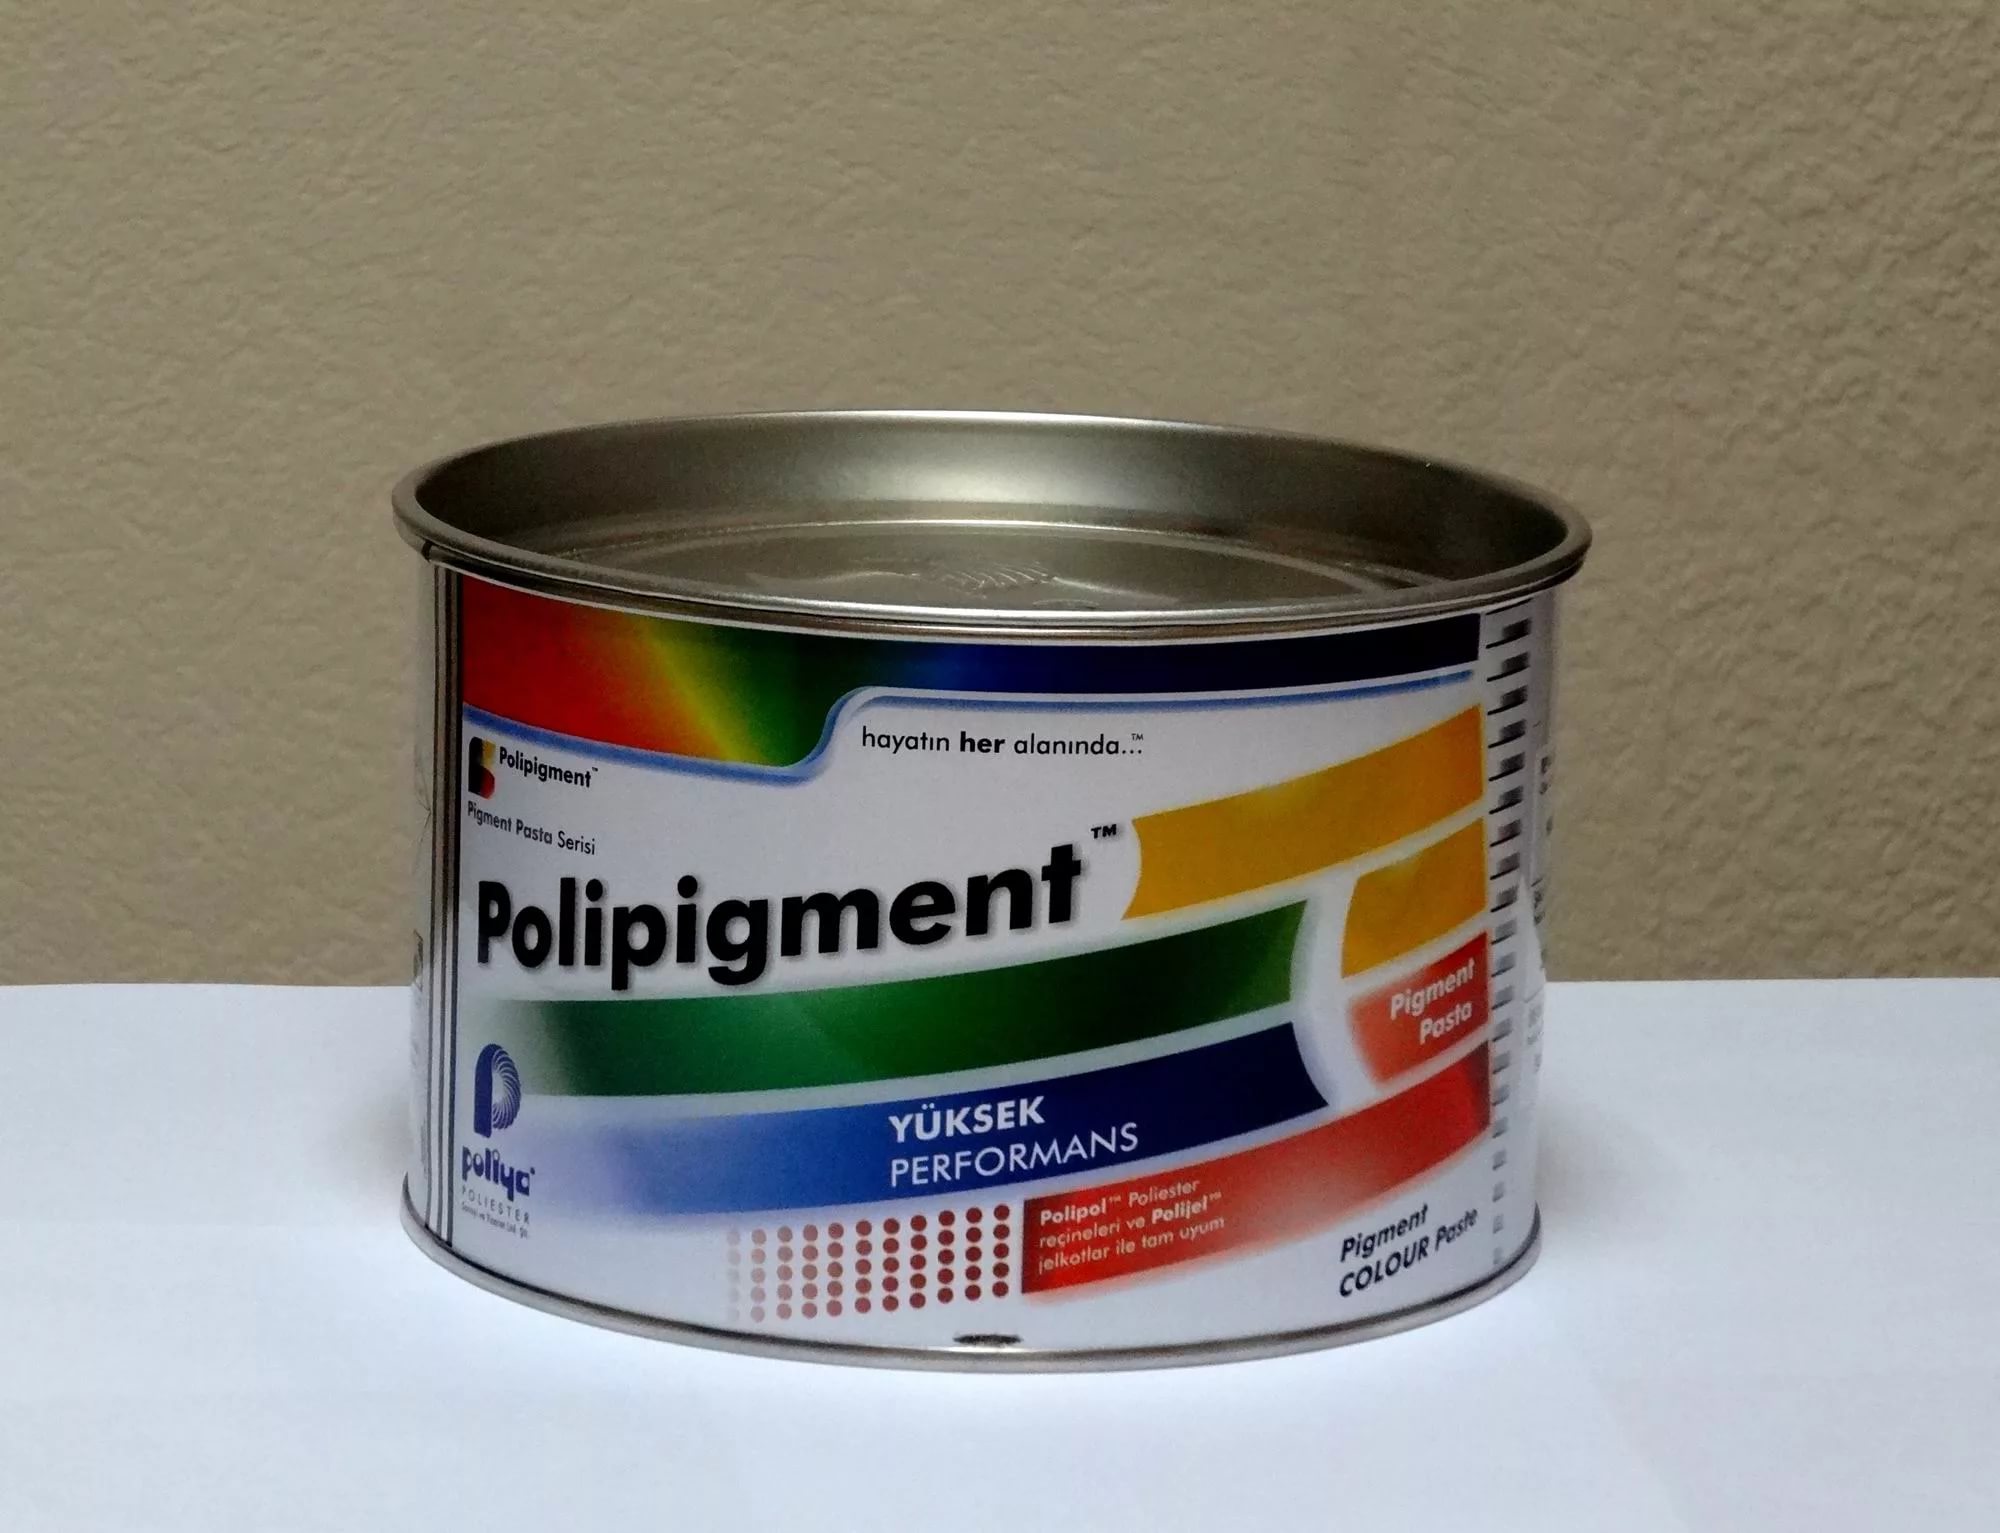
Of the ready-made mixtures, well-proven in covering up cracks in the floor, there are special pastes of polyester materials. They quickly harden, form a hard and stable surface and do not peel off.
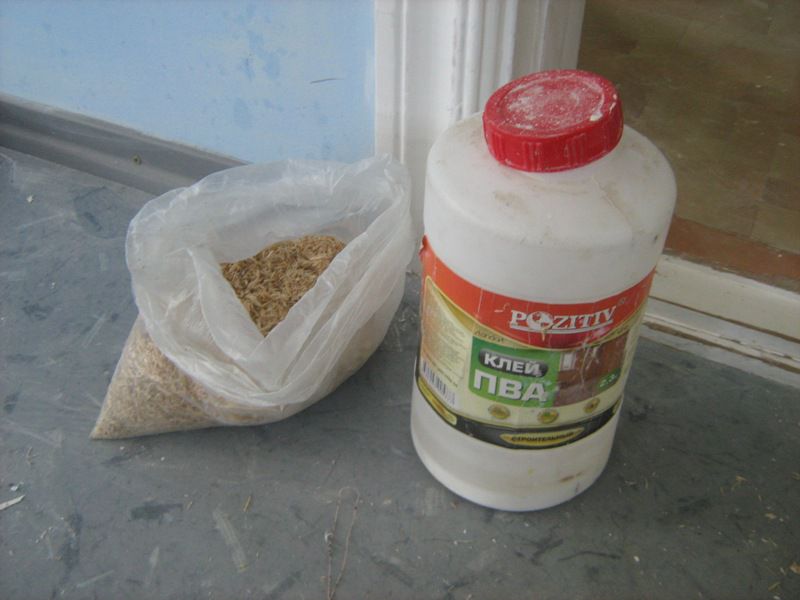
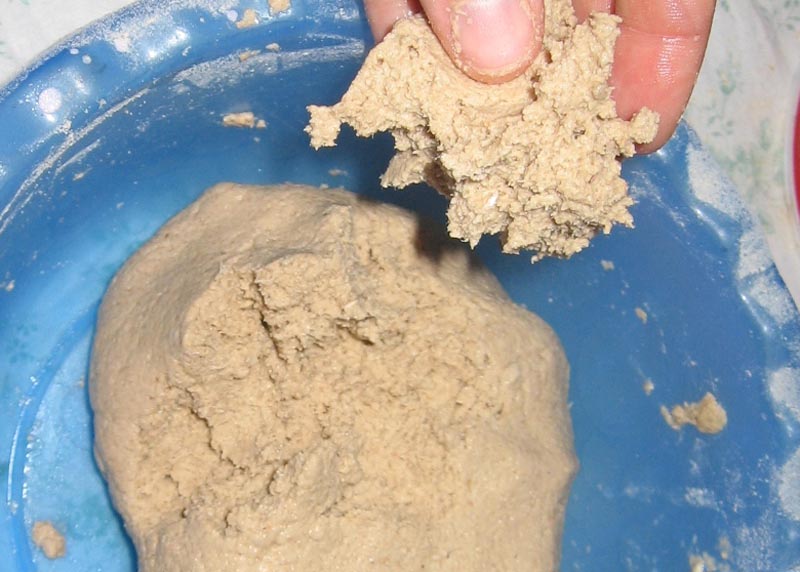
Many craftsmen use self-made mixes.
The most famous option is PVA glue and sawdust. Also often used compositions with epoxy, cement and pieces of foam or foam. After drying, the seams are treated with sandpaper and painted in the color of the floor, then varnished.
Compaction method
When the width of the cracks is more than 3 cm, and the boards “walk” among themselves, resort to the method of sealing seams.
You can repair the "playing" floor with your own hands:
- To begin with, the gaps are cleaned from dust (a vacuum cleaner, brushes are used), wet cleaning is carried out, and it is dried.
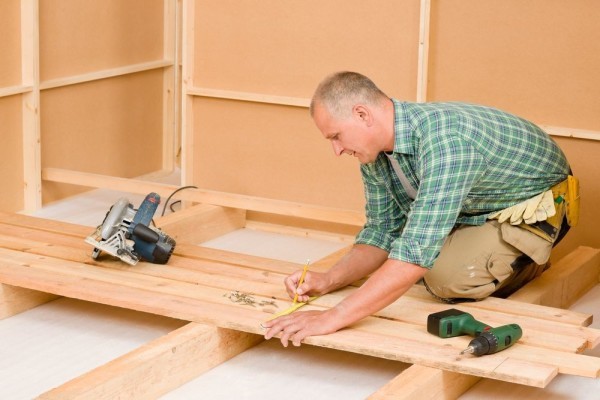
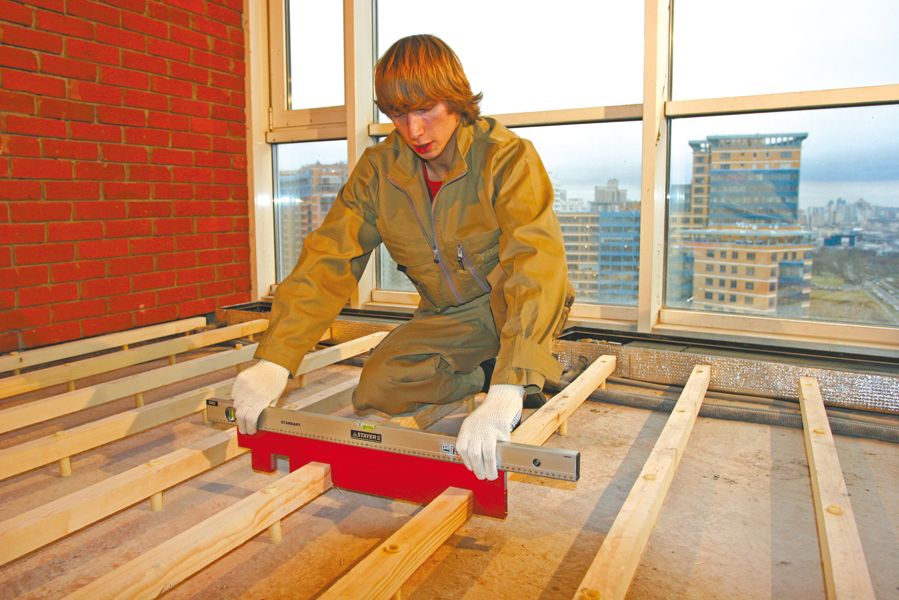
- Measure the width and length of the slit.
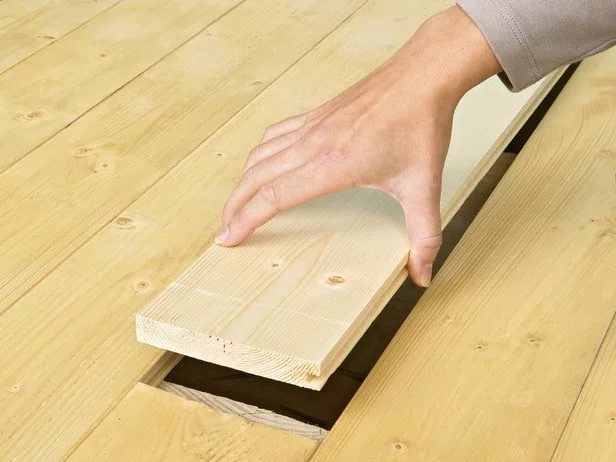
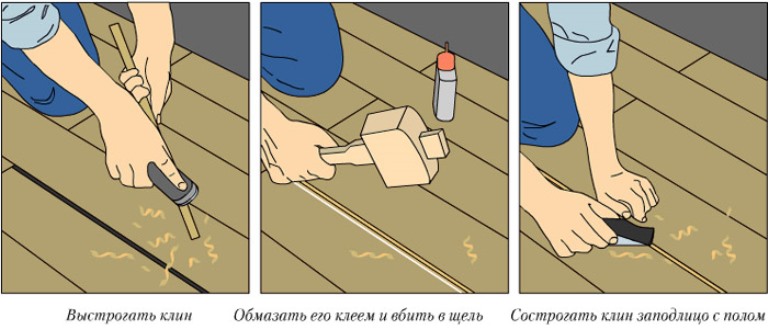
- Cut a wedge-shaped rail from a dense wooden profile.
- They put carpentry glue on the side surfaces of the manufactured rail, and also fill the gap space with glue, richly lubricating the surfaces of the boards that were dispersed.
- The rail is driven into the gap with a hammer, wipe off the glue and leave for a day.
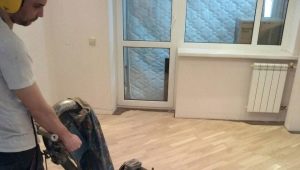
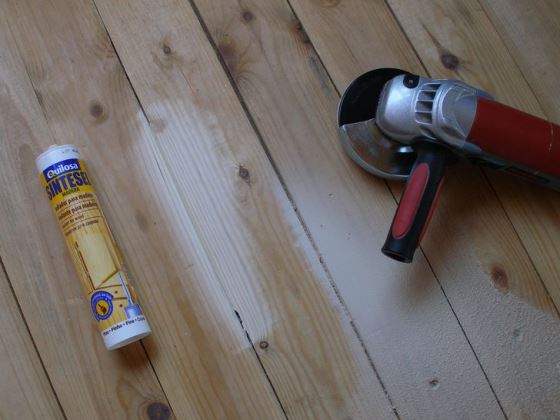
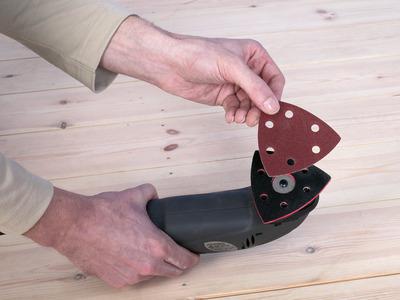
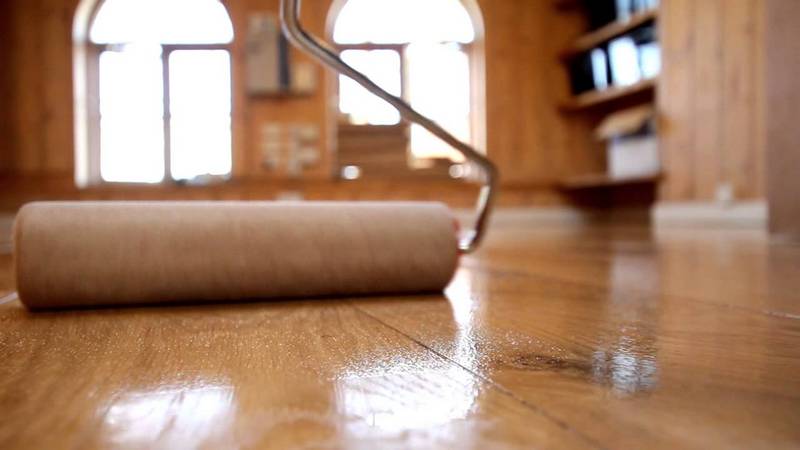
- After the surface is treated with a planer, ground with sandpaper and coated with paint or varnished the floor.
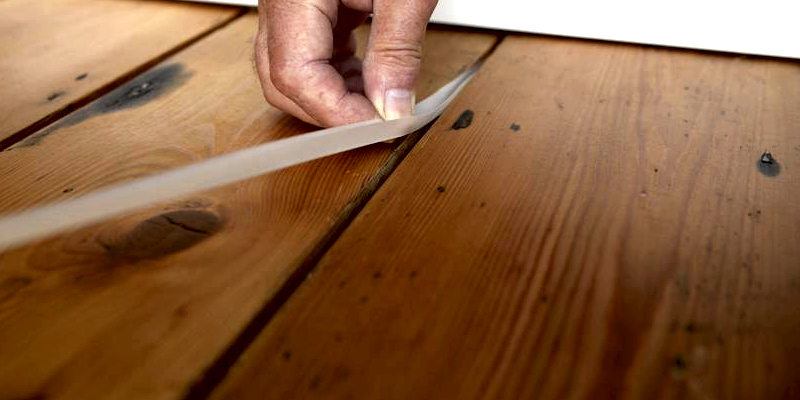
A rope cord can be used as a masking element. Repairing the floor with a rope is easy. This product is ideal for making repairs in wooden log cabins and country houses. Choose a tight polyethylene or tow rope, cut the desired length (you can use a double rope for deep crevices). Tightly drive the cord into the space between the floorboards.

To make the repaired floor look neat, you can cover the surface of the rope with a thin layer of colored sealant and level it with a staple.
Replacement cover
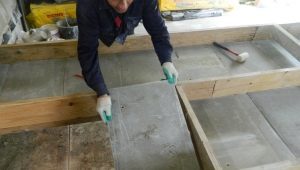
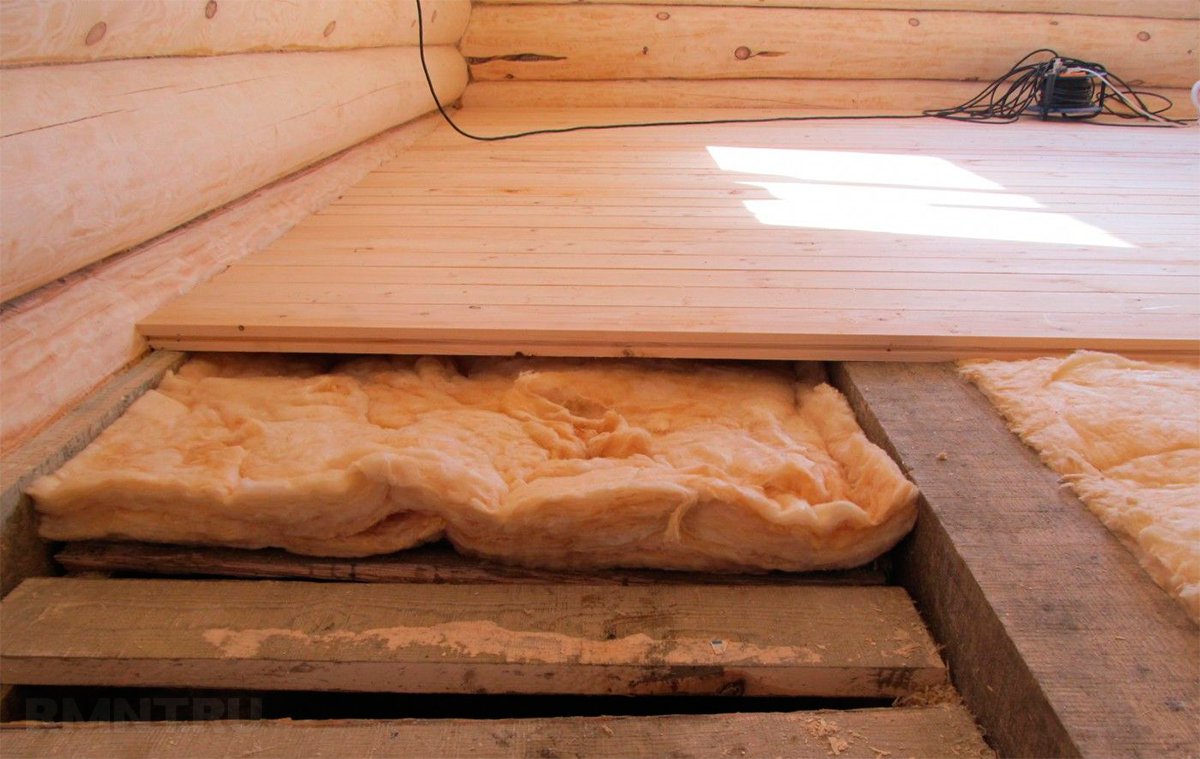
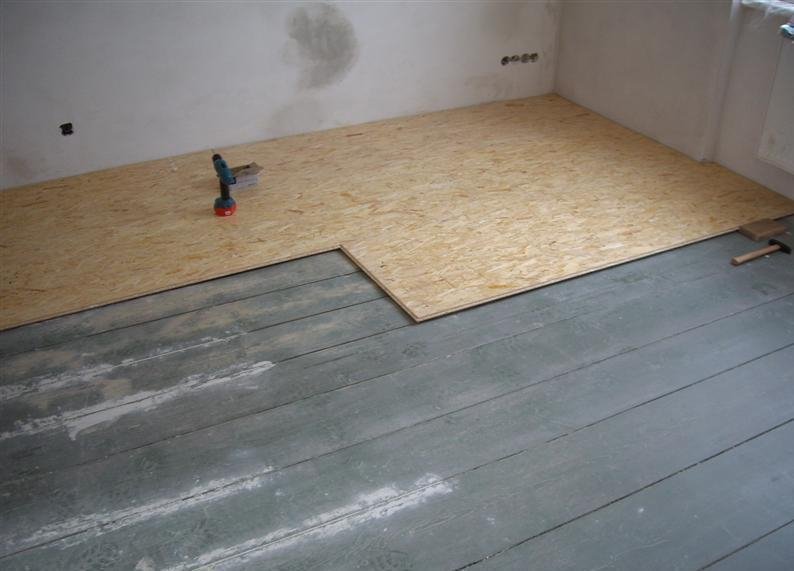
If at the old cottage the floor is rotten or deteriorated due to humidity, there are very large gaps from which it blows, or the rodents have “worked”, the methods described above are unlikely to work. Of course, you can do without parsing the floor, covering it with sheets of plywood, but this option is not always justified, especially when it comes to mice. The best thing to rehouse old boards. This will not only get rid of cracks, but also eliminate mouse moves.
To get rid of the old floor, first remove the baseboards, change the damaged logs, inspect the area under the floor for mold and mouse hole. If there are traces of mold, the surface is treated with special antibacterial and antifungal compounds. Rodent penetration sites are sealed with a mixture of cement and broken glass, and then proceed to replace the old coating.

If you want to change the boards locally, you need to pay attention to the joints of the old boards and newly laid beds (if necessary, they are adjusted using a plane, putty, encrypt with a hard sandpaper).
Squeak removal
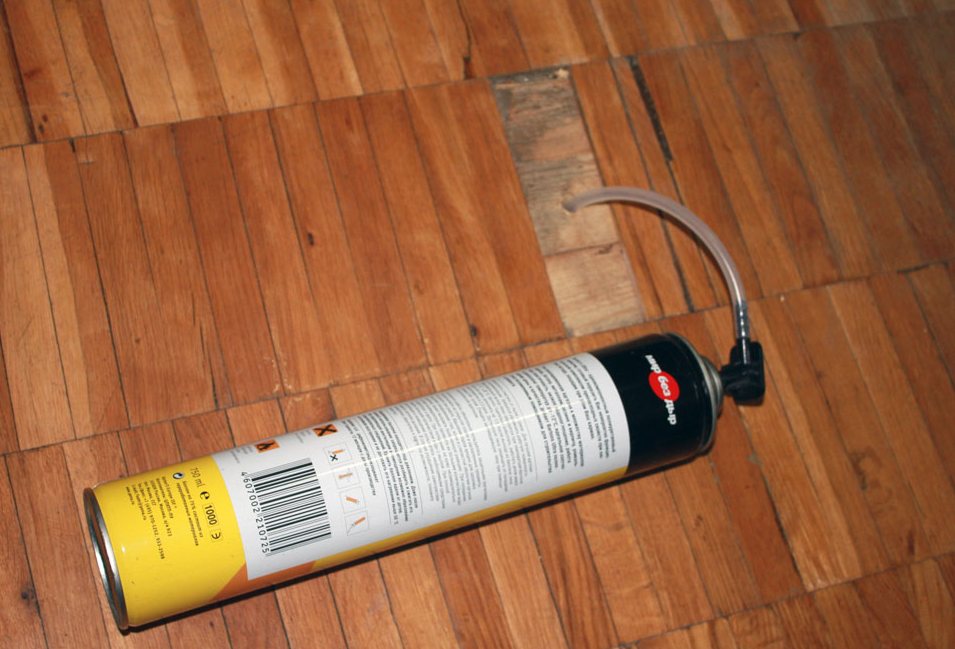
With careless operation and non-observance of optimal conditions, the wooden floor inevitably begins to deform, creating an unpleasant creak. The easiest way to eliminate the annoying sound is to fill the cracked spaces with foam. This option is well suited for the cracks under the baseboards, as they are able to hide the uneven surface of the frozen foam. However, this method is short-lived: this material is gradually destroyed during operation, and the floor creaks again.
If the task is to remove the squeaky floor forever, then this option is not worth the money spent. It is better to turn to more complex, but reliable methods. To solve the problem of squeaky floor, you can use the same wedge-shaped rails.

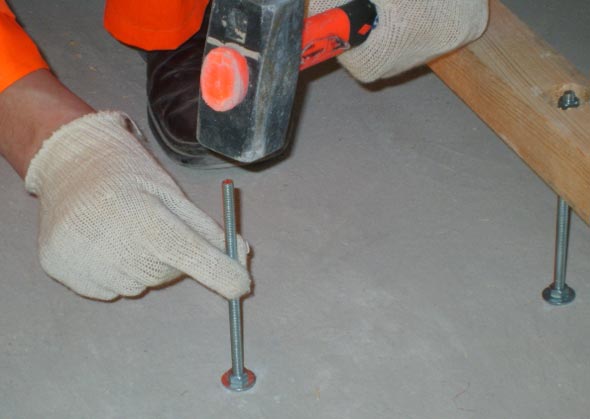
Another interesting and effective option that will allow get rid of the squeak of the floor - installation of metal anchors. This type of product solves the problem only for a wooden floor laid on a concrete base.. This very effective method is very labor-intensive, especially if the scale of the problem surface is impressive.
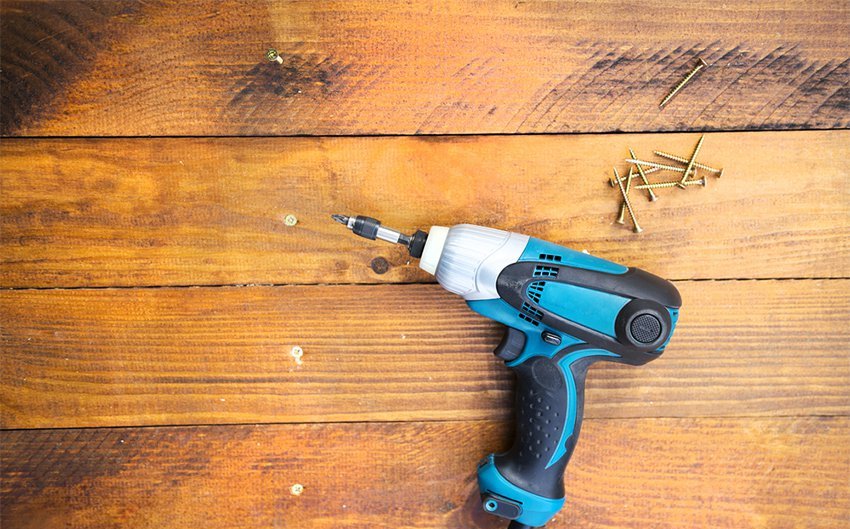
To install anchors, you need a drill or hammer drill, dowels and anchors themselves.Through the board through the material of the logs make a hole in the concrete base. Dowel is driven in, and the lag is reinforced with anchors. It is necessary to take into account the high cost of this method, proportional to the size of the room. When calculating the number of structures should be borne in mind that the distance between them should not exceed one meter.
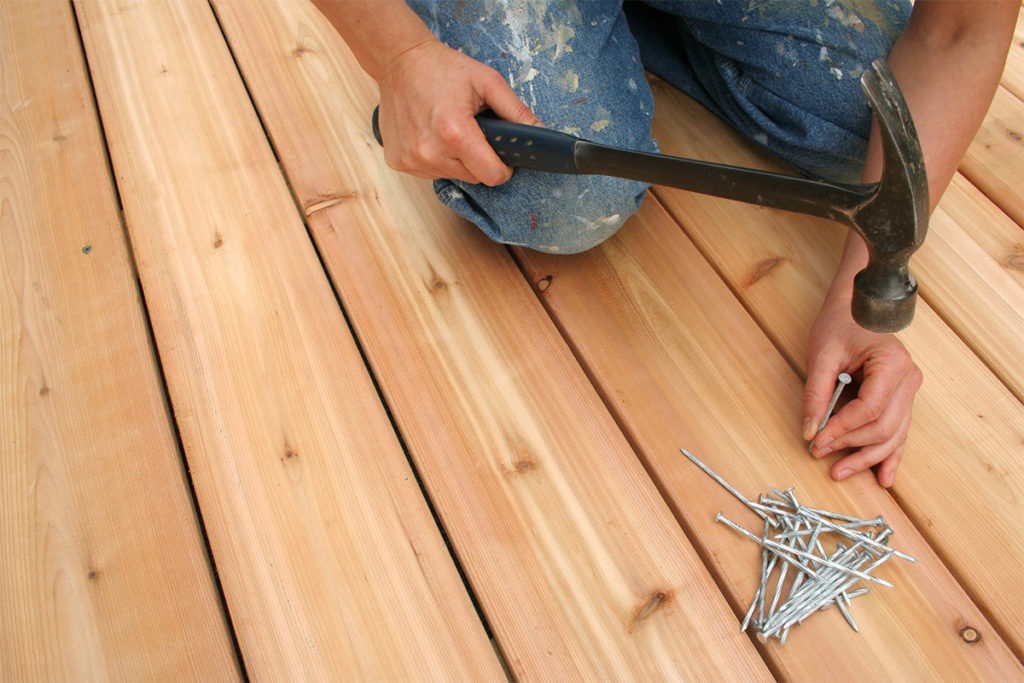
If during the installation of the floor were originally used ordinary nails, it is possible that the creaking occurs as a result of friction of wood on the body of the nail.
In this case, especially if there are many cracks in the floor, you should not skimp and update the old boards, and replace the nails with screws, which will not make such a noise.
Disassembling the floor completely is a laborious process, but removing the deformed floorboards and the old fixing with nails will not only relieve the squeak, but also allow the room to be warmed up due to the absence of gaps.
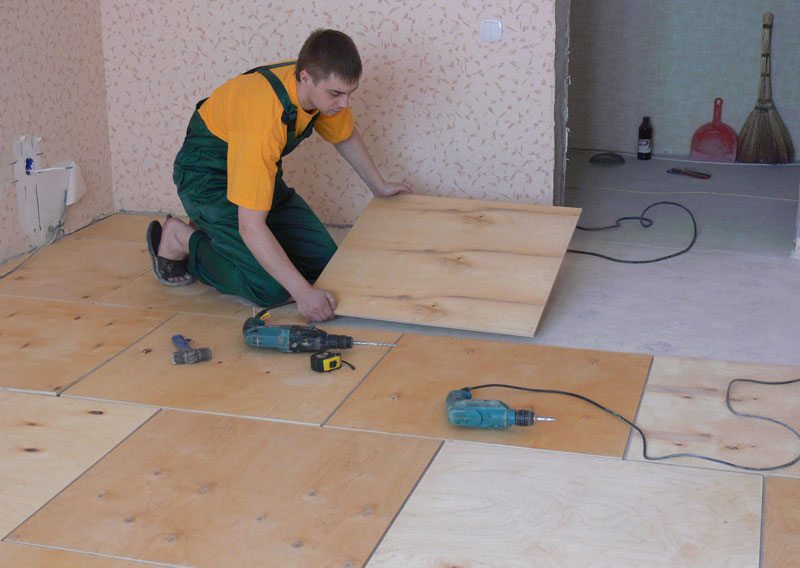
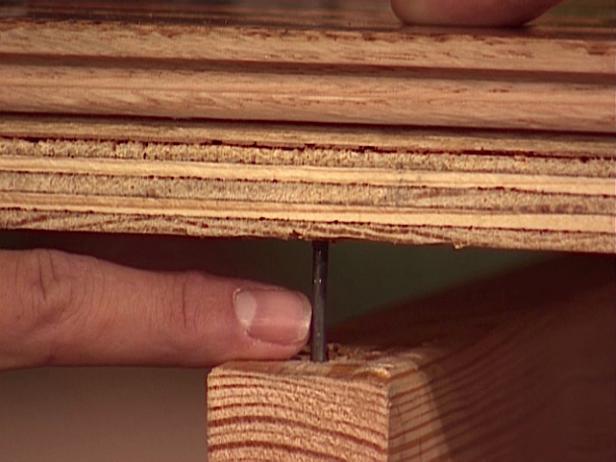
Of the simple methods of dealing with the creaking of floorboards, laying plywood over thick wood flooring is used. Such a floor will be quiet for a while, but not the fact that this problem will not resume after.
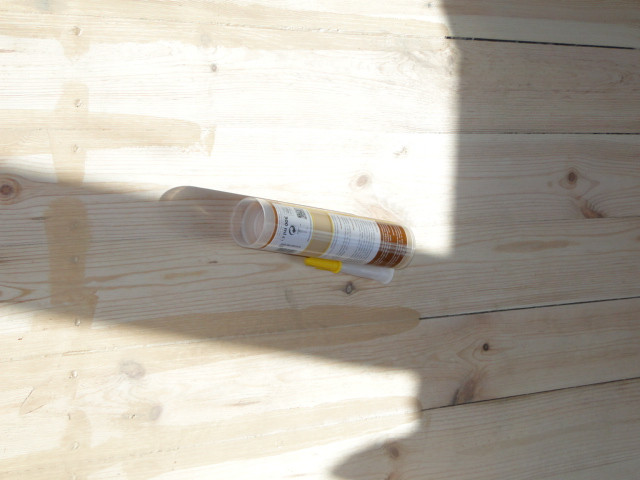
Experts recommend after repairing squeaky floorboards to treat the surface with linseed oil.This additionally permeates the wood flooring and will prevent unpleasant noise.
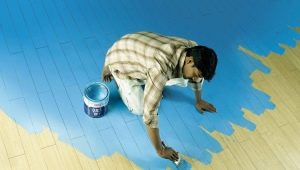
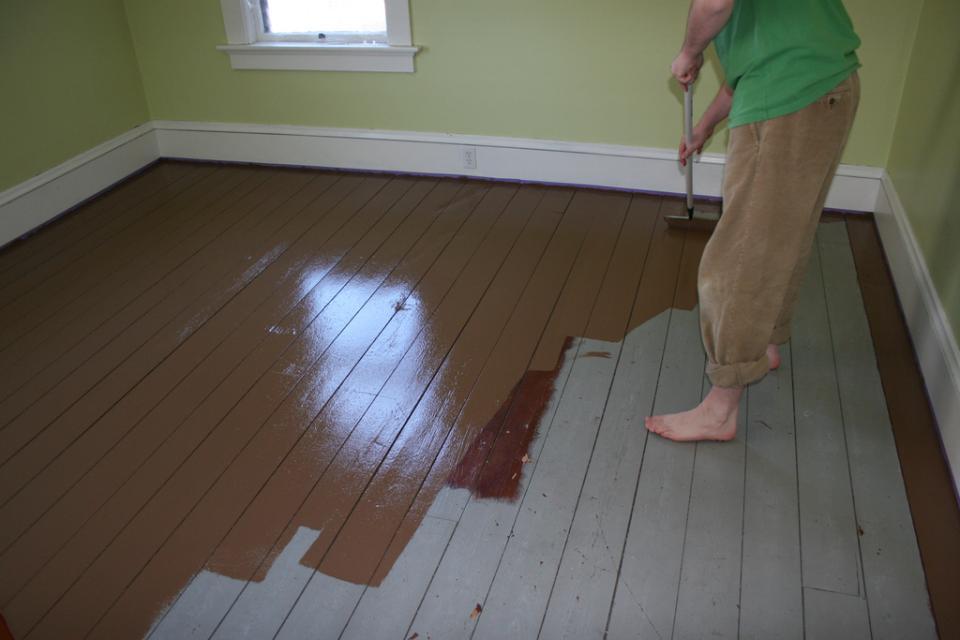
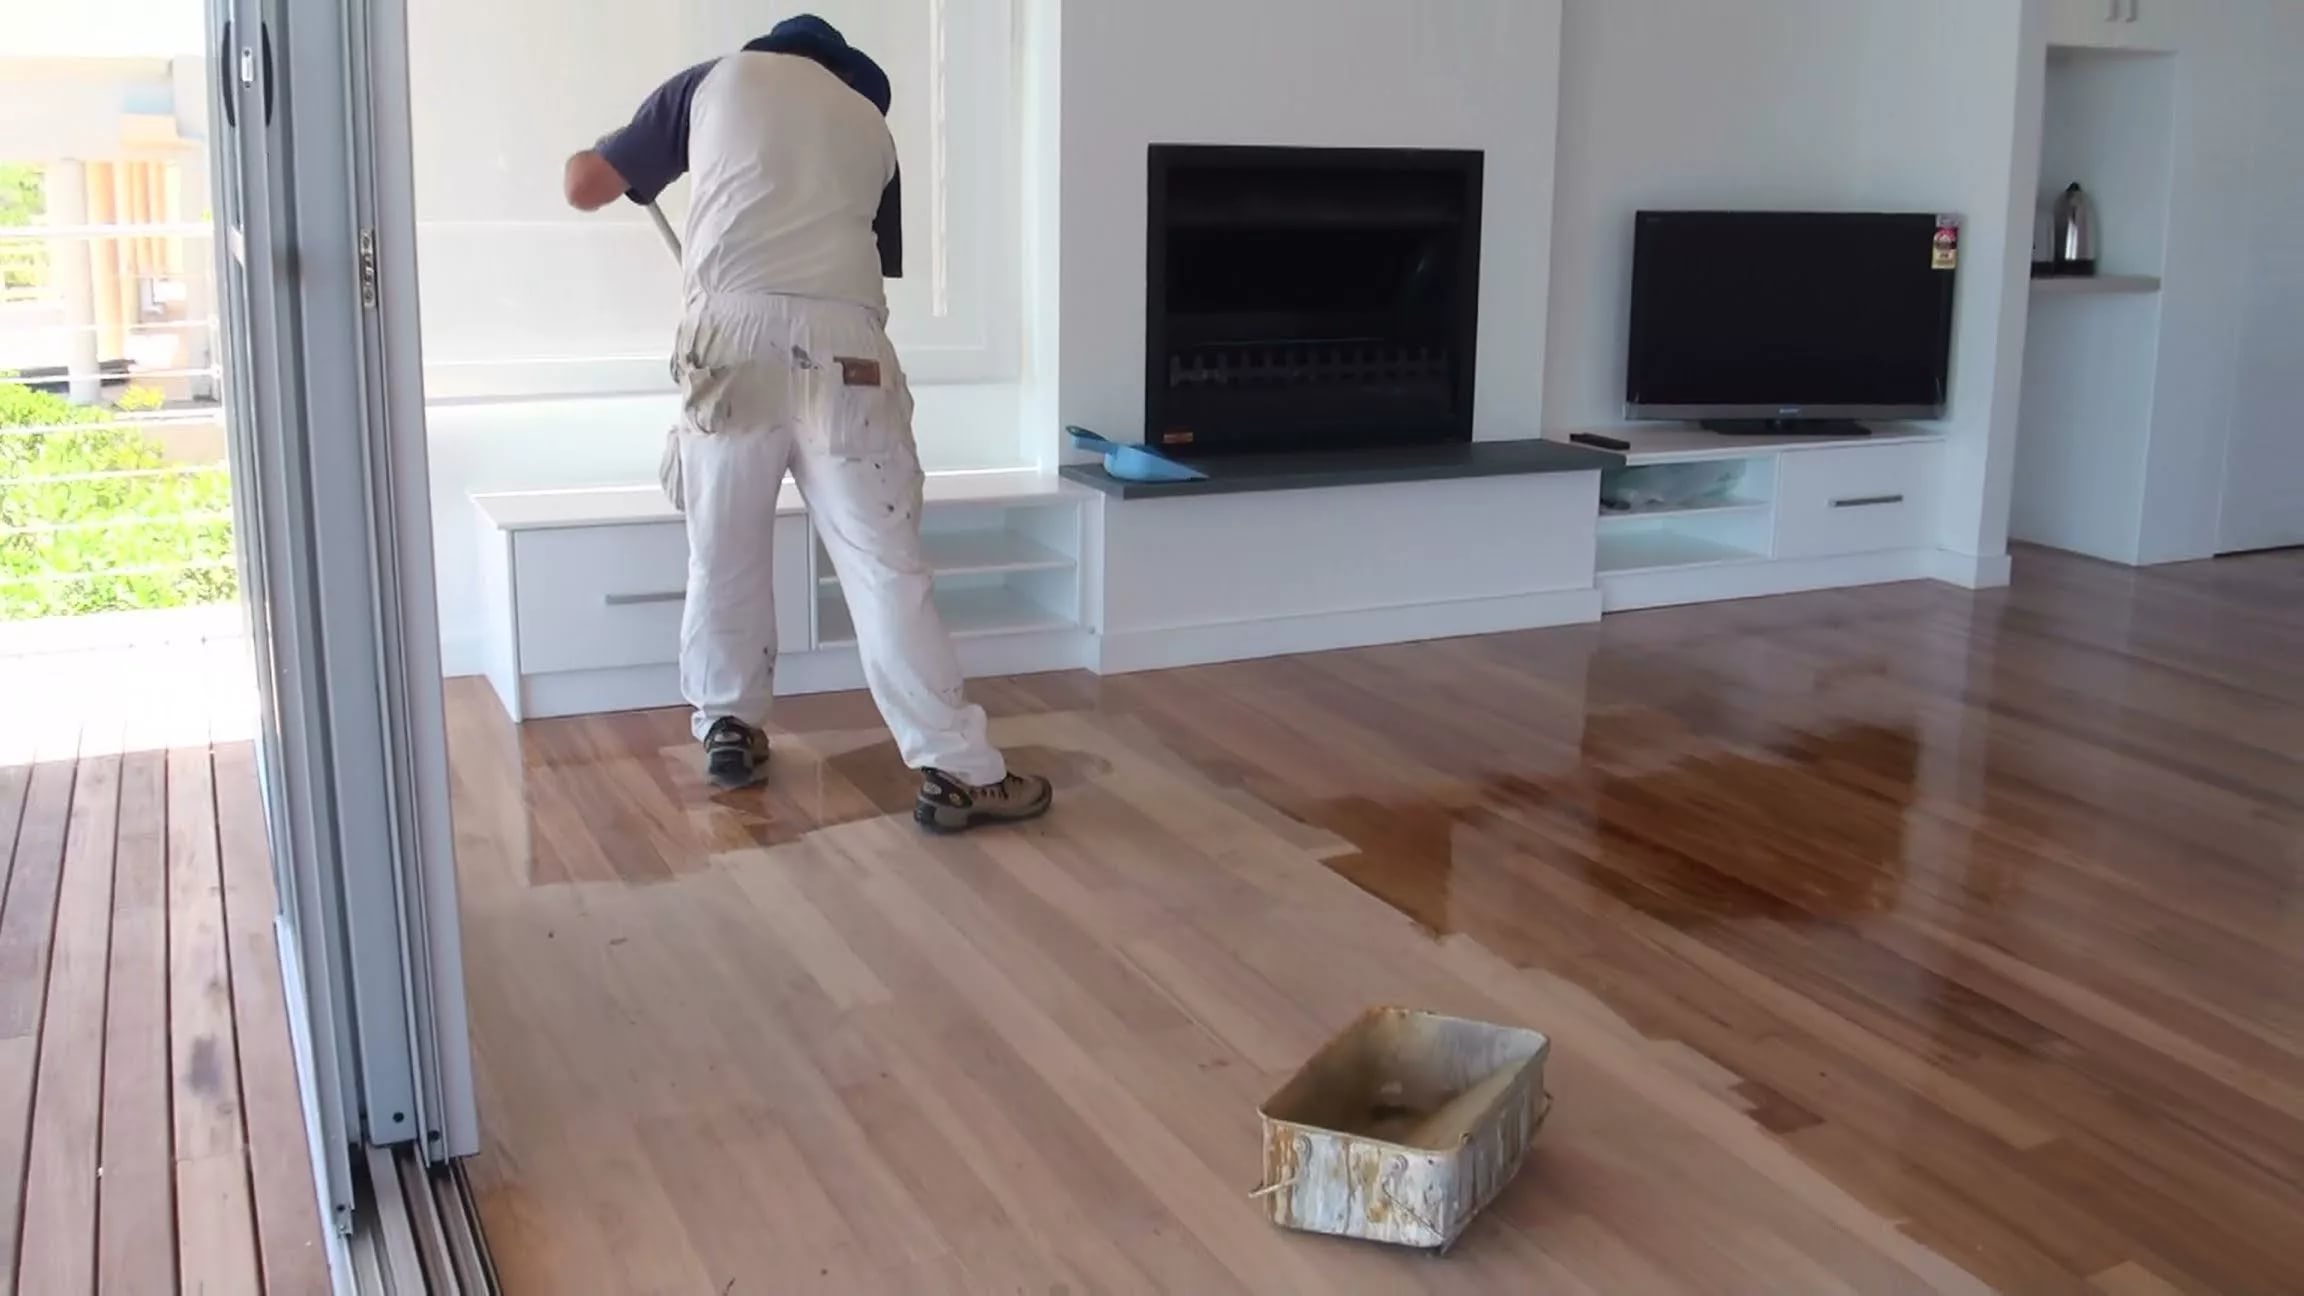
Painting
Complete the process of restoring a wooden floor with painting and varnishing. Before painting, you need to check the condition of the boards once again, and if there are cracks, carefully putty them.
When choosing paint for wooden floors should be considered:
- wood species;
- climatic conditions in the room;
- degree of wear;
- previous coverage (if the boards are old).
If we consider the varnishing of the floor, you should know that this option is not suitable if:
- the previous wooden flooring was treated with oil-based oil formulations;
- the humidity level in the room will be too high (for example, on open terraces).
There are several types of flooring: water dispersion paints, oil coating and wax paints.
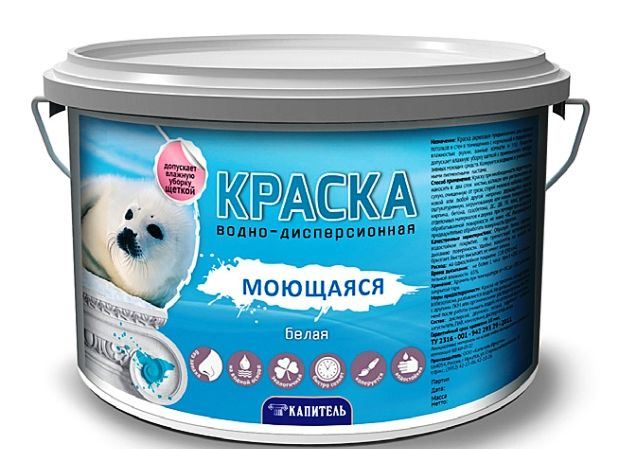

Water based dispersion paint is best used if the apartment is inhabited by people with allergies or people with asthma.
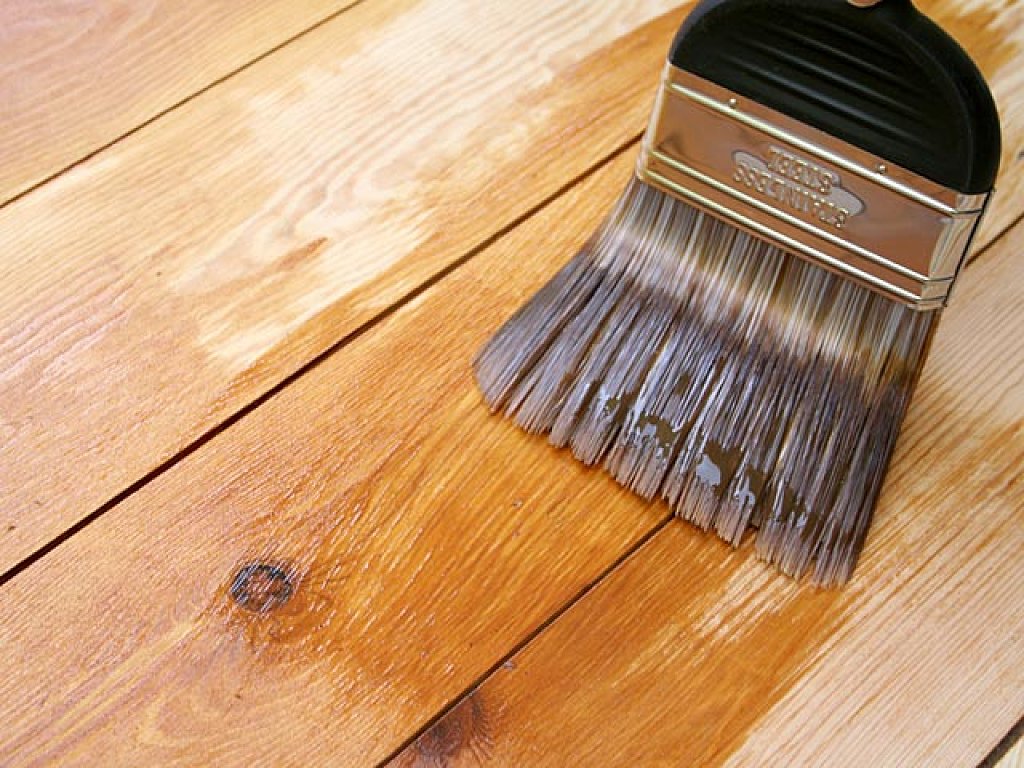
The oldest is considered the method of processing wooden floor oil. This method is distinguished by its efficiency and safety. The bases are wood oils, refined soybean and sunflower bases,as well as synthetic and natural resins. Oil and resin have a bactericidal effect and soften the friction of the boards against each other. In addition, an oiled floor does not absorb moisture well (it will not be scary to fill the floor) and does not take it out very actively, therefore cracks will form less frequently.
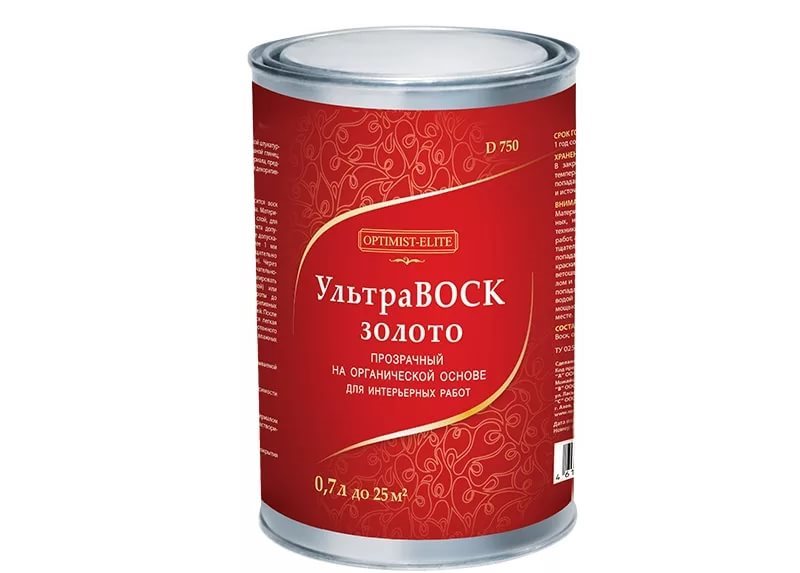
After the floor is covered with oil, it is necessary to fix the result with wax. Previously, everywhere in rich noble houses used wax for rubbing the floor. Waxed floor can be found in the "stalinka." BUT Now, with the help of wax bases, old, strong, but worn floors are restored to give them a fresh updated look.. Wax formulations are made from an oil base with the addition of beeswax and additional components that increase the elasticity of the composition. Wood treated in this way looks expensive and soundly.
Expert advice
To effectively restore the old wooden floor, before you begin such a difficult job, you need to take into account some of the nuances.
Not every putty is suitable for sealing seams in wood in the “stalinka”. For example, if cracks in the floor of cedar, beech or chestnut are eliminated, then you should not use acrylic putty.When interacting with lacquer, nitrous thinners can produce blue spots on the surface of the boards, so when using such compounds it is advisable not to varnish the floors. Color sealant is ideal. With it, you can make an easy repair of small cracks on almost any wood.
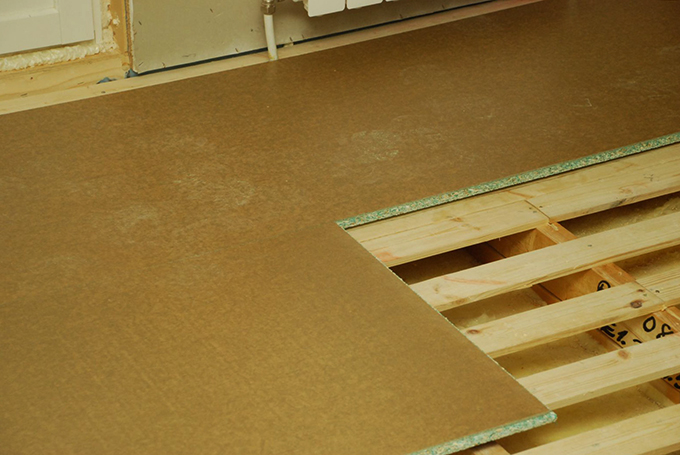
If the wooden flooring is badly damaged, but it is not possible to change it, you can cover and reinforce it with sheets of plywood, but you should first fill in the deep gaps so that later they won't blow.
Spreading an old wooden floor is not difficult, but it is even easier to maintain it carefully, then it will last for decades and will remain in excellent condition.
On how to seal the gap between the laminate boards, see below.