Grooved floorboards: tips on choosing and styling
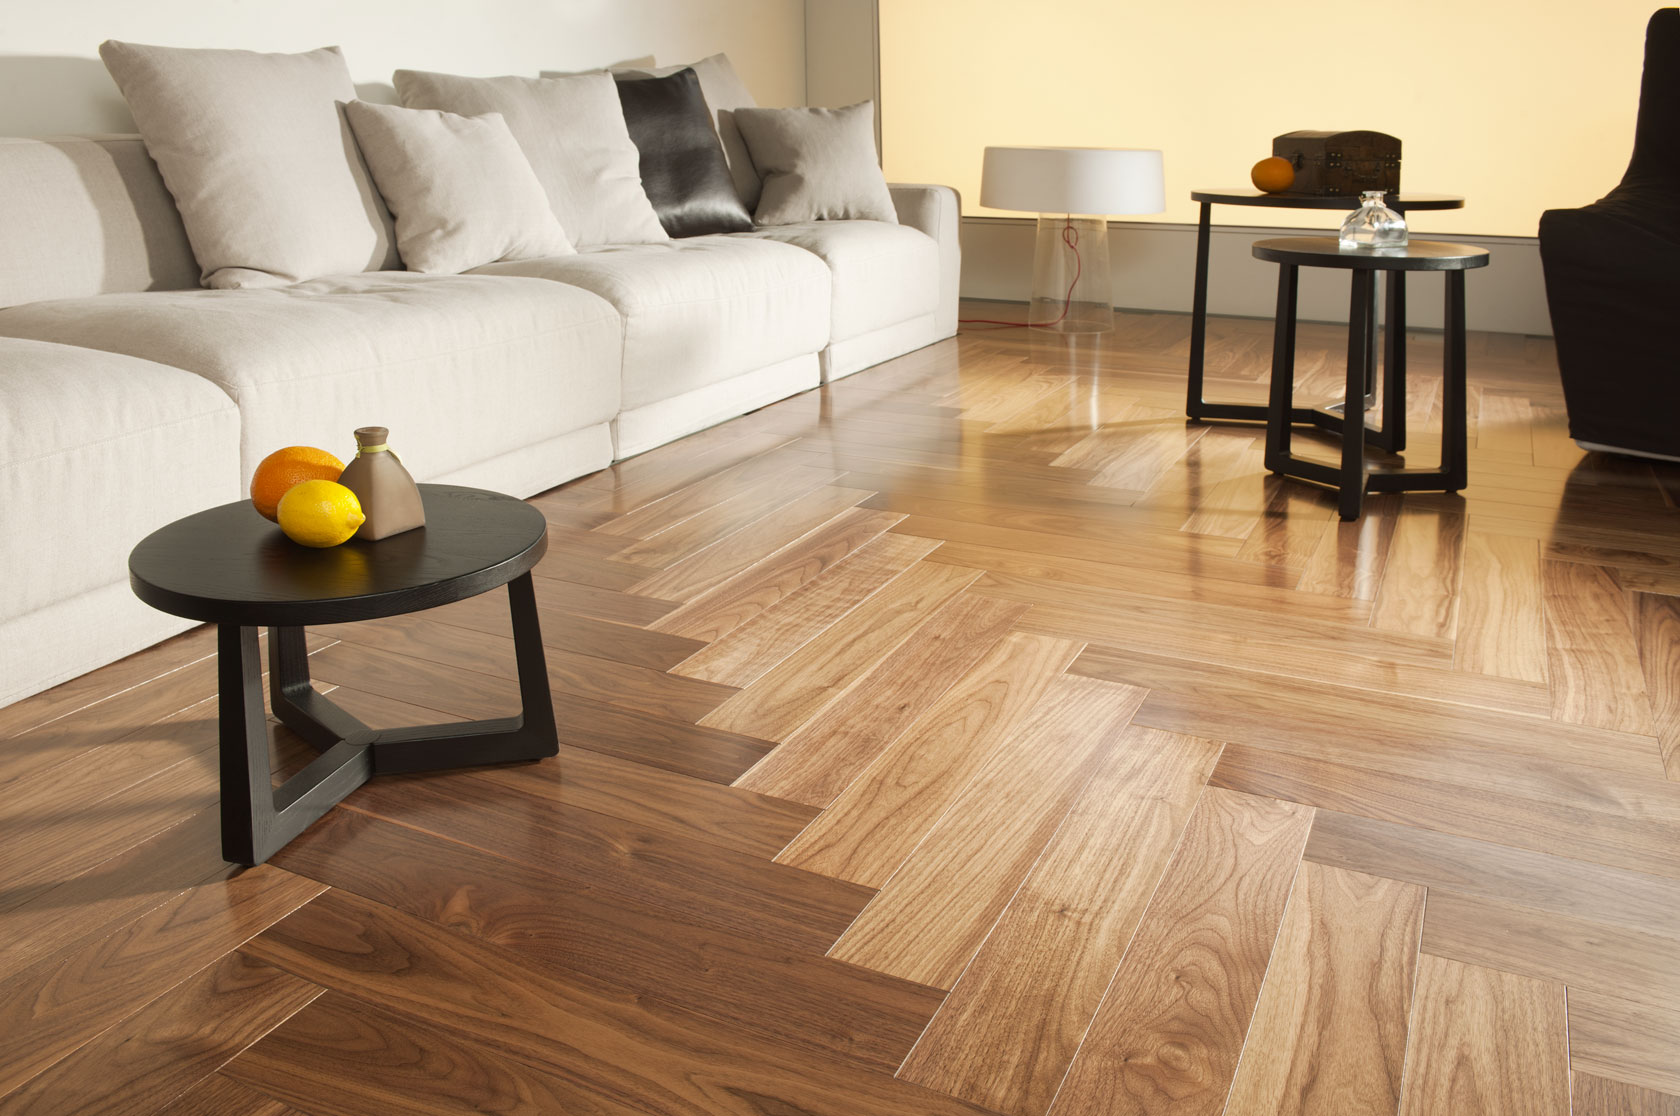
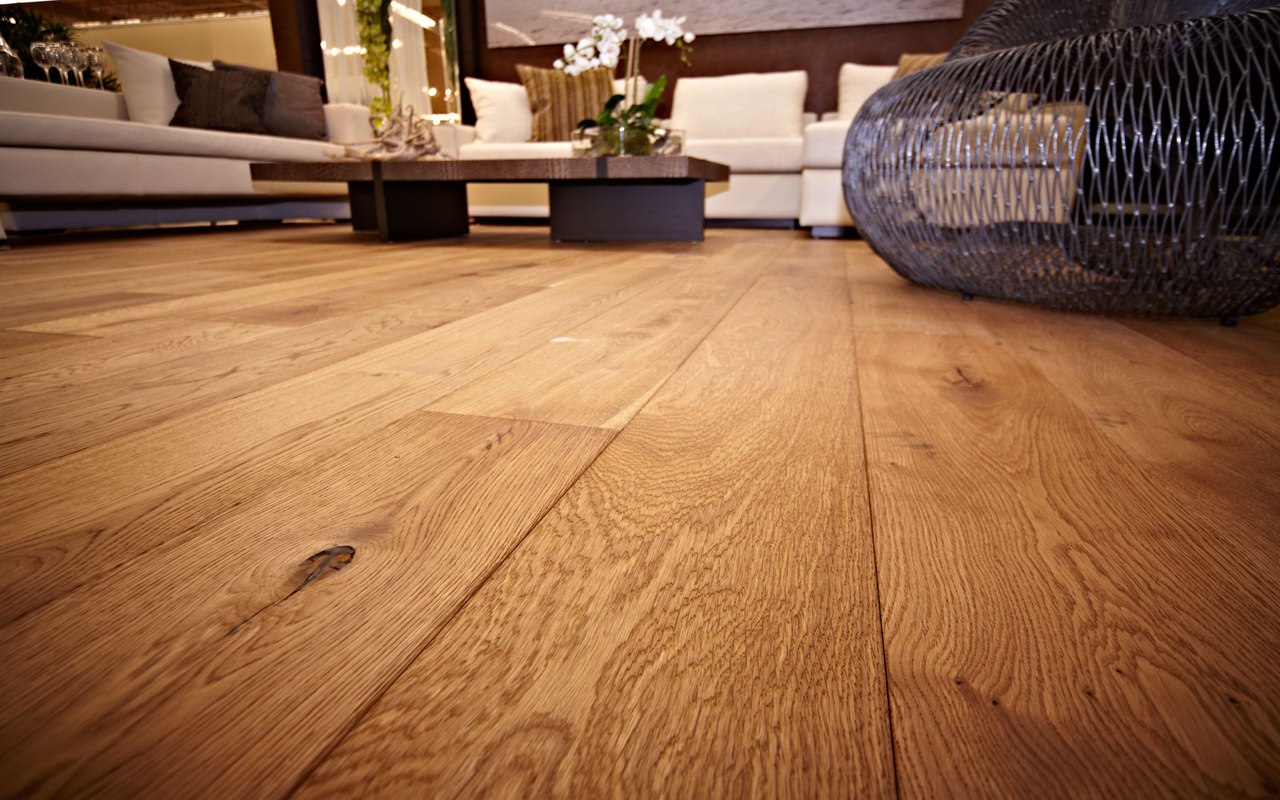
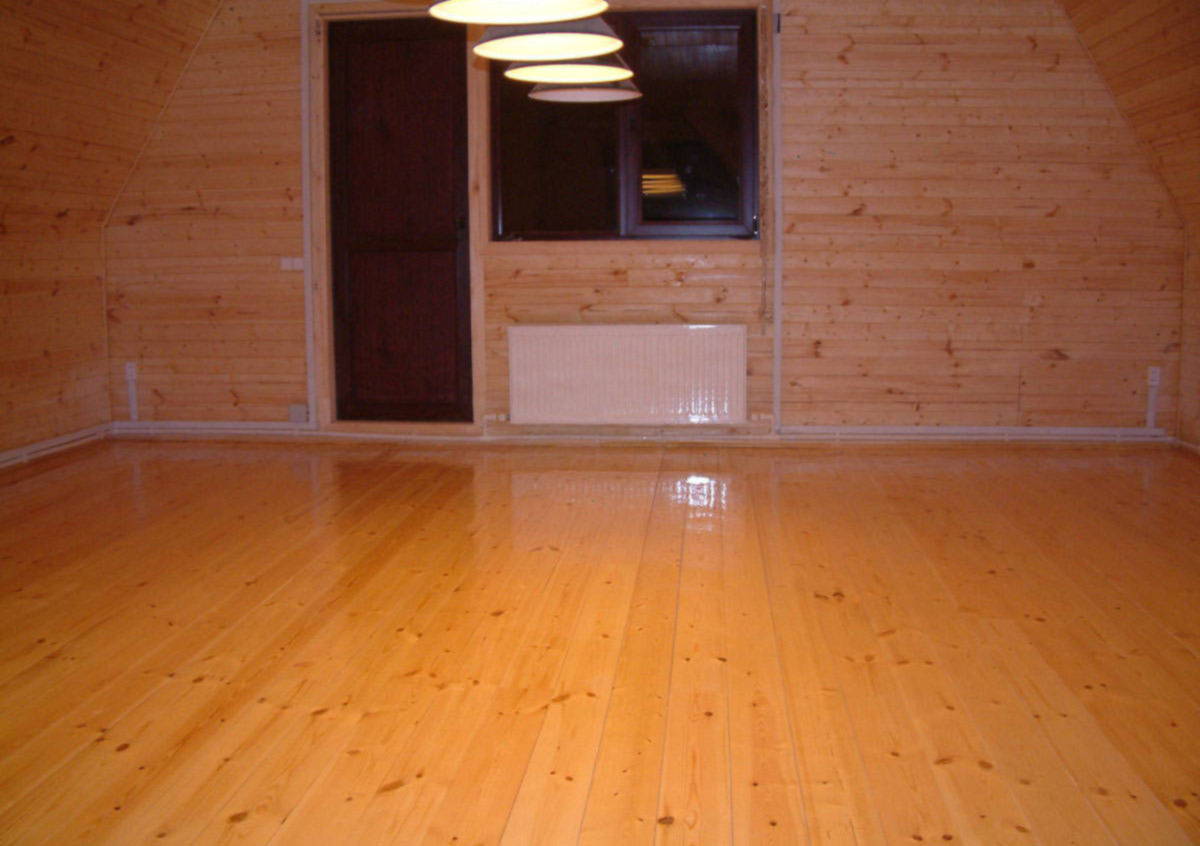
Flooring flooring actually completes the construction of a new house, and in many cases the finish of the old one. Until this work is done, the rooms cannot be considered completed. In living rooms, in contrast to utility rooms, it is recommended to use a grooved board, but it should be used skillfully, precisely following the rules. They concern both the styling itself and its selection.
Special features
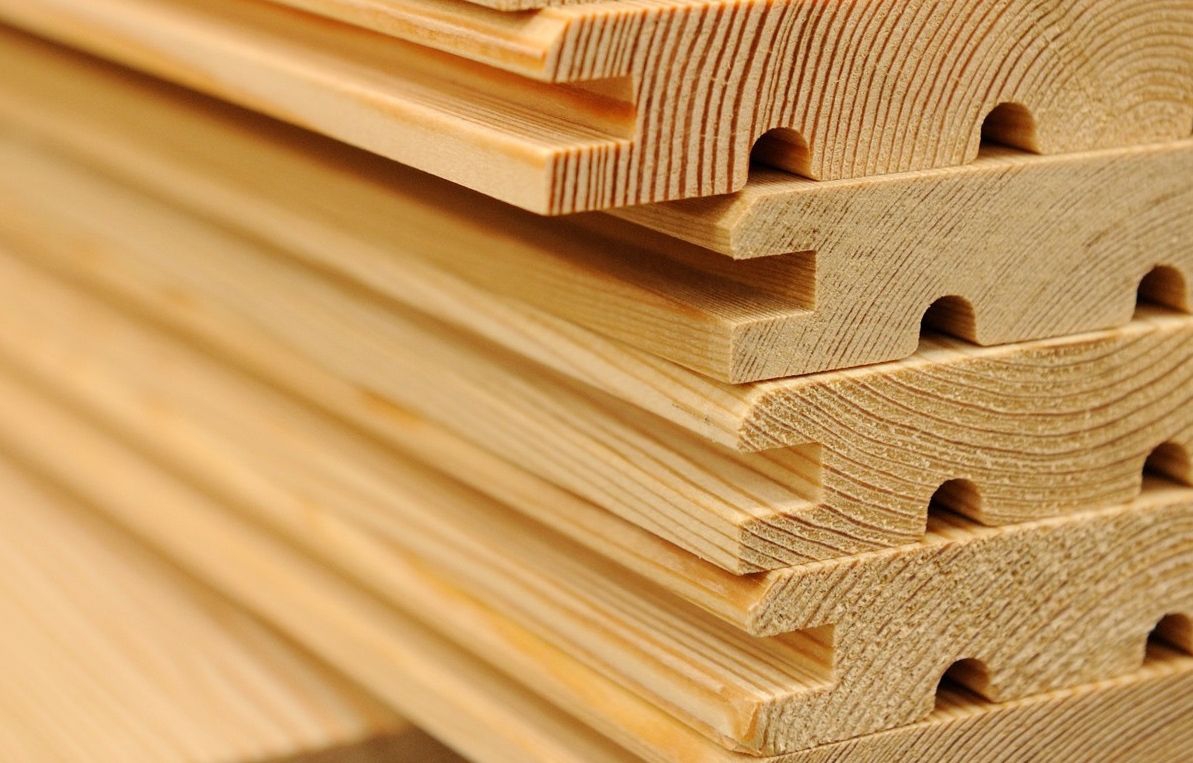
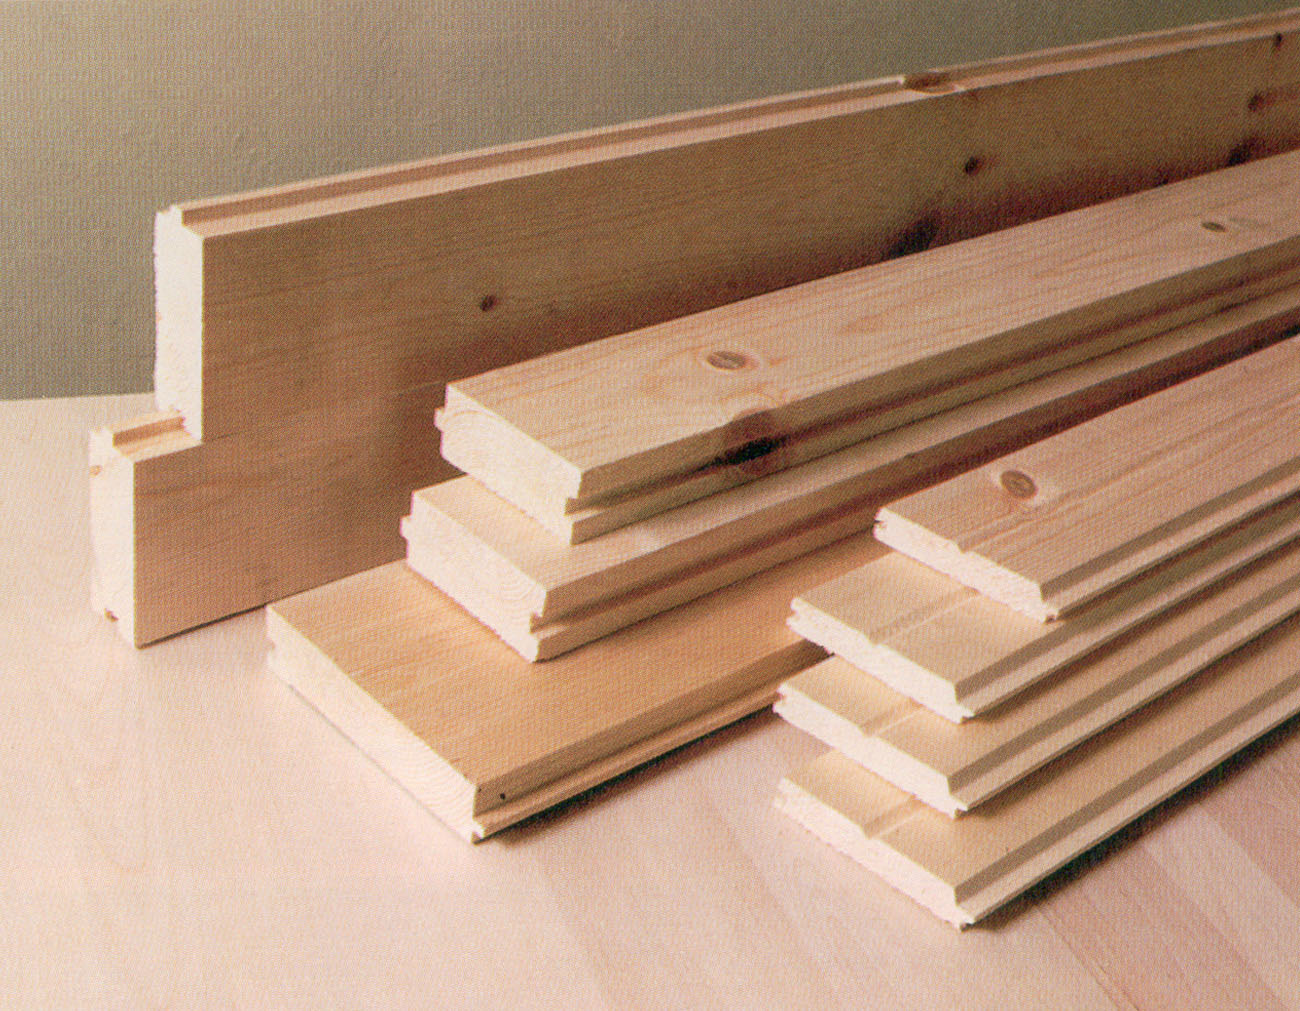
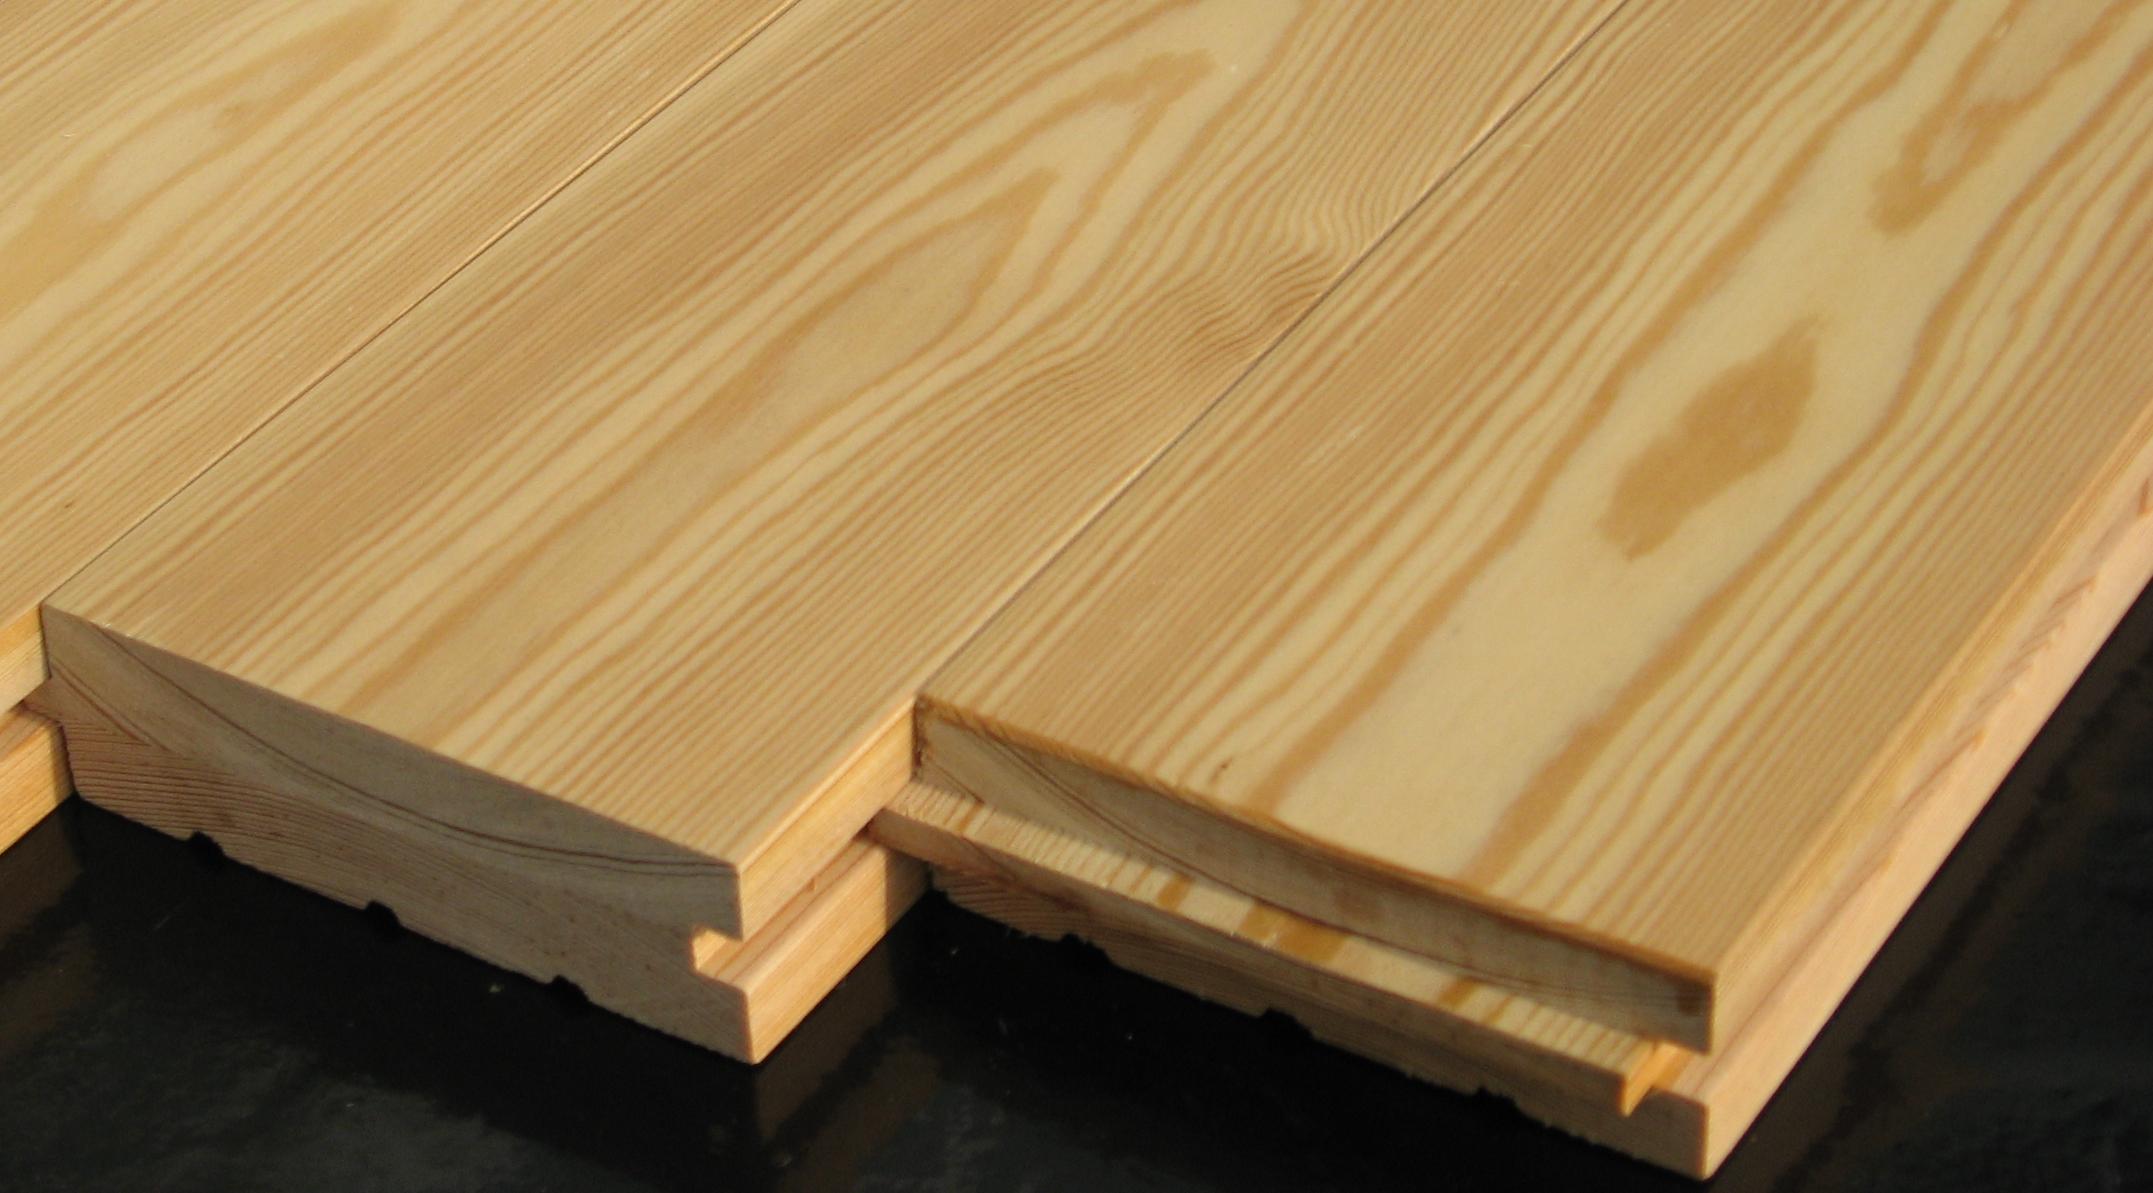
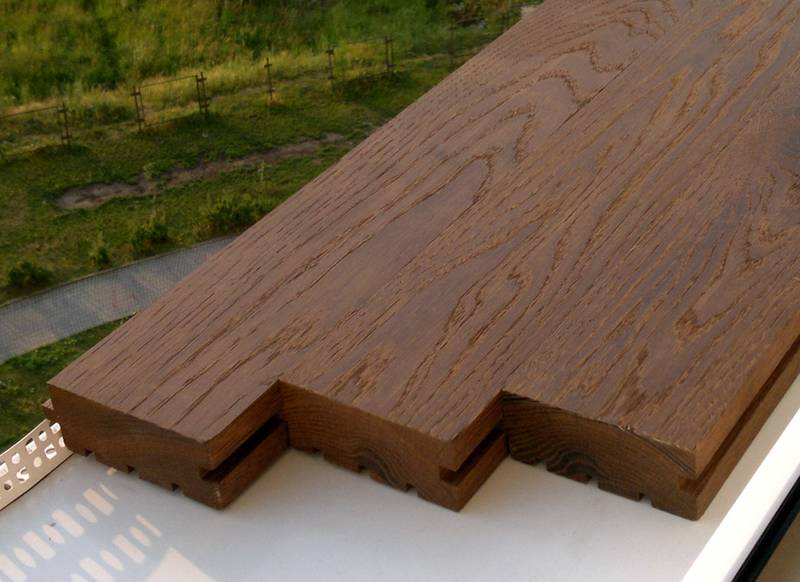
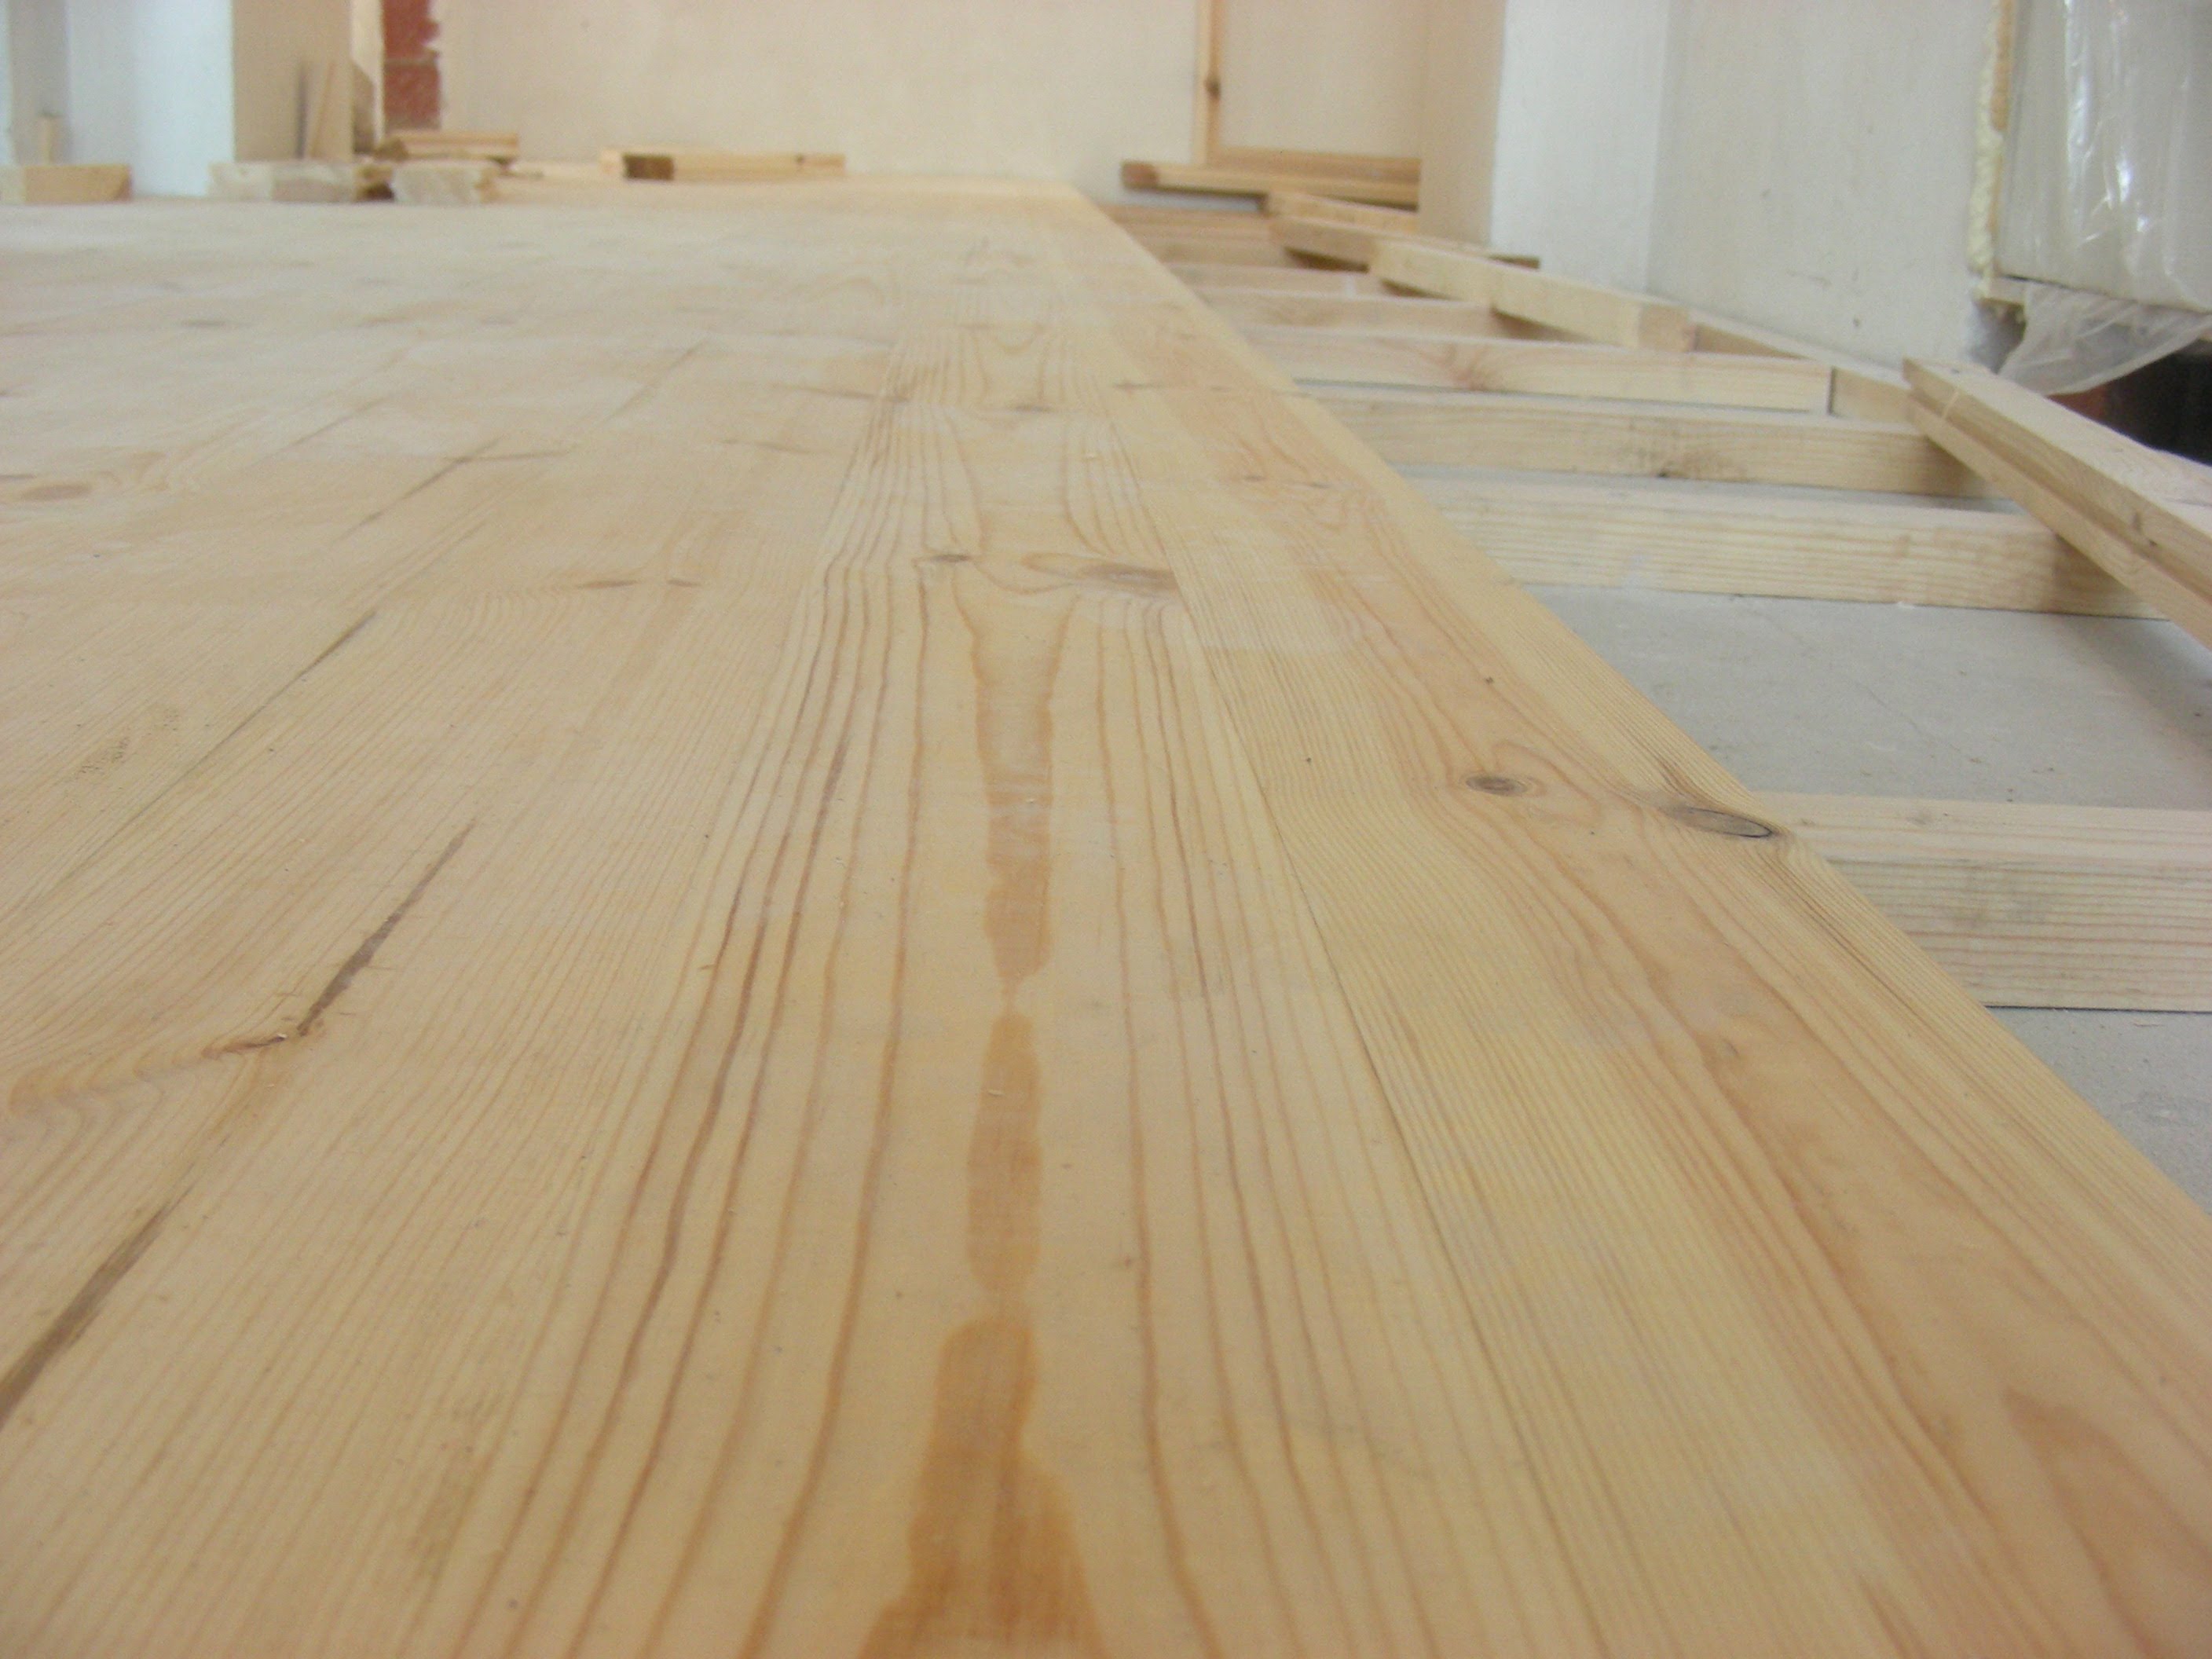
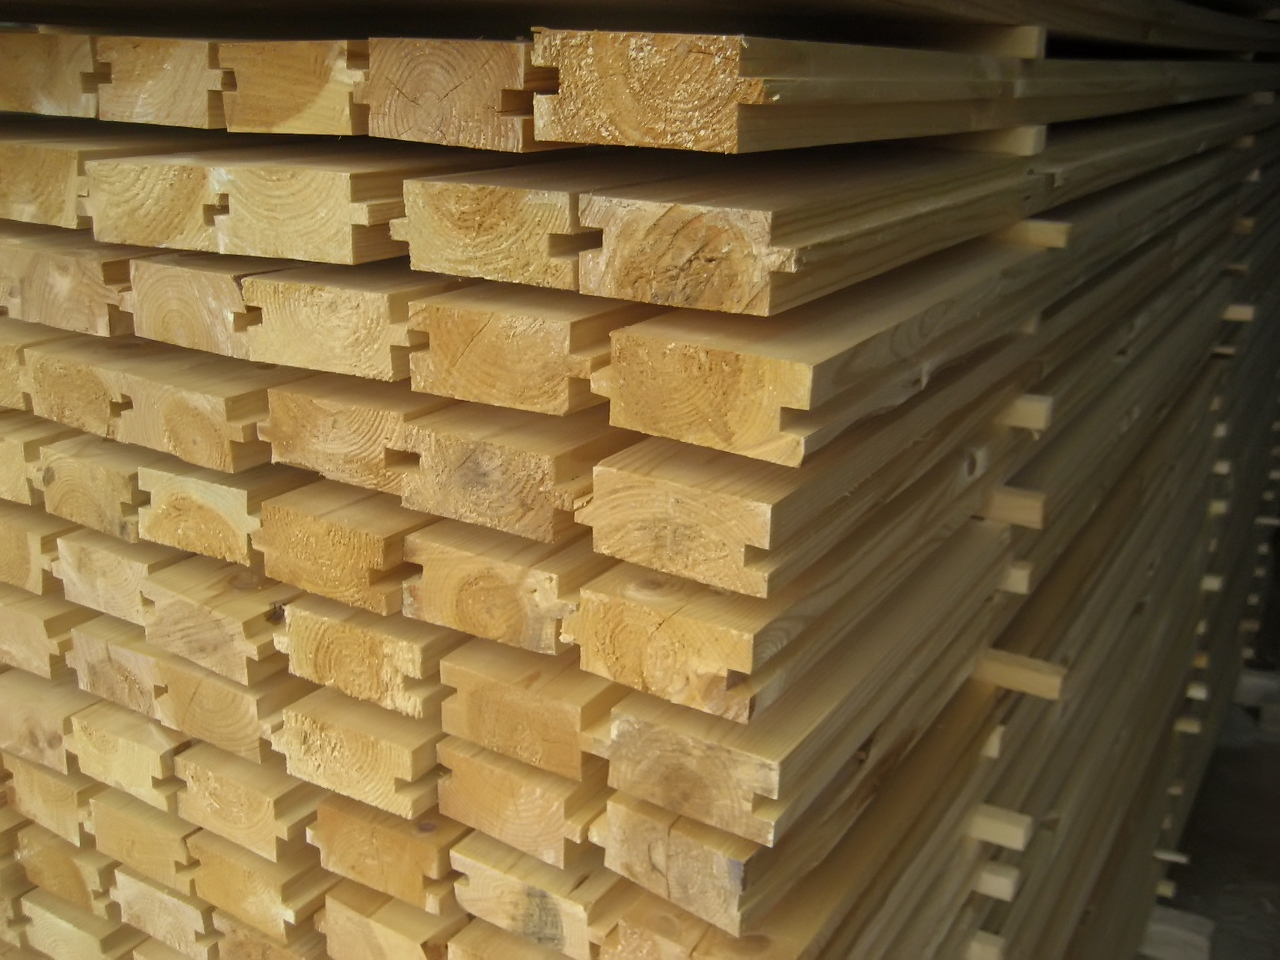
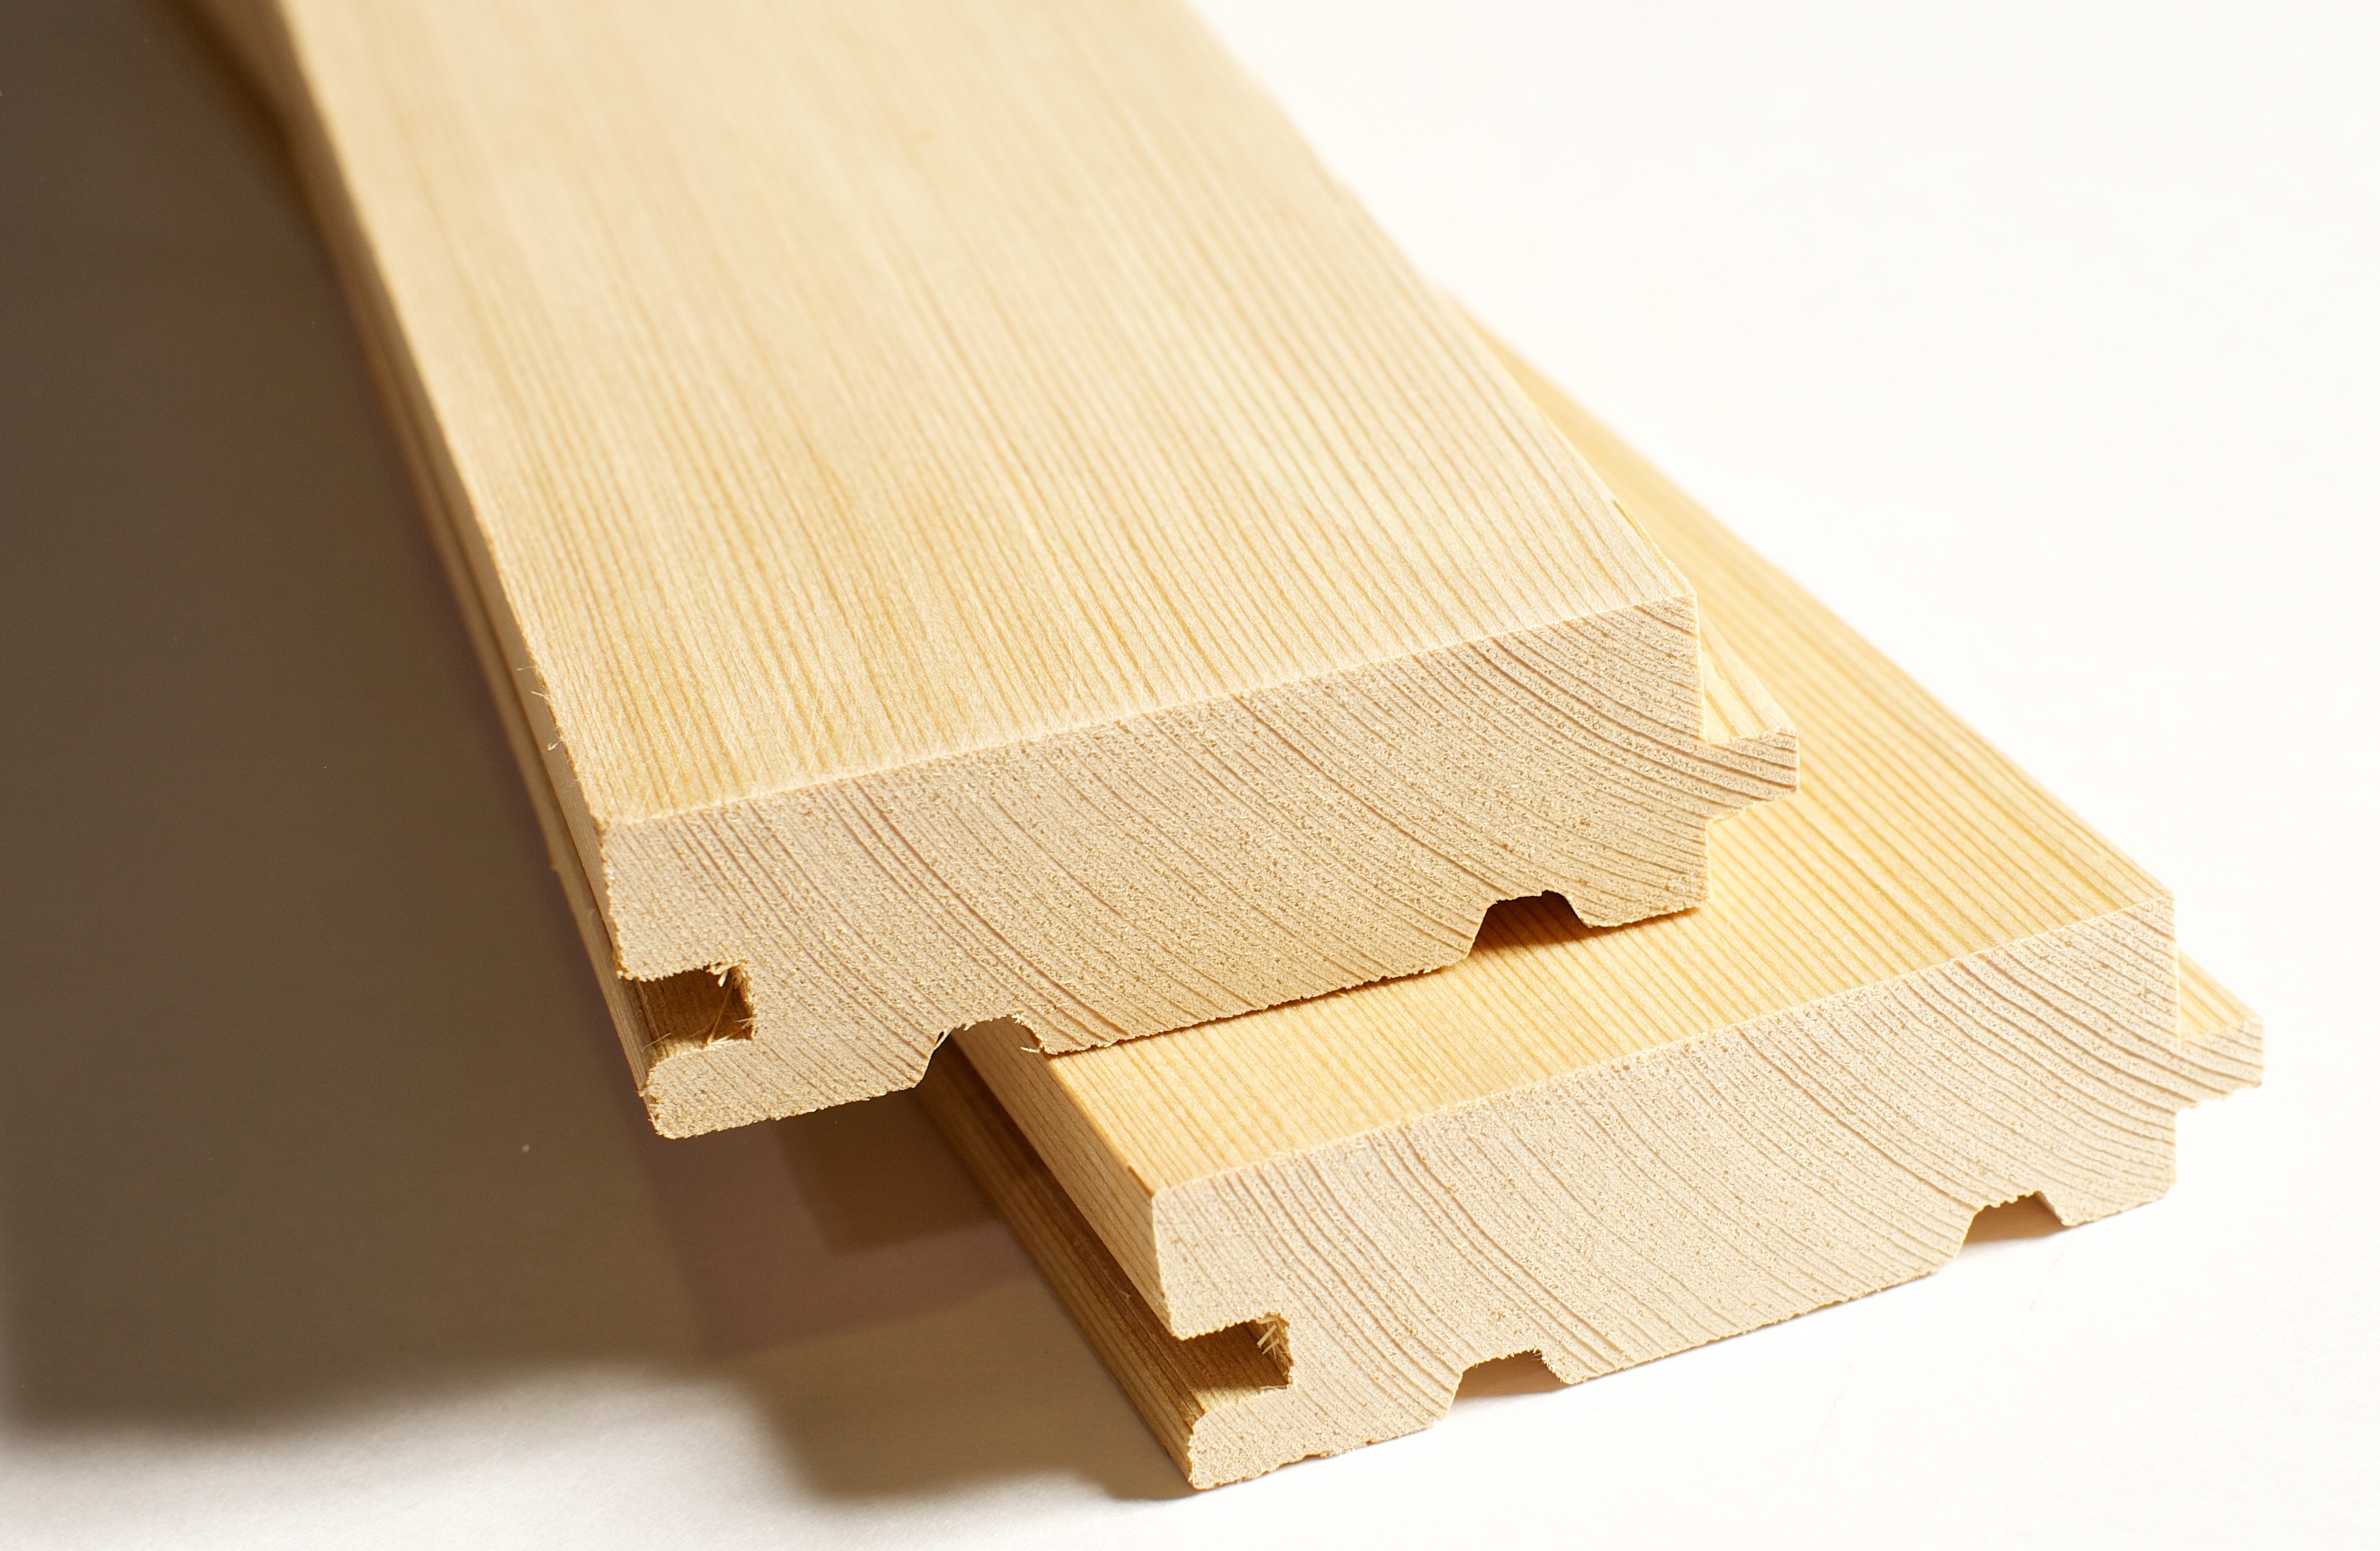
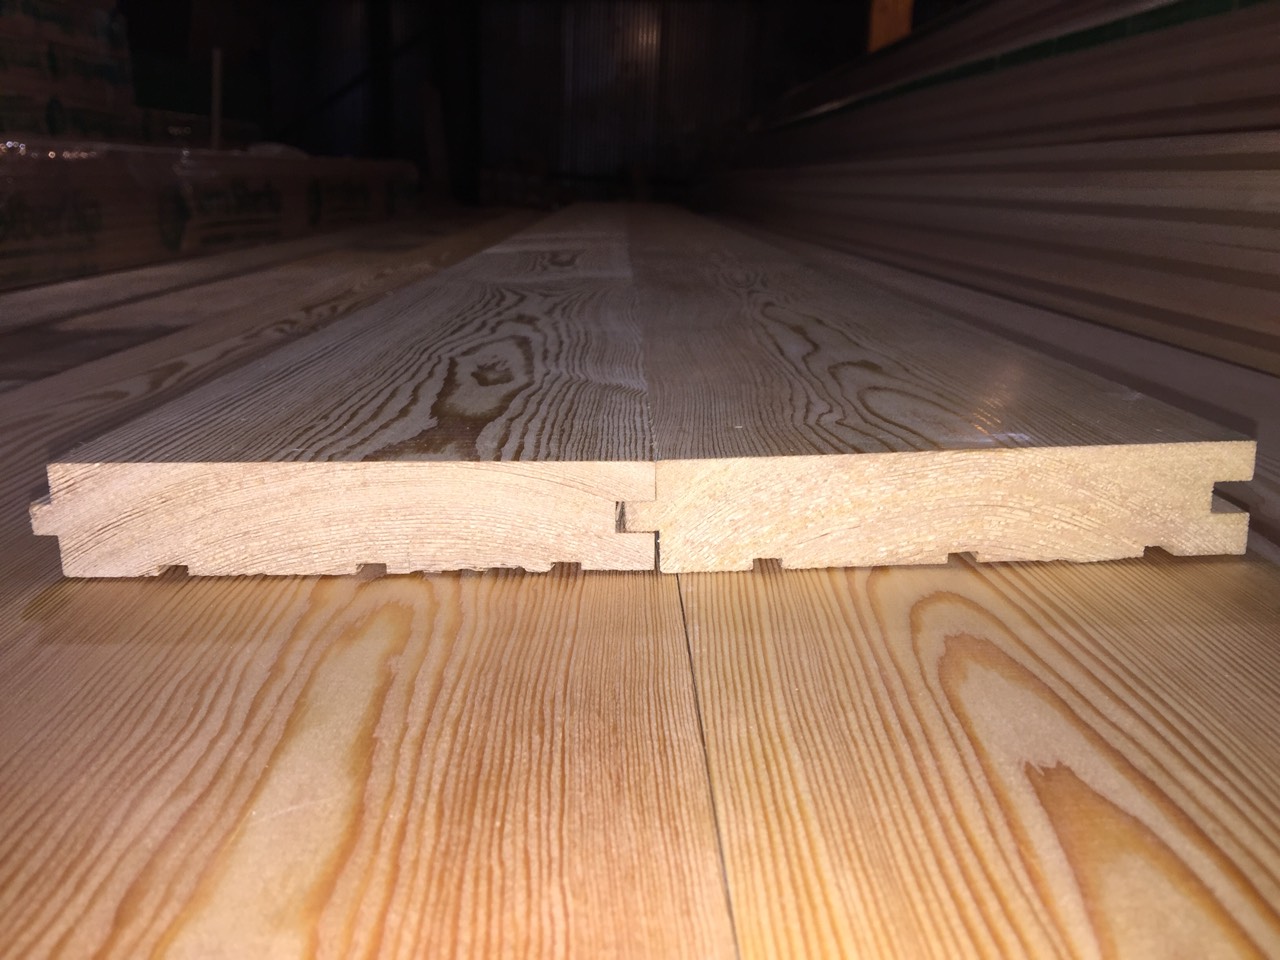
The grooved board is equipped with a longitudinal one-sided groove. On the opposite side put a spike, which should be buried in the groove of the adjacent board when laying. Such a move ensures that the product will last a long time and will not be purged. Even the deck board can not have such high performance. Products are carefully tailored to the geometric parameters, the side parts are cut,Faces are thoroughly ground.

The sheet pads, thanks to the canals on the conditionally lower side, are well ventilated. The formation of spikes and grooves on the sides allows you to limit the smaller amount of grinding, rather than using edged boards. The tongue is quite beautiful, reliable in operation and mechanically durable. However, all these advantages are achieved only under one condition - with proper selection of material.
Materials
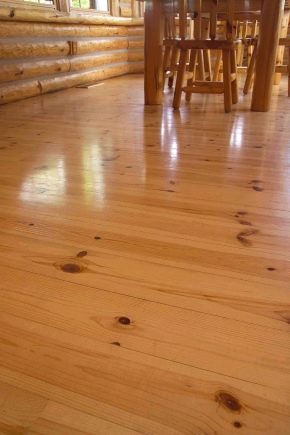
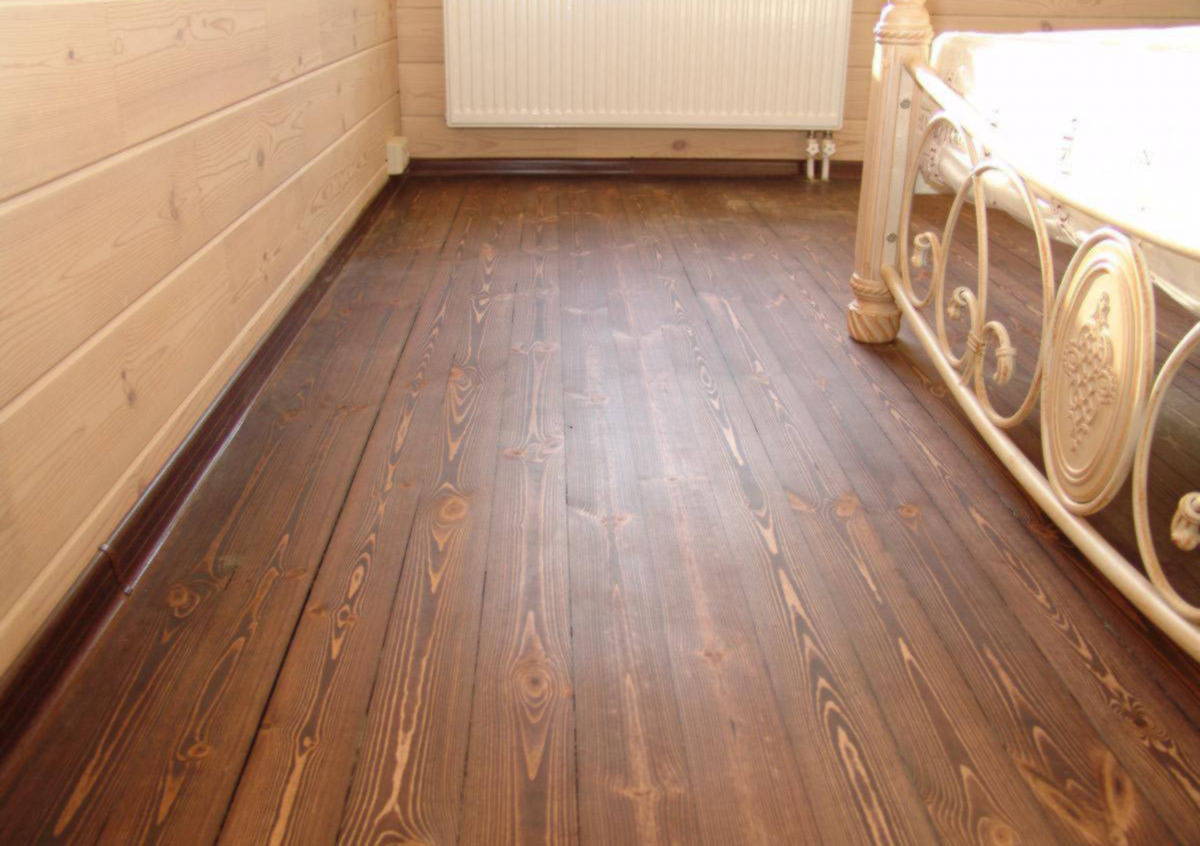
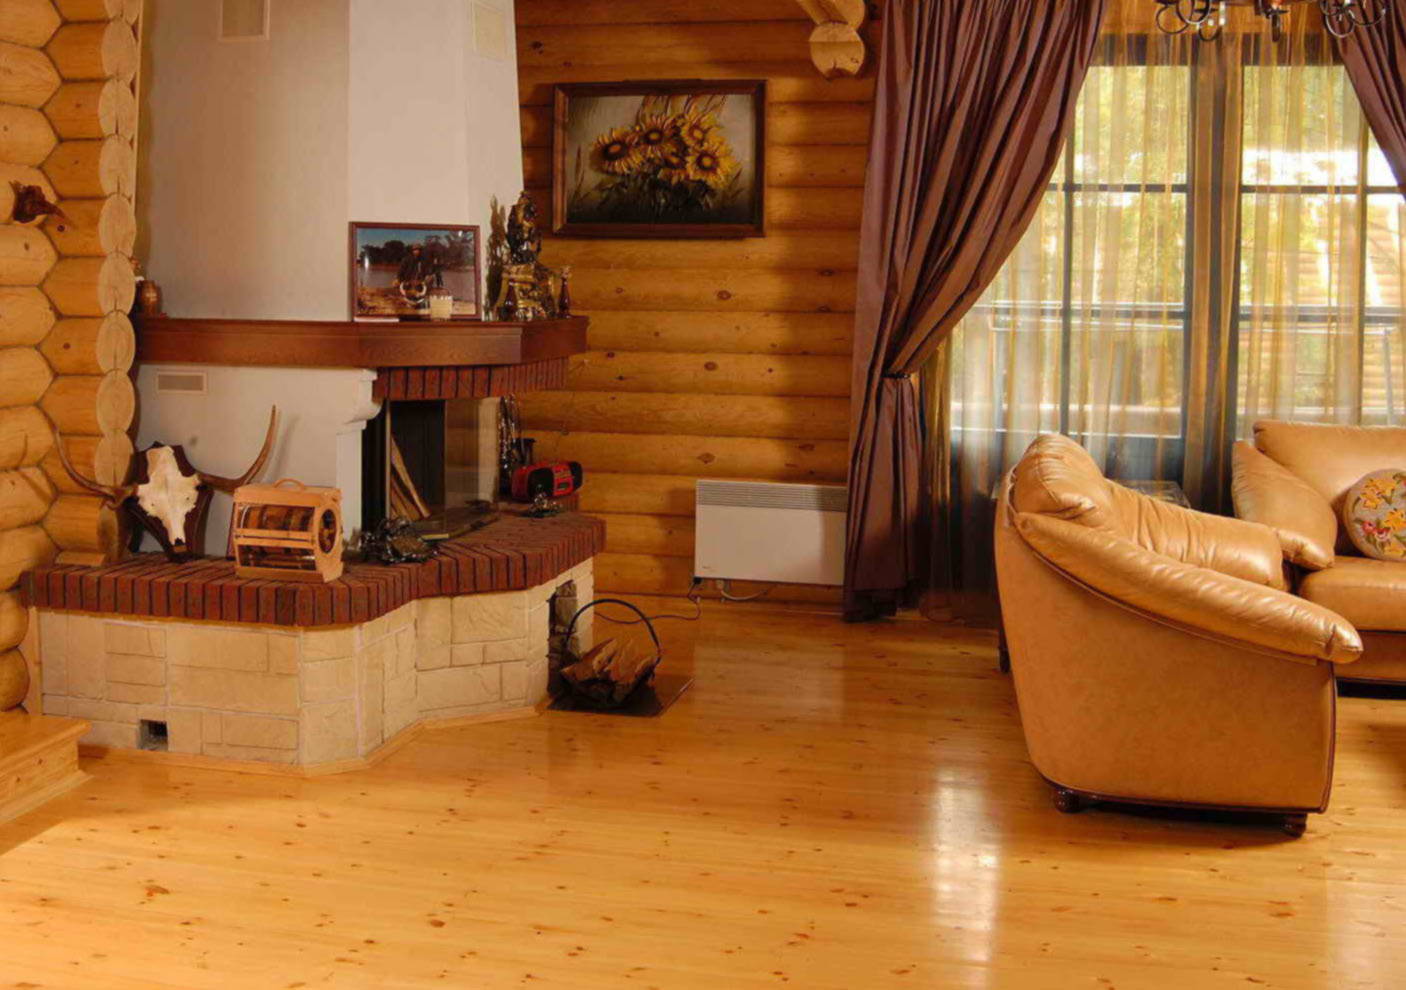
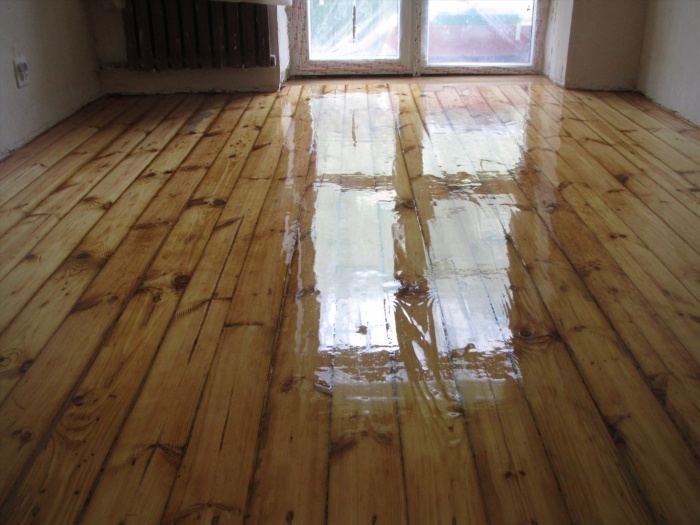
Oak, larch and pine are of key importance in practice. Pine flooring is relatively cheap, but its softness results in a high risk of distortion. As a result, in areas where people walk more and more, after some time, “paths” appear.
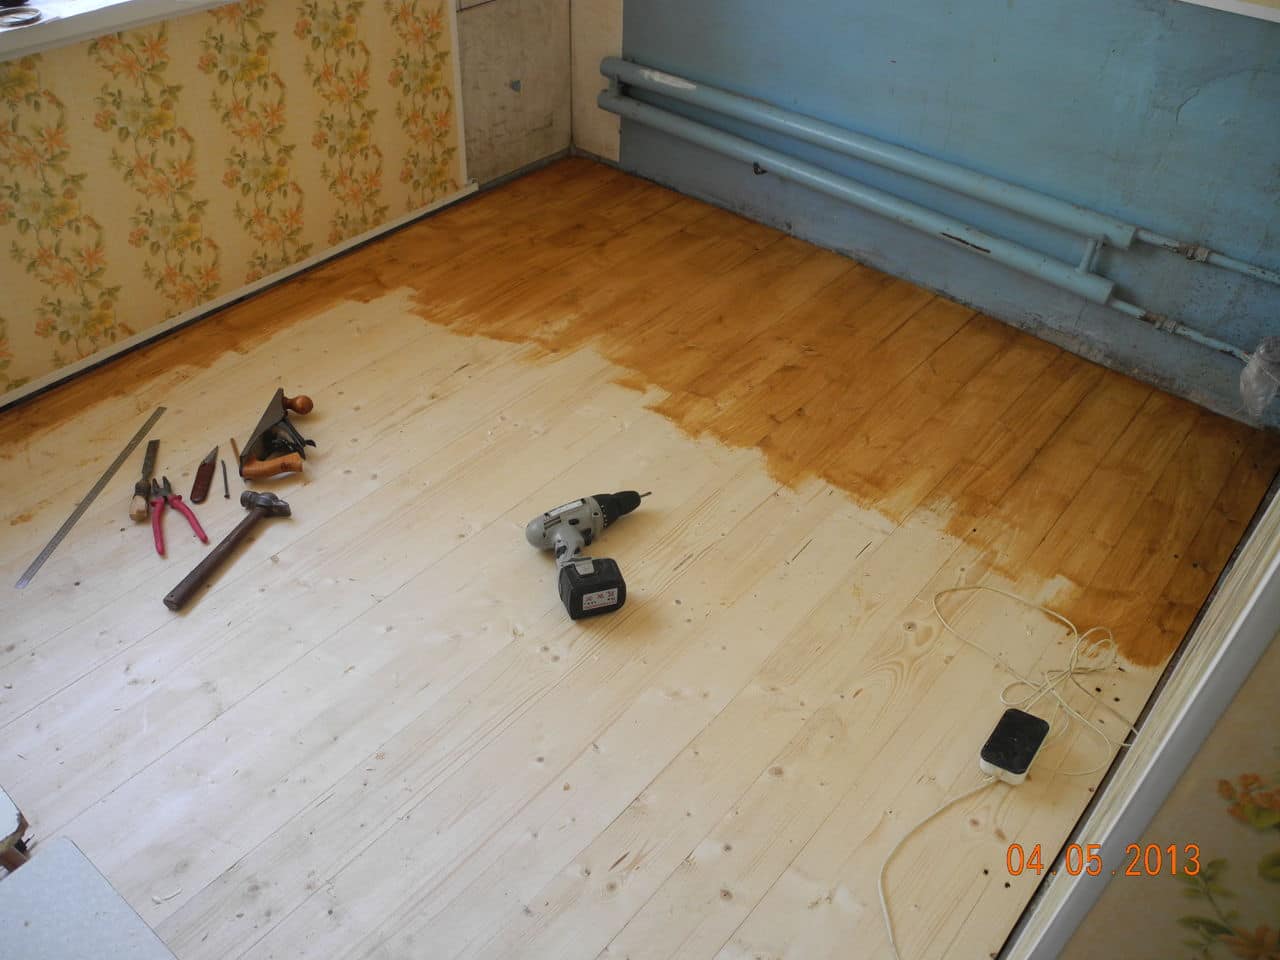
Correct the situation can be applied by applying little wear varnish, which cover the floor in two layers.
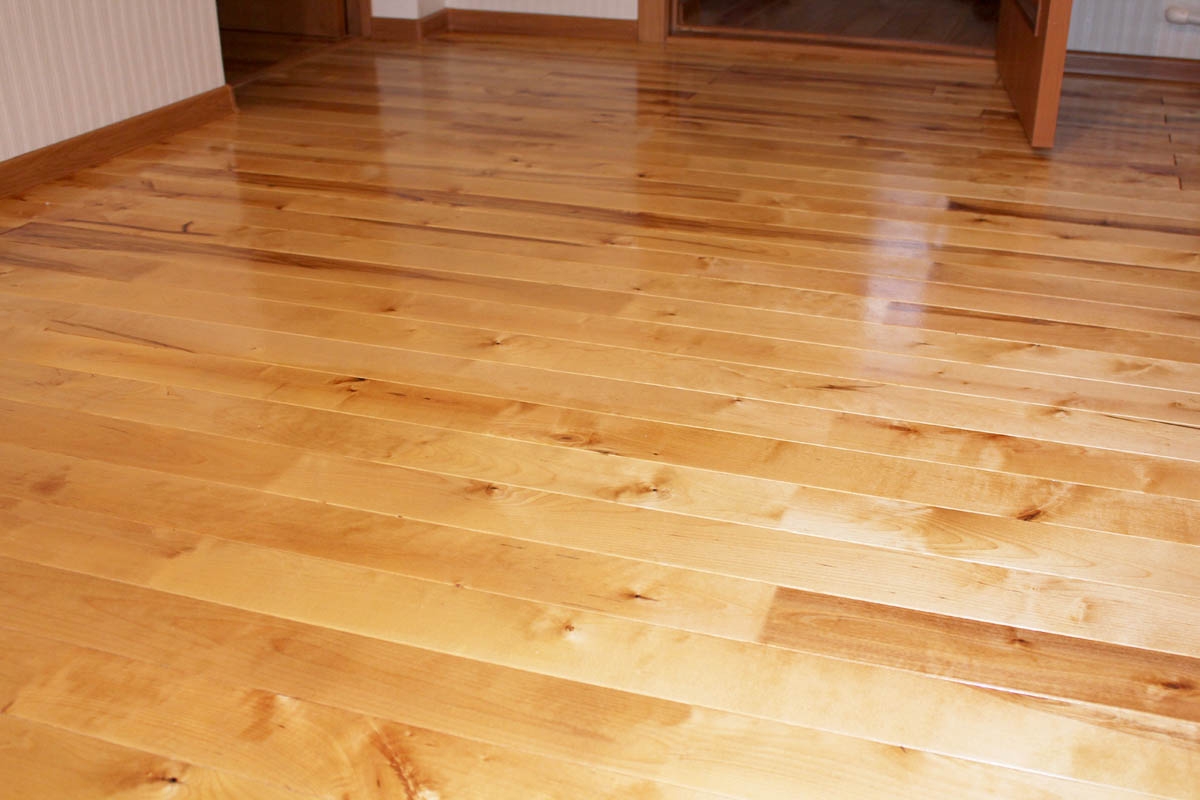
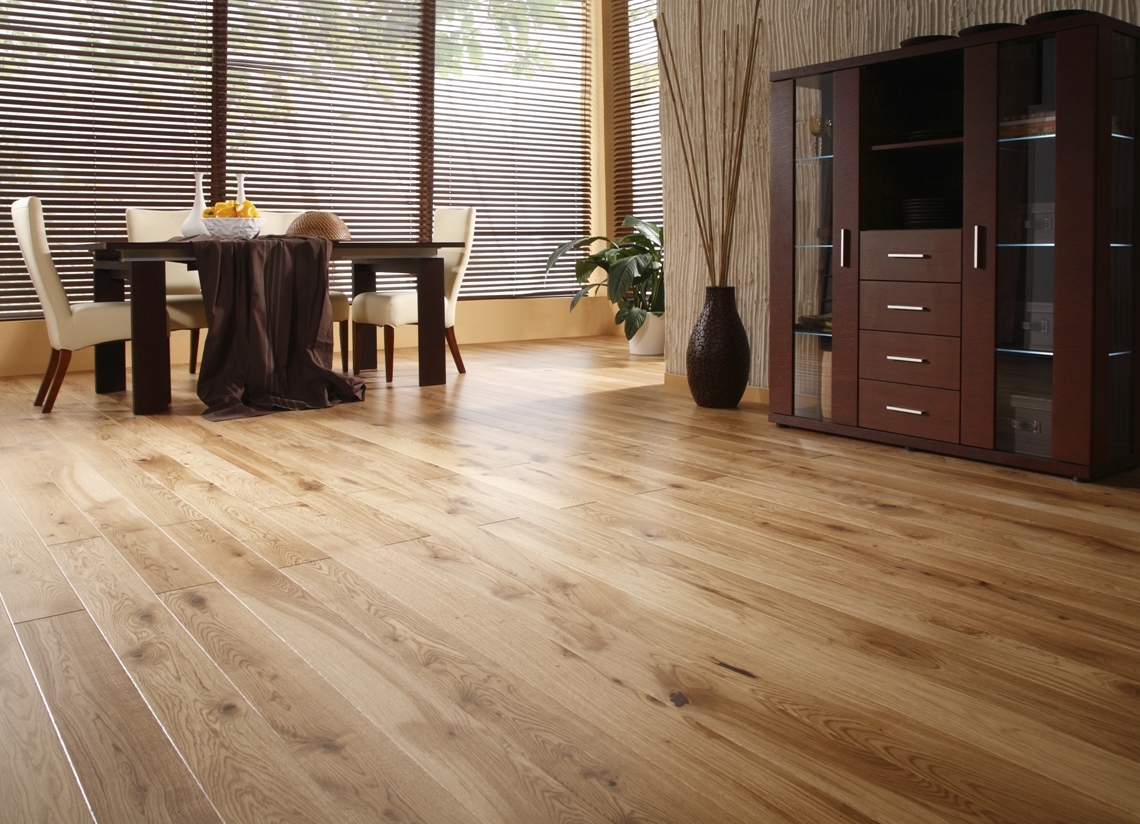
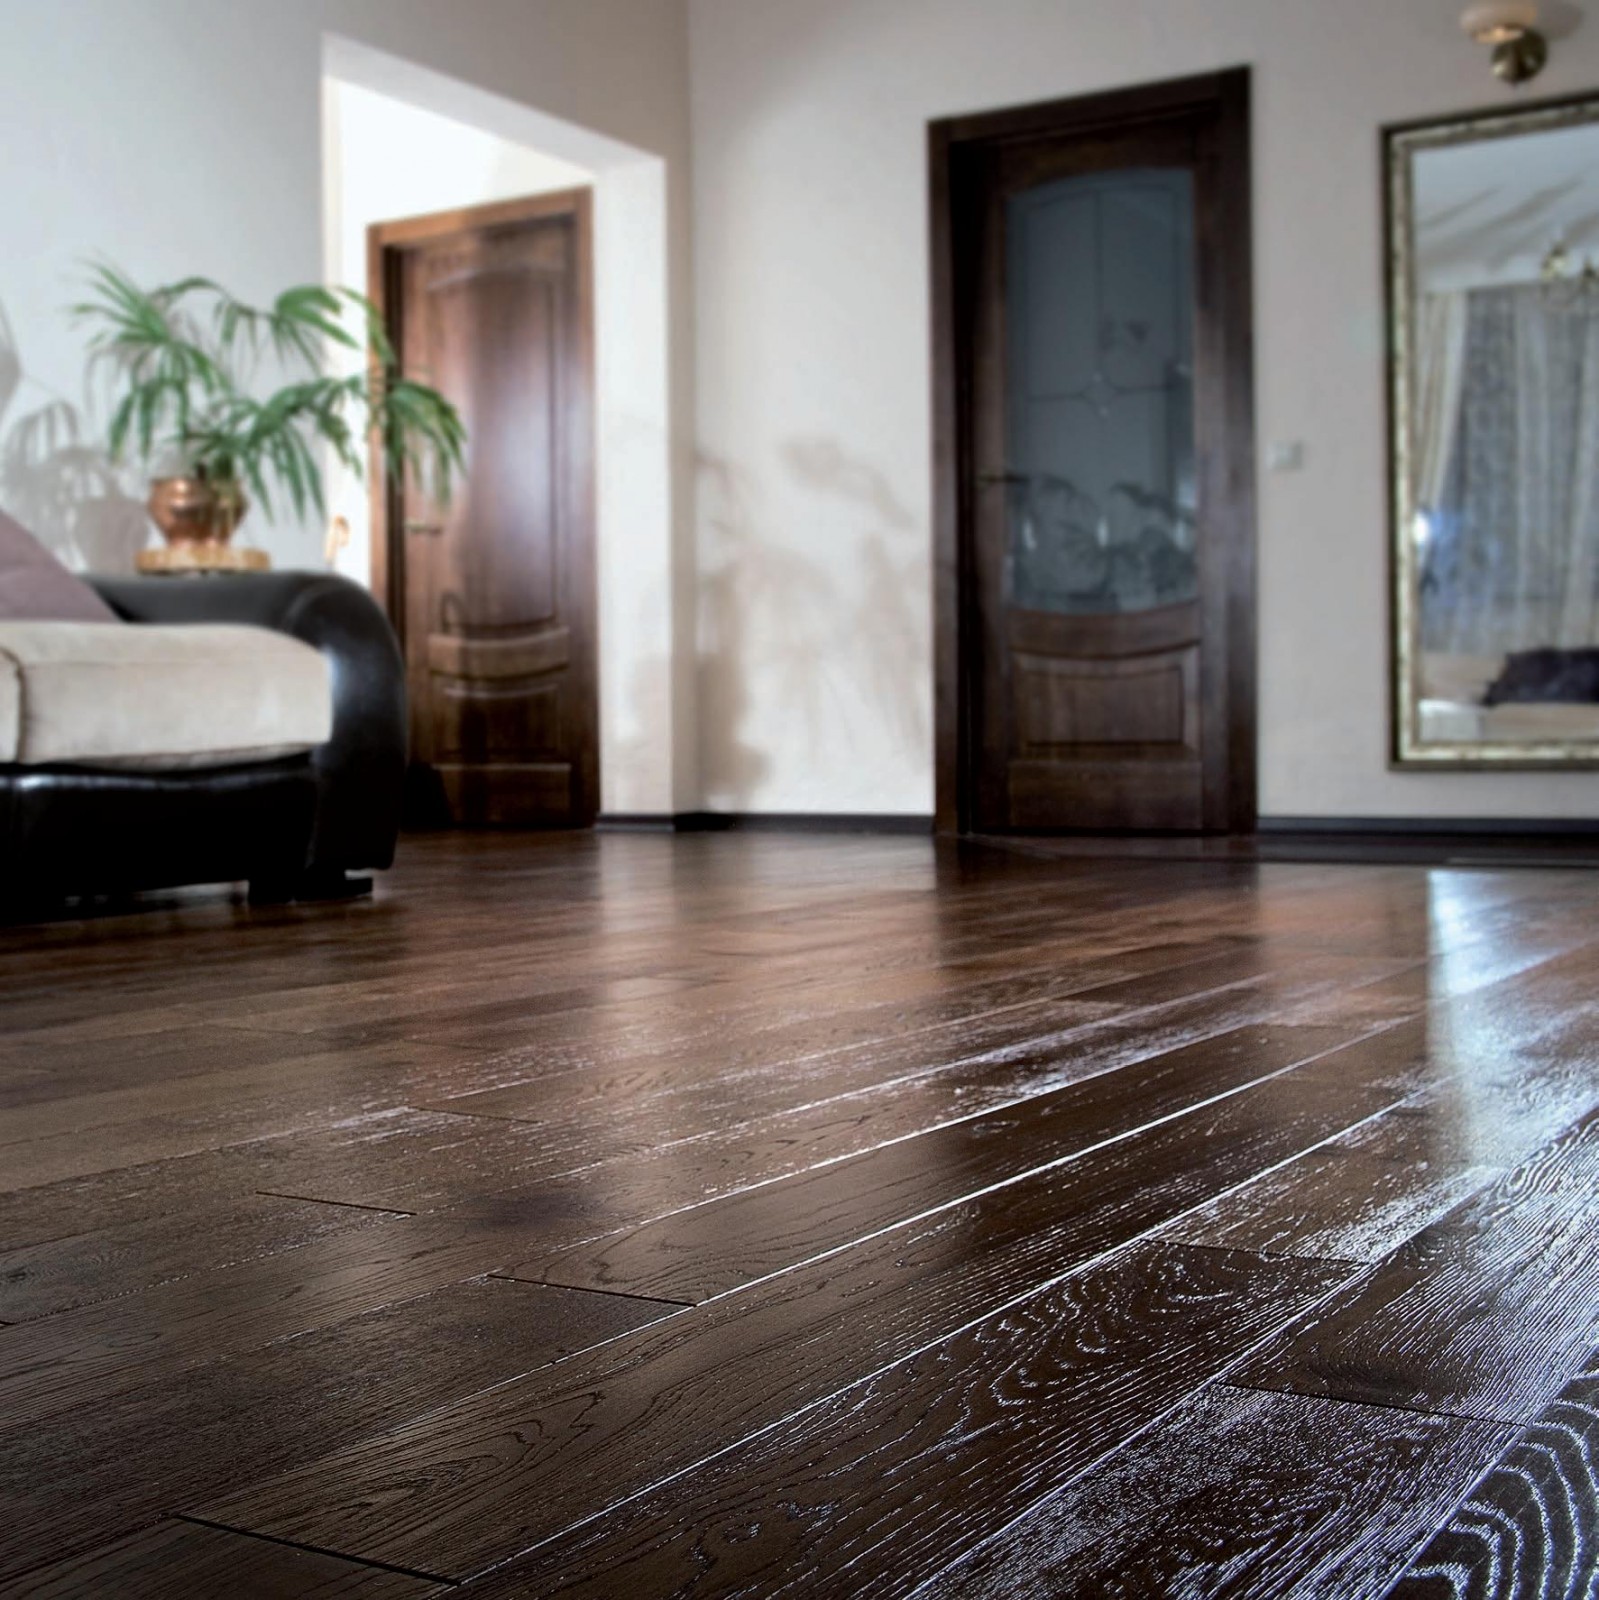
The larch variant is much more expensive, but the cost is fully justified by the increased floor resistance and the ability to use boards without covering them with anything extra. Most often, larch is impregnated with oil solutions, which allow to avoid the appearance of solid films on the surface.Ash and oak grooved boards are considered the elite types of flooring, but external beauty, exceptional density and minimal wear turn around increased buyers costs. It is extremely rare that such floors are covered with additional layers, as their natural aesthetics are enough to solve the problem.


It is necessary that the wood was always dry (dried in a special technological chamber). When sawing is not allowed to increase the moisture more than 15%. Take into account that such methods greatly increase the cost of the grooved board compared to the natural method of drying, and even less waiting does not reduce the price of the product. Anyway, the humidity control is made by a special device.
The boards that dried in the chambers are delivered wrapped in polyethylene, then they will not be able to get enough moisture from the air. The simplest test is sound: a wet board always gives a muffled echo when tapping on it, and the dried-up sound is always ringing. Putting too wet wood, after drying it you will notice the gap, and then the life of the coating then does not exceed six months.Drying elements crack and can even get out, and the only way to counteract this is to press the boards more tightly.
Dimensions
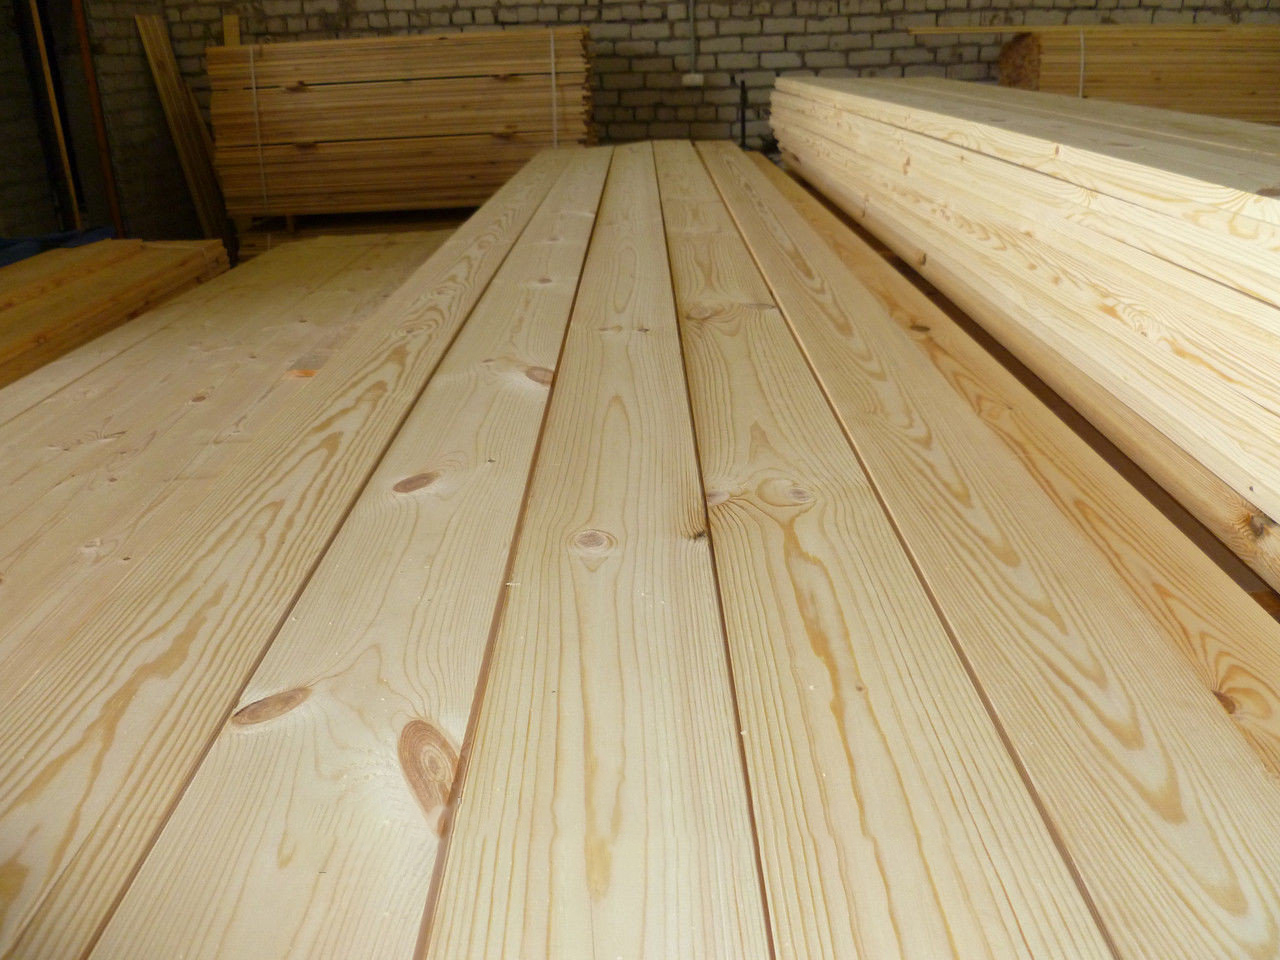
The optimal thickness of the grooved board is 0.07-0.2 m, while it is important to pay attention to its width. An overly narrow finish is difficult to lay, and a very wide one can rise around the edges when it dries. As a result of uplifts, “ribs” and irregularities appear.
Grinding can solve this problem, but it requires increased costs and extra time.

Typical lengths are 300 and 600 cm, although if you prefer, you can purchase a board 4 meters or 5 meters long. In any case, designs that are slightly inferior in length to the room as a whole are preferable. On sale are often found grooved products with a thickness of 21, 35, 50 mm. remember, that for the manufacture of floors applicable only cover not thinner than 2.7 cm (moreover, the minimum value is suitable only for business premises, and in the living room the use of a coating of 3.5 cm is justified).
How to choose?
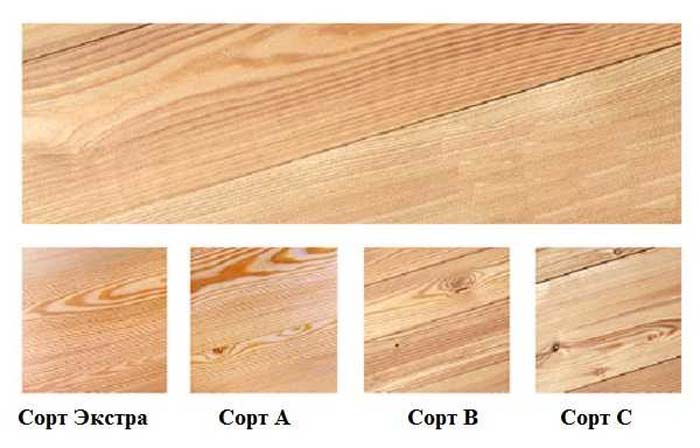
The industry produces several varietal groups of floorboards. So, the category Extra simply can not have defects, even the most minor.Under normal conditions, there are enough products of group A, which are only occasionally covered with spots, and you will not find other deviations from the norm even with close inspection.
Marking B shows that boards certainly have irregularities, they have not only stains, but also knots. Finally, group C can sometimes contain through-grooves after knockout and non-normalized deformations. The last category is not suitable for finishing (finishing) layers, but it is quite possible to draft it, it even helps to save a lot of money.

Never rely on GOST marking, but carefully measure all parameters - they must be equal in each product and even in its individual parts. To detect the curvature is easy if you know what to look for.
The groove should be a little deeper than the tongue, then there will be no need for additional processing. When buying grooved boards for an apartment and for a house, assess the observance of the distance from the top edge of them to the connecting parts. If there is a discrepancy, you will either have to put up with irregularities after laying different elements, or specially polish the wood.Of course, in the production of all this should be monitored, but we must bear in mind that the error is great, and it is better to immediately be ready for additional work or refuse to buy.
It is advisable to focus not only on the reviews, but also on such an important characteristic as sawing wood. If it is classical, we can assume that the requirements of the state standard are fully met. Heavy, the thickest boards can only be obtained by splicing together. Of course, this method allows you to reach any length of the structure.
Judging by the comments of those who previously laid the grooved floor, this is a fairly reliable and stable design. An essential requirement for its use in bathrooms and other damp rooms is use of larch (other types of wood are absolutely not suitable).

How to lay?
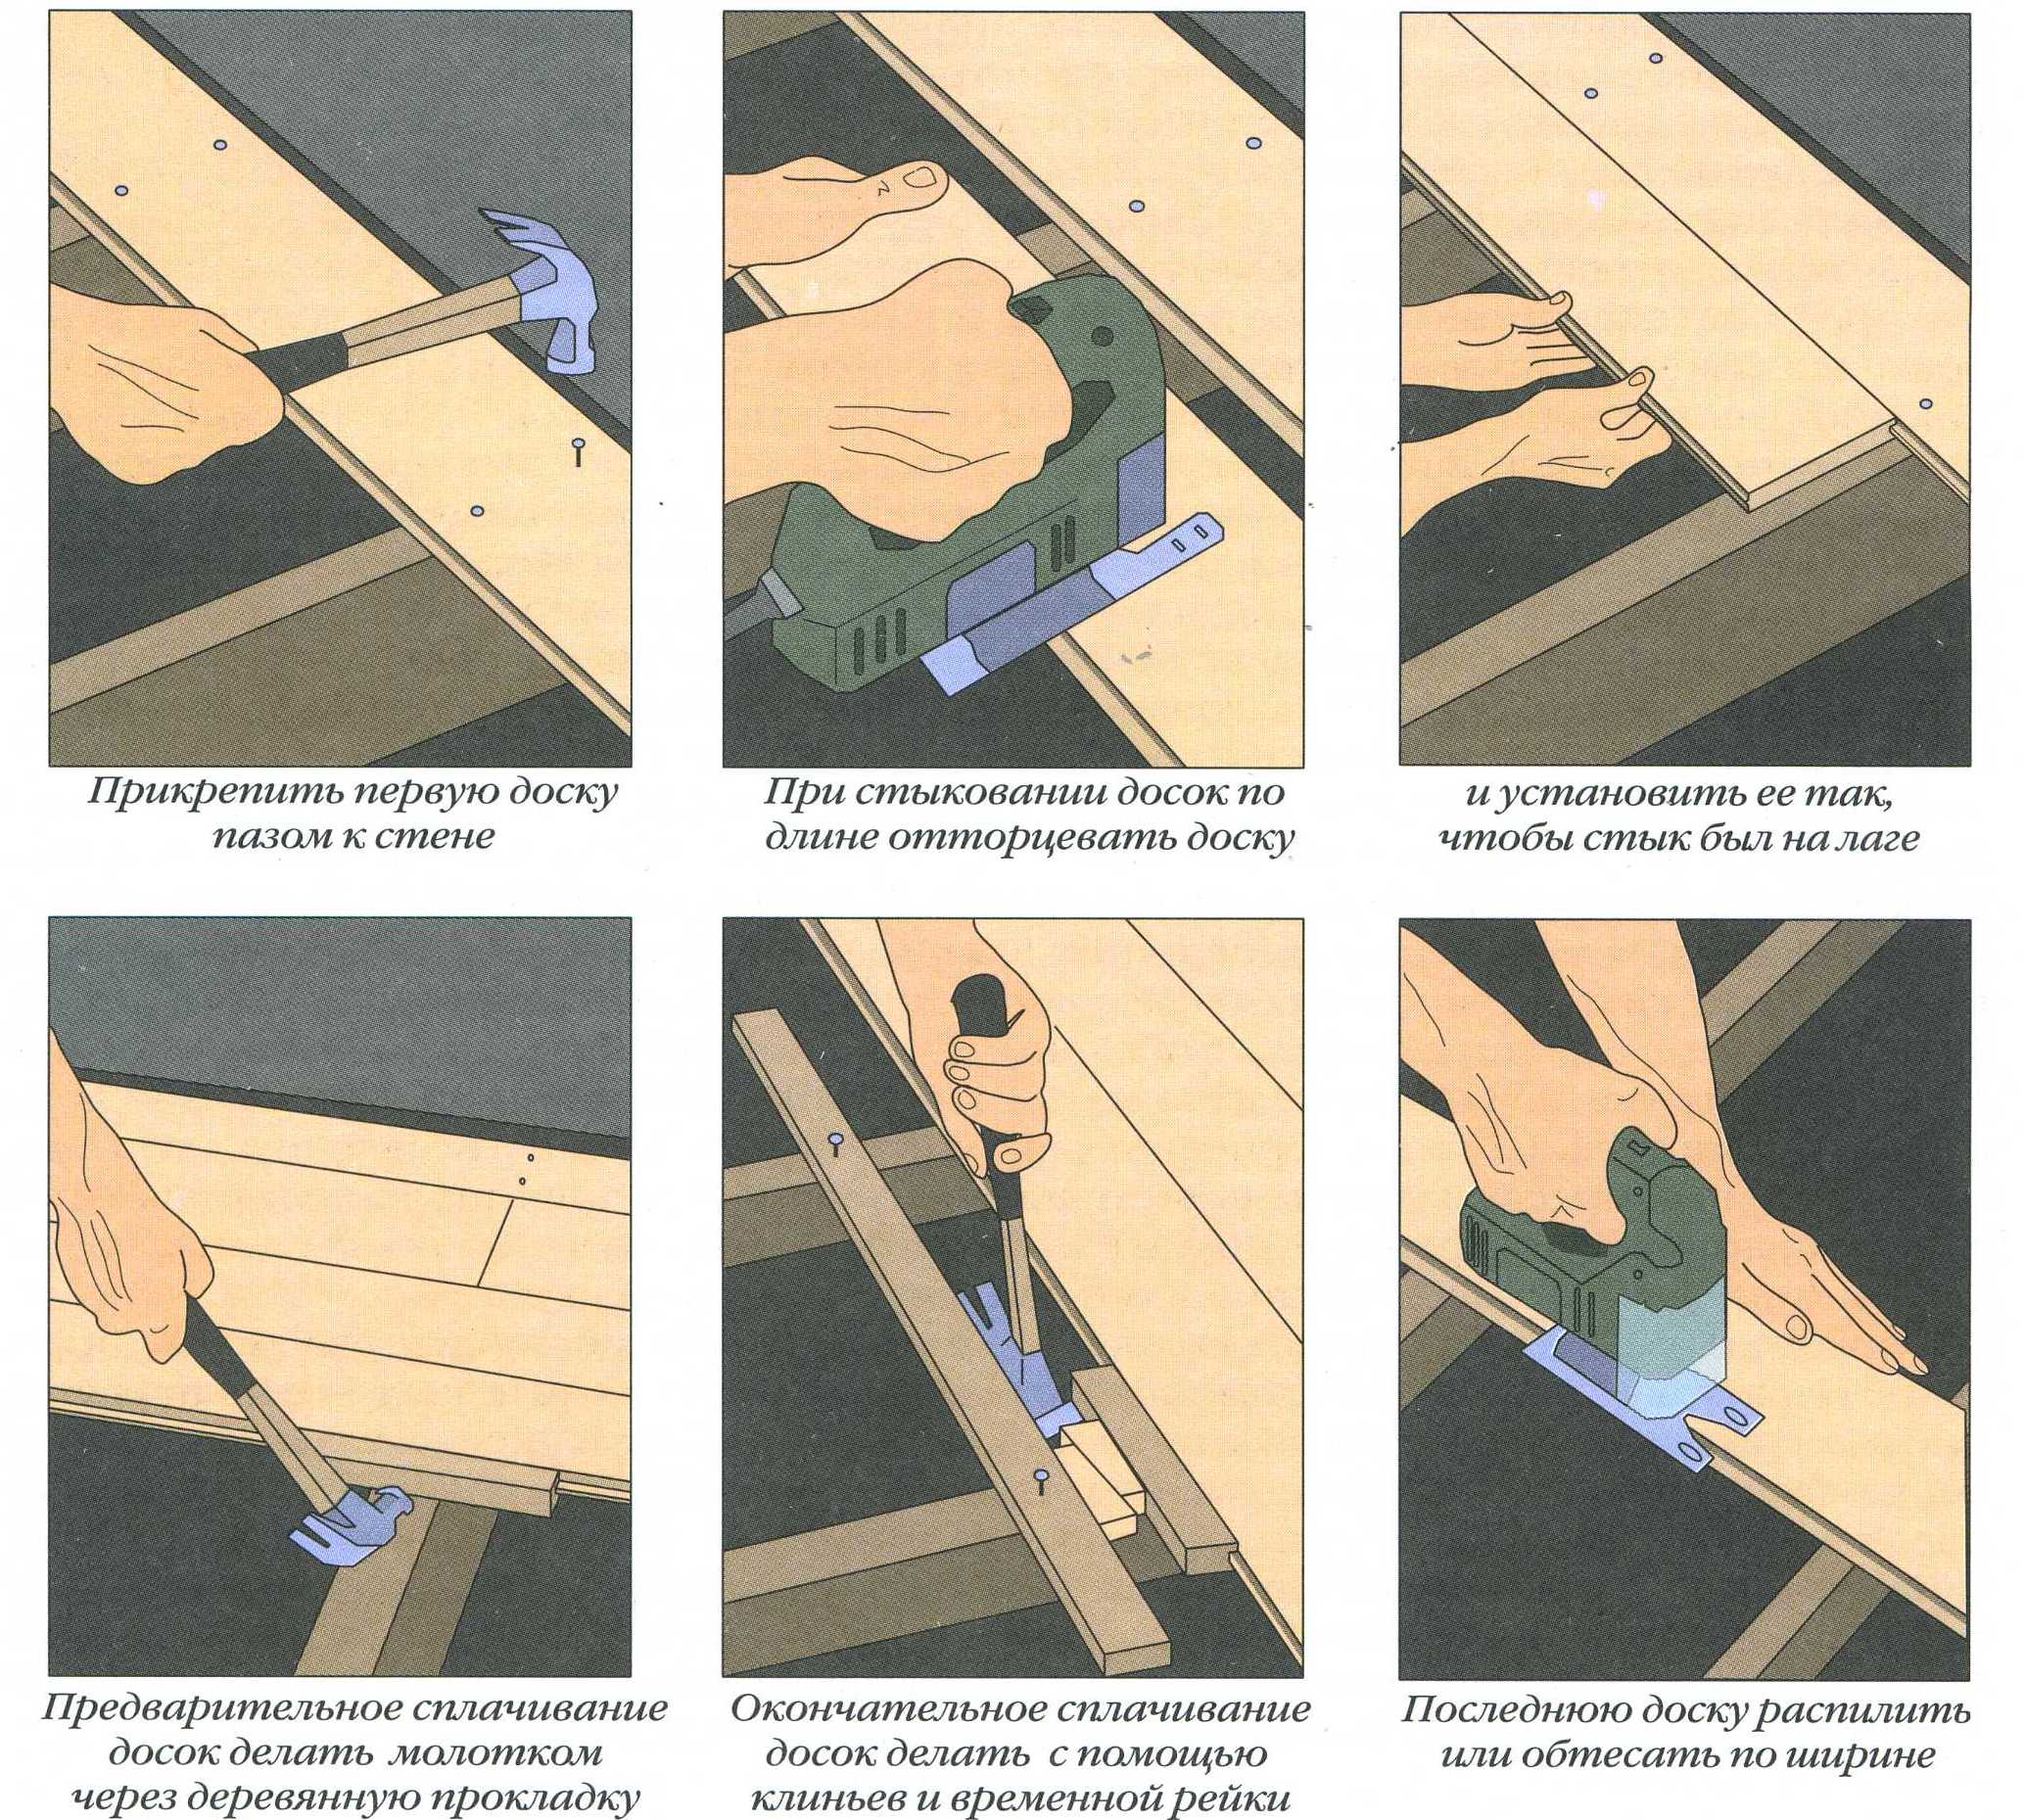
In order to avoid the negative effects of drying, the work is done in two stages. At first, only one bar is put after every four numbers. When 6 months have passed, the flooring needs to be sorted out, the gaps should be closed and all the material should be laid. remember, that Sheet piling in living rooms does not just dry out, it is mechanically deformed. And that is why for the first time they put it upside down, and in the second turn it over to its usual position. This technique allows you to make the coating clean, dry and completely reliable.
Always buy a certain amount of boards above the estimated need, they will be useful if there is enough free space when tightening the flooring. After drying, 2 or 3 elements will need to be added. They should always be stored in the same room where the floor will be laid. Otherwise, the appearance will be much worse than expected.
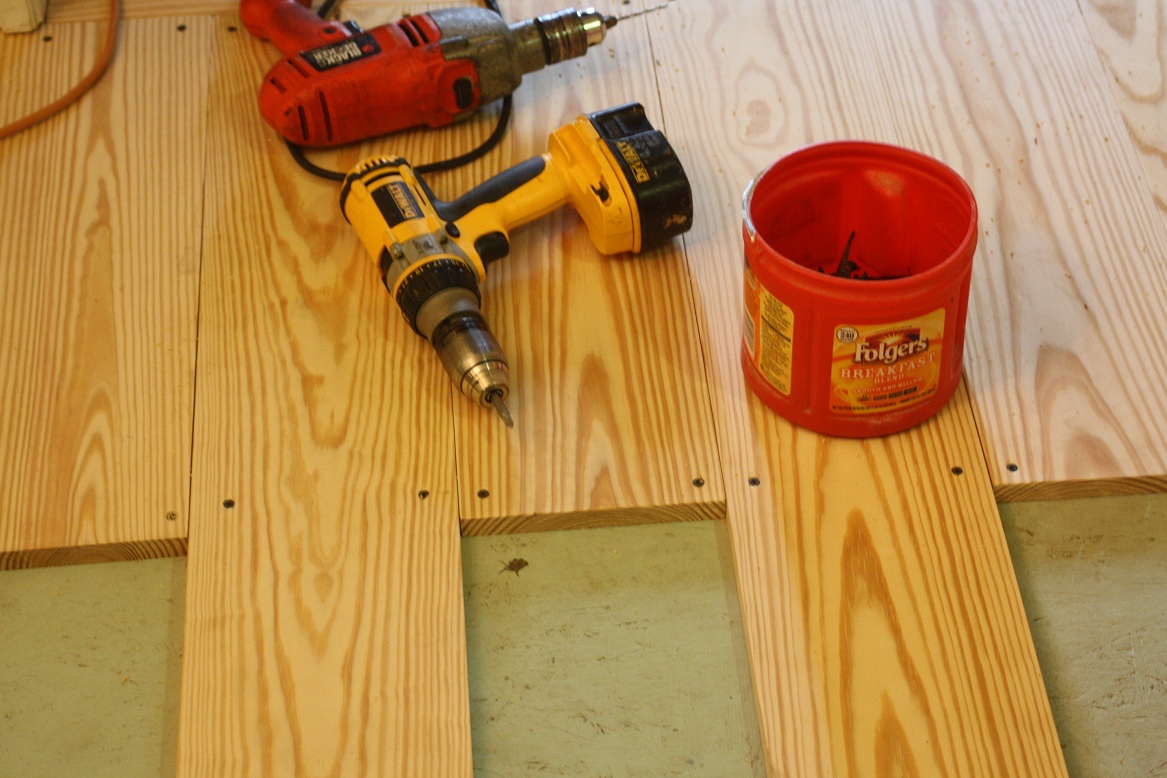
Standard fastening - on the nails, sometimes used screws. Take a nail of flexible steel grades that can withstand significant loads. Even if the board is bent, fasteners will not break. But hammer them carefully, carefully controlling the result. After all, to extract a similar nail without breaking the floor itself is very difficult.

Curved boards can not be replaced without removing fasteners, it should be pulled out when rebuilding the drying floor. To face a minimum of problems, use screws, and only yellow, and not black.
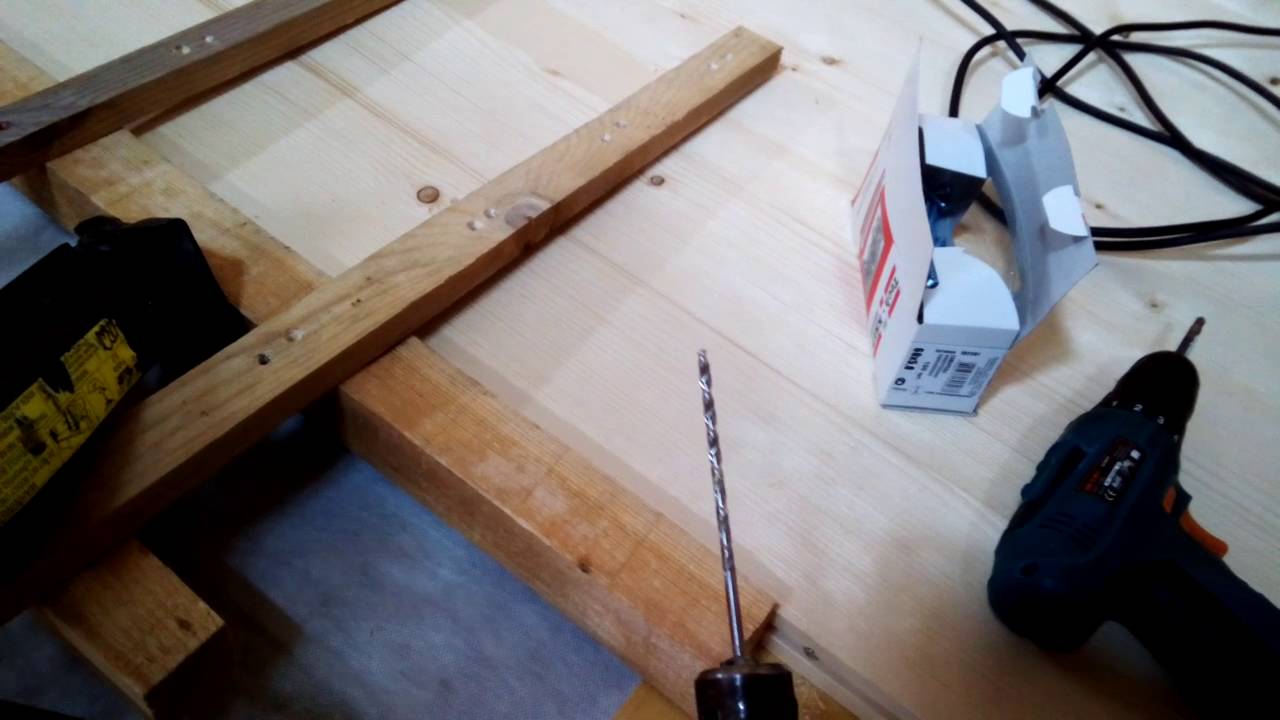
It is possible to fix a rabbeted plank with your own hands “in the face” - this is a very reliable technique, but not too elegant. Fasteners are driven into the front side of the board, a pair of self-tapping screws is used on each side, a distance of 50 mm must be maintained from the border. If you attach it to the groove (twisting the screw into the lower part of the groove at an angle of 45 degrees), the hat will have to be driven into the tree deeper. Only such a condition will allow you to safely put the following boards. The disadvantage of this simple overall approach is the risk of splitting boards, if they turn out to be curled.
Laying "in the groove" implies that the screw captures 2/3 of the board thickness, but will have to be controlled so that the spike remains intact. Secret fastening is performed in such a way that the screw does not prevent the installation of the following blocks; the hole is prepared in advance, and the drill bit is taken of the same diameter as the cap of the fastener. The most commonly used screws 0.45 cm in girth and 7.5 cm in length.
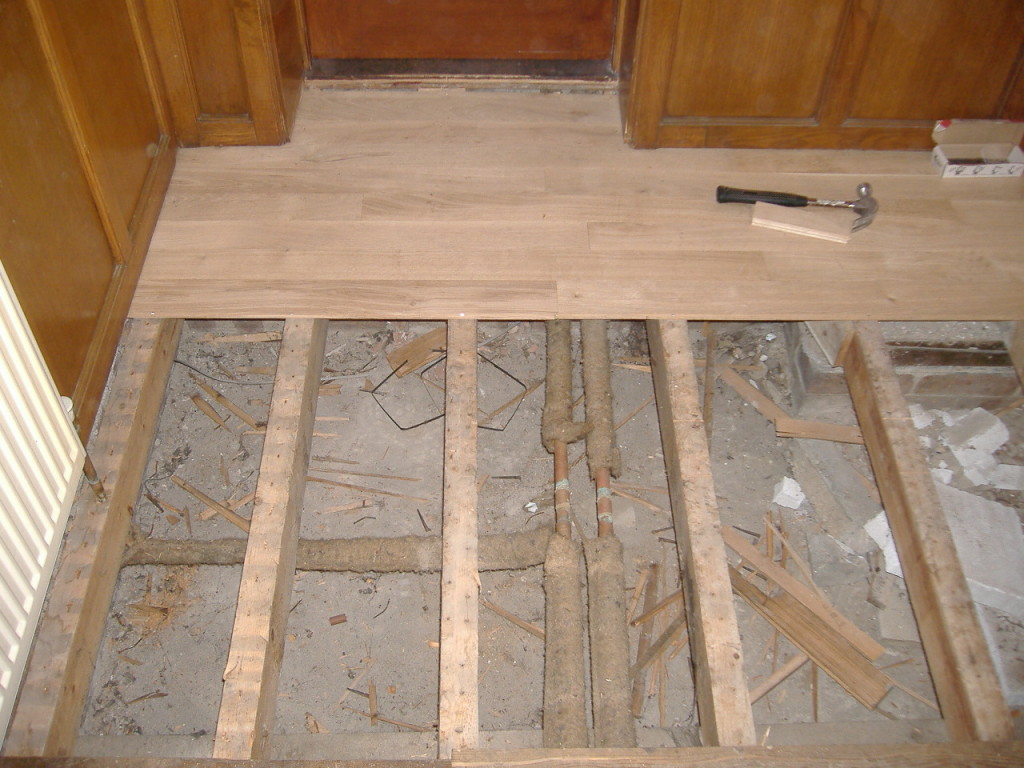
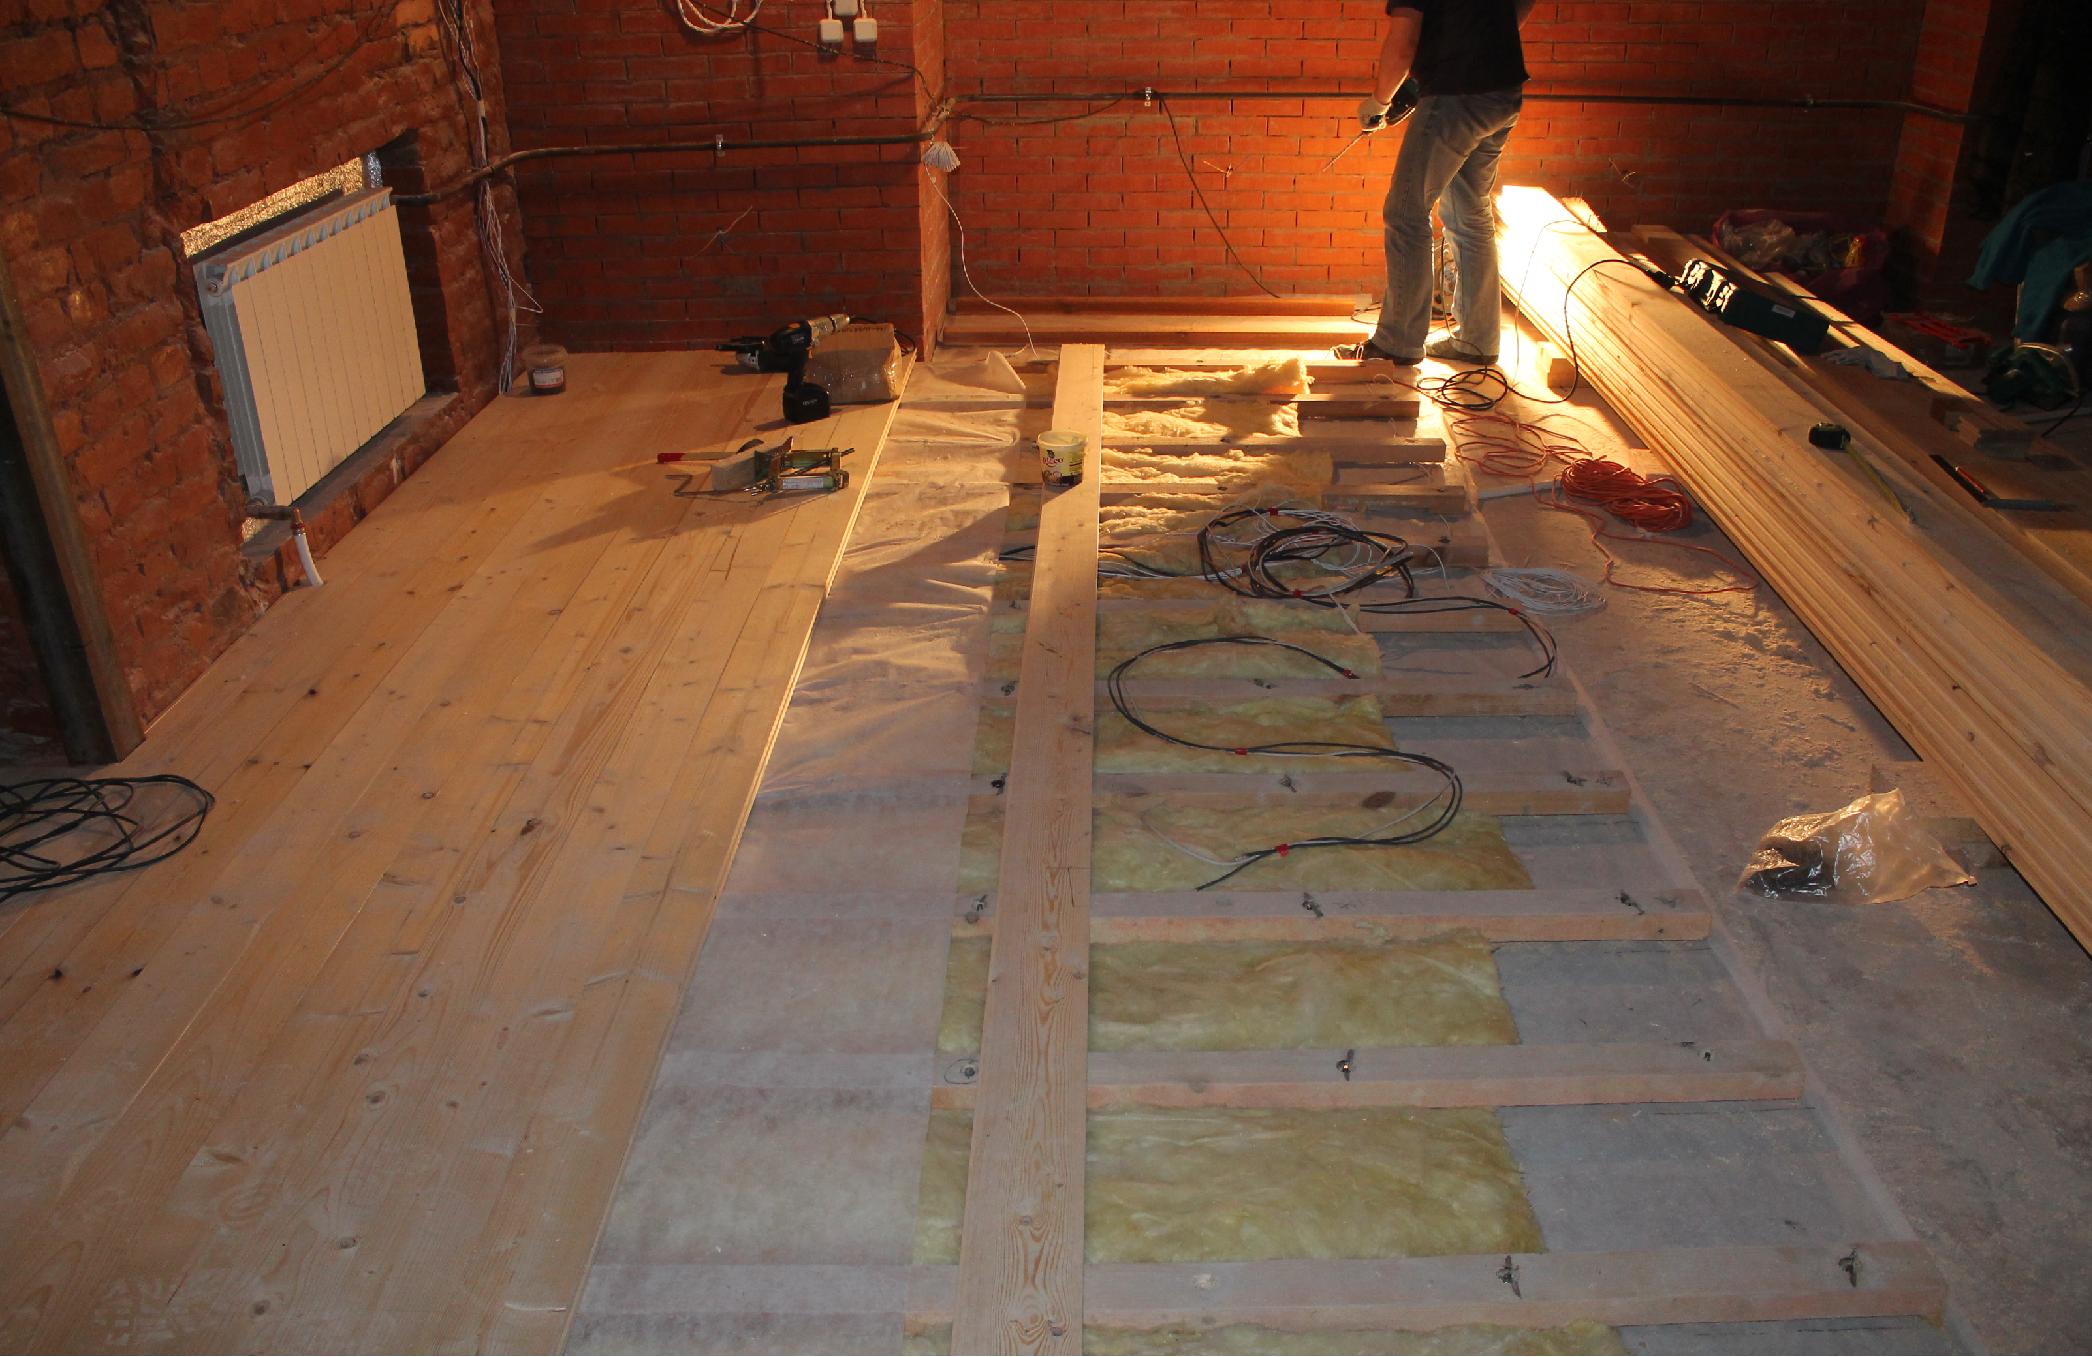
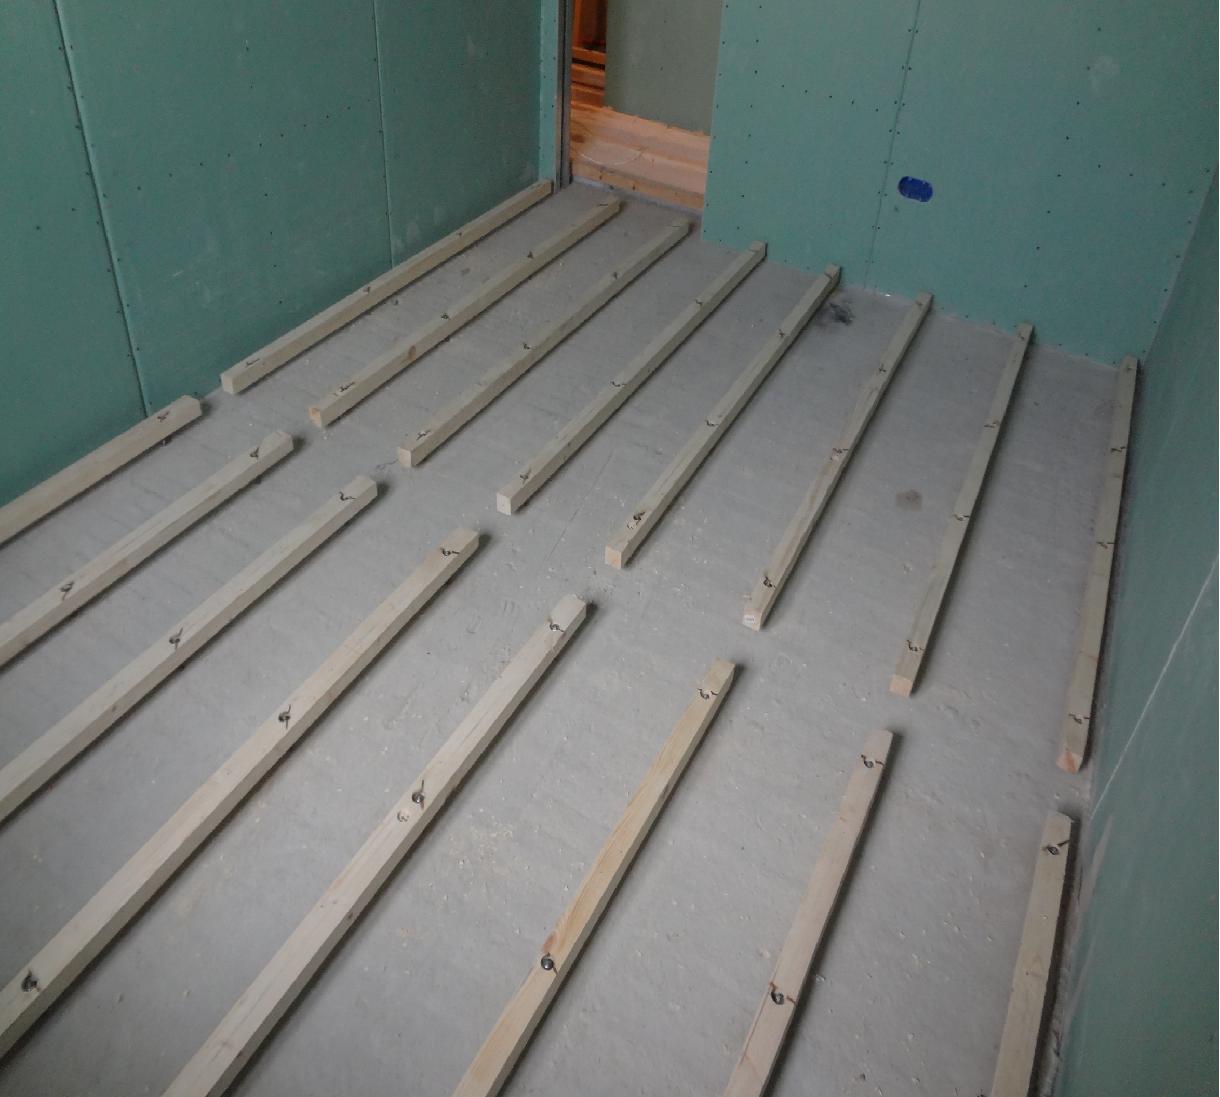
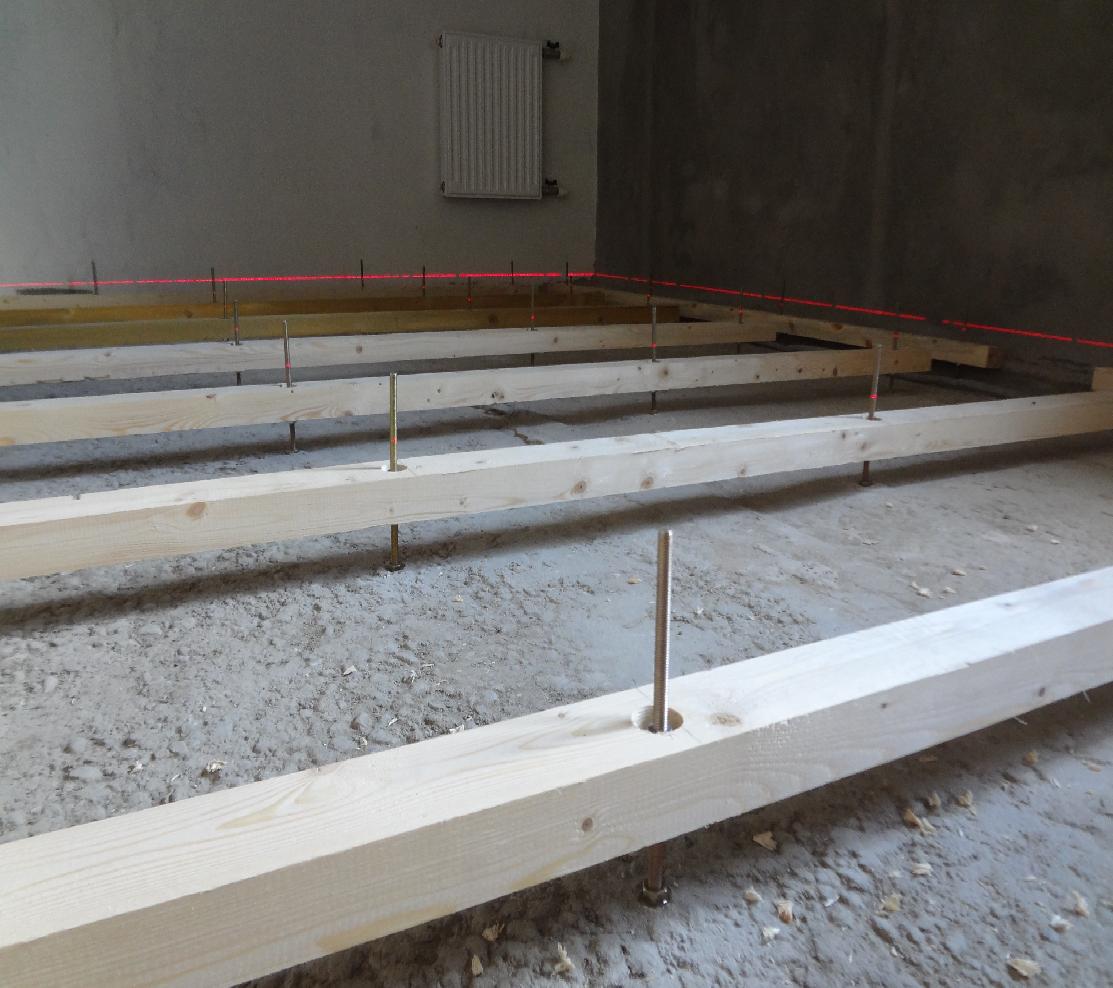
You can lay wooden grooved products either on logs or on special supports (which will raise the upper layer of the floor 7 cm above the base). But if a room with low ceilings, there will have to put plywood, so as not to absorb too much of the height. Support beams are used when the subfloor is too uneven.The thickness of each beam is at least 10 cm.
Placing the boards at right angles to the logs, the usual construction step is 0.6 m, and if the angle is smaller, then the span is proportionally reduced. Never fill the gap that separates the lags from the ground, otherwise the ventilation will be broken. Avoiding excessive noise when walking on the floor helps laying sound insulation layer. In all living rooms, any beam must be directed at a right angle to the window, and in the corridors - parallel to the direction of movement.
When choosing plywood, make sure that it is not thinner than 1.8 cm, otherwise the boards can be easily deformed under the most ordinary loads.
Work begins by checking the plane of the surface on which the plywood will be laid, and if it is not sufficiently smooth, they immediately eliminate the problems. The sheet is divided into strictly identical fragments, then lay the workpiece on the floor, placing them diagonally to the boards and attach using dowels. Move the plywood shares by 0.2-0.3 cm and leave a gap of 1.5 cm to the wall (this is necessary to compensate for the thermal expansion).
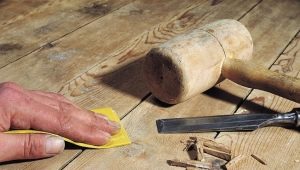
The surface layer is required to pass a grinding device or a grinding nozzle on the drill.Manually minor defects and roughness eliminate sandpaper categories P24 or P36.
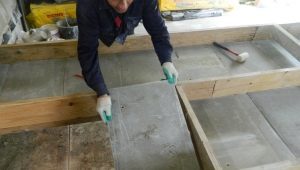
It is not possible to place the grooved plank directly on the concrete base. Concrete itself must have a maximum moisture content of 3%, otherwise it is not suitable for the purpose. Check also how smooth the screed is: the maximum allowable drop is 0.2% relative to the base length. If it is less even, the creaking at each step will be inevitable. Too high places are polished, and the missing solution is added to the “lowlands”.
The main difficulties for non-professional builders arise in cases where the grooved board is not placed in all the rooms at the same time, but in a single room. It is very difficult to put it on the threshold; if the board is located next to a wall that has an opening, the bar covering the connection of dissimilar coatings is placed exactly in the middle of the opening width. It follows that It is necessary to use a wide tongue, cut near the wall and go into the opening.
In cases where the board is perpendicular to the aperture, the approach is about the same, but all the elements that get deep into, should be longer than abutting against the wall.It happens that the floor in separate rooms at different heights, then in order to eliminate sagging, the steps cover the bottom of the door frame. It is necessary to regulate it depending on how wide the door will open.
The tongue should reach the box itself, and the remaining gap needs to be puttied or sealed. In any situation it is unacceptable to attach baseboards to the flooring, they should only hold onto the wall.
While taking up the laying of a rabbit board, do not forget about its special treatment using a flame retardant, antiseptic impregnation or comprehensive protection (against fire and biological destructive factors at the same time).
In accordance with the instructions, the drug is sprayed or applied using a medium-sized paintbrush.
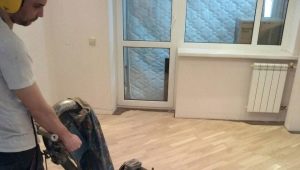
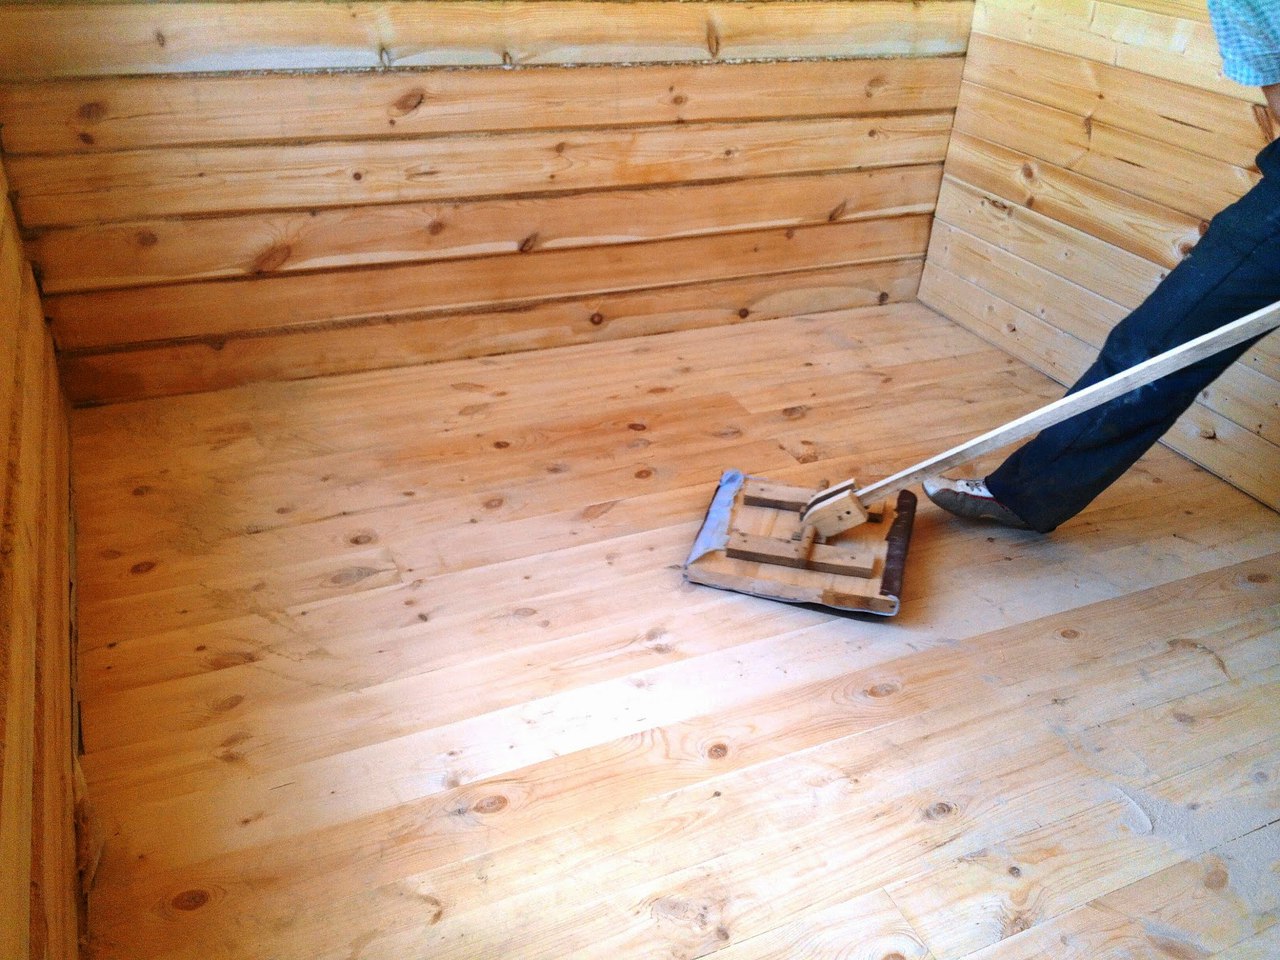
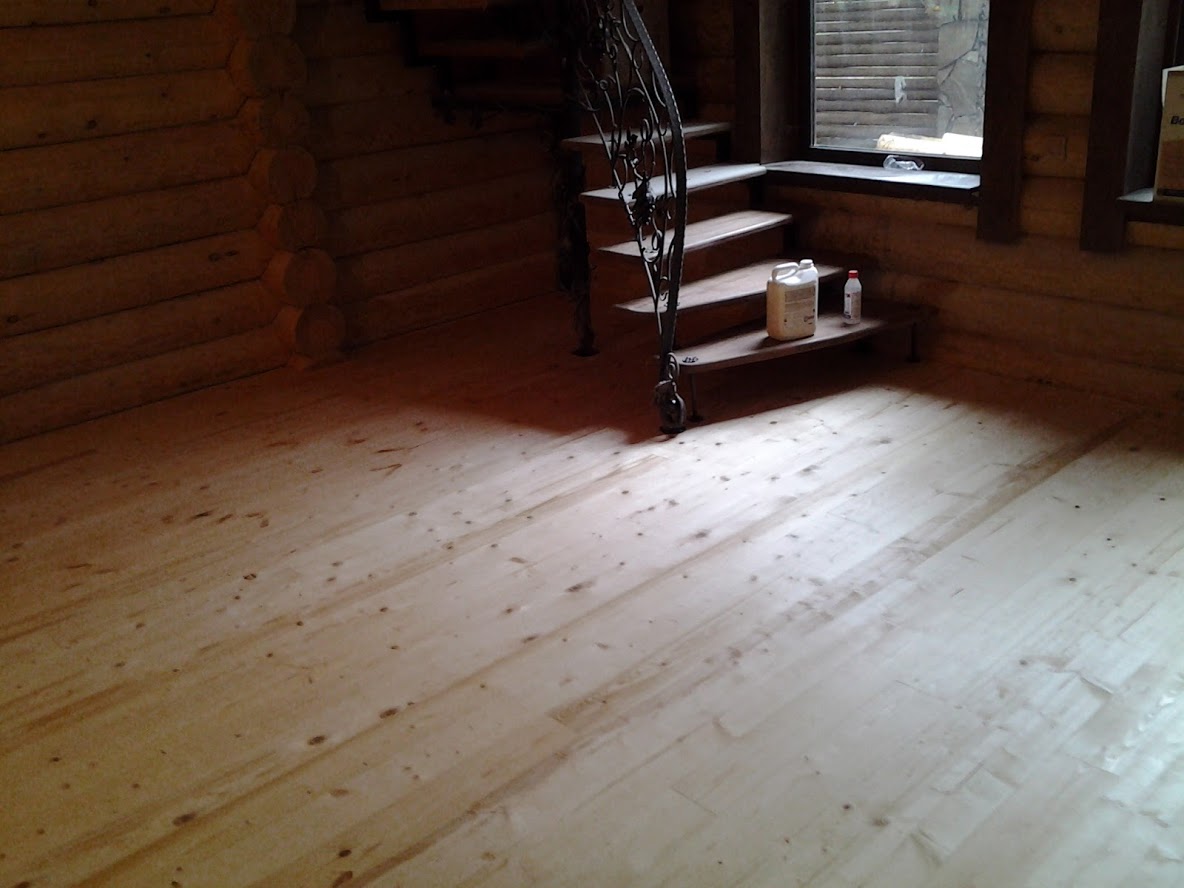
Grinding
Even the best grooved board needs grinding. Minor distortion in height can be removed with emery, but if the defects are more pronounced, you have to take the grinding machine in hand. After leveling the surface, the floor is immediately sanded, then puttied and polished again (this is the only way to achieve an optimal result).But still need to go primer varnish, once again polished, covered with decorative varnish, after removing all the dust and debris.
Now you know exactly how to avoid problems by laying a grooved board. By following the simplest rules, you can do all the work yourself, having the most minimal skills in the construction industry. We wish you success!
For information on how to lay a grooved floorboard, see the following video.