Features of grinding wood floor
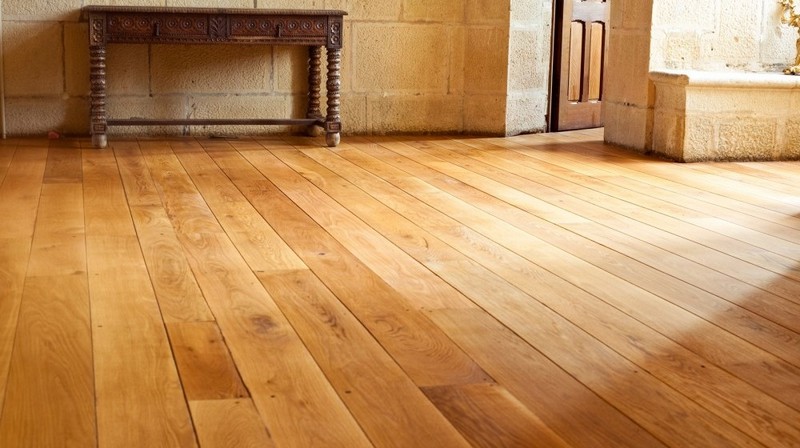
Currently, natural building materials are very popular. After a brief peak of popularity, linoleum leaves the stage, once again giving way to laminate and wood, because wooden floors are beautiful and durable, they can have any shade and at the same time preserve the natural design of the material, and besides, wood is ecological and safe. So do not rush to get rid of the old flooring and even scratched boardwalk floor.
Of course, you will have to spend more effort on putting it in order than on laying linoleum, but after repairing your old wooden floor will delight you with its beauty for a long time.
Wood floor scraping
To save from damage, floors are often coated with varnish, wax or another protective agent that reveals the natural pattern of wood. Before this, the floor must be carefully riddled of irregularities - it is good to polish (this process is also called scraping). The same is done by restoring old wooden flooring.
In addition, slight elevations in height inevitably appear when new boards or parquet elements are laid, and boards in the floor that have been in use for more than one year are sinking or shifting relative to each other.
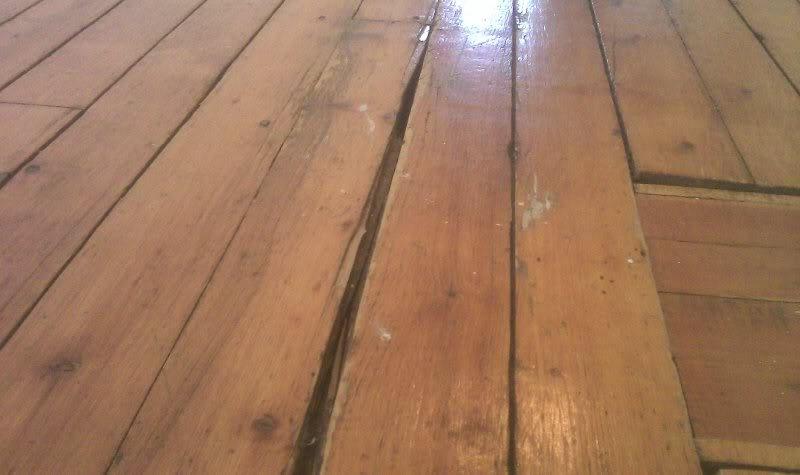
The floor should not be sanded if:
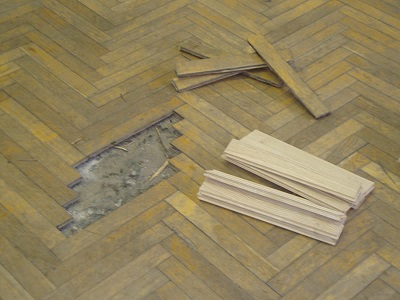
- the gaps between its elements are greater than 0.7 cm. If the gap is too large to fill with sealant or zashpatlevat, the floor must be sorted, replacing damaged elements or sealing it with bars;
- Defects more than 4 mm deep appeared on those areas of coverage that were used most often. To ottsiklevat on this level the rest of the floor, you have to destroy most of the useful thickness of the boards (from the surface to the crest of the castle, it has an average thickness of only 3 to 7 mm). In this case, it is better to simply replace these areas;
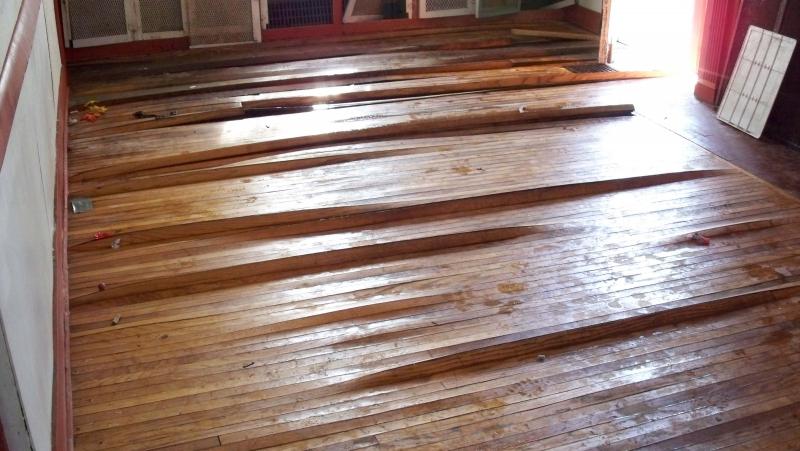
- if fragments of the floor are swollen from water, moldy or rotted. The structure of such a tree is damaged, it cannot be polished, and damaged areas must also be replaced.
Grinding methods
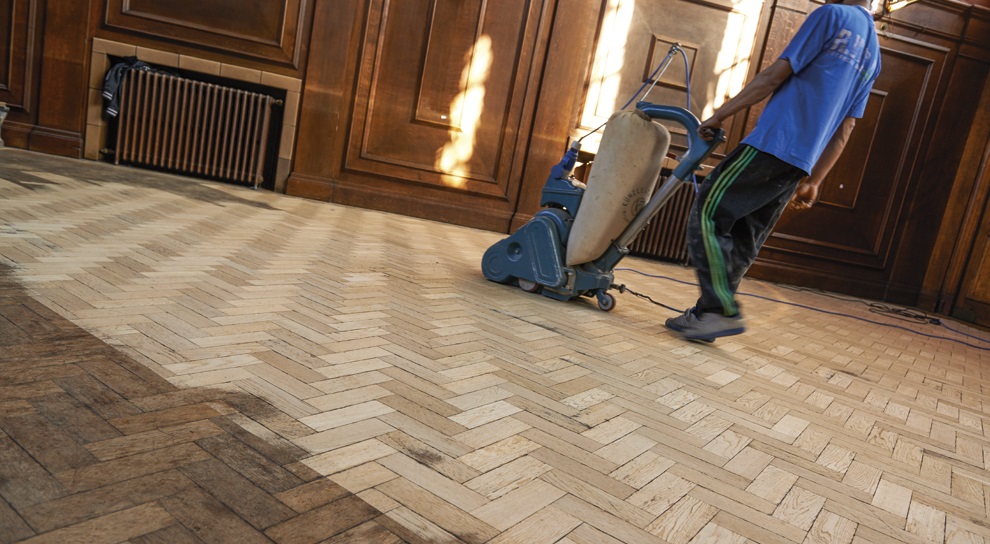
Masters grind the floor in two ways: manual and machine.
Manual grinding method is used mainly in small areas, because it is very time-consuming work. Also in this way you will not be able to get a really flat surface over the entire floor area.
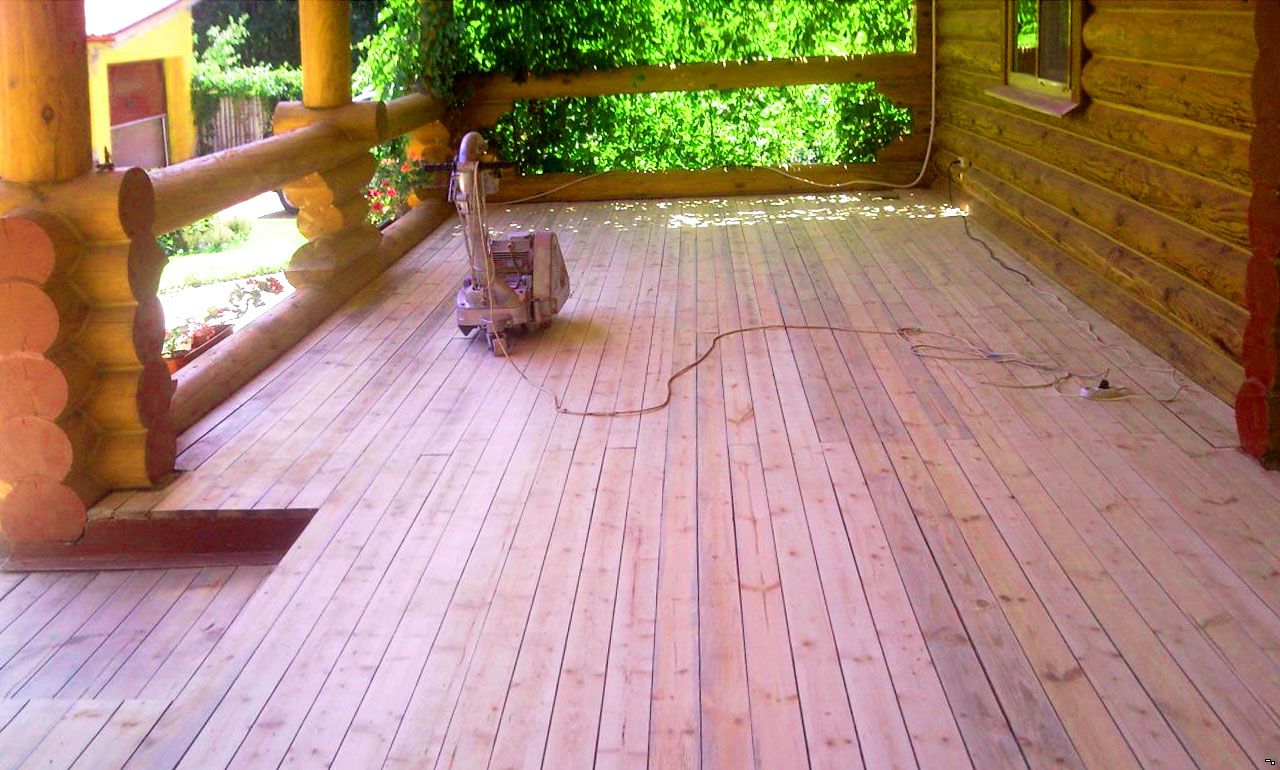
The machine method is suitable for any object, but the purchase of a special sander is an expensive enterprise.
If you have a one-time job, you should consider renting it.
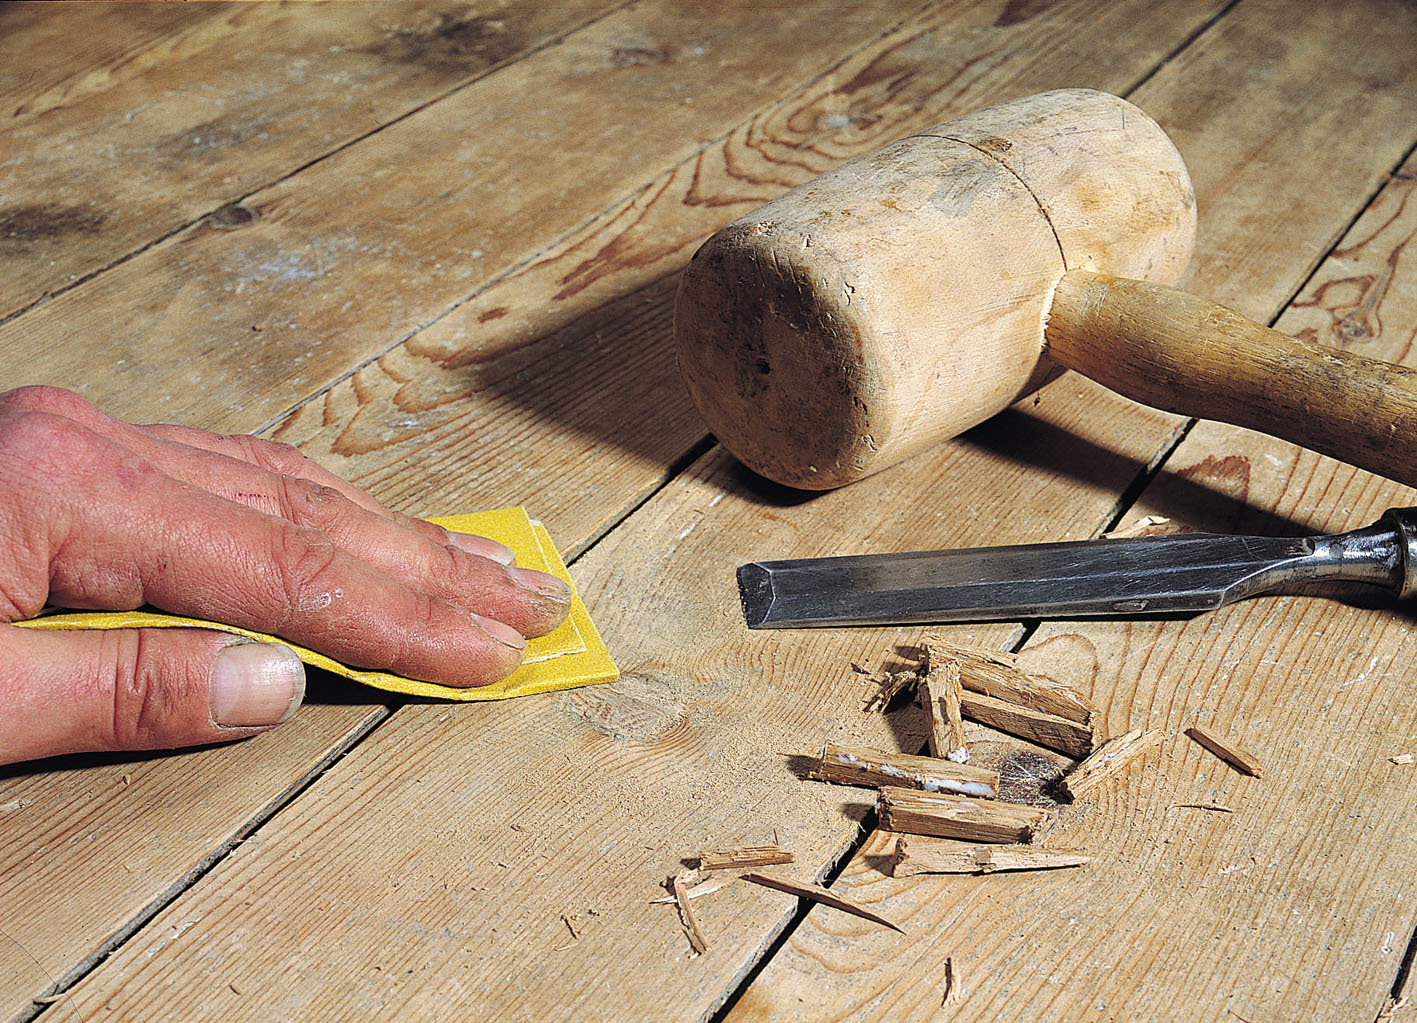
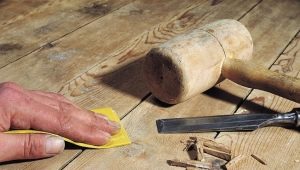
To grind the floor by hand, you will need:
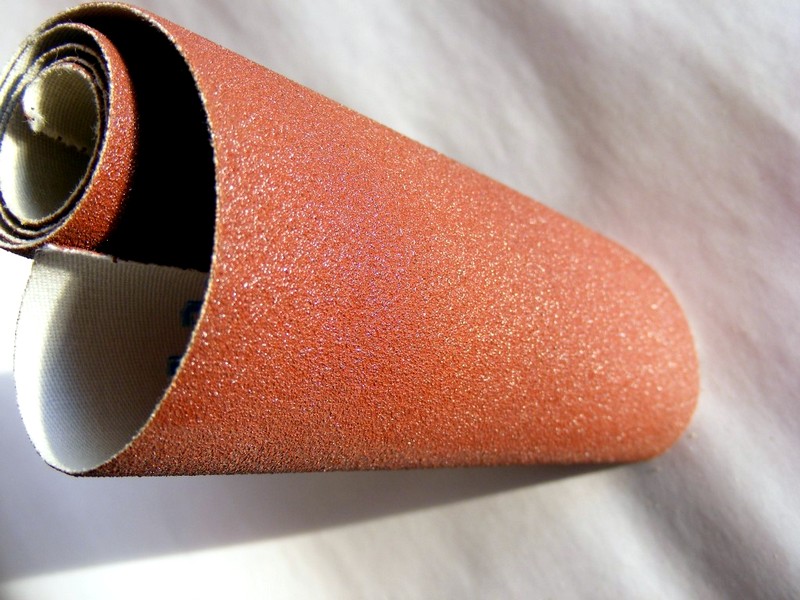
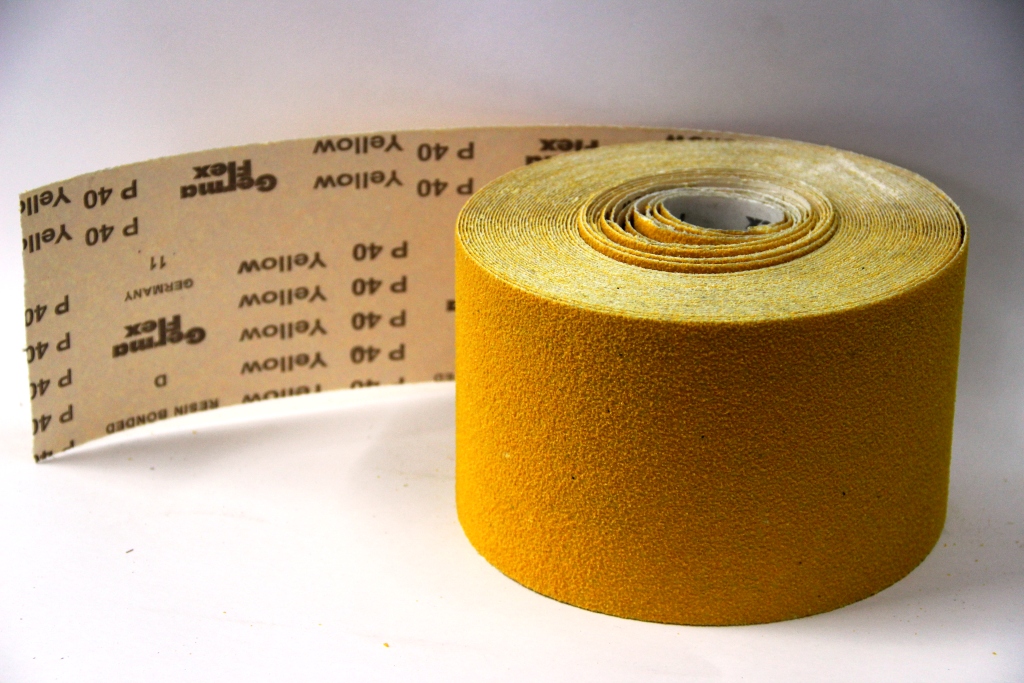
- Sandpaper grit from 40 to 120 units. The amount you have to determine yourself depending on the area of the floor and the degree of contamination.
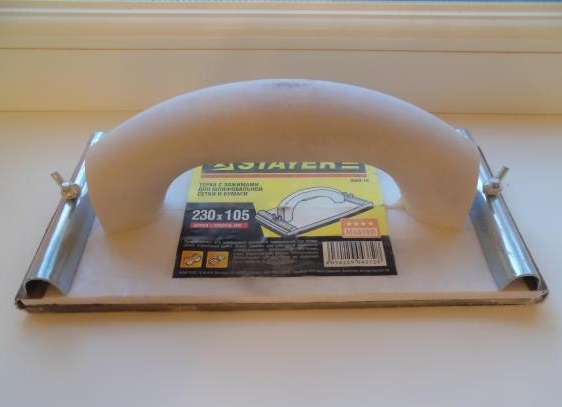
- Grater, which is charged with sandpaper. Depending on the amount of work, you can use an inexpensive plastic product, or spend money on quality - with a wooden or rubberized handle.
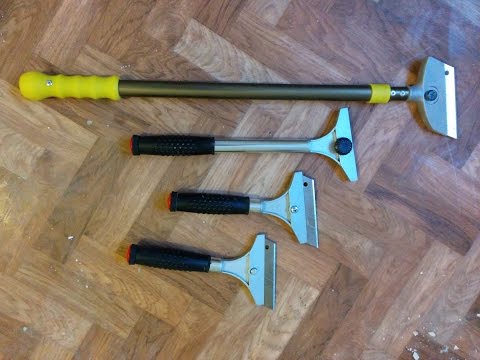
- You will also need a manual cycle scraper - a metal plate bent at an angle of 45 degrees and reinforced in a wooden or plastic handle - to remove any old protective coating (paint, varnish) and large defects from it.
Grinding machine types
To grind the floor with a special machine, you need to imagine what type of machine you are looking for.
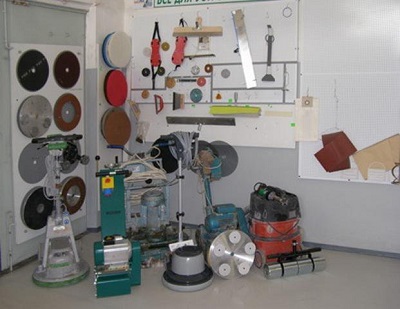
So, grinding machines are of the following types:
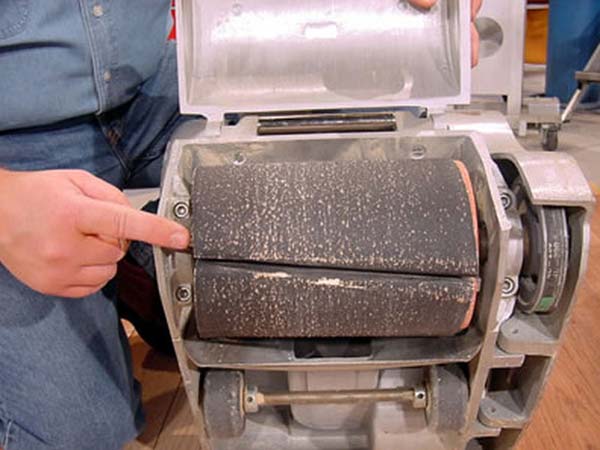
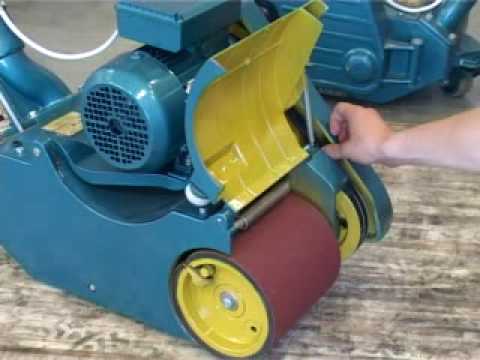
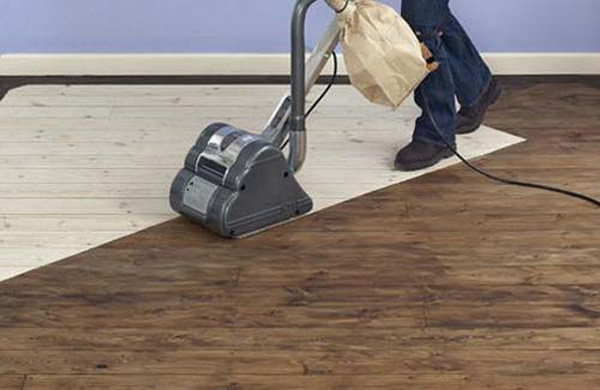
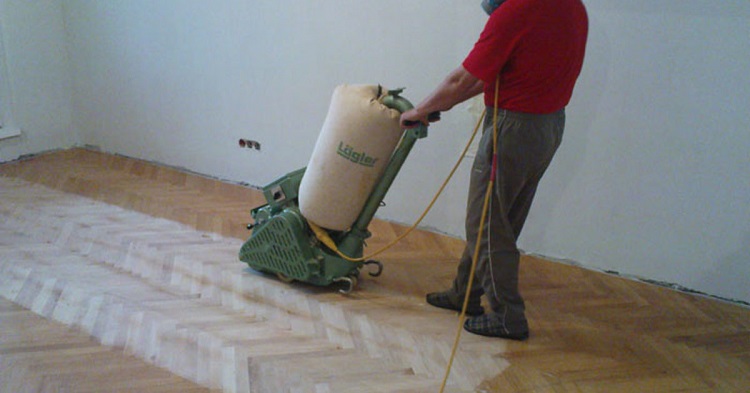
- Drum. This is a machine for initial rough surface treatment. The same machines are used if the ground floor is laid out of large boards. Plus drum machines in that with the help of them can be processed wooden floor of a large area. Its use is limited by the fact that it is very difficult to achieve an ideal flatness of the treated surface when using such a machine - because of the uneven grinding, even an experienced master cannot withstand the entire surface at the same level. The principle of operation of the machine is that a piece of emery tape of the desired length is installed on one cylindrical shaft-drum.
Machines of this type are represented on the market quite widely in the price range from 3 to 50 thousand rubles, but the price of professional models can reach up to 600 thousand.They are almost always equipped with a dust bag or can be equipped with an adapter for a building vacuum cleaner.
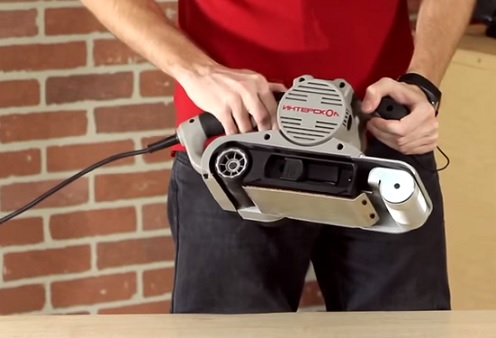
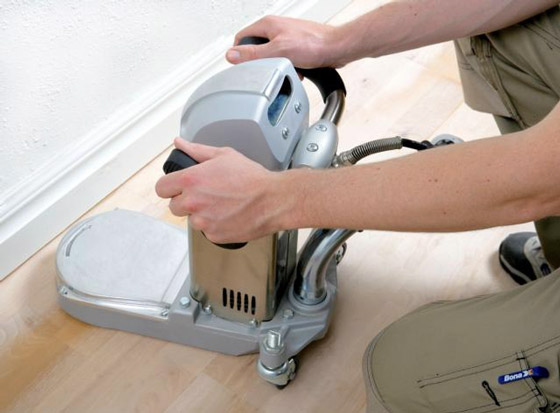
- Tape. It differs from the previous type in that the work item is an abrasive belt that rotates between two rollers. The machine itself can move forward, but it is designed for initially flat floors - due to the long and straight working element, the recessed part of the floorboard may be not covered by the treatment.
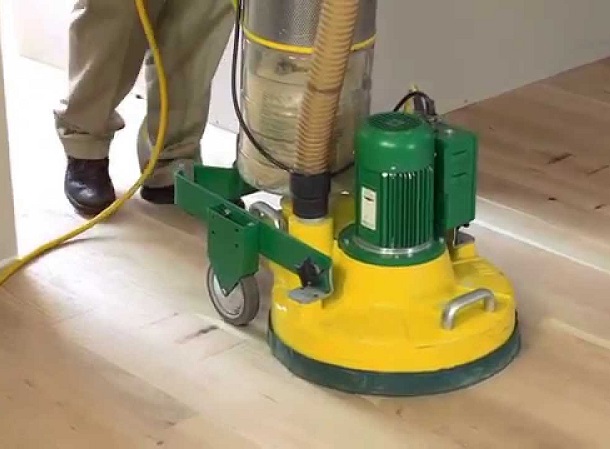
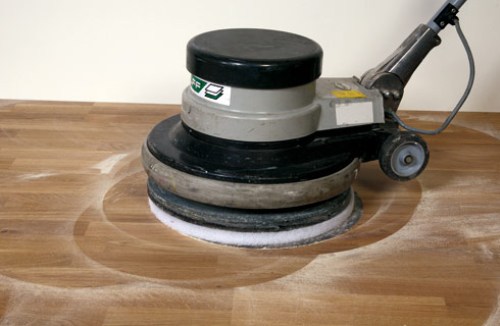
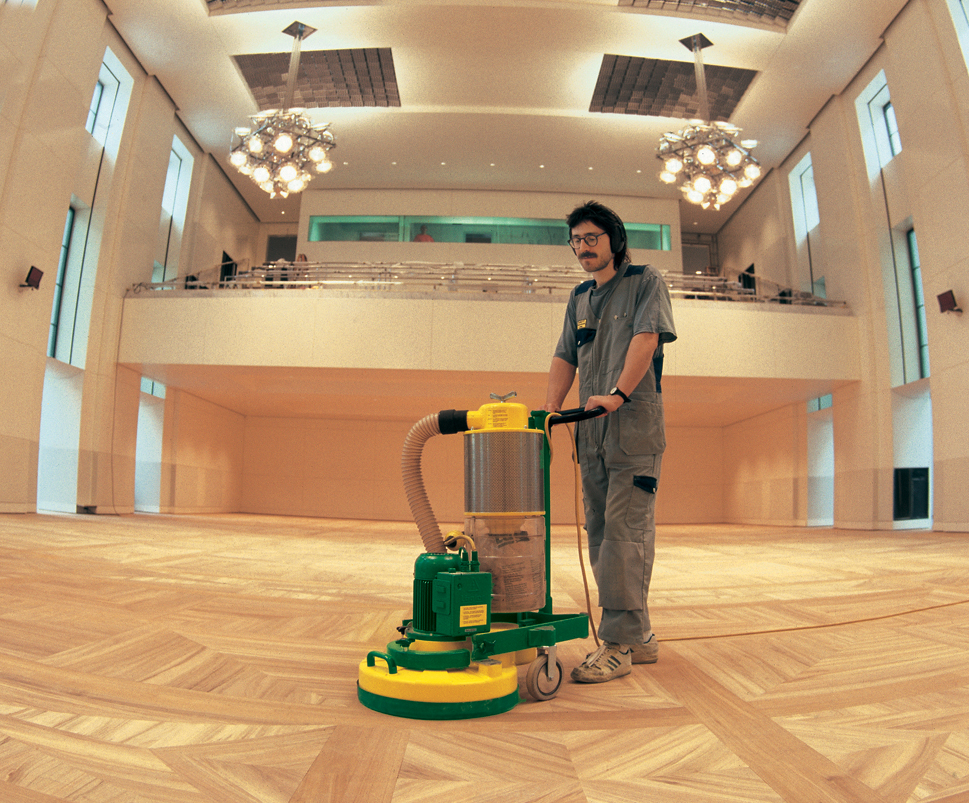
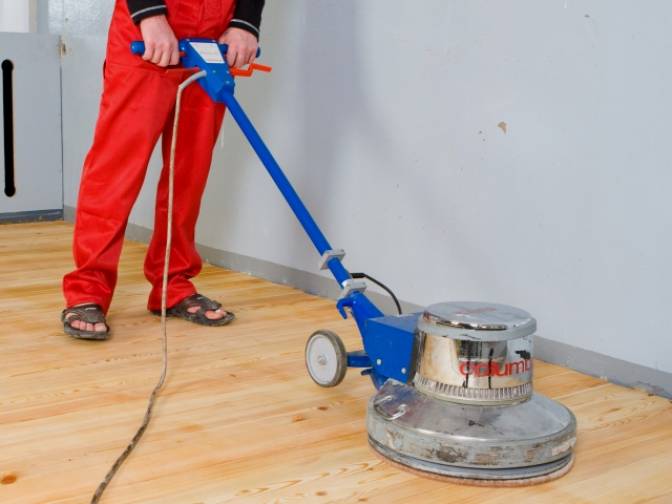
- Surface grinding or disc machine. Unlike the drum room, it leaves behind a perfectly flat flat surface. Designed for finishing and for work from the outset, if you have to polish the parquet, recruited from small elements. This type of machine is equipped with an abrasive wheel (several circles) with a grain size from 100 to 340 units. The price of such grinding machines starts from 20 thousand rubles. Professional machines can be equipped with a floating-fit system for grinding heads, which allows you to literally polish the surface. Just like other grinding machines, these models can be equipped with a vacuum cleaner.
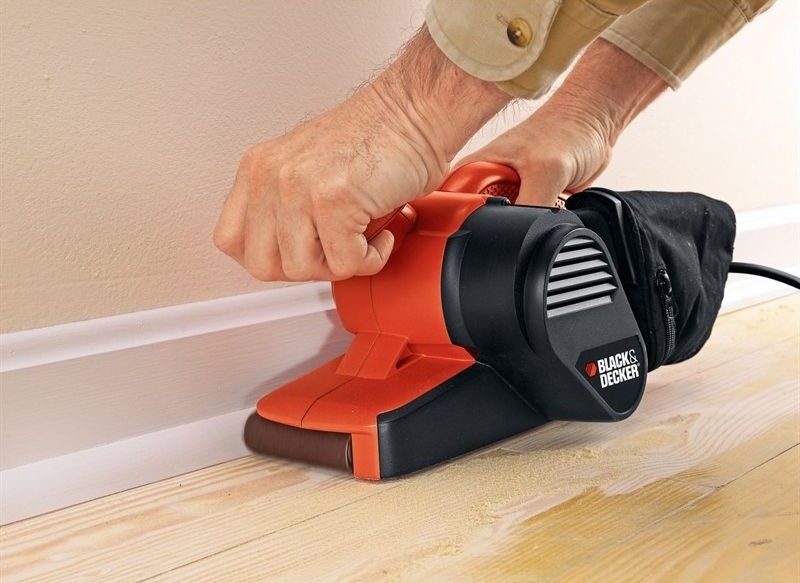
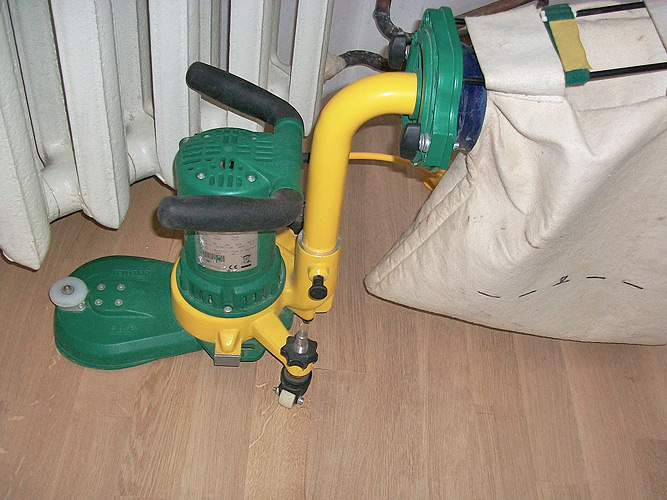
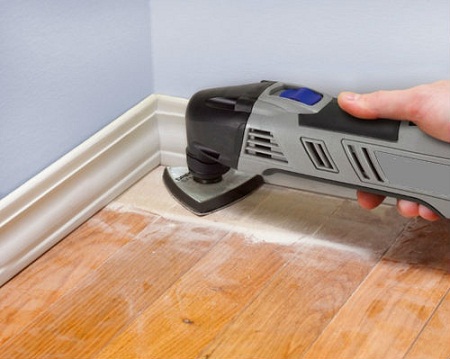
- Curbing chipper, having a folk name "Boot". It is also a surface grinding disc machine designed for grinding the coating along the edges of the room, corners, steps and other places of the floor that cannot be processed with a conventional grinder. The price of such units starts from about 9 thousand rubles.
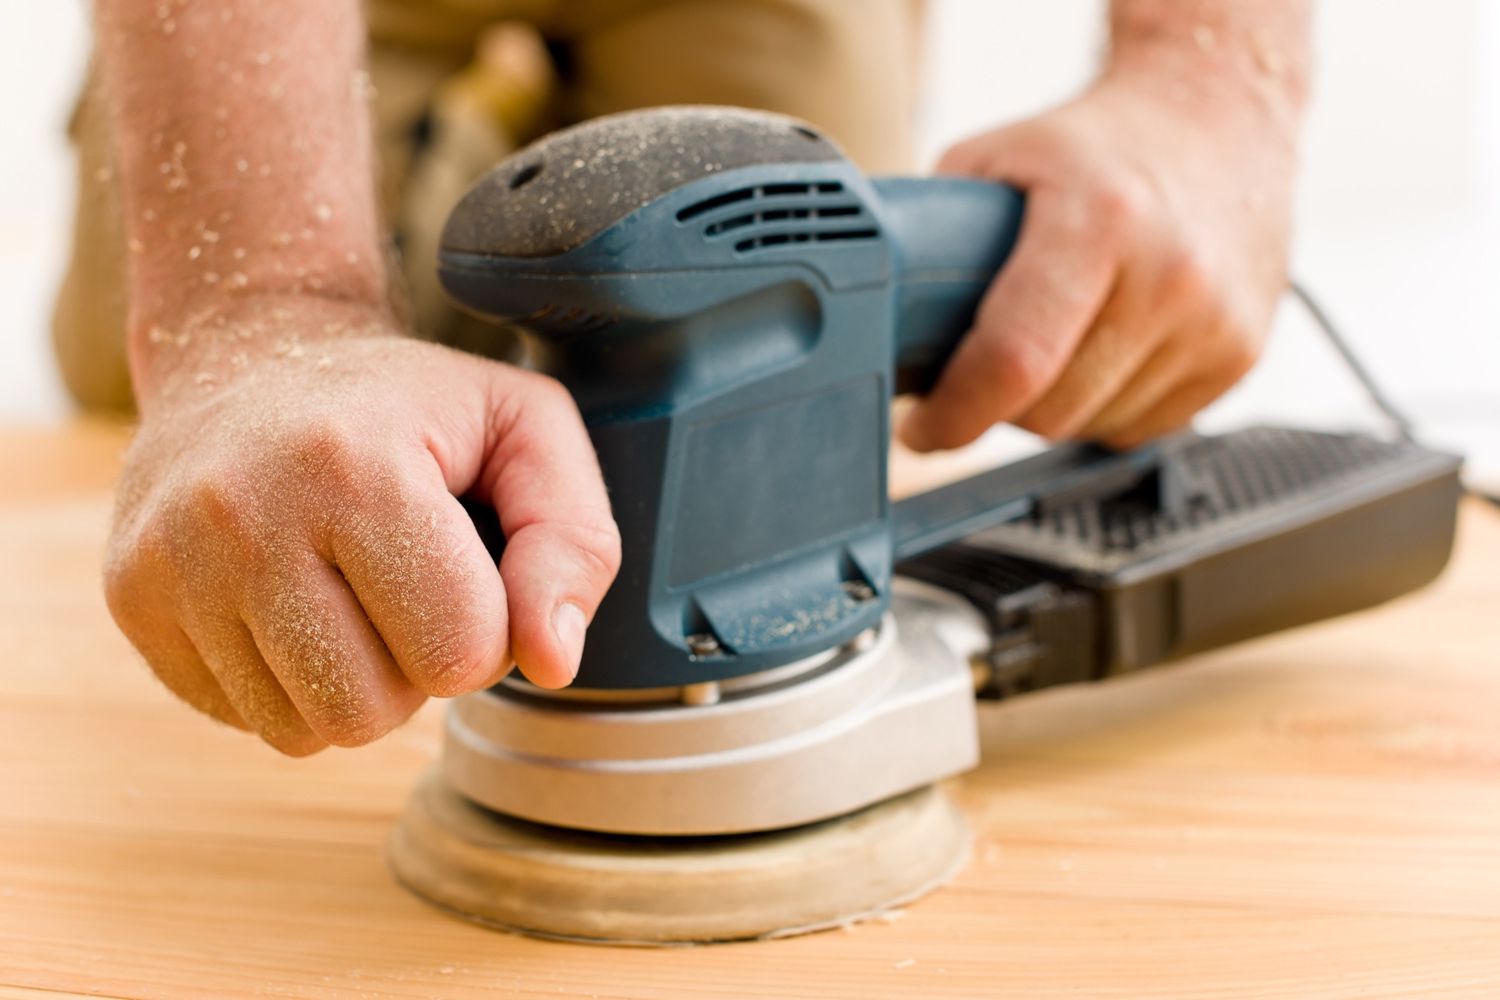
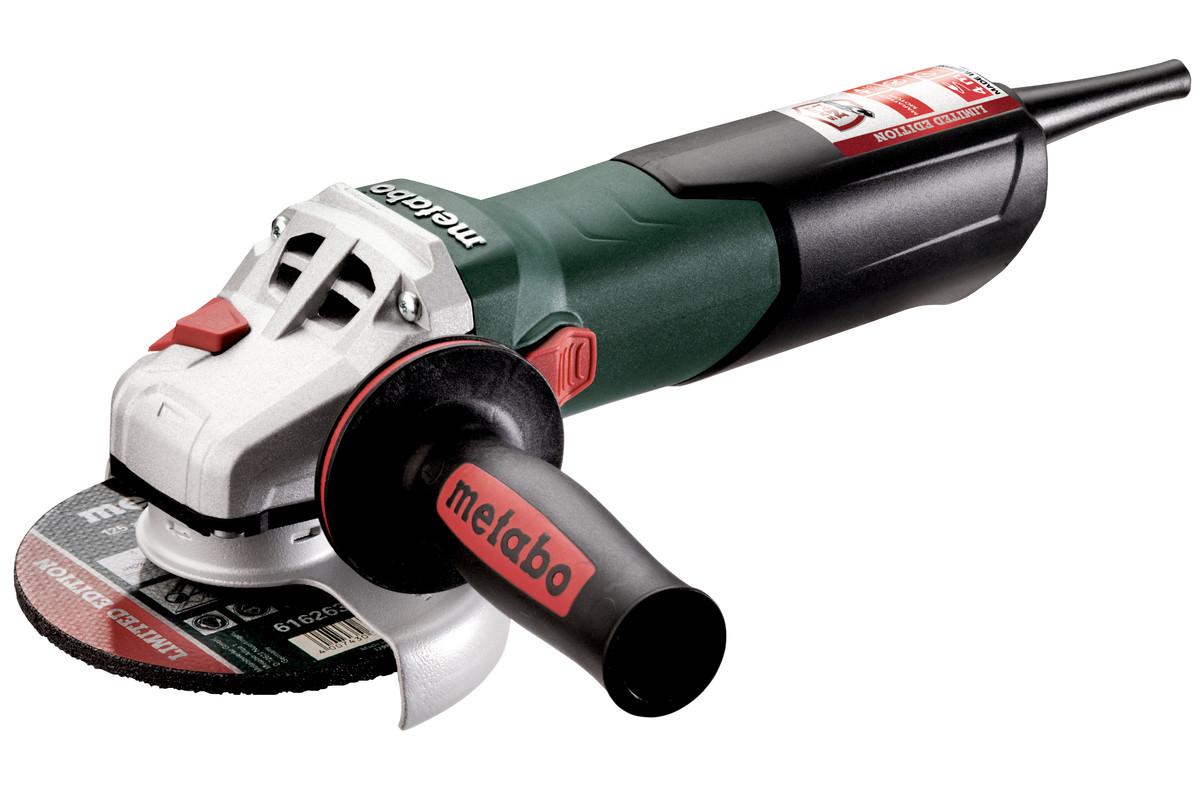
- Angle Grinders. Devices of this type are popularly called grinders. Being equipped with a petal nozzle, they can cope with a fairly large amount of work. Also this class includes orbital and vibration (working due to translational movements of the working element) polishers. The grinder can be purchased for as low as a thousand rubles, the orbital (eccentric) unit will cost a little more. In case you are going to restore the old plank floor, the boards in which have been severely deformed, you will need a more “serious” technique, for example, a drumming machine.
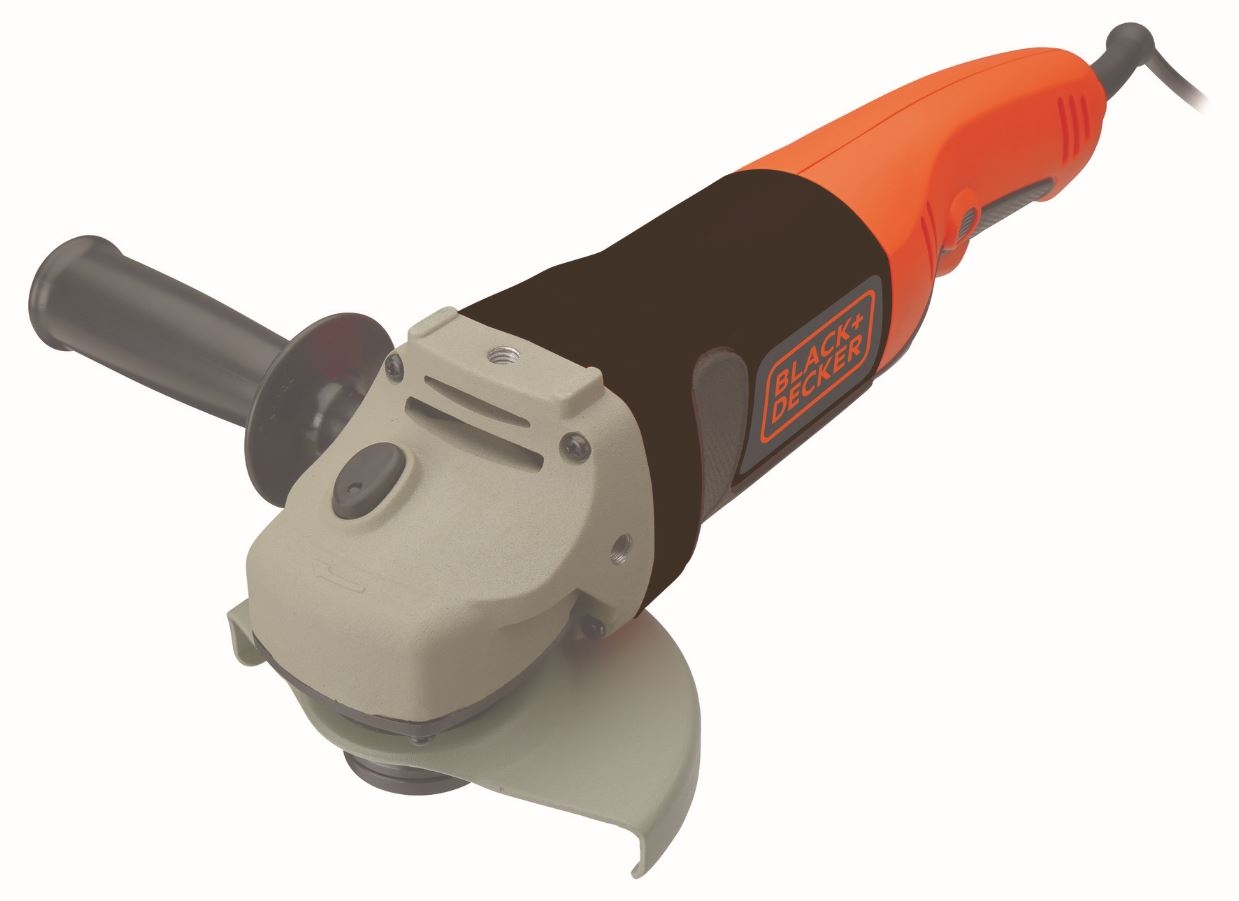
What should I look for when buying a grinder?
In addition to assessing ease of use, you should definitely look at the quality of the machine: the surface should be free of chips and irregularities.Be sure to check the reliability of fasteners. You should also not use low-quality cheap grinding discs and nozzles.: damage to moving parts of the machine during operation is fraught with serious injuries.
Consider that it is difficult for an inexperienced master to process a large area of the floor with a low-power household-class machine without height differences, unless he has a firm hand and a good eye gauge.
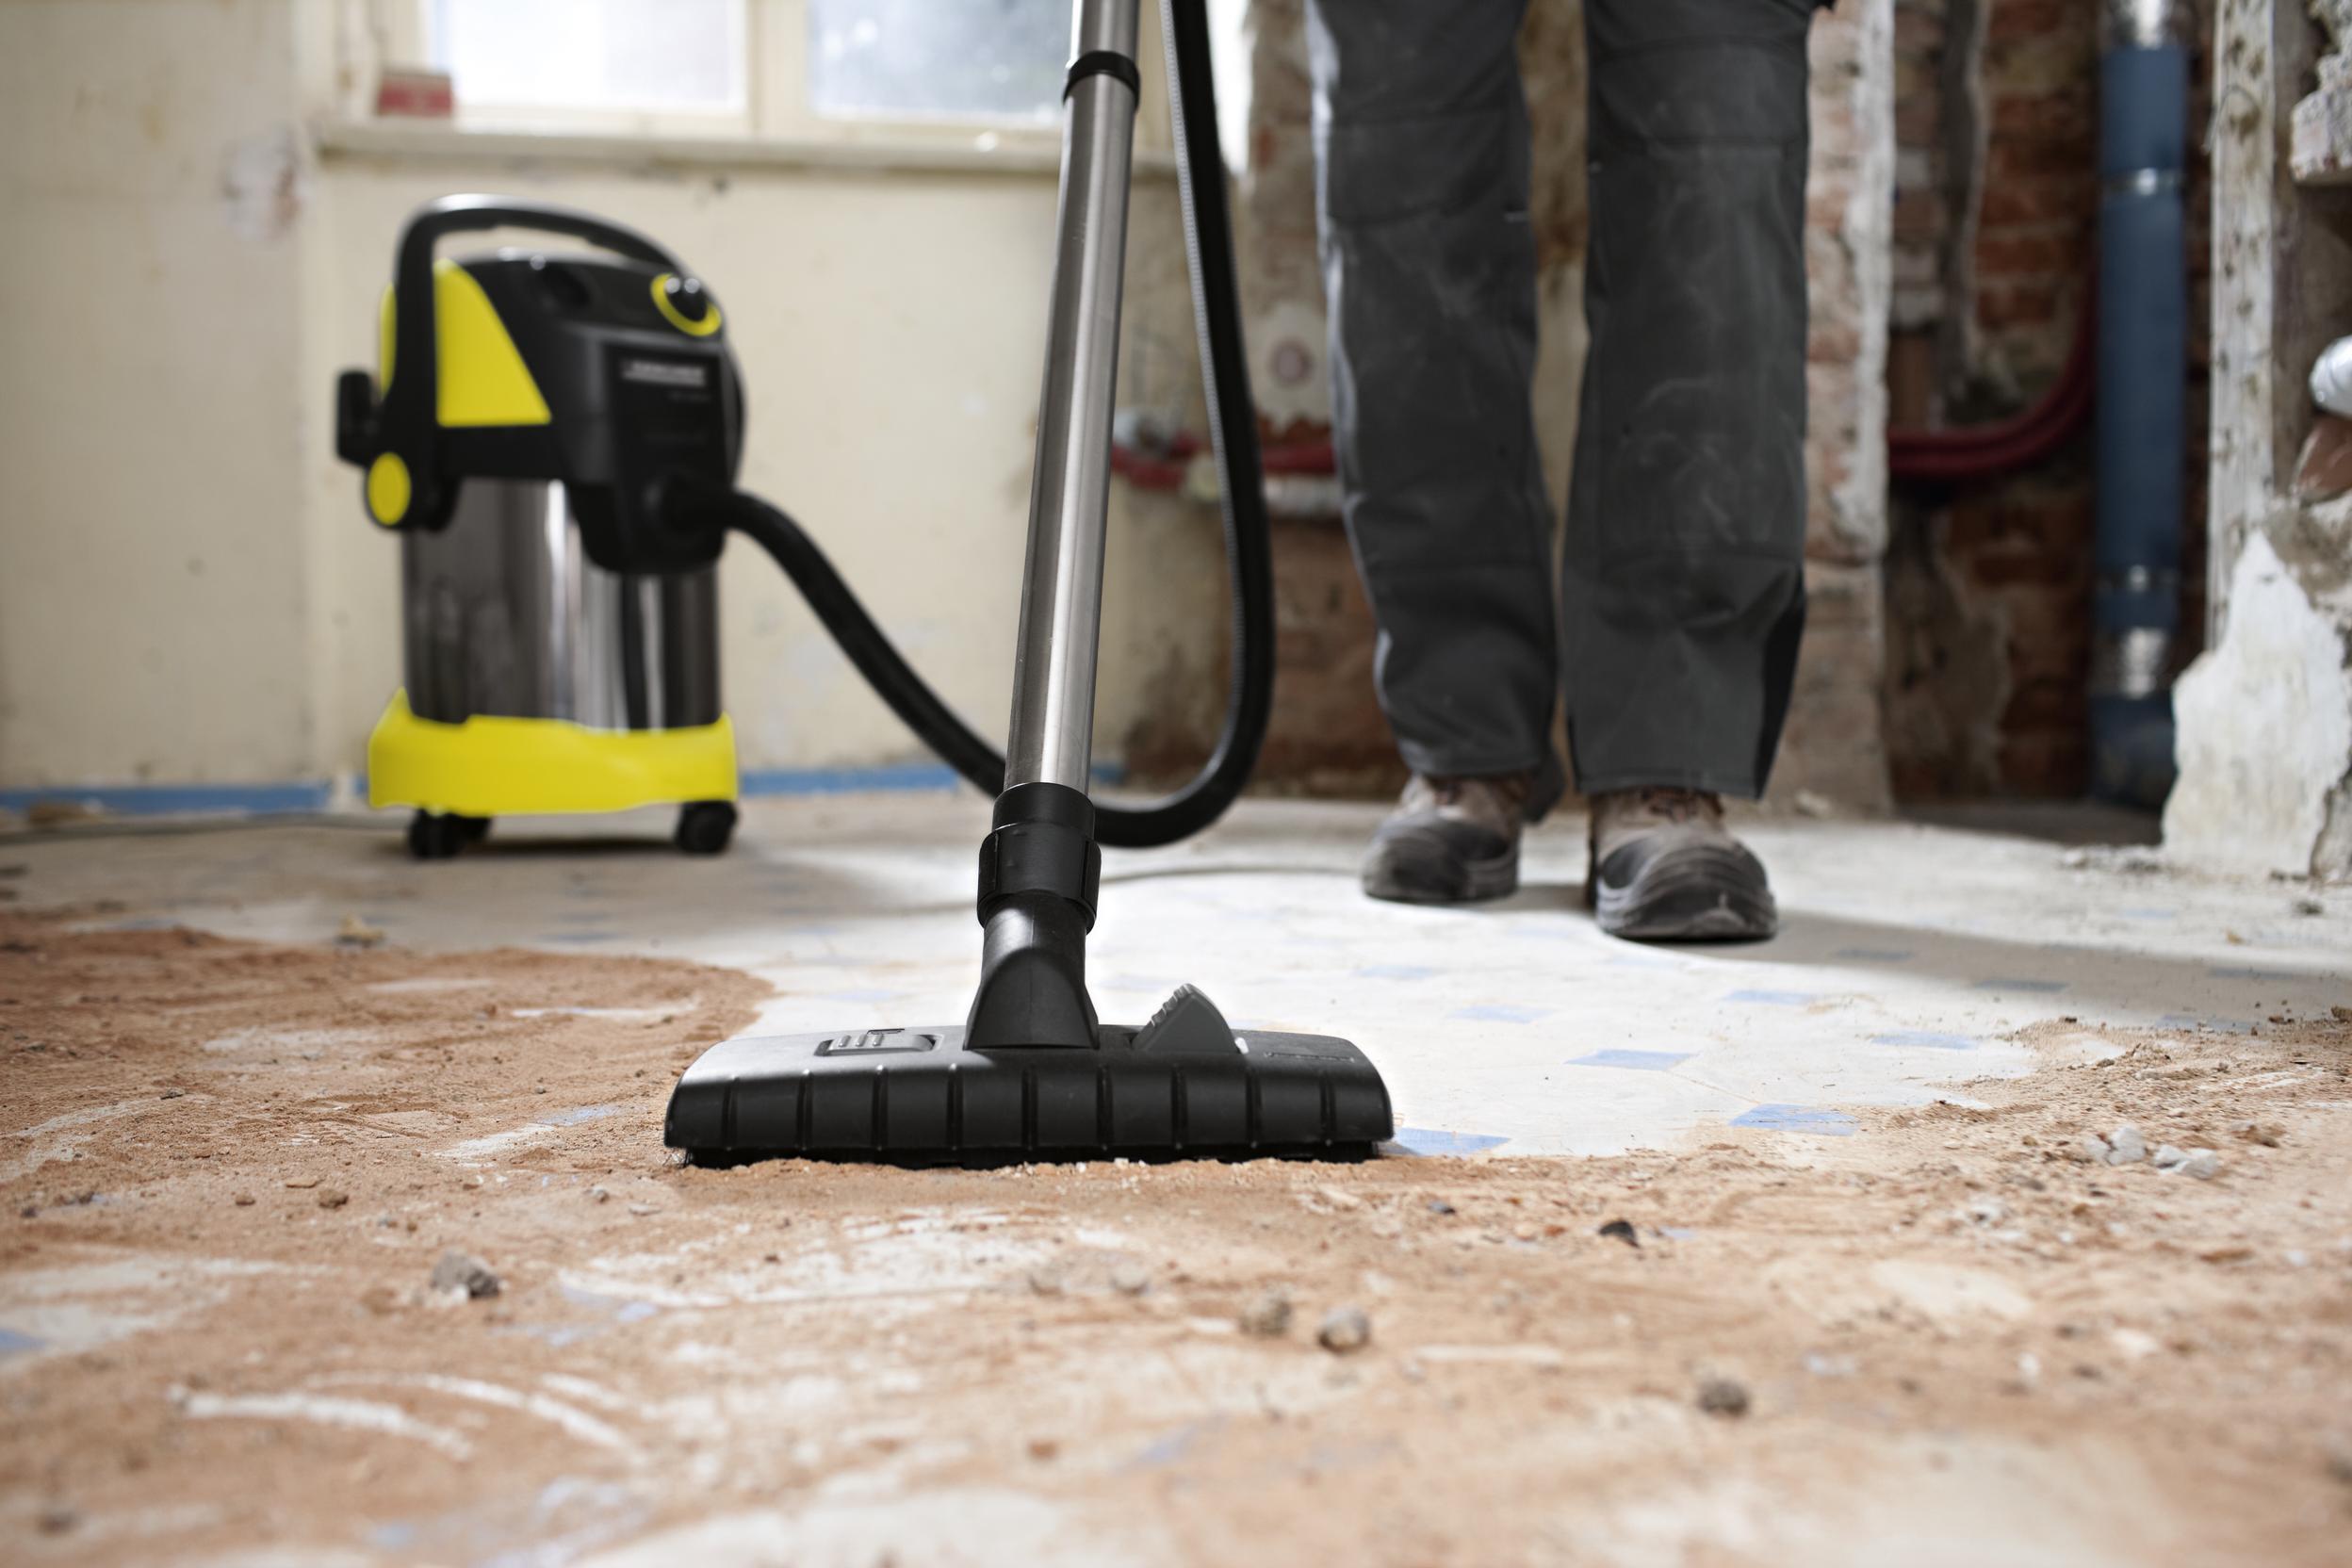
In addition to these units, it is worth buying or renting a construction vacuum cleaner, abrasive wheels, ribbons and nozzles, scissors, plastic sheeting, and everything else that you may need in your work.
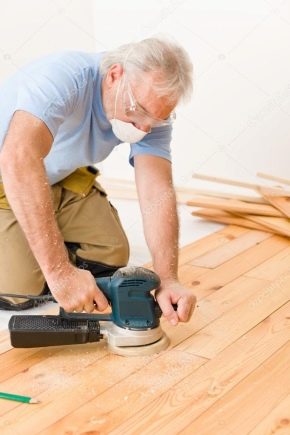
You are welcome, Do not forget about protective eyewear and respirator. They must be worn while working. Fine wood dust is very insidious, so you can not do without these products. You will also need protective gloves. To protect not only the respiratory organs from dust, but also the body, you can use a colored jumpsuit.

In addition, when working with a cycler machine, you will need headphones or earplugs to protect your hearing.
Operating procedure
First stage: preparation of the base
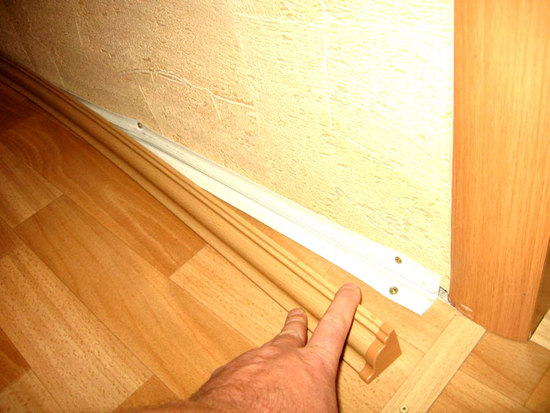
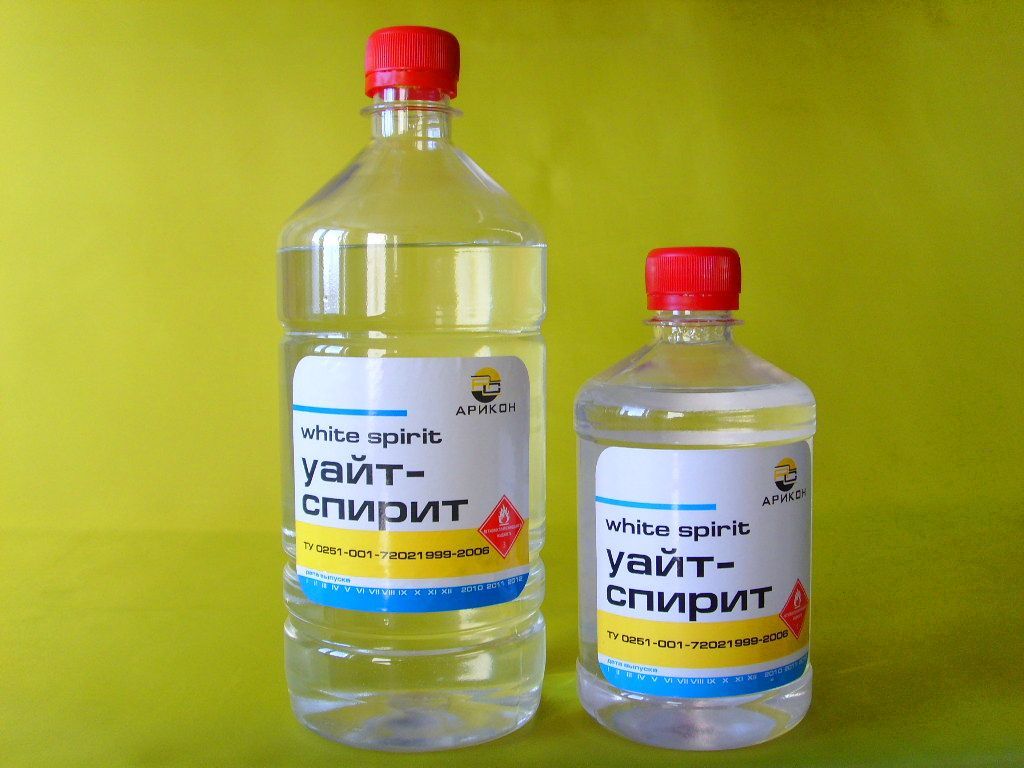
First, all the furniture is removed from the room and old skirting boards are dismantled. It is necessary to remove all the old protective coating: in the subsequent process of scrubbing it will be removed anyway, but partially the floor can be cleaned already at the preparatory stage, wiping it from varnish or mastic with a sponge moistened with white spirit.
Pay attention to the fasteners sticking out of the floor - all nails or screws must be drowned in the floor to a depth of at least 2-3 mm so that they do not damage the moving parts of the grinder, which can be dangerous.
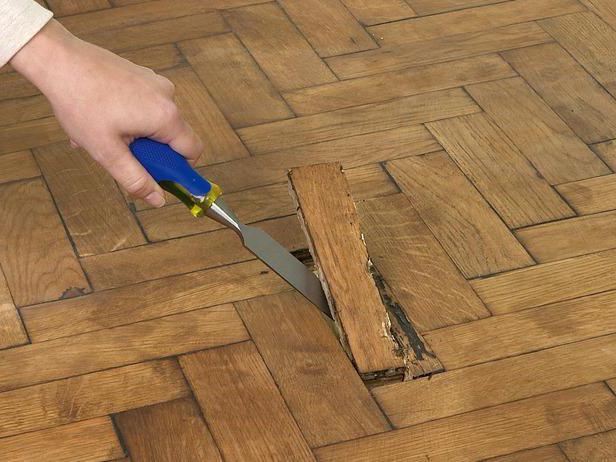
Replace all damaged strips and fasten those elements of the floor that hold up badly, if there are any: this can be done with the help of PVA glue or hardware. Carefully check the boards for loose knots, chips and gaps, if necessary, use parquet glue or special filler compositions to eliminate defects. Do not use elastic sealants before grinding. - they are not strong enough and can quickly "hammer" the grinding nozzle.
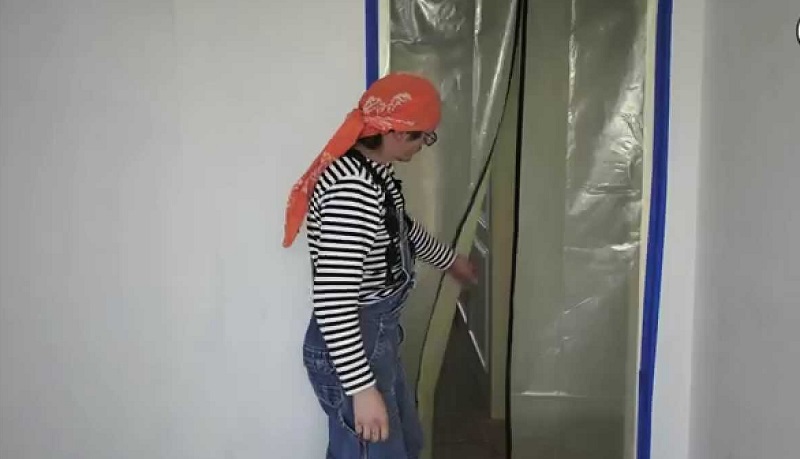
Please note - the sander is very dusty even with a special dust collector,therefore, it is necessary to close the door openings with a cloth (non-woven fabric) that can be moistened to more effectively trap dust, or with plastic wrap. It is better to open the windows and external doors so that some of the dust can leave the room.
Stage Two: Initial Finishing
This stage is also called scraping, as the process removes defects, dirt, old protective coatings and so on. If the boards are made of solid pine or other coniferous wood, remove all resin drops with white spirit or, for example, gasoline.
The first pass in surface grinding is most often performed with the roughest abrasive - 40 grit sandpaper are commonly used. If the boards of the new floor are already fairly smooth, you can skip this step and start with a smaller abrasive.
If, on the contrary, you restore the old wooden floor, the abrasive may be larger - with a grain size of 20-24 units.
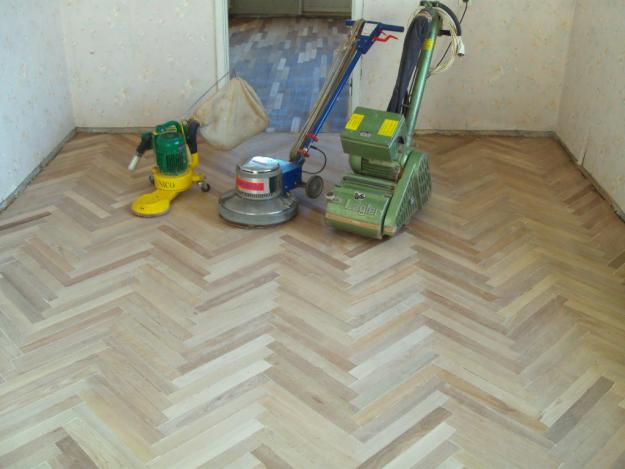
The direction of movement of the machine should coincide with the direction of wood fibers: if the floor consists of boards laid parallel to each other, then you should move in the same direction, only the first pass is done diagonally.If the parquet is laid "Christmas tree", then you need to move also along the diagonal of the room. If the floor strips are mounted so that the fibers of the wood are directed in different directions - the polishing machine should move crosswise, without selecting sections.
On the artistic parquet, the direction of movement is in a spiral, from the center to the edge.
The master must also consider the following points:
- Builders advise to keep the power cord of the machine on the shoulder - to avoid damage to it by moving parts of the machine.
- The abrasive element needs to be changed after each pass, as it is abraded and clogged with dust, between passes.
- It is necessary to turn the machine engine on and off in motion, otherwise there will be difficult to remove noticeable marks on the floor.
- Avoid both too much pressure and too little, move as evenly as possible, avoiding delays, otherwise the machine can remove or inflame the floor too much due to the fact that the working element creates heat in the place of the delay. Go to the next lane
- carried out in such a way that approximately half of the circle (drum) is on the already treated surface (the strips will pass as if “overlapped”).
- Usually, after four passes with an abrasive with a grit of 40 units, there are passes with a finer sandpaper of 60, 80 and 120 grit. When processing a thin wooden floor, to eliminate the risk of damage, you can exclude one pass, for example, with abrasive number 60.
- The corners and steps, if any, are polished by hand, with the help of angular machines or “boot” as consistently - first with coarse, and then with nozzles with smaller grain.
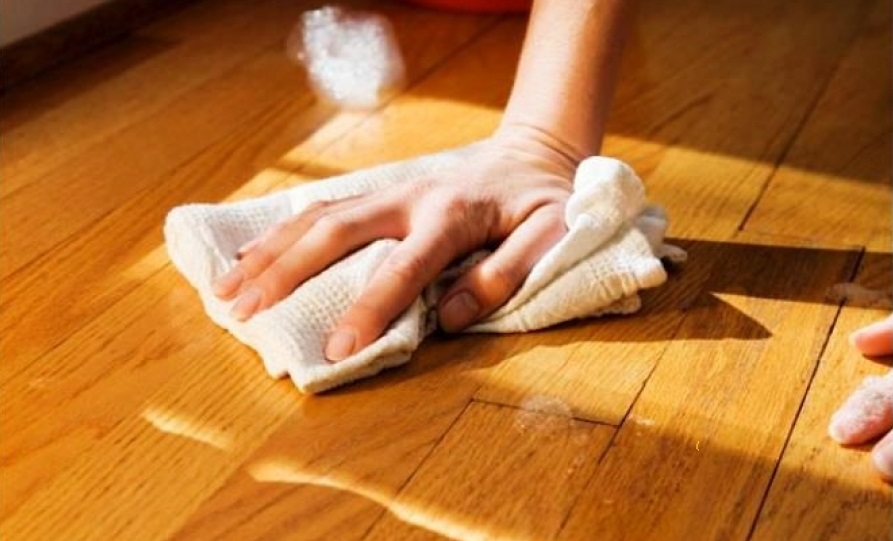
- After the completion of the initial stage, it is necessary to remove all wood dust and fine mist - carefully vacuum or wipe the floor with a damp cloth.
- Also note that the smallest wood dust, particles of putty and lacquer belong to very flammable materials, and under certain conditions can even ignite spontaneously, so do not allow accumulation of wood dust and deposits of flammable building materials in the room: it is desirable to immediately remove dust and store varnishes, paints and putty in the other place.
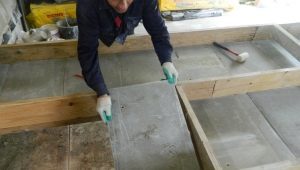
Stage Three: Putty
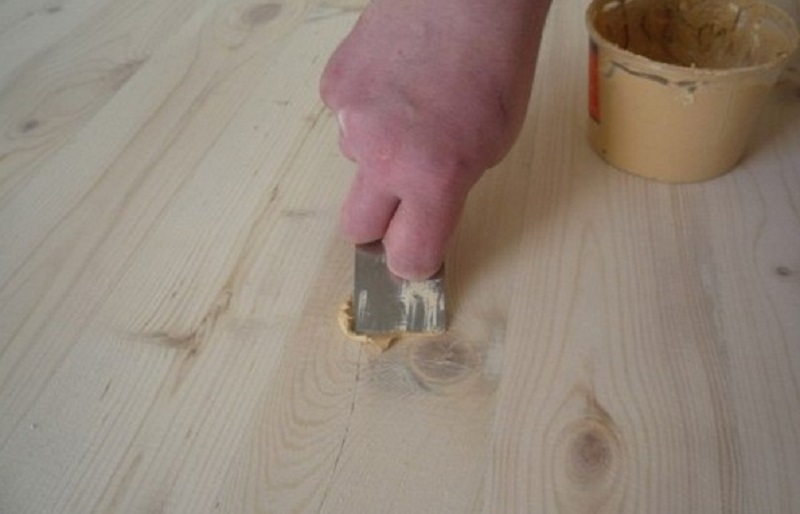
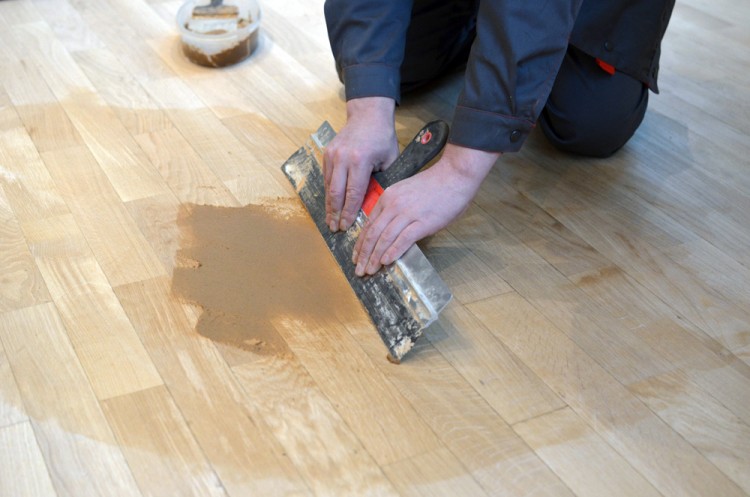
To fill the existing gaps, defects and chips using ready-made compositions or special filler fluids that are mixed with fine sawdust,formed when sanding the floor: this trick allows craftsmen to get the composition in exactly the same color as the wood floor to be processed. Also, sometimes ordinary PVA glue is mixed with sawdust.
The mixture is applied with a stainless steel spatula - this helps in the process of cutting off all small wood fibers that rise above the floor level.
After the putty has dried, the floor is finely ground again, removing excess material.
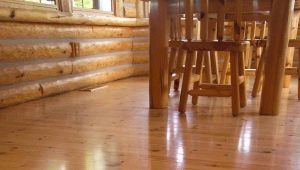
Stage Four: Finishing
Do not leave the already polished floor without a protective coating: this will lead to the fact that after a while you will have to repeat this time-consuming operation again.
Finishing is done after drying and polymerization of putty.
Before applying the varnish, thoroughly vacuum and clean the floor: even the smallest debris will be clearly visible under a layer of clear varnish.
The floor should be treated with primers containing antiseptic, antifungal agents or dyes. If you used ready-made colored putty, the surface may turn out to be diverse, therefore it is preferable to use putty with chips of the same wood.
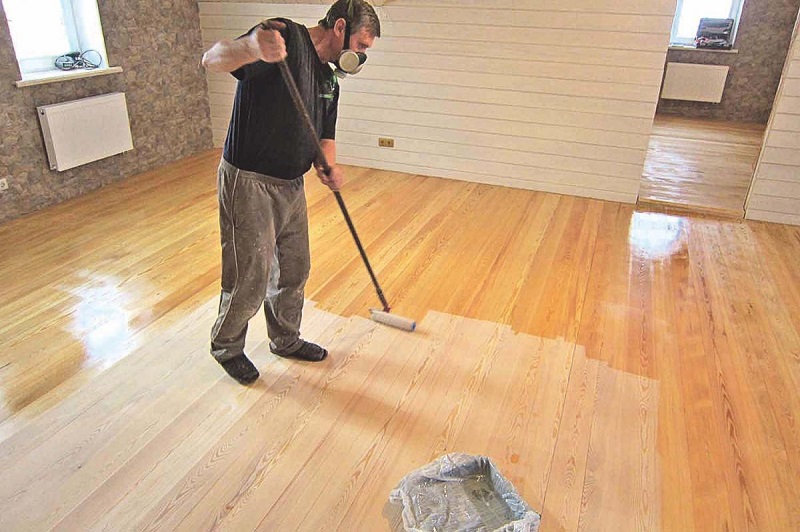
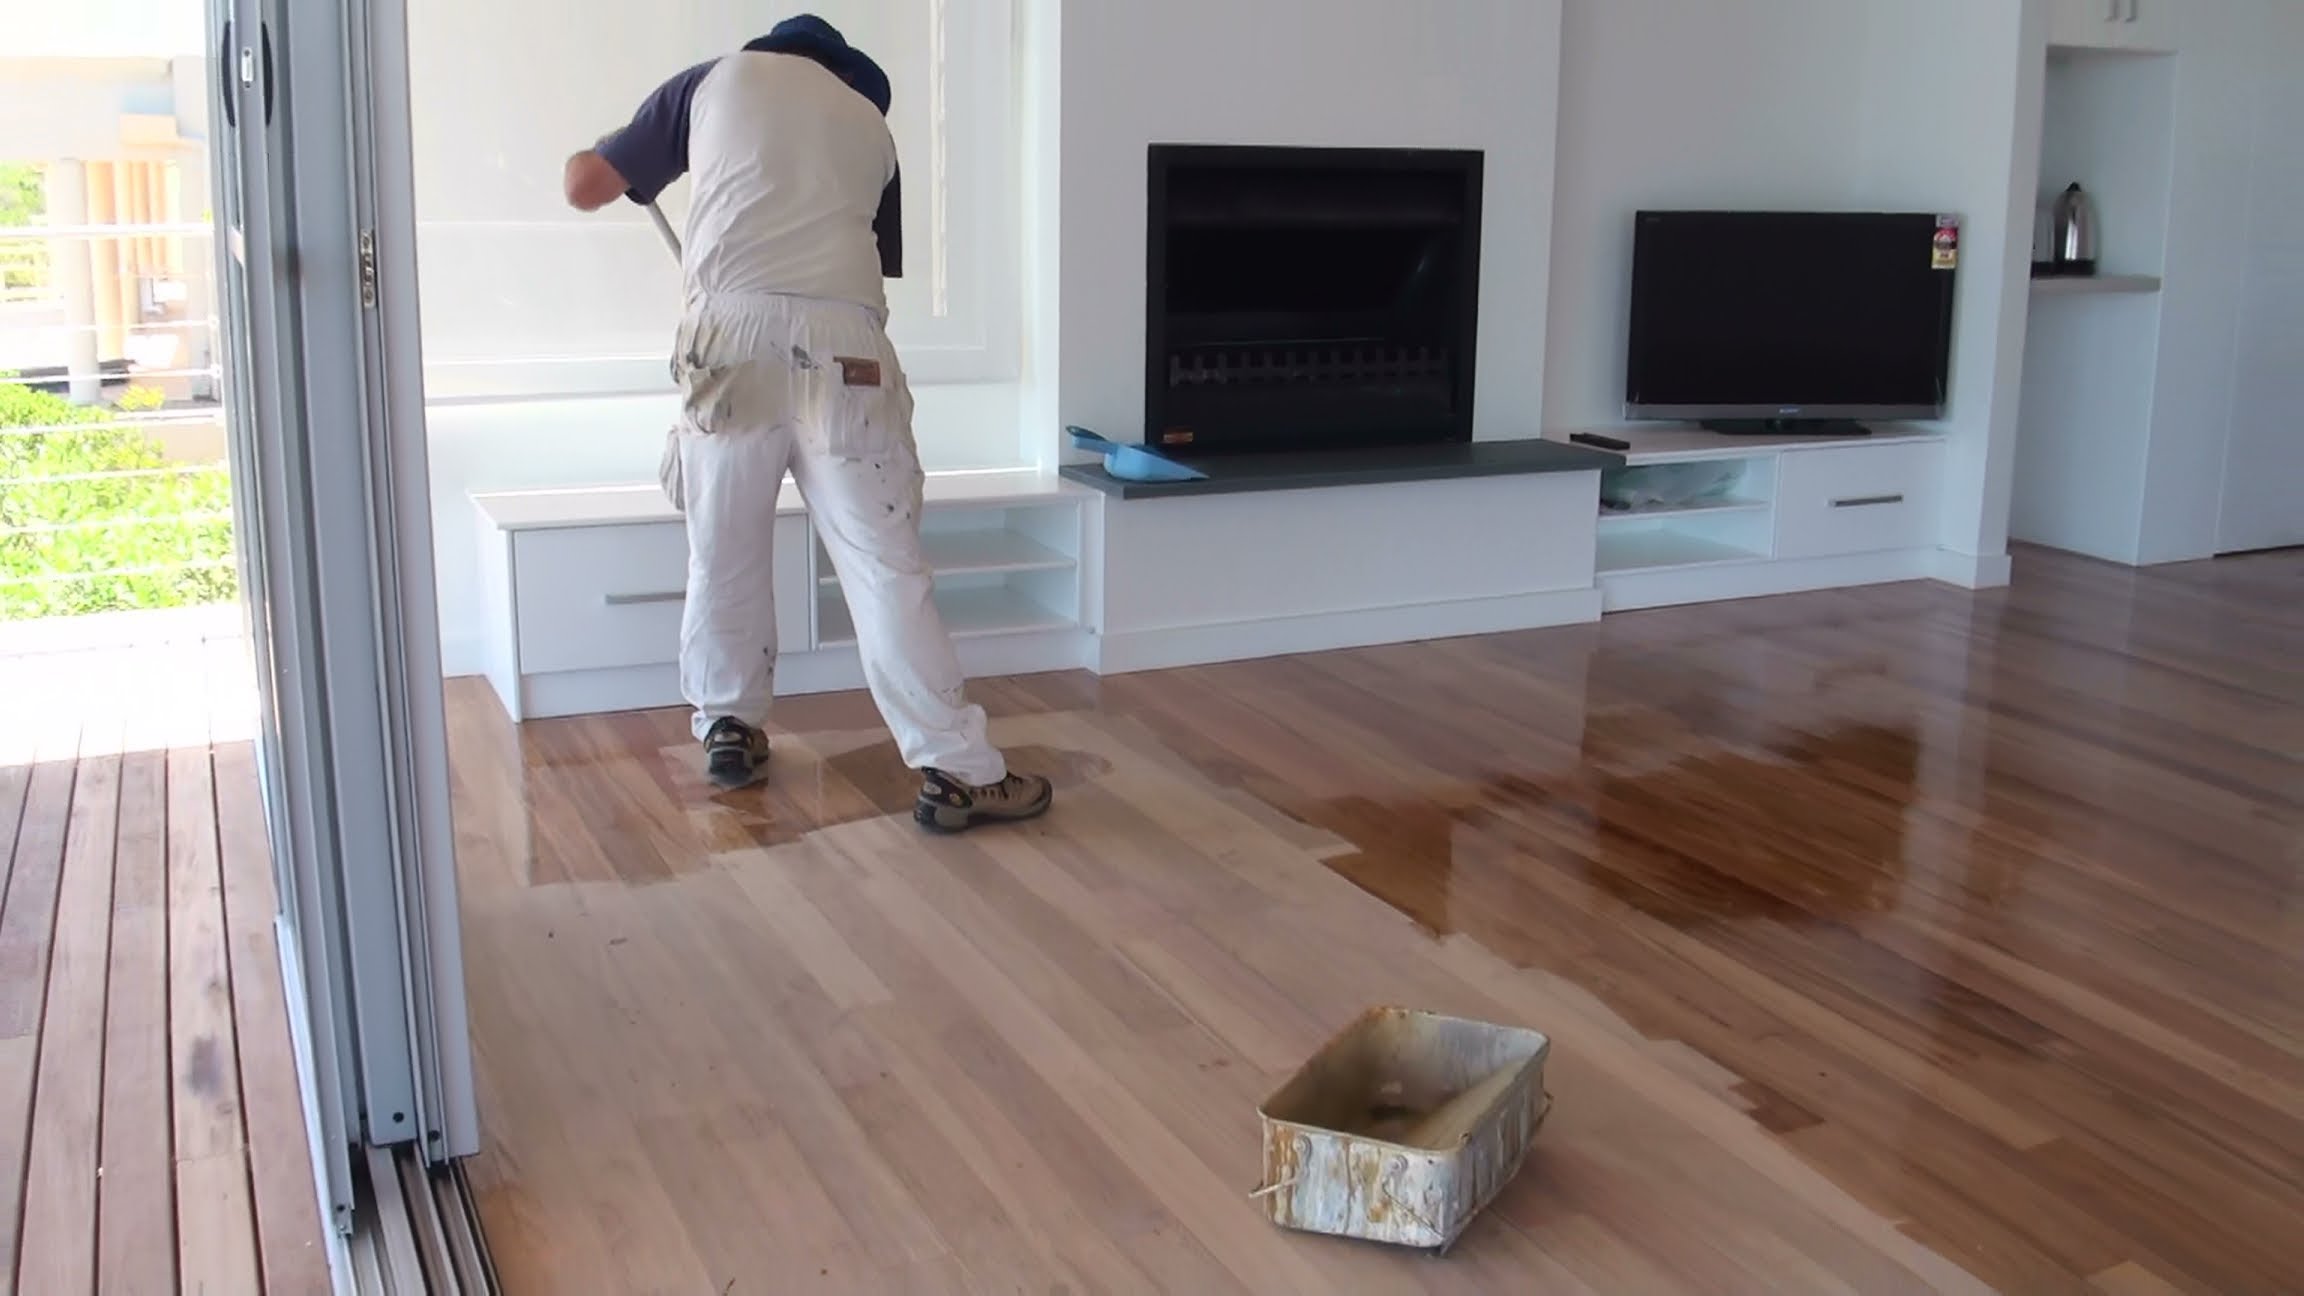
After priming, the first layer of protective coating is applied - wax or varnish. For high quality floor protection it needs to be covered. on average 5-7 coats of varnish. Depending on the conditions of use of the premises, you can use acrylic, alkyd or epoxy varnish. Water-based lacquers and acrylics are almost odorless, which is impossible to say about polyurethane.
To ensure that the coating looks homogeneous, the surface is ground every time after the coating has dried with a fine-grained (more than 140 units) abrasive, and only then the last finishing layer of the protective coating is applied.
After completing the work and drying the varnish, it is recommended to wash the floor with warm water and soap, so that it is not sticky.
Grinders can be self-made to properly sand the wooden flooring. The grinder is a tool that you can not only buy, but also rent.
It should be noted that sanding the floor is an exercise that will have to spend a lot of time and effort but this is the only way to achieve a beautiful and smooth surface, on which you will be pleased to walk.
How to self-polish the wooden floor, see below.