Rules for puttying walls for painting
Unlike wallpaper, paint is not able to hide even the slightest flaws in the surface. Painted walls or ceilings will be even and beautiful only if the putty work has been carefully prepared and carried out properly, and the materials and tools have been chosen taking into account the peculiarities of this process.
Special features
Puttying the walls for painting, in addition to the aesthetic component, implies the creation of a durable surface that will reliably hold the paint layer until the next repair. Therefore, finishing is carried out in several stages: the material is applied to the walls in layers and allowed to dry.
The quality and duration of the work is influenced by several factors.
- Spackling composition. The choice of suitable material depends on the purpose of the room, the stage of finishing (starting or finishing) and the quality of the surfaces.
- Base properties. The material of the walls determines the list of basic and preparatory work. Old and damaged surfaces, in addition to cleaning, may require plastering of individual sections. Tiled cover - only the sealing of joints.
- The number and thickness of the layers. The standard value of three in cases of very uneven surfaces can be increased to seven. The thickness of the layers decreases as they are applied: 4-17 mm for the starting one, 1-3 mm for the finishing one.
Tools and materials must be prepared in advance.
Spackling compounds vary in a variety of characteristics. It is possible to make a choice in a concrete construction situation, knowing the quality and purpose of different types of putties.

Types of mixtures
According to the field of application, the putty compositions can be divided into three groups.
- Starting. The mixtures have a coarse-grained structure, make it possible to smooth out significant irregularities, have a high adhesion to the surface. With their help, create a thick layer (up to 2 cm), but the wall can not be painted.
- Finishing. The fine-grained structure of the putty allows you to apply it with a layer of any thickness, and sanding will help to create an ideal smoothness of the surface.
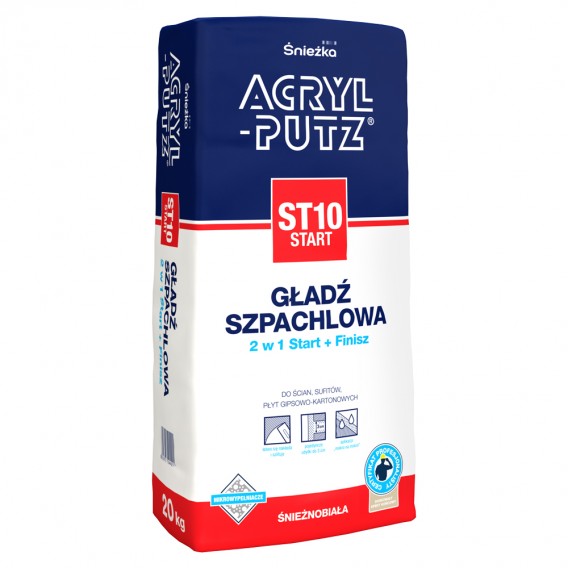
- Universal. Polymeric compositions are used at different stages on most surfaces.
According to the type of binder, there are three main groups of putty mixture.
- Cement putty. Forms a durable, moisture-resistant coating that remains durable for a long time. The disadvantage is inelasticity and the possibility of shrinkage. Usually it is used only as a starting point: gray can change the shade of light paint.
- Gypsum plaster. After drying it creates a rather smooth surface of white color, therefore it is more often used as a finishing for dry premises. Gypsum is sensitive to high humidity: it may re-swell, leading to deformation of the surface.
- Polymer putty. High-quality material, with the exception of two-component polyester compositions that do not require preparation. A large variety of species is more often used as a finishing layer.They do not shrink, have strength and elasticity. The disadvantages include the high cost of most species.

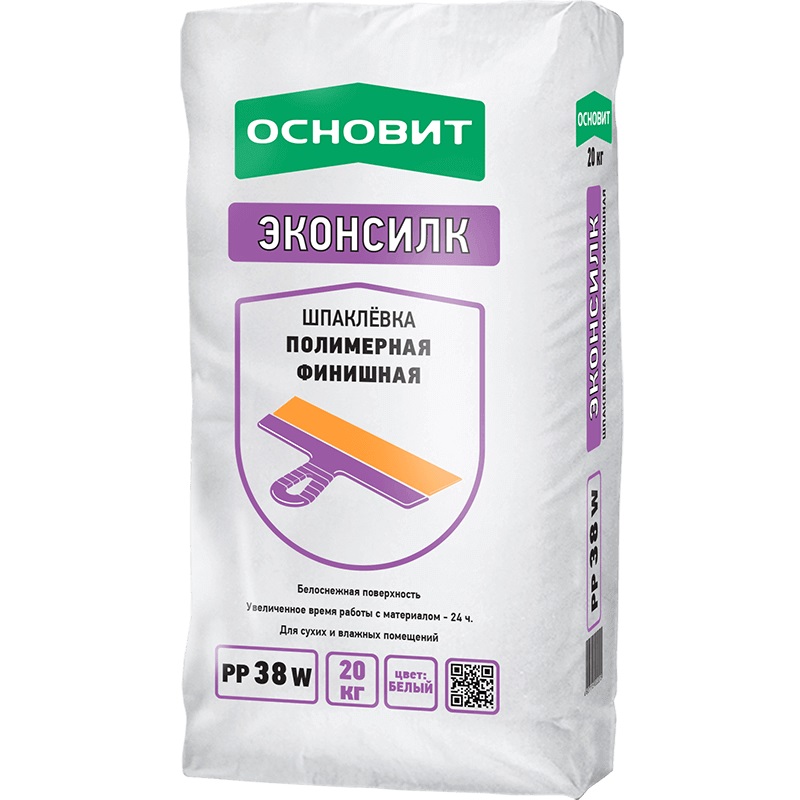
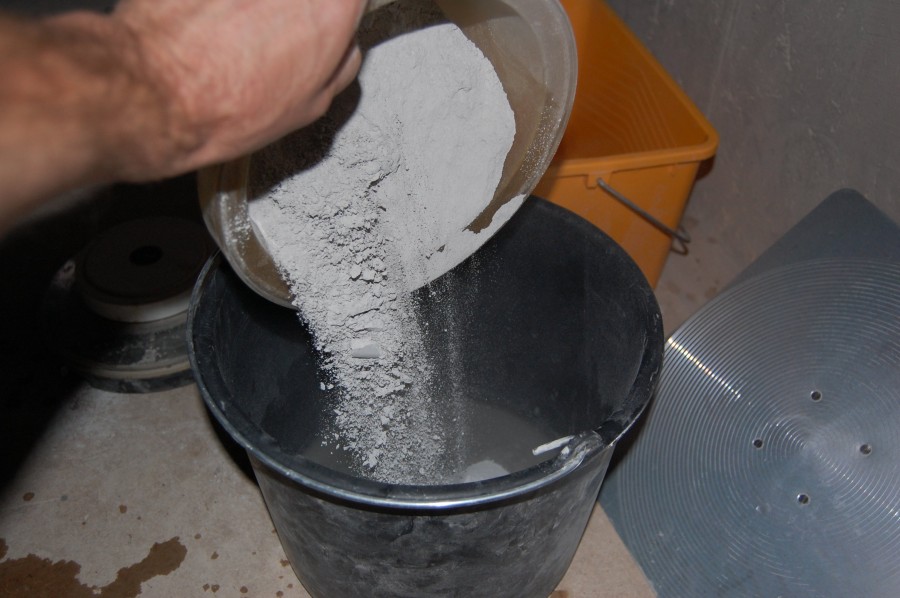
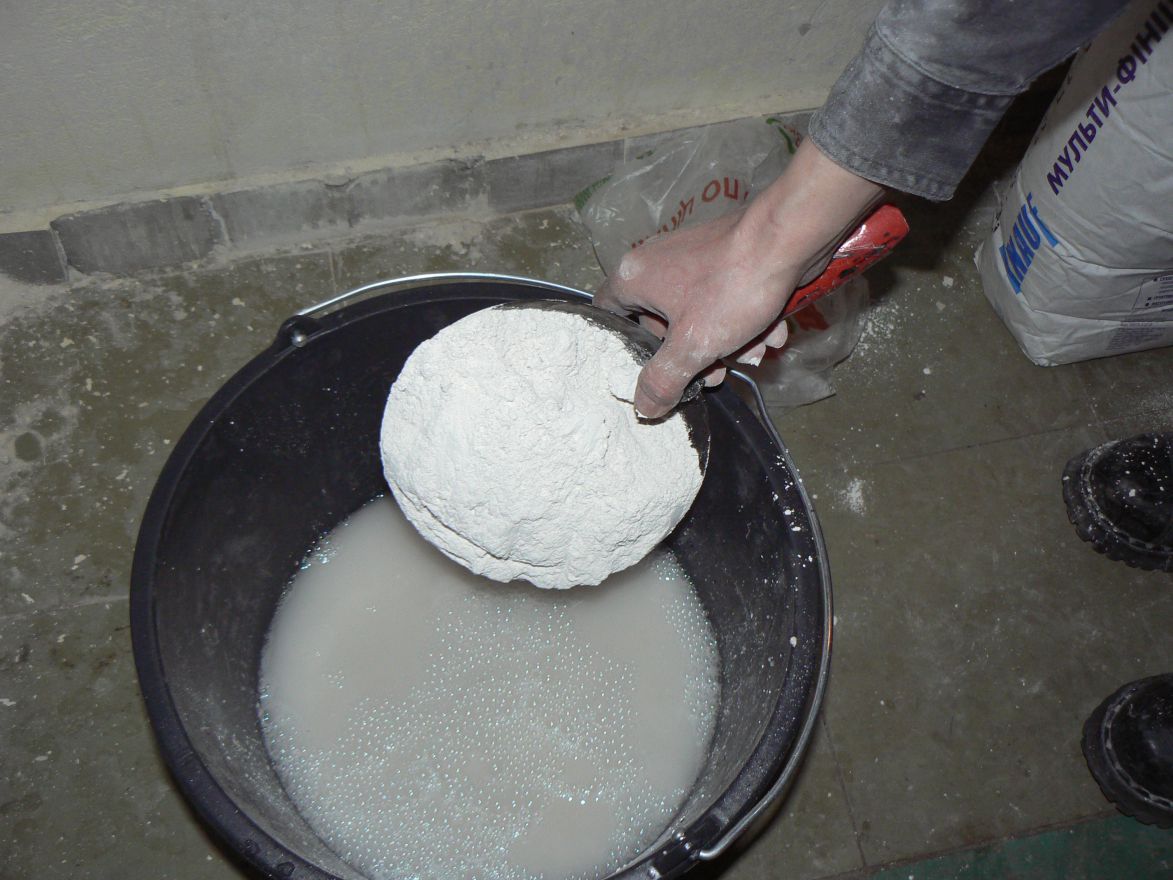
According to the degree of readiness before the start of the finishing work, the putties are divided into ready-made solutions and powder mixtures that require mixing. The dry composition is less costly in financial terms, resistant to temperature changes and longer stored in the package until opening.
If the integrity of the package is broken, the powder quickly loses its suitability for construction work.
Ready-made formulations are sold in plastic containers of various sizes. They do not require time for preparation and are easy to apply, but after 40-50 minutes after opening, the banks also seize and become unusable. Therefore, you need to make sure that the part of the composition that is not currently used is tightly closed.
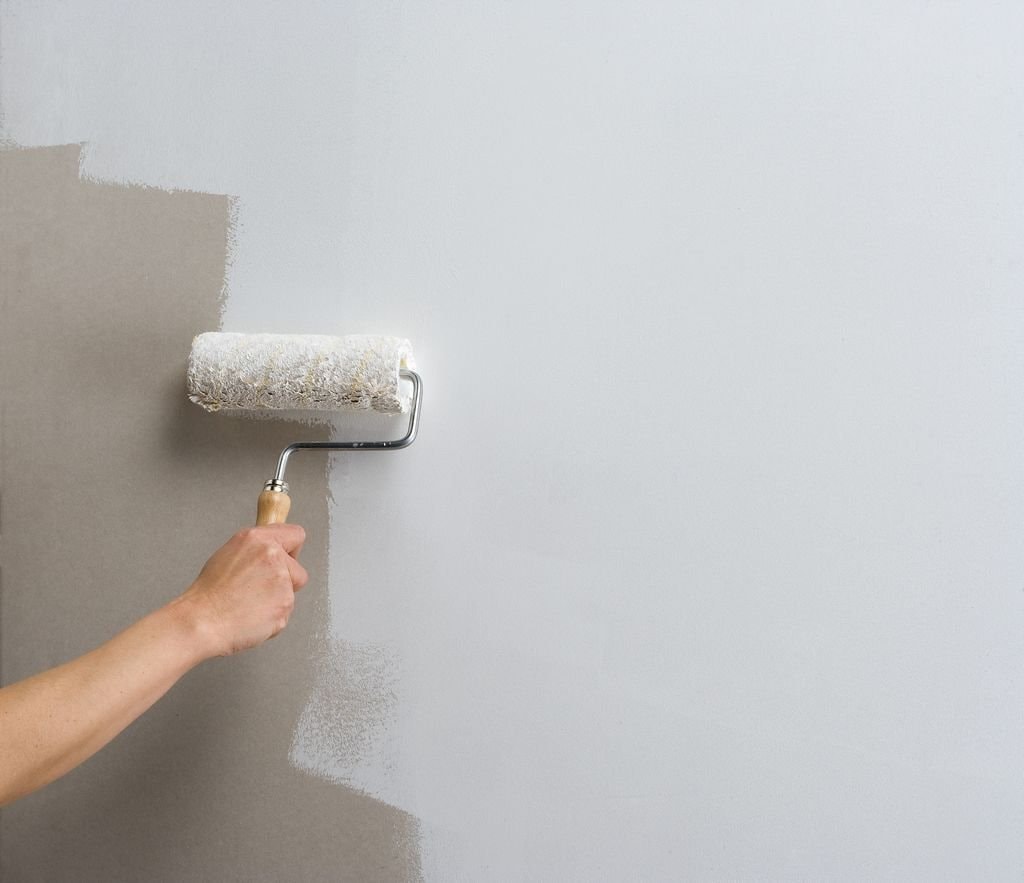
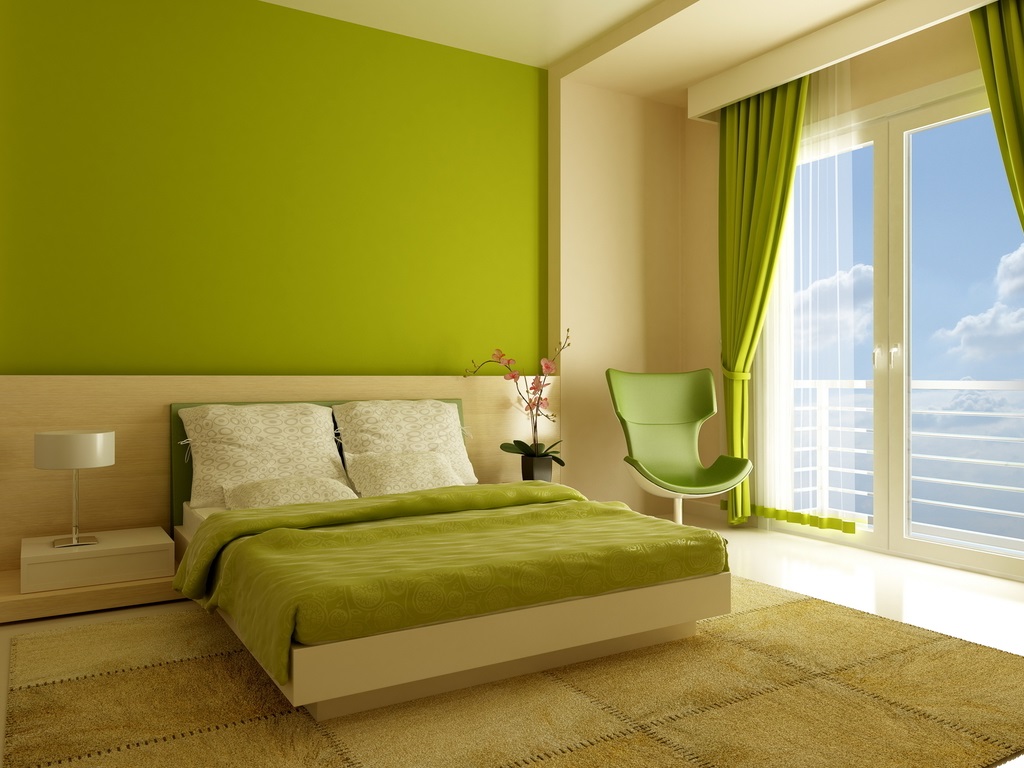
The relief of the final surface can be different: smooth, textured, to have decorative elements. In all cases, the putty can be painted, the differences lie only in the methods of its application to the walls and ceiling.
Which one to choose?
General requirements for putty material for any stage of puttying:
- good adhesion;
- low shrinkage;
- no impurities;
- acceptable drying speed;
- ease of grinding.
For wet rooms (swimming pools, bathrooms, toilets, kitchens) and rooms without heating, special waterproof mixtures are used, regardless of the type of binder. Putties will exhibit their properties differently when in contact with different surfaces.

Application area
Cement and gypsum formulations adhere well to concrete surfaces and cement plasters. As a starting layer plaster can be used for wooden and plasterboard surfaces.
Wood-based materials (particle board, fiberboard, OSB and plywood) need a putty before painting, as they have an uneven, rough surface.
Works are performed with compositions for wooden surfaces, which have their advantages and disadvantages.
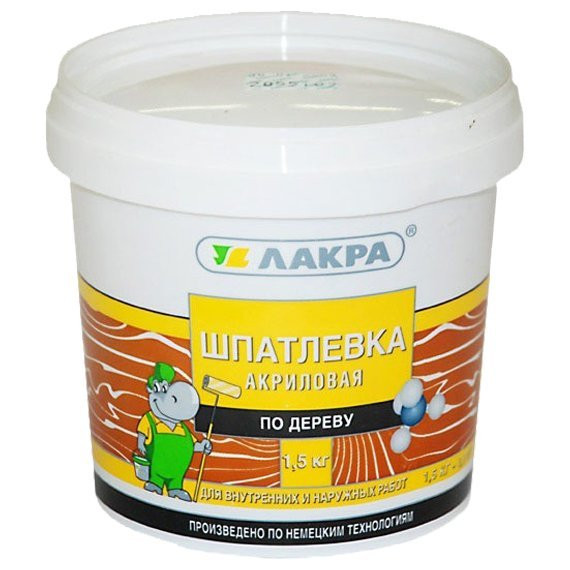
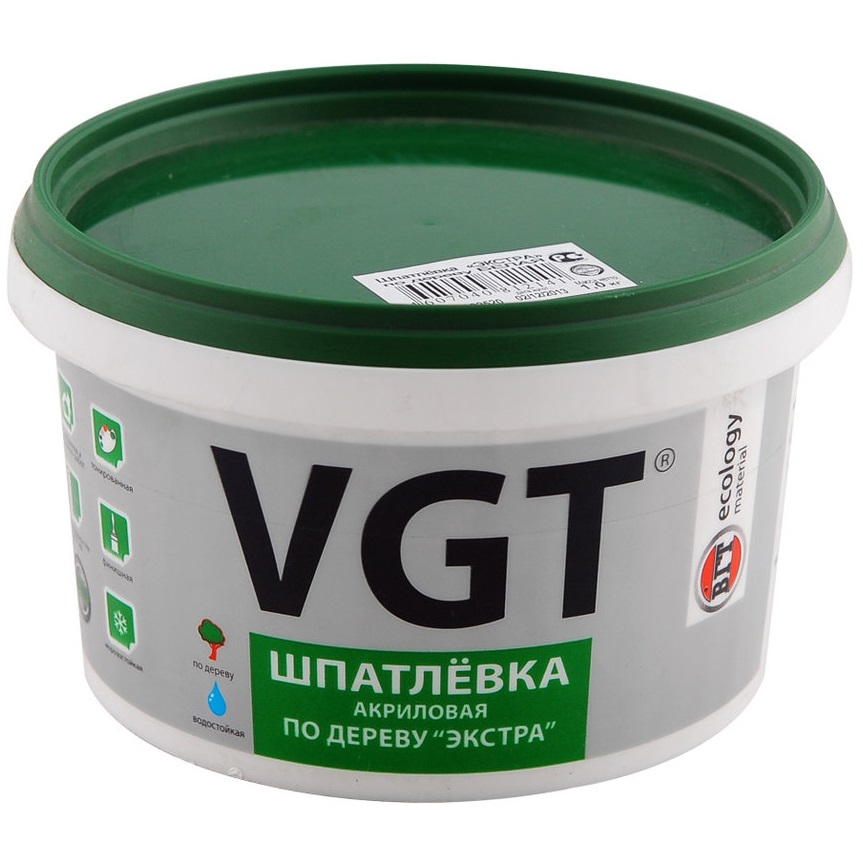
Acrylic
Hard putty on wood has no harmful components, has good adhesion and resistance to deformation. It is resistant to temperature extremes, protects wood from exposure to ultraviolet radiation and moisture, and improves surface thermal insulation. Manufacturers offer formulations of both white and "under the tree."
Fast drying is more likely a lack of acrylic blend, especially for beginners: you may not have time to smooth the surface.In this case, it will be possible to eliminate the defects with emery paper.
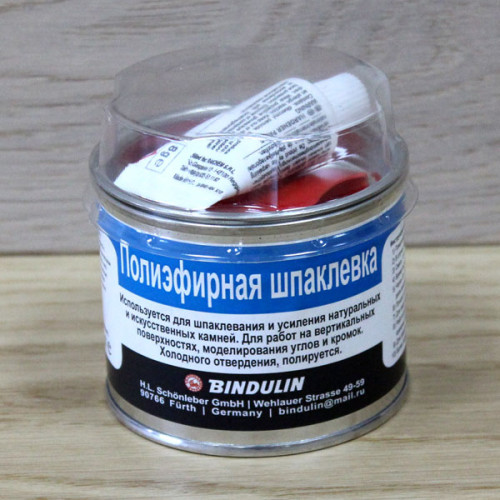
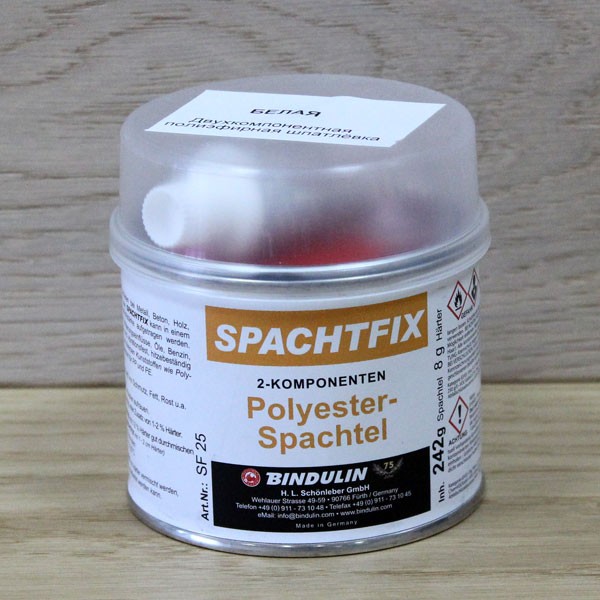
Polyester
It is a white plastic resin-based array. To achieve special effects in the composition can be different substances: fiberglass (increases strength), aluminum powder (to reduce shrinkage), glass granules.
Features: fast drying, good adhesion to the surface, elasticity and easy grinding. Resistance to high humidity allows the use of the solution in bathrooms and kitchens. The disadvantage is the high price and the mandatory adherence to the instructions when preparing the putty (mixing, incubation and dilution).
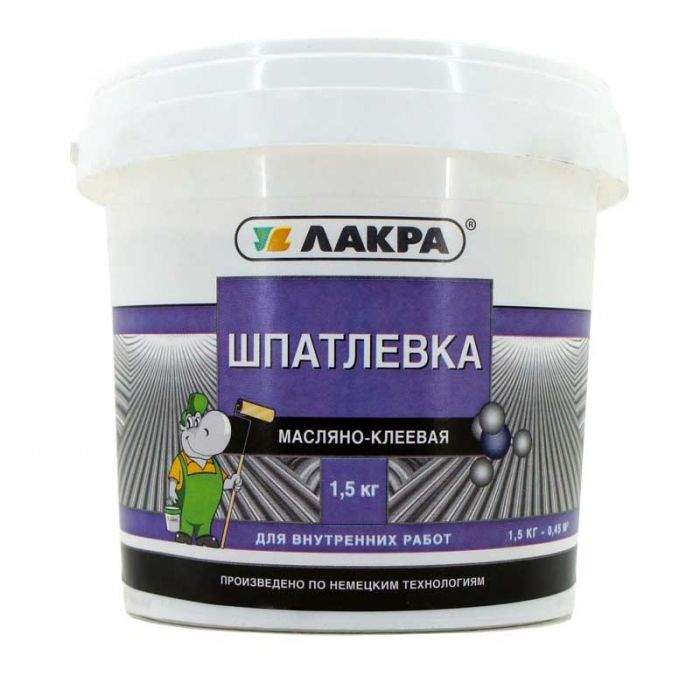
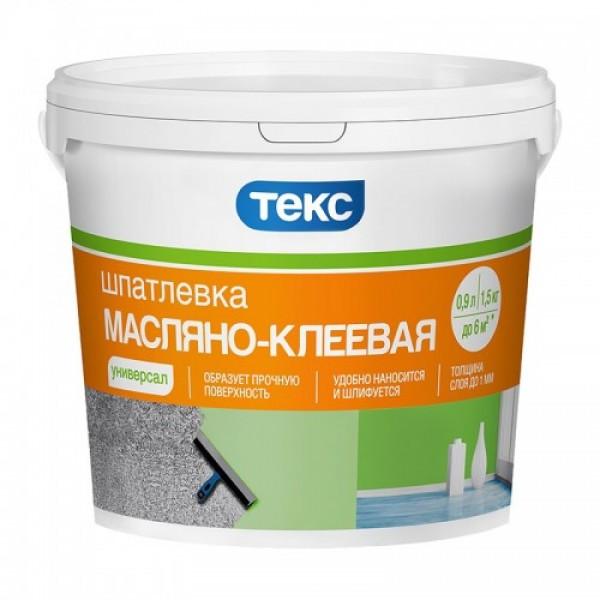
Oil and oil glue
Represent a composition in the form of a paste with a dense consistency. They are distinguished by high adhesion, plasticity, ease of preparation for application. Adding to the composition of various modifiers allows you to obtain additional properties: fire and explosion resistance, high moisture resistance. At a low price, putty has a long service life.
Oil formulations have significant drawbacks. With constant mechanical effects, the finishing layer loses its strength, therefore it is not recommended to apply it on the floor.
When applying this type of putty, it is advisable to use oil-based paints due to insufficient compatibility with other substances.
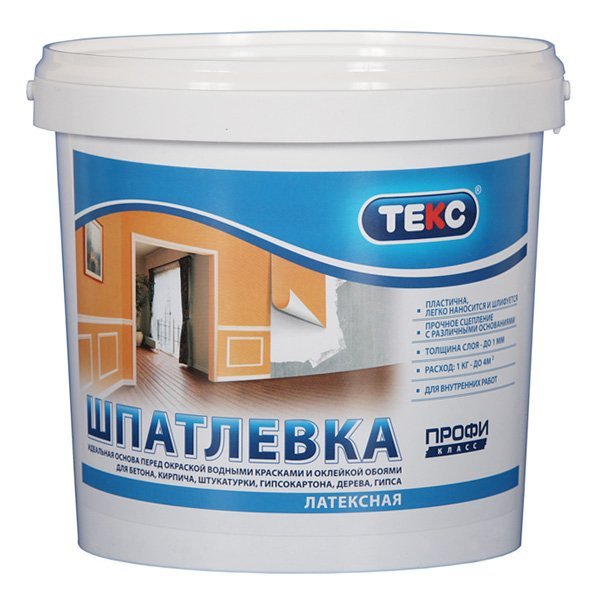
Latex
Hard putty gives the minimum shrinkage, is steady against differences of temperatures, has a wide color palette and high rates of adhesion. Its distinguishing feature is the possibility of applying a very thin layer without loss of strength.which is impossible, for example, for acrylic compositions.
In addition to the high price, the disadvantages of this type of finishing material can be attributed to the loss of the original characteristics during improper storage (freezing and thawing should not be allowed).
Acrylic, polyester and latex putties are used in the treatment of not only wooden surfaces, but also concrete, brick, gypsum-fiber and gypsum plasterboards. The exceptions are metal bases for which oil and polyester compositions are used. No kind of putty ensures that over time painted walls will not be covered with cracks and bubbles.

Significantly reduce these phenomena allows fiberglass, which is glued to all surfaces, and then put the finish layer of putty.
The material is used for all surfaces, including gypsum fiber board and gypsum plasterboard, since cracks in the seams of the plates appear the fastest.
Careful preparation of the surface before the putty increases the time until the next repair.
Surface preparation
Alignment methods can be divided into three groups:
- grinding;
- applying a layer of plaster;
- facing plasterboard.
It is not necessary to grind a solid surface with fresh plaster: it is enough to remove large protrusions with an emery cloth.
If there are cracks on the walls, or the plaster has peeled off, then it is knocked down by accessible methods (perforator, chisel), then the cleared places are filled with fresh mortar. It is better to completely remove and apply a very old plaster that has showered with a touch. After the plaster has completely cured, the surface is primed and left for 5-7 hours for complete drying.
If the irregularities have drops of no more than 2-3 mm, then you can begin to apply a layer of starting putty.
Previously painted or wallpaper coated surfaces are cleaned of old coatings before plastering andground reinforcing compositions. When performing cleaning work it is important not to damage the wiring to avoid electric shock.
Textured plaster is not putty, and coated with a primer and put paint.
All types of wooden surfaces grind and close up the deepest irregularities. Then necessarily treated with antiseptic compositions, and, if necessary, means that make the material fire resistant. After that, the surface can be painted.
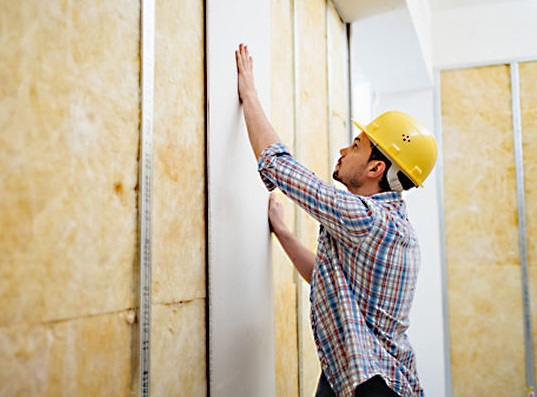
An alternative to a complete cleaning of the walls with subsequent plastering is the finishing of sheet materials GKL and GVL. Reducing the time to prepare the walls before the putty, he will not allow: creating a frame, fixing it to the wall, calculating the size and cutting of sheets, screwing in the screws is not a quick process.
Before filling it is important to make sure that all the caps of the screws are below the surface level, and screw in the speakers.
The use of sheet materials gives the walls a tidier look. But it should be remembered that drywall does not tolerate loads in the form of shelves, doors and other interior elements. For these purposes, more expensive but strong gypsum-fiber material will be suitable.
An important point in the preparation of the surface for painting is the use of primer compositions corresponding to the base material, its strength, the purpose of the room and the type of putty. The market offers a large variety of primers, instructions on the label will help to find out the area of its application.
Plastered or concrete walls are fully primed, plasterboard - first joints, and then the entire surface. After complete drying, you can begin to putty.
Subtleties of the process
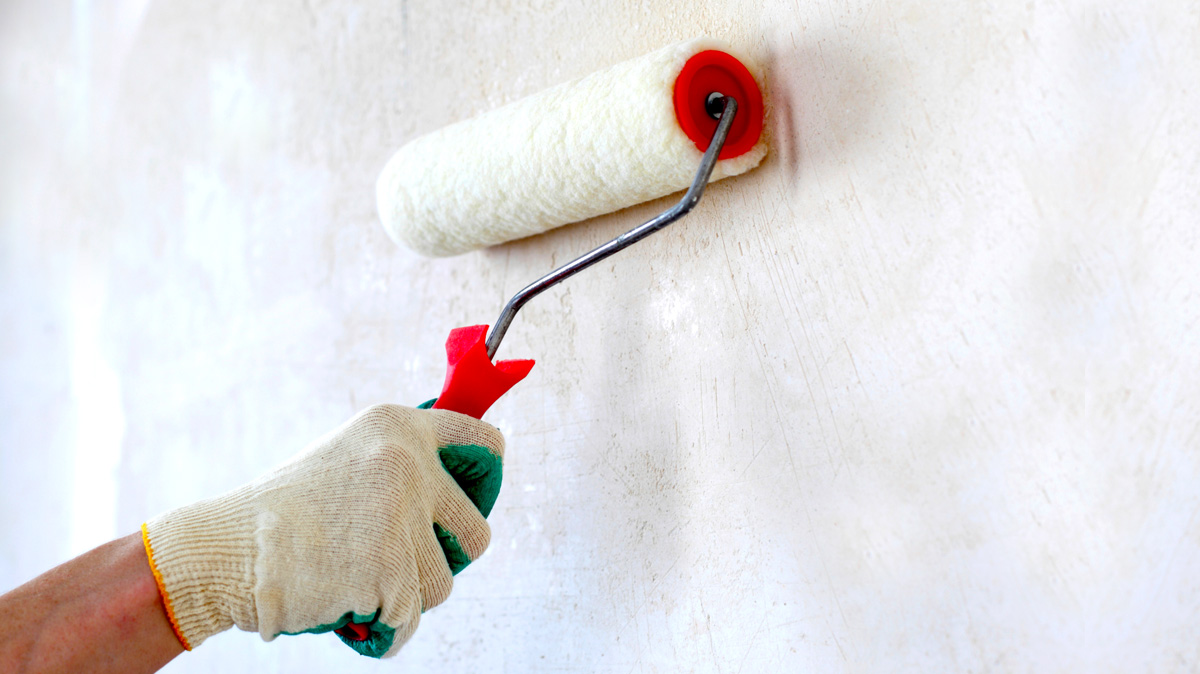
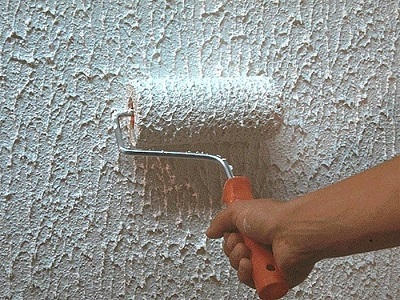
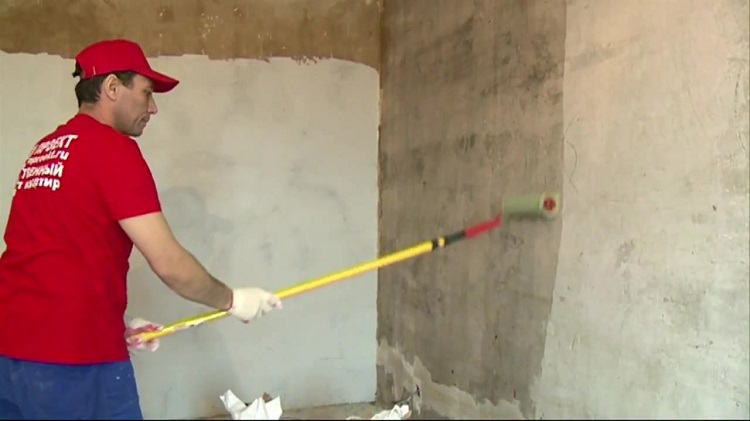
The primer is applied with a roller, a wide brush or sprayed with a spray.
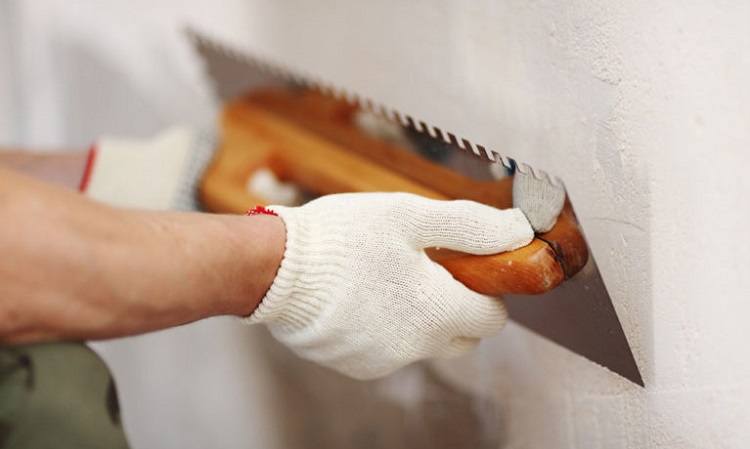
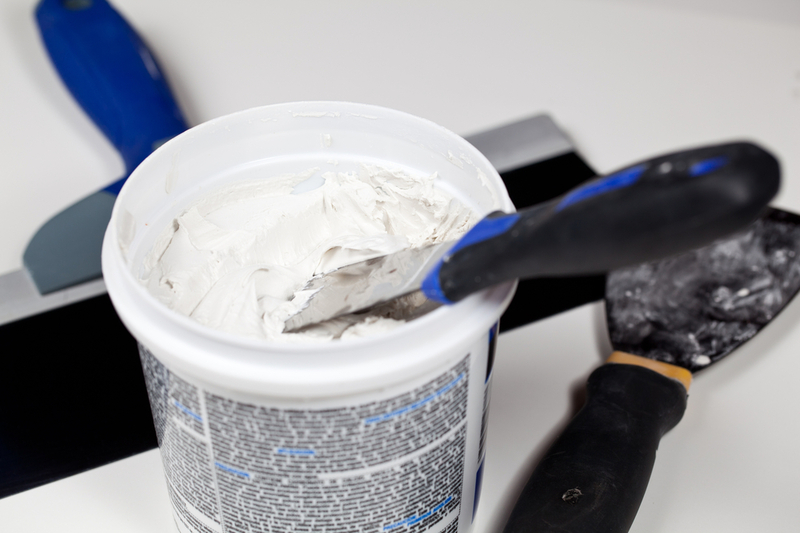
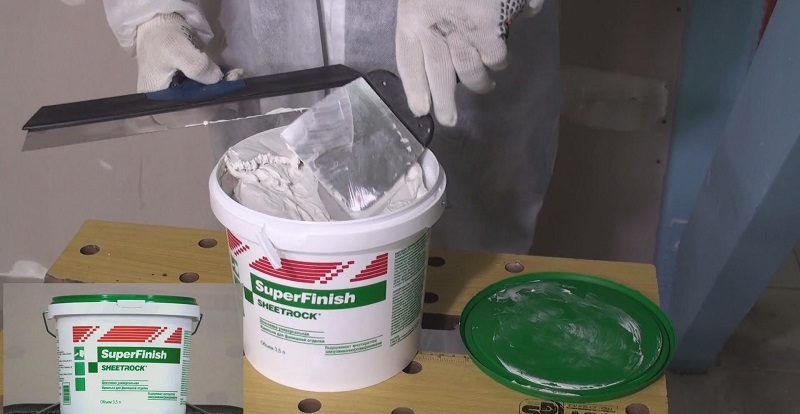
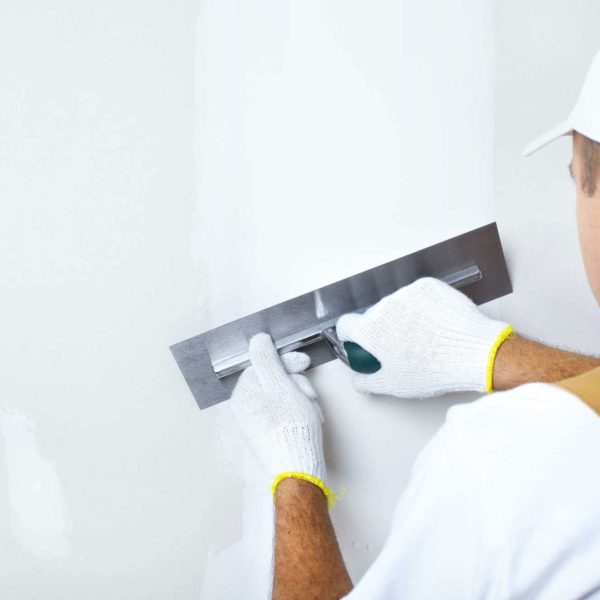
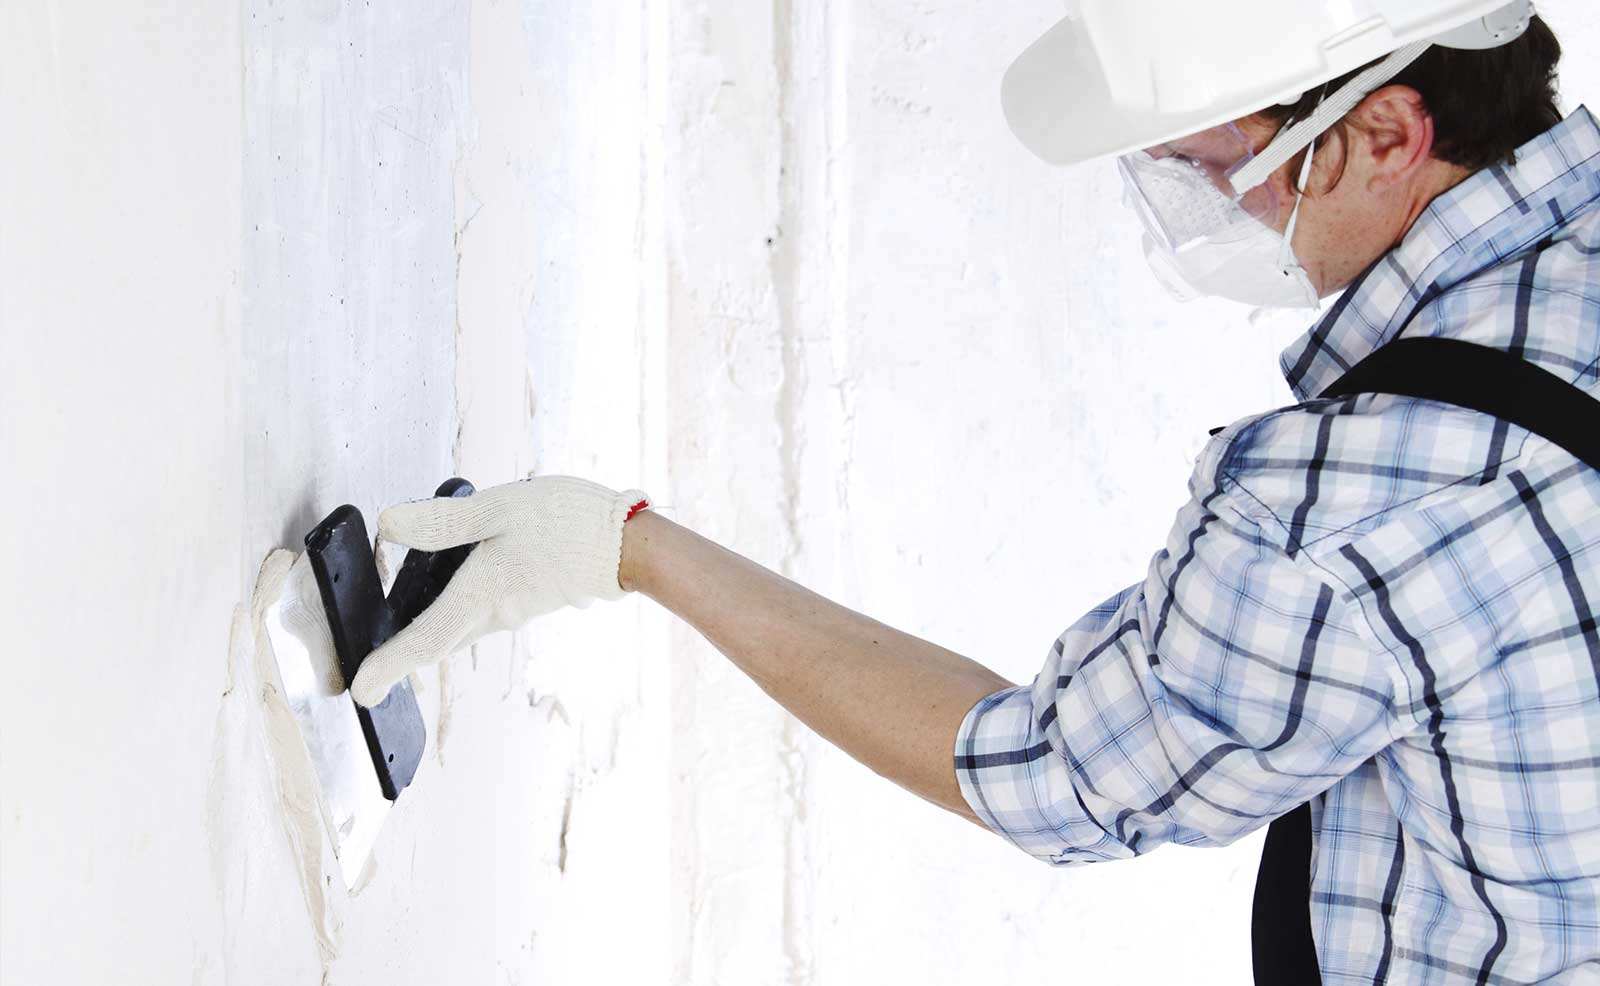
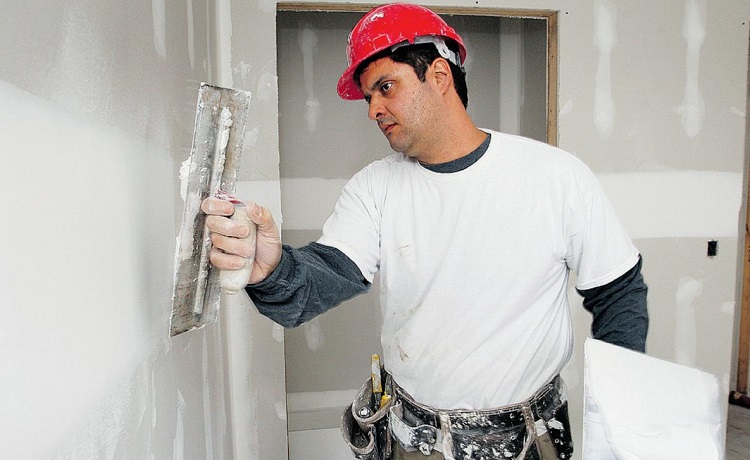
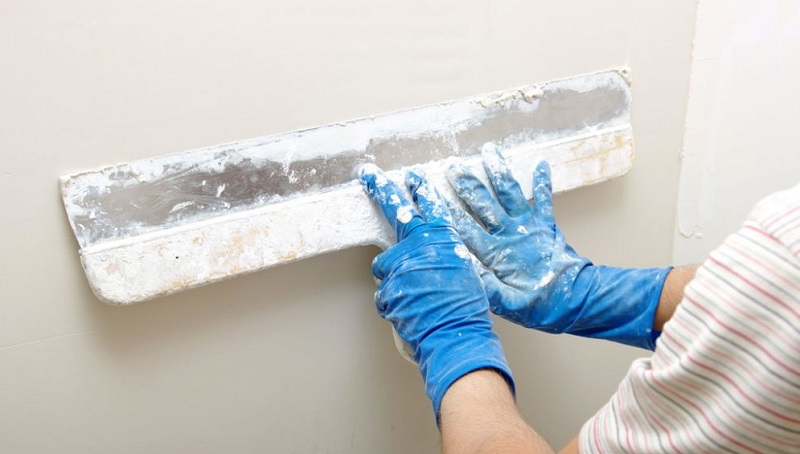
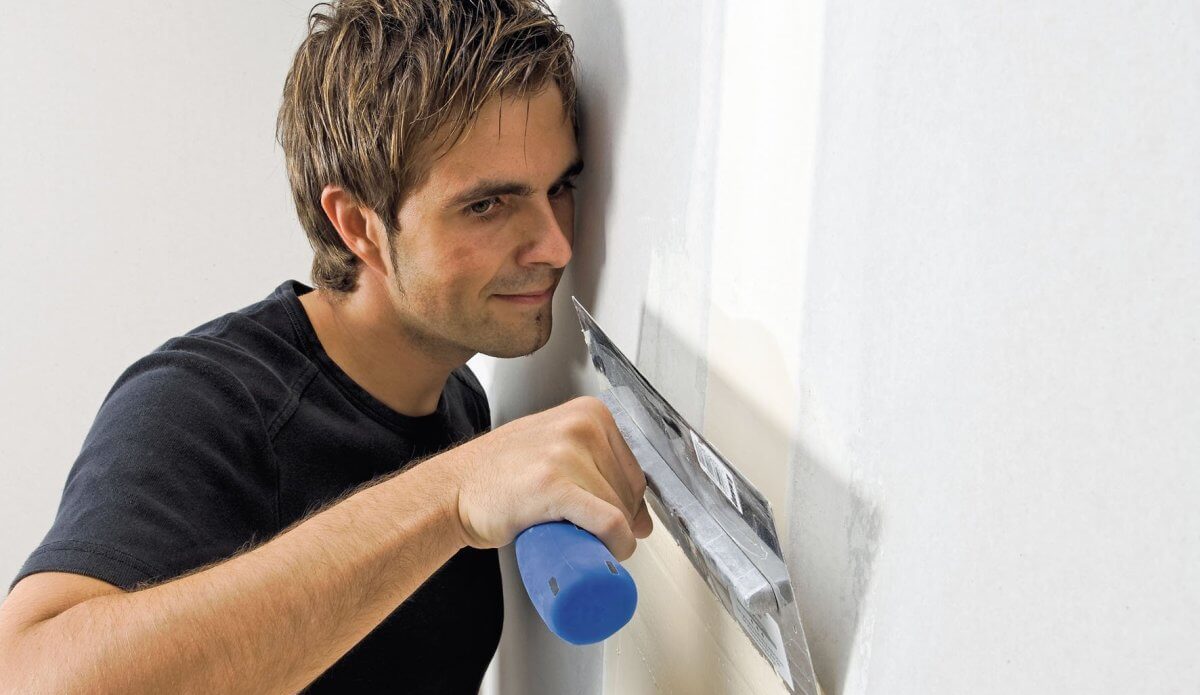
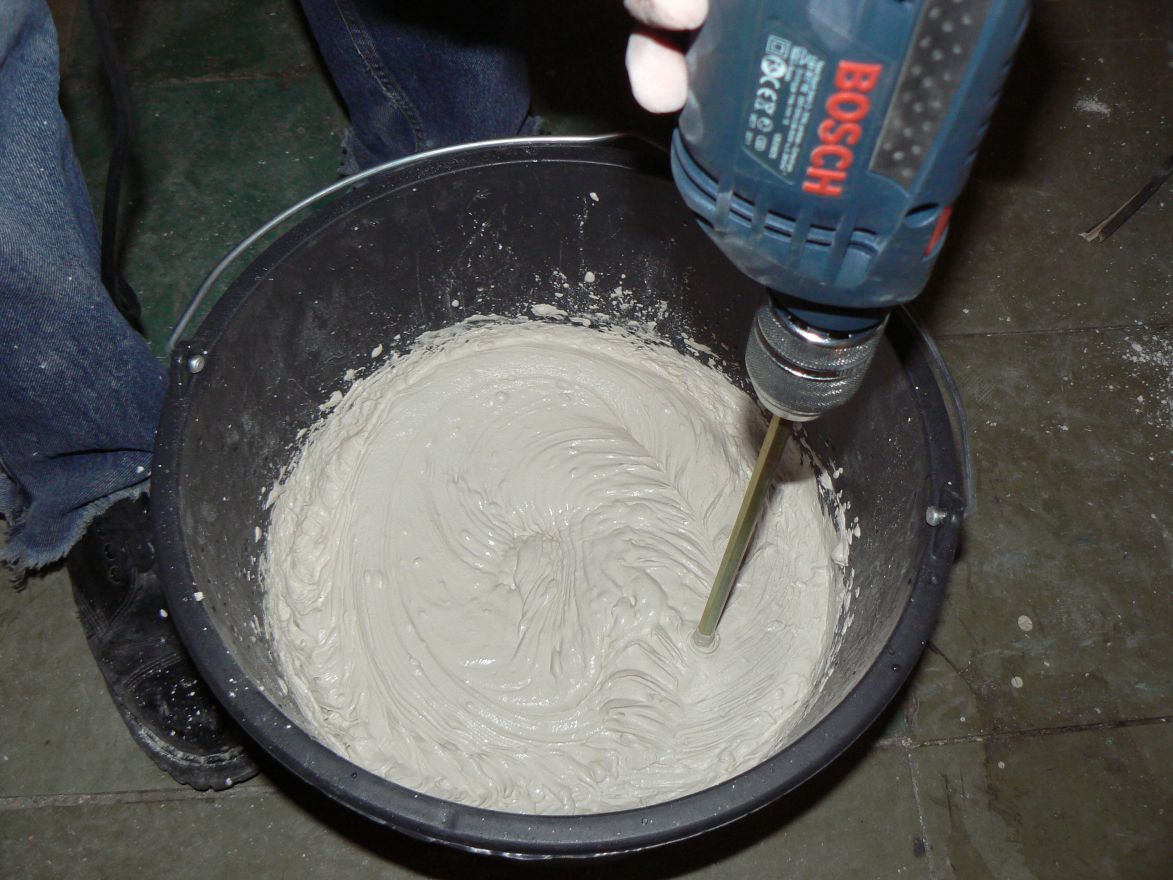
Putty - spatulas of various sizes: wide - 50-80, medium - 20-30, small - 5-10 centimeters. Preparation of the solution from the dry mixture is performed by a construction mixer. In case of its absence, you can use a drill with a special nozzle for mixing solutions.
Zatirochnye nets of varying degrees of graininess will be needed to eliminate irregularities at all stages of filling.
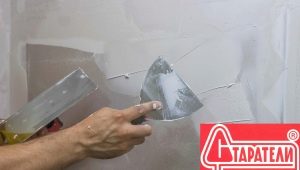
The first step is a rough alignment of the starting lineups.
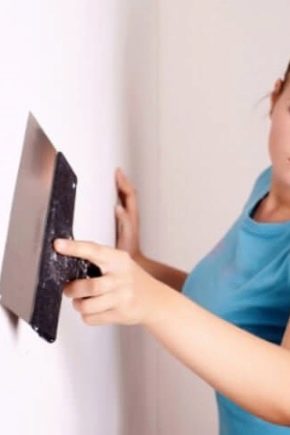
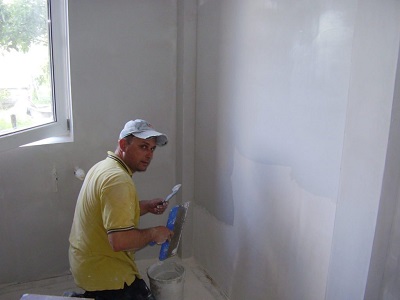
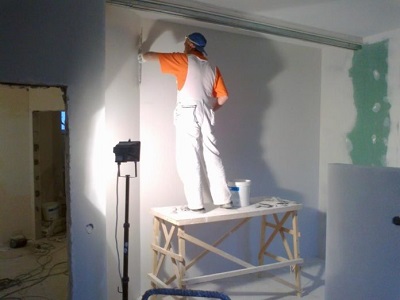
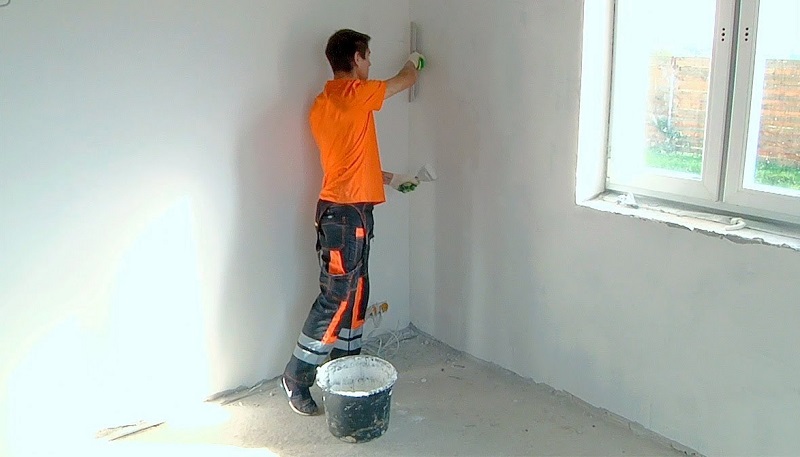
Properly putty walls with their own hands is easy, but care is required, patience and adherence to the order of work:
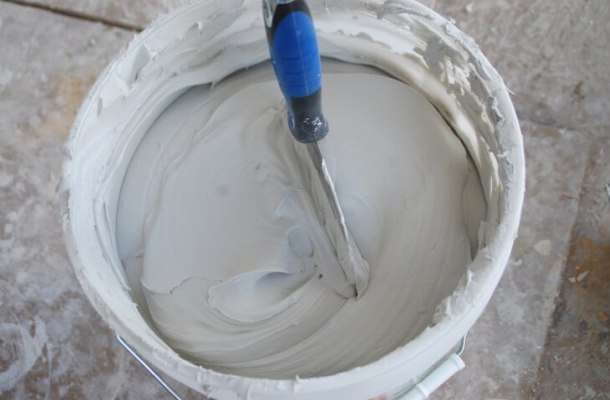
- following the instructions on the package, the powdered composition is diluted with water and stirred until the desired consistency is obtained;
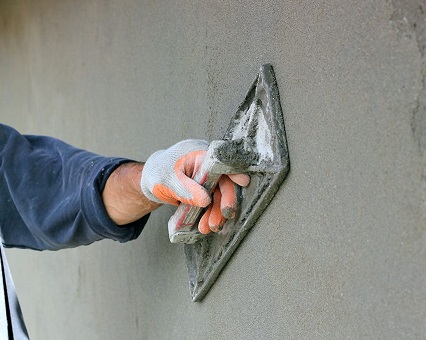
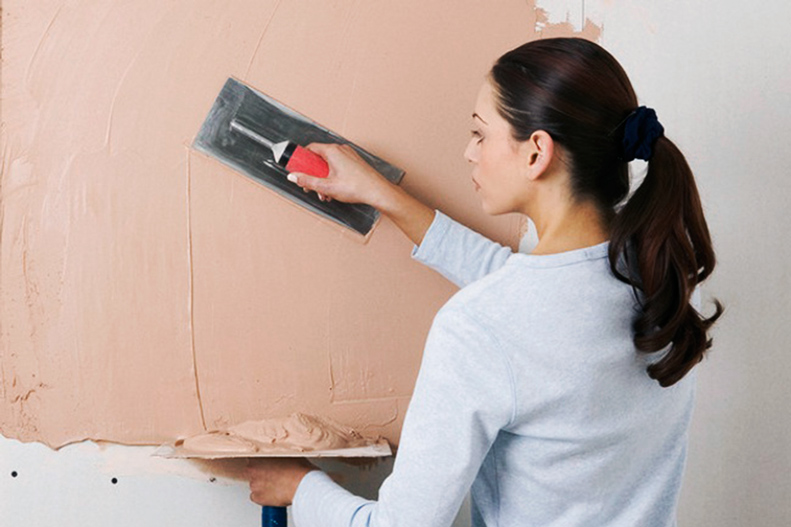
- medium (or small) with a spatula composition is recruited from the tank and spread on a wide;
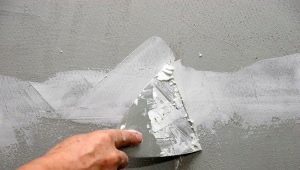
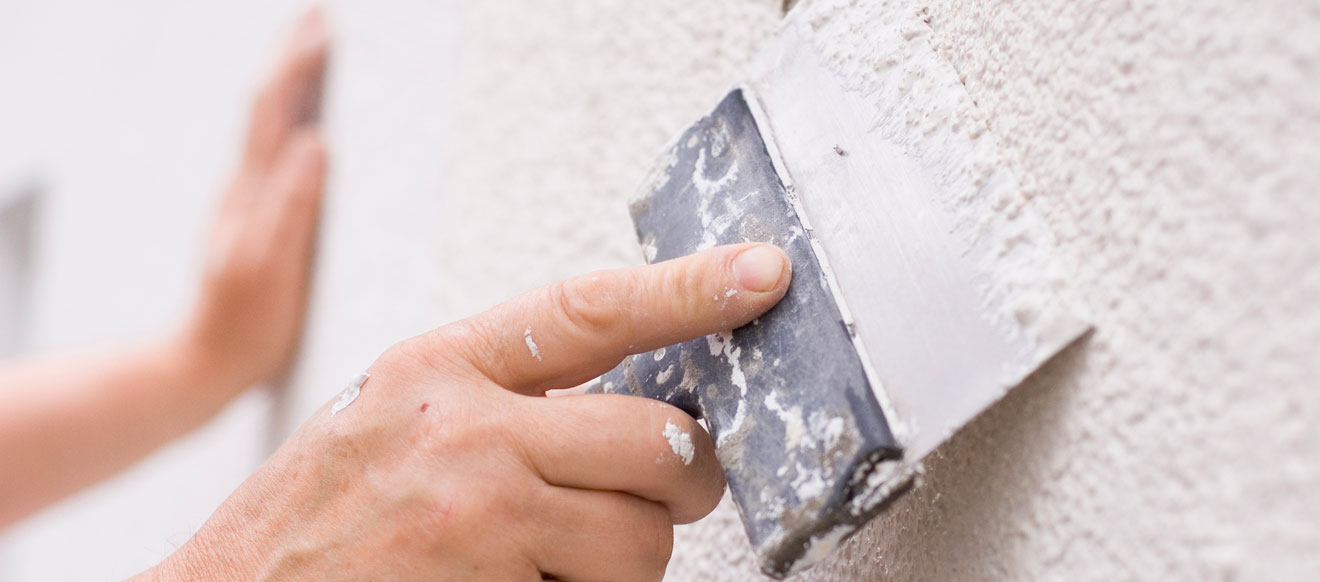
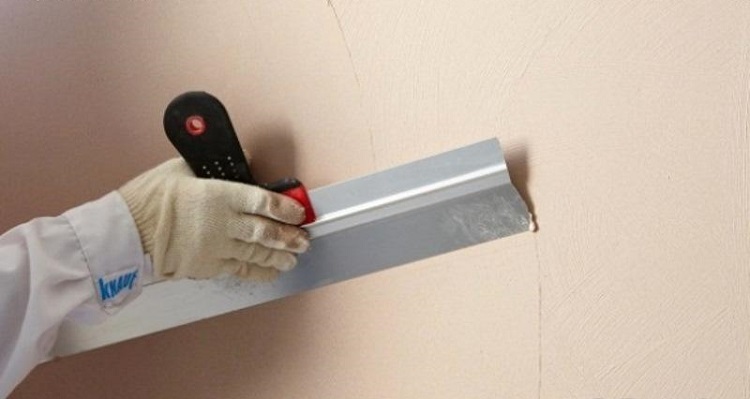
- smooth movements with a wide tool put the material on the wall diagonally, while holding the tool at an acute angle (about 30 degrees) to the surface;

- each subsequent application is carried out in the direction perpendicular to the previous one;
- medium and small spatulas correct small errors, level the surface in hard-to-reach places;
- in the absence of an angular spatula, plaster profiles can be used, which are fixed in the corners before starting work;
- putty put such a layer to smooth out the largest hollows.
To strengthen the layer of putty used special mesh (2x2 mm). To do this, impose it on a layer of putty and press down, and cover with another layer of solution.
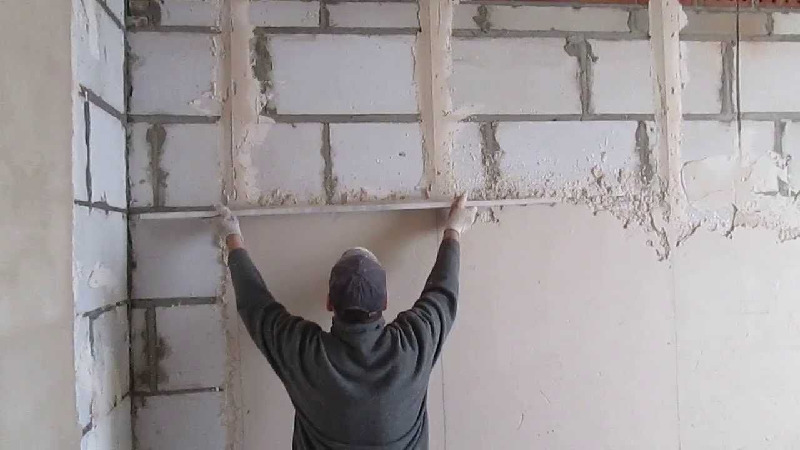
The number of layers depends on the degree of curvature of the surface. In the case of significant irregularities at the starting stage can be used "beacons" - metal or wooden slats, which are strictly vertical (horizontal), level. Lighthouses are attached to the walls with quick-drying putty.
In this embodiment, for leveling the composition on the surface, it is better to use a rule - an aluminum rail, 1–3 meters long. Putty put on the wall between the lighthouses and carry out the rule, tightly pressing it to the lighthouses.
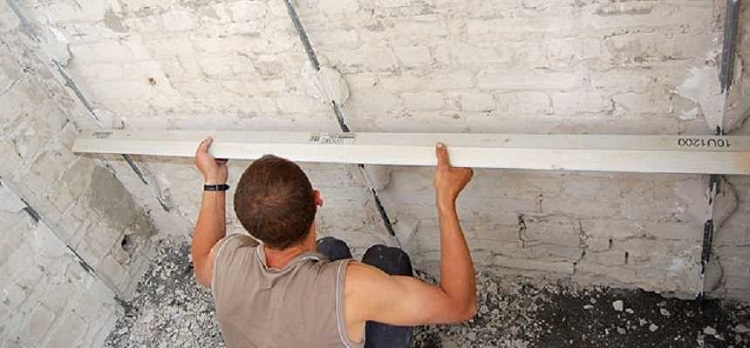
Horizontal alignment is performed in the same way. Beacon puttying is rarely used due to the high consumption of materials.
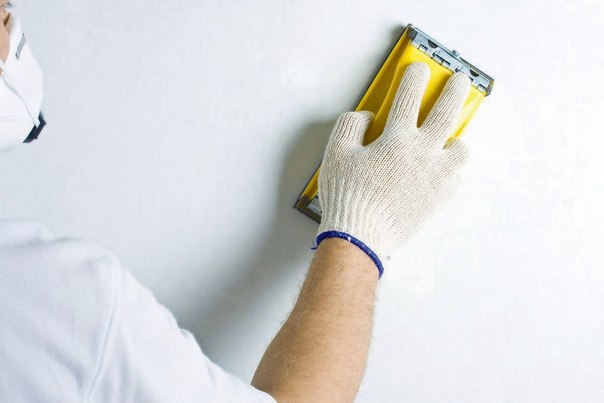
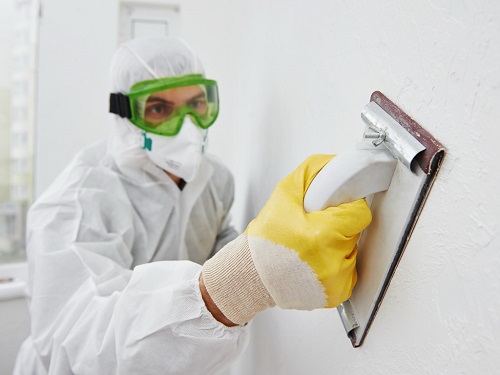
The starting layer is left to dry for 6 to 8 hours, after which they start grinding: a rough surface is cleaned with a grid of coarse structure or sandpaper. Then the walls are cleaned of dust and covered with a layer of primer.
The second stage of work - the creation of smooth finish compositions. The technology of working with tools and materials does not differ from that described above, but there are certain nuances.
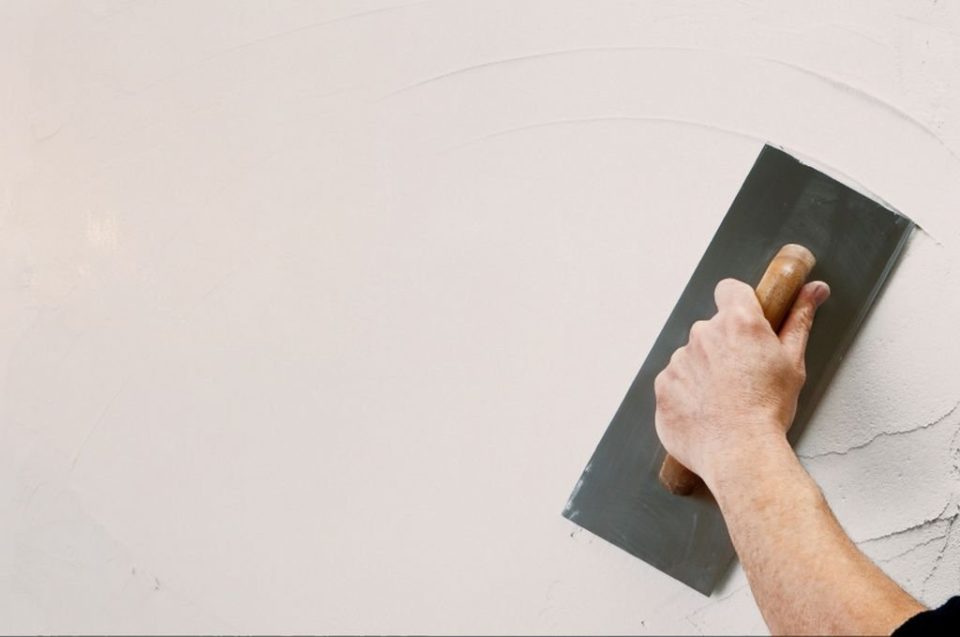
- The finish layer is made much thinner (2-3 mm). After complete drying, the walls are rubbed with a fine abrasive mesh to full smoothness. However, in some places it can be almost completely cleaned off: this is allowed by technology.
- The number of additional layers determines the smoothness achieved. After drying, they are also cleaned.
- At the final stage, polishing is done with illumination: at an acute angle, the beam will show defects that will become clearly visible only after dyeing.
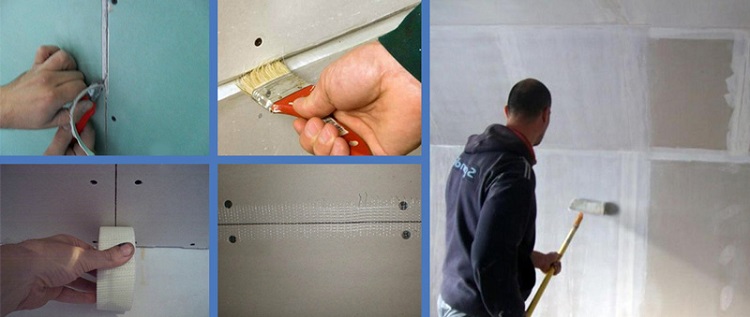
Putty plasterboard surface for painting has its own characteristics. Stepwise algorithm has the form:
- the surface is cleaned from dust;
- the edges of the sheet, which were cut in the process of laying, need to be cut at an incline of 45 degrees with a sharp knife;
- the seams and screwing points of the screws are grounded and sealed with a special grout;
- Serpyanka (paint mesh) impose on a fresh solution and press down with a spatula to bleed through the putty over the mesh;
- plasterboard construction can have external corners, they are reinforced with special angles (metal or plastic), which are also pressed into the layer of putty;
- after drying (3-4 hours), the irregularities are ground and ground.
The peculiarity of the process for tiled structures - the entire surface is filled only with a finishing compound, in a thin layer.
Tips and tricks
To improve the quality of work will help the advice of experienced builders.
- Putting the newly created building structures should be started in one to two weeks. Final shrinkage of materials should occur.
- For not very experienced builders, it may be difficult to purchase a putty compound.In this case, you can stop the choice on universal putty known manufacturers.
- It is desirable to select a primer for wet rooms with an antiseptic in the composition.
- Do not prepare a solution more than 4-5 kilograms at a time: in 40-60 minutes it will grab and will be unsuitable for work.
- Grinding should be done in a mask: dust that will crumble during the work is harmful to health.
- You can not use heaters and hair dryers to speed up the process when the putty dries, so as not to cause cracking of the finishing layer.
- The degree of flatness of the surface can be checked using the rule of great length.
- Putty is kneaded only in a clean container. Wash and wipe the tools need immediately upon completion of the work.
After self-fulfillment of all stages of puttying, painting walls will seem an easy and pleasant process. In gratitude for their patience and diligence, painted surfaces will long please their owners with beautiful color and even shine.
On how to putty the walls for painting with your own hands, you can learn from the following video.