Plastered walls: details and peculiarities of the process
During repairs, it is often necessary to choose not only furniture or wallpaper, but also finishing materials, thanks to which the walls will look harmonious. Putty is an indispensable element when leveling the side surfaces of a room for the purpose of subsequent pasting wallpaper or applying other decorative compositions.
Putty is designed to eliminate roughness and cracks in the wall, as well as to seal them.
If you choose a special putty with hydrophobic or antifungal polymer components, then you can also protect the walls from damage and swelling.

Special features
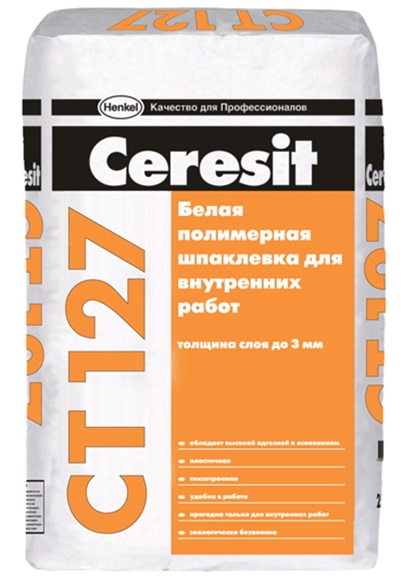
Most often, the putty consists of one main element such as cement, gypsum or acrylic with the addition of fine particles for better penetration into the surface with any texture. A more expensive option is polymer-based composite compositions that have several advantages, thanks to which the puttying is much faster and more efficient.They cost more, but they will last 5 years longer.
There are separate compositions for interior work in residential and commercial premises, as well as for repair in the fresh air. To choose the right material, it is necessary to clearly understand for which particular building elements a mixture is required. If you want to putty with the same high quality both inside and outside, as the facade of the house, and the window opening, you can buy a universal putty, which is the most expensive in its line.
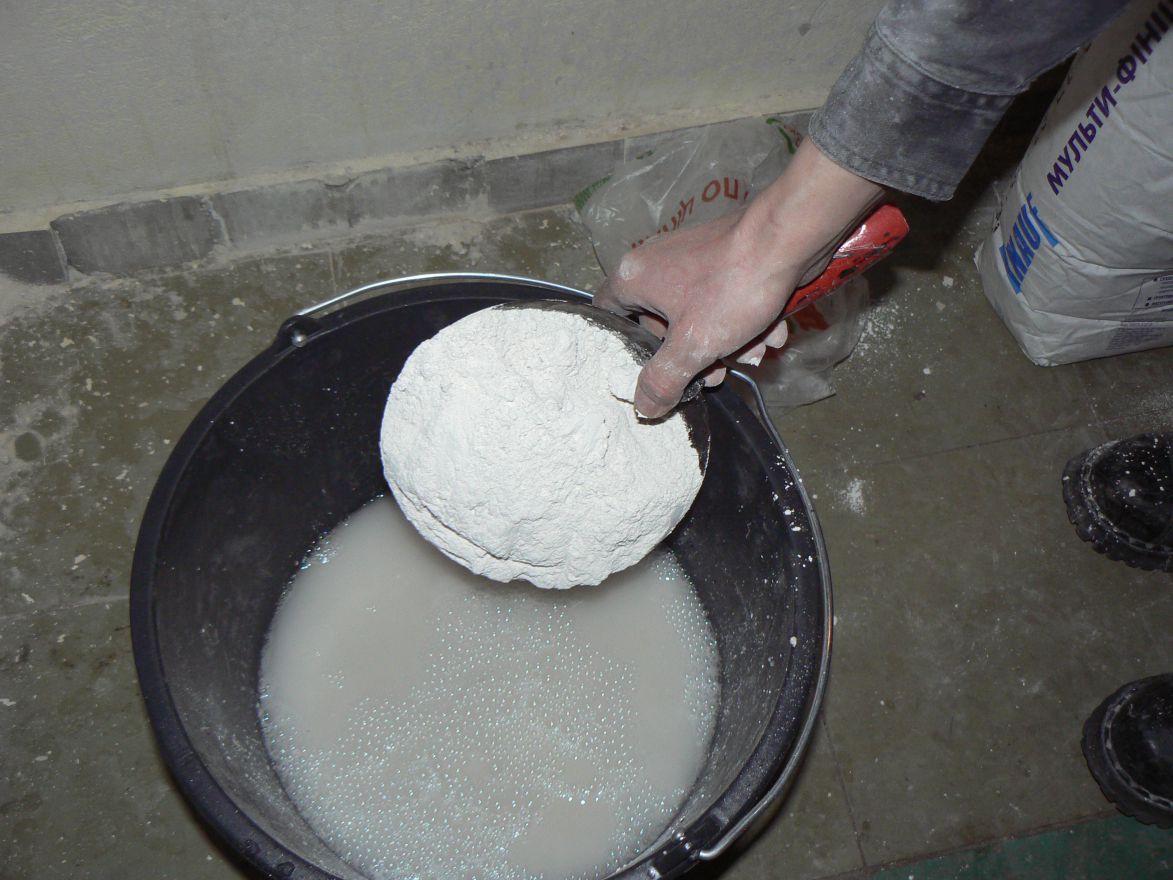
Putty is sold in different aggregative states - as in the form dry mixthat you need to breed yourself, and in ready-to-use creamy slurry form. The dry version is stored longer, and only it can be brought to the consistency that is required for embedding a concrete wall. With the mixture less trouble, there is also no risk of adding excess water and turning the putty into a liquid gruel. There are also no clouds of white dust, leaving traces everywhere when pouring dry mixture into another container.
The minus of the already divorced version is twice the price and less long-term storage.Another last option gives a serious shrinkage when applied with a thick layer of more than 5mm.
There are several stages of the filler process, and different materials are needed for each stage of application. Allocate starting putty and finishing. The last layer should be more dense, so the texture of the coating needs to be viscous and plastic. In any case, even if after the completion of the puttying process, the result was not liked, you can always redo it by re-applying another layer.
Despite this clear advantage over other finishing materials, it’s still not worth overdoing with the addition of fillers to the putty - with a layer of more than 30 mm it can start lagging behind the surface or swelling even under wallpaper. To avoid shrinking of the filler layer after long work, it is better to apply it on the wall in several stages. First apply the draft layer and let it dry for at least half a day. After that you can leave several finishing layers alternately on the wall.
This technology will ensure the durability of the finish, even in rooms with complex wall relief.
If you do not save on putty and acquire quality products from Western manufacturers, then it will be easy and convenient to work with.Polymer-based formulations usually lie flat, dry quickly and do not have a pungent odor. The latter characteristic is important in the decoration of interior living rooms, especially the bedroom or nursery. For special or technical rooms, putties with qualities such as the ability to withstand sudden temperature changes, as well as high humidity or the formation of steam will be suitable.
Possessing high plasticity, putty allows you to apply several thin layers one after another in order to achieve a perfectly smooth surface. Also after drying on putty You can go lacquer, oil paint or acrylic composition on water, and do not be afraid that water will dissolve the top layer. Even under adverse climatic conditions, a good putty should not shrink or crack, then the wallpaper will not depart prematurely.
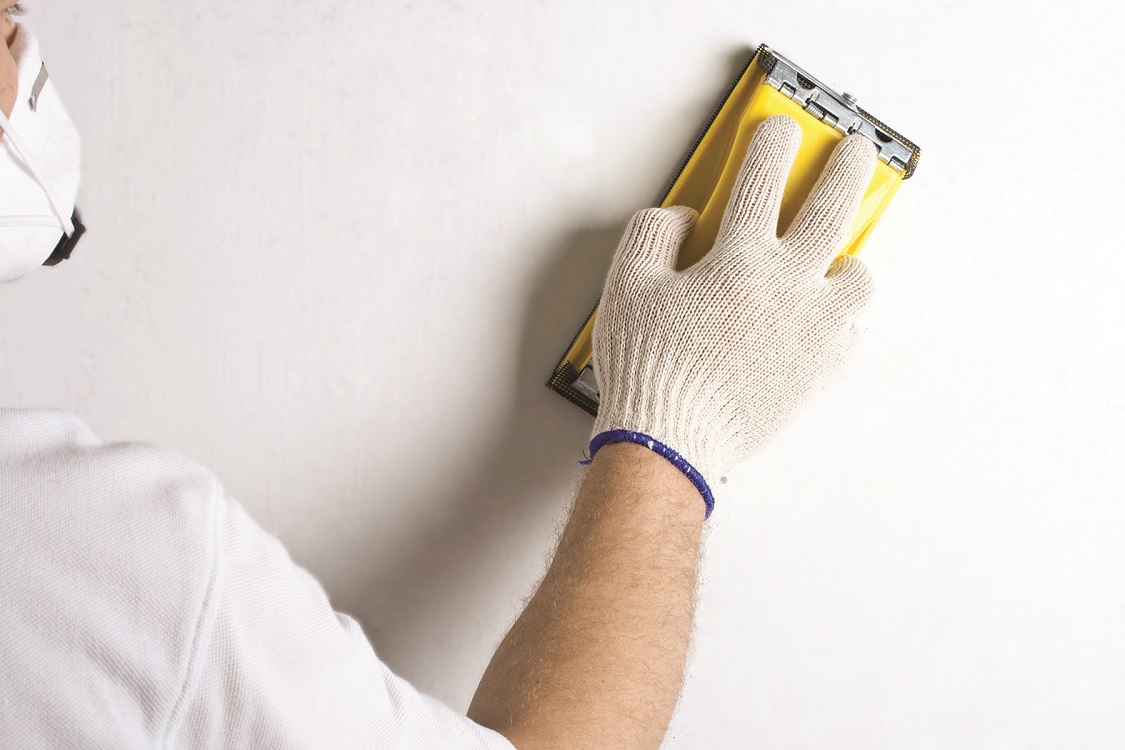
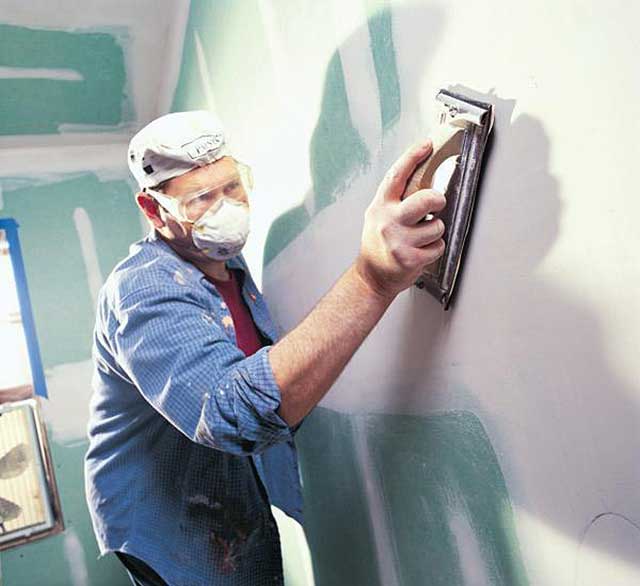
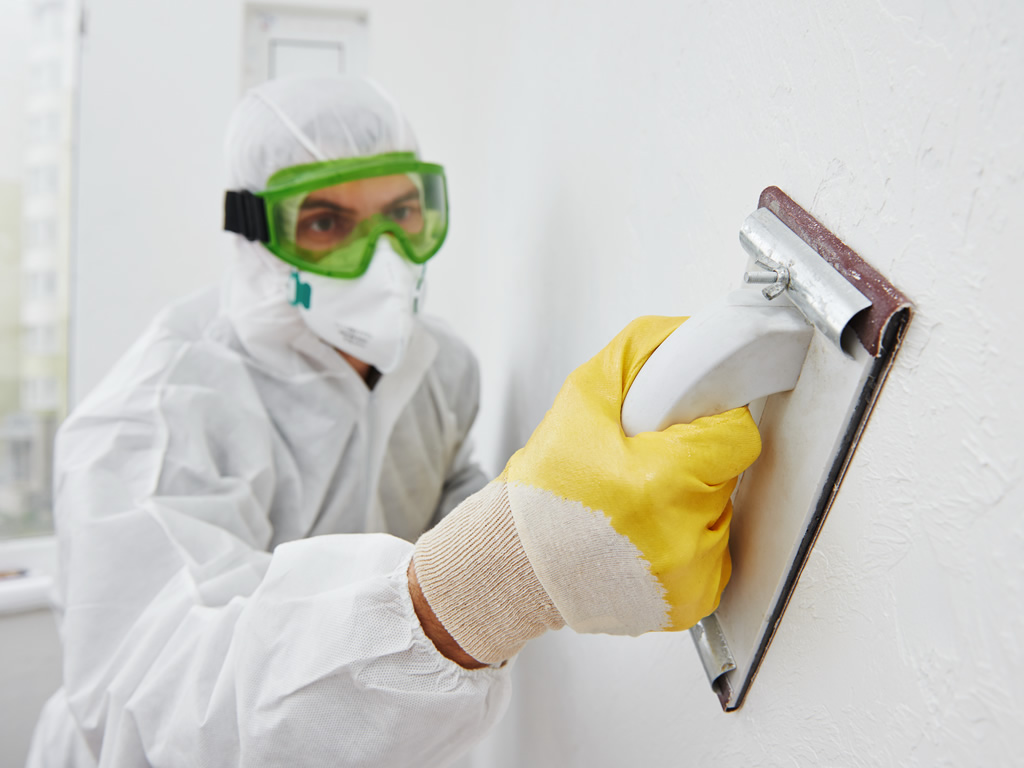
A slight discomfort can be caused by the fact that when grinding a wall with a special grinder or other equipment after drying the putty, you can inhale poisonous dust. Experts recommend working at the final stage of alignment in a protective mask in order not to get damage to the respiratory tract or burns of the cornea of the eye.
Fine dust, so effectively creating a perfectly flat wall, spoils sandpaper, quickly entering into sandpaper structures with its particles. Given this fact, you need to stock up with a sufficient amount of sandpaper, and the process of putty will be productive.
Types of putty
The classification of filler mixtures is made according to the main active substance in their composite composition:
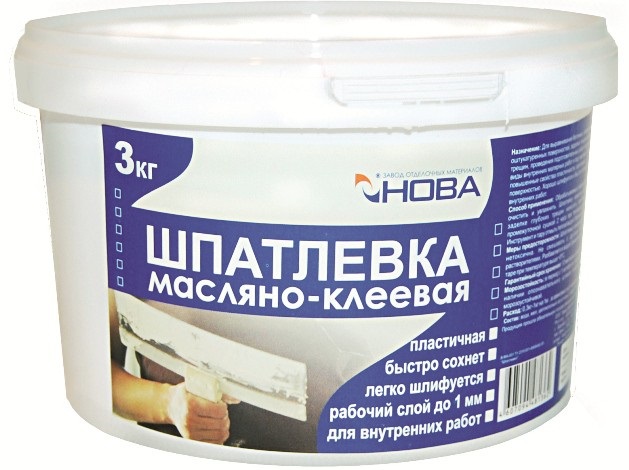
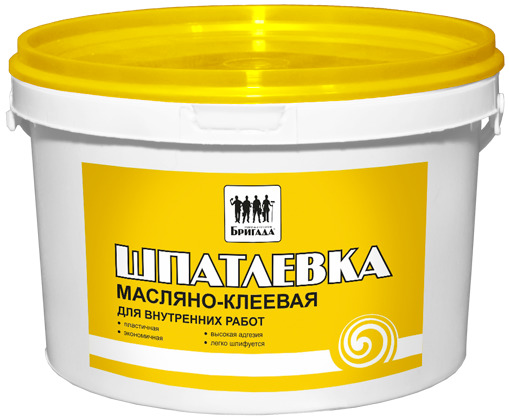
- Hard putty on an oil and glue basis considered the most economical option. At the same time, it very well resists high humidity and vaporization. It can also be subsequently coated with paint, but only on a similar oil base. This mixture is more suitable for technical premises such as basements, warehouses or boiler rooms, where the aesthetic appearance is not important, but the hydrophobic functions of the putty are necessary.
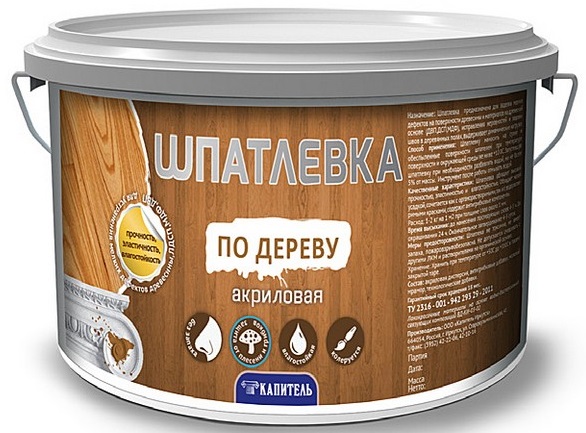
The wooden surface after applying the plaster is also perfect for filling with oil composition.
Under the subsequent wallpapering or painting with enamels, varnishes and acrylic, this material is not suitable - it will begin to swell and quickly absorbed into the base soil.
- Cement based putty It is used mainly for technical rooms where there is no constant heating, as it withstands temperature changes and high humidity well. These qualities are indispensable in the decoration of the kitchen or bathroom, where water fine suspensions are often deposited on the putty surface.
The main disadvantage of cement putty - poor elasticity, due to which the repeated application of layers shrinks the material. If the technology is incorrect, cracks may appear on the walls or in the joints.
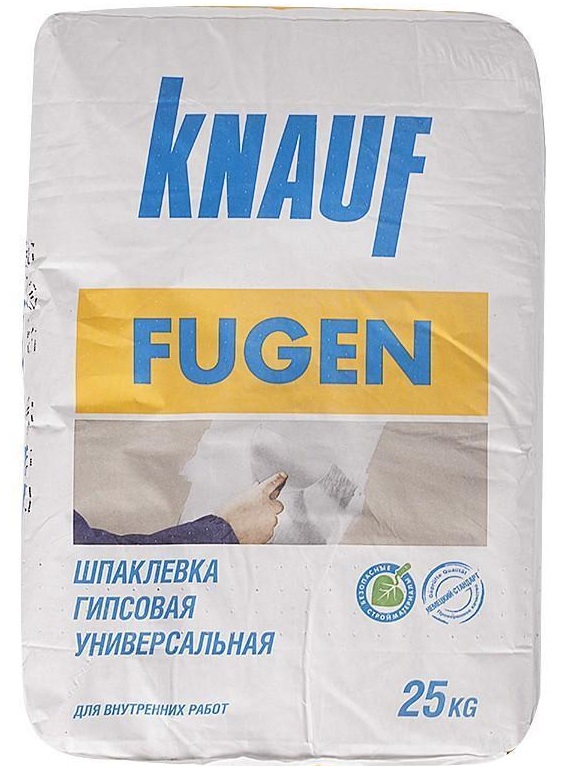
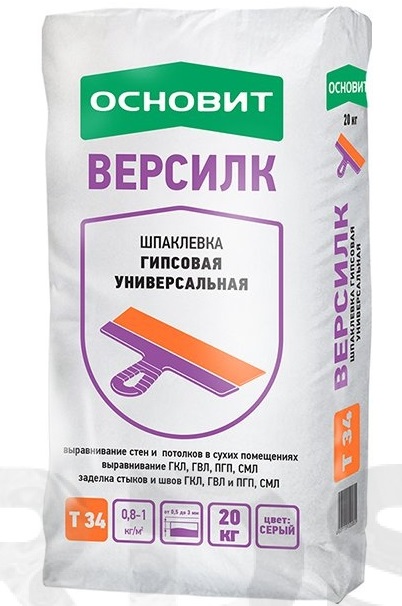
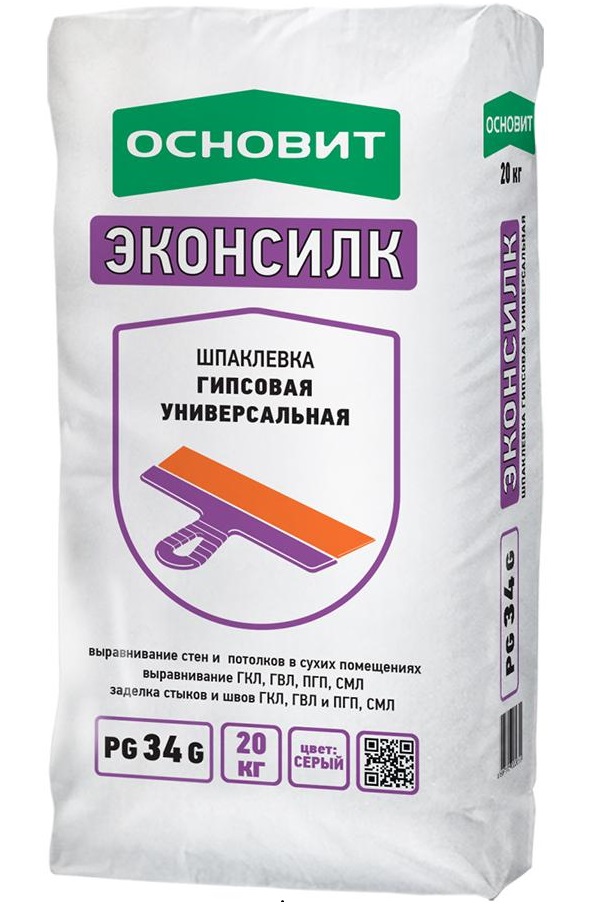
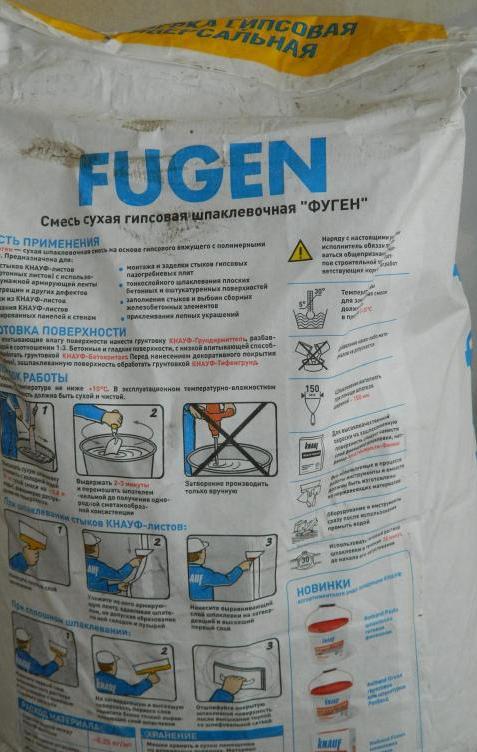
- Gypsum based putty - a very capricious material, as it is poorly resistant to a humid environment and a temperature difference, it swells and peels off from the base in such conditions. But plaster perfectly aligns even the most textured wall, creating a soft porous film on the surface. This putty can be applied with the last decorative layer, because it is absolutely harmless after drying and gives a noble matt-white shade.
The undoubted advantage of this putty is low price, so the gypsum base is most often used in the repair of residential and office premises.For an environment with constant heating and moisture content within the normal range, gypsum plaster will be ideal.
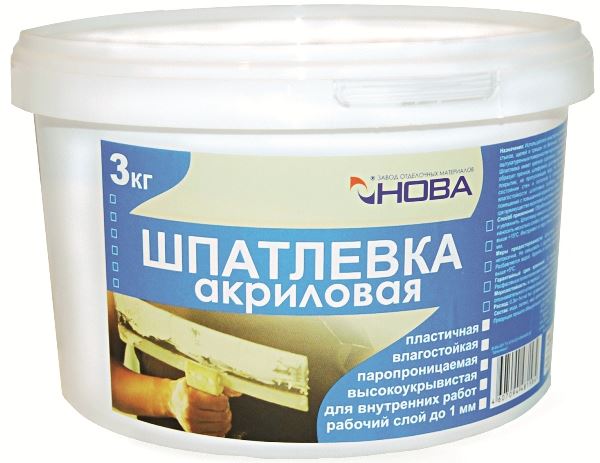
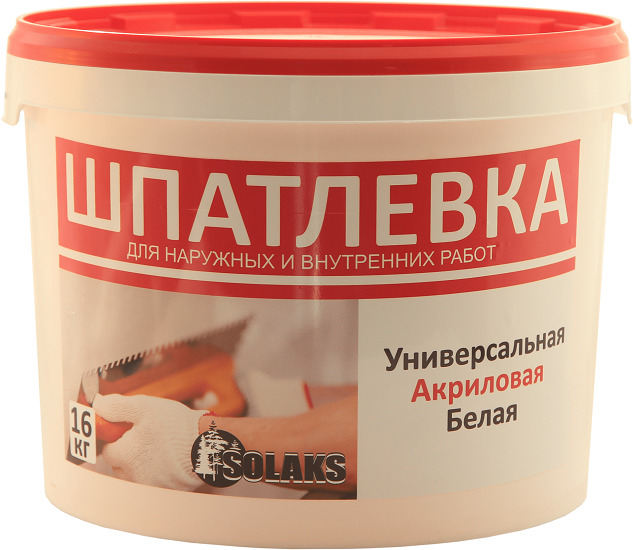
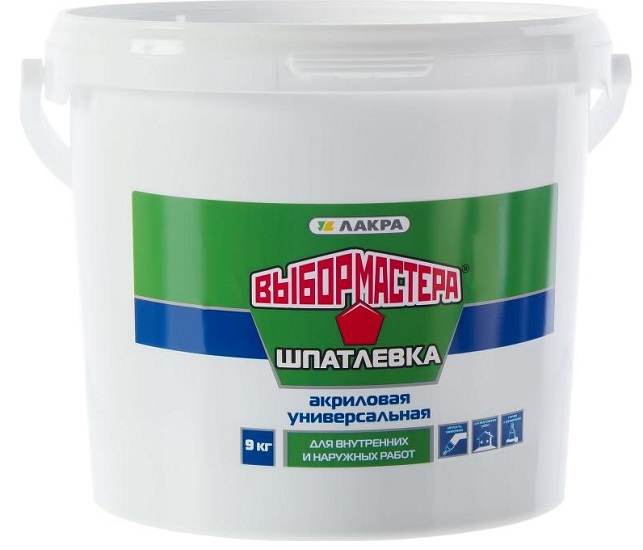
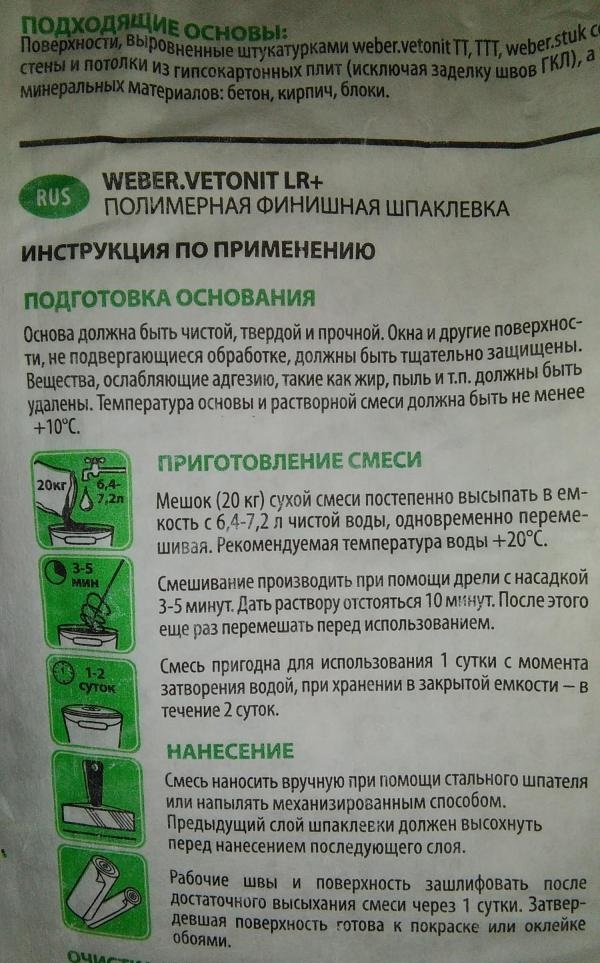
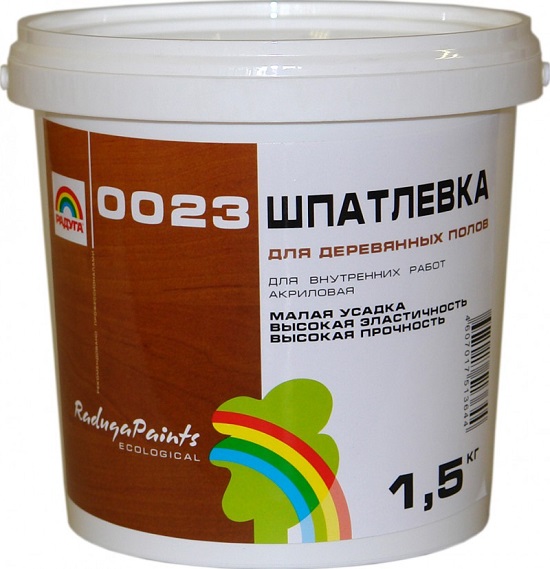
- Acrylic or water-based putty - the safest for use in residential premises, because water does not harm human health. It has good ductility and toughness, so it perfectly fills small cracks and chips in the walls, leaving an even layer, pleasant to the touch.
On acrylic, you can stick wallpaper or paint putty similar in composition acrylic paint. It dries quickly and does not emit a pungent odor. Minus acrylic putty - low moisture resistance. Therefore, it is better to use it in rooms with a constant temperature and lack of water vapor.
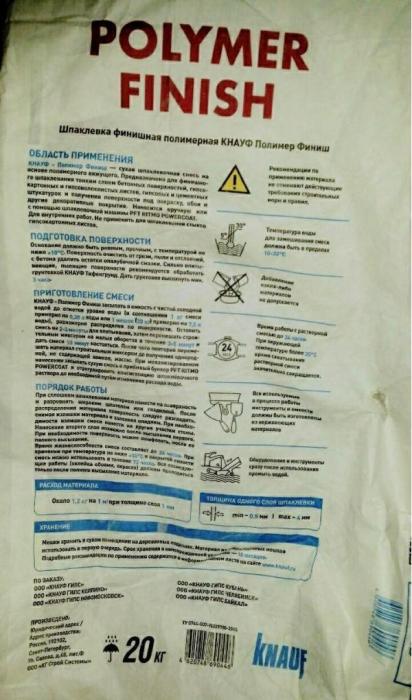
- Putty on polymer base - the most high-tech and at the same time the most expensive of all the above products. Thanks to the composite base, such a composition gathered the whole set of advantages for leveling walls. The polymer base has a high elasticity, so it is often used as a finishing layer to hide irregularities and small cracks left after the initial application.
It dries quickly, is easy to apply and economical to use, which slightly compensates for its rather considerable cost.
The quality of the treated surface after the polymer putty is much higher than after the cement or oil, and it will last longer. This putty is used not only under the wallpaper, but simply left without additional layers as a textured raw surface with the effect of antiquity and scuffs. It is also used when after the putty layer it is necessary to apply a thin material, for example, decorative plaster or wallpaper in the style of screen printing.

Another no less popular classification is the separation of putties by order of application of layers:
- Starting putty or a surface-leveling primary layer. The structure of such putty is very rough, it is itself dense and high strength. The first layer comes into contact with the untreated wall, on which, in addition to moisture, grease and dirt, there can be particles of previous paintwork and paper layers, as well as construction debris. Even putting a putty on top of the plaster layer, it is impossible to be sure that all of the above defects have hidden the layer of plaster.The main task of the starting putty is to fill deep cracks and chips in the wall, so it is applied with a sufficiently thick layer - about 15-20 mm.
Due to its granular structure, this material has good adhesion or ability to adhere to the surface. It is worth starting putty is relatively inexpensive, so many decide to save money and leave the surface in this form, without applying extra finishing layers. This is wrong, as the structure of the starting putty itself does not allow the wall to be perfectly smooth, but only prepares it for the next layer with leveling functions. The longer it is possible to give each separate layer to dry before applying the next, the better the surface preparation will be for pasting wallpaper.
- Beacon putty - unfamiliar material for the Russian consumer, as he simply does not understand its difference from the starting one. The composition and the final result of the lighthouse and starting putty are not much different from each other, but the first option can be used as an intermediate layer between the beginning and the finish.
The beacons are wooden or metal slats, exposed on the sides of the putty zone in order to guide the flatness of the walls.
They are glued to the plaster mix.After hardening, it hardens well, and then also leaves the surface well, leaving no traces. This material is less granular than the starting putty, therefore it primes the surface better. The price of lighthouse putty is significantly higher than the starting one, so with a limited budget you can do without this technology.

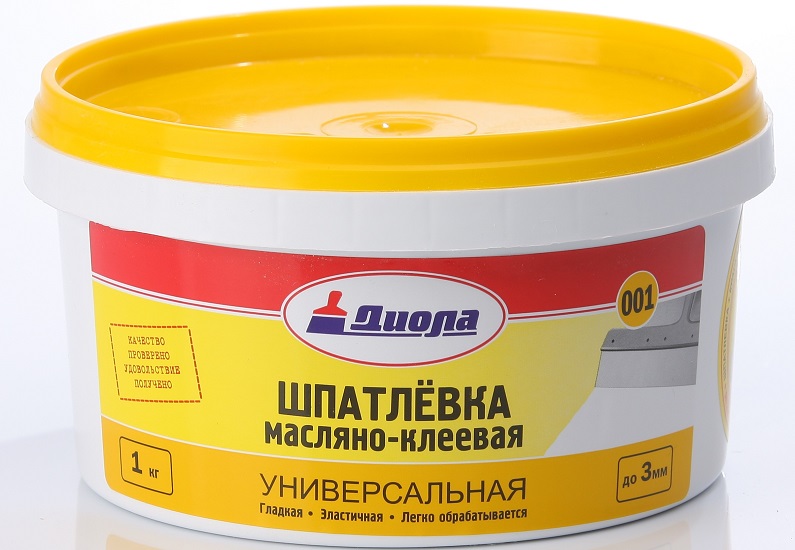
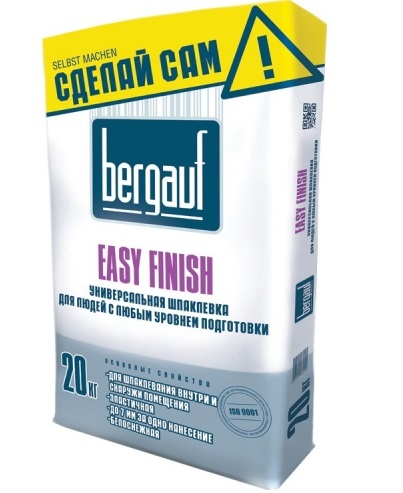
- Universal putty - an option for the lazy, because it combines the properties of both starting and decorative mixtures. It is suitable for those who want to quickly complete the repair, and I am sure that they will not understand the intricacies of applying different types of putty to each other. Despite the markedly higher cost than the above options, it is inferior in properties to both starting and finishing putties. The universal mixture is not so granular in structure, therefore its adhesion is not so great and less plastic, due to which it can be used only for walls without obvious irregularities.
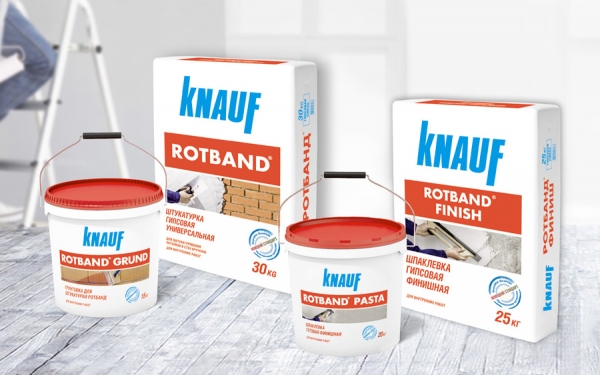
Finish layer
To learn how to properly putty walls in an apartment, you need to understand that the finishing layer is one of the most important stages of this process. For these purposes, it is better to buy a can of finishing putty.It is not intended for leveling deep cracks and chips, because before that, layers of starting and lighthouse putties had already been applied.
If the first few applications were performed poorly, then finishing putty is unlikely to correct the situation. Its main purpose is to create a smooth surface, onto which it is then convenient to glue wallpapers or fix other decorative elements. Apply this composition should be as thin as possible - no more than 5 mm. The strength of the finishing putty is much lower than the starting one, so it should be applied very carefully, filling it with only small grooves and chips in the wall.
The second name of the finishing putty - decorative, which means the possibility of its use as the final element of the surface finish. It adds texture to a perfectly smooth wall, especially if plaster or polymer fillers are used. In modern loft interiors and art spaces, this is not uncommon.
The walls there are often left in the layer of uncleaned and unaligned putty, sometimes even specially gouging it into the chips.
Criterias of choice
To choose the right putty and then not to alter the repair, it is necessary to clearly understand for what purposes and types of work it is intended:
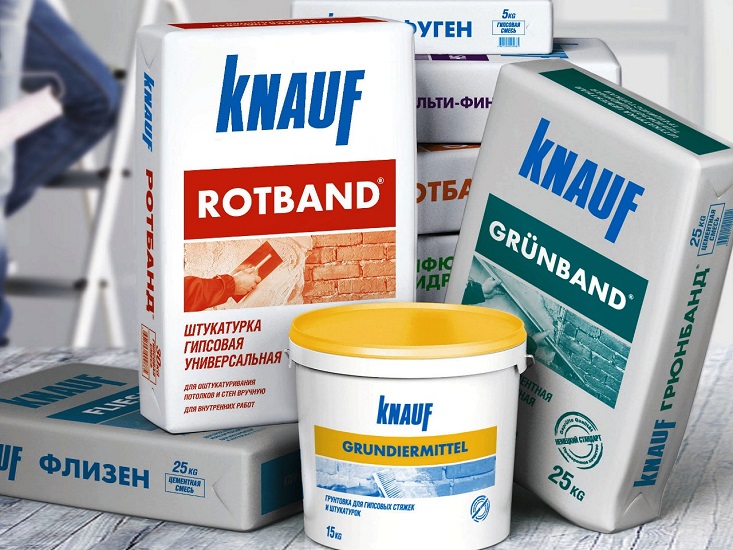
- Get better products from proven manufacturers of putty, for example, German. It is in Germany that all building materials undergo a higher degree of safety checks in household use and compliance with environmental standards. Recently, more and more worthy domestic representatives began to appear in stores - they are several times cheaper than their foreign counterparts. And the instruction in Russian is easier to understand.
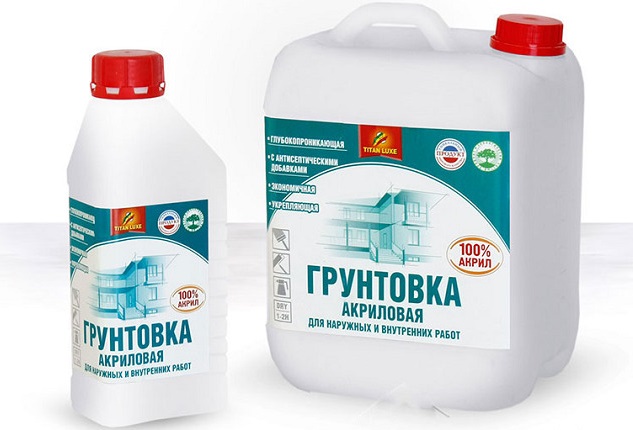
- Buying simultaneously putty and related materials that will come into contact with it, for example, a primer, check that the composition and manufacturers are similar or identical. If it is wrong to pick up a primer, putty and plaster in tandem, then their incompatibility in compositions can ruin the whole repair.
- Carefully read the instructions.because there must be indicated for which sphere and for what purposes this or that modification of putty is intended. It is necessary to clearly distinguish starting, lighthouse and finish putties in composition and select at least two different options for layer-by-layer application. Mixture for indoor use, such as a bedroom or office, is not suitable for processing the facade of a house or sauna.
- Think in advance what needs to be done with the wall after puttying, because the choice of material depends on it. For putty under the wallpaper it is better to buy a dry mix and independently dilute it with water in proportions corresponding to the texture and thickness of the wallpaper. If you dilute the putty with water, it may not completely dry, and then just soak the wallpaper. When there is an intention to paint the wall after putty, it is better to use a ready-made formula, because it is better compatible with paint and varnish products.

- If possible, you can gently open the container with the ready putty mixture and check the composition for the absence of bubbles or foreign large particles and suspensions. Sniffing putty will also not be superfluous, because it tends to deteriorate, and along with it the smell worsens.
- For applying putty in extreme conditions of temperature or high humidity, you need to make sure that instructions are all necessary conditions.
It is necessary to understand what kind of temperature leap the putty will endure, as well as for what class of work it can be applied.
- Instead of several options for finishing coverage, you can buy one capacity universal putty. It will be more economical in the case when a finishing layer is needed both inside the building and on the external surface.
Required tools
For puttying the walls do not need a huge number of expensive professional tools, so this type of repair can be easily carried out independently. Most of the items are in every hardware store, and their total cost should not exceed 3,000 rubles.
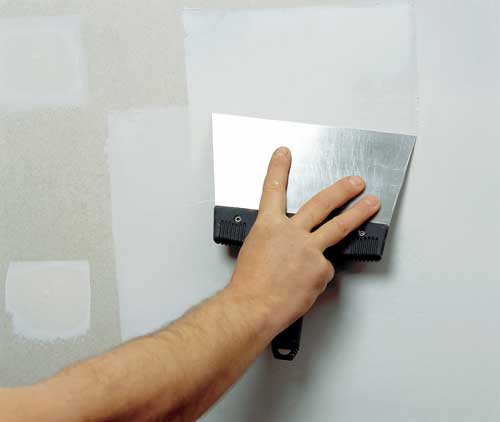
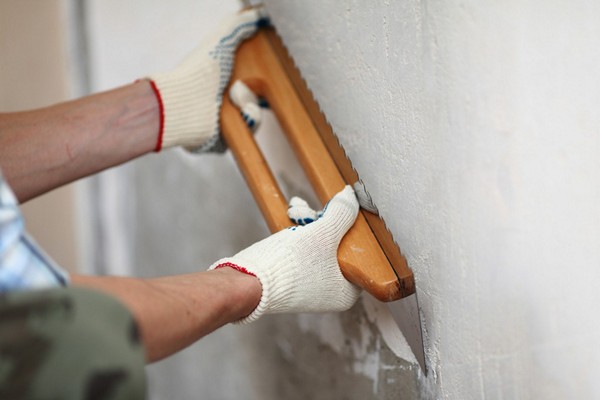
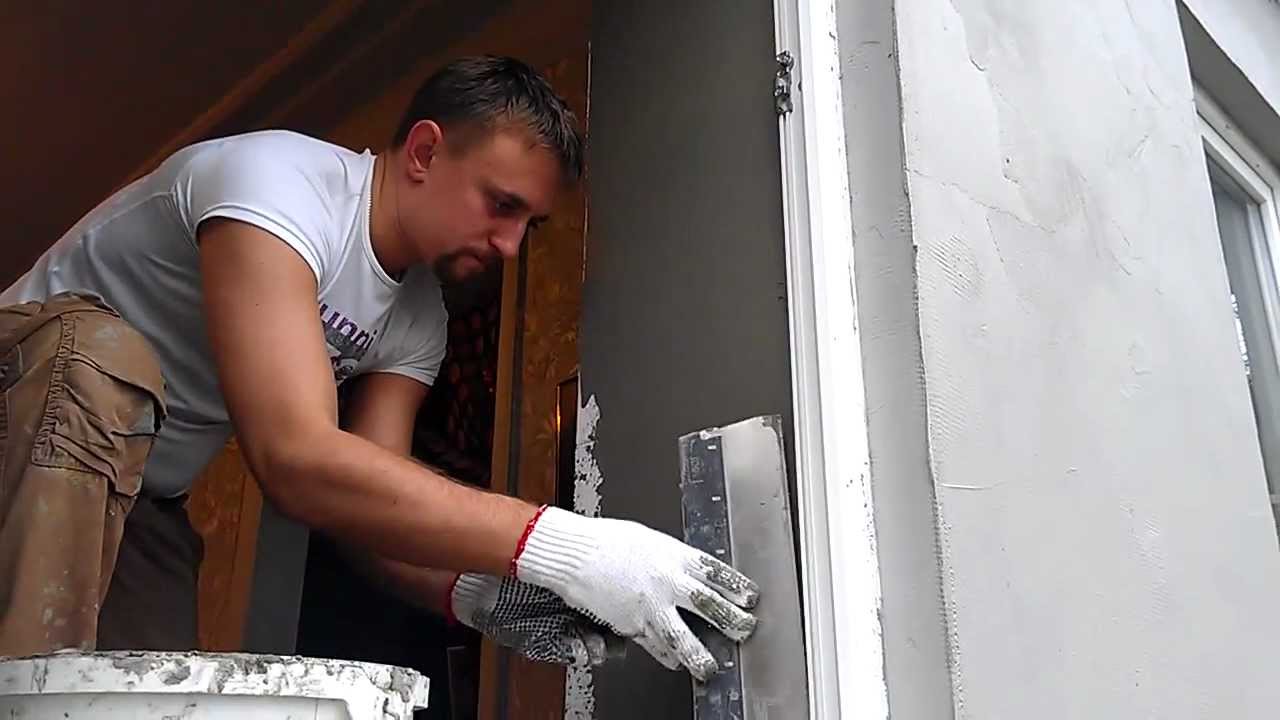
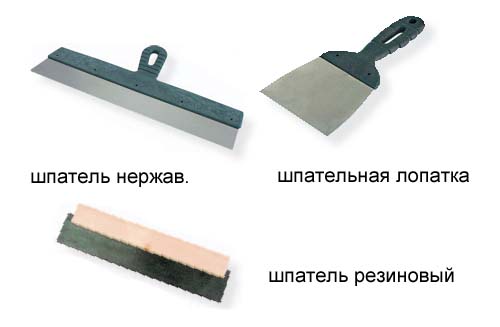
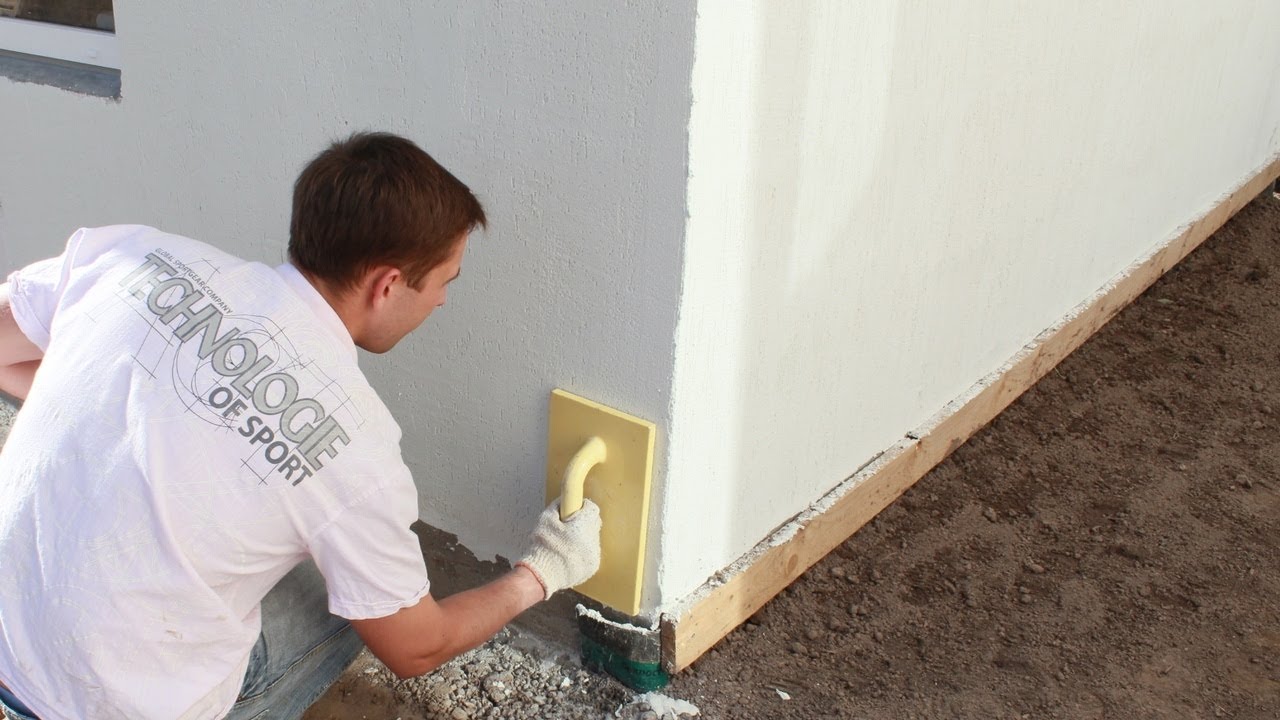
- Directly for applying putty needed set of spatulas - enough of three pieces. The average size - about 20 cm in length - suitable for small areas around the door slopes and window openings. It is convenient to use the big fifty-centimeter tool, shpaklyuya the main surfaces of walls. The smallest spatula in the set is simply indispensable for hard-to-reach zones and corners.
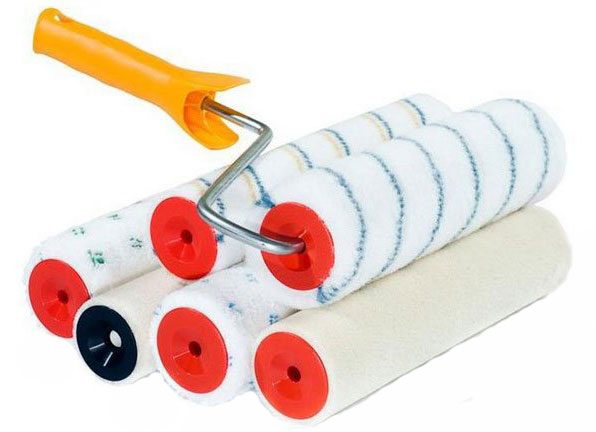
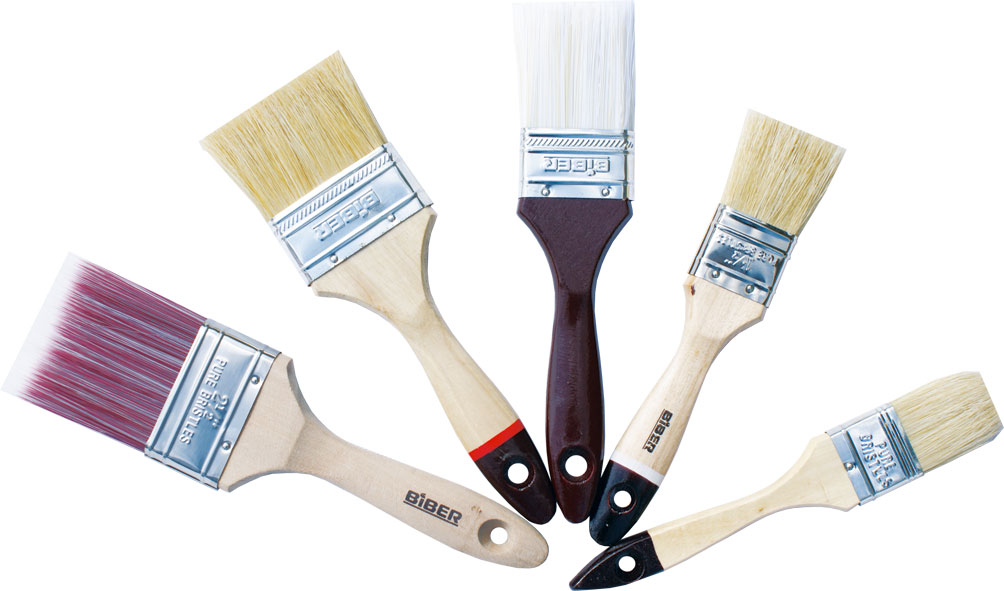
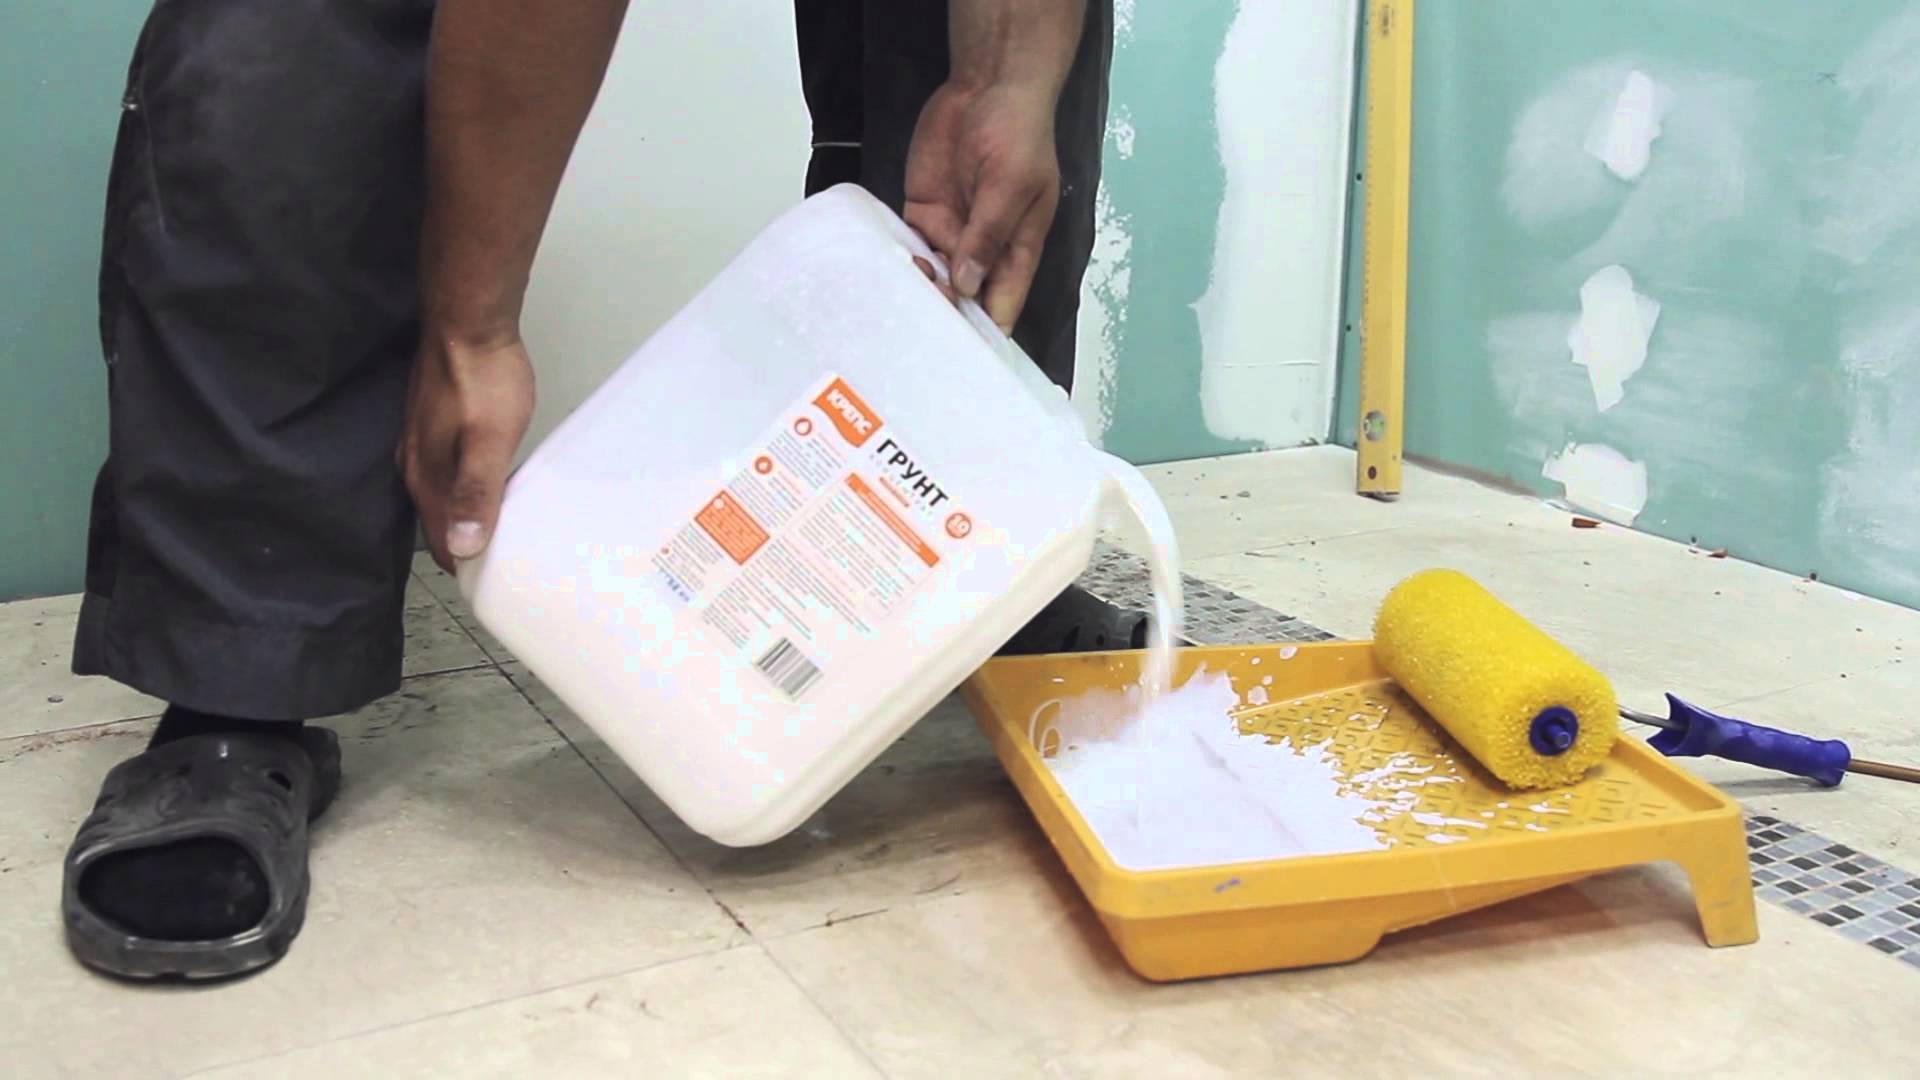
- Mix for soil, as well as rollers and brushes for priming walls, After all, for high-quality surface preparation for putty without the above tools can not do. The principle of the ratio of the primer area and the size of the roller is the same as that of the spatulas.
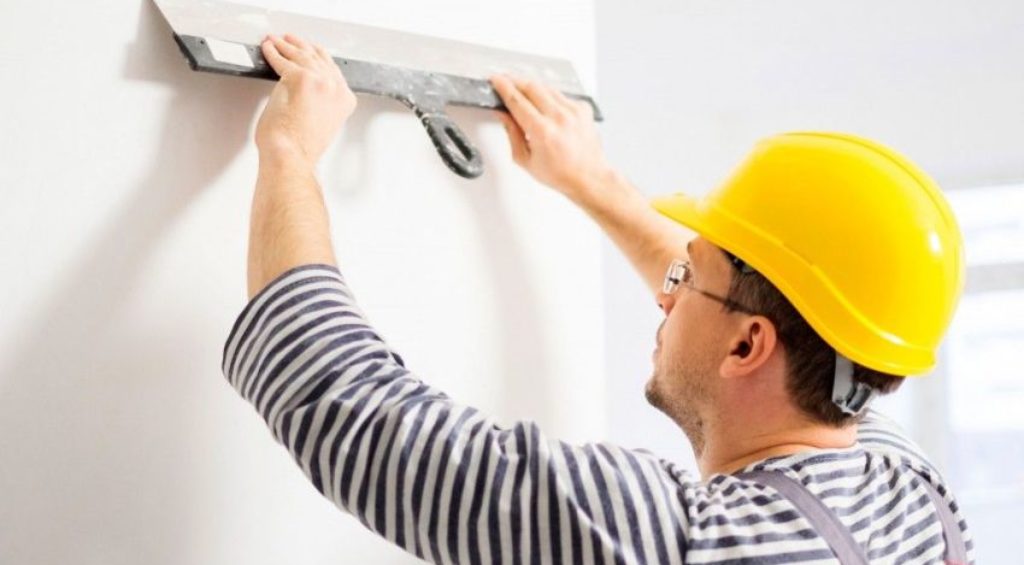
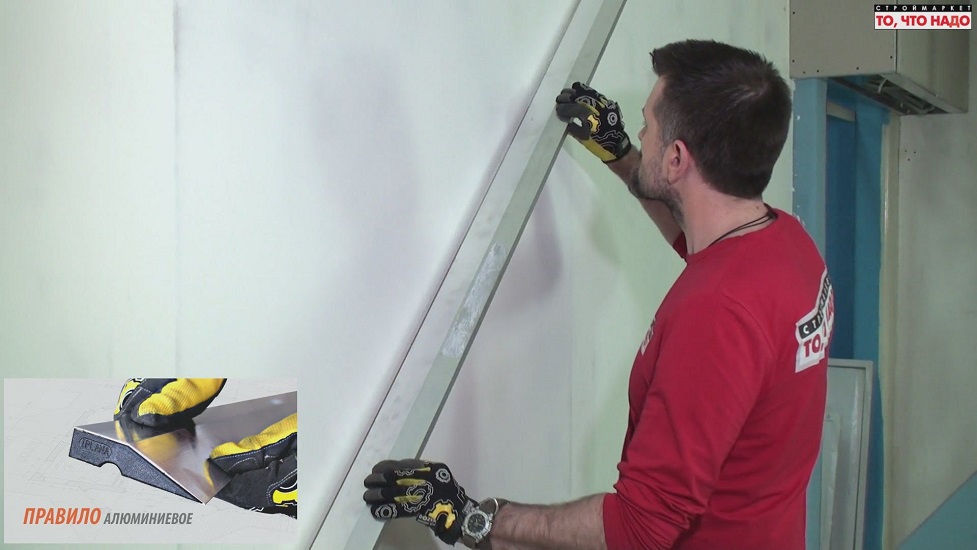
- Rule - A special tool like a large metal rail with a corrugated structure, thanks to which you can hold the ledge and guide it along the wall.The rule is used to level the surface when applying a very large layer of putty.
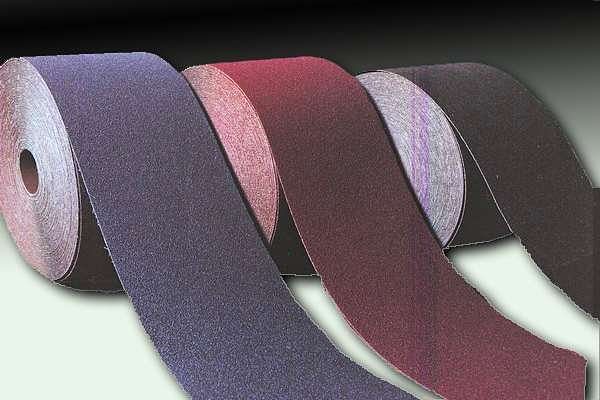
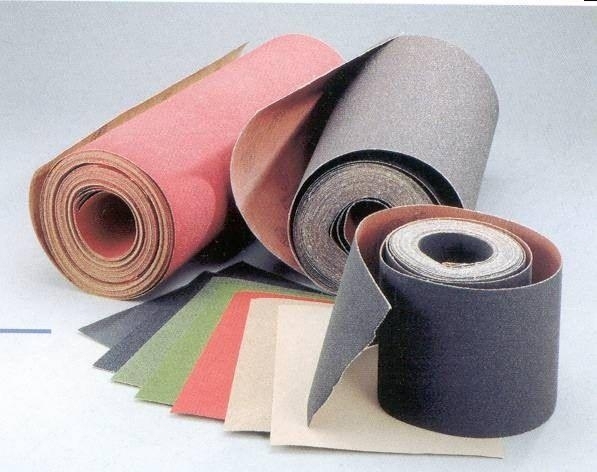
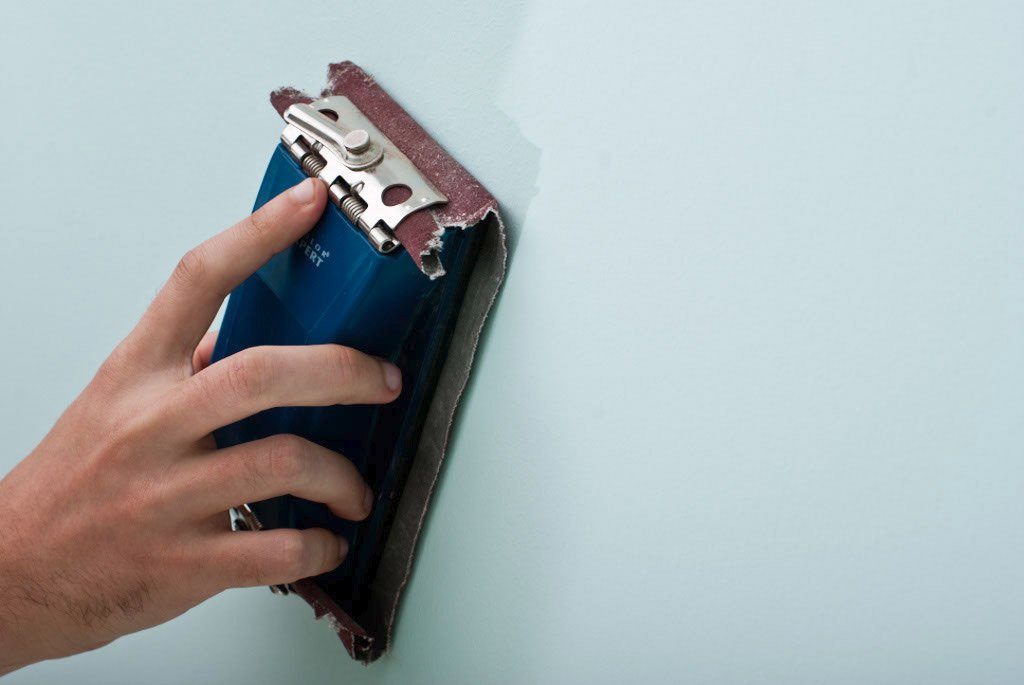
- Sandpaper or skins. It is also better to take a set of two or three different sizes, because here the skins will differ in the degree of corrugation of the surface. For each layer of putty you need your own skin to achieve the smoothest possible wall.
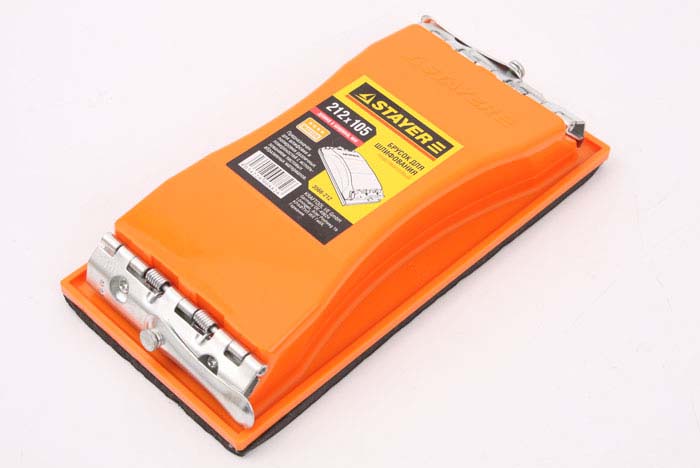
- For convenience, you can buy skinner - a device with a handle, where a piece of sandpaper is inserted. This tool is inexpensive, but it is much more convenient for them to sand large surfaces of walls.
- If you buy a dry mixture for puttying, it is better to take care of high capacityin which you can dilute the putty with water. It is not necessary to specifically buy tara in the store - any old unnecessary bank will do.
It is better to choose a plastic container, because it will be disposable.

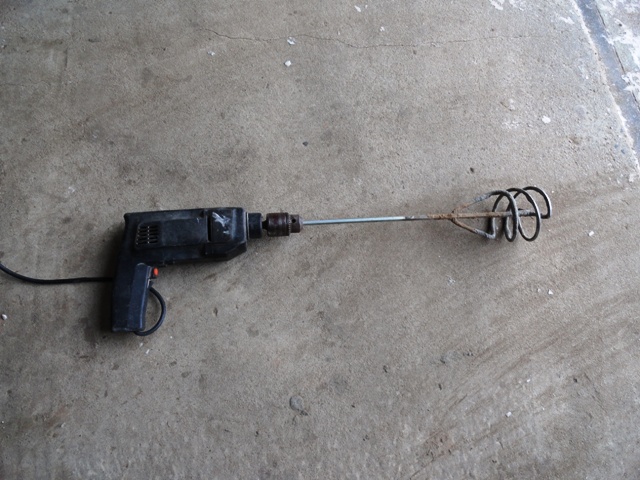
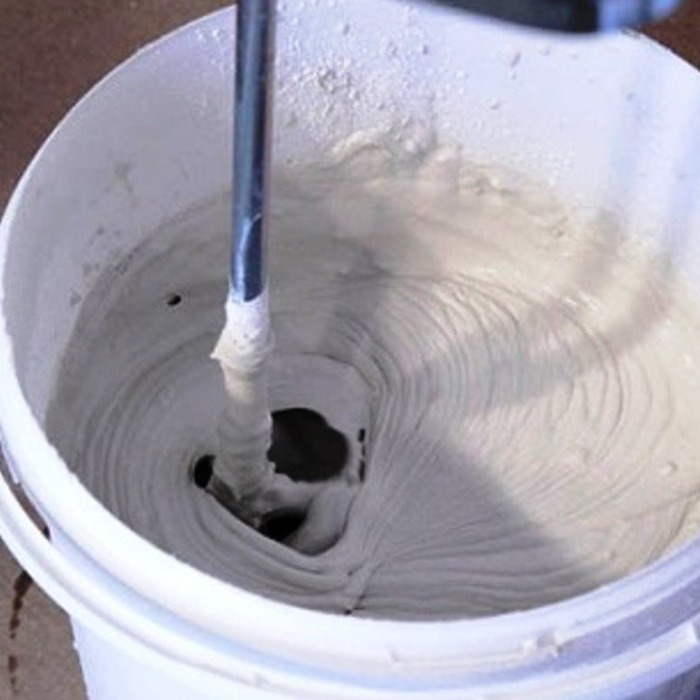
- Drill with a special nozzle mixer for mixing dry putty mixture is not included in the minimum set of necessary tools, and it is not cheap. If the house does not have such a device, you can rent it. Of course, you can try to putty and putty by hand with a stick, but it will take a long time to interfere, and the result will leave much to be desired.For a good application of putty, it must be diluted to a state of a uniform creamy mass without lumps.
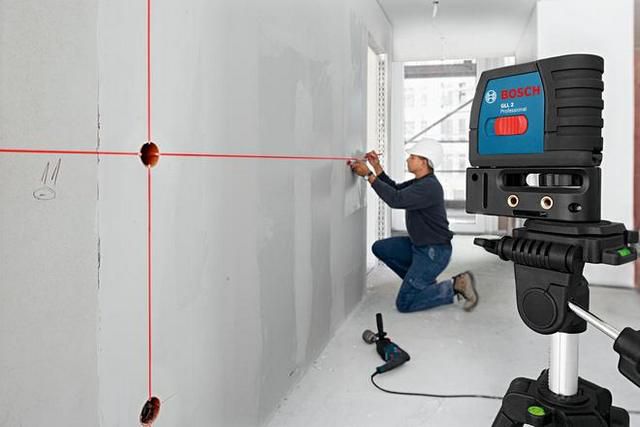
- Laser level - Also an additional convenience, not included in the inexpensive minimum set. You can either borrow it from your neighbors or buy it for future use, as it will come in handy for future repairs. The device is installed in a corner like a beacon, and then the beam shows even minimal irregularities on the surface due to applying a too thick layer of putty.
Surface preparation
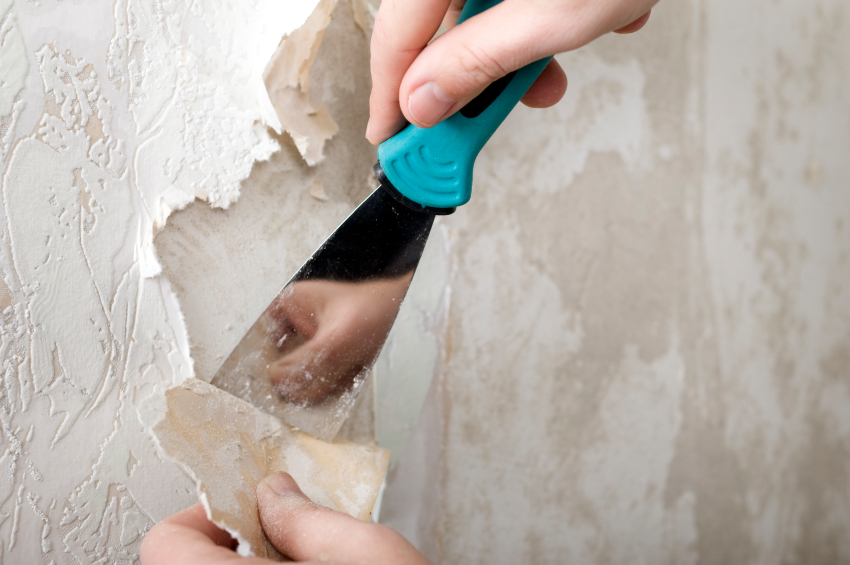
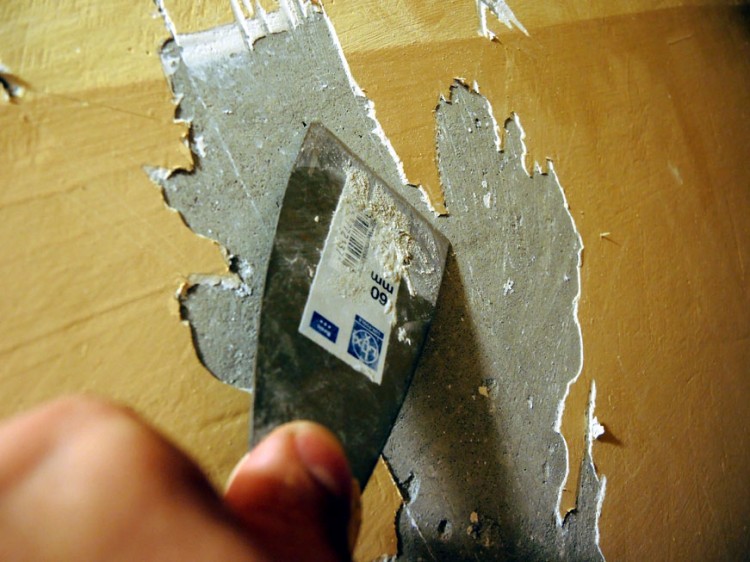
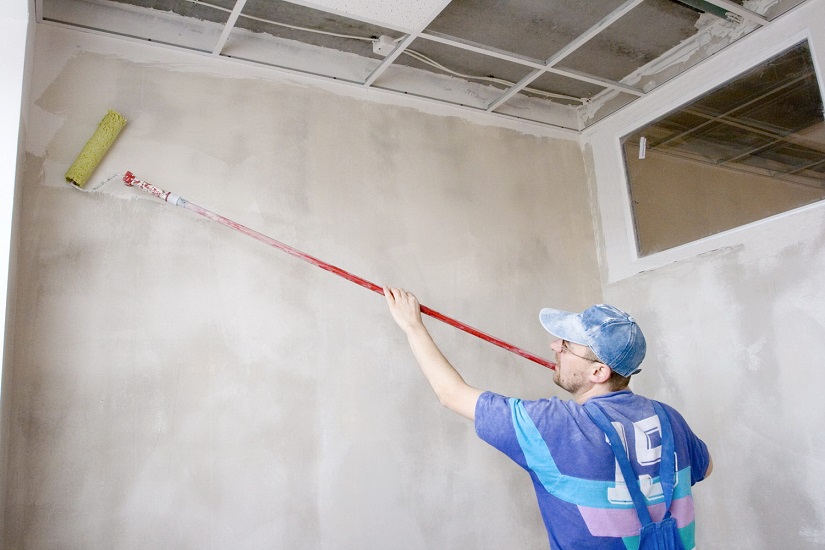
The wall does not need to be specially prepared for the putty, as long as it is clean and as smooth as possible. First, it is necessary to mechanically clean it from previous layers of wallpaper, newspapers, paintwork or plaster. If you can not remove everything by hand, use sandpaper. Separately, it is worth paying attention to the spots of fat or soot and wipe them with wet spirit.
For applying putty, the wall surface must be at room temperature. If an unheated emergency room or other technical room is being repaired, then it is better to either wait until the summer, or heat the walls or heat the burner.
It is possible to apply the putty directly on the bare wall, but for better adhesion of materials it is advised to use a primer with an intermediate layer. You can dilute the soil in the same container, which then goes for the putty solution. A continuous roller covers the wall with a primer, applying it in one dense layer of about 5 mm. You can let it dry for 6-8 hours and repeat the procedure, or it can be limited to one application. Multi-layer soil is good only for outdoor decoration with unstable climatic conditions.
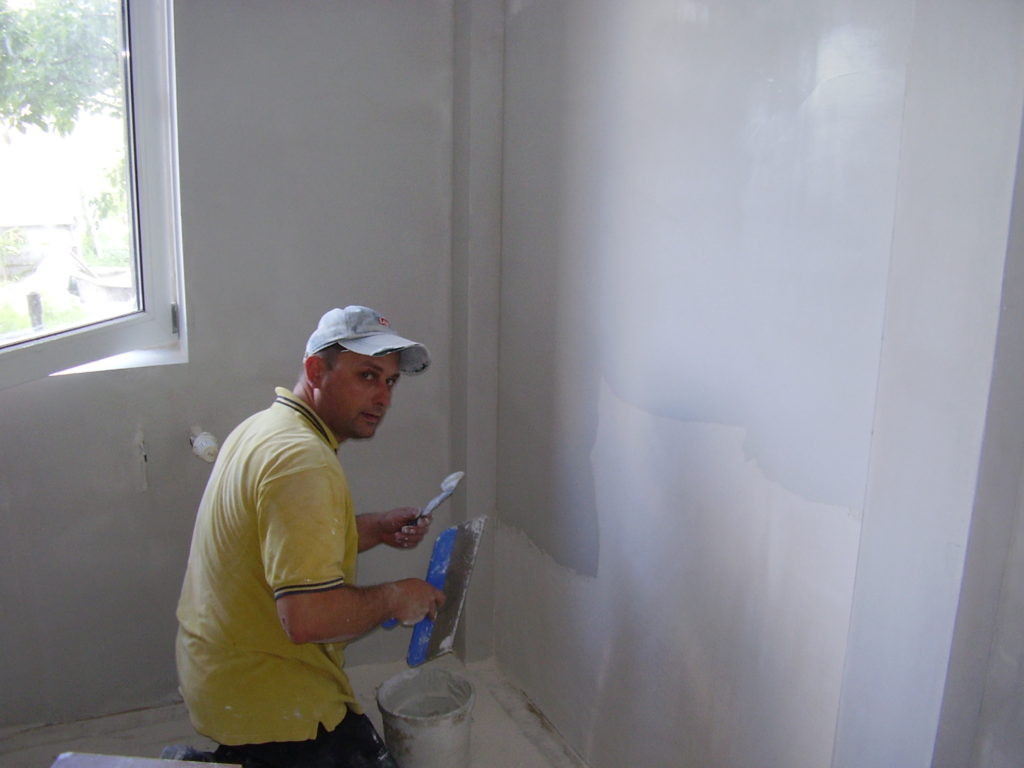
How to align the walls with putty?
To putty need to prepare. Before you begin, prepare all the necessary tools for this process, because the mixture tends to harden and deteriorate, so you need to work extremely quickly:
- To start you need to make a dry mix ready-to-use putty. The equipment here is simple, but if you do everything carelessly, the wallpaper will begin to move away from the walls in a month. It is better to dilute the putty compound in small portions for each section of the wall or ceiling separately.
Otherwise, the mixture may dry in some places, and solid particles will lie unevenly on the surface.
First, add some water to the putty container and mix with a simple spatula. The next step to a homogeneous consistency is better to bring everything with a drill with a nozzle in the form of a mixer. Her blades are made of special steel, and they spin with a certain force, which helps them not to get stuck in the viscous composition of putty.
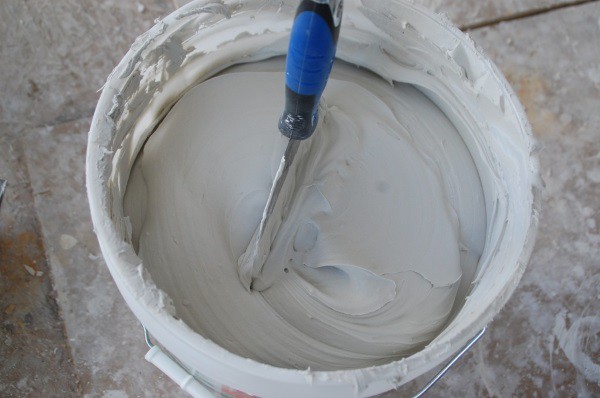
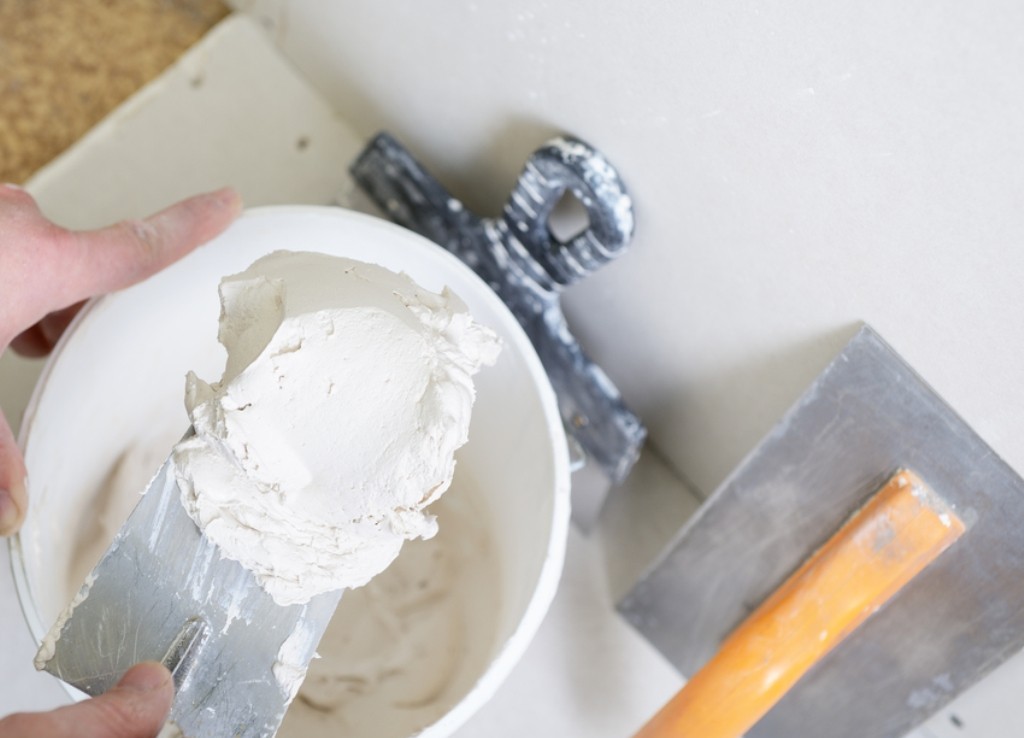
The ideal consistency of the mixture for putty is an elastic mass that slightly adheres to the spatula. If the composition is liquid and drains, rather than sticking, then gradually mix in the dry mixture. When the surface is covered with lumps or bubbles, it is too thick, and you need to slowly pour water into the composition in small portions.
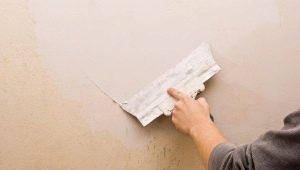
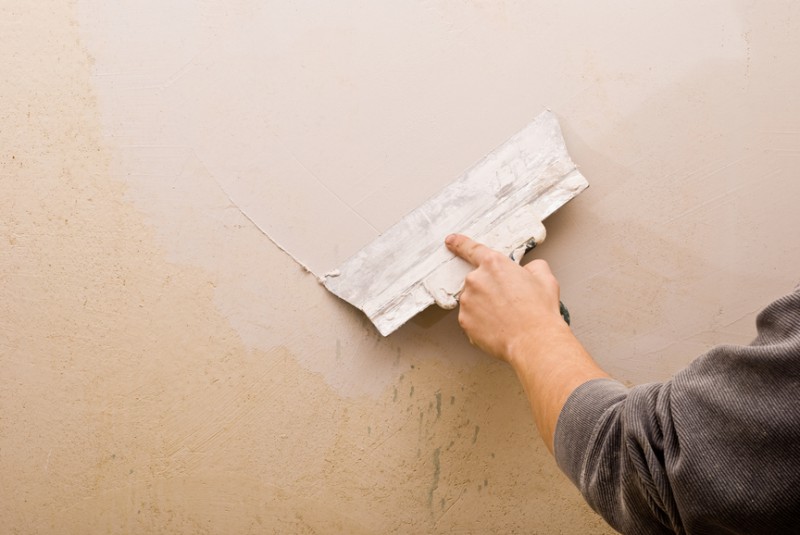
- The first layer of putty - starting, is a separate species, so carefully read the names on the jars of the mixture and do not confuse it with the finish. At this stage, you can safely use the largest spatula from the set, without fear of leaving uneven strips or joints, because the finishing layer will easily cover all the flaws.
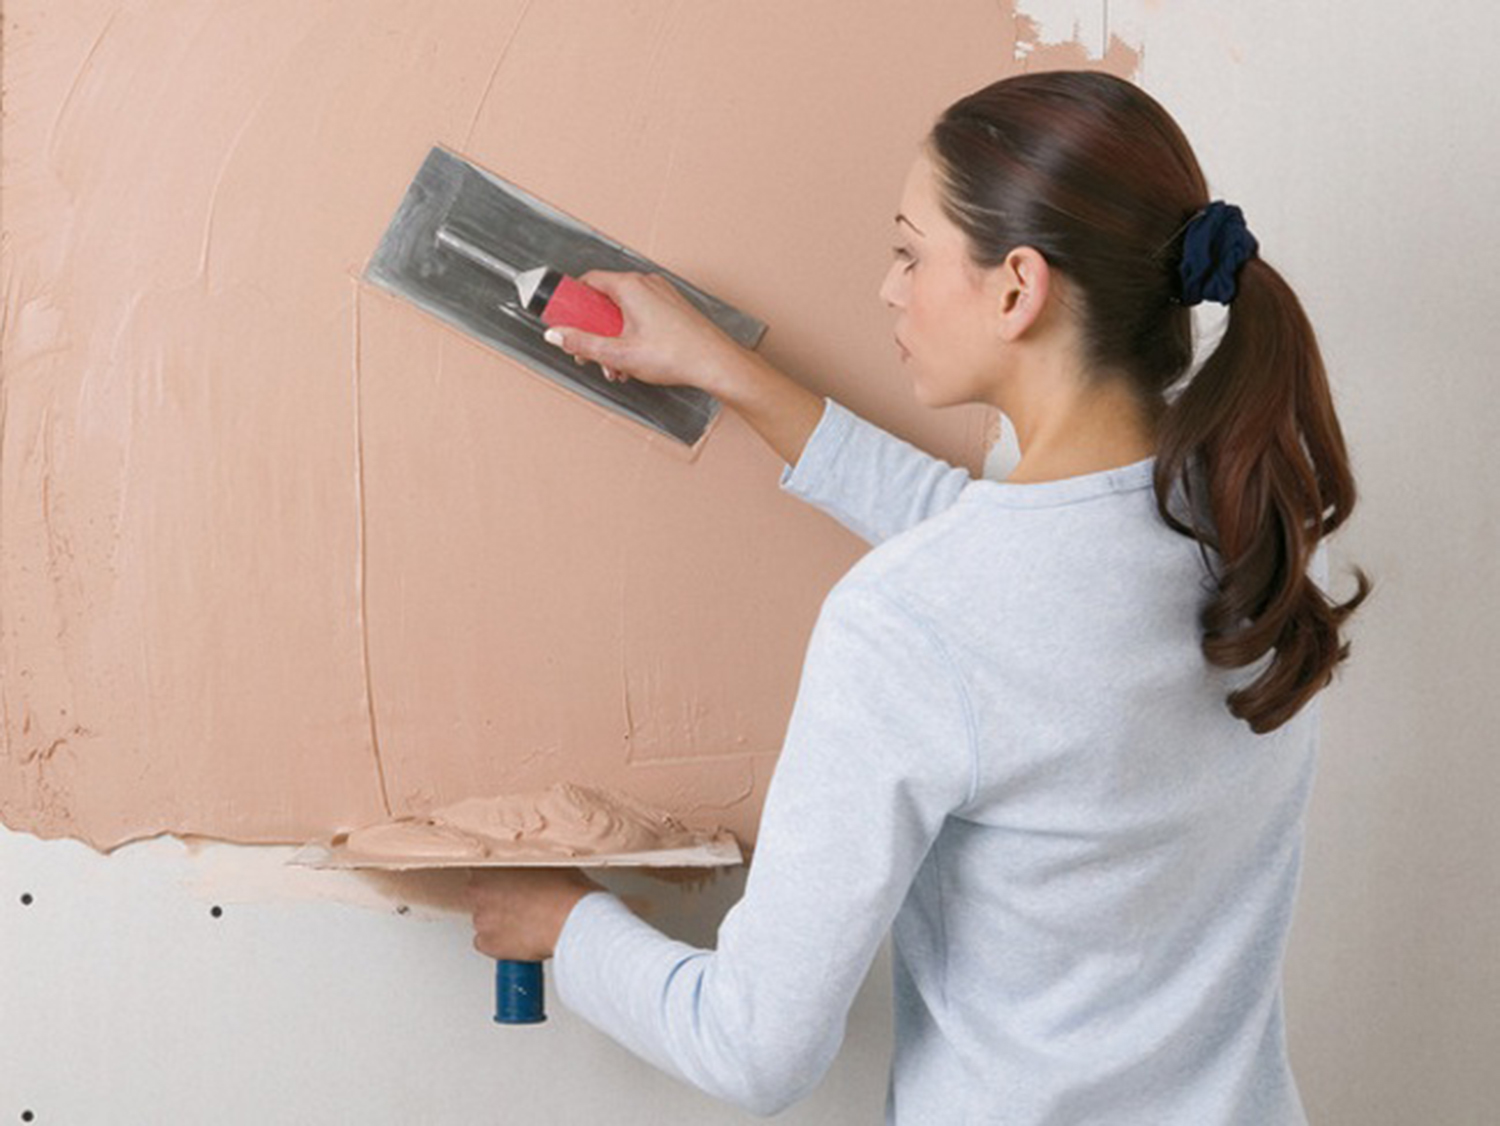
It is better to apply the mixture in small portions and evenly distribute it over the area.rather than throwing a large lump on the wall, and then smearing it at different ends.The spatula should be kept at a small angle - no more than 30 ° C, then the material lies evenly. The strip of the mixture itself is usually applied diagonally in one sharp motion. Separate strips overlap each other to avoid bumps and uneven joints between the layers.
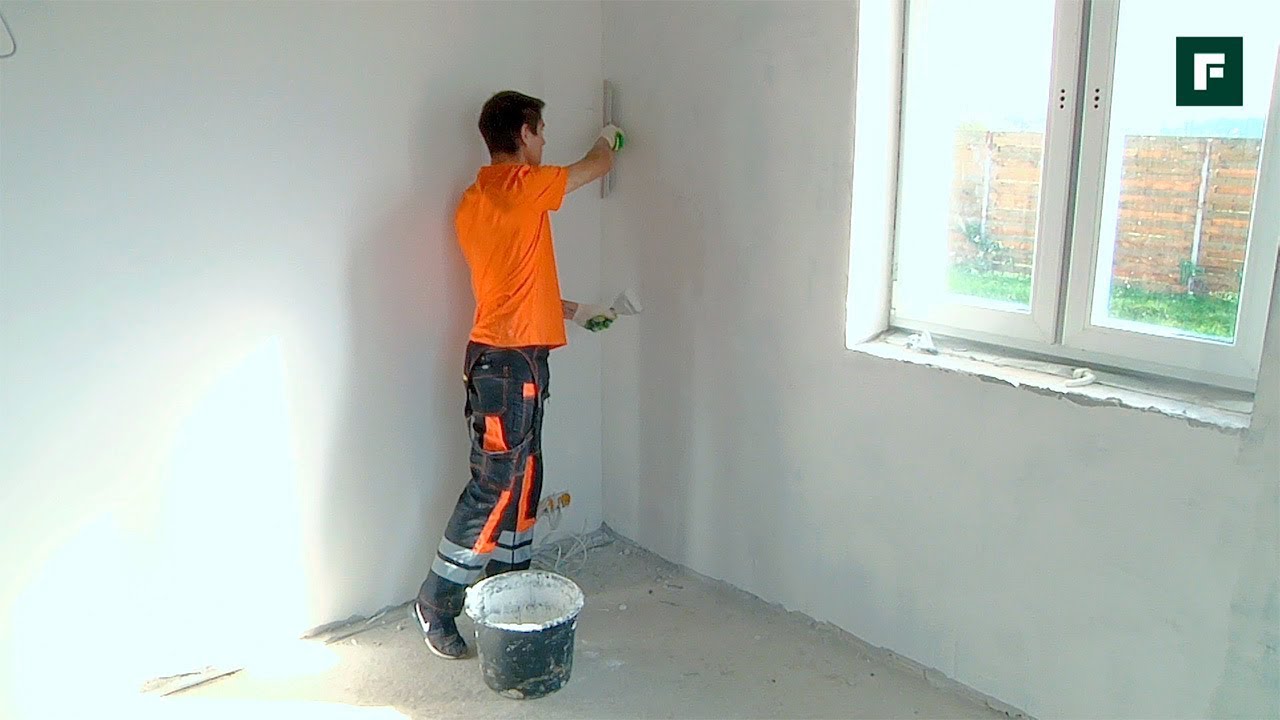
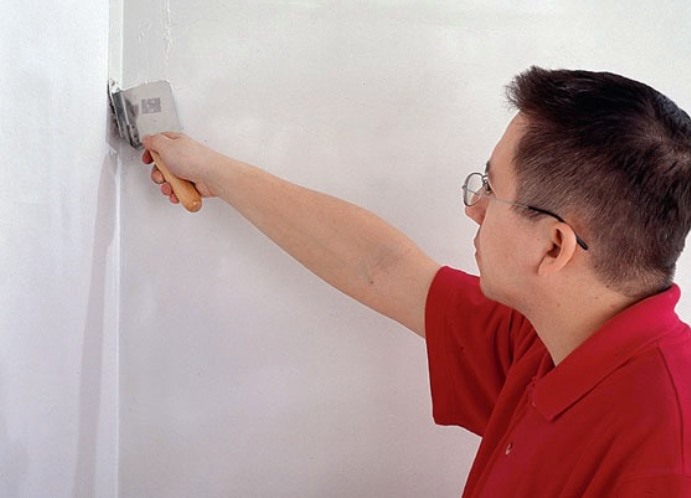
- Slopes and joints are treated with a special spatula or angle. Here the main thing - do not make unnecessary movements. Remember that the less putty put in the corners, the smoother the surface will be. First, with a small spatula, the mixture is applied along the entire slope or corner on each side, and then the wall is simply leveled with an angular spatula. The corners are usually processed last, after which it is necessary to allow the wall to dry at least a day before applying the next layer of putty.

- For the perfect grip and reliability of all repairs, some masters between each layer of putty lay a layer of soil. This method is more laborious, it takes from 2 to 4 days, since each layer of putty and primer dries about 12 hours.
But the wallpaper on such a wall should last longer, and the fungus to form less.
- Layer finishing putty - the most important, because he is responsible not only for evenness, but also for smoothness and even glossy surface properties. It is applied in several thin layers of no more than 2 mm each, allowing each layer to be uniformly absorbed into the soil and dry. When working constantly used in a pair of large and small spatulas. The finishing putty is more dense and viscous than the starting one, therefore it is applied first with a small spatula on a large one and then on the wall.
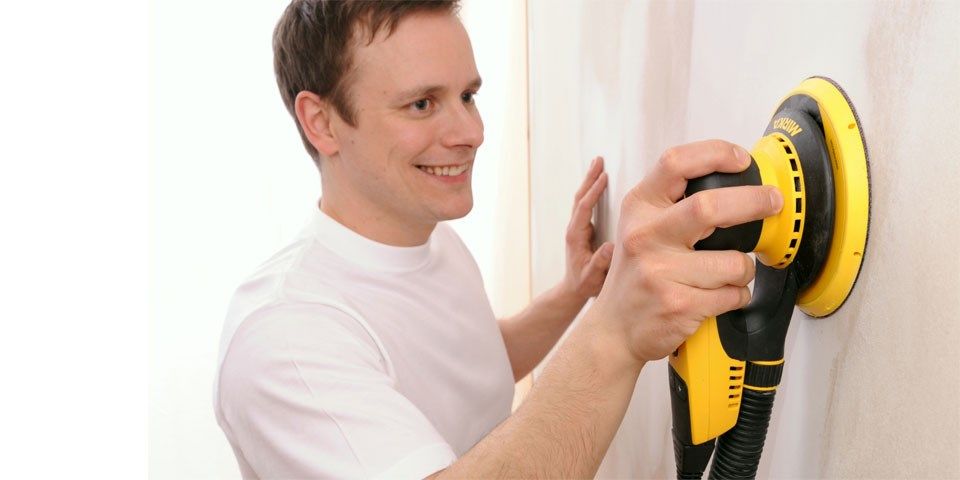
- The final stage is considered grinding dry surface sandpaper. It will eliminate even the smallest irregularities.
How to apply?
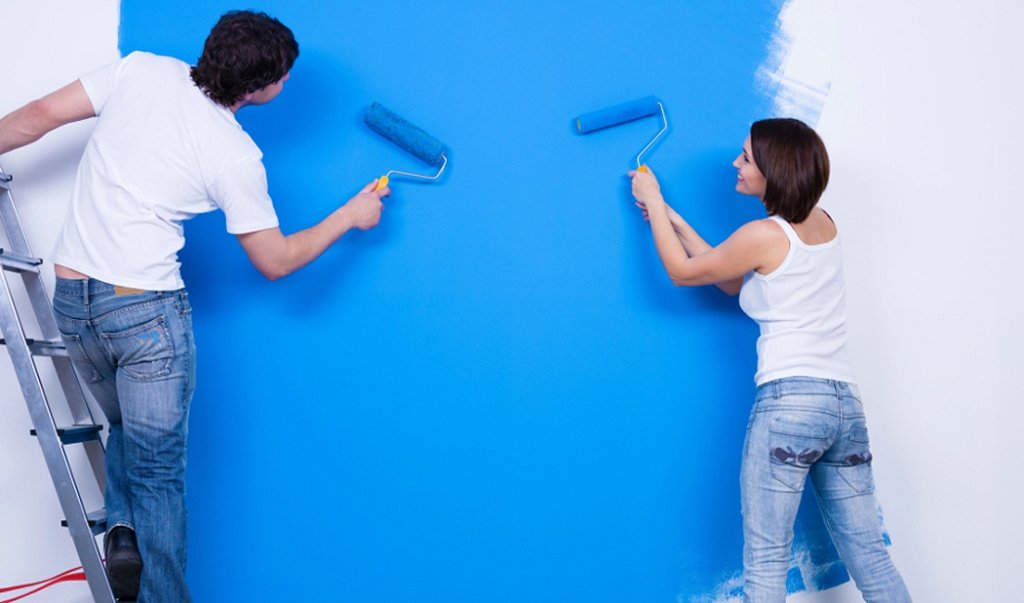
Putting walls and ceilings with your own hands is not a very difficult task that a person who does not have professional skills in the field of construction and finishing works can cope with. The main difference of this kind of finish - the number of applied layers. To putty for the subsequent wallpapering, one starting and one finishing layer of the composition will suffice. If the wallpaper is very thin, it is better to be safe and pave the third layer of putty or soil.
When preparing the wall for subsequent painting, you need to be more careful and leave the surface perfectly smooth, because the painted wall will not be able to hide even the smallest irregularities.In this case, after each layer of putty, you need to go with a roller with a primer to avoid wrinkles and air bubbles.

The most effective method of application is recognized as the mechanized method, when the putty is applied using a special apparatus. This technology can significantly save time and effort of the employee. The surface processed mechanically turns out more smooth and qualitative. And the solution inside the apparatus is constantly mixed in the process, so it does not freeze until dry lumps are formed and, with such a fine-grained structure, it adheres better to the surface.
The application of a continuous stream under strong pressure allows the putty to be distributed evenly over the entire wall, due to which the surface is smooth. A special dispenser distributes the putty mixture in a very thin layer, which is almost impossible to achieve manually. Yes, and the joints between the individual bands when working with a conventional trowel are visible even to the naked eye, while the hardware method creates a solid surface.
Putty material due to strict dosage is also saved.
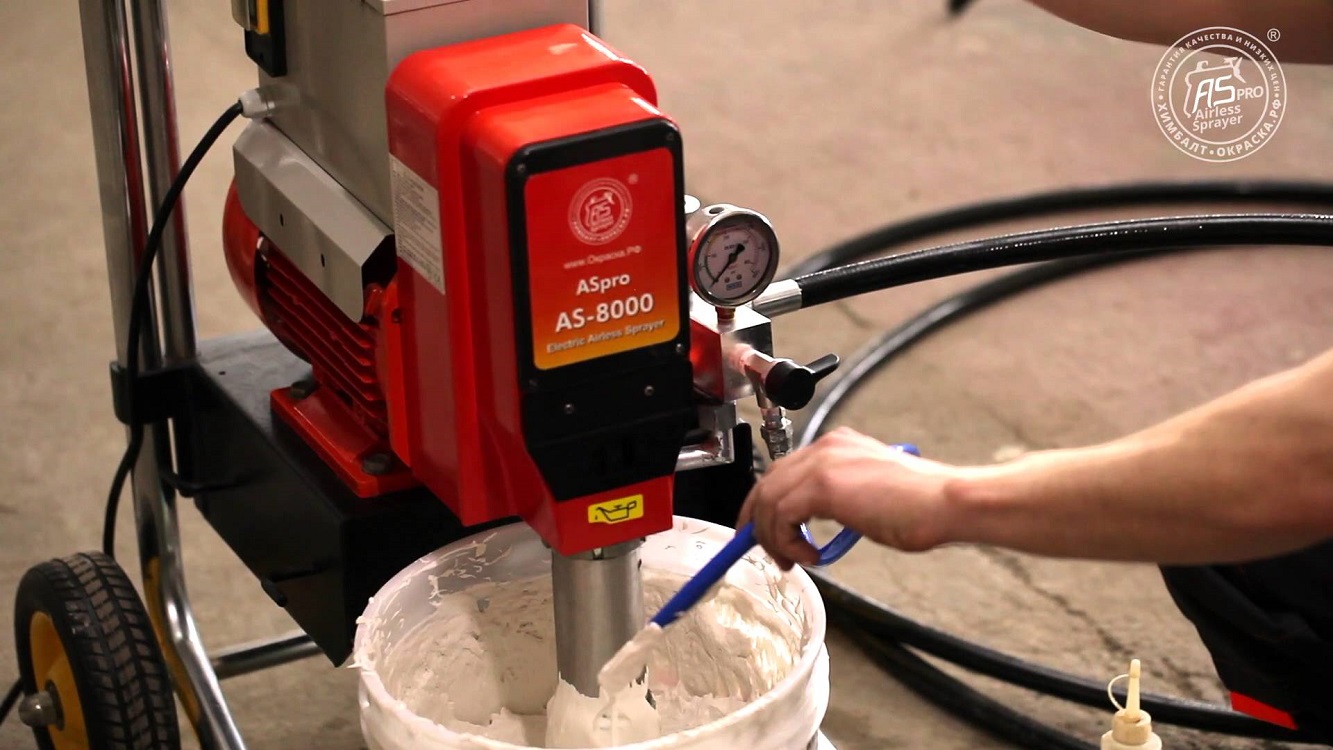
The apparatus for mechanized putty is rather cumbersome, so in a small room fifteen meters with it just does not turn around. It is often used either for large industrial and office premises, or for rooms in a house of at least 30 square meters. Its main convenience is the presence of an automatic mixer for mixing putty and a water supply compartment.
You can not worry that the mixture will be too liquid or dry, because the automation will bring everything to the desired consistency. Some models are equipped with a powerful compressor, through which air is supplied to the compartment with a stirred mixture so that the composition is saturated with oxygen and has better adhesion.
The control panel sets the speed and intensity of the jet with putty mixture, as well as the speed of the process of mixing the composition. However, even a mechanized system requires the observance of elementary rules:
- The jet must be sprayed from a distance of at least 30 cm from the surface, otherwise with such force it will simply splash in different directions when it hits the wall.
- A layer of putty start to put from the corner of the room to create a uniform smooth surface without joints and gaps.
- The resulting solution is distributed at a right angle to the wall, otherwise the jet will not cover the surface being treated, but the worker.
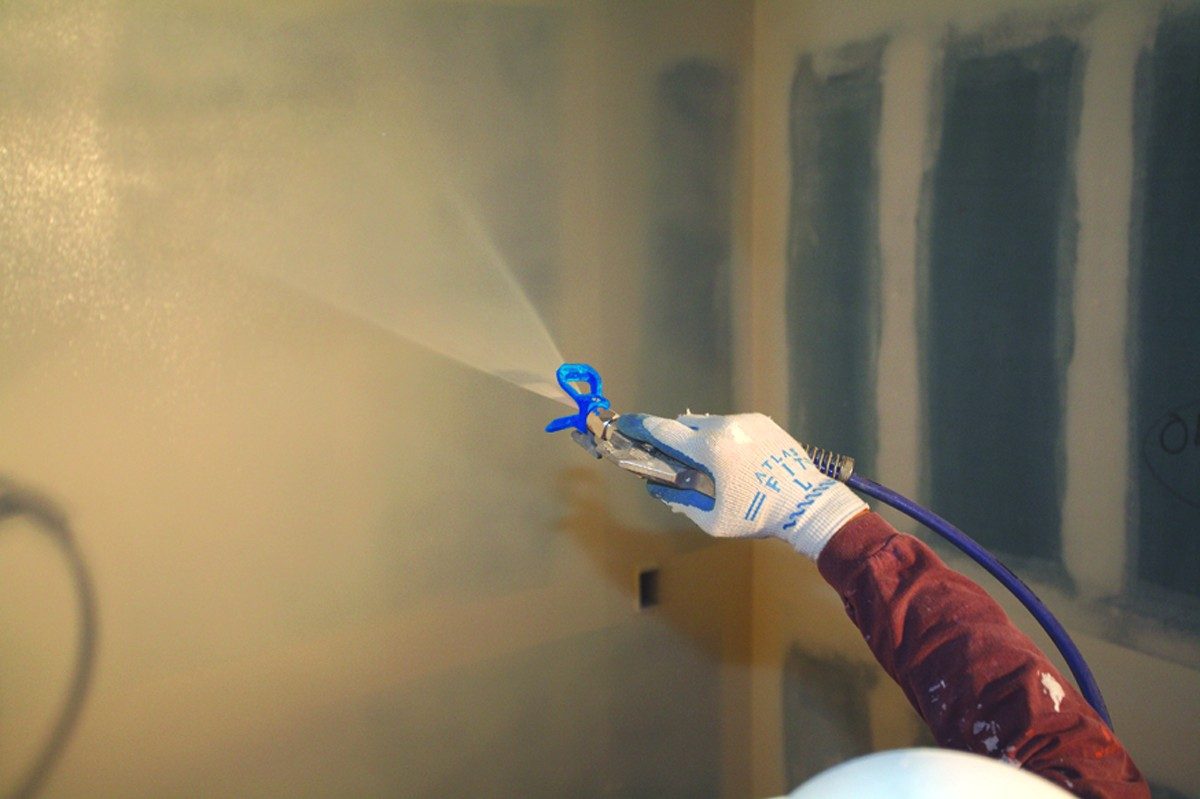
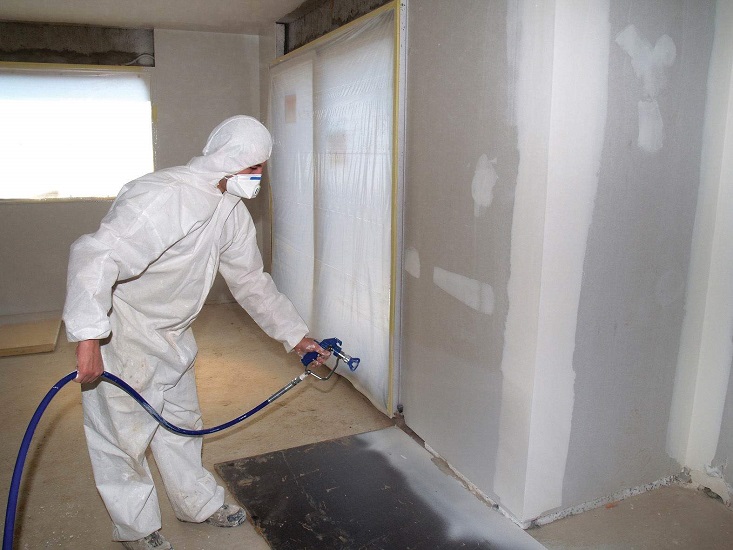
- Putty must be in protective clothing and a mask or respirator, because from any careless movement jet with a rather caustic composition, pushing from the wall, can get into the eyes or respiratory tract.
- The mechanized spackler is a fairly powerful equipment that requires high energy consumption. It is better to connect it to a wall outlet securely mounted in the wall with wiring without sudden drops of electricity.
- A hose for water supply involves connecting the device to a stationary water supply. This possibility is not always, for example, it is not at the dacha, where water can only be in a barrel. In such cases, trying to use just a large tank of water, but this is not the most convenient way.

The device requires a sufficiently large amount of water, so it is often necessary to interrupt the filling process for the sake of another replenishment of the tank.
Also, a vat of water is not so mobile that a person moves with the apparatus around the perimeter of a large room.
- Even with the use of an automated system and obtaining the smoothest possible putty surface one should not neglect fine sandpaper when finishing grinding after the basic layer of putty has dried. If the room is large enough, get a grinder to minimize mechanical work. However, manually the sanding process should have the quality no worse than the typewriter.

The main and only drawback of mechanized equipment is its high price. Usually such a machine is in the arsenal of brigades, constantly engaged in repair work. One-time use is not worth such expenses, and even for storing such a large machine you will then have to allocate a whole storage room. The best solution is to hire a third-party brigade of craftsmen, or take the device for daily rent.
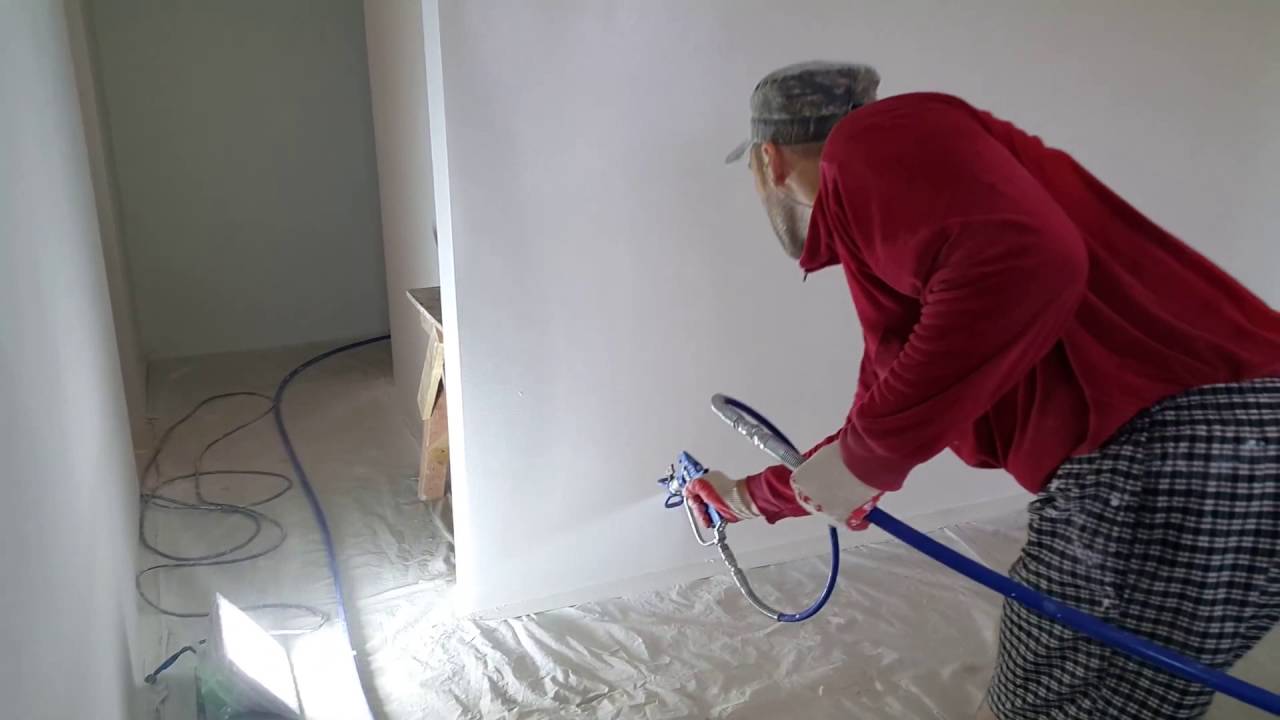
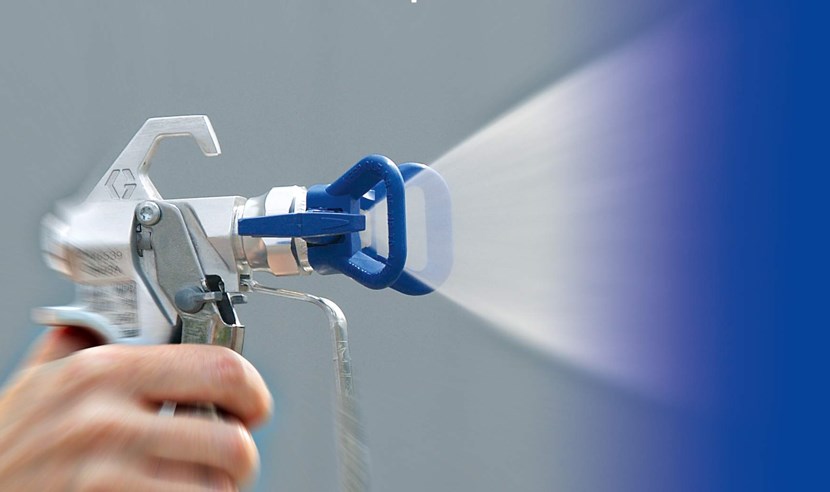
Another alternative to expensive equipment can be a conventional atomizer. Of course, the speed and pressure of its jet are not as strong as that of a mechanized apparatus with a powerful motor, and the surface will not be so smooth. In any case, even a spray gun will apply a putty much better than a regular trowel.
Unfortunately, the spray gun does not mix the putty compound itself, so you have to take a drill with a mixer attachment. This option does not differ in mobility, because the putty is fed through a hose from a heavy mixing vessel on the floor. But the spray is not so expensive, it can then be used for many other types of repair.
Application area
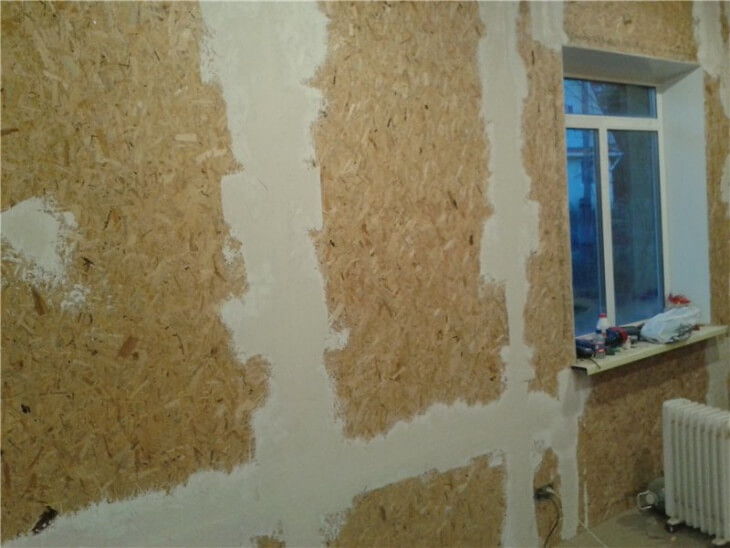
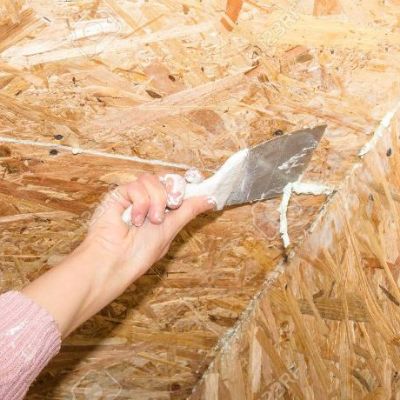
Putty can be completely different materials, and not just the standard concrete or gypsum slabs. If you choose the right mixture, then such a rough surface as foam blocks, penoplex or OSB stove will become completely smooth. In fact, OSB is a composite material of pressed multilayer wood shavings glued inside with an artificial polymer resin. OSB plate is made on the basis of wood, so it has the properties of wood. After ingesting a sufficient amount of moisture, it swells and becomes rotten.
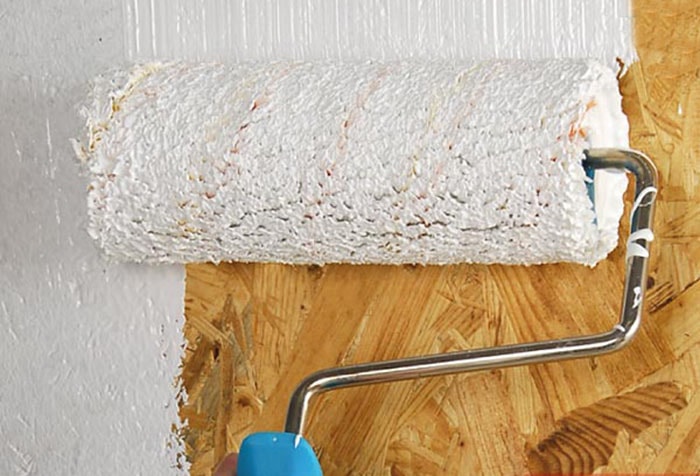
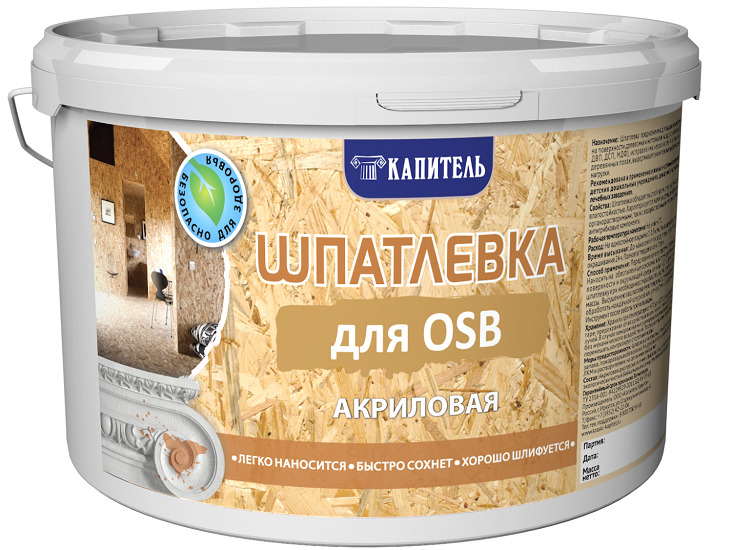
Although the multi-layer nature of the RSD material gives it increased strength and resistance to deformation, for its putty it is better to choose a ready-made mixture that does not contain water. This fact scares many people and makes them think about the need to putty walls. Just take a closer look at the range of putty mixes and find a special variety for woodworking.
It is made not on water, but on glue base with the addition of drying oil.
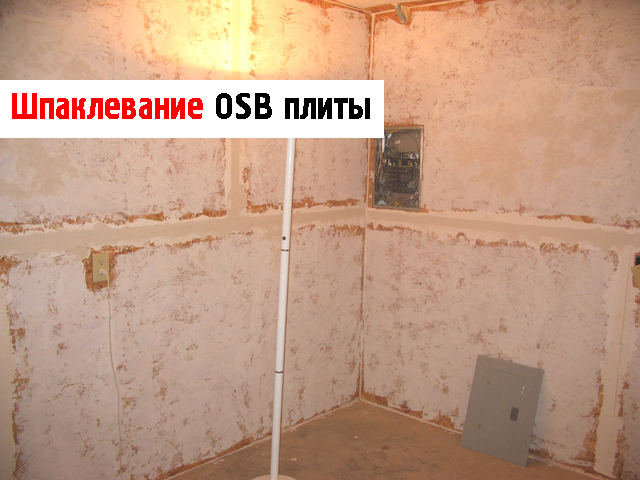
The greater the pre-coat layer on the OSB slab, the better the putty will fall. Soil, too, should be chosen without water in the composition, and with the addition of varnishes, for example, glyptal. There is a separate type of special acrylic putty for OSB boards and other chipboard surfaces. To achieve the desired viscosity, they are simply diluted not with water, but with solvents. As for the oil-adhesive putty, it is also well suited, only it is better to dilute the mixture with linseed oil.
The process of putty such material is not much different from the usual. It includes a primer and a wall sweep, and then the starting and finishing layers. The main action is to reinforce the surface with flizelin in the last step.that is overlapped, preferably without joints between the strips.
If roughness cannot be avoided, then it is possible to cut holes at the joints of the sheets and fill them with a sealant or an additional layer of finishing putty.A prerequisite for carrying out all stages of putty - room temperature is not less than 20 ° C and low humidity within 60%.
Fiberglass is a thin material of fiberglass, which in itself is quickly torn, but when glued to the wall creates a reinforcement effect that prevents the surface from being deformed. Putty glass fiber using the same algorithm as GFL or gypsum fiber. This means that the wall is first primed, only you need to choose the right mixture for the desired material. So, primer for penoplex is absolutely not suitable for finishing GVL.
The starting layer of putty is necessary for any part of the room, be it a slope or a window opening. If a decorative plaster wall covering is intended, then the finishing layer of the putty can be avoided. When the surface consists of foam blocks, then the layers of putty should be as large as possible, because the main component - foam - strongly absorbs any finishing material, water-based.
Tips and tricks
In the process of plastering walls and ceilings, there are many nuances, and if you know them, you can get a much better and durable result. This is a list of basic useful recommendations:
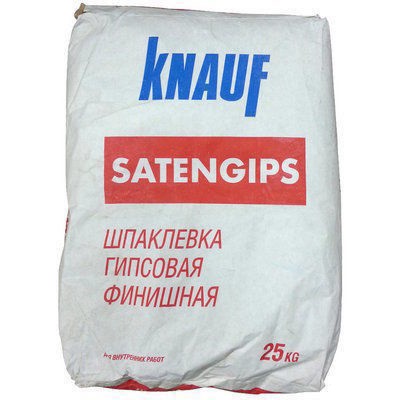
- When on the wall under the putty there are very noticeable cracks and chips, it is better to use for plastering the mixture on a plaster basis, especially santepsovuyu modification, characterized by high elasticity and toughness even at low room temperature.
This property is expressed in the lack of, because Santepps rather slowly freezes, but the wall is filled with high quality.

To completely remove cracks from the surface, it is better to first expand them and even pick them up with a knife both in length and in depth. The resulting grooves and all adjacent surfaces should be thoroughly treated with a primer, and after it has dried, the starting layer of the above-mentioned putty should be applied.
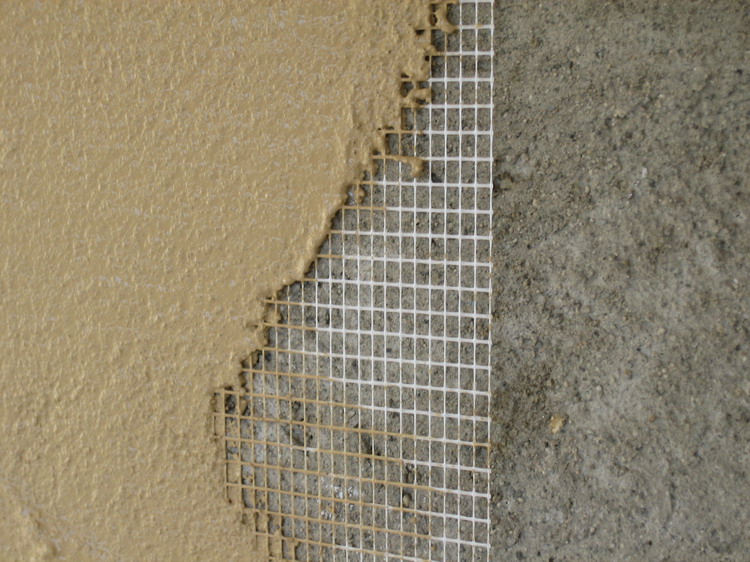
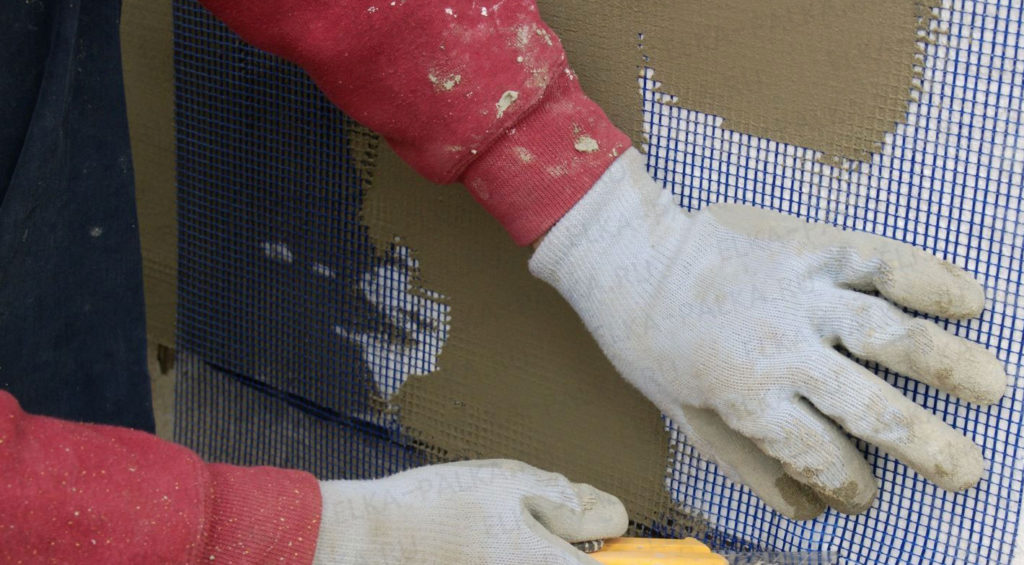
- For high-quality application of several layers of putty often use paint mesh. It is inexpensive and sold in any hardware store. With the help of self-tapping screws, it is fixed on the surface of the wall and is covered with a splicing mixture with a continuous overlap, because it adheres better to the surface. Surprisingly, the more coarse and untreated the mesh turns out, the better and smoother the layer of putty.This technique only works for walls, and on the ceiling the net will always sag slightly and fall behind the surface.
- The choice of sandpaper for the final stage of sanding the putty layer is very important, especially before sticking wallpaper or applying paint. For example, a universal skin under the 240th number at any stage will make the surface much smoother. According to the general rules, for the starting layer of putty they use a grout with coarse sandpaper with a large pile. Fine skin suitable only for the finishing layer. The work is more laborious, but the result is obvious, because this sandpaper is the last tool, after which the wall is decorated.
Secrets of puttying walls with their own hands, see the next video.