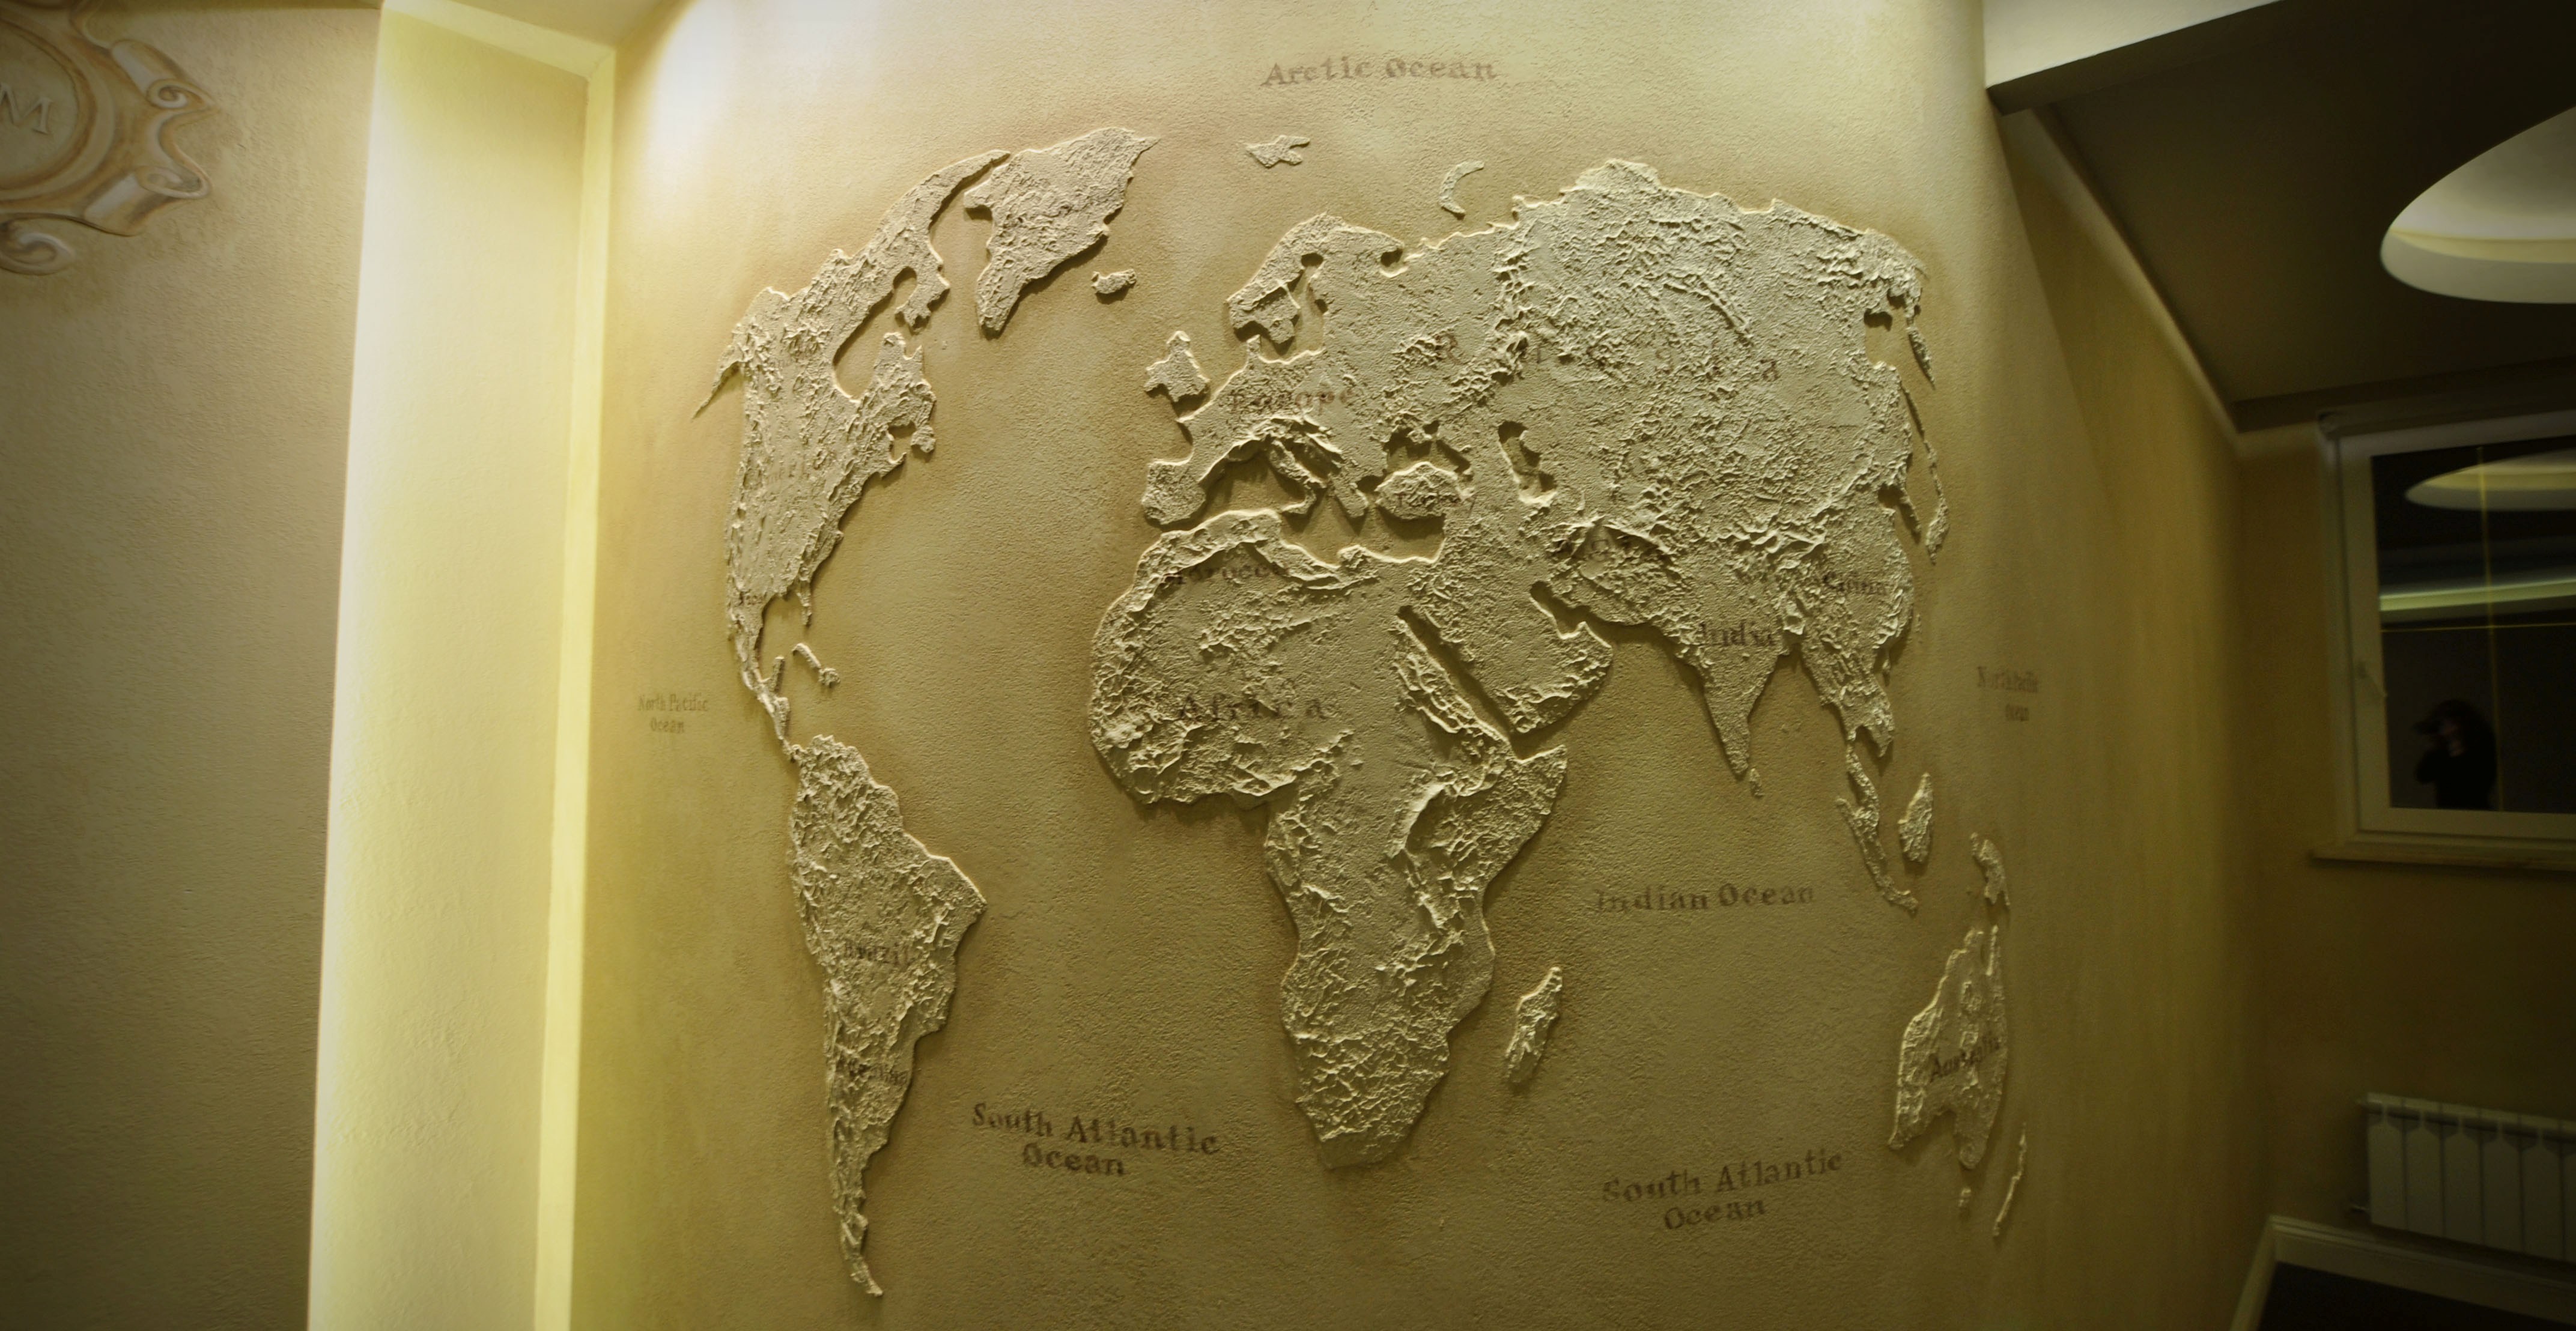
Decorative plaster "World Map": types and techniques of application
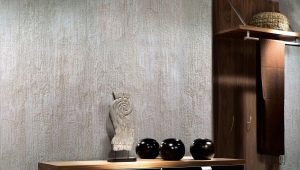
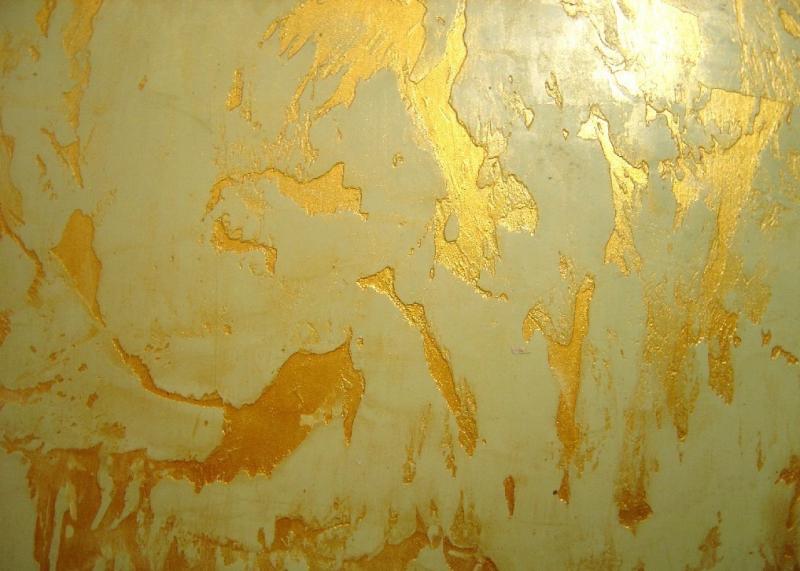
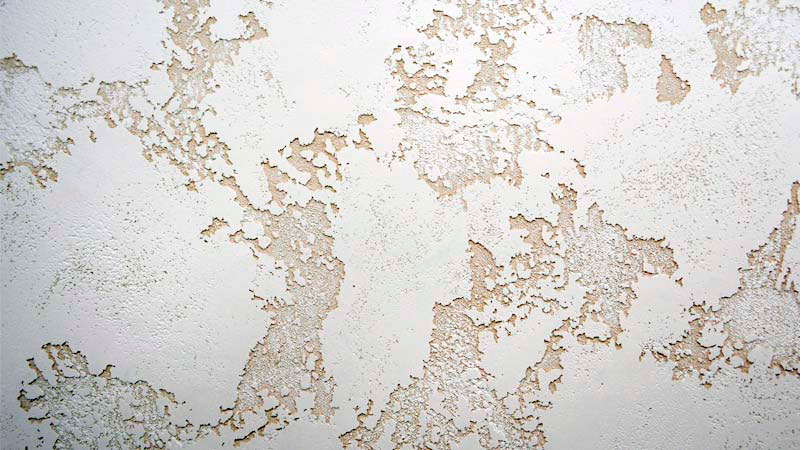
Decorative plaster called "Map of the World" - this is a very peculiar texture that occurs on the surface of the wall when it is covered using a mixture of lime and some components. In order to achieve this effect, it is necessary to apply structural decorative plaster in the interior, when applied to a wall, a semi-relief textured coating that looks like the surface of the globe or a globe is obtained. It can be viewed from different angles and anyway the world map will always be remembered.
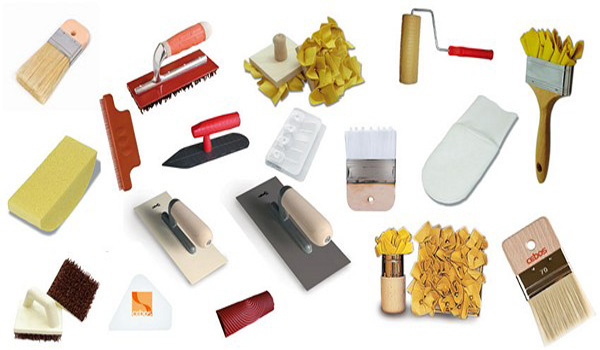
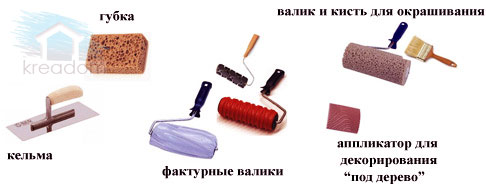
Instruments
As well as to perform any other work for the application will need a certain number of tools.
You will need:
- spatulas made of stainless steel;
- trowels (Venetian type or made of alloy steel);
- short pile roller;
- foam roller;
- sponge / rags.
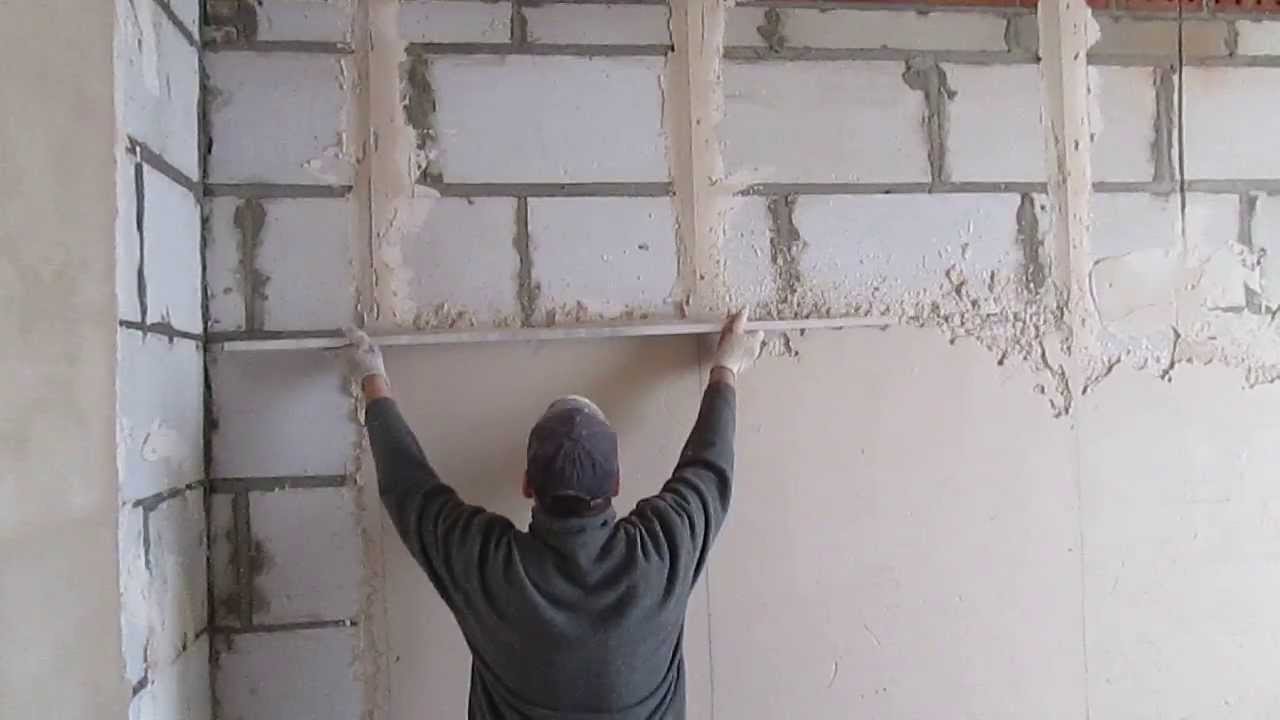
Preliminary preparation
- First, align the walls on which you will apply the plaster. This is a prerequisite for the desired effect of obtaining a surface that resembles a “world map”.
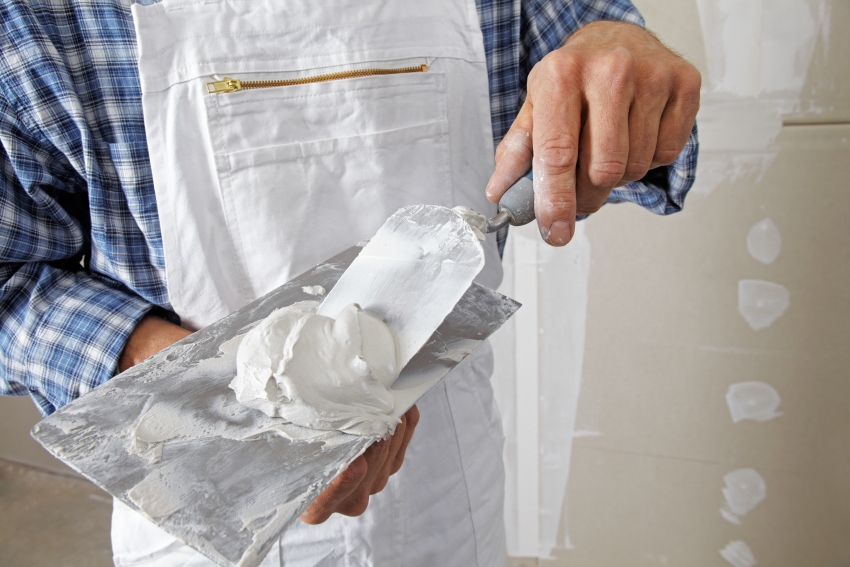
- The surface must first be putty. It should be borne in mind that the color of the solution is close to pure white, for this reason, only stainless steel tools are used in the work. This helps to eliminate the appearance of rust stains on the surface. For the same reasons, the presence of metal parts is excluded, since in this case the appearance of “islands of rust” is inevitable.
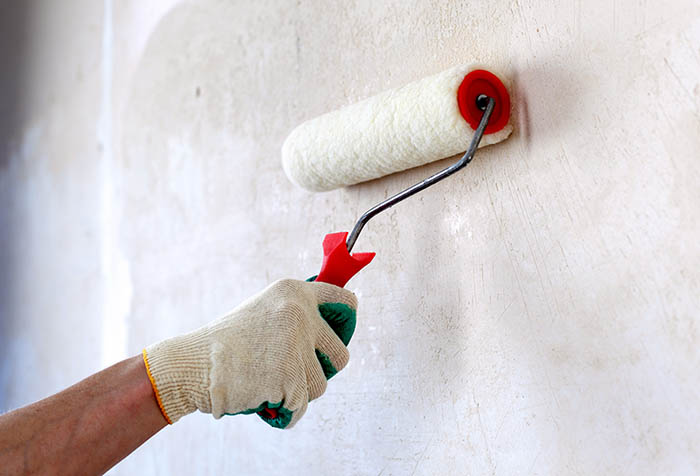
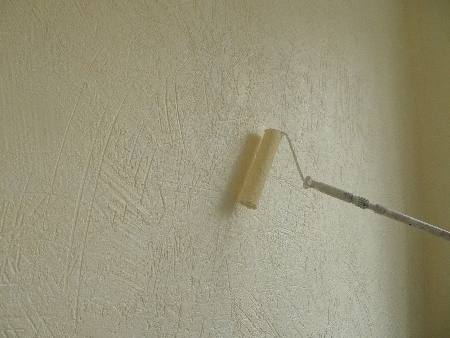
- The surface is primed twice. First, the primer is applied with a pile roller. This is a layer of deep-penetrating primer and it should dry for at least half a day.
- When the “world map” is made of a material with a “travertine effect”, the initial layer of deep-penetrating primer can be left out.
- To get a high degree of adhesion, you need to use a primer, which includes sand with a fine fraction of the grain. It is applied with a roller made of foam rubber and is monitored while the sand layer is as evenly distributed as possible.
Applying the first layer
As already mentioned, the color of the solution is white or close to it, so it does not need preliminary tinting. The application of decorative structural plaster takes place in the first layer, respectively, of the fraction added to it. The standard layer does not exceed 1.5-2 mm.
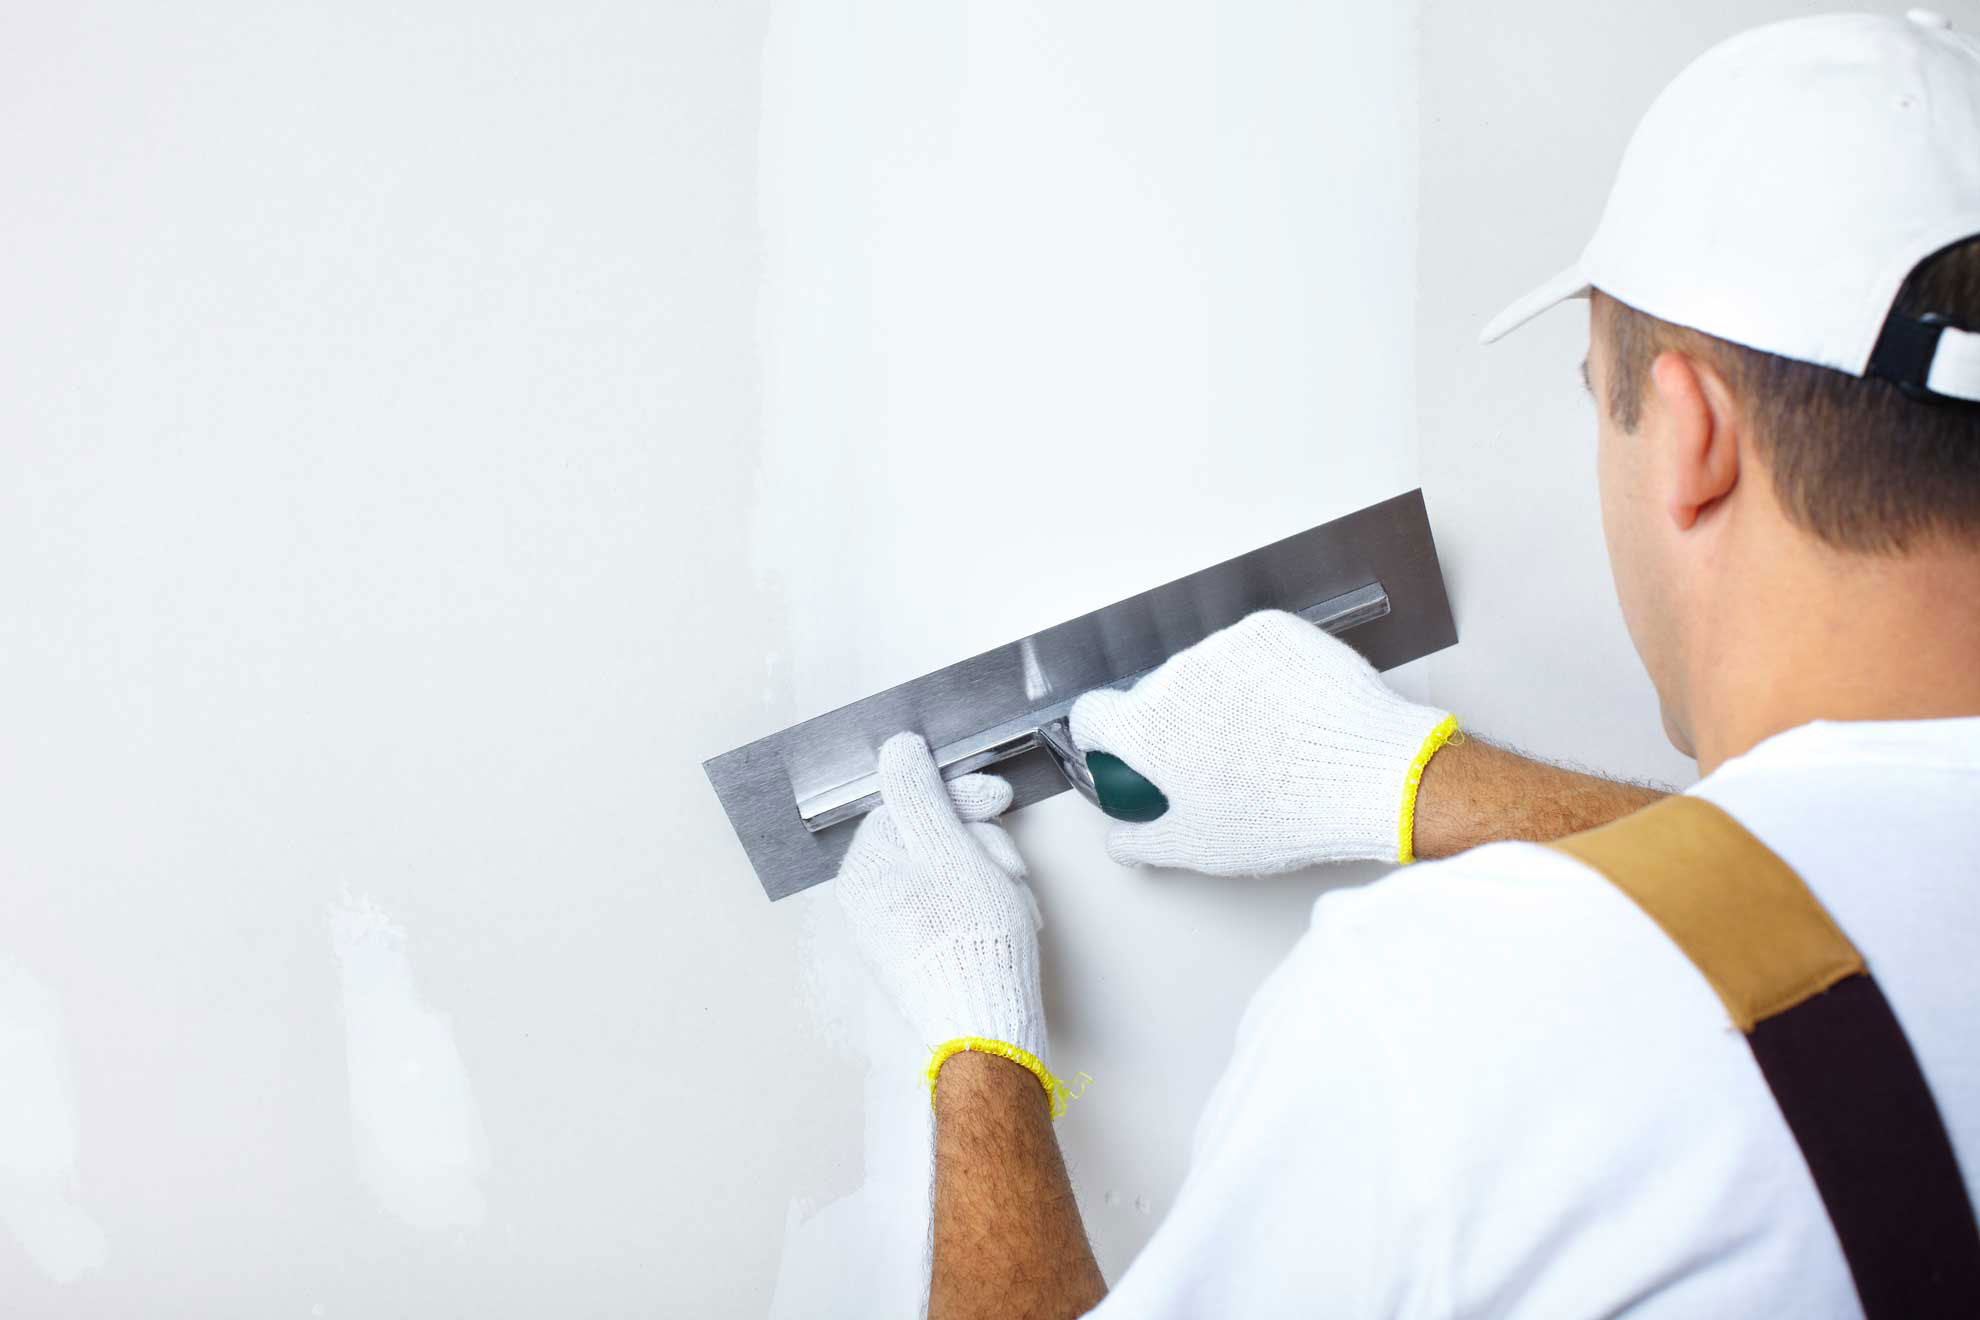
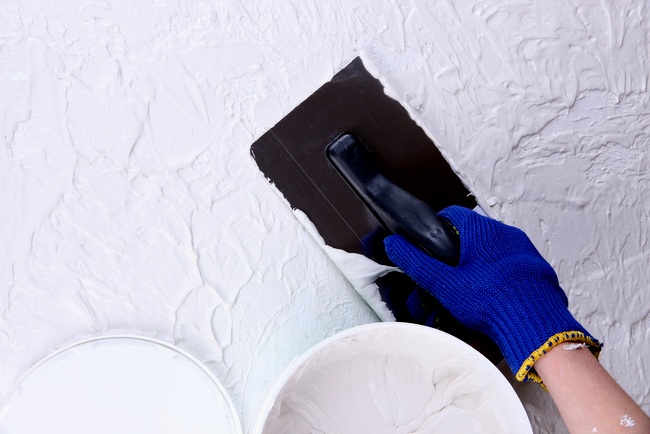
The standard packing of the mixture is a bucket, respectively, the material should be taken directly from there in the process. Gain it with a spatula, because the direct set of buckets with a trowel is not very comfortable, for this reason, the plaster is transferred to the trowel after a set of buckets with a spatula. This is done as many times as necessary to cover the entire edge of the working tool with a mortar. Plaster spread layer on the surface of the wall with a trowel.
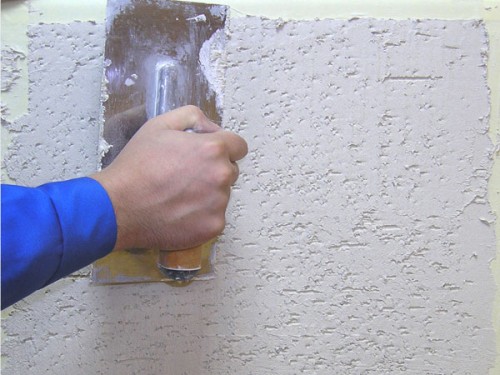
Rubbing should occur evenly, butt joints are not allowed. Smoothing a layer of plaster with great pressure is not necessary.
The first layer depends on the material used. Smoothing is done to obtain the so-called “coat” on decorative plaster. This serves to enhance the decorative effect of the initial layer. As practice shows,the granular structure of the solution itself often meets this requirement, and the use of a “coat” is not necessary.
How much plaster will you need?
On average, the material in two layers is consumed in the range of 1.6-1.8 kg per 1 m2, that is, a package weighing 25 kg should cover the consumption for an area of more than 15 m2 surface. If the surface area is exceeded by a couple of square meters, dilute the solution with water so as not to spend extra money on the purchase. To increase the volume, a capacity of 25 kg is diluted within the limits specified by the manufacturer (manufacturer's instructions, see the package).
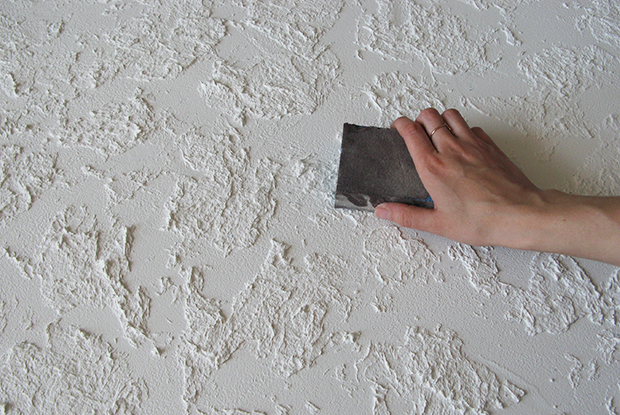
When the first layer is properly dried, it may be necessary to sand. The surfaces should not be mirror-smooth, since the external granularity of the plaster must be maintained. Most often, sanding is used when the procedure for creating a “fur coat” is done. In this application, the mixture is “drawn out”, additional cavities and depressions are created, which are best avoided.
Removed such relief tumors with emery, which polish the surface of the wall.
Applying the second layer
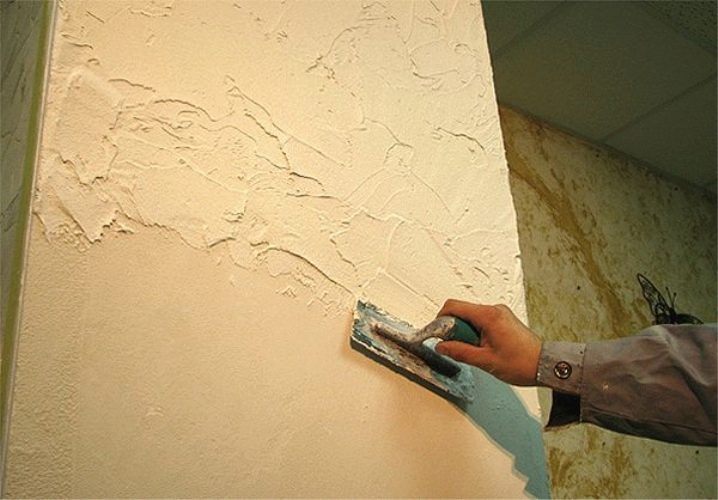
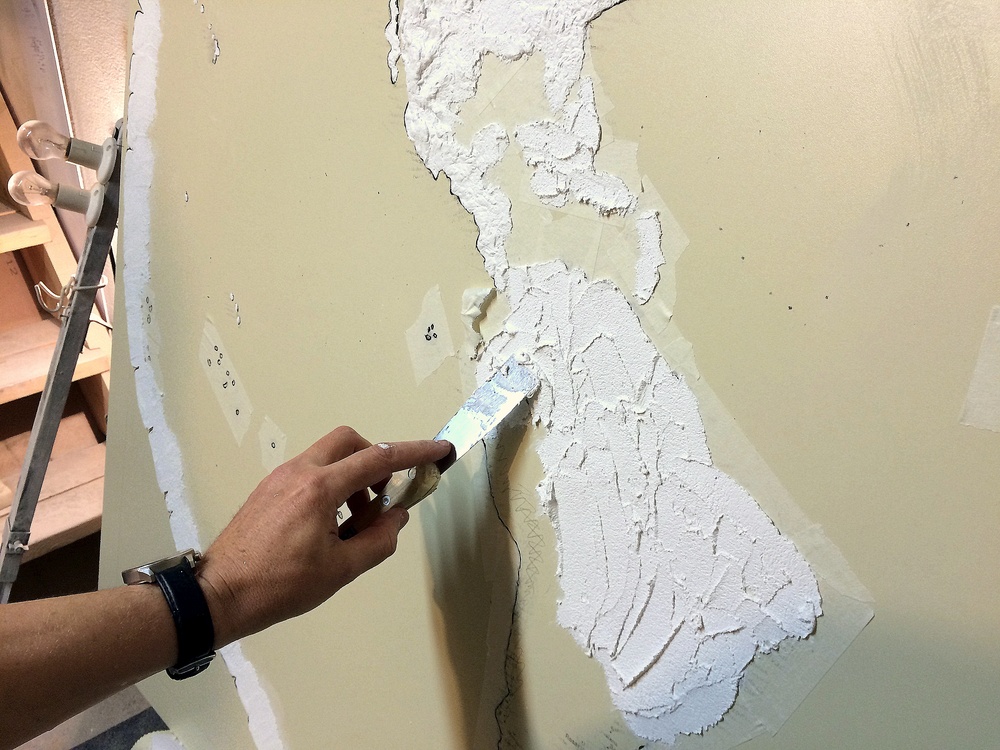
The application of the second layer can occur in several stages.Plaster is applied to the surface of the wall in separate sections.
We advise you to consider in detail the method by which they create the most expressive effect of the appearance of the surface:
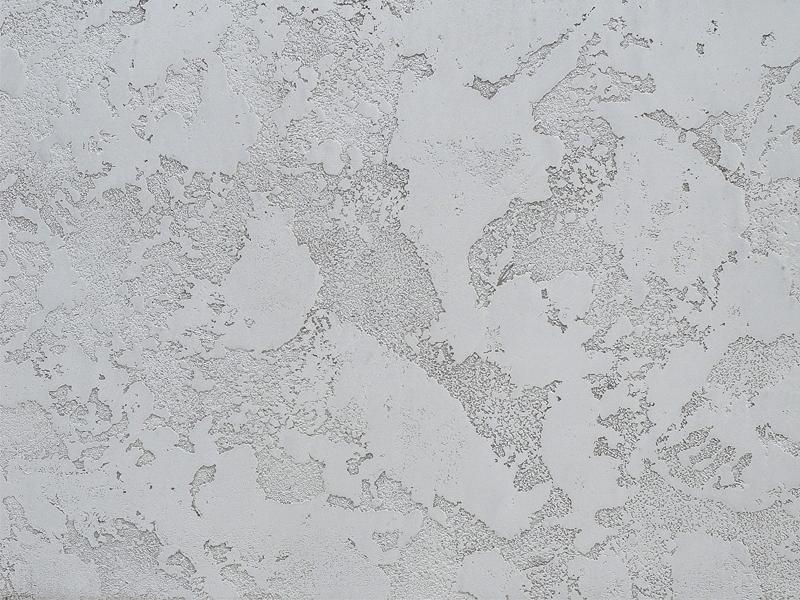
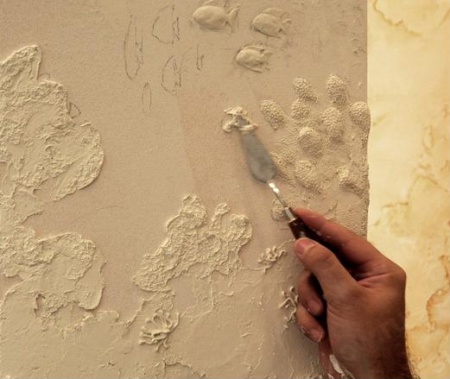
- A little solution is taken on the edge of the trowel and superimposed on the plane of the wall. Immediately plaster is pounded on the wall to get small "islands".
- The roughness of the edges, the lack of geometric shapes are very important. The more natural and more similar the forms of the “shores of the island” are to natural ones, the higher the expressiveness of the resulting figure as a result.
- Try to keep the trowel clean all the time, apply the material in small portions. Immediately after applying part of the solution to the wall plane, the formation of the texture will be visible.


- You should not set yourself the goal of creating huge “continents”, since the application of smaller-sized “islands” looks quite impressive, for this reason leave certain gaps, “straits”.
- The amount of plaster on the trowel can be either the same or different each time. Do not be afraid to get the same image, it all depends on your imagination.
- When the creation of the very textured surface of the plaster is completed, the so-called “glossing” procedure is carried out - grouting the walls with the help of a trowel. It is a process when the trowel is lightly pressed and carried along a dry layer. The process resembles polishing, but with the difference that more effort is applied. As a result - getting a smooth and smooth outer edge. In the behavior of the process, a trowel made of alloyed steel is used, while the other trowel blackens the color of the surface (as already mentioned, the color of the solution is white). There are techniques when they gloss in two steps with a five-minute interval.
Since the method of application involves high speed, and the formation of the texture takes place within a certain time, we advise you to invite an assistant.
Finishing
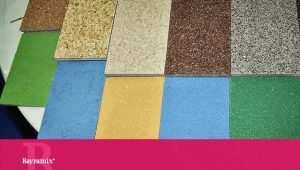
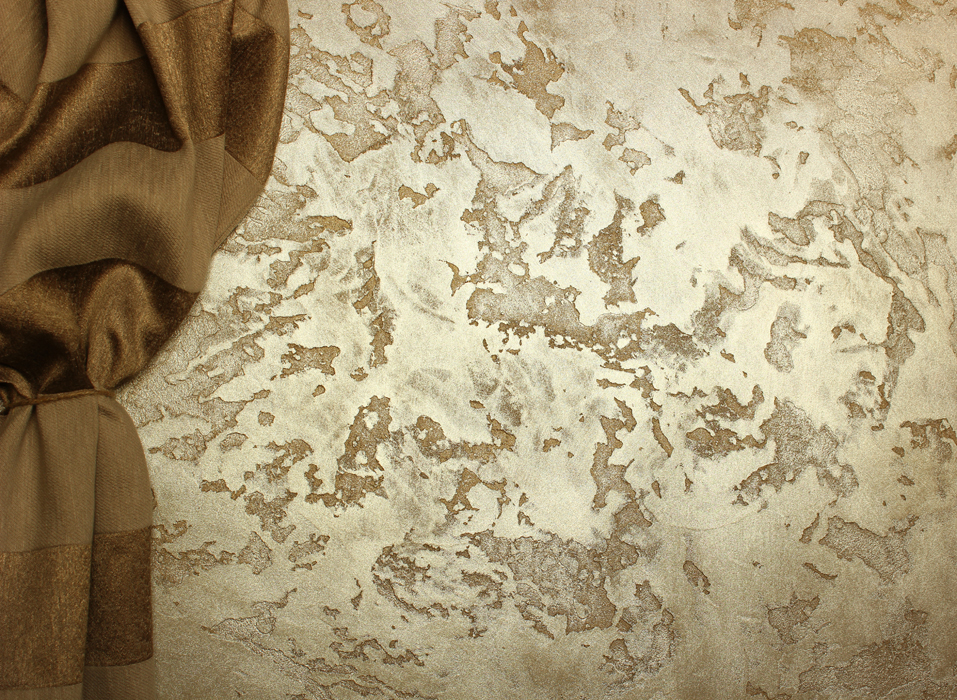
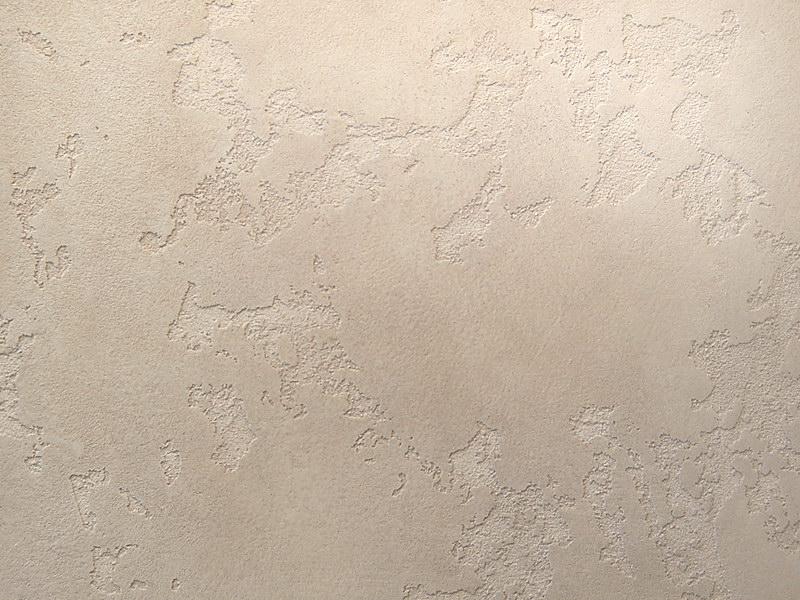
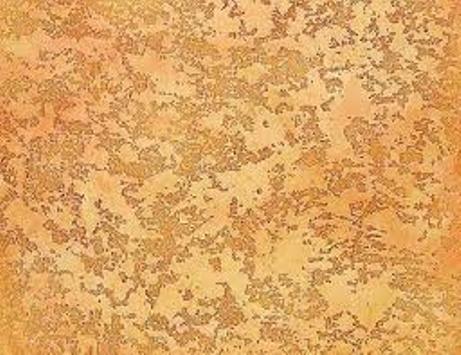
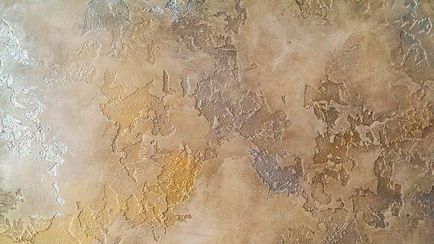
After the previous operations were completed, a snow-white texture turned out with a visible graininess on the first layer and protruding patterns on the second layer. It is necessary to give the surface color. The color of the first layer will be a darker shade than the second.
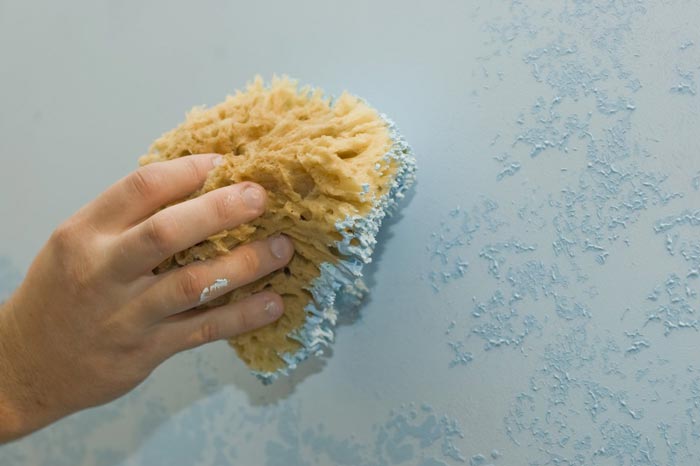
If you plan to use wax, use a wet sponge.The wax is collected on it and ground to obtain overflows, which is achieved by applying wax simultaneously in different places and rubbing it in different directions. It is preferable to do circular motions.
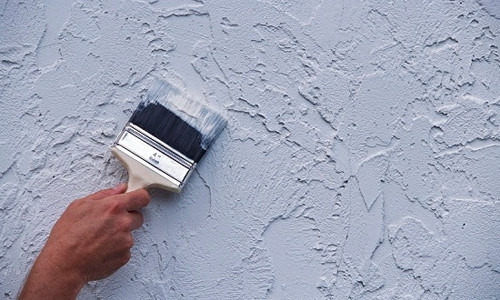
The technology of surface coating with varnishes hardly differs from the above described actions. If desired, a layer of dried wax is painted with a foam roller with a small amount of paint. In this case, most of the paint will color the embossed parts, emphasizing the color difference and expressiveness of the pattern.
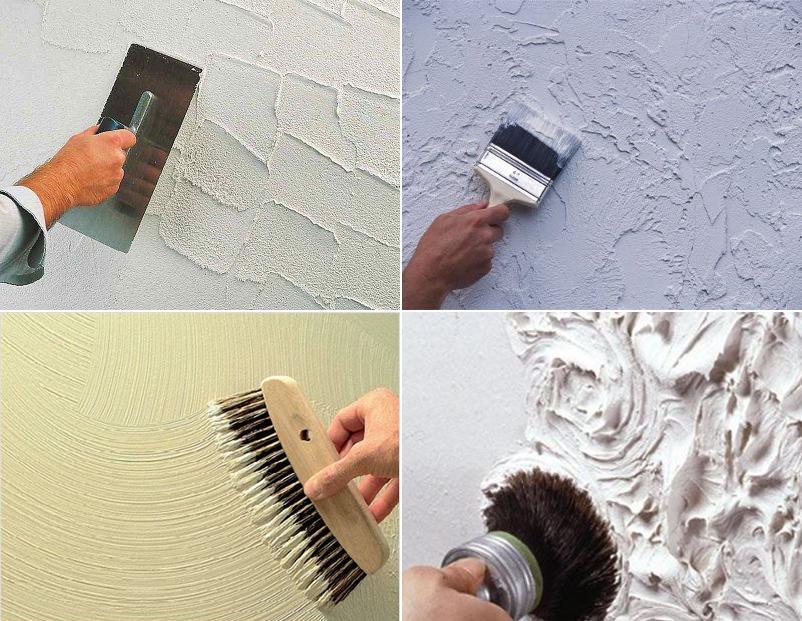
Simplified Ways
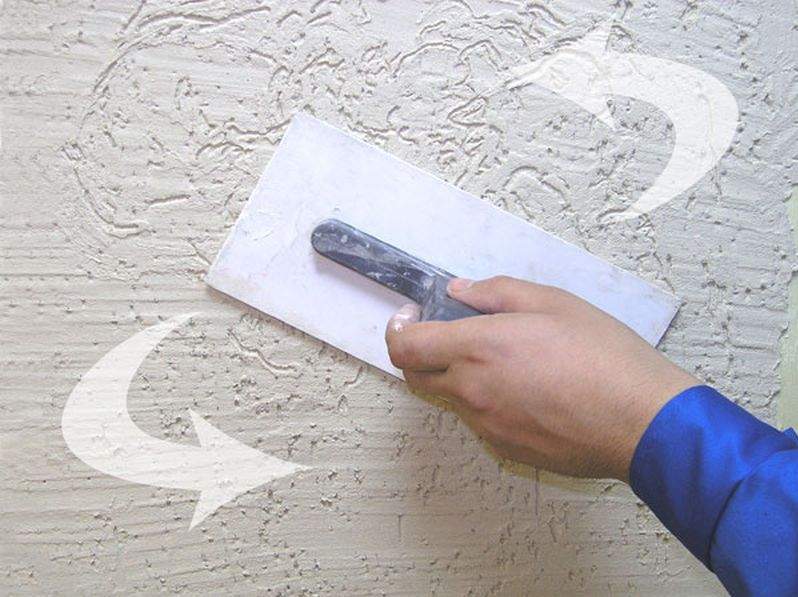
- The trowel is coated with a small amount of the solution. It is gently pressed down with the entire surface to the adjacent sections of the surface of the walls, and the resulting “fur coat” immediately smooths down after the end of the stock of plaster.
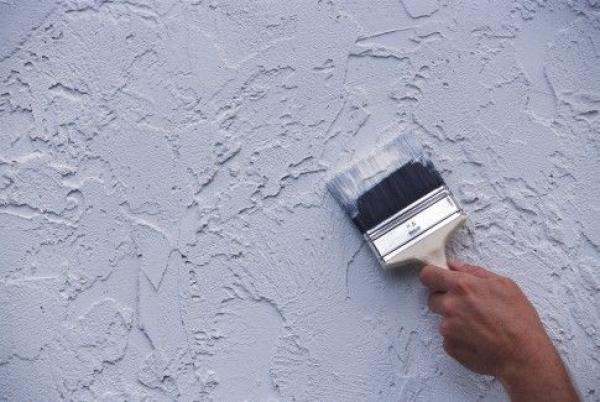
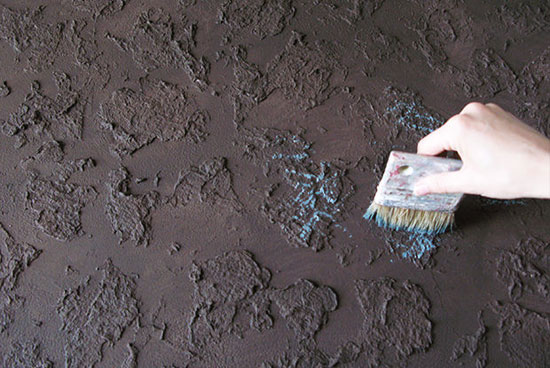
- You can also create a decorative “world map” with a brush. Dip the tip of the brush into the liquid plaster, then touch the walls with it. We rub the solution on the walls with a trowel. To avoid excessive uniformity, we crush a piece of cloth / rags and make an improvised brush out of it. It diversifies the drawing.
- Alternatively, the second coat can be applied with a sponge, not a brush.
- Use of pneumatic tools is possible. In this case, the solution under pressure is sprayed onto the walls. In this way there is an advantage: you can vary the feed rate and layer thickness.
Of course, this type of plaster has its drawbacks:
- rather high cost of materials;
- low ability to make changes to the embodied design.

About the technique of applying plaster "world map", see the following video instructions.