Warm plaster for interior work: the pros and cons
Planning to carry out repair work in the room, you should think over and take into account all the details, because in such works there can be no trifles. Thermal insulation of the room is one of the most important processes and should not be ignored. Warm plaster - this is one of the options to address this issue.
Special features
Many residents of apartments and private houses hear about warm plaster for the first time, so you should understand in more detail what it is, for what purpose it is used and what its varieties are.
All building materials have certain thermal insulation properties. Using ordinary plaster, you can only slightly warm the room. To achieve a stronger warming, use warm plaster.
When applying warm plaster to the surface, the wall is more even, while its thermal insulation increases.
Apply this material in construction and when performing repair work began not so long ago, so few people know about the composition and properties of warm plaster.
With its help you can:
- level the wall;
- decorate the surface;
- provide temperature for a comfortable stay.
In addition, this material has a sound insulation function.
Thermal insulating materials have a porous, fibrous or cellular structure, which is filled with air, gas or vacuum. When applied to the surface, a kind of “fur coat” is created.
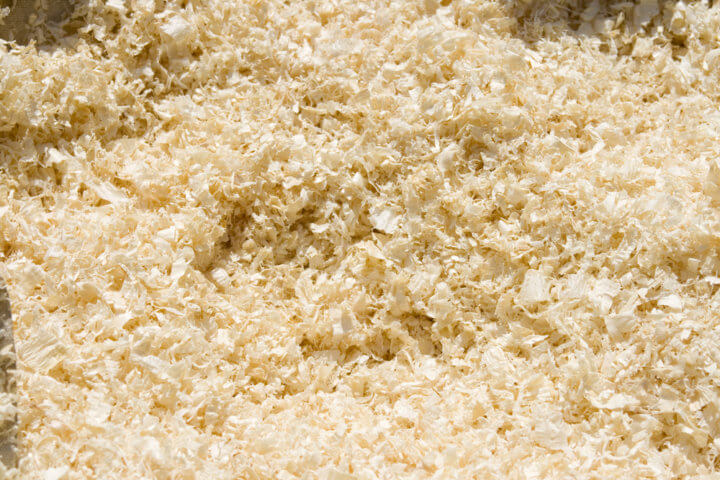
Since ancient times, natural materials have been used for wall insulation. Straw, sawdust and clay were used for this. Covering the walls with a mixture of these materials, diluted with water, sought to insulate them. Perhaps this technique is still used somewhere in the villages because of its cheapness and ease of use.
Modern technologies are not standing still, and today a large number of materials are being produced that are used for wall insulation.The basis for warm plaster are various fillers and a component for binding, as well as other additional ingredients.
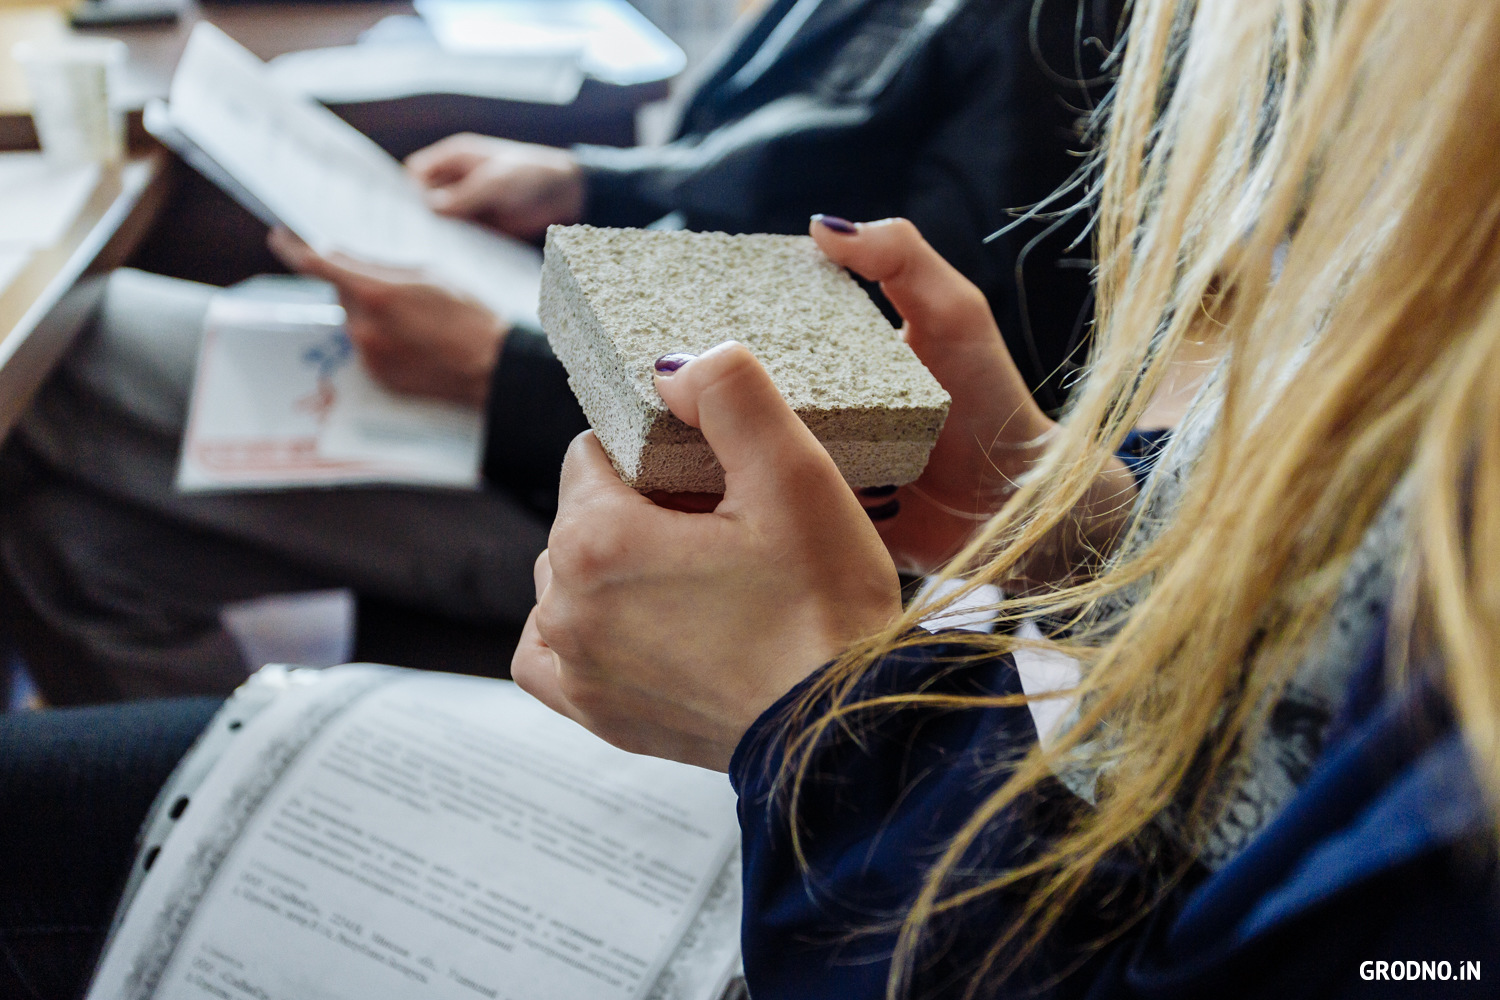
The filler for warm plaster may consist of different materials. Consider their description and characteristics:
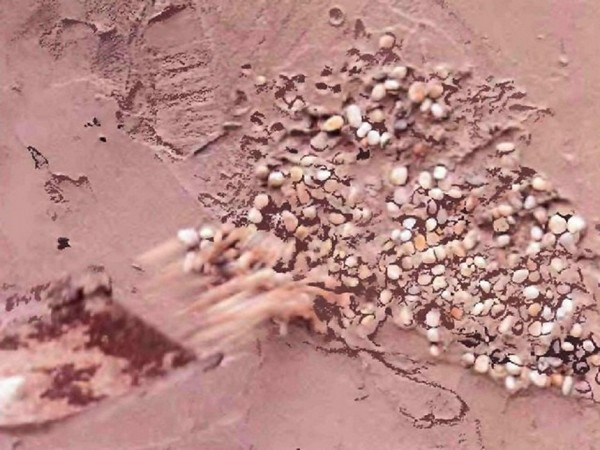
- As part of the filler may be polystyrene foam. This material has a high level of insulation, in addition, it is inexpensive. In addition to the undoubted advantages, polystyrene foam has a drawback - it is able to quickly ignite, and during the burning of the material toxic substances are released.
- The cheapest, and also the most environmentally friendly material can be called sawdust. They are often used in the manufacture of their own material, although sawdust does not have high heat-shielding properties.
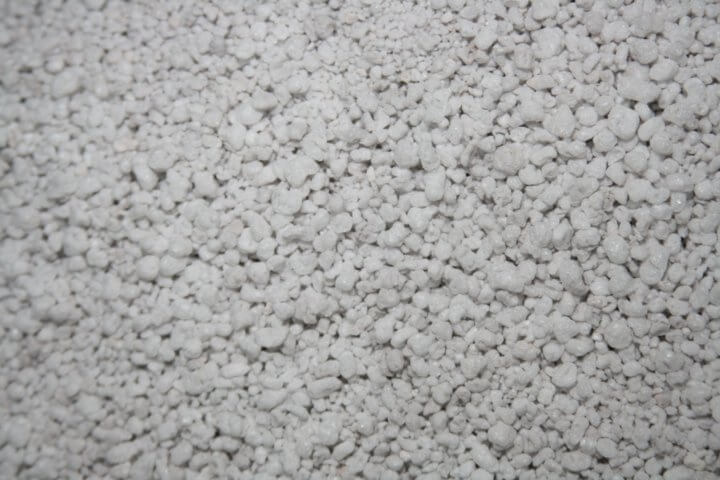
- Perlite. When processing perlite with high temperature, a material with a porous structure is obtained. Perlite has good resistance to temperature changes, it is easy to work with this material. It also has resistance to harmful microorganisms.
- The material that is made from mica - vermiculite. It is very durable, has a high level of hygroscopicity, has a biological safety and fire safety.
- Foam glass. For its production take quartz sand.This material is recommended to be used in rooms with high humidity, which is undoubtedly its advantage. Insulating properties of it below the above options.
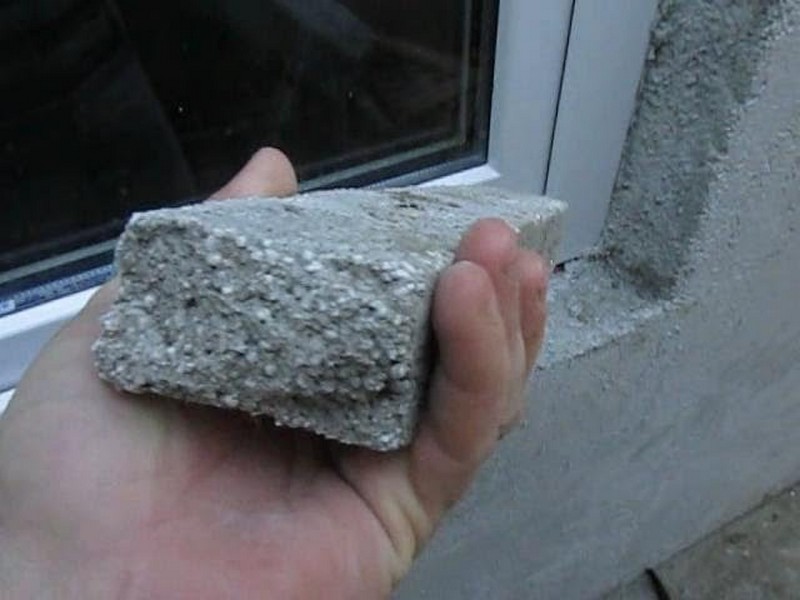
Plaster or cement is used to bind these materials. The use of cement in the work allows you to achieve a more durable surface. The mortar with cement has a gray color, from the side it will be noticeable. In order to get rid of the gray tint on the surface, it can be covered with gypsum plaster.
Instead of cement, you can take gypsum. Usually it is used only indoors.
Specifications
It is necessary to figure out where warm plaster is used, how easily it is applied to the surface indoors.
So, this material is applicable for:
- to align the walls and create additional thermal insulation;
- filling voids, insulation of water pipes, sewers;
- insulation of the slopes of windows and doors - such a warming surface will prevent the ingress of cold air and drafts;
- Often heat preserving putty is applied when the ceiling or floor is insulated.
Thermal insulating putty has many advantages:
- First of all, it should be noted that it is easy to work with this material, plus everything at once can solve the problem with both warming and surface finishing.
- The material has excellent properties, has high adhesion to many surfaces.
- Working with warm putty, you can often do without priming the surface.
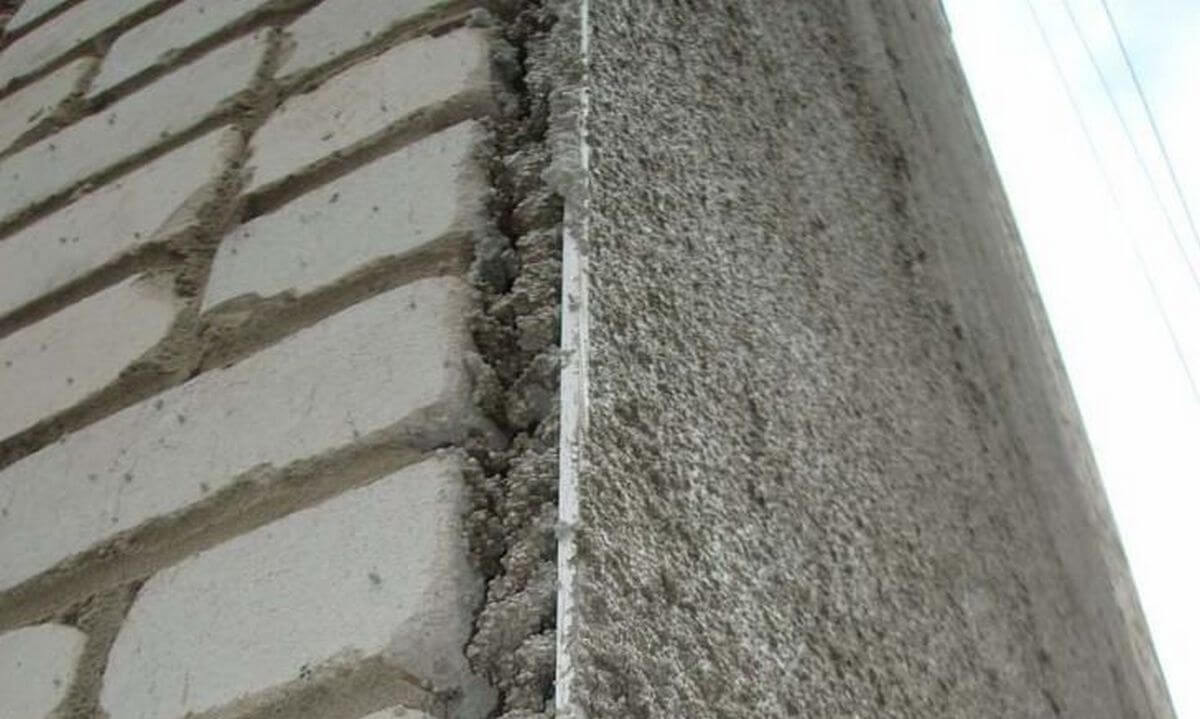
- When applying the solution to the surface in the process of work, there are no seams or so-called “cold bridges” on it.
- Using modern plaster can not be afraid that over time the material may be damaged by insects or eaten by rodents, besides it does not divorce the bacteria.
If the composition consists of gypsum, perlite and vermiculite, it is not recommended to be used for internal insulation of rooms with high humidity, since these materials have a high hygroscopicity.
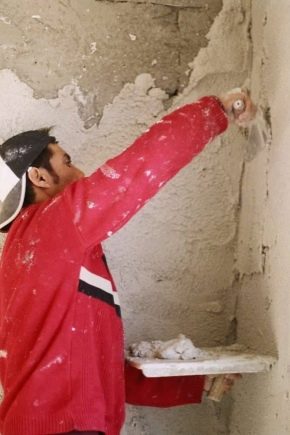
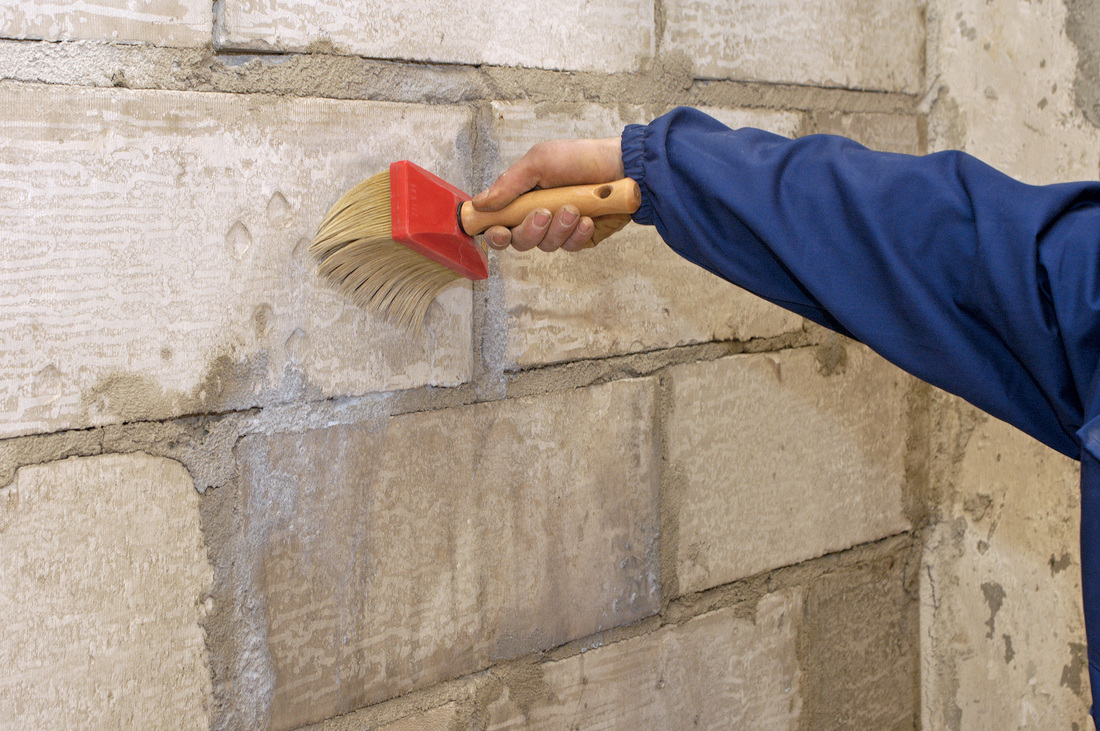
Before you begin, you must prepare the walls. The surface should be cleaned from the previous layer and remove hooks, nails and other small parts that may interfere with the work. Next, the walls should be primed and left for a couple of days to dry completely, and only then carry out work on the insulation of the premises.
Given all the advantages of the material and its disadvantages, it can be said that the use of warm plaster inside the premises is fully justified. Apply it in combination with other heaters, but it should be applied in places where it is really necessary.
Tips and tricks
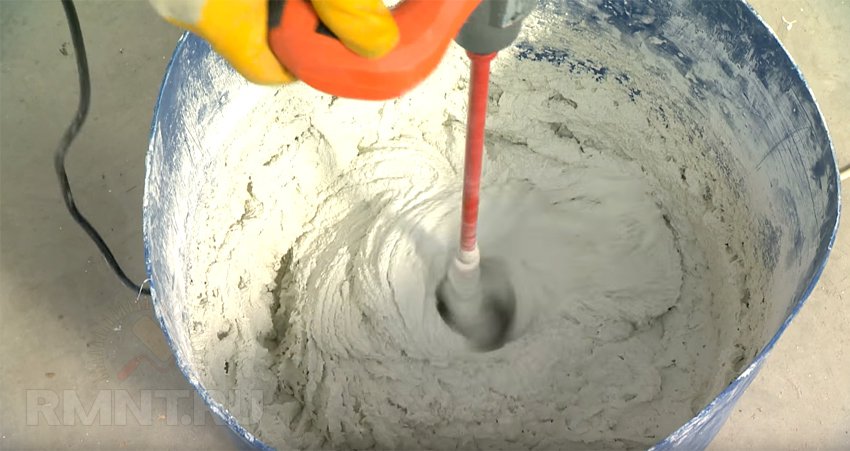
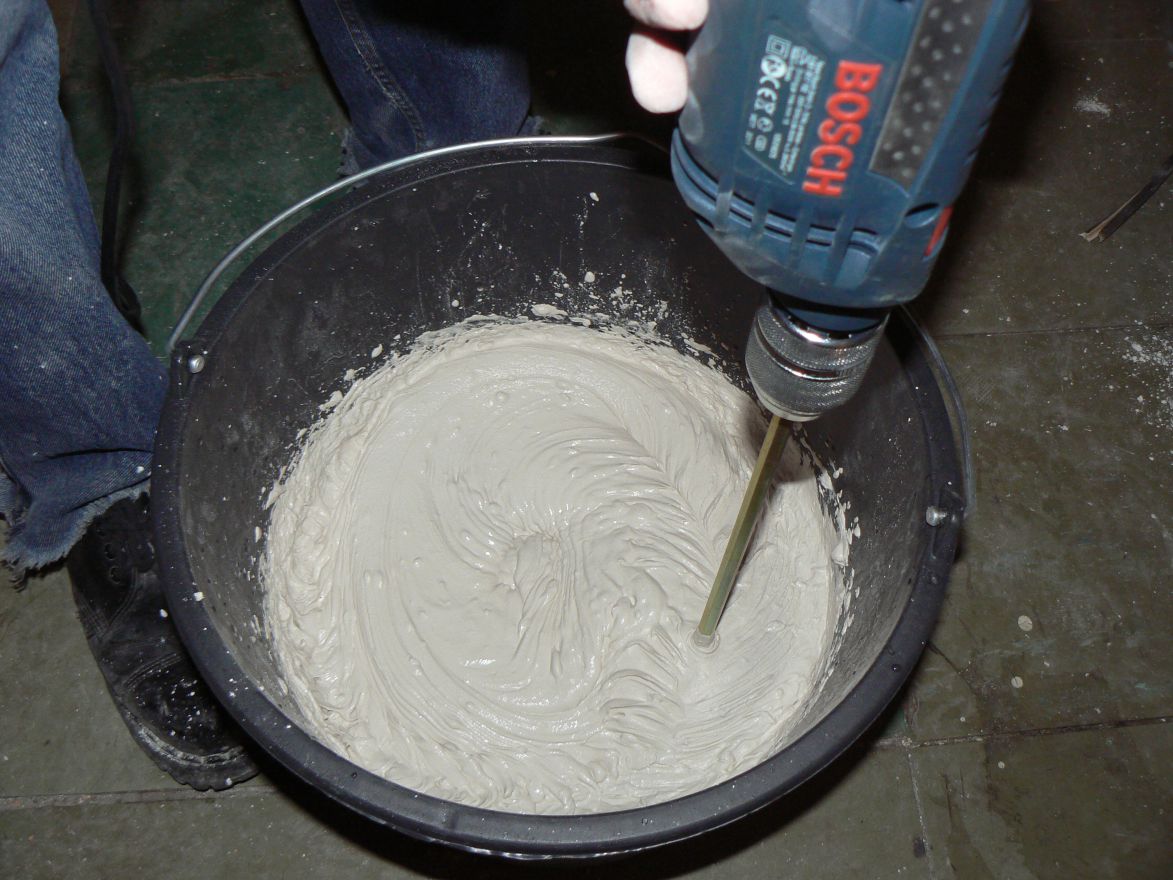
- In order to prepare a solution, take 1 kg of the mixture and 0.5 liters of water. The composition is not recommended to make large portions.as it dries very quickly. For mixing, they take the construction mixer and stir until the mixture looks like sour cream.
- When mixing a dry mixture with water, pour liquid little by little.constantly stirring. When using a moisture-resistant composition, it is enough to take 200 liters of water for 1 kg of the mixture. Before starting work, leave the solution for a few minutes to soak it.
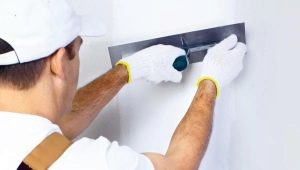
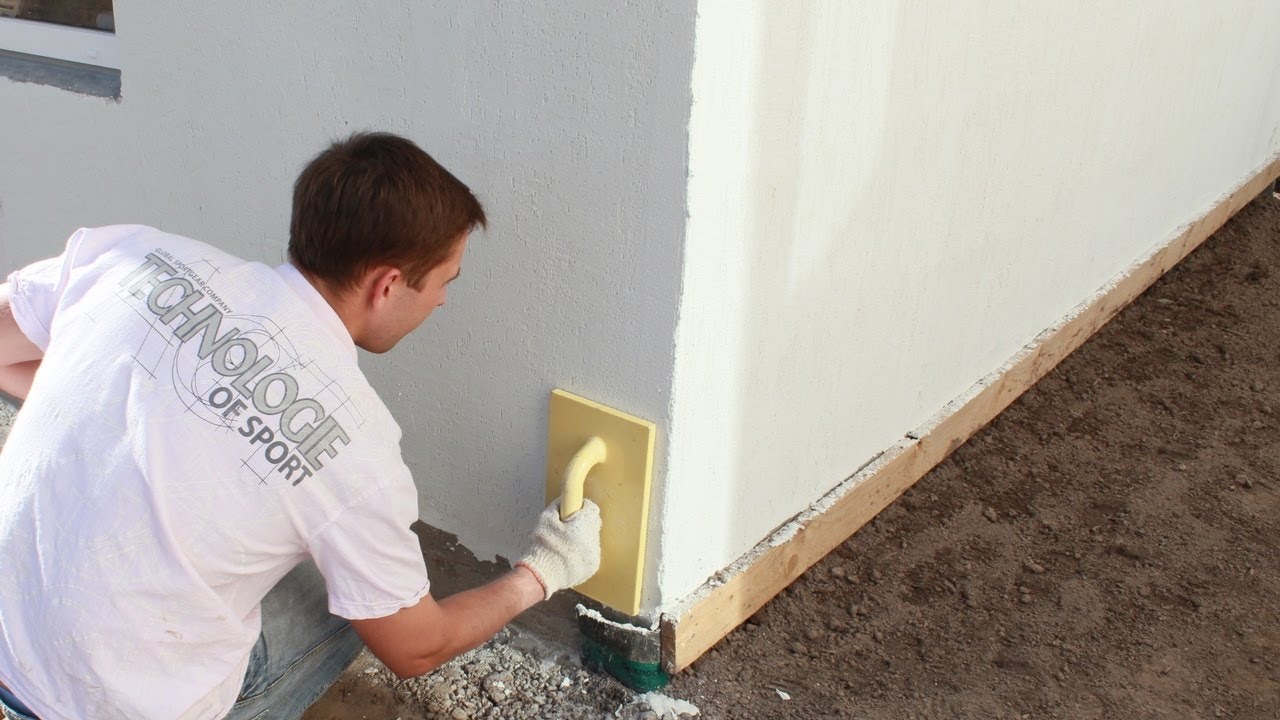
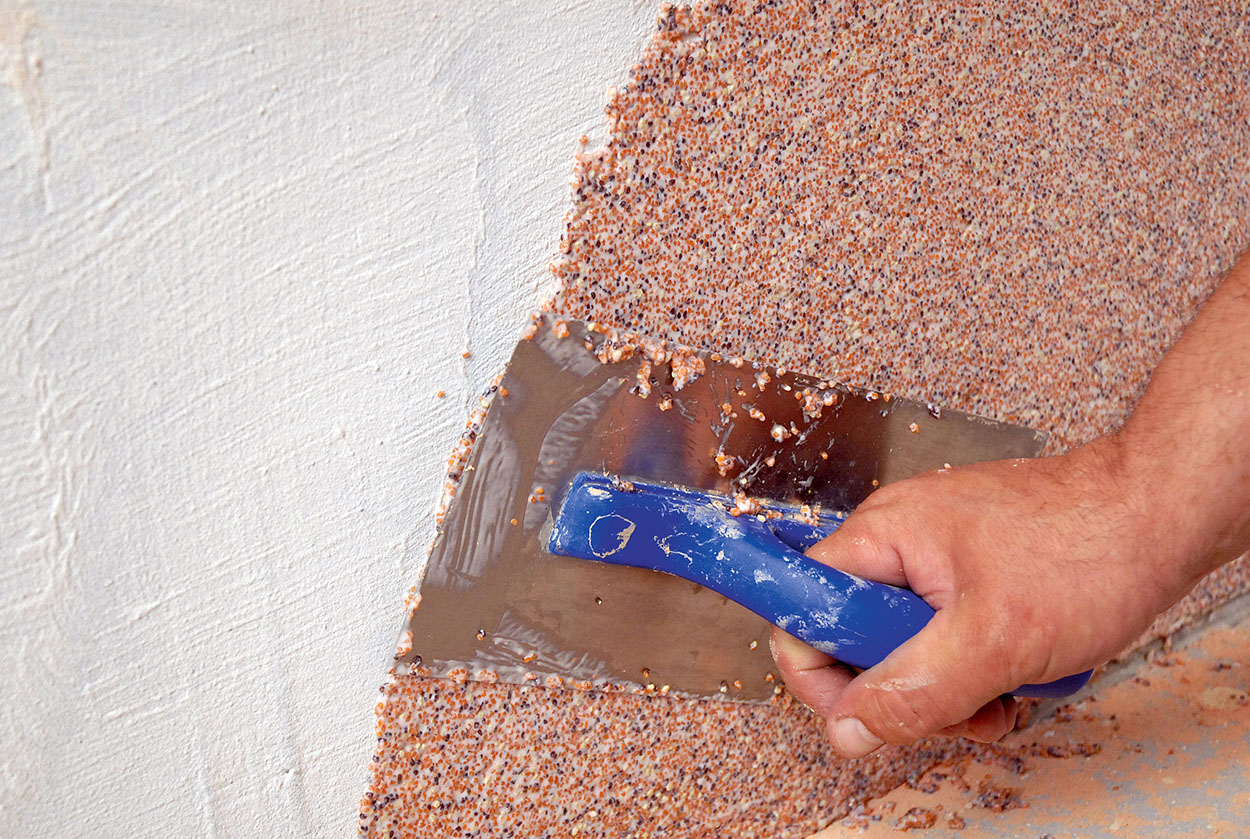
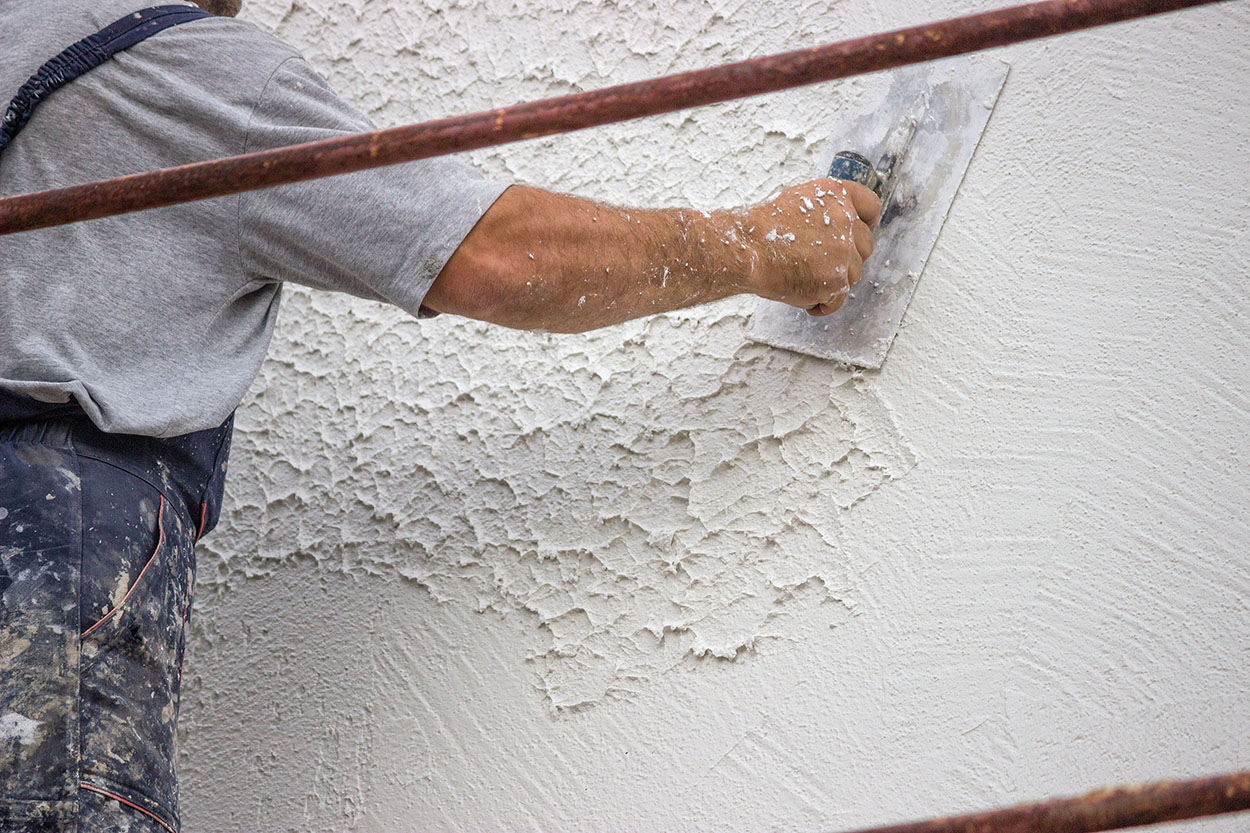
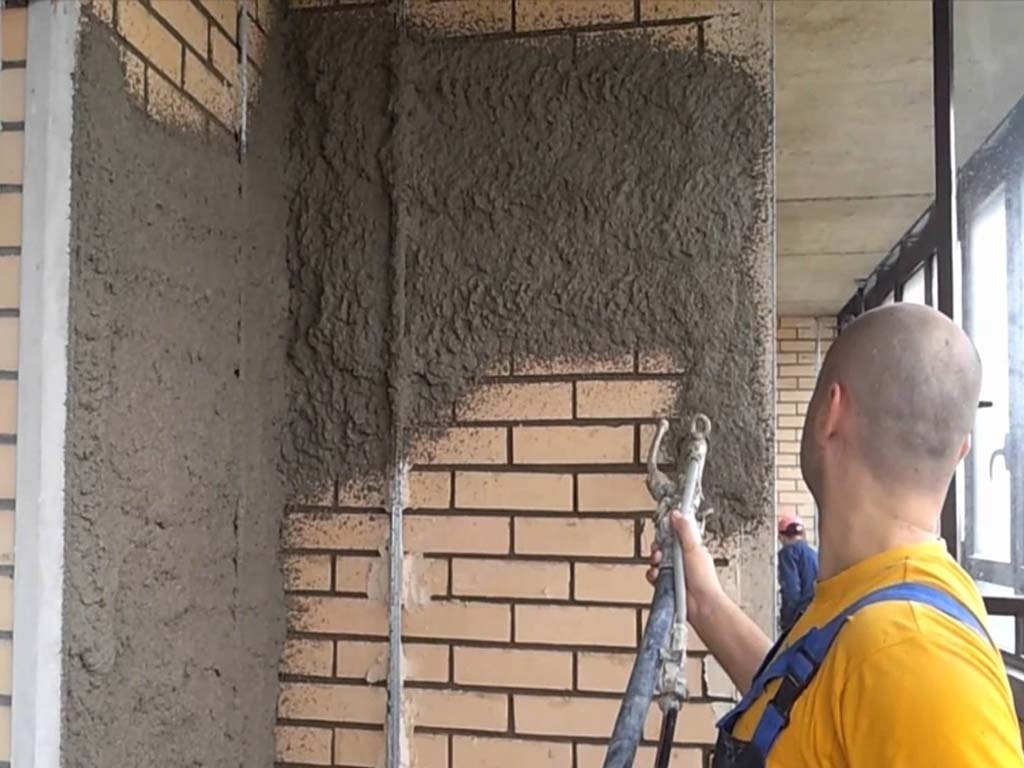
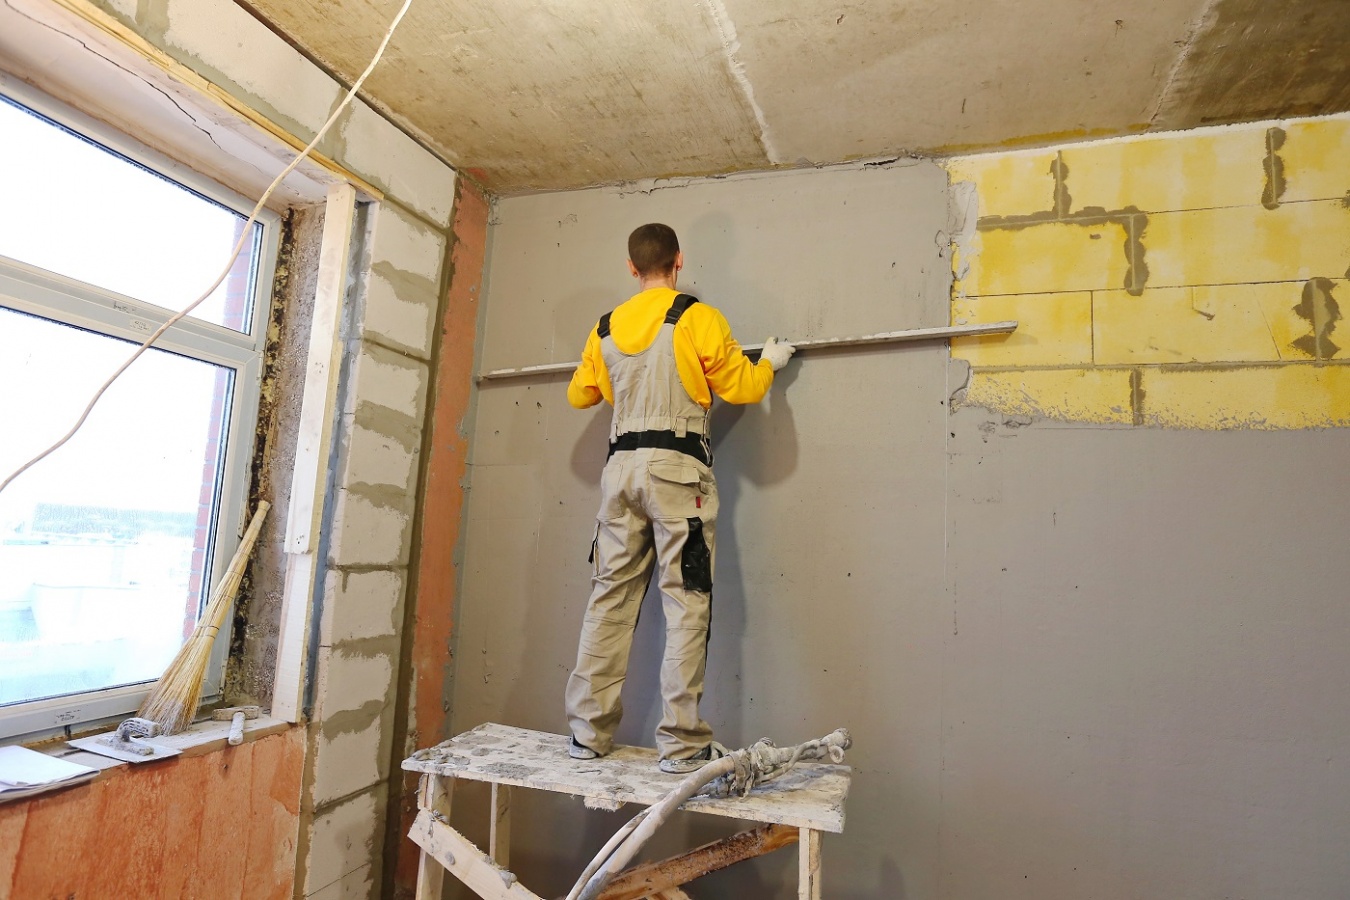
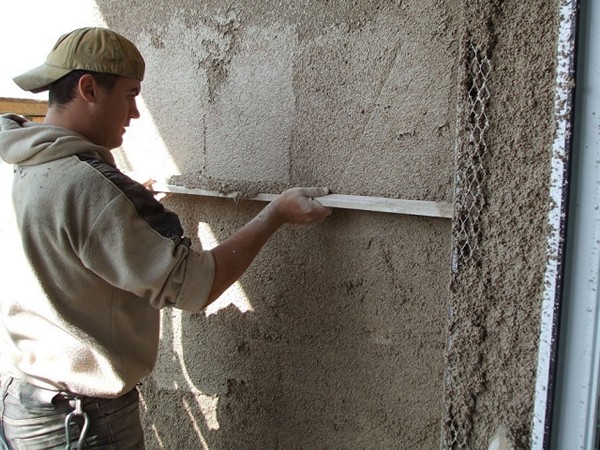
- When applying putty take a trowel with the rule. The layer should not be made thick, it should not exceed 5 cm. When applying material to the ceiling, the layer should be reduced to 3 cm. By applying putty to the walls, you can immediately level the surface and remove minor defects.
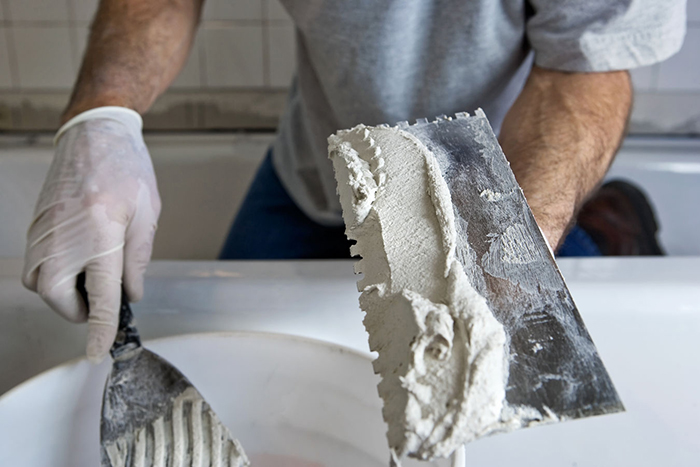
- After covering the entire surface, wait.until the wall is dry.It may take just over an hour. After that, it is cut using the rule. To check, you can take the construction level. At this stage, eliminate possible shortcomings such as depressions, irregularities and roughness.
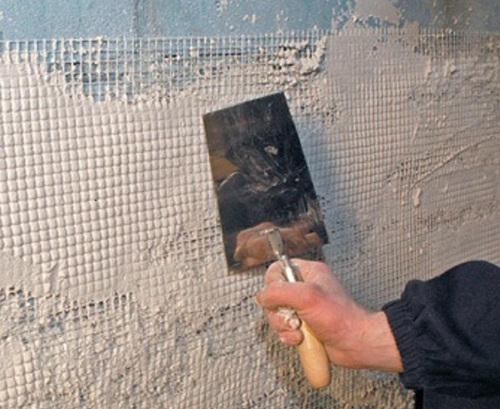
- If after applying a single layer of the wall remain uneventhey are left to dry and then re-applied another layer. When applying more than one layer after complete drying of the surface of its ground and sew reinforcing mesh.
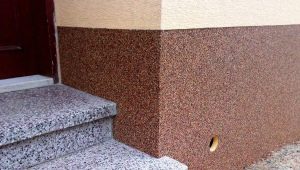
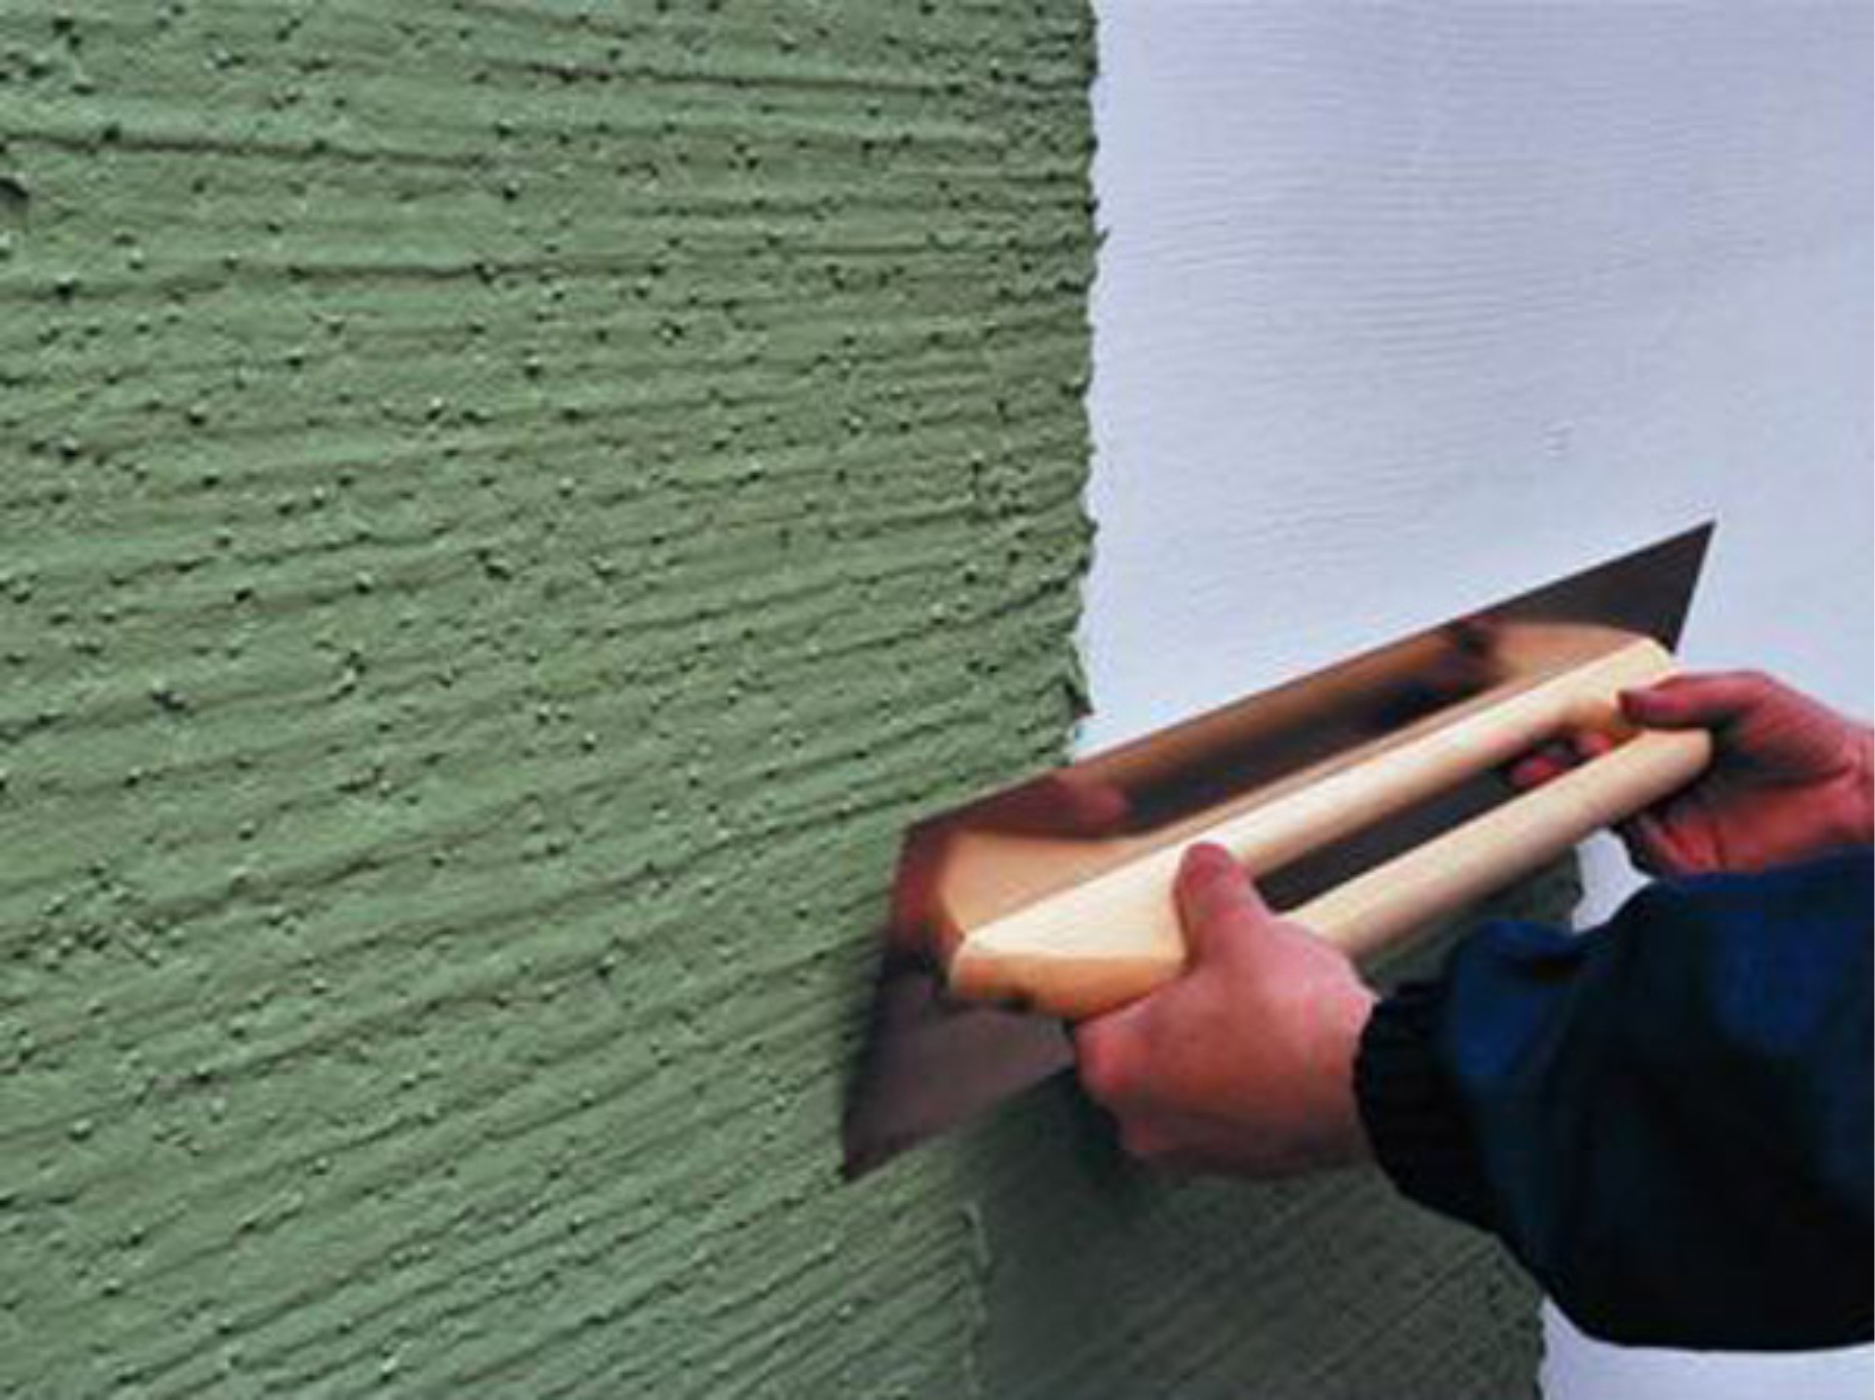
- At the final stage do glossing or glazing. To do this, moisten the surface with water and smooth out a sponge grater. When the cement or plaster milk appears, the wall is rubbed with a soft, wide spatula. You can leave the wall in this form, it does not let the heat through, but more often it is painted with facade paint, it is sewn up with siding or any other decorative work is used.
High-temperature putty - easy-to-use material that is used for interior work. When choosing this material, it should be borne in mind that mixtures are quite expensive, and for work you often have to buy several packages.
To avoid additional waste, you can use putty,cooked by yourself. Self-made solutions are absolutely not inferior in quality to store options.
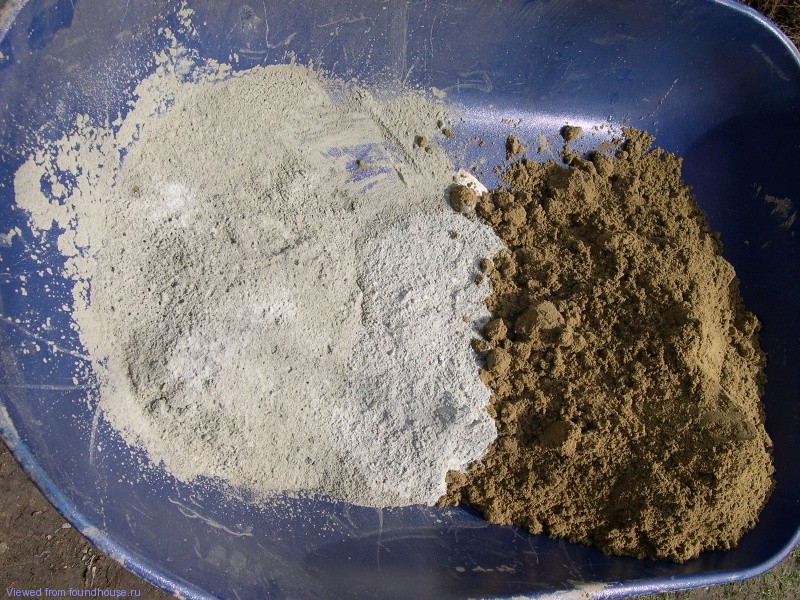
As part of putty own production:
- one piece of sand;
- one piece of cement;
- four pieces of perlite / vermiculite;
- the required amount of water to make the mixture creamy.
When making a solution with polystyrene foam, vermiculite and perlite, the ratio should be 1: 4, that is, if you take 0.5 kg of sand and cement, add 2 cubes of perlite and about 500-600 liters of water.

Sometimes PVA glue is added to this composition, but it is not used in large quantities - it is enough to take 2% of the total amount of water. Adding glue to the solution should be diluted beforehand. Instead of glue, you can take a plasticizer, for example, a plastic.
For self-preparation putty will have to experiment a bit in proportions. It is not recommended to mix a lot of solution at once, it is better to make small portions. When applied to the wall, it will immediately become clear how correctly the proportion was chosen and whether the material is convenient for use.
If perlite or vermiculite is used for cooking, a large amount of liquid should be added. With an insufficient amount of water, the solution will immediately harden and be unsuitable for work.
For interior work, it is better to knead the masonry mortars on plaster.
Manufacturers
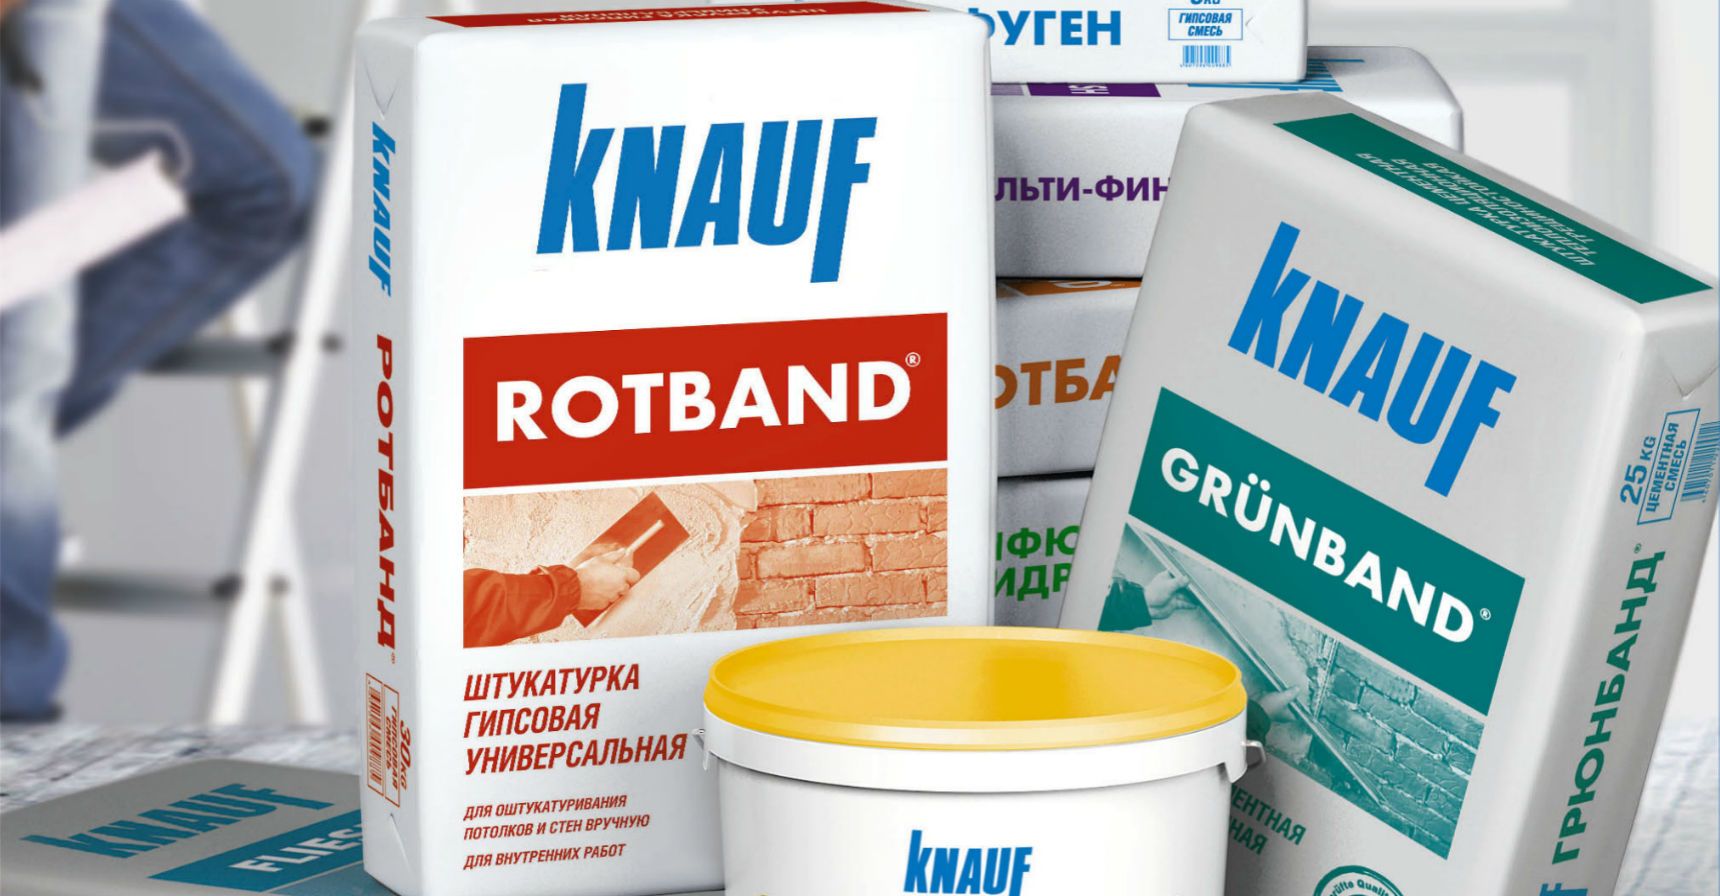
One of the most popular companies that produce putty is the firm Knauf. This name is known to many and deserves to pay attention to the products of this company. As part of this plaster there is cement with polystyrene, as well as special additives.
When applying the solution to the surface a strong structural layer is formed. After it dries, you can use textured paints to decorate the surface. Apply a layer of plaster from 10 to 30 mm, you can carry out the work with your hands or by machine. Available in 25 kg packages. When applying a minimum layer of 10 mm per 1 square. m need to take about 12 kg.
When using this putty indoors, it should be borne in mind that it contains polystyrene, which has a high degree of flammability. Knauf putties are used both outside and indoors.
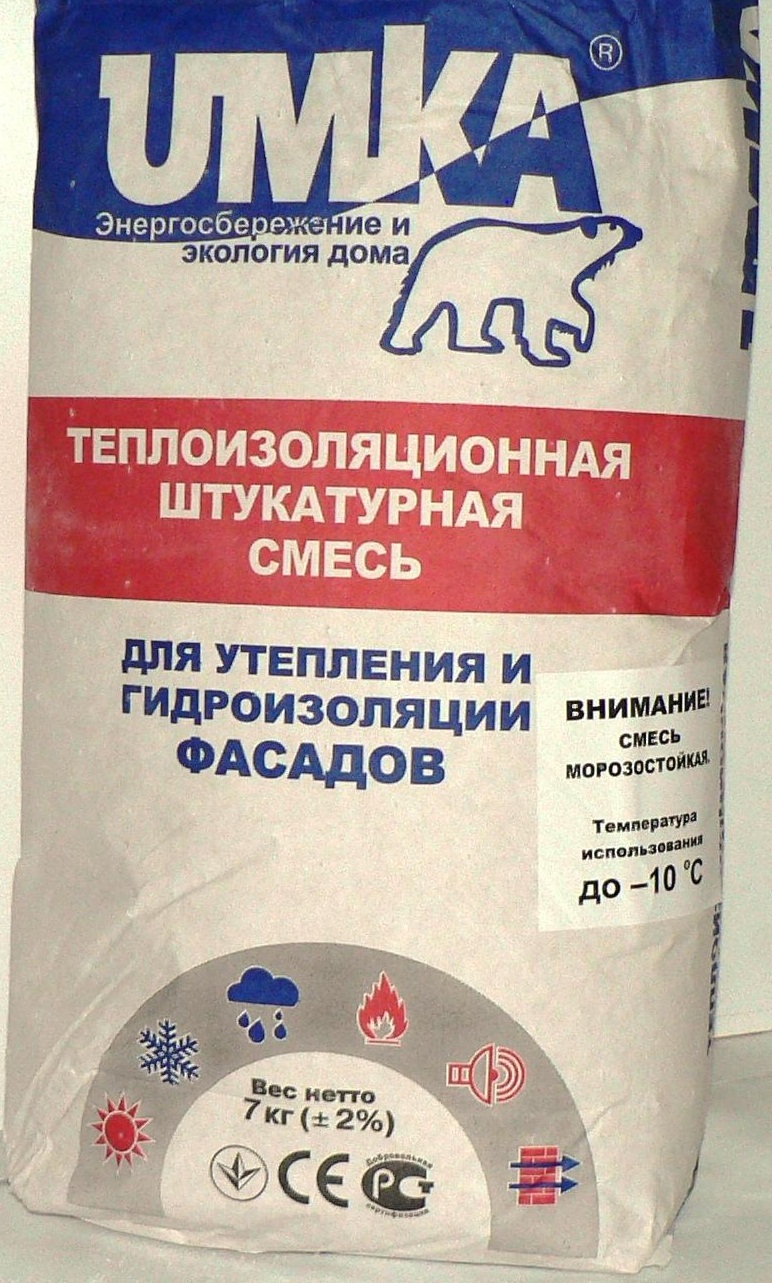
Choosing quality material for indoor use, you should pay attention to thermal insulating plaster "Umka". Russian manufacturers were able to make a dry mix, which has excellent characteristics. The composition was developed taking into account the harsh climate.
After applying the solution to the surface usually carry out finishing finishing work. Packed dry mix in packs of 7 kg. When applying a minimum layer of 10 mm should take 4 kg of the mixture per 1 square. m
A dry mix is also used to insulate indoor walls. "Bear". A layer of this mixture of 2 cm in its thermal conductivity will be equal to 50 cm of brickwork. Before applying the “Bear” mixture to the wall, level the surface and ground it. Let out mix for warming of walls in rooms in bags weighing 14 kg.
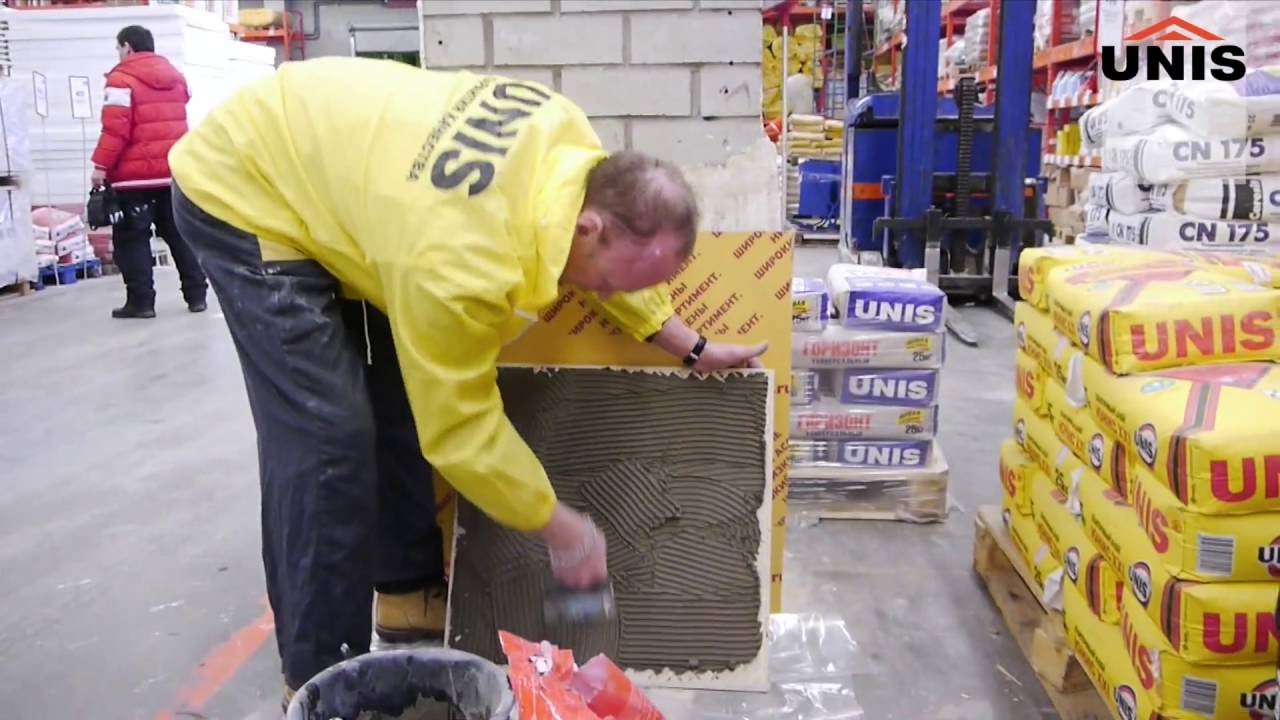
Among the other most popular companies that produce dry mixes include:
- Unis;
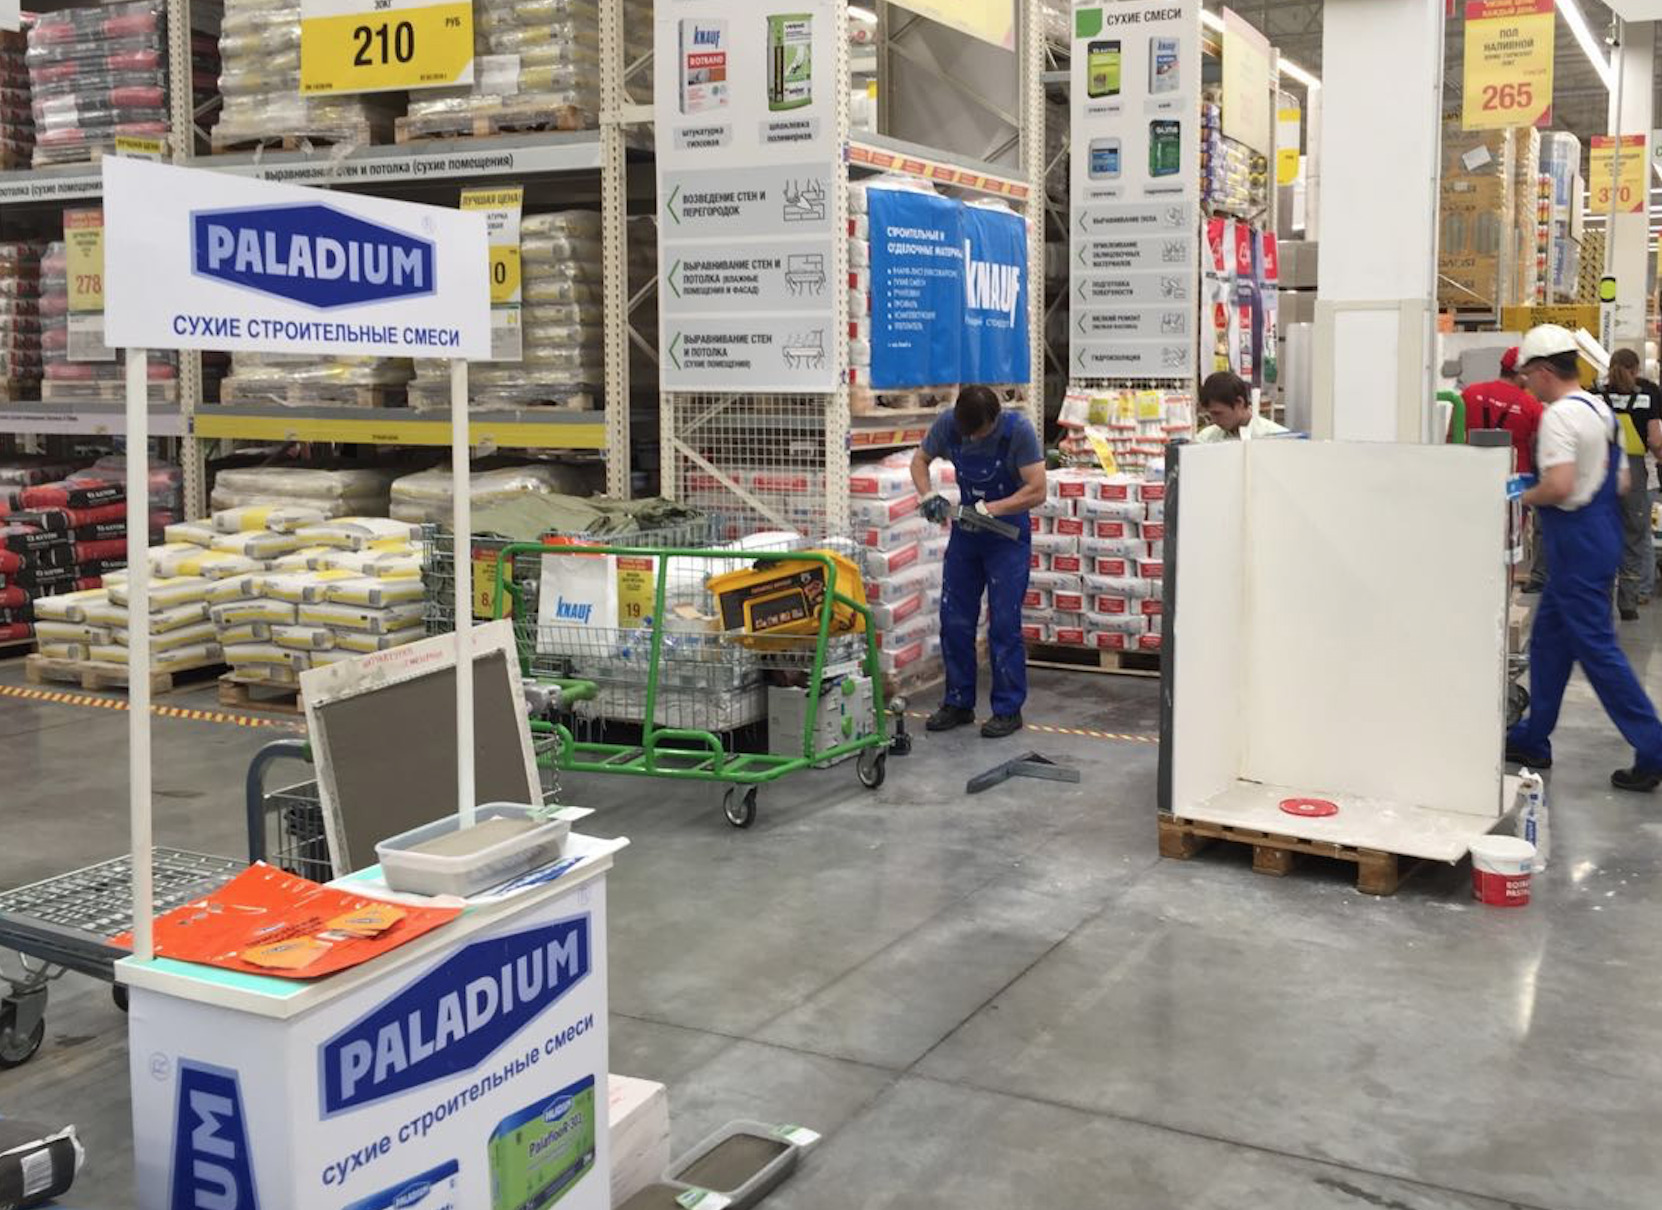
- Paladium;
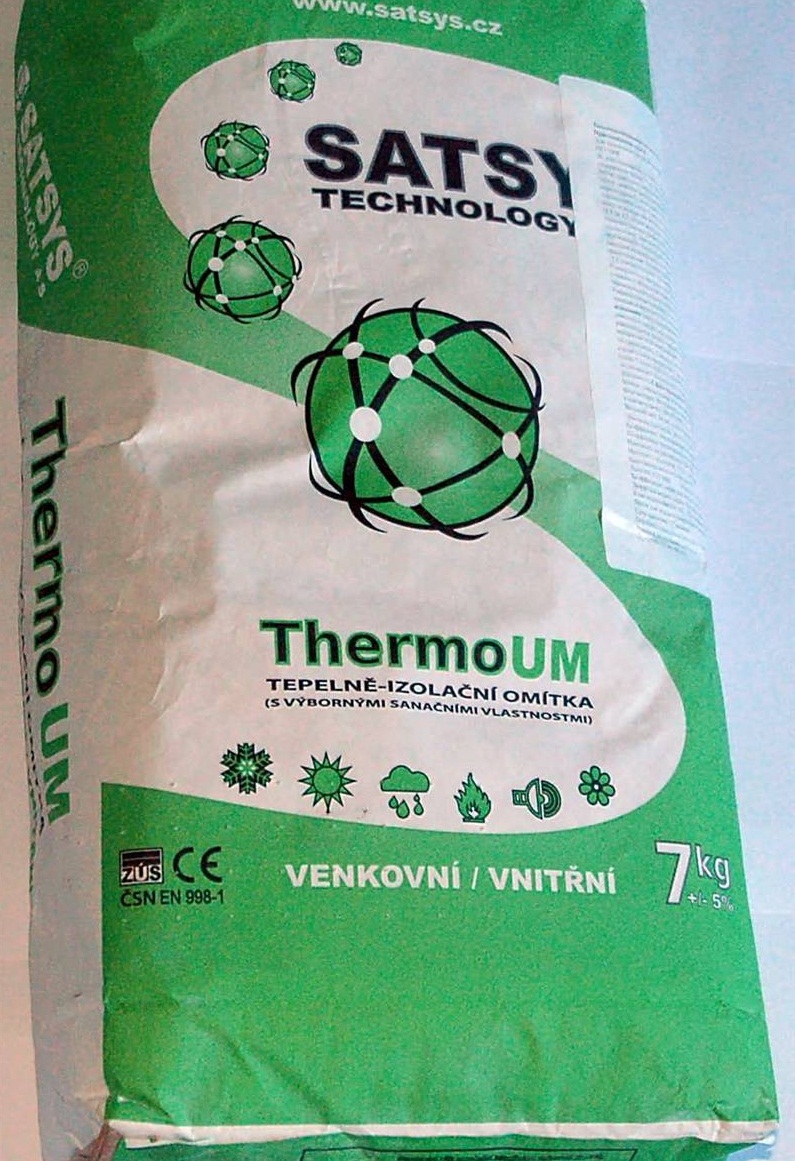
- ThermoUm.
Reviews
Judging by the reviews of the masters who are engaged in repair and construction work, applying warm plaster is not difficult, since the material is very plastic and it is even easier to use it than ordinary putty.
Be sure to read the instructions and recommendations on the packaging, since for each composition may have its own nuances in use. Do not exceed the allowable layer, it is important to consider the consumption of material, the timing of the work.
This material is quite expensive, so you should not mix large portions of the mixture at once, it is better to try it in a small area. If you make the right effort, putty is easily applied to the surface.The plaster composition has high adhesion, therefore it adheres reliably and adheres to the surface.
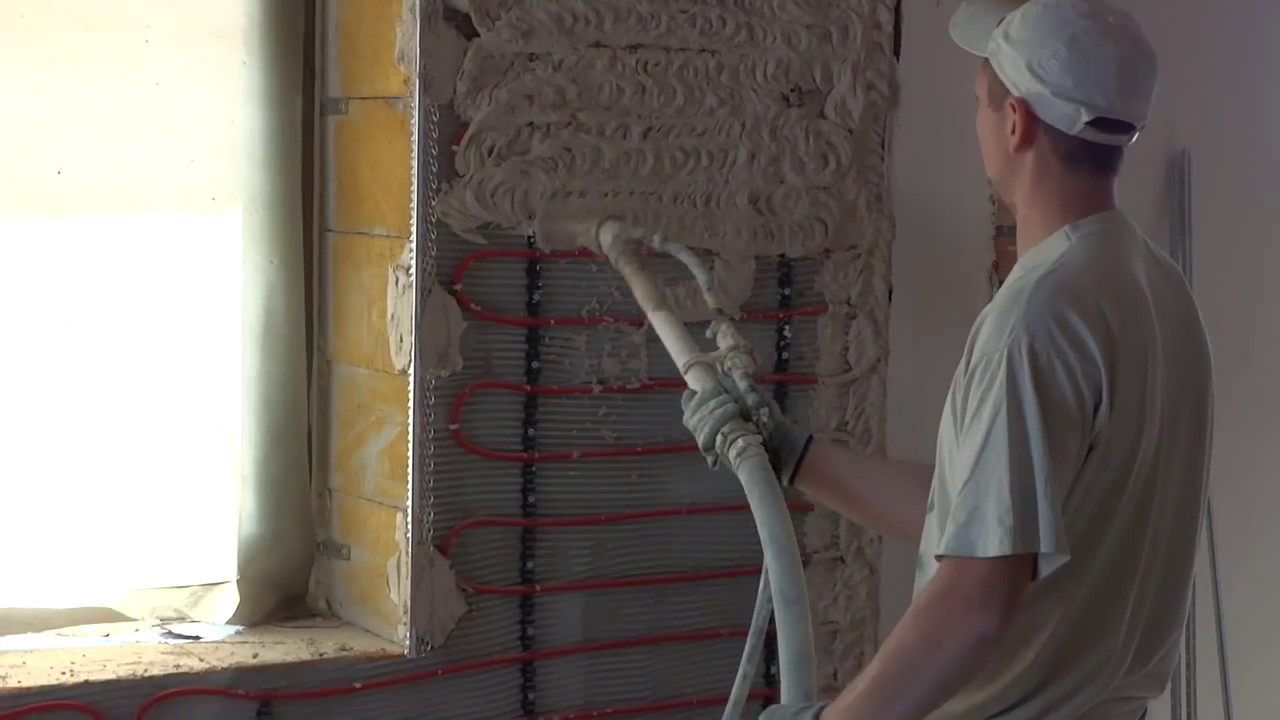
Before working with warm plaster, it should be properly diluted. The package shows the dosage and time required for mixing. Immediately pour out the entire bag, diluted and stirred until a creamy mixture without lumps. After a few hours the mixture is ready for use. Put it on the surface which is previously cleared of dust and dirt. Carry out work at a temperature not lower than 5-8 degrees, and both at external, and at internal works. Outside, the wall should always be reinforced with reinforcement before applying the mixture.
The layer of plaster should not be more than 2.5 cm. After applying the layer to the surface, you can begin to paint it in 2-3 days. Almost in a month the layer becomes the strongest, and the maximum thermal insulation will be reached in 2 months.
Tips for applying warm plaster - in the next video