How long does it take for the floor to dry?
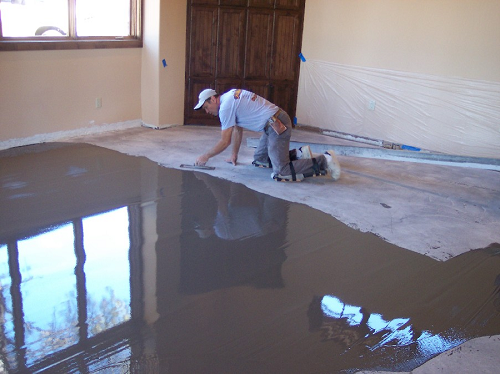
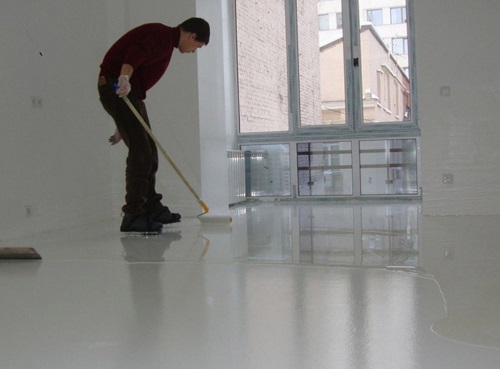
Before you start the repair, you need to make an action plan and work schedule. Since all works usually start from floors, it is necessary to correctly calculate how much time it will take to assemble them. So, it is important to take into account the time of drying a self-leveling or self-leveling liquid floor under the tile.
What affects the drying time?
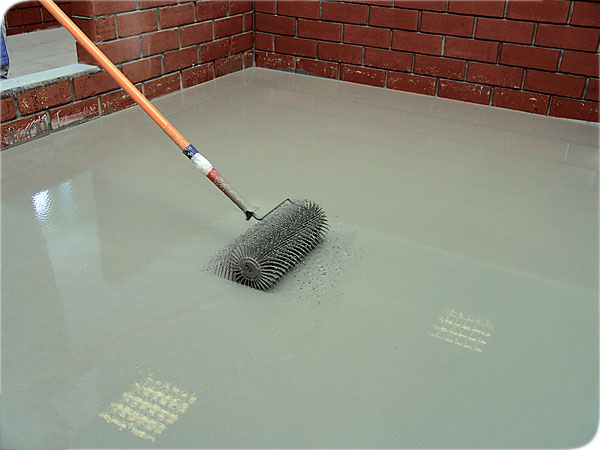
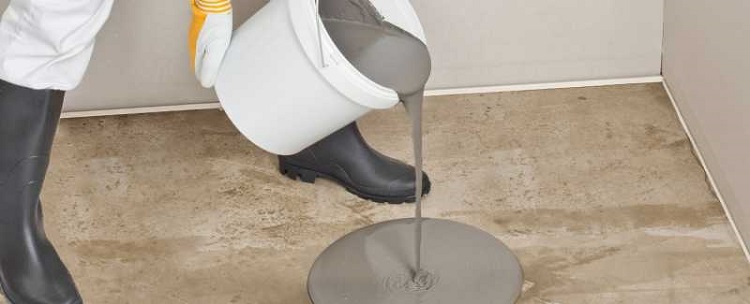
An hour after application, the liquid floor begins to solidify. The time required for complete hardening of materials depends on a huge number of factors. The main ones are:
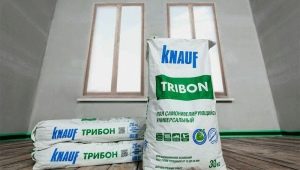
- the type of dry mix used;
- its consistency in liquid form;
- the number of applied coatings;
- the impurity entering into the self-leveled structure;
- thickness of each layer;
- type of protective finish layer.
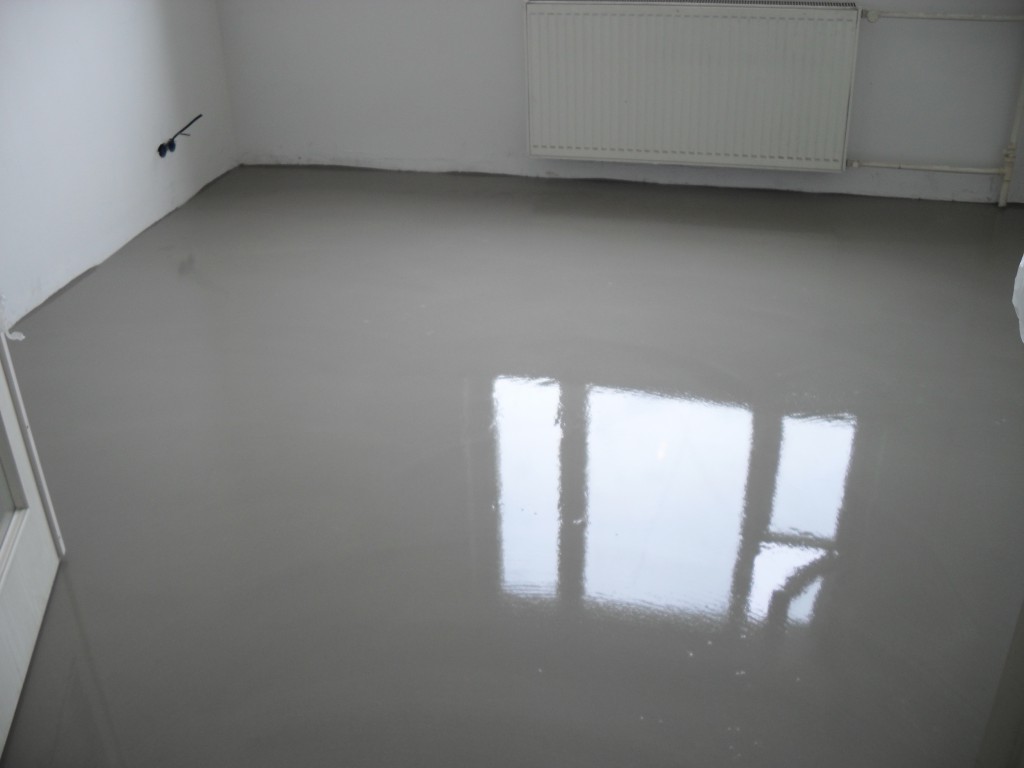
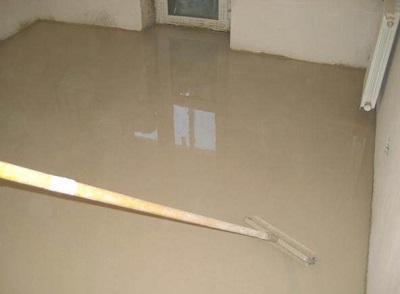
As already mentioned, the pouring surface begins to harden after an hour after application, however, it must be borne in mind that the final solidification takes from 5 hours to a couple of days. Since the time of complete drying of the coating depends on the selected materials, the averaged characteristics are given.
Polymerization time
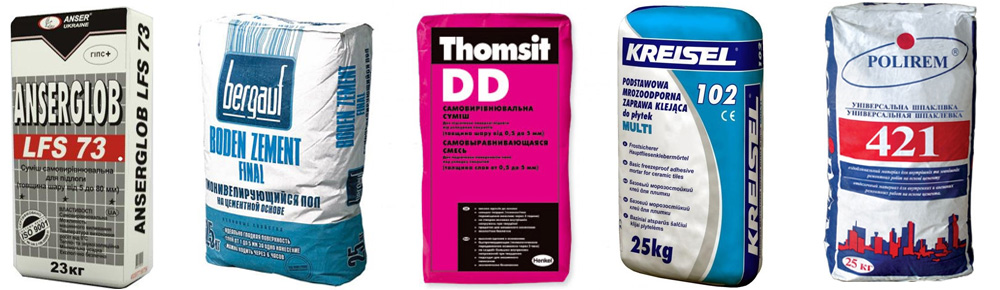
The approximate drying time is specified by the manufacturer on the package. To understand what time period is needed for the curing of the self-leveling floor, it is necessary to study the main types of solutions and the periods of their polymerization.
Consider the following types of self-leveling floor:
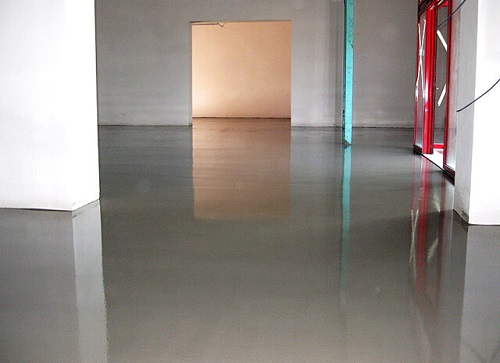
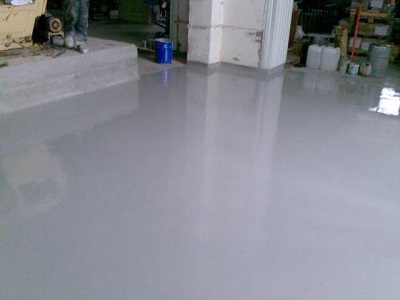
- Polymer surfaces. Industrial coatings should dry for 2-6 days, while the curing time depends on many conditions: the presence of impurities and special pigments, the number of layers and their thickness.
- Surfaces with a cement base. This type requires a sufficiently long set time. As a rule, this type of mortar is used in private construction.
The composition contains all sorts of plasticizers and impurities, as a result of which it takes about 1-2 weeks to complete polymerization.
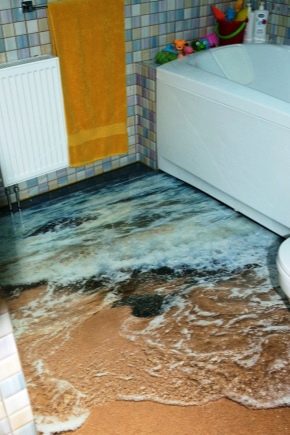
- Anhydride blends.Such surfaces do not tolerate moisture, for this reason their use is not recommended for bathrooms and bathrooms. Drying time starts from the second day, so installation of equipment and installation of furniture will have to be postponed for at least 10 days.
- Quick-drying coating. The so-called quick-drying solutions today are used more and more often.
They have good technical characteristics and a short drying time (less than 5 hours).

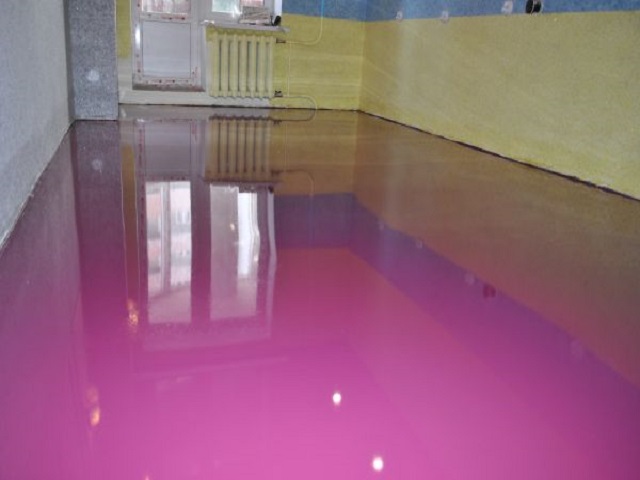
- Polyurethane coating. Such coatings are quite resistant and serve for a long time. Although complete drying occurs on day 3 after laying, you can walk on this floor in 10-15 hours. To all this, it should be added that the curing time is directly dependent on the thickness of the applied layer.
- Epoxy solutions. They are characterized by good impact resistance, and the curing time is directly related to the number of applied layers. The setting time varies from 2 to 5 days.
The freezing time of the liquid floor is calculated slightly differently. In case you want the surface to not deteriorate or change its shape, pay close attention to the information on the package.Keep in mind that usually manufacturers indicate only an approximate time of polymerization of the compositions.
In order not to harm the floor, add to the specified time an additional 10-12 hours, then confidently use the floor surface.
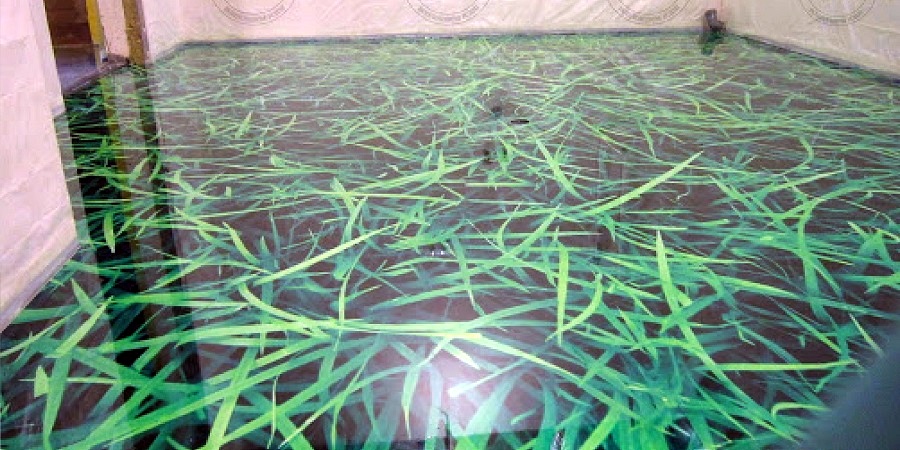
Drying time for bulk coatings
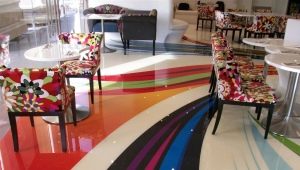
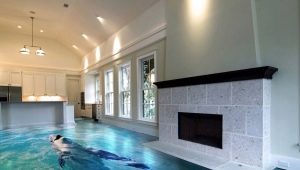
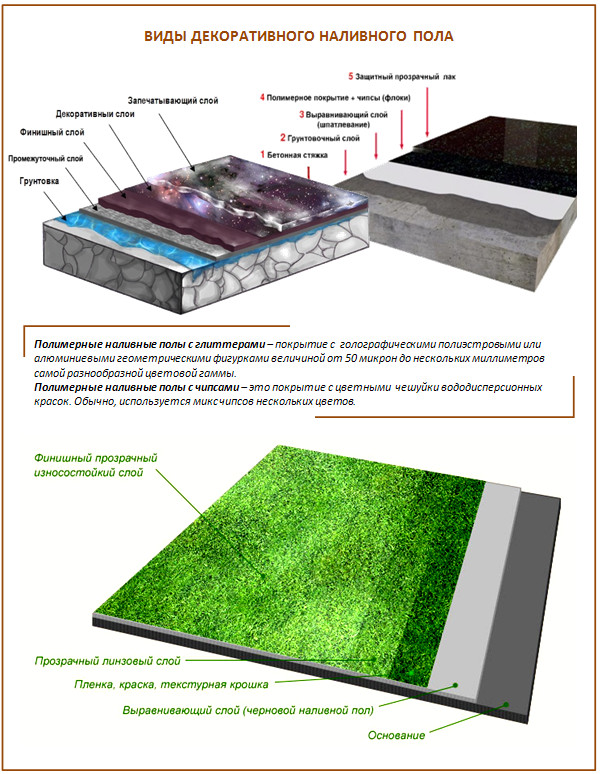
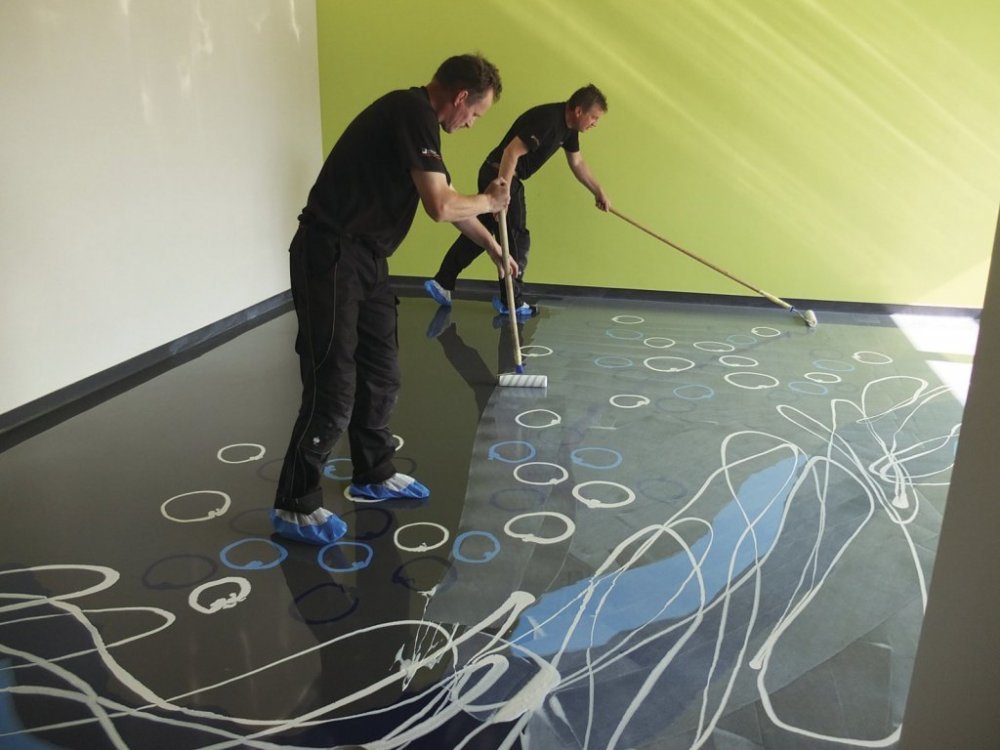
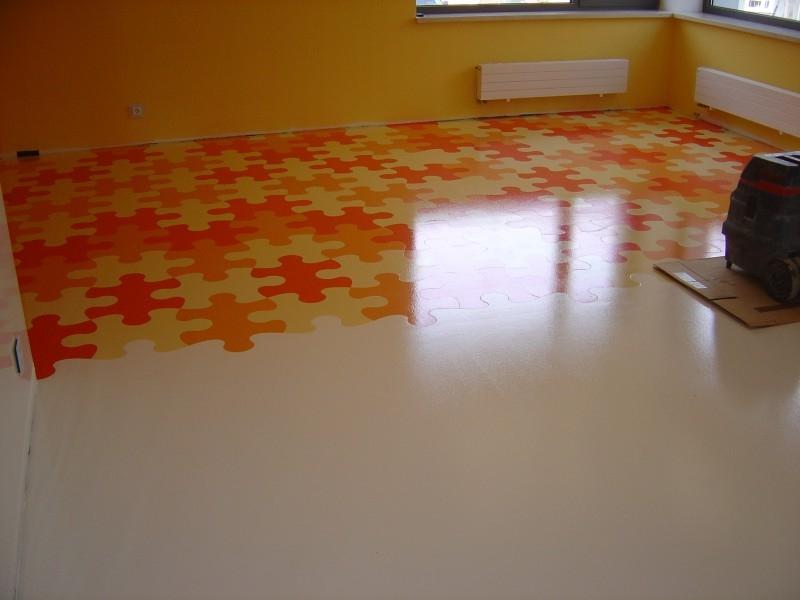
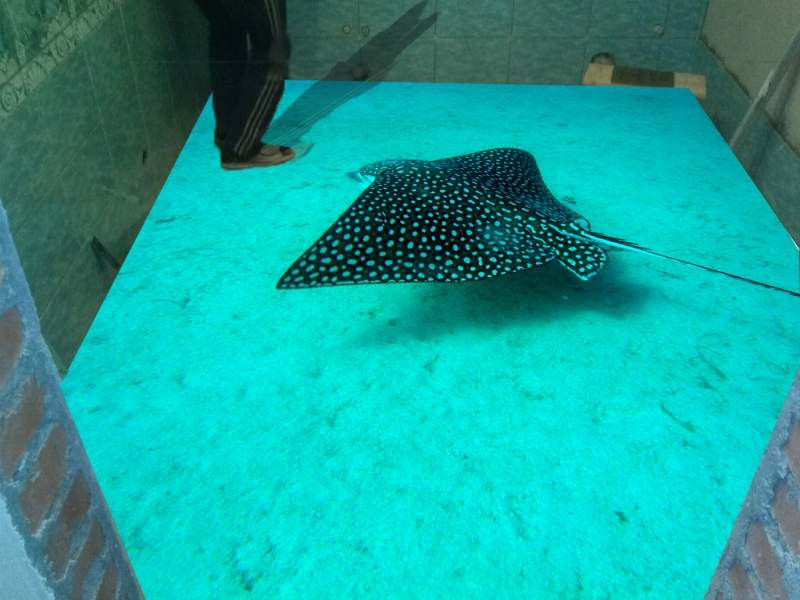
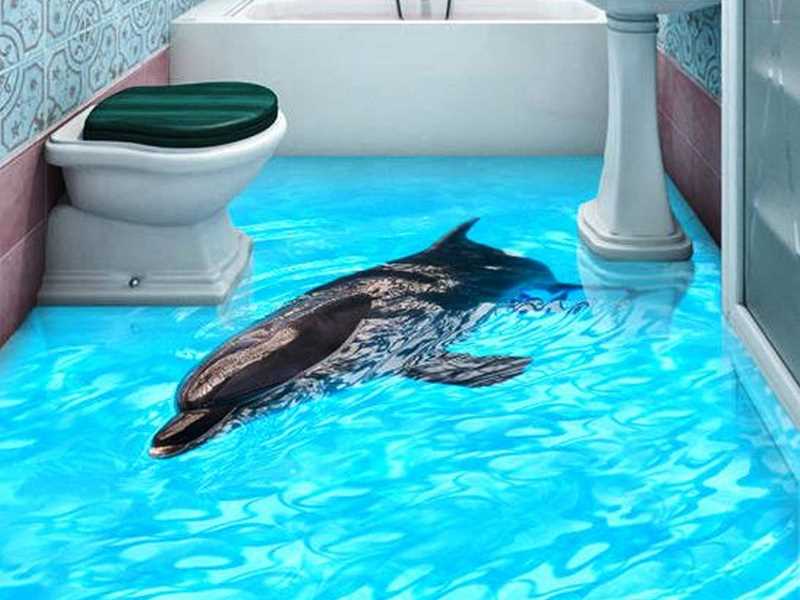
3D coatings harden much longer than other types. The solidification time of the bulk 3D surface can be different due to the following factors:
- the time during which the leveling layer dries;
- image placement characteristics. If the vinyl paper or film acts as a decorating element, the last layer is applied immediately. In case the ornament is made with the help of paints, it will naturally take some time to dry. Depending on the characteristics of the materials used, the total drying time may vary from case to case;
- time of complete hardening of the finishing layer;
- besides, you should not forget about the period of polymerization of the glossy protective surface.
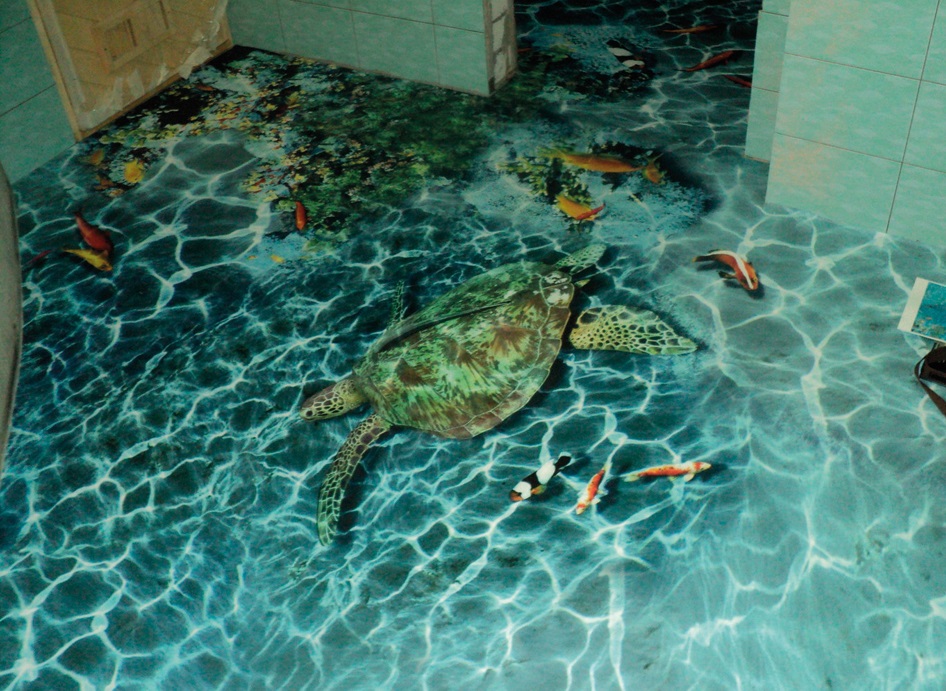
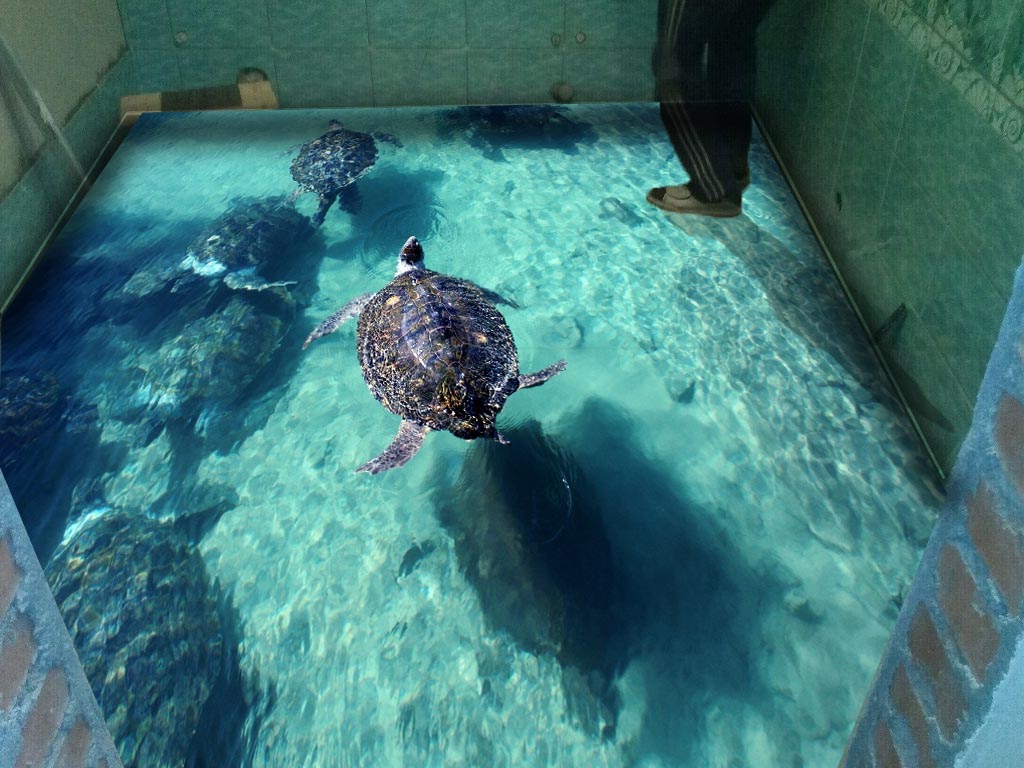
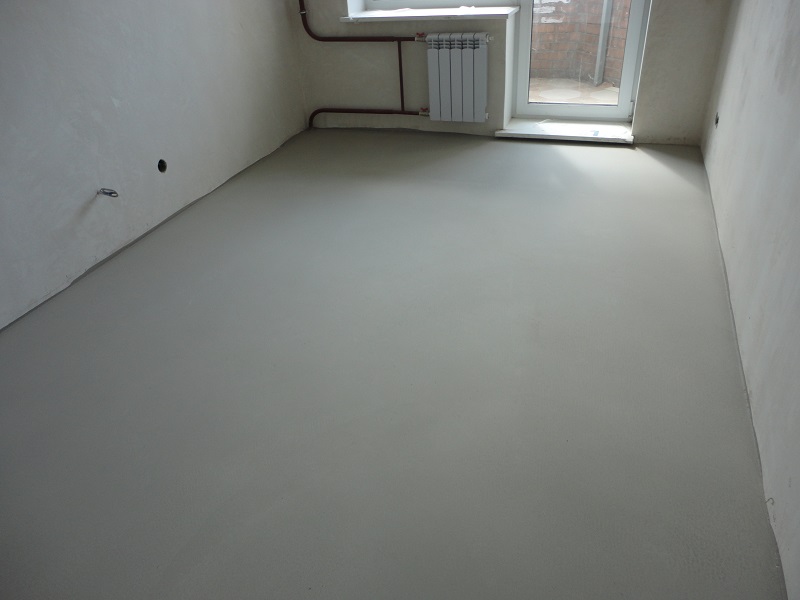
Please note that the time it takes to dry a surface with a three-dimensional pattern is much longer when compared with other types of coatings.In this case, It will take about a week.
If this does not suit you, you can use fast-drying formulations. This will reduce the freezing time by half.
What affects drying?
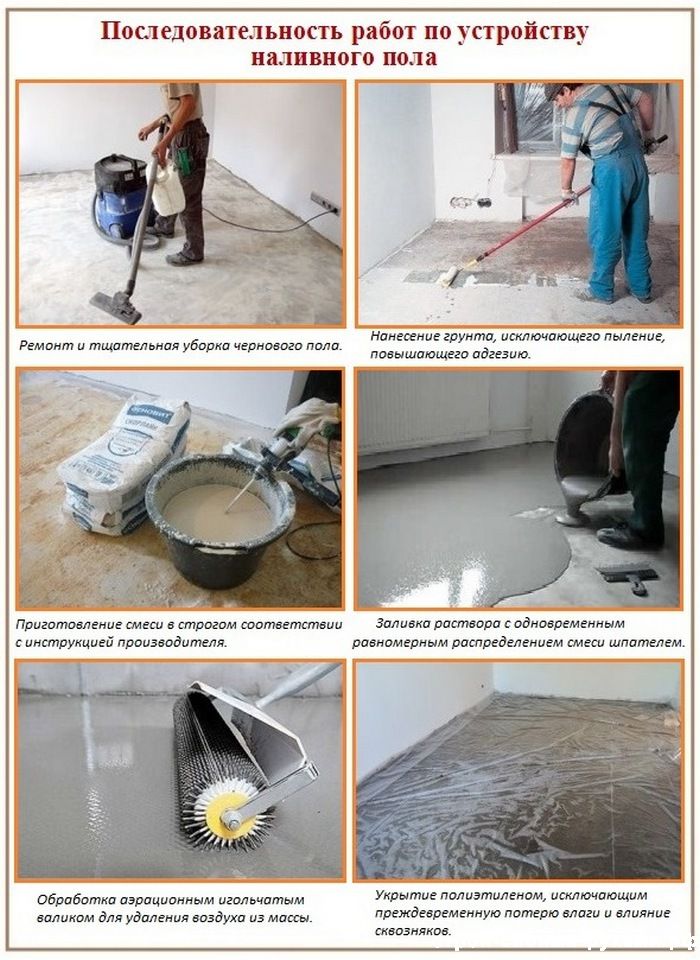
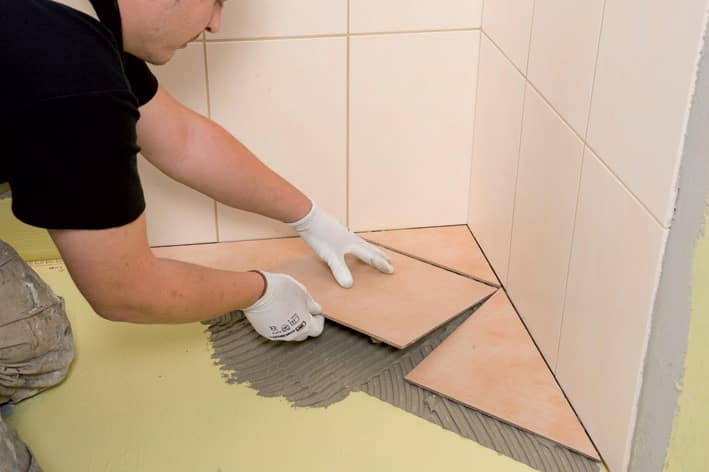
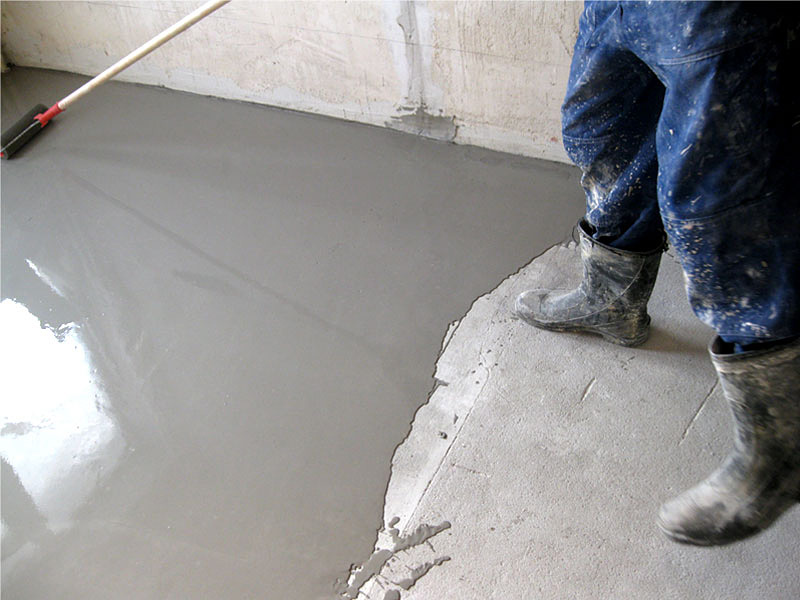
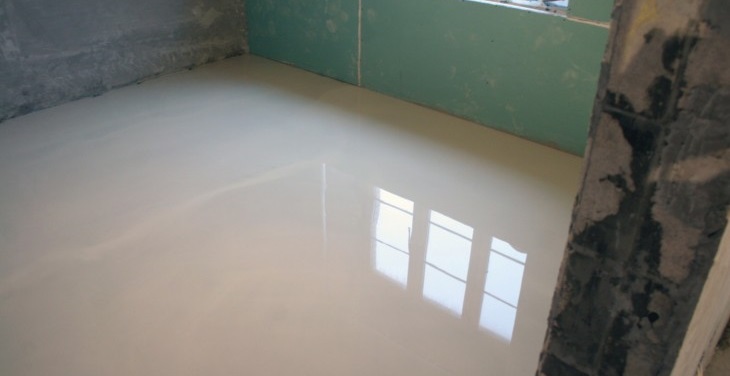
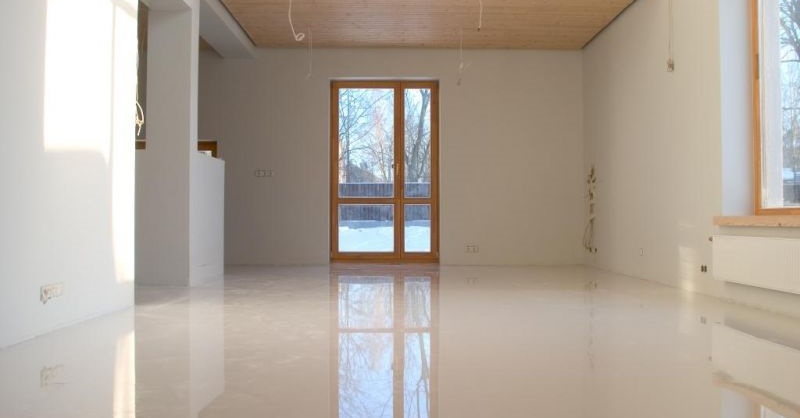
The first thing to consider is the humidity of the air. To ensure that the drying is homogeneous, you should not allow an increase in the moisture index up to 50-60%. After drying, various surface treatments can be adopted. They are used in the case of laying tile, laminate or linoleum.
To reduce the time of polymerization, you can use the following recommendations:
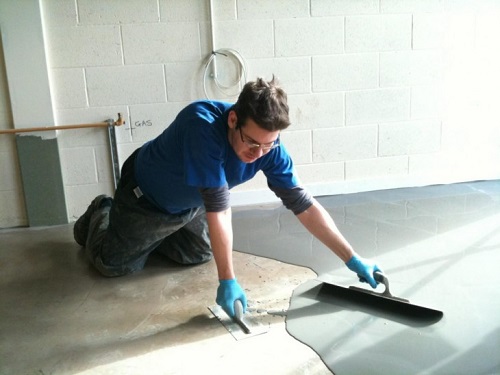
- uniform distribution of the composition over the entire working surface will significantly speed up the drying time;
- Do not forget about the humidity in the room. Keep it at a moderate level (no more than 50-60%);
- Many people adhere to the erroneous opinion that drafts contribute to fast drying, but, unfortunately, the effect is just the opposite. So, we can conclude that we should not allow them to appear;
- constant air temperature in the region of 20-30 degrees also increases the speed of drying;
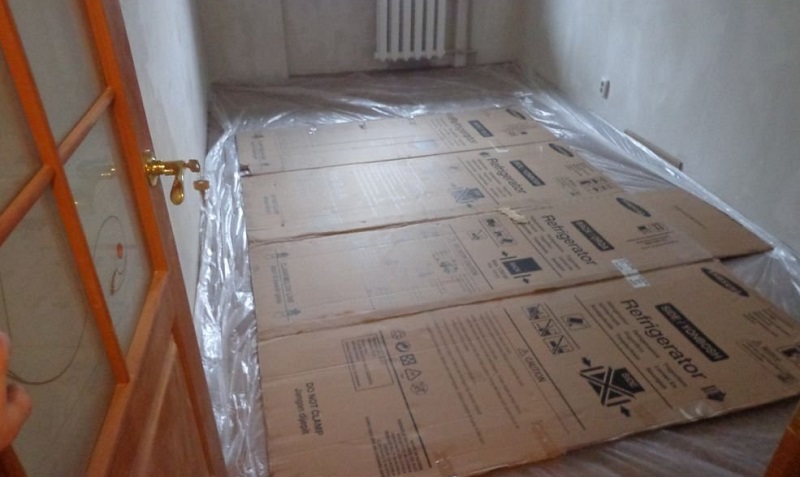
- Place a specially prepared film on the surface an hour after applying the solution.This will help protect the floor from ultraviolet radiation;
- although after 14 hours it is already possible to walk on the coating, it is still not worthwhile to expose it to significant loads earlier than in 6-7 days.
Finishing and drying speed
The type of materials used in the finishing process also has a direct impact on the polymerization time. It is worth considering that the drying time depends on the type of mixture selected. For example, a polyurethane solution is the best solution for a private house or apartment. It can be safely operated after 3 days. For a self-leveling floor under a tile, it is best to use compositions with a cement base, however, as mentioned above, this type requires more time for complete hardening.
It is necessary to immediately take this 1-2 weeks.
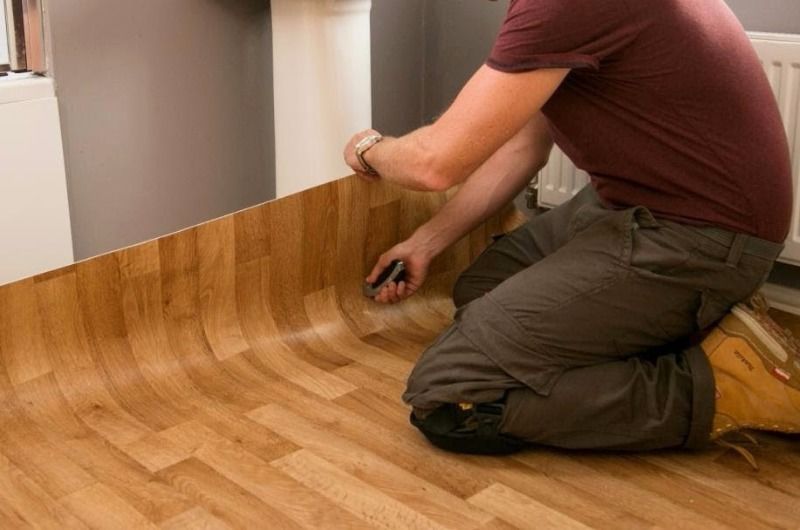
Among other things, the quality of the casting directly affects the setting time. If the composition is applied unevenly, the thinner areas will dry faster than the thicker ones, due to which the floor can cure for 10-12 hours longer. If laminate is selected as the finishing material, it is worth considering in advance what basis will be mounted under it.
The most suitable materials for laminate are:
- polyurethane;
- fast drying;
- anhydrite;
- polyurethane.
On each of the above options have already been specified all the necessary information.
Care instructions
After you have laid the liquid mass, and it has dried to such an extent that it can withstand direct physical contact, a number of special procedures are performed. The main thing is to correctly determine the moment when the coating reaches the desired condition. Make it simple enough. We need some sharp object, for example, a knife.
If the coating can withstand a strong enough stab with a knife, then you can proceed to the following procedures.
The surface with a cement base is recommended to sprinkle with sawdust, after which they are moistened with water at least 2-3 times a day until they are completely soaked. Wet sawdust plays the role of a humidifier, so that the cement mass does not lose all the moisture before the reaction between the cement and water ends. Otherwise, the surface may be loose and lose its strength.

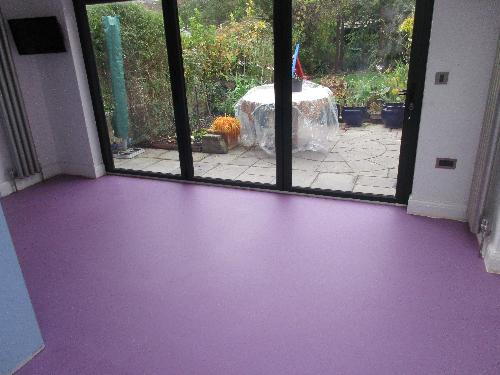
Polymer floor should be protected from direct sunlight, after all, because of this, heating of some areas of the coating may occur, which will cause their swelling and other deformation. As a result, they will require either additional filling and grinding of the surface, or a complete reconstruction of the entire coating. To avoid this, the freshly hung floor should be covered with a prepared film that will protect it from light, as well as debris and dust.
Conclusion
Before laying a liquid floor it is necessary to consider the following requirements in addition to those listed above:
- room humidity;
- air temperature;
- the presence of drafts;
- well-prepared base.

Often you can meet the following recommendation of experts. Immediately before starting work, the working surface should be treated with specialized fast-drying primers that can have a positive effect on the drying time of the self-leveling floor. If these simple requirements are met, the time it takes for the surface to completely cure will be greatly reduced. In conclusion, we can say that the drying time of the self-leveling floor depends mainly on the type of mixture that was used, as well as on the conditions under which the filling was made.
You can find out how to fill the self-leveling floor correctly in the next video.