Cement-based self-leveling floor: tips for choosing
Almost every owner asks which floor is best suited for the house, which mixture to choose, or how the types of coatings differ from the price. Cement based flooring is a good solution for those who want to clean up and clean up.
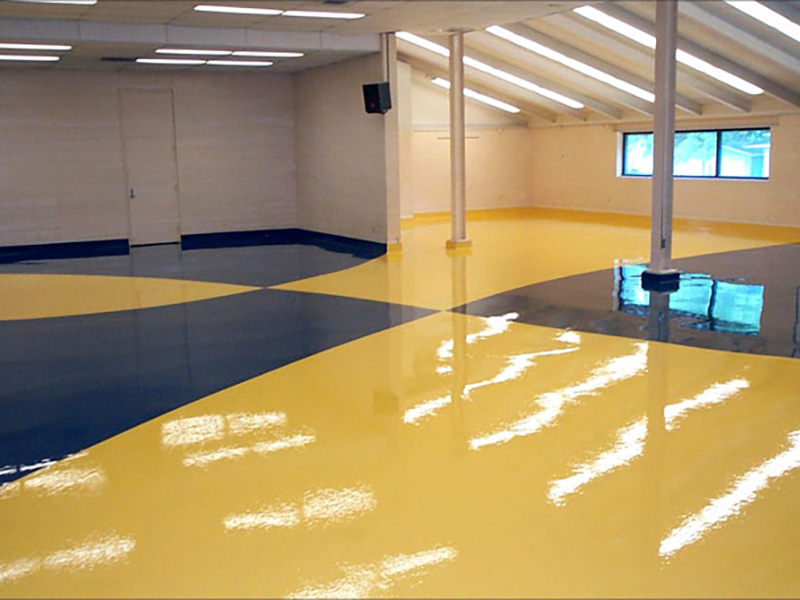
Features of the floor on cement
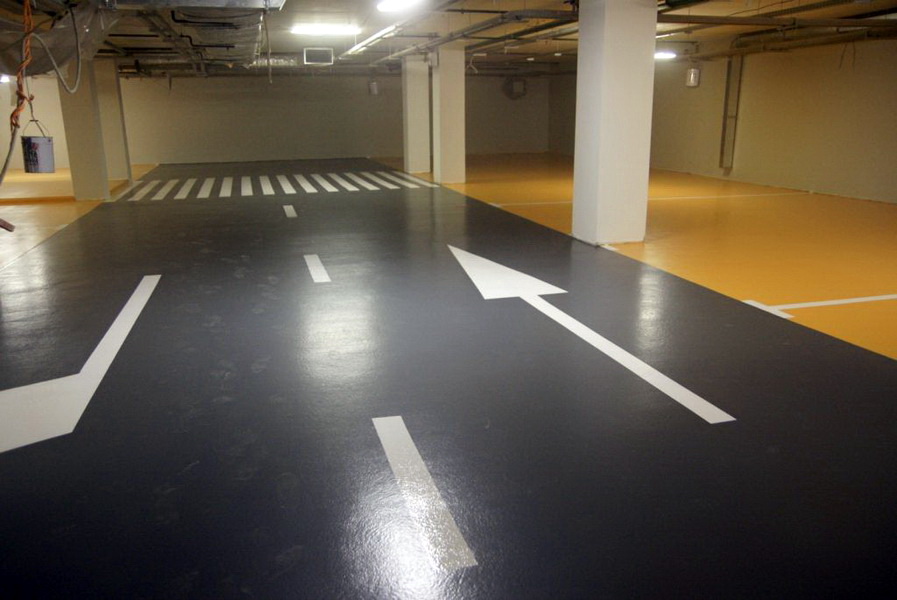
The cement and polymeric floor is a self-leveling self-leveling floor. Differs in high moisture resistance. It is universal - suitable for streets and rooms. It is only necessary to choose the right mixture, which will withstand temperature extremes or excessive humidity. The presence of cement provides the coating with an ideal adhesion to concrete — it's better than just laying tile or laminate on a bare, unprepared surface.
Because the liquid floors are often the main finishing. For such purposes, buy dry mixes in the construction markets.
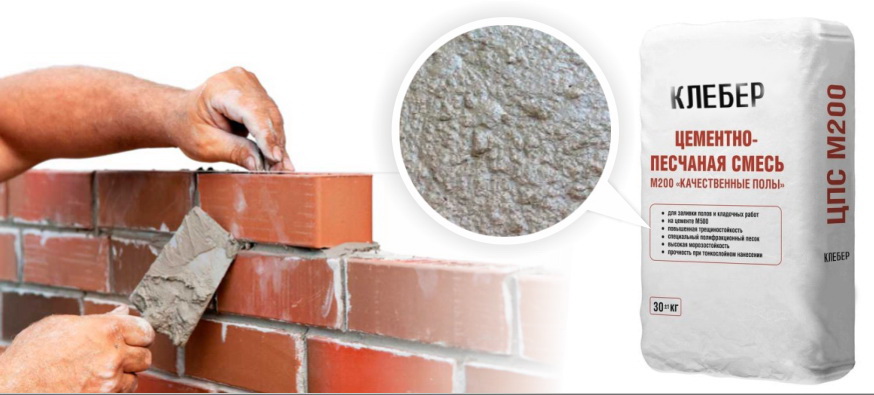
The composition of the mixture for filling the floor contains several components:
- The most important thing is cement.
- Various minerals.
- Natural sand (fractional).
- Polymer components.
It is quite simple to define a high-quality mixture: it contains a large content of various useful additives, polymer components. They are used to increase strength, as well as to ensure that the mixture has the desired consistency when pouring the floor.
There is also another type of self-leveling floors - cement-sand. It consists of cement, sand and water. However, it is sometimes recommended to add more plasticizer to increase the density of the coating.
How to create a self-made self-leveling floor - step-by-step instruction for those who want to do it personally without the help of special organizations:
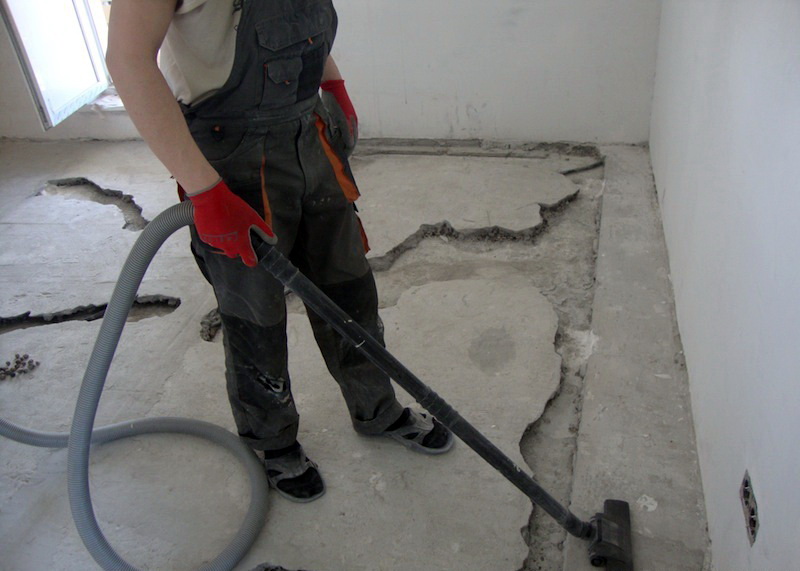
- Preliminary work. The preparatory part consists of several steps. First - you need to tidy up the surface, remove debris, dust. The second - on the perimeter of the line is applied with adhesive tape on the level of the planned floor. Measure the width of the tape on the floor thickness. Sometimes it turns out that the tape stands for the edges - then it can be covered with a plinth.The third stage - prepare everything you need for the solution before moving on to the next stage. How to do it - you can read on the packaging of the mixture.
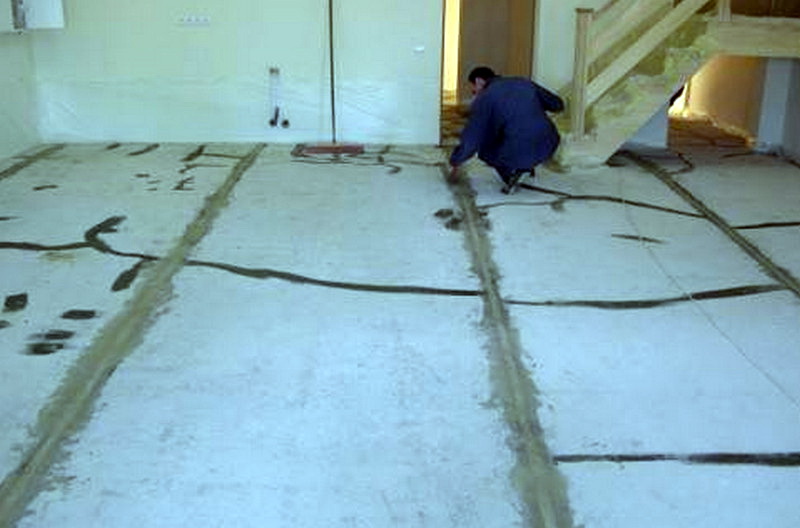
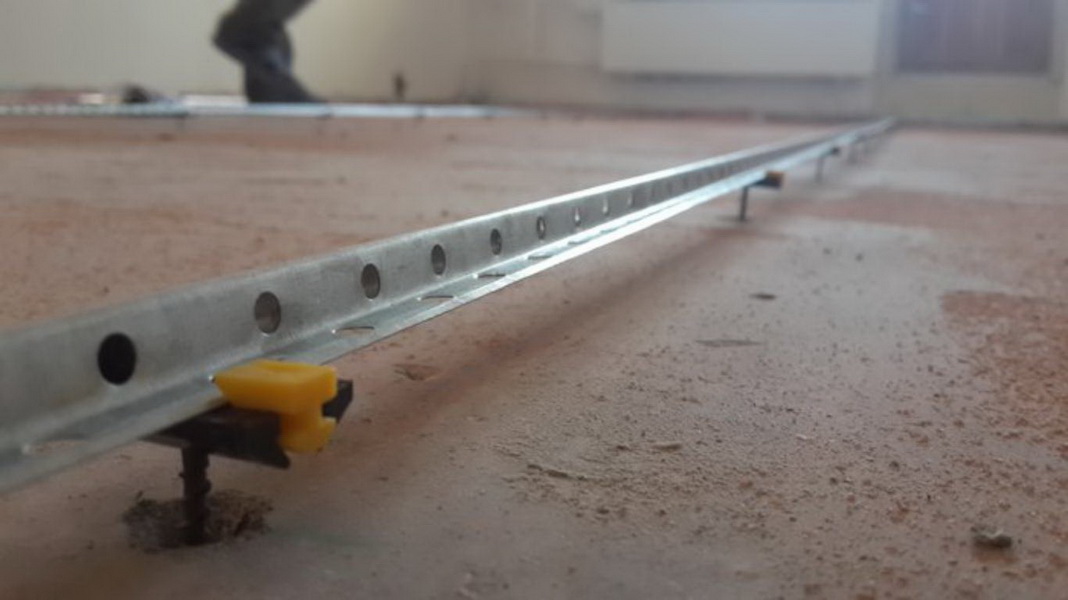
- Installation of beacons. With the help of beacons, the area is divided into several zones. It is important to do this if the surface is large and filling the entire space at once will be problematic. Beacons must be a height equal to the thickness of the future floor. If the floor is relatively even, then as the beacons fit screws. They need to be screwed in a checkerboard pattern into the base of the floor. Between them, try to keep a distance of one meter. If there are significant irregularities (from 3 centimeters), then we recommend to take not metal screws, but metal corners. They are fixed with cement, gypsum mortar.
Correctness is better to check the level, strictly maintaining the horizontal. In case the pouring area is too large, the same screws are used, screwed into the floor, the level of caps is marked on the walls. After that, the building level is to carry out a horizontal check, and then pull the wire.
- Primer. To put in the way convenient to you on already cleared surface.In the process, closely monitor the cracks, roughness, they must also be processed. The primer dries for about 30 minutes. For a better result, it is better to repeat the procedure several times until the surface gives off some shine. This is especially important if the floor is old, cracked and uneven. If everything is more or less new, then one layer may suffice. It is better to look at the situation. The material may darken or begin to foam during pouring, which means that the humidity in the room is high enough.
Nothing catastrophically bad will happen, the primer will simply dry for much longer - about a day, not half an hour.
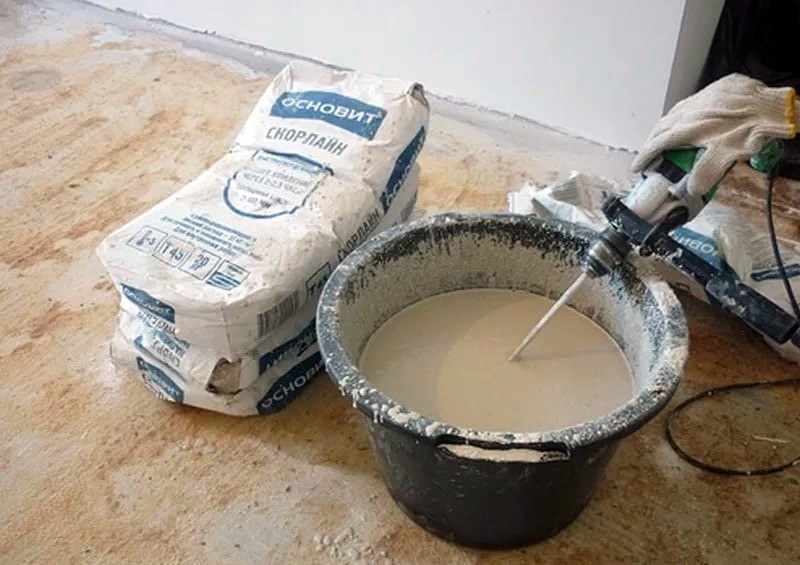
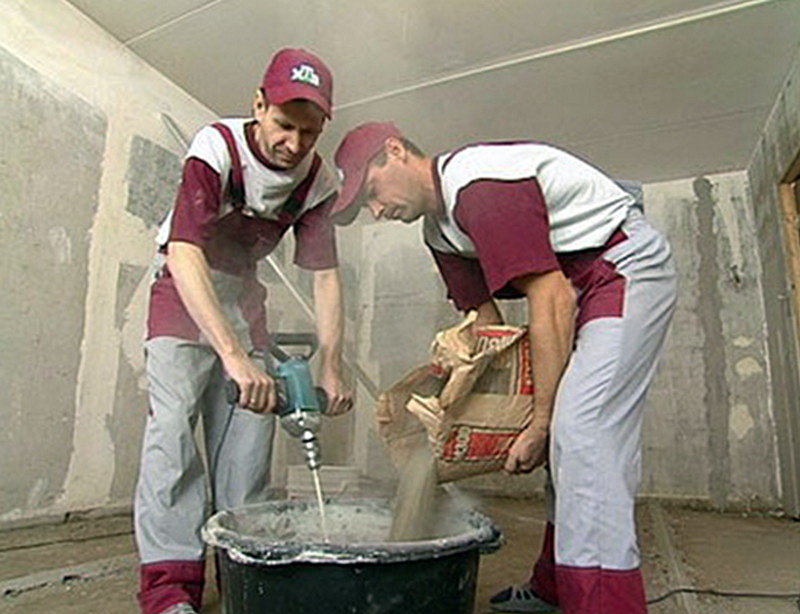
- Preparation of material for further casting. It is better to mix the mixture before you proceed to the second point, so that you do not lose time. As mentioned in the first step, the entire instruction, the technology of the fill is available on the packaging of the composition. It is extremely important to follow all the rules and be careful. Pour the amount of water specified in the instructions into the solution tank. After that, gently pour the powder. There is no need to add anything else.It is recommended to mix the mixture with a drill with a suitable nozzle or a construction mixer, so that the solution comes out qualitative. You need to interfere until the state of a homogeneous mass, and then let it stand for ten to fifteen minutes, and then mix again.
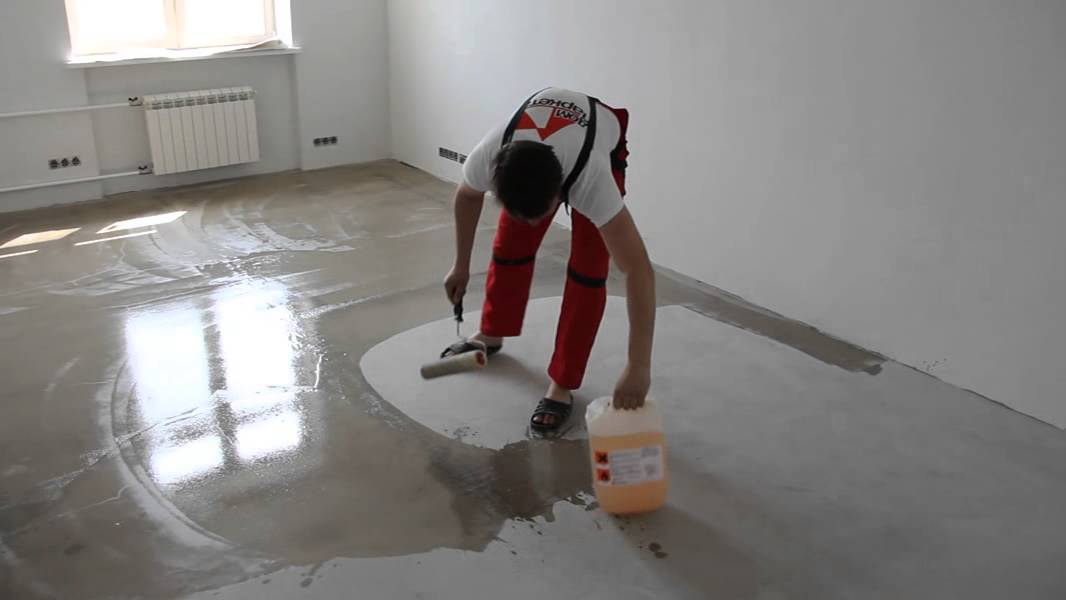
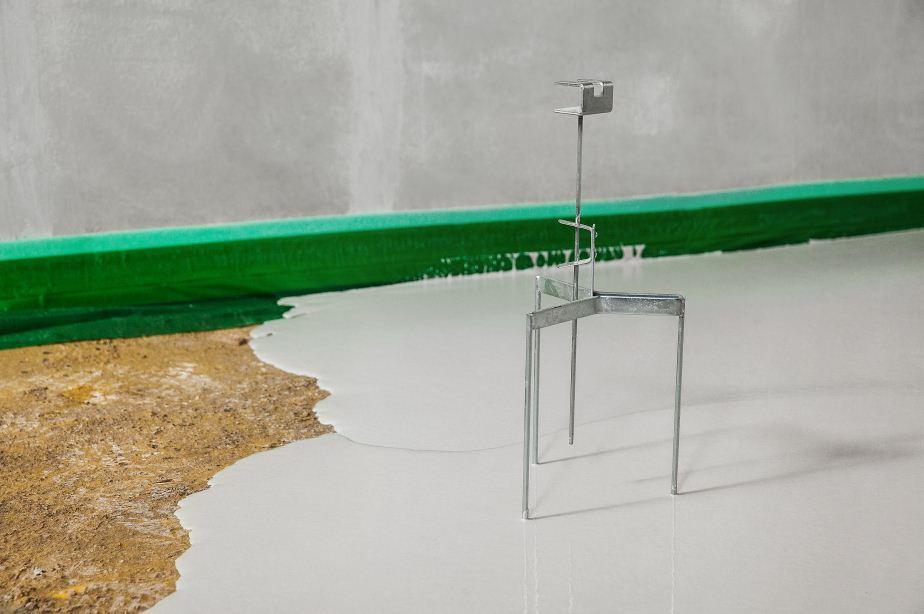
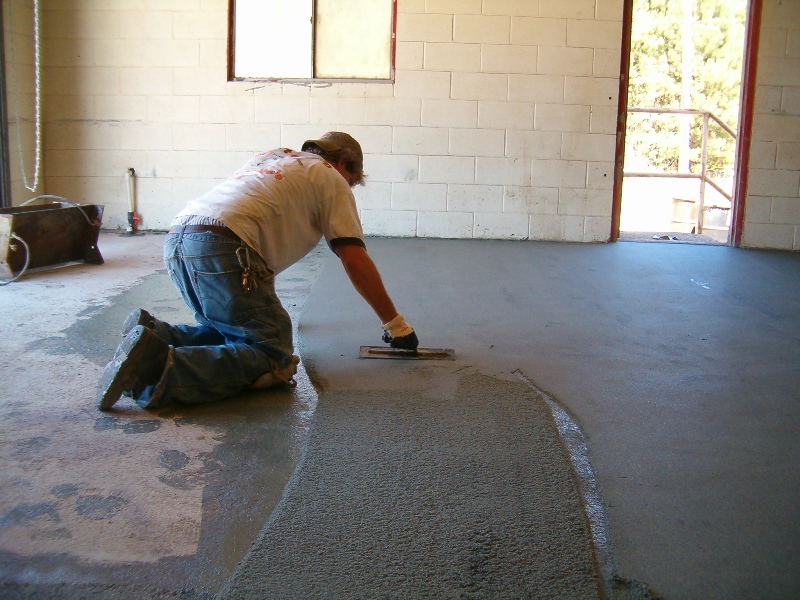
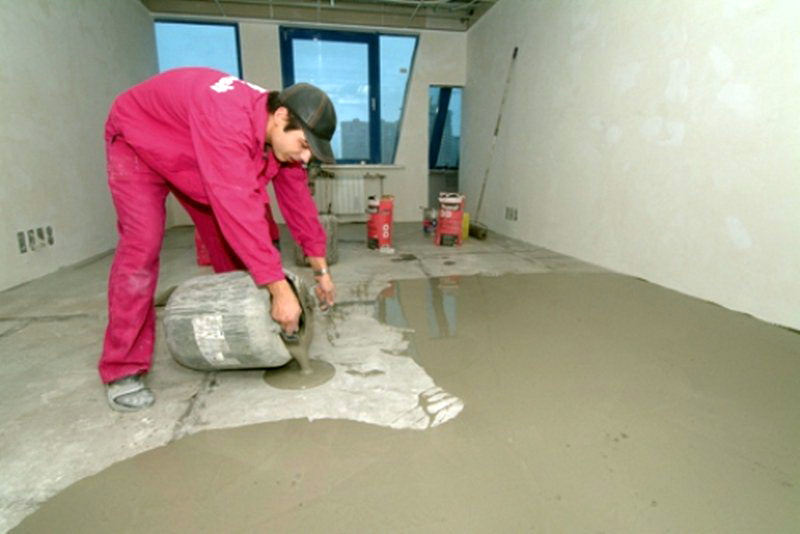
- Screed filler. On beacons apply the markup with the level, then pour the self-leveling mixture. Try not to delay the process, because then the composition may harden. Also, the drying speed is on the package. Therefore, it is recommended to fill at least two people - it is faster and more reliable. The solution is poured on the floor, after which it must be smoothed with a roller. If you do not have any experience at all in carrying out such work, then it is better to use less solution. It is better for two to act this way: one pours the mixture, the second immediately levels out, while the first one prepares the next batch. And so on until the very end, until the whole area is ready.
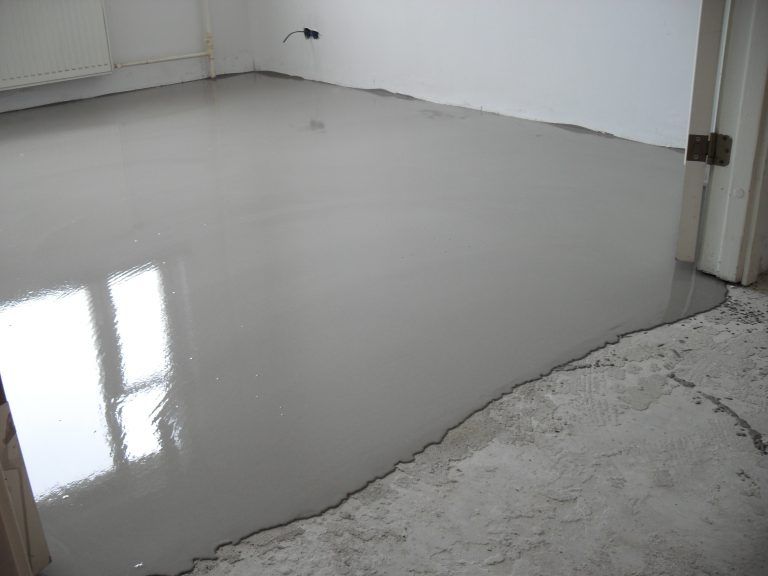
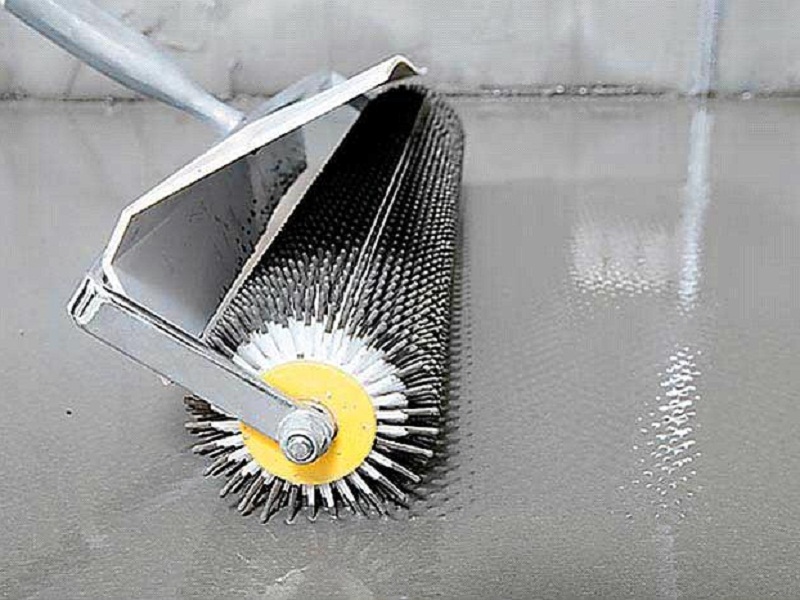
The floor should eventually be flat and smooth. After the surface has been completely filled, it is necessary to re-roll it with a roller with needles to fit the solution tightly to the base. This will remove air bubbles. Next, let the floor dry.Drying time may be different for all solutions, but on average it is six hours.
Features of acrylic self-leveling floor
The composition of the acrylic floor, which consists of:
- Cement.
- Polyacrylate copolymers.
- Special placeholder.
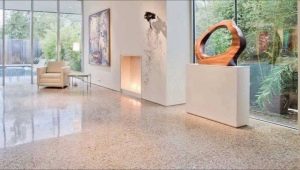
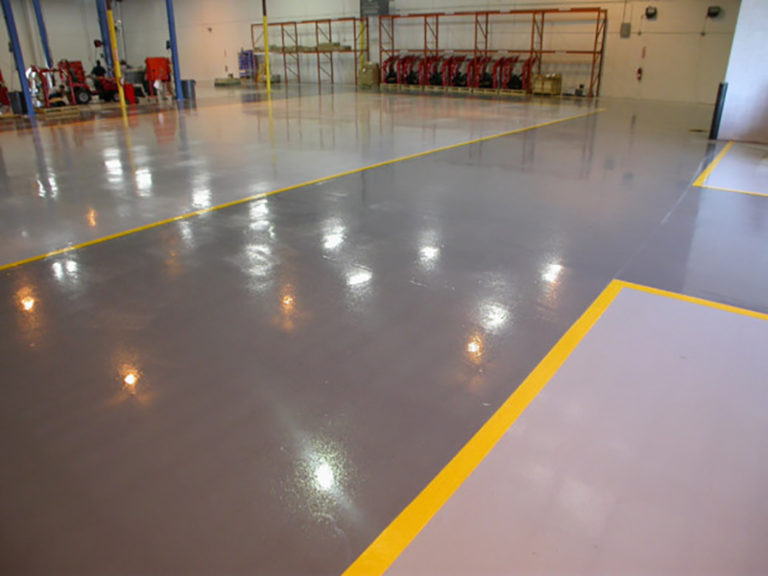
Initially, such floors were laid in an industrial environment, but now the sphere has expanded. Such floors are high strength, resistant to moisture and various chemicals. Often they cover the surface in the subway, shower, toilet and so on. The floor is quite simple, but for efficiency it would still be nice to prepare the surface. Just as before, clean the garbage and dust.

Main characteristics:
- You can create a different surface - matte or glossy.
- Resistance to temperature changes.
- The floor does not peel off from the surface.
- The service life is about thirty years.
- Impeccably smooth surface and elasticity.
- Easy to clean from dirt and dust.
- Dries quickly before being able to walk on it.
Installation of acrylic floor:
- Preparation of the subfloor. Installation of such a floor is somewhat faster than cement-polymer. And also on top of it is not necessary to put a finishing layer (tile, parquet or another).Remove all dirt, dust and debris. Grinding in the case of acrylic floors can not do.
- Primer. Without it, the material will be fragile to sit on the surface. Experts advise depending on the age of the floor to decide how many layers of soil you need to put. But often one is enough.
- Mixing mixture. This is recommended to be done immediately before application to the surface. In the vessel are mixed all the components, and then you can fill. Leveling is convenient with a spatula. This should be done quickly, as it dries such a floor for 15-20 minutes.
- Roller processing. It is better to use a needle roller, as it will help get rid of air bubbles in the mixture. On the still dried surface move in shoes with spikes.
- Coating. After a couple of hours, cover the floor with resin or varnish (optional). This is the last layer, which will provide more quality protection and moisture resistance. After a few hours, the floor finally dries out, and you can already move around it not in specialized shoes, put objects on it and carry out any repairs.
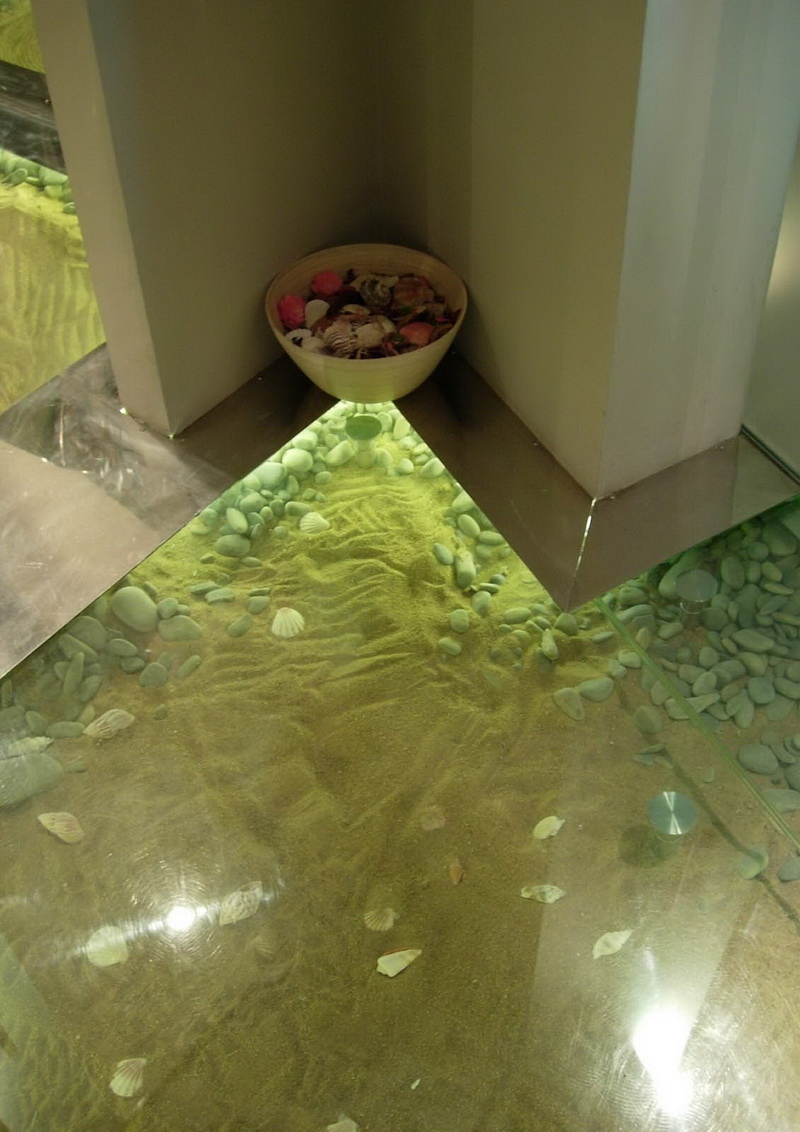
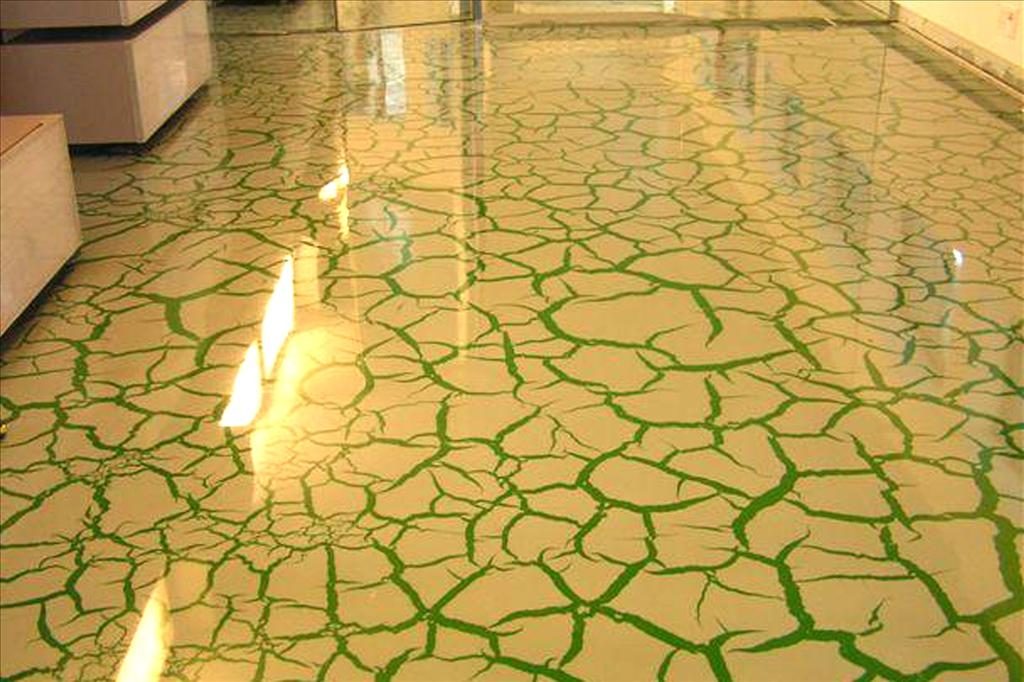
Floor covering with liquid glass
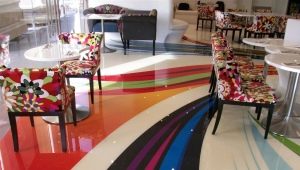
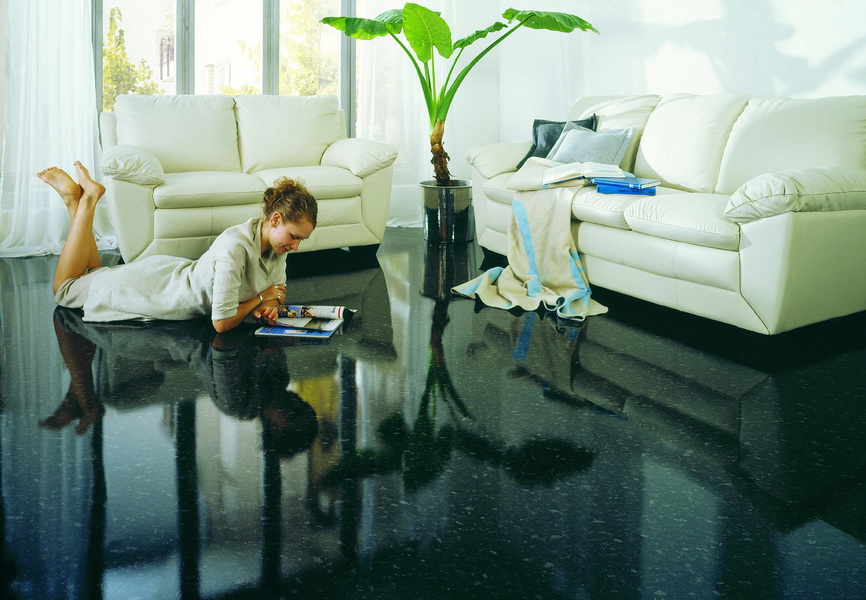
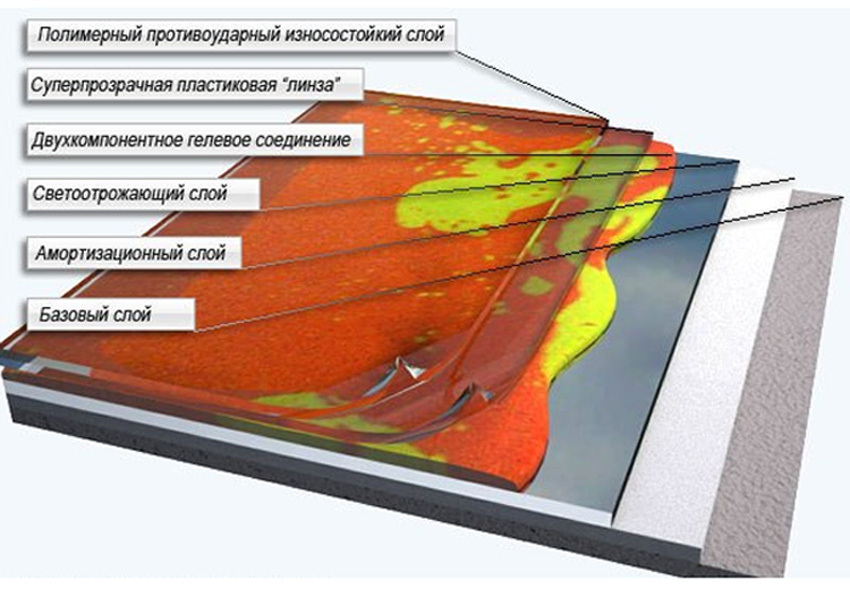
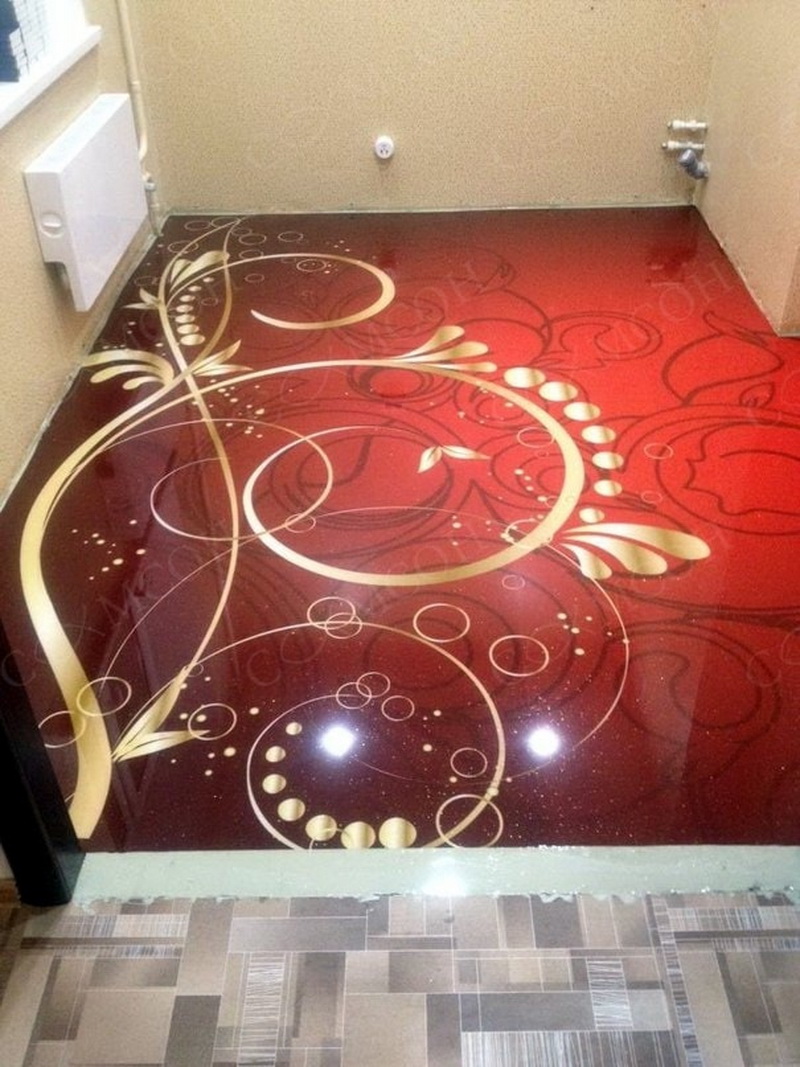
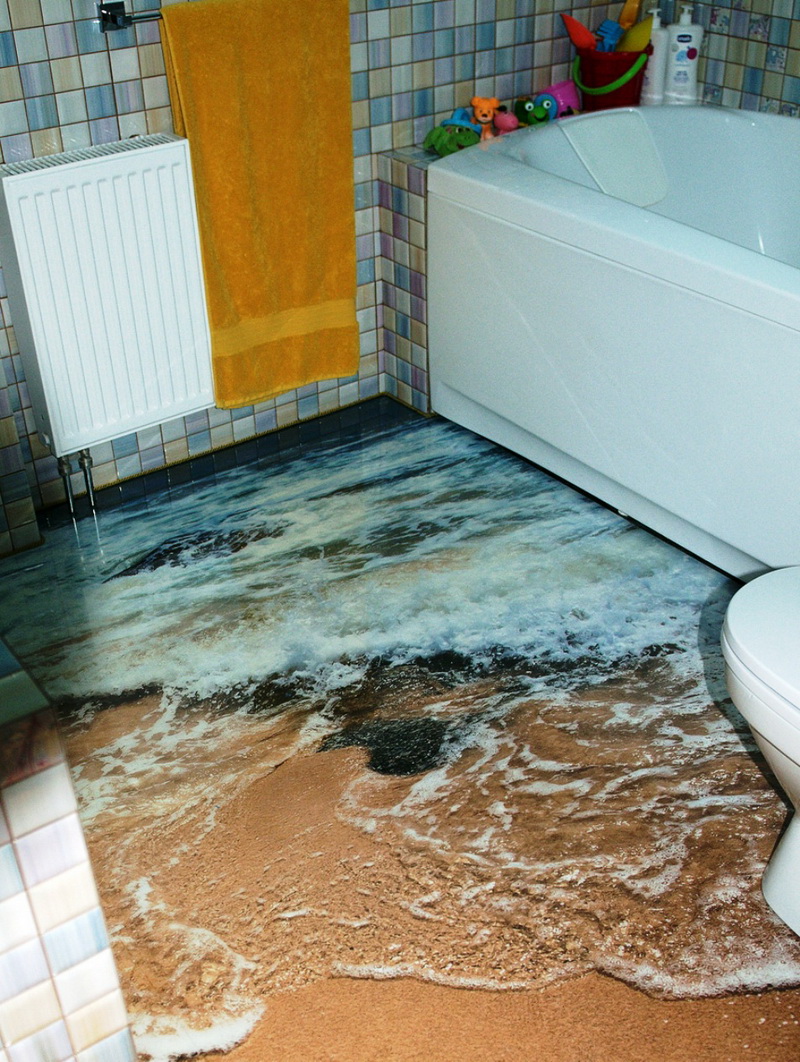
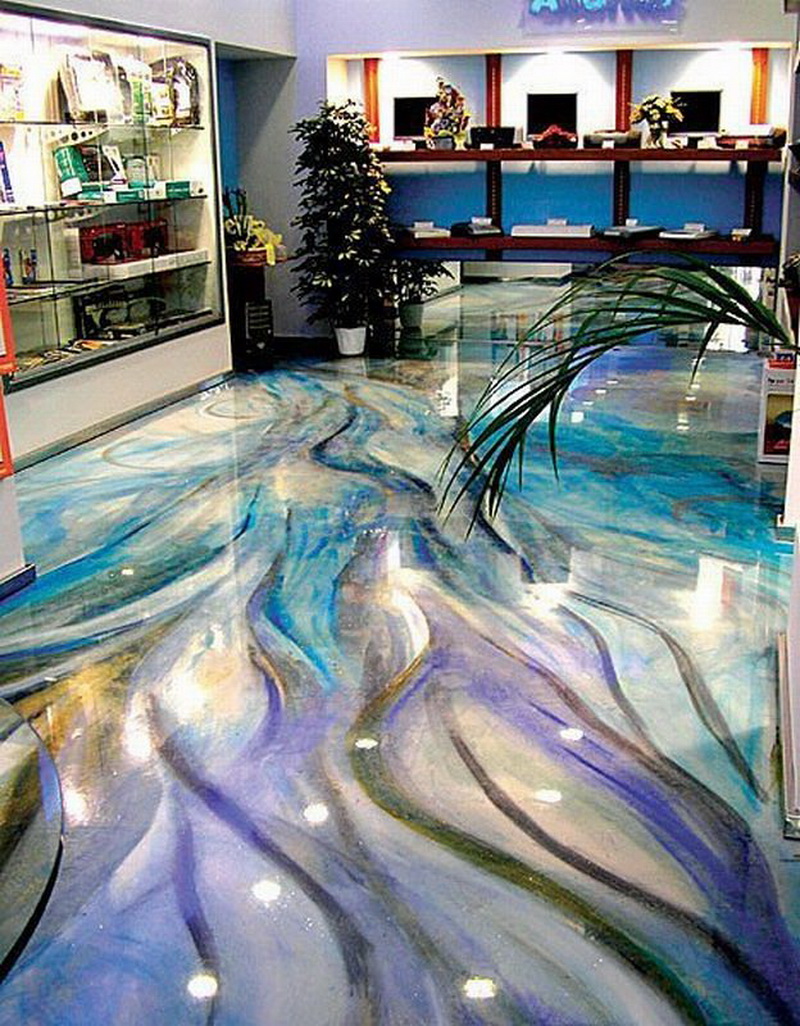
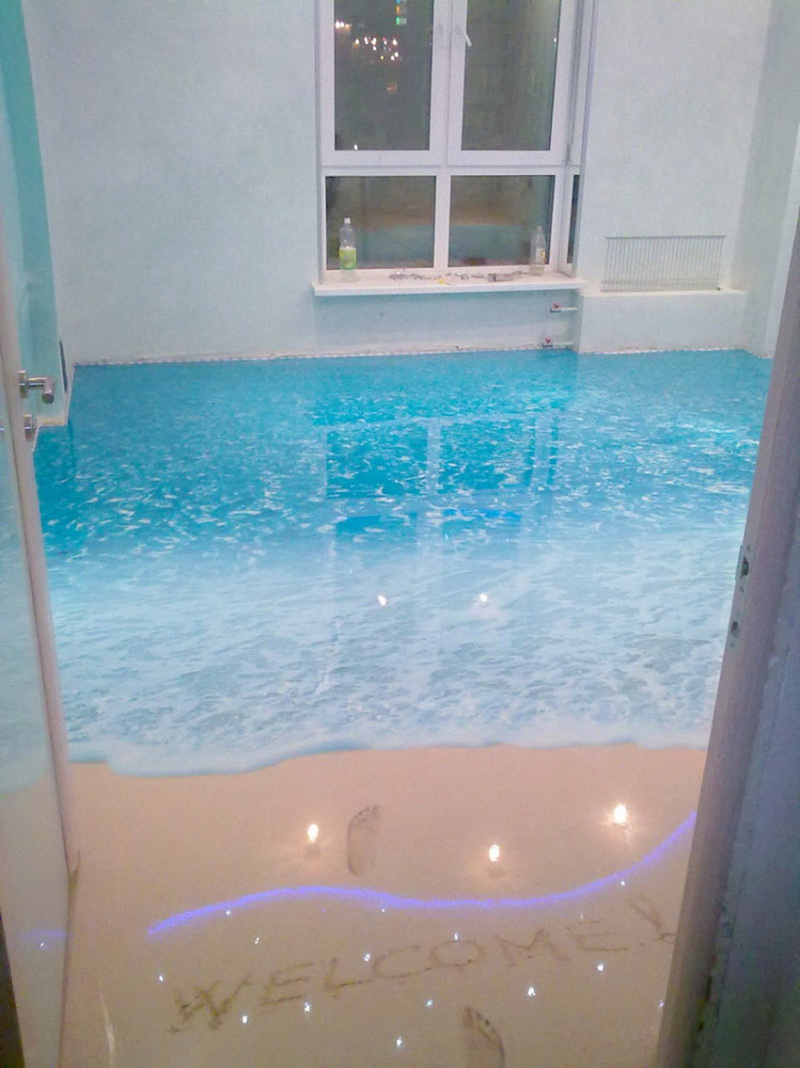
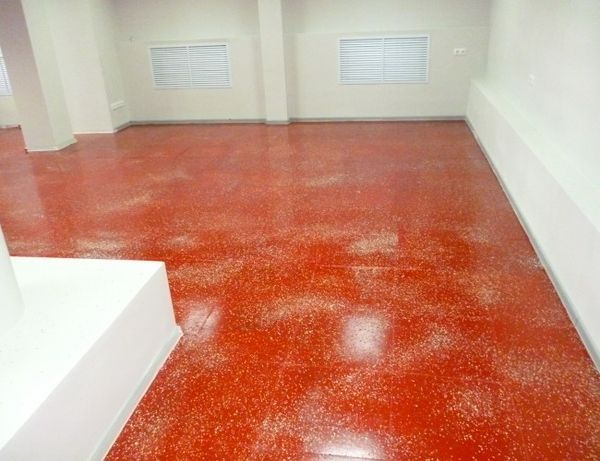
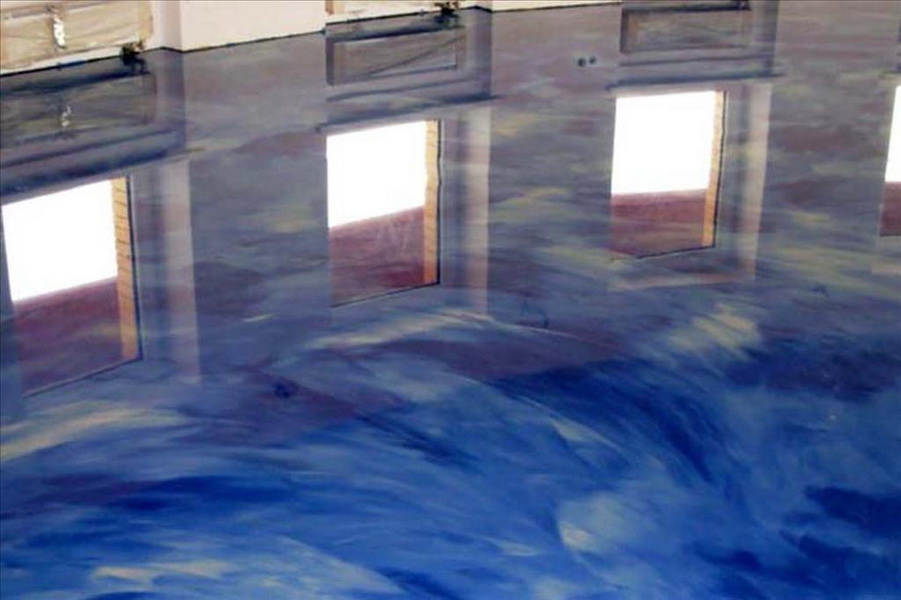
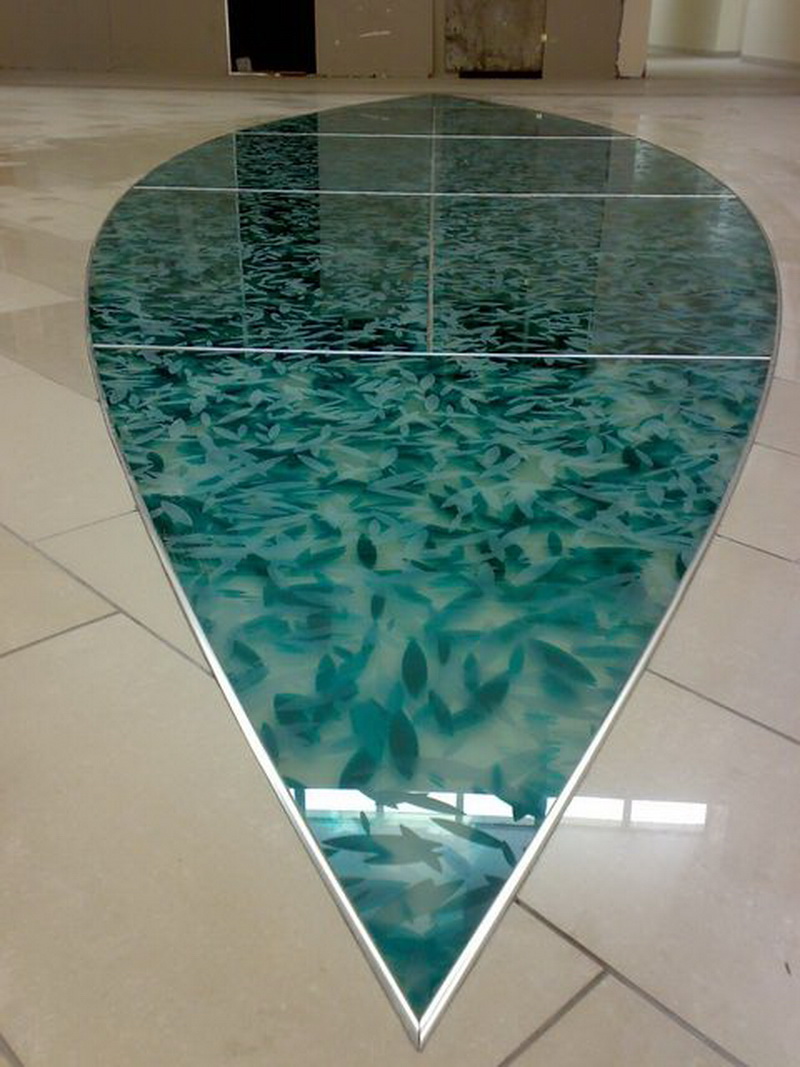
In addition, often for pouring the floor resort to liquid glass.Such a self-leveling floor after installation creates a smooth and glossy surface, which is very similar to real glass, only in liquid form. It is often found in hospitals because it is easy to clean and does not absorb bacteria. In fact, liquid glass is always glossy and transparent, but it is possible to paint it in order to achieve a different shade. In these cases, use special dyes that are added to the mixture.
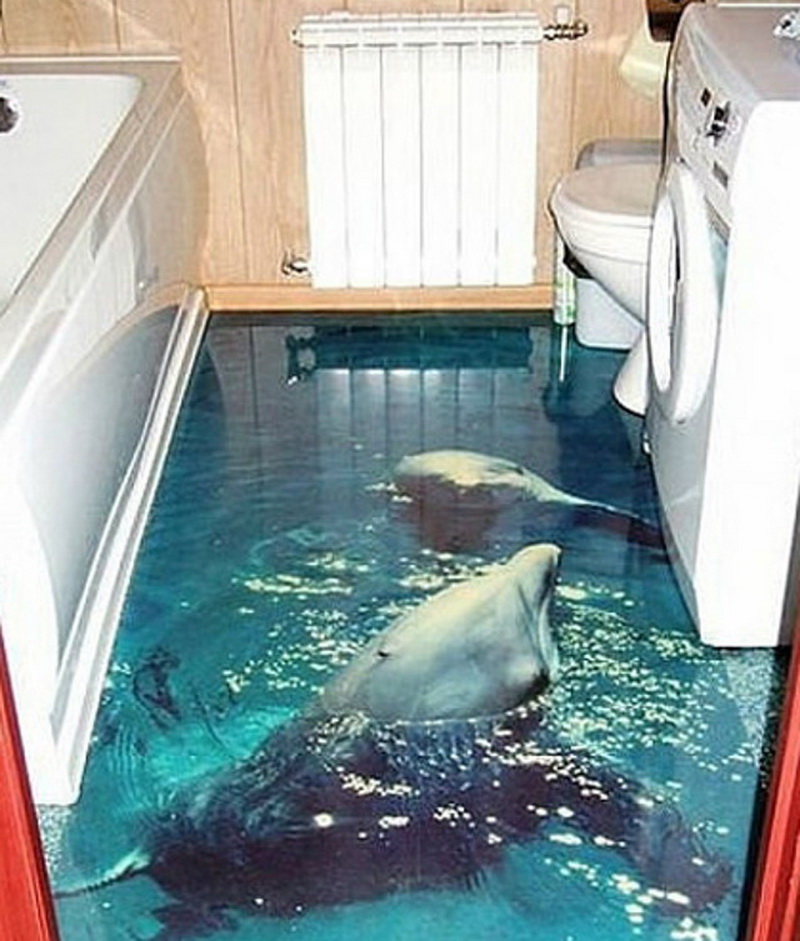
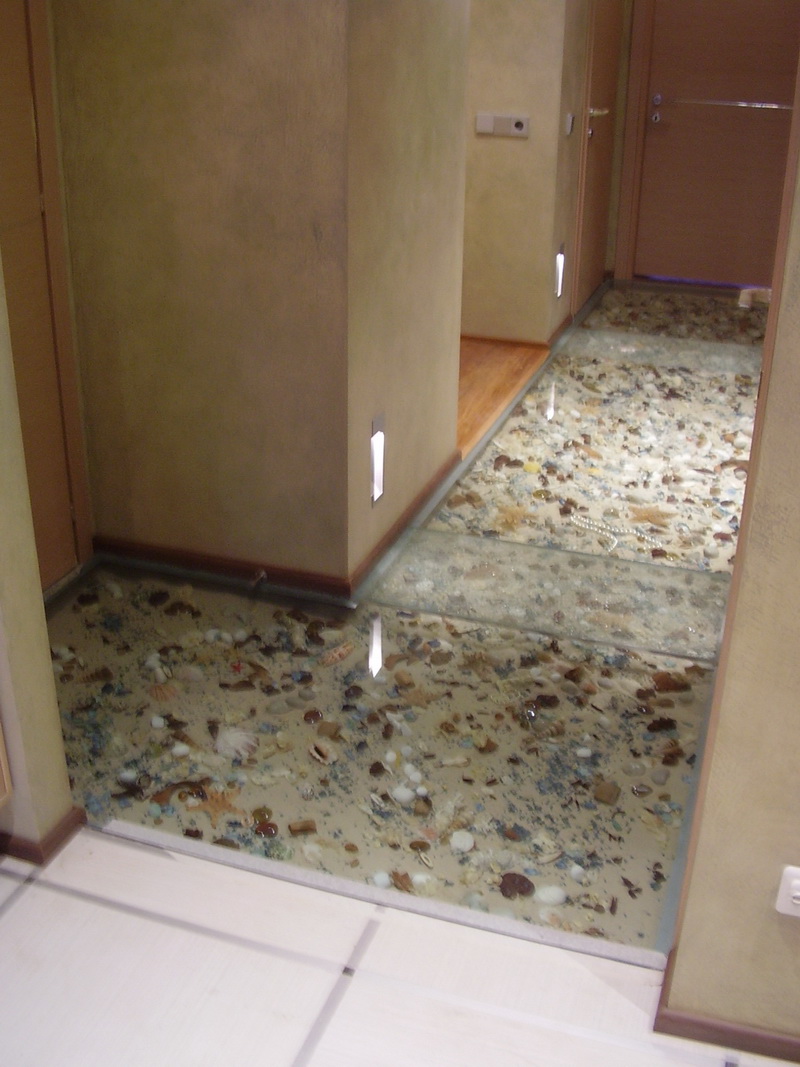
You can also make a 3D effect. To do this, between the layers put a printed pattern or other bulk objects to your taste and color.

Advantages of similar floors:
- Smooth surface.
- Not subject to burning.
- Does not react to chemicals.
- Resistant to vibrations.
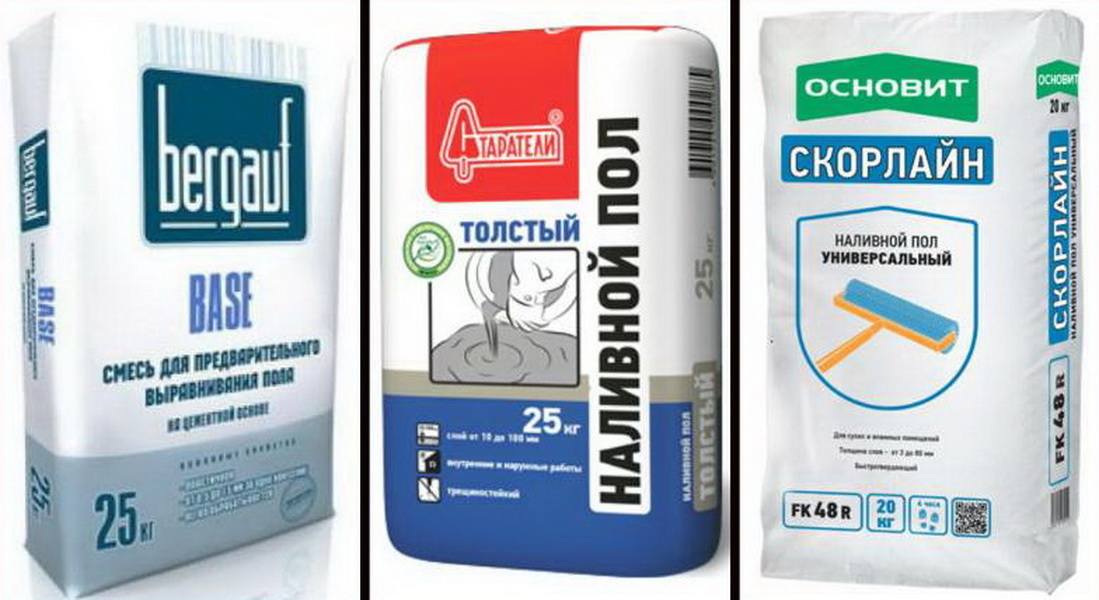
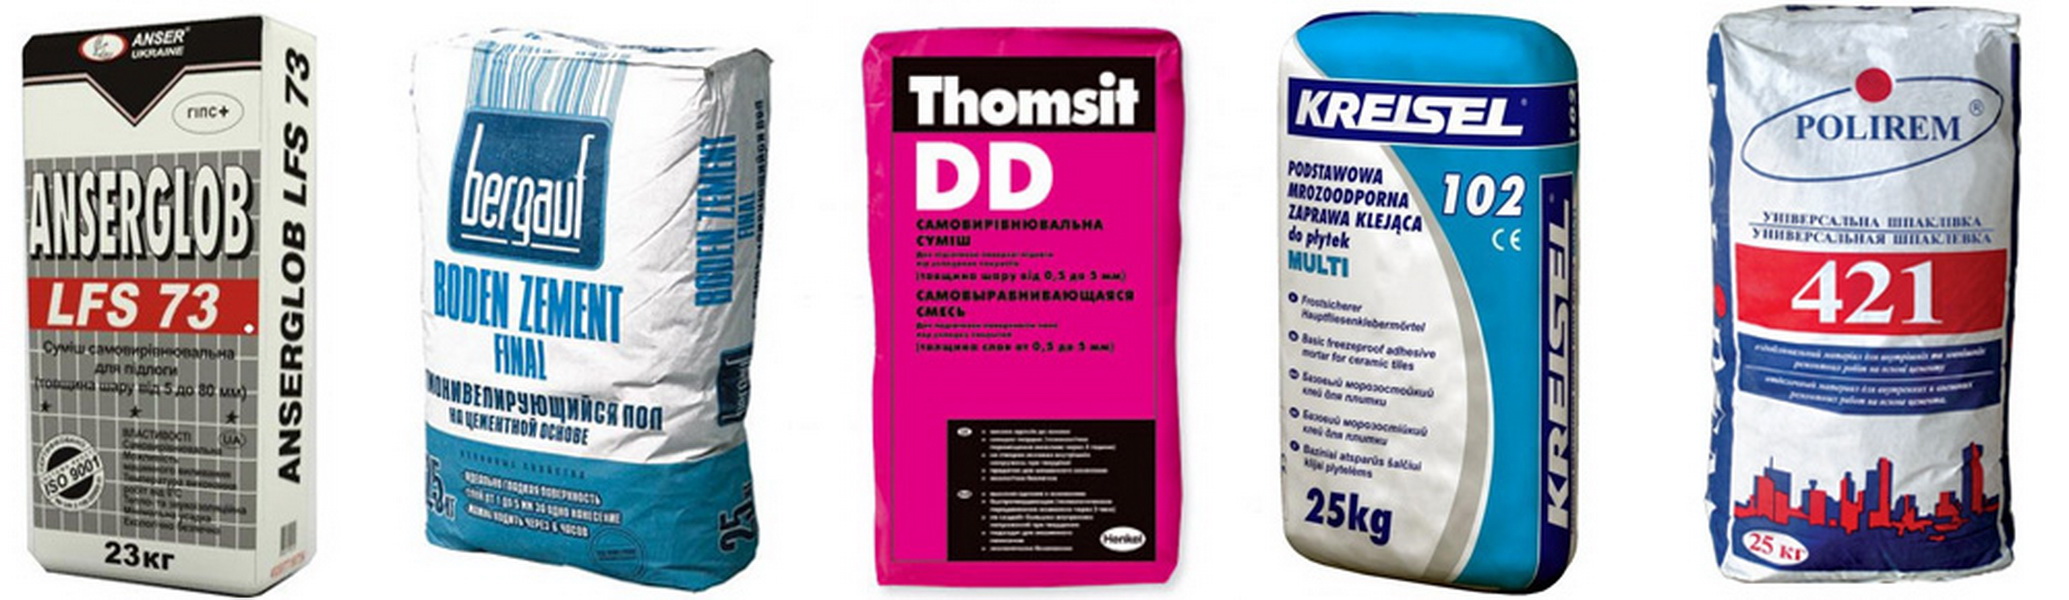
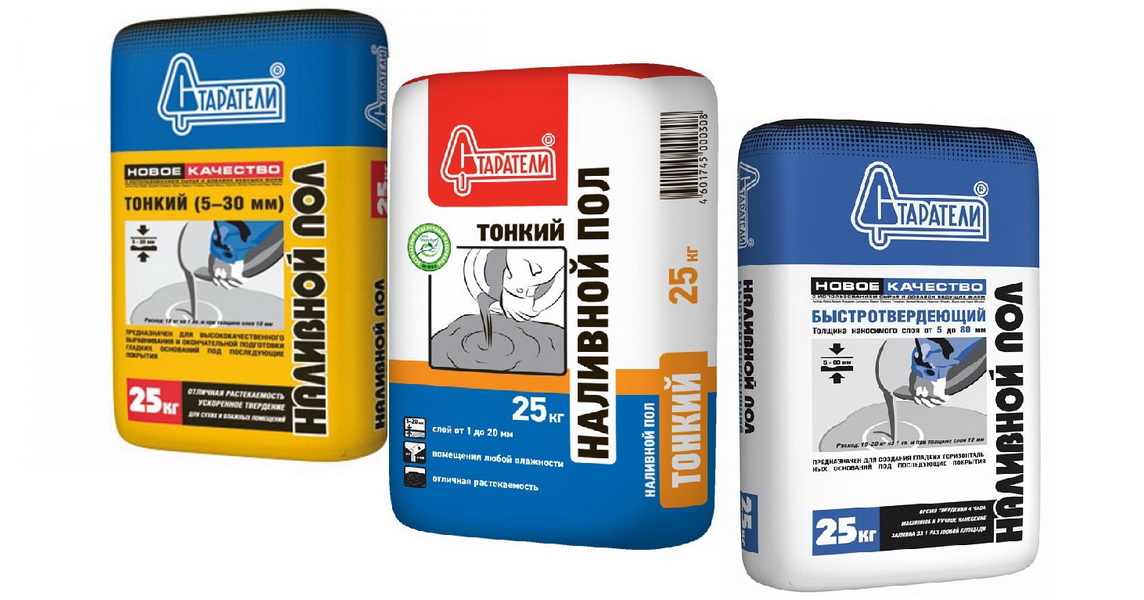
A selection of formulations for finishing
Of the huge range of compositions for the floor is worth noting the most popular:
- “Quick-hardening miners” (from 270 rubles) on the basis of gypsum. Most often used in residential areas, kitchens and hallways. Mobile solution, within forty minutes, you can have time to pour it over a fairly large surface. Well-known mixture, which is used even by experienced professionals.
Parameter | Value |
Where to apply | premises |
At what temperature pour | from 5 to 30 C |
Astringent | minerals and gypsum |
Thickness | from five to one hundred mm |
Final color | light gray |
Drying time after pouring | 4 hours |
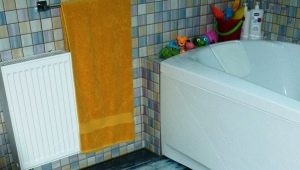
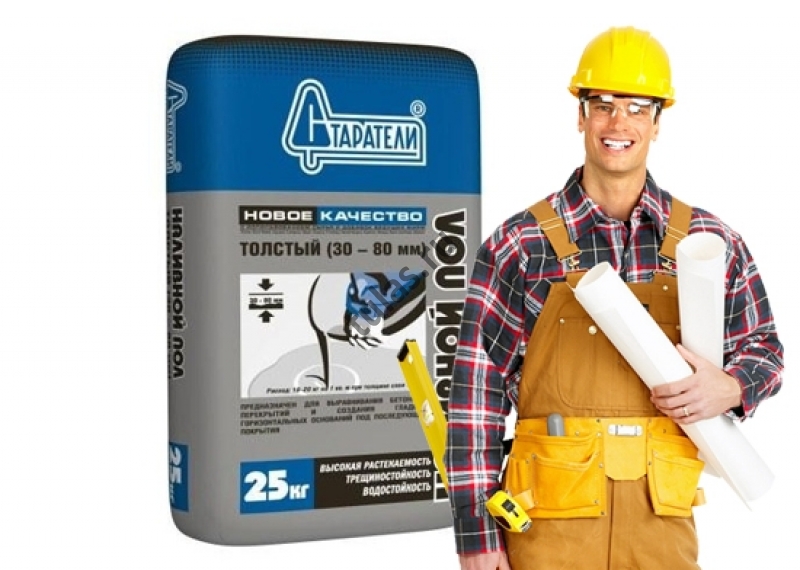
- "Tolstoy miners" (from 230 rubles) on the basis of cement. Levels concrete floor with very strong irregularities. Used for applying thick layers. They come out heavy, but durable. Suitable for garage and bathroom, as well as the street with a canopy. Dries the longest from this list.
Parameter | Value |
Where to apply | Premises and sometimes street |
At what temperature pour | from 5 to 30 C |
Astringent | mineral, cement |
Thickness | Thirty-eighty mm |
Final color | Gray |
Drying time after pouring | two days |
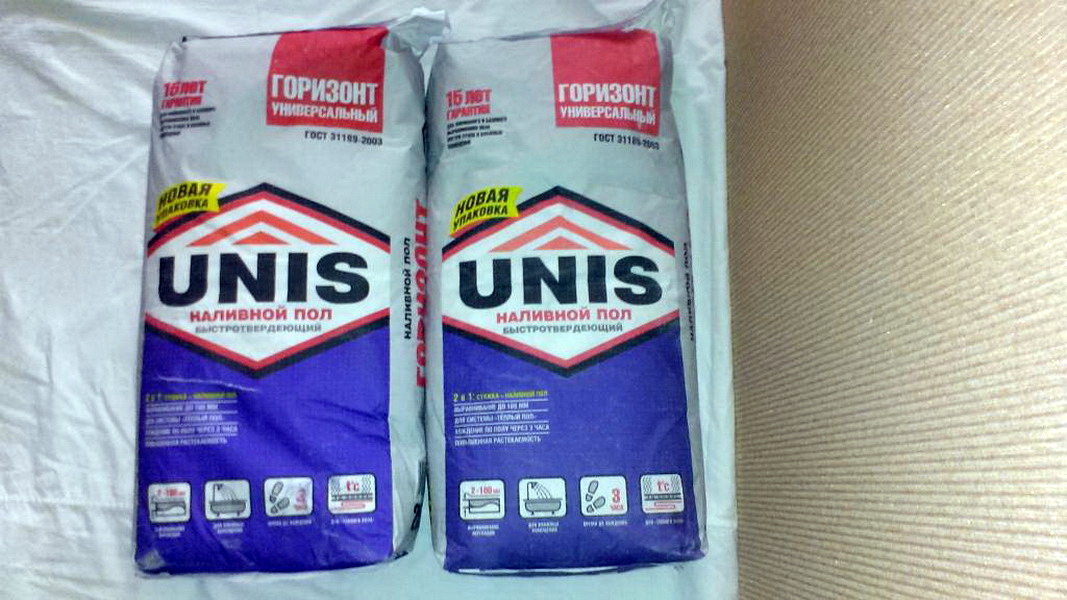
- Brand Unis. Horizon Universal (from 270 rubles). Suitable even for wet rooms, for any reason. The name speaks for itself - the mixture is universal, it can be used under the tile in the toilet or bathroom.
Parameter | Value |
Where to apply | premises |
At what temperature pour | from 5 to 40 C |
Astringent | cement, minerals |
Thickness | From two to one hundred mm |
Final color | Gray |
Drying time after pouring | 3 hours |
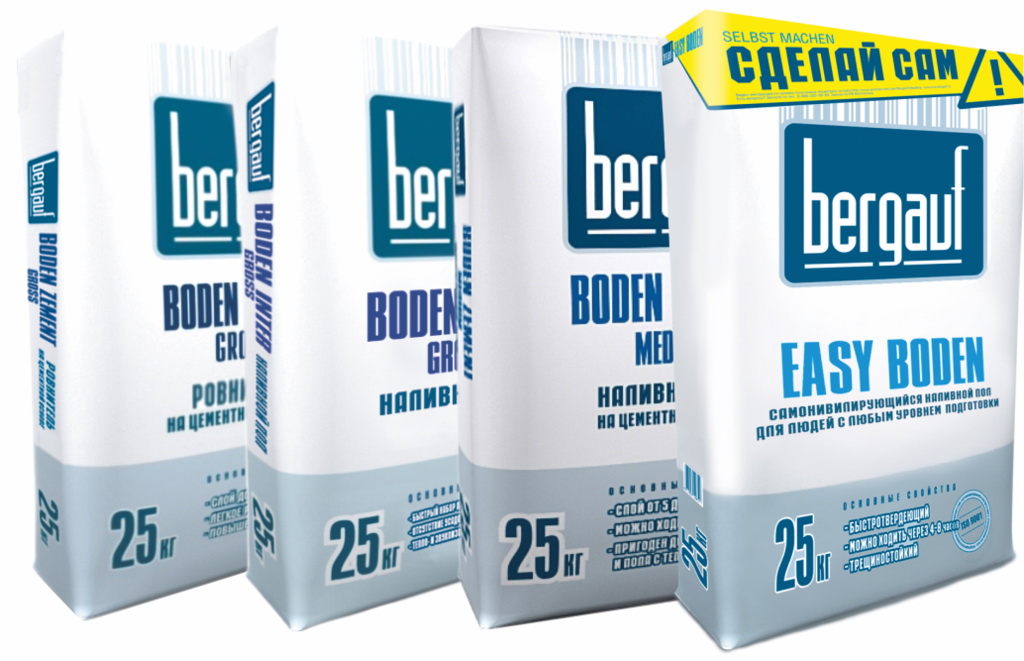
- Bergauf Easy Boden (from 340 rubles). It is possible to fill both in premises, and in a bathroom, and in a toilet. Also suitable for the creation of "warm floors" and under any finishing.
Parameter | Value |
Where to apply | premises |
At what temperature pour | from 5 to 25 C |
Astringent | minerals, cement |
Thickness | from six to fifty mm |
Final color | light gray |
Drying time after pouring | 4-8 hours |
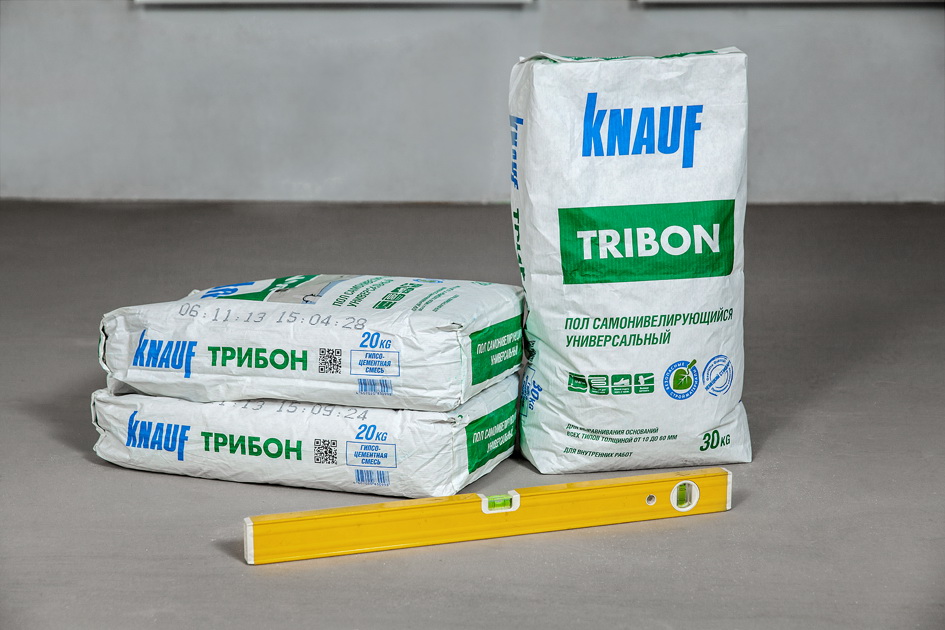
- Knauf-Tribon (from 320 rubles). Suitable for all types of premises, including the bay in the toilet. It is possible to walk on the surface already after 6 hours, and in a day to put the furniture, to continue the repair.
Parameter | Value |
Where to apply | premises |
At what temperature pour | from 5 to 35 C |
Astringent | minerals, cement + gypsum |
Thickness | from ten to sixty mm |
Final color | light gray |
Drying time after pouring | 6 o'clock |
You need to be careful when choosing mixes for self-leveling floor. Take into account all factors: the type of room, temperature, humidity, further finishing options and so on. Do not forget to read the composition of the mixture, he can indicate the quality of the product, and during the process of filling the floor, carefully follow the technology. Only in this case, you can personally make a self-leveling floor in your home.
For information on how to choose a cement-based self-leveling floor, see the following video.