Features guides for drywall
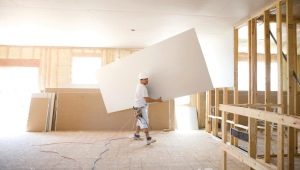
Everyone who has ever come across repairs knows that a strong frame is the basis of good and high-quality work. One of the most popular materials in recent years has become drywall. It is important not only to choose it correctly, but also to organize a competent fastening.
In this article we will talk about what guides for drywall, which are and how to install them.
What it is?
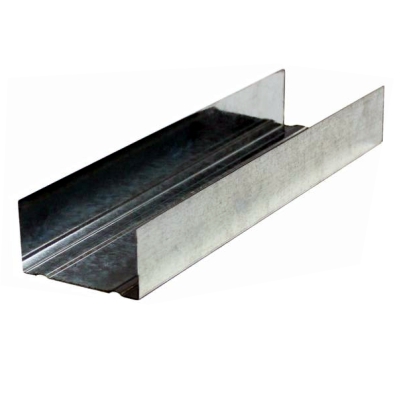
Guides for drywall are metal bars in the form of a frame, attached to the main structures of the room. They serve as the basis for the rest of it.
In everyday life, it so happened that the so-called drywall guides are any kind of galvanized profile that serves as a frame for plasterboard structures.
The task of these profiles is to evenly distribute the weight from the sheets of drywall to the structure and not to allow the frame to bend under its own weight. If this happens, then a complete reinstallation of the structure will be required.
Kinds
Unlike other building materials, the guides for drywall are divided into specific types, the purpose and installation of which are quite accurately and clearly described.
There are five types of guides:
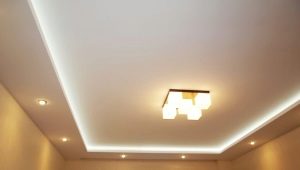
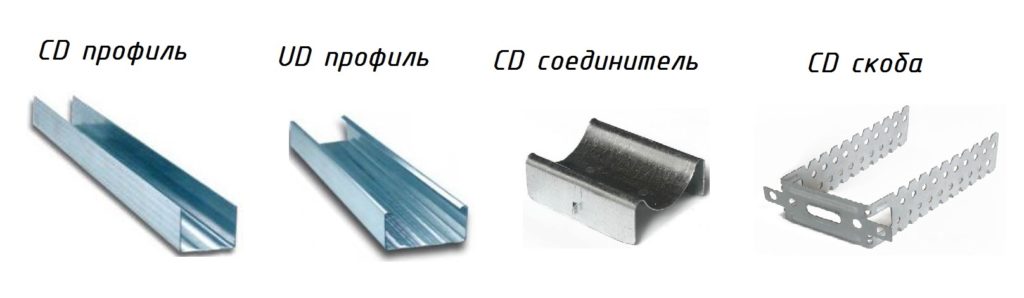
- Ceiling CD. Used for installation of suspended ceilings. His profile is in the shape of the letter “P”. The walls of such a profile in width are 60 mm and 27 mm, and the length can be different - 3 m, sometimes 4.
- Ceiling UD. The width of the walls in this case is 27 or 28 mm, length - 3 m.
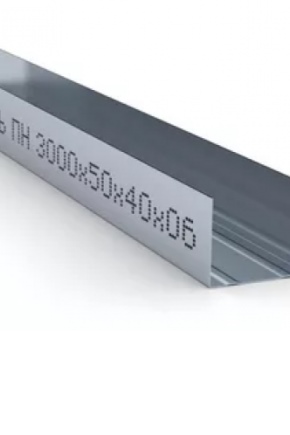
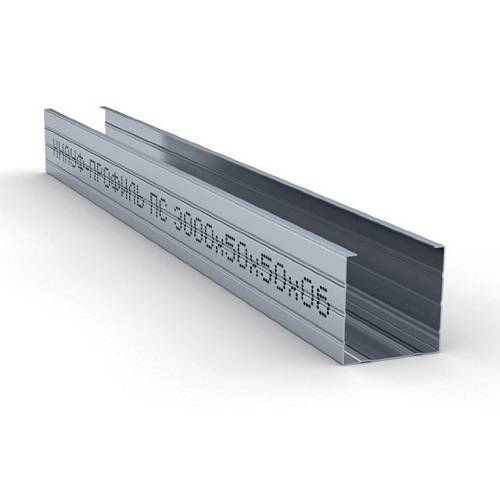
- Rack profile or CW. The width of the walls is 50 mm, the width of the base can be from 50 to 100 mm, the length reaches 3-4 m.
- Guide profile or UW. Its feature is that the width of the walls is equal to the width of the base. Most often these are sizes 40 x 40 x 40 (mm). But can vary up to 100 mm. The length of such models is standard - 3 m.
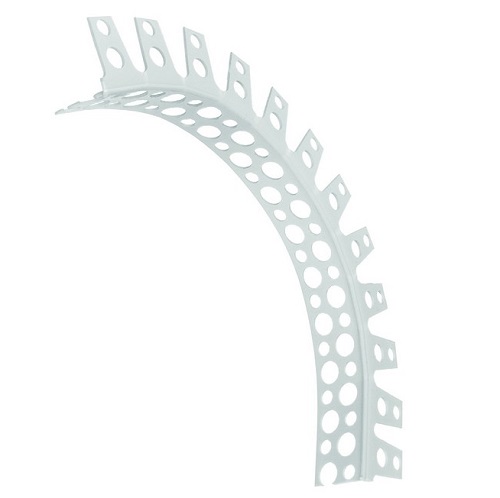
- The most uncommon type - flexible arched profile. It is used to install curved surfaces. In this case, the frame may be of different lengths and thicknesses.
It should be noted that all these types of frameworks for the lathing are mostly metal, since such a construction requires special strength, moreover, the metal is easily processed, and during operation it is not damaged, does not shrink, does not become covered with mold.
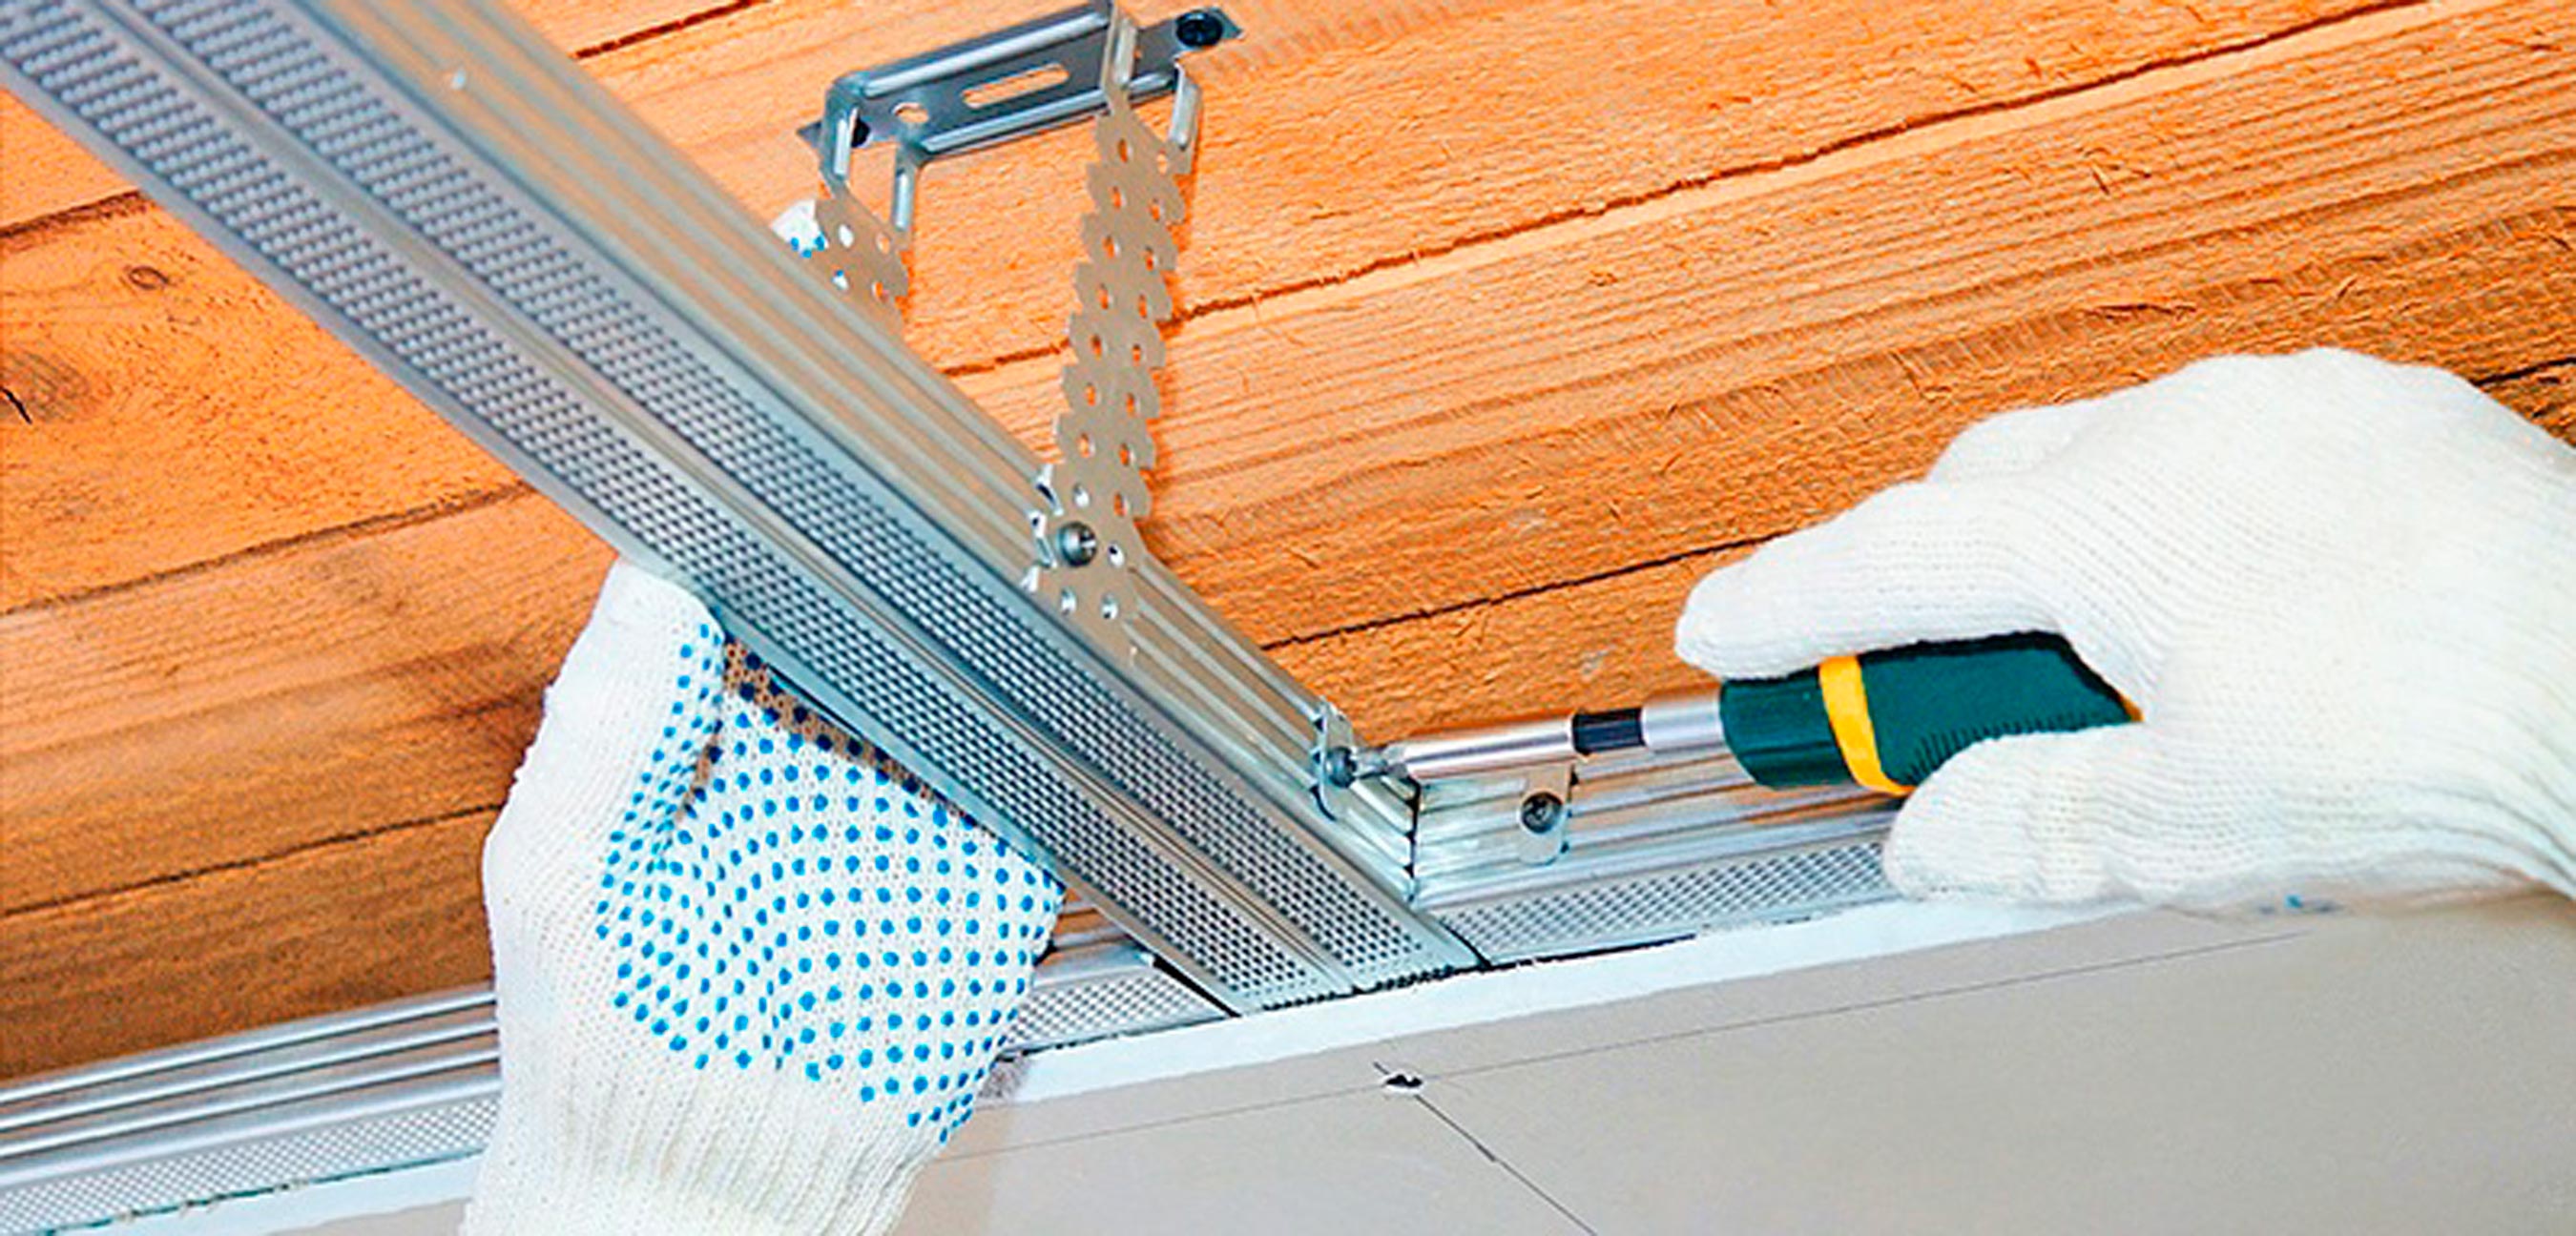
It is worth noting sliding guides for drywall. They are installed in wooden houses or rooms where the walls are made of wood.. With the help of special nozzles, it is possible to prevent the structure from shifting during wood shrinkage. These nozzles allow the metal frame to move freely without damaging the tree to which they are attached, which helps preserve the integrity of the structure.
Design features
Speaking about guides for drywall in this article, we mean only those profiles that are made of metal. The most obvious feature of such constructions for drywall is the ease of installation with such, at first glance, large-scale works. All parts are easily and simply fastened to each other and also easily attached to the wall. We will discuss this in more detail in the section below.
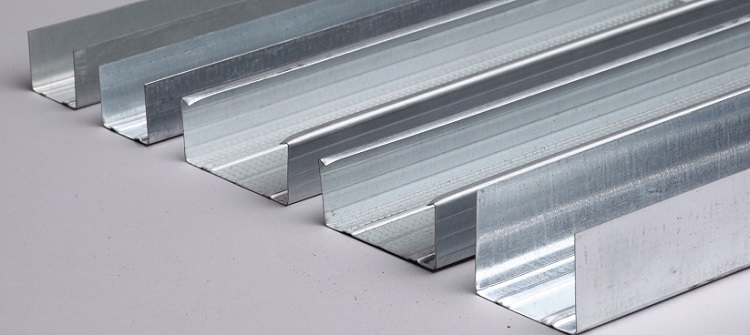
Guides for drywall, as a rule, are made of galvanized sheet.Thanks to this form and structure of the material, the construction is light but durable.
Zinc coating does not allow the structure to rust.
Separately, it should be noted aluminum profiles, due to their low strength and carrying capacity, they can only be fitted with glass.
All the main parts of the frame, profiles, are U-shaped, thanks to which they are easily screwed to each other according to the principle of the children's designer. Thanks to these and other advantages, such frames have found their application not only as guides for drywall, but also embodied in different design ideas.
Dimensions
Dimensions - one of the most important aspects when purchasing GCR. Immediately it should be noted that the manufacture of such products to order will not be a big problem, it is quite common practice.
In addition, there are general rules for choosing the appropriate option from already manufactured and sold products.
First of all, we must pay attention to the width of the walls. If the wall thickness is less than half a centimeter, then such frames can be used for walls, and if more, since they are stronger, for ceilings.
This applies to all models, except for a special curvilinear profile.
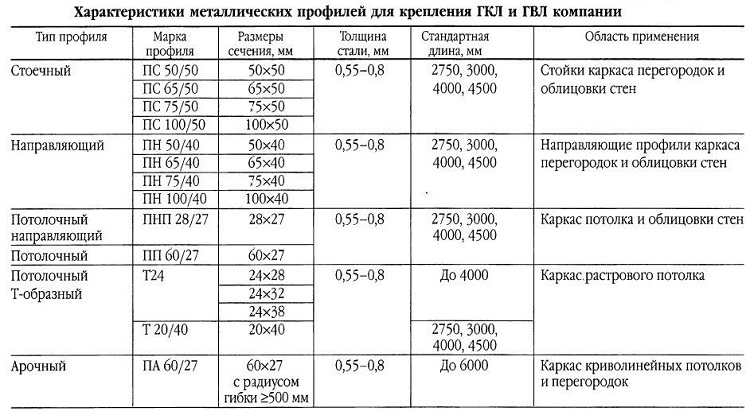
As a rule, profiles have the following standards and characteristics:
- Guide profile. Its length - 3 m, height - 40 mm, the width is 40, 65, 75 cm.
- Rack profile. Length - 3, 3.5, 4 m, 6 m; height - 50 mm, base - 50, 65, 75 mm or 10 cm.
- Ceiling profile. Length - 3 m, height - 27 mm, width - 60 mm.
- Guide ceiling profile. Length - 3 m, height and width - 27 x 28 mm.
- Reinforced profile. It happens of different lengths - 3, 4, 6 m, the same height - 40 mm, width - 50, 75, 100 mm.
- Beacon profile. The length is 3 m, and the cross section is 22 x 6, 23 x 10 or 62 x 6.6 mm.
- Arched profile. The length is 3 or 6 m, the cross section is 22 x 6, 23 x 10 or 62 x 6 mm.
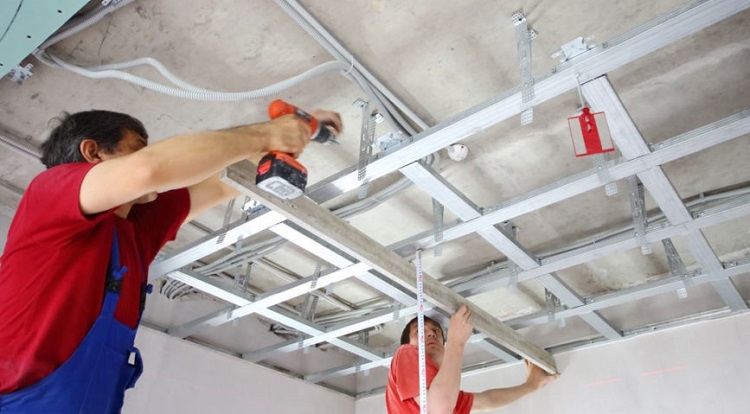
Installation
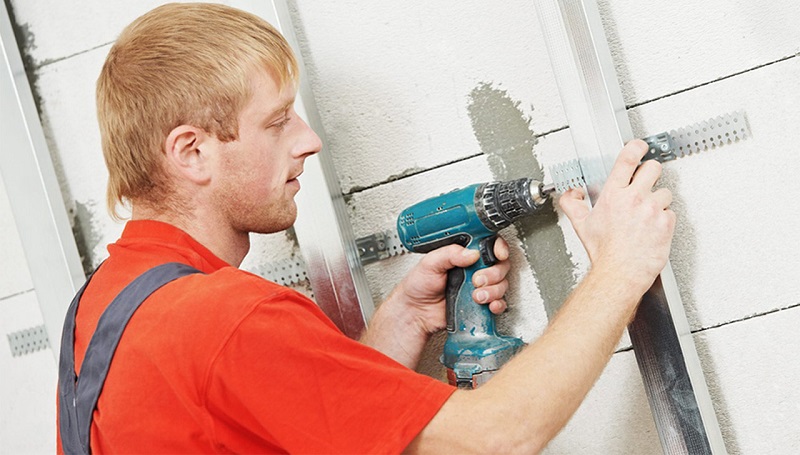
When you install the profiles yourself, remember that for each stage and different types of profiles you need different methods of fastening. The level of fastening strength implies subsequent reliability and stability of the structure. It largely depends on the fixings. You need to purchase high-quality and durable products.
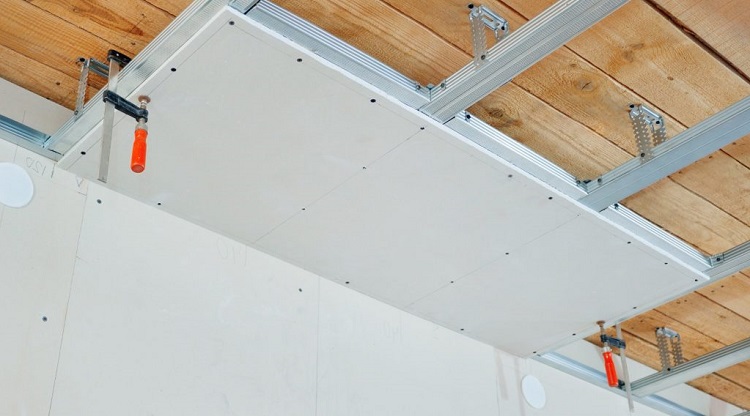
One of the main stages of installation is the assembly and installation of structures using profiles and installation to the wall or to the ceiling.
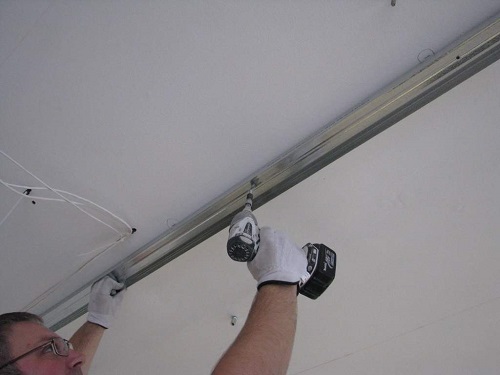
These two stages can be done in several ways of fastening:
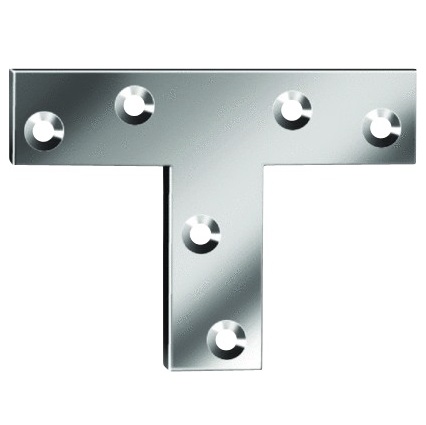
- In the shape of the letter "T". Used for mounting profiles installed parallel to the ceiling level.
- Springy mount. It has a spring in the construction, thanks to which it is attached to the surface of the ceiling.
- Layered fasteners. Used for profiles that are installed under a multi-level ceiling.
- Fastener connector. Used for building, assembles the parts of the structure into one to achieve the required size.
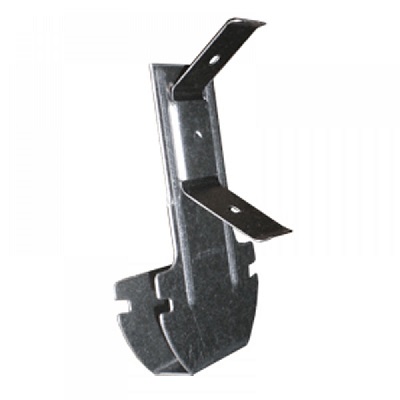
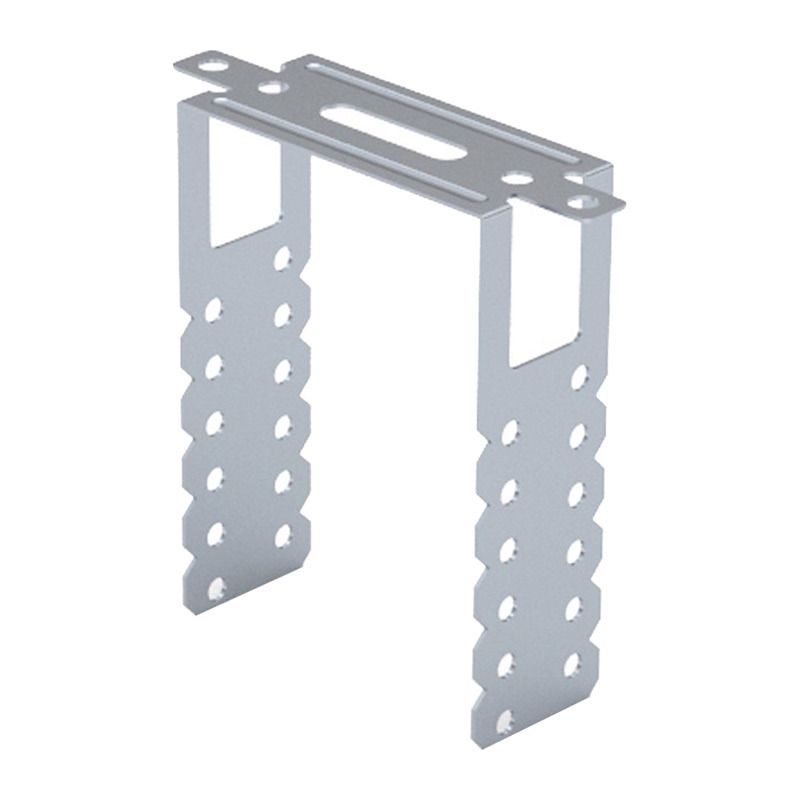
- Direct hanging fixture. It is used as a fastener to the ceiling, has the shape of a bracket and is attached to the ceiling of the carrier profile.
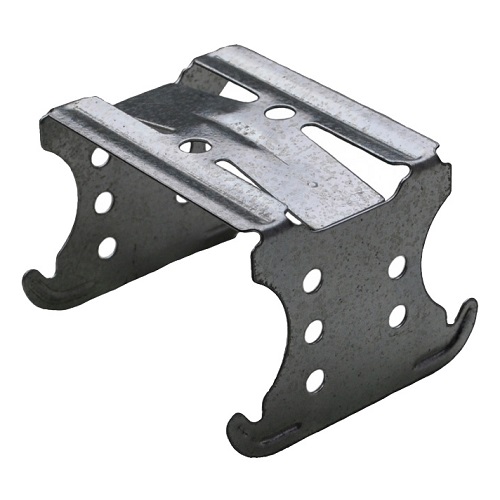
- Mount "Crab" It has two types - single-level and two-level. The first type connects the drywall sheets parallel to each other on different planes, and the second fixes them at two levels relative to each other. The most universal type of fastening, suitable for installation of all types of profiles.

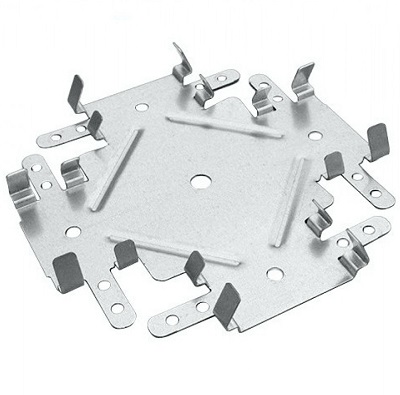
Each of these types of fasteners is only suitable for a particular stage or part of the structure, with the exception of the “Crab” mount; it can also be used when mounting the rails to the ceiling, walls, and even for suspended structures.
As for the installation process itself, in addition to the two main stages, the following steps should also be taken into account:
- Calculation of all necessary suspensions and their installation. Before installing the profiles, it is necessary to calculate the distance between the suspensions and attach them to the wall. Their location and number depends on the thickness of the plasterboard and the size of the room.
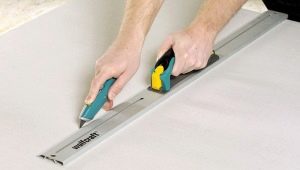
- Installation of profiles. The main stage in which the profiles themselves are established. In the course of these works it is important to have with you and use the vertical and horizontal levels.
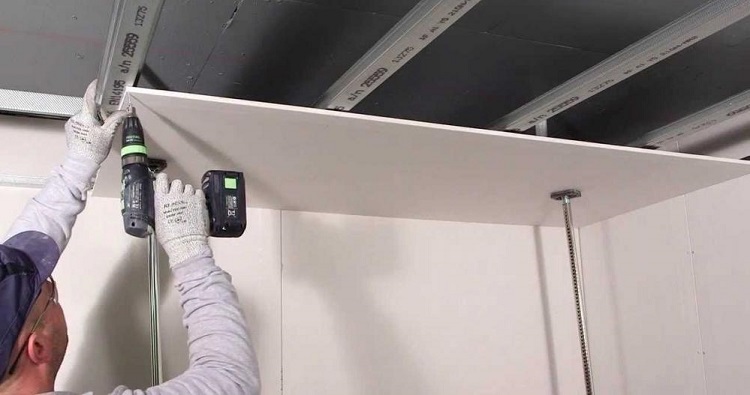
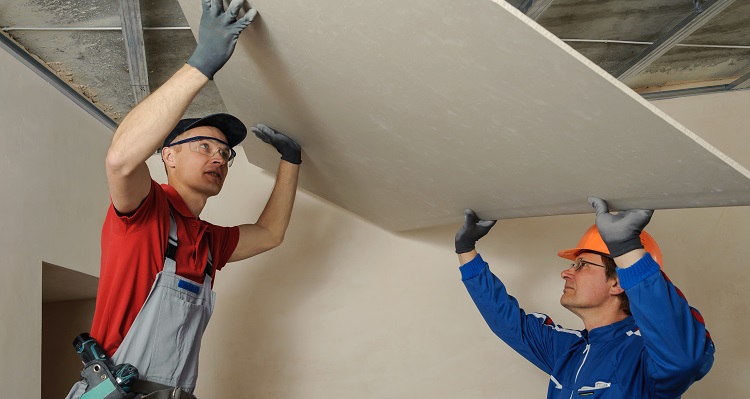
- The final step is to hang sheets of drywall on the frame. At this stage of the work, great care is needed, which will provide a neat appearance of the structure and will not damage previously installed elements. Next, you need to remove unnecessary parts and garbage. After that, the installation process can be considered complete.
Tips and tricks
Do not be deprived of the opportunity to purchase quality tools for the installation and processing of gypsum boards. Another important aspect is thickness of drywall sheets suitable for this construction. They should not be too fat.
Before proceeding with the installation of plasterboard structures, you need to wisely approach another important stage - the choice of quality material. A situation is quite common when profiles of the same type have prices with a big difference. It is obvious that such price heterogeneity is associated with different manufacturers. As a rule, the most expensive are German profiles, the average price category belongs to domestic manufacturers, and the lowest - Chinese products.

Expensive models always compare favorably with the thickness of the sheets from which they were made. Such profiles hold well the subsequent construction and are rather durable. Cheapest and low quality profiles can change their shape. even from a simple hand raising one edge, not to mention their strength in the design.
Despite the obvious advantages of the former and the disadvantages of the latter, you should not immediately acquire only thick and expensive profiles. They should be purchased only in cases where the intended installation will be very high. Sometimes the rack in this case can do less than than thick metal profiles.
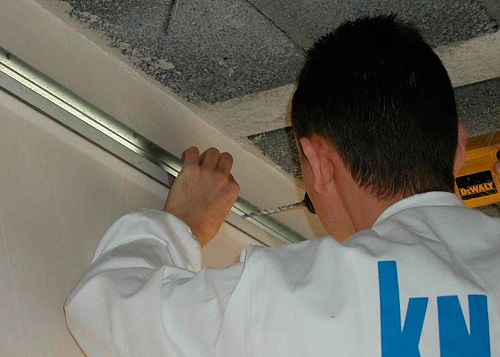
It is also recommended to purchase thick profiles from the German manufacturer Knauf, if you decide to install the drywall construction yourself and are new to this business.
The products of this particular company have earned particularly good reviews for its quality and easy installation process.
Installing and assembling such constructions from scratch is a matter that requires knowledge and skills about using and installing about several materials used in this process. That is, you need to be able to choose and fix not only fasteners and profiles, but also sheets of drywall. Particularly time-consuming and difficult is the installation of such mounts on the shelves.
Most often, all the shortcomings and shortcomings are identified at the last stage. This is the main reason that a newcomer is better not to do this on his own, but to seek, if not help, then advice from a specialist. If, being a novice, you decided to do an independent installation, then in the open spaces you can find a lot of information about the types and methods of fasteners of such structures. Good luck!
In the next video, see a master class on making a ceiling of plasterboard.