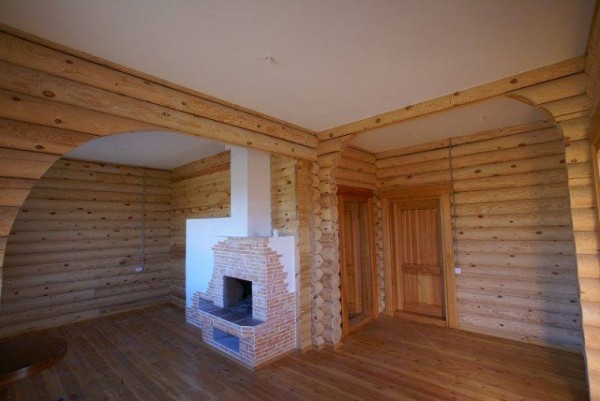
Features of the installation of a heated floor in a wooden house
Since any owner wants his home to be cozy and warm, it is necessary to know all the subtleties associated with autonomous heating of the premises. This article describes all the nuances associated with the arrangement of a warm floor in a wooden house.
Kinds
The warm floor in a wooden house can be made according to any of two types:
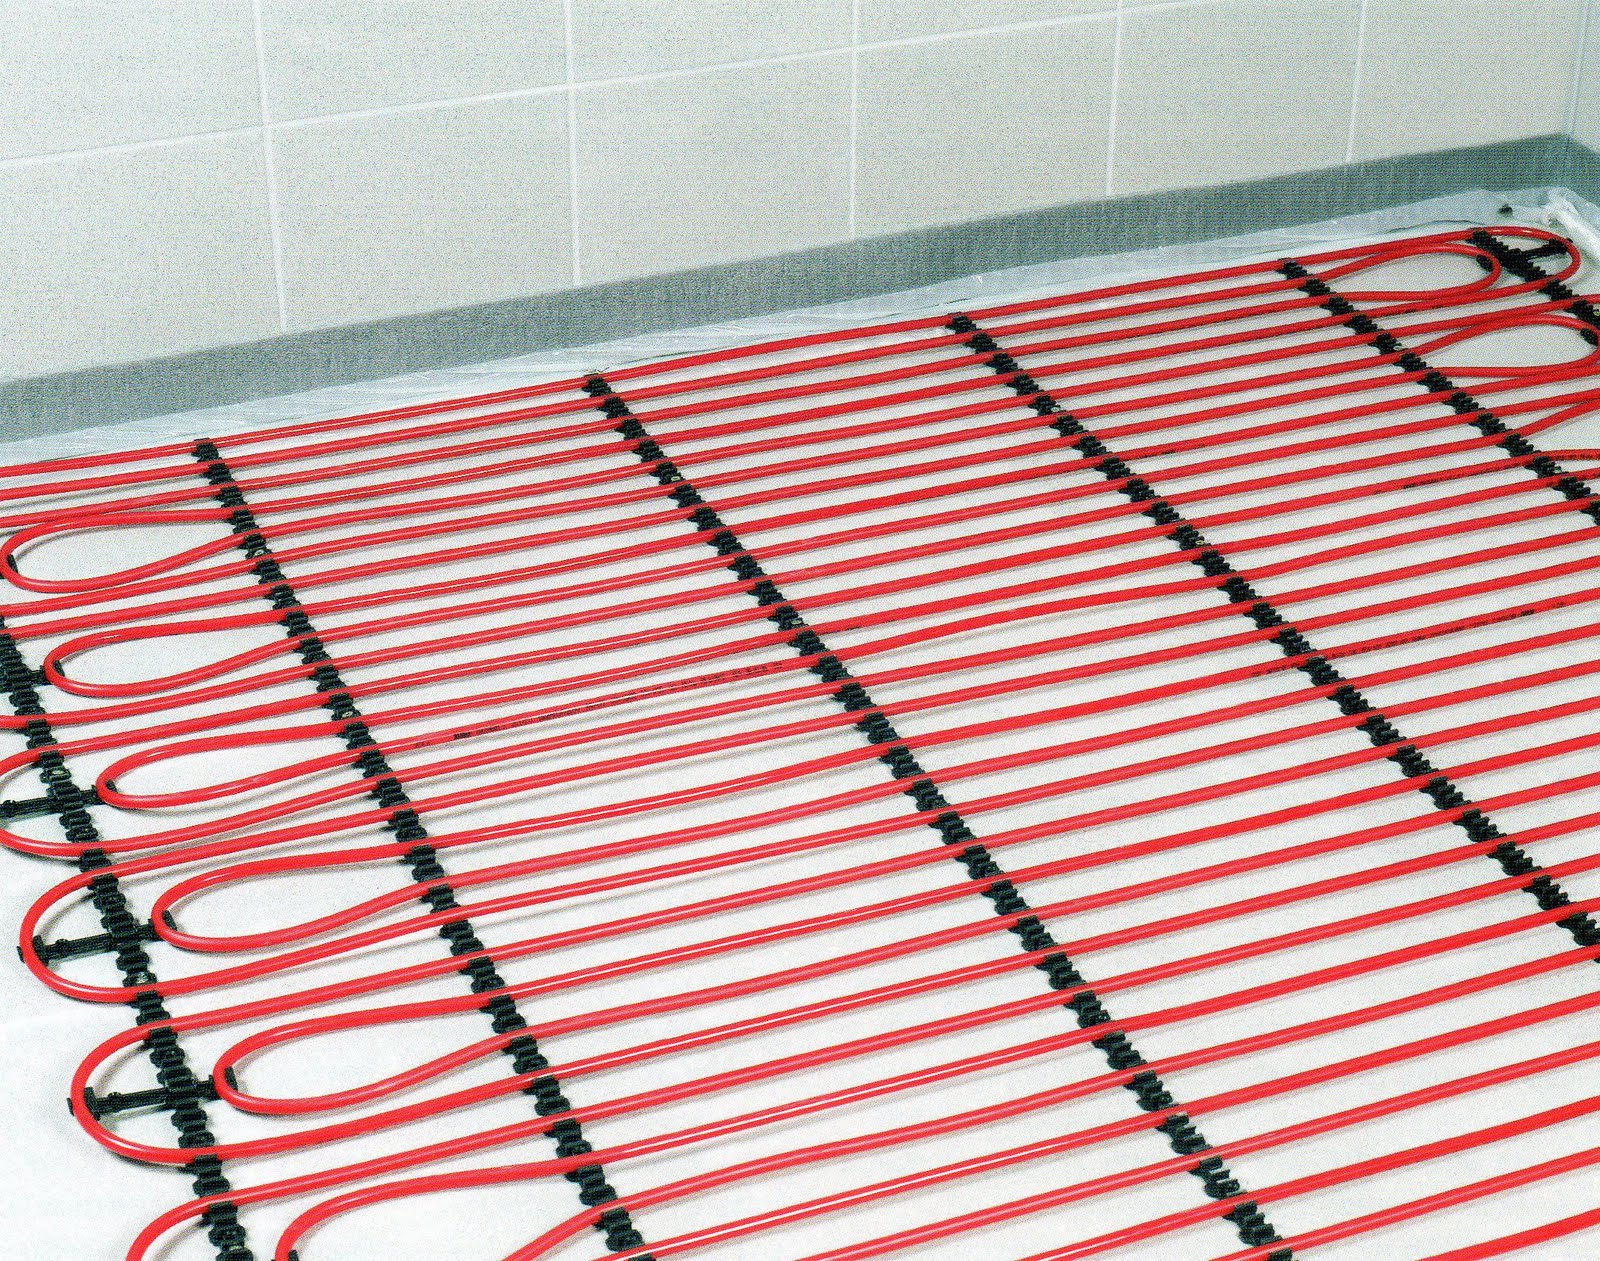
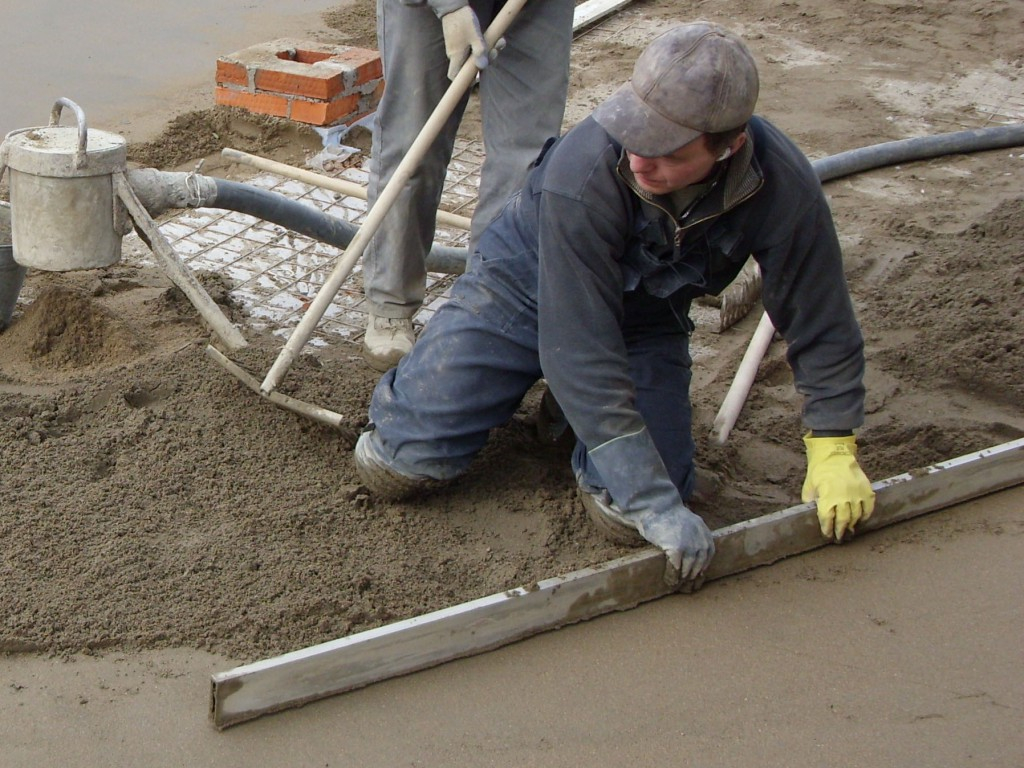
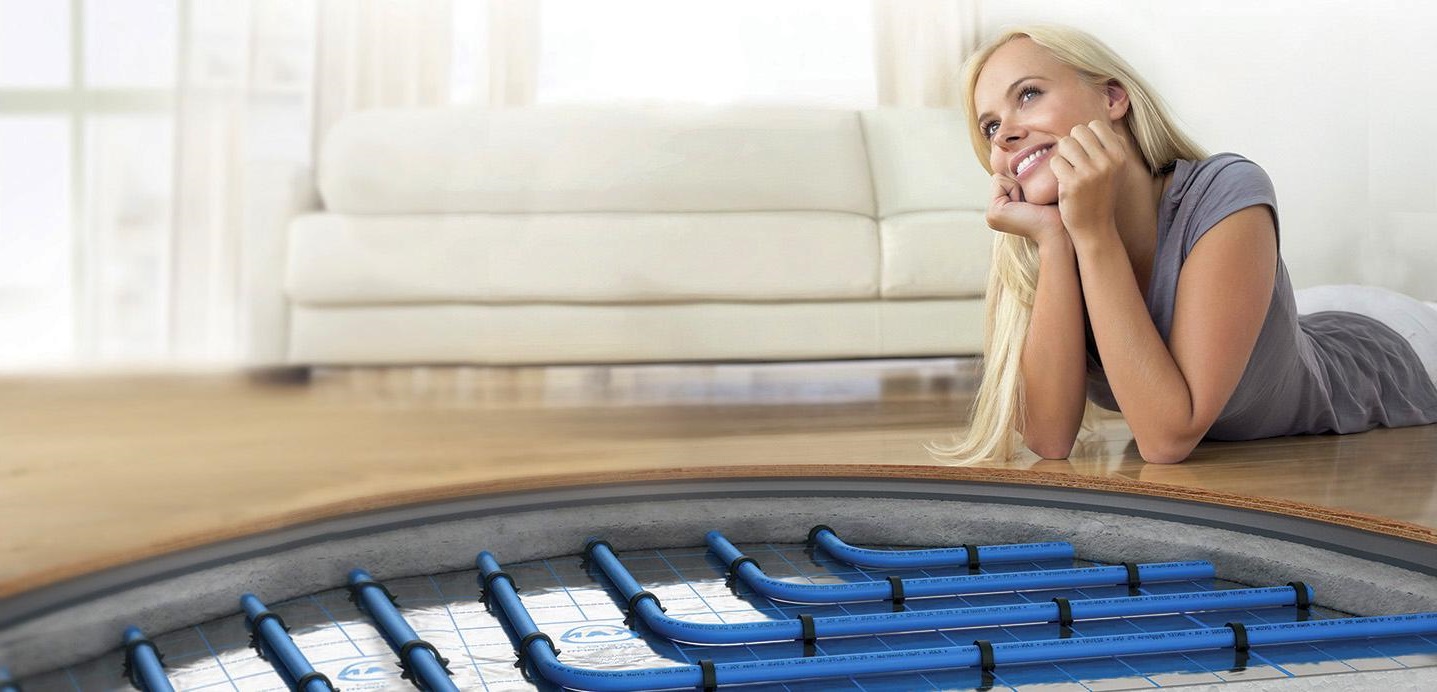
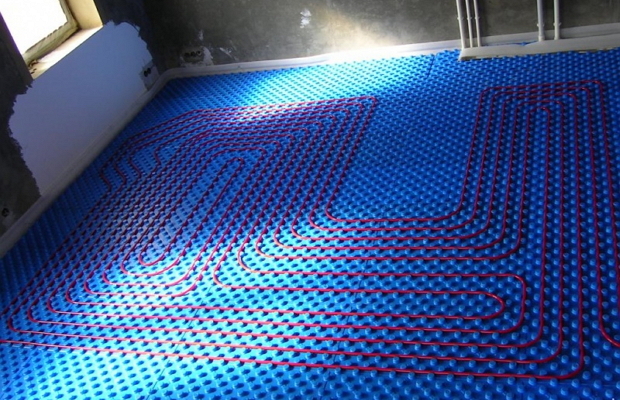
- Water warm floor. This system is based on the use of polyethylene or metal-plastic pipes connected to the heating system. The installation of this type of heating can be carried out either by the traditional method - by pouring cement, or by using the flooring technology with the use of distribution plates. The flow temperature from the boiler in this case can vary from 30 to 50 degrees;
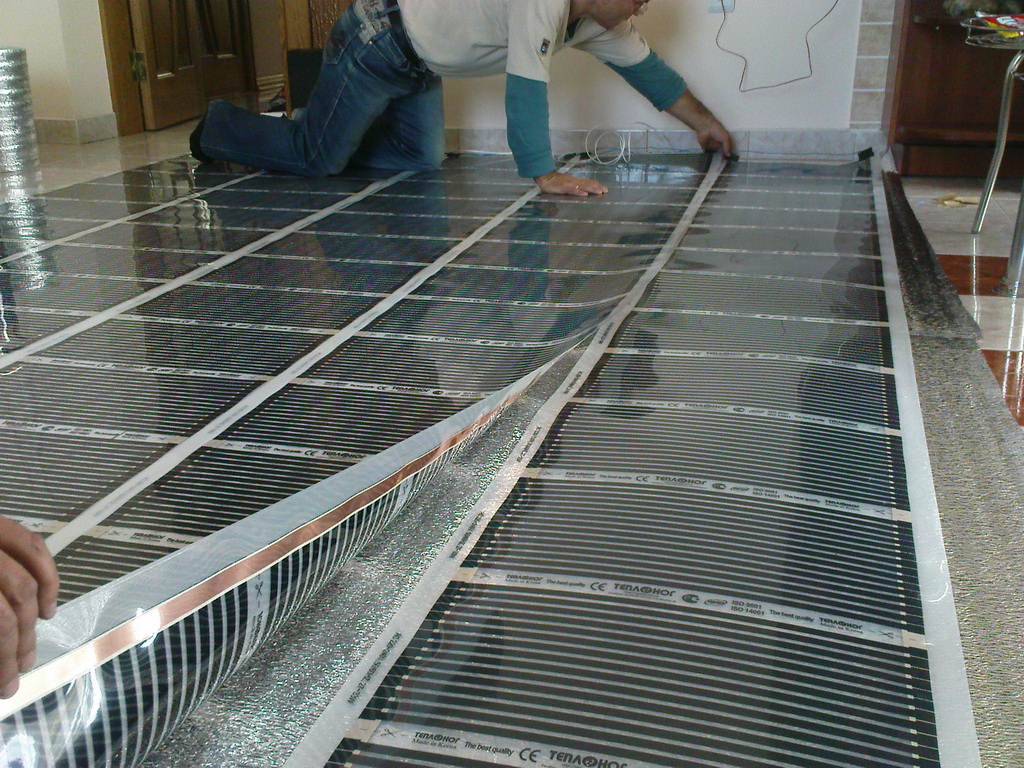
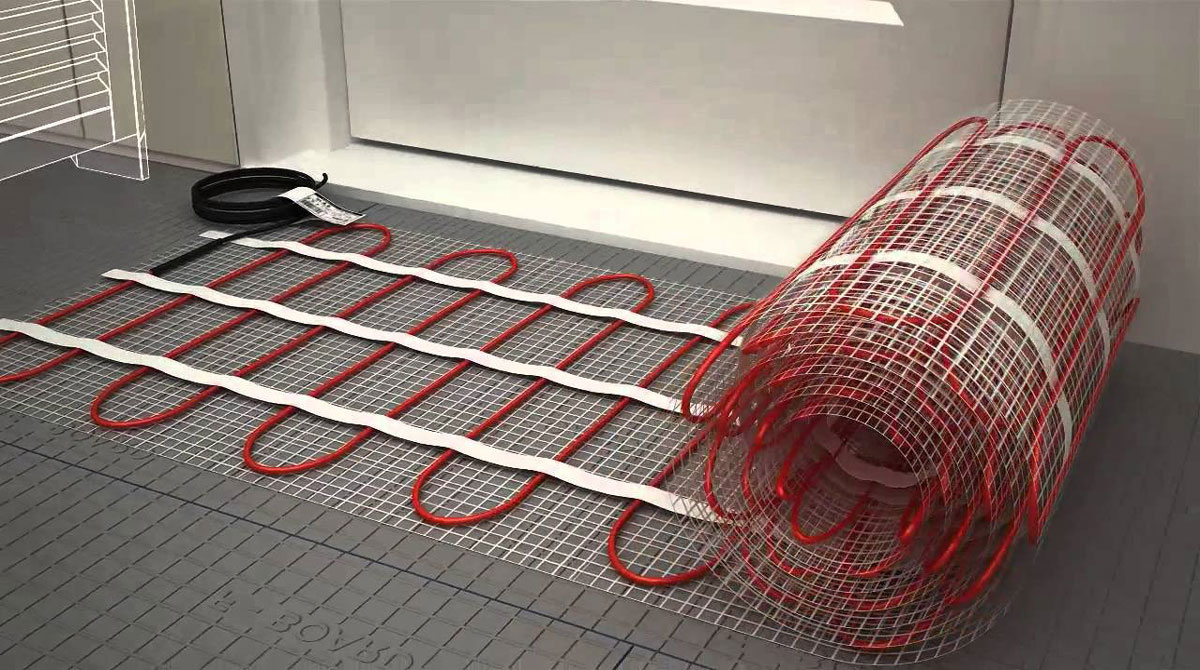
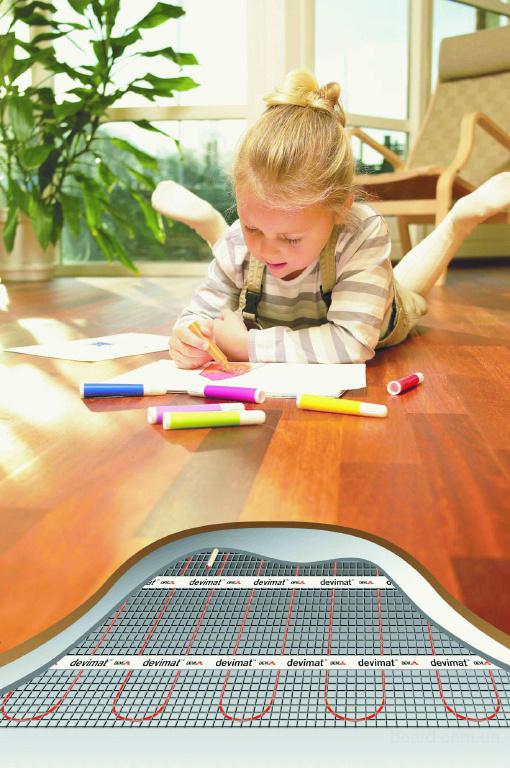
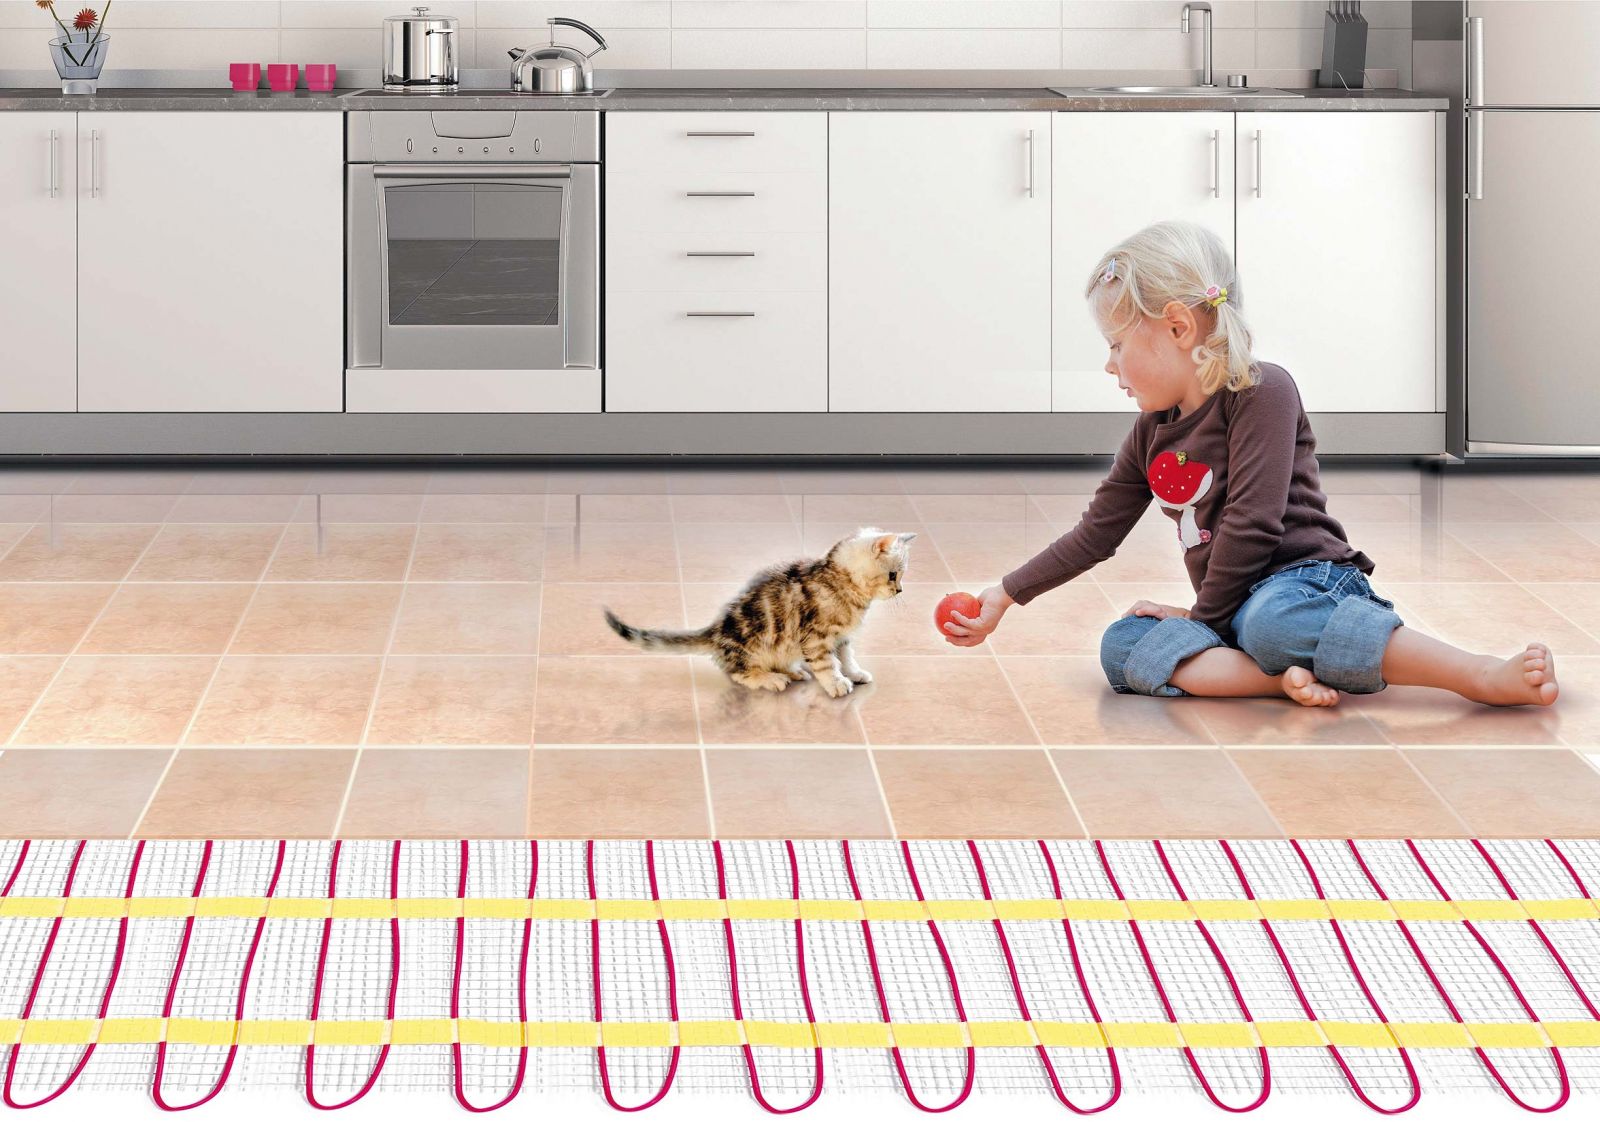
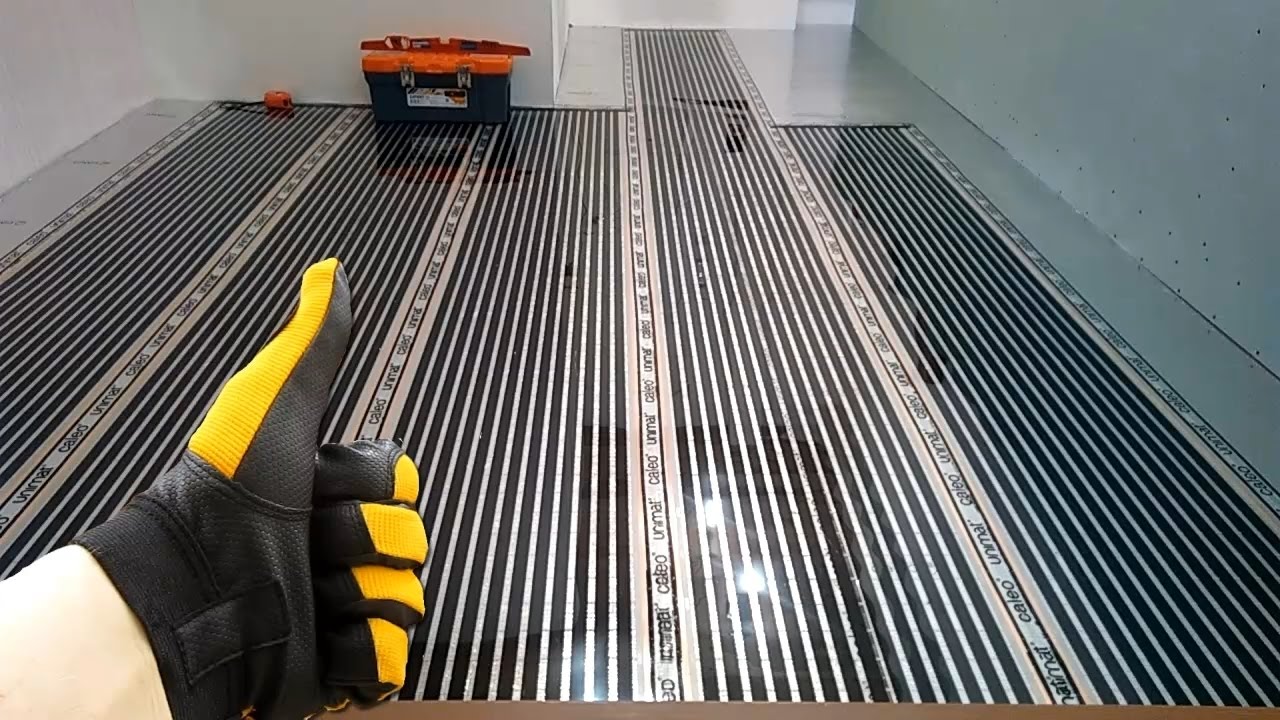
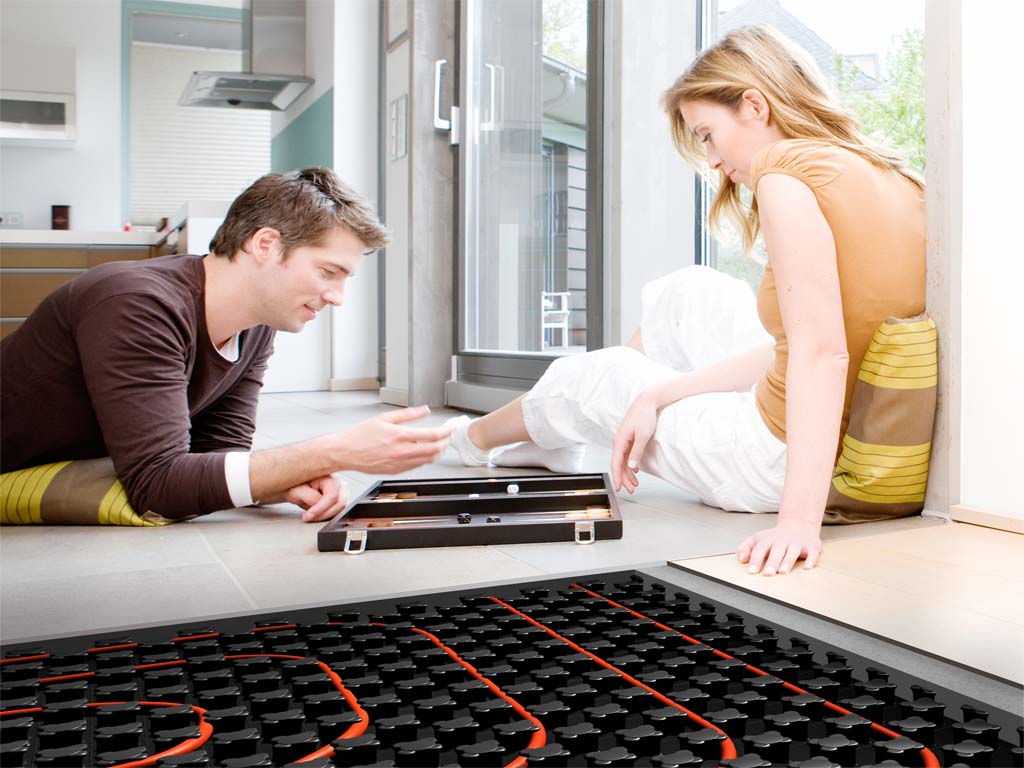
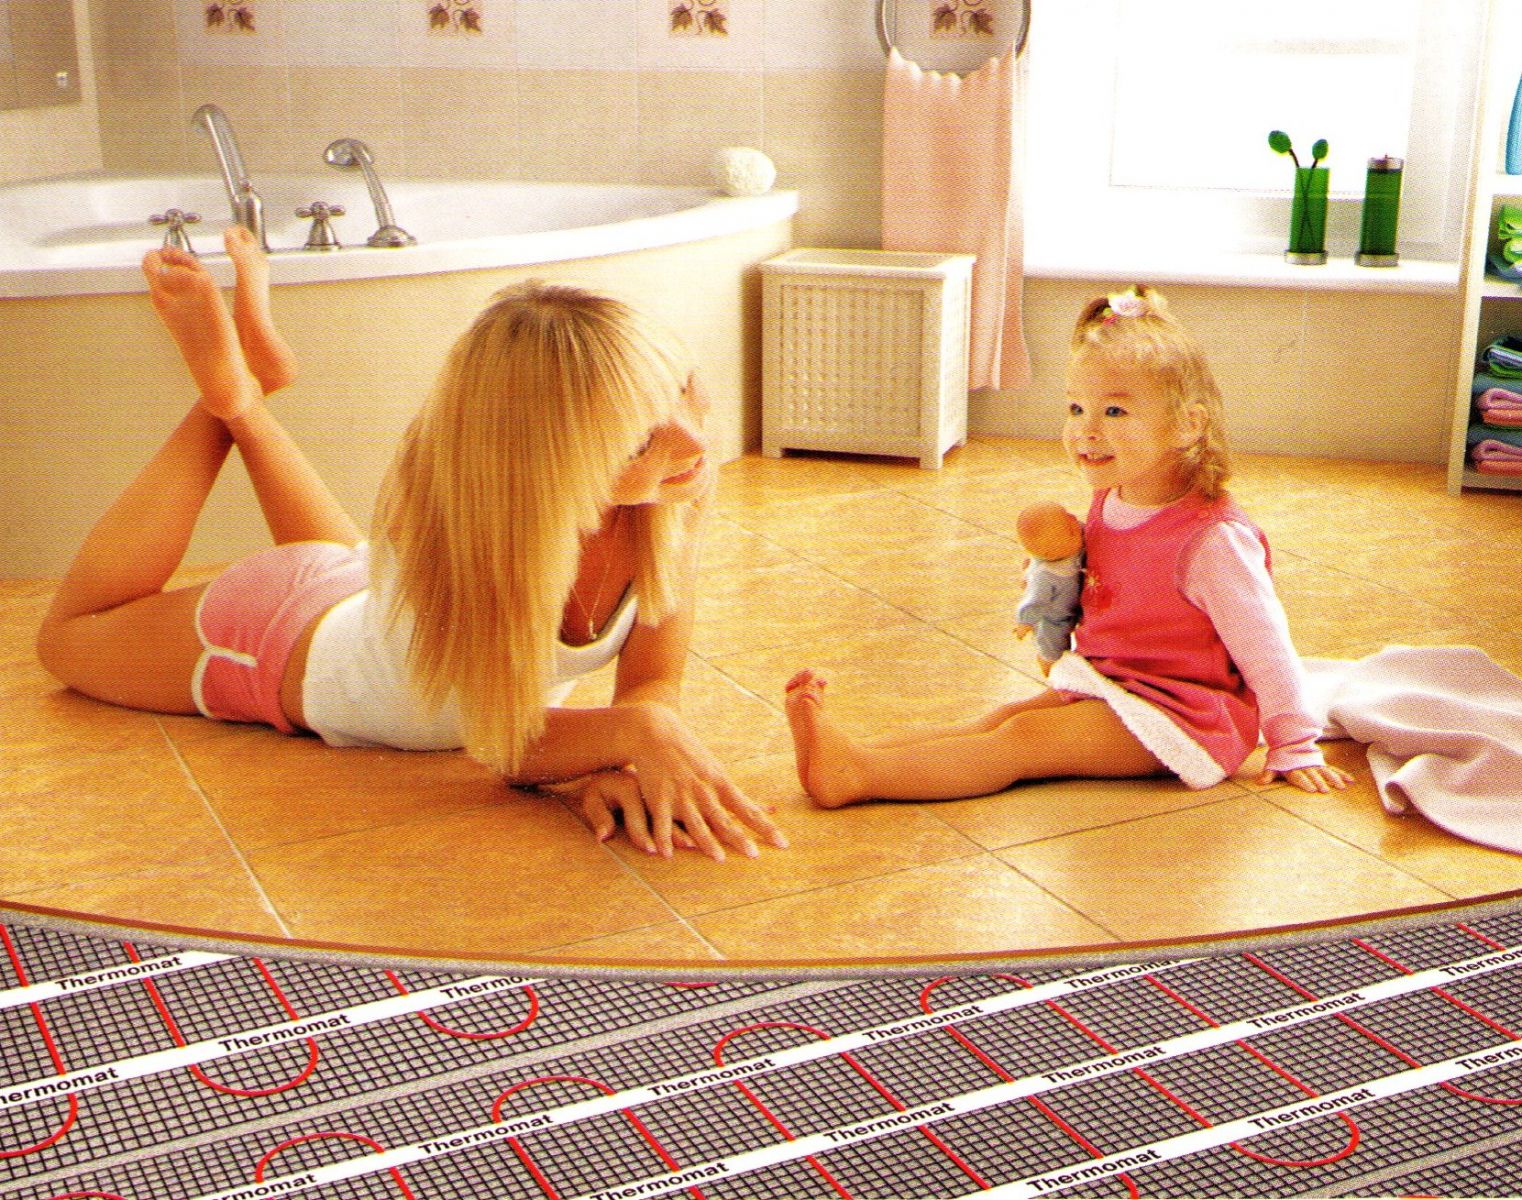
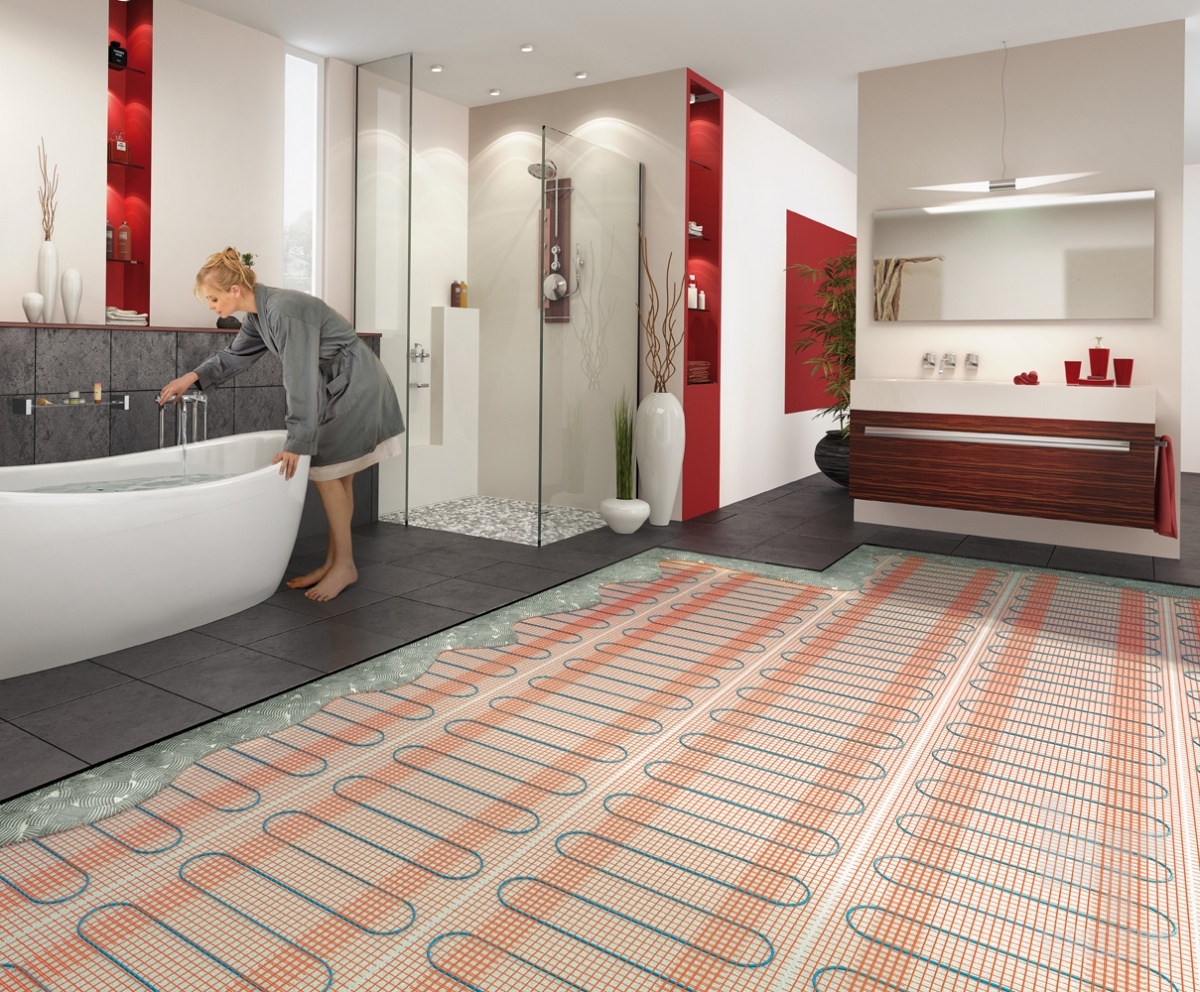
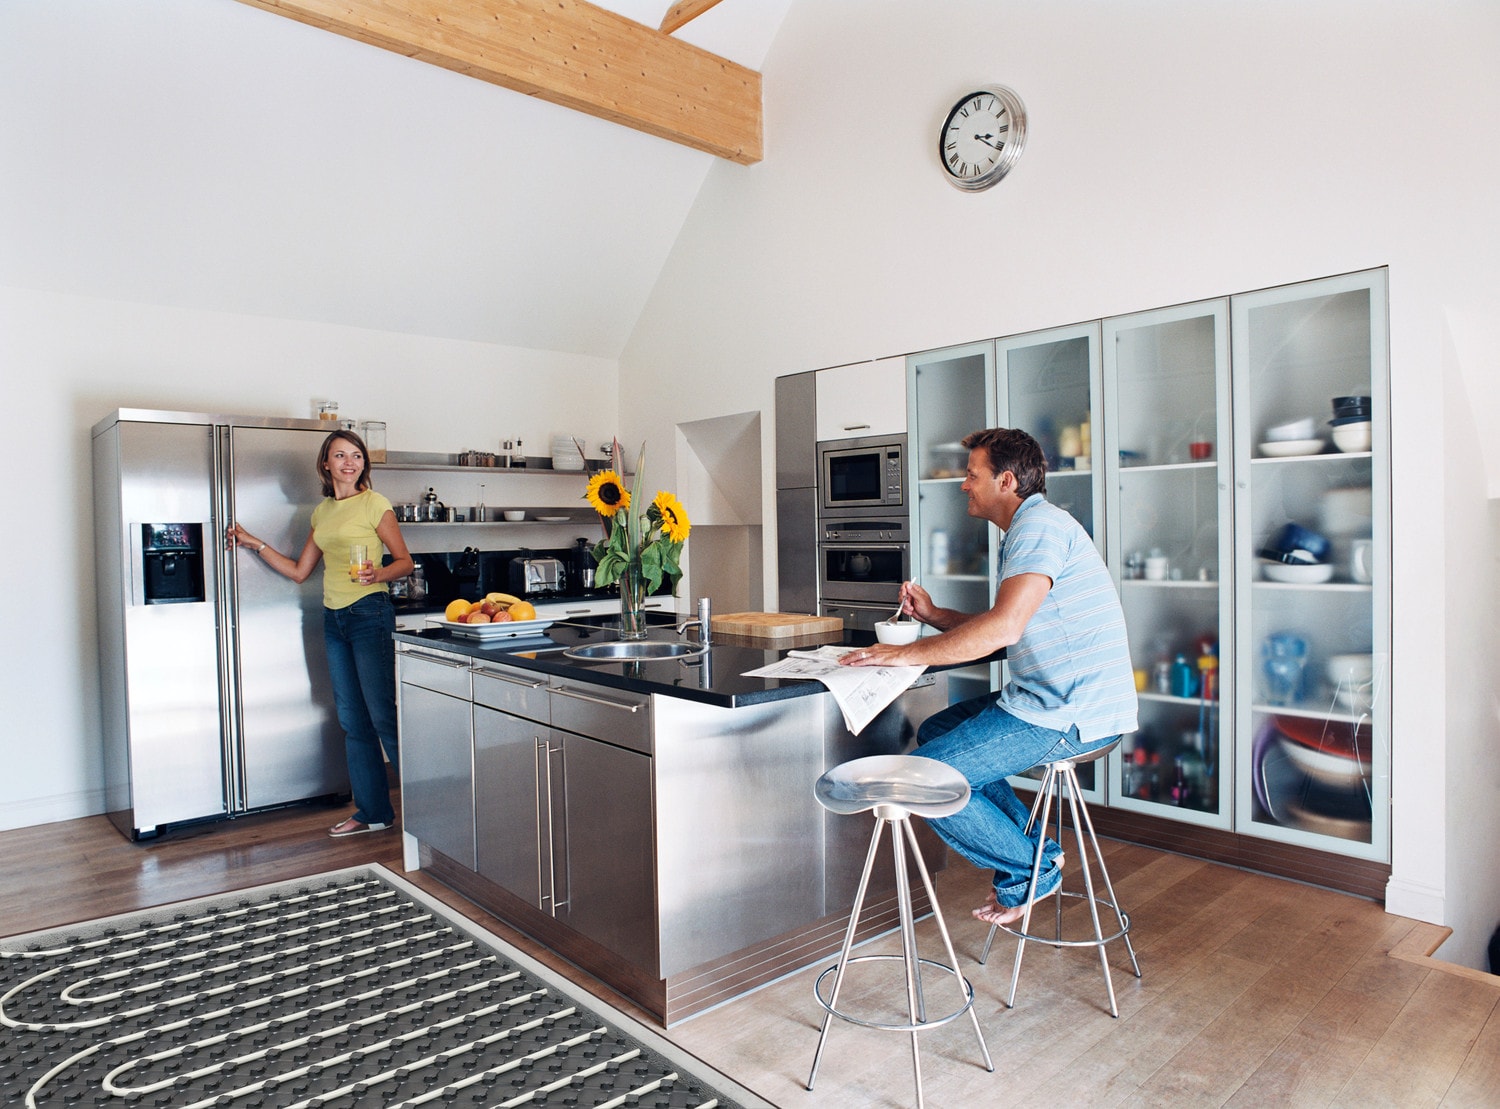
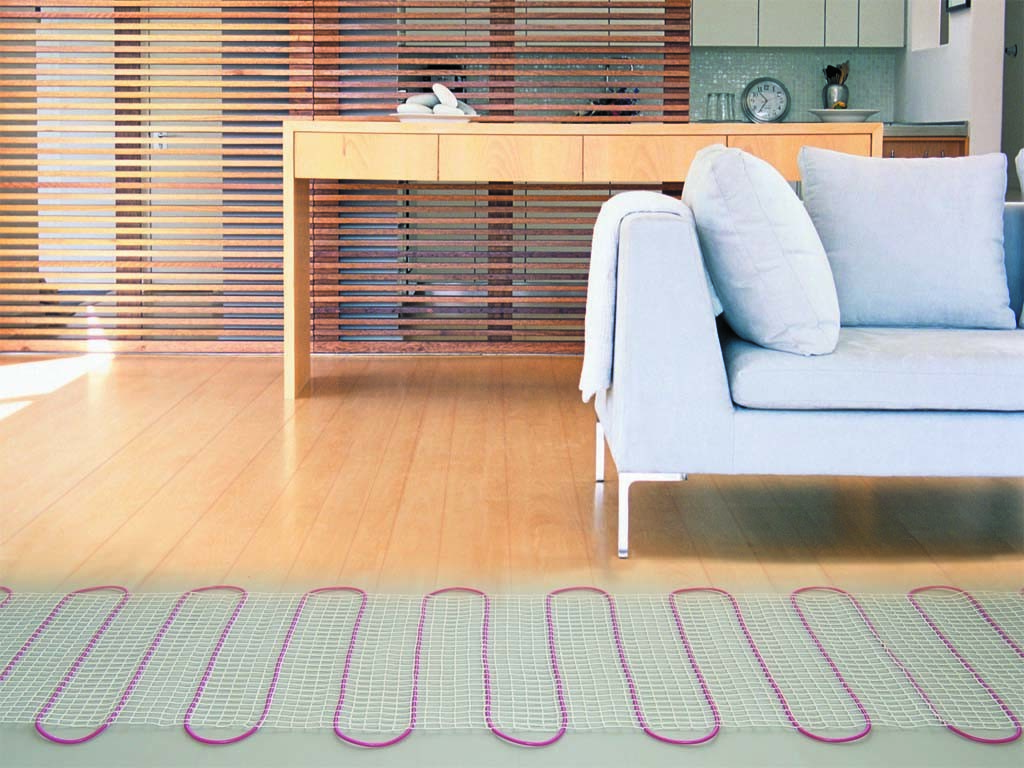
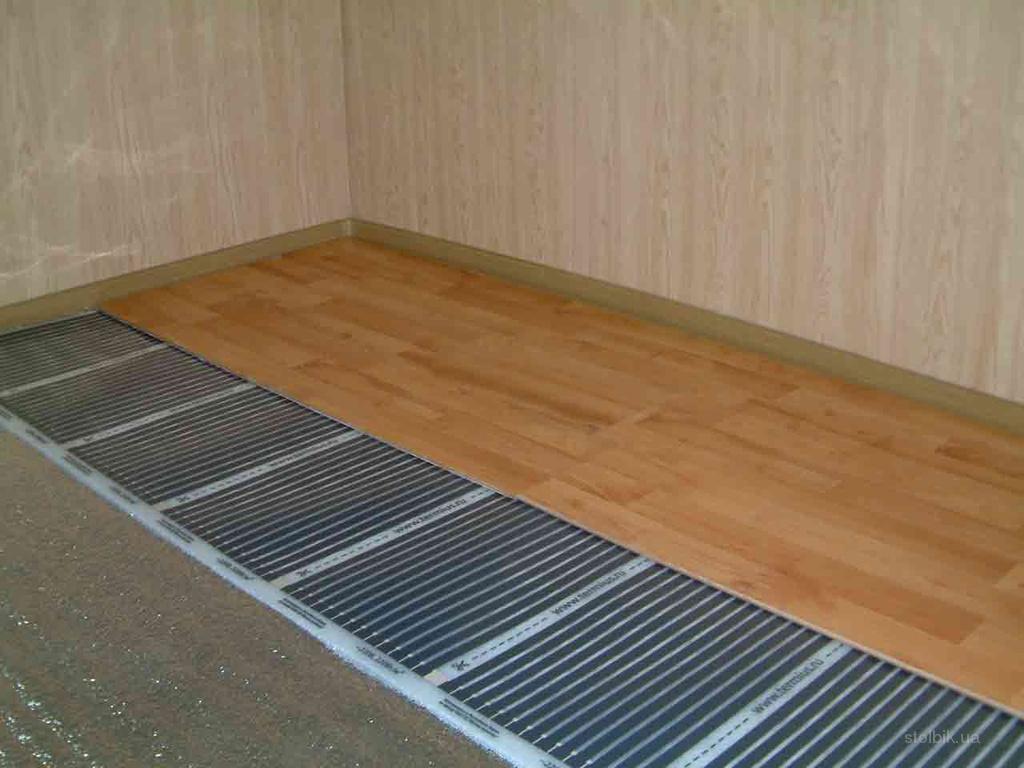
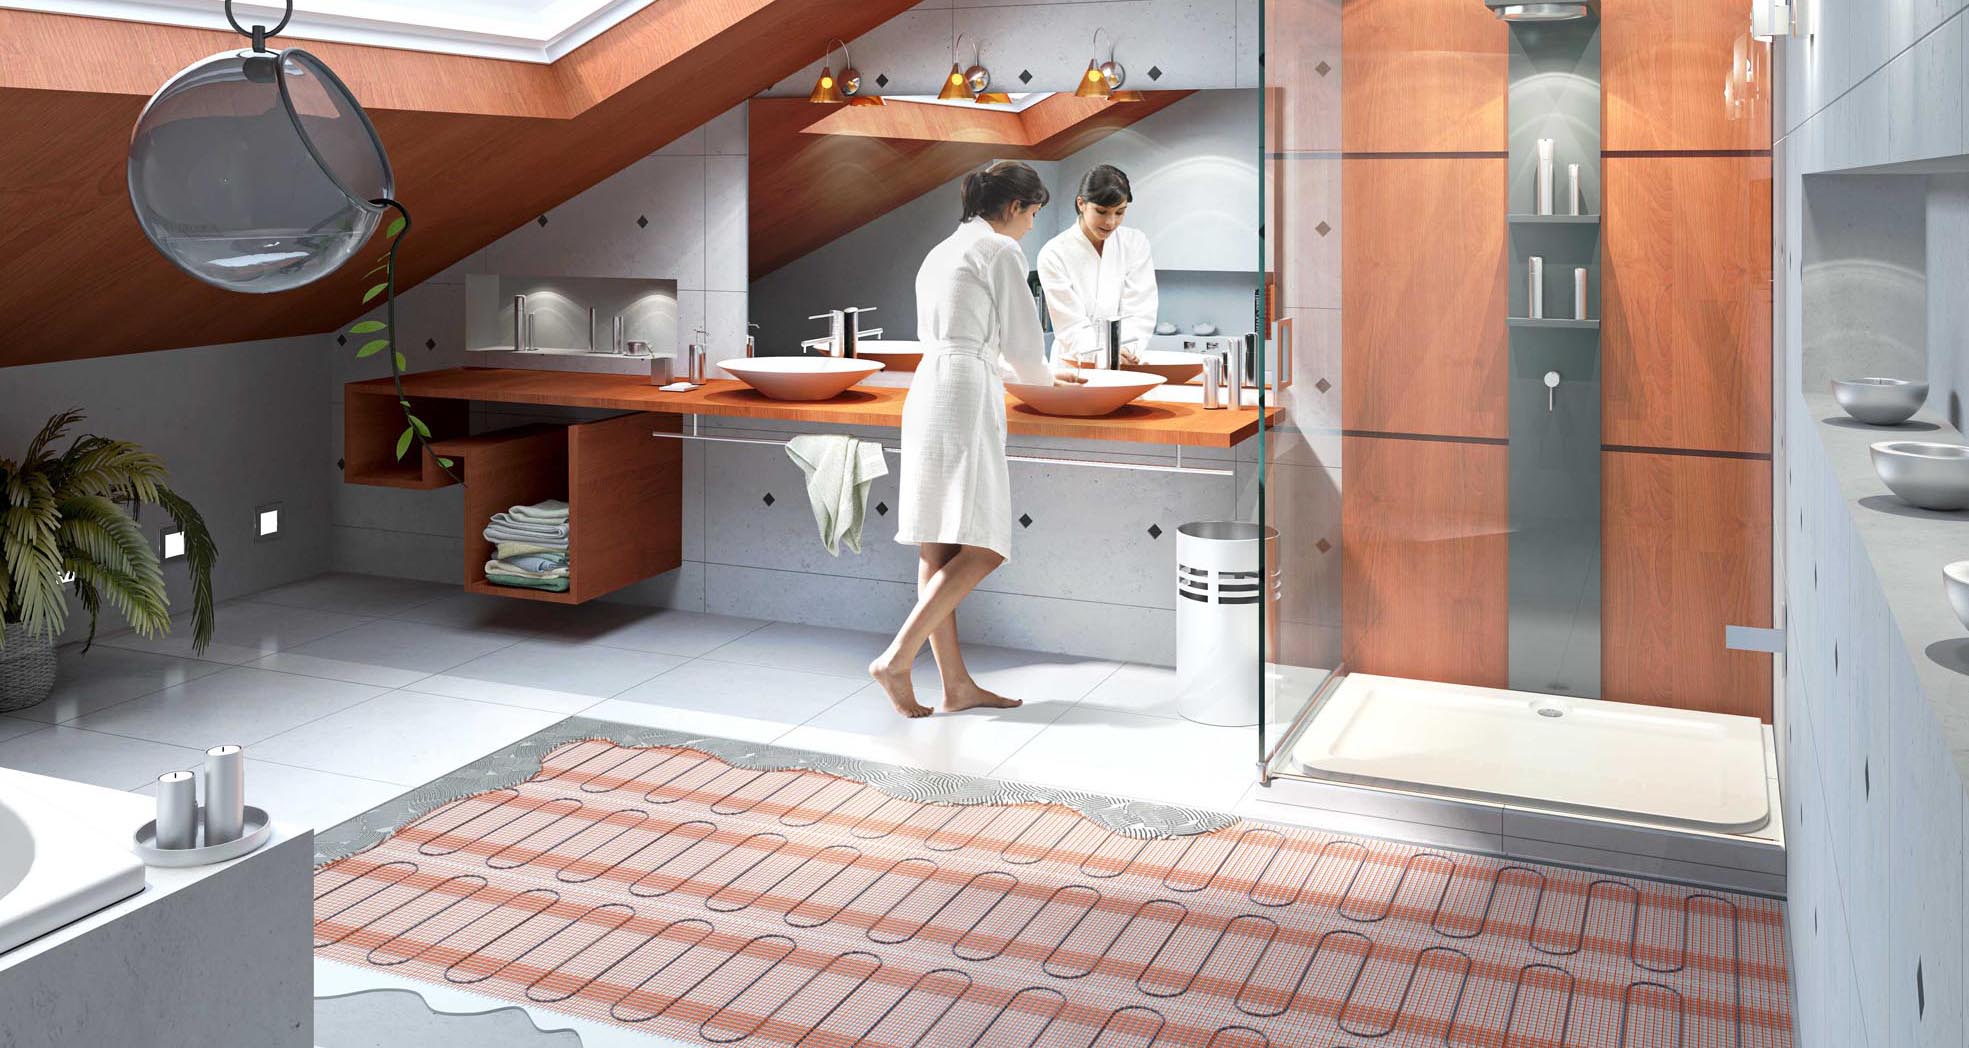
- Electric warm floor. The basis of this method is electric heating structures: cable, rods or film. Installation is performed as a fill, and dry.

Special features
Below are the features for each type of heating a wooden country house.
Electric
Advantages of electric floor heating:
- Long service life;
- Energy costs are comparable with a working electrical appliance;
- Possibility of use with any floor covering;
- The system in the form of rods can withstand the load of furniture or other items of interior, and is also distinguished by safety;
- All elements of the system are safely hidden from prying eyes;
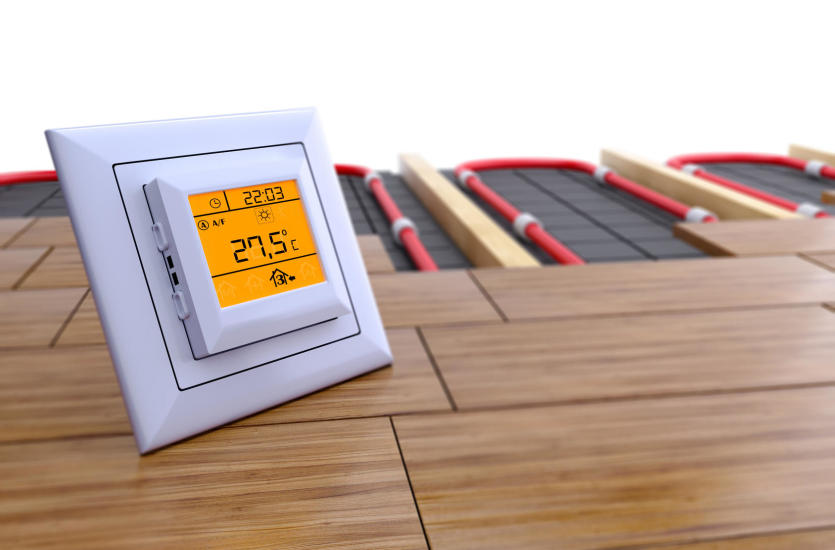
- With the help of the thermostat, you can adjust the temperature to an accuracy of 1 tenth of a degree;
- It is possible to program the on and off time of the heating system;
- It can be used both as a backup and the main method of heating;
- Laying under the tile is possible even by an ordinary user;
- Warming up occurs evenly;
- Easily determine the cause of the malfunction;
- No need to purchase additional equipment;
- The temperature of the heating elements is low, which guarantees safety during use.
Cons of such a heating system:
- High price. This applies to large areas, because in this case the power of the heating system can reach about 15-20 kW, and this will significantly increase the cost of electricity;
- Electric carriers are a danger of electric shock. Therefore, in any case, you need to be vigilant when operating an electric floor heating;
- For greater security, it is necessary to purchase an RCD that will allow to turn off the power to the floor if the insulation or conductive conductors are damaged

- Additional costs associated with the arrangement of a reliable grounding circuit;
- The heating cable will create an electromagnetic field around itself that negatively affects human health;
- When heated, there is deformation and destruction of the wooden coating;
- When laying the cable, the height of the room may be reduced by 10 cm;
- When using this type of heating in a large house may require a powerful wiring.

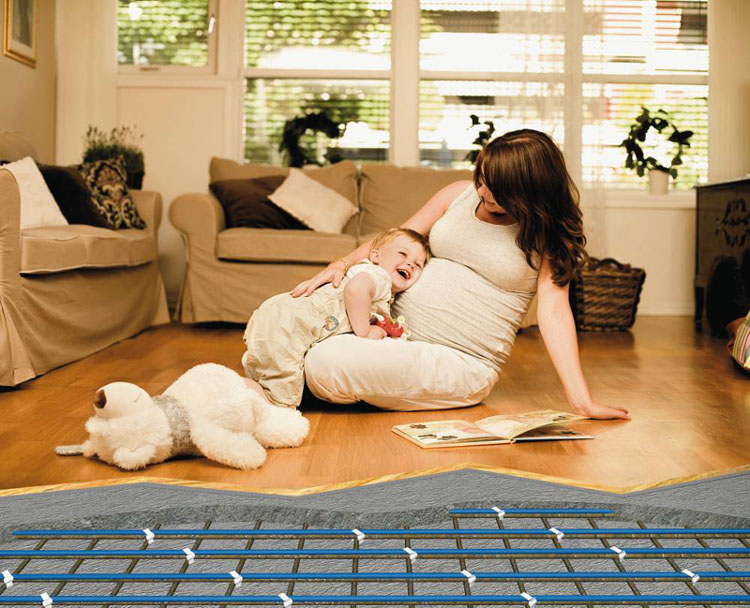
Water
Positive aspects when using this heating system:
- Efficiency. If the heated room has a large area, the use of this type of heating is much more profitable than electric;
- Security. Pipes reliably disguised from prying eyes;
- Aesthetics. The built-in system replaces the radiator, which gives the room an aesthetic look and the ability to "play" with the interior;
- Smooth warming.Due to the low temperatures and gradual heating, some “capricious” floor surfaces will not undergo changes in their structure;
- The absence of electromagnetic radiation;
- Such a warm floor does not dry the air space of the room.


Of the minuses of this system, the following positions are worth noting:
- Before installing a heated floor, it is important to know what the heat loss from the room. If they are more than 100 W / m2, then additional wall insulation will be required. This is necessary for a comfortable stay of a person in a given room, as well as for heating efficiency;
- The complexity of the styling process.
- Significant initial costs. However, over time, such a floor will pay for itself;
- Small corridors and stairs for this installation will not work, here you will have to use more traditional methods of heating;
- The difficulty of troubleshooting. This process can take a lot of time, because for this it is necessary to completely open the floor and the screed.
Which is better?
By technology, the heated floor can be divided into the following versions:
- Combined. It consists in the use of two types of screed: dry and concrete.This is necessary to reduce the overall load. It is carried out for any category of heating system, it can be used together with a heating boiler. Dry backfill helps to ensure the required hardness and strength with a difference in marks;
- Liquid screedapplied to existing floors. In this case, the most thorough preparation of supporting structures is carried out. This method provides sufficient heating and preservation of thermal energy. It is mainly used in rooms with high humidity or under ceramic flooring;
- Installation with air gap. This method is used as an additional source of thermal energy. The air gap reduces the power of heating, requires additional ventilation windows and does not allow the use of the most powerful heating elements;
- Using the technology of reflective plates. Usually used in situations where there is no possibility to perform a concrete screed. This method allows to reduce heat loss in the heating system.
The choice of technology almost always depends on the user and the room itself, therefore, it is impossible to single out any version of the execution as the most practical.
Training
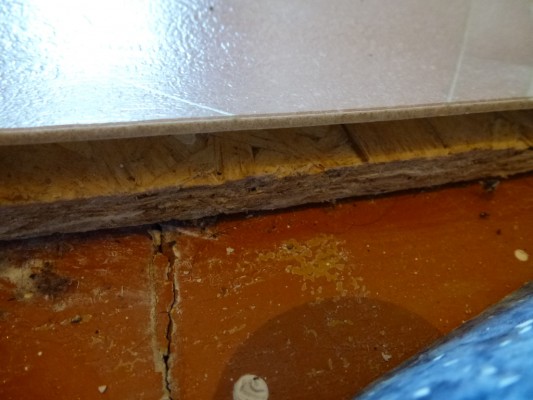
Preparatory work is necessary to adjust the heating system, because you can often encounter large heat losses in the country because of defects that cannot be determined without opening the floor covering and the old floor covering. Thus, this approach will be able to identify and eliminate all the problems associated with poor-quality heating of the room.
This process begins with the opening of the existing floor and the rough base. After that, it is necessary to dismantle the existing layers of heat and waterproofing. Bearing structures must be cleaned of dirt, mold and progressive fungus.

The next step is visual inspection, the purpose of which is to identify areas with defects. Beams that have decayed due to the presence of moisture must be replaced, and areas that have undergone minor changes in the structure can be partially replaced with dry wooden structures. For this, the damaged area is cut and an insert is made of a new material.
Defects such as distortions and blockages are eliminated by reinforcing beams with metal plates or angles, linings or other fixing elements.
To prevent repeated damage to structures, the material must be treated with antiseptic substances.
Bearing beams in the floor device can be located with different pitch. A common option is the case when the spacing between such elements of the floor is less than 60 cm. Then the installation work can be carried out already on the existing structure. To do this, it is necessary to mount cranial bars on the underside of the beams They will be supports, and the boards stuffed with them will be a rough base.
In the case when the cranial bars are not mounted, the device of the rough base is performed in the overlap on the side of the underground or basement. In this case, the board must be fixed immediately to the carrier beam.
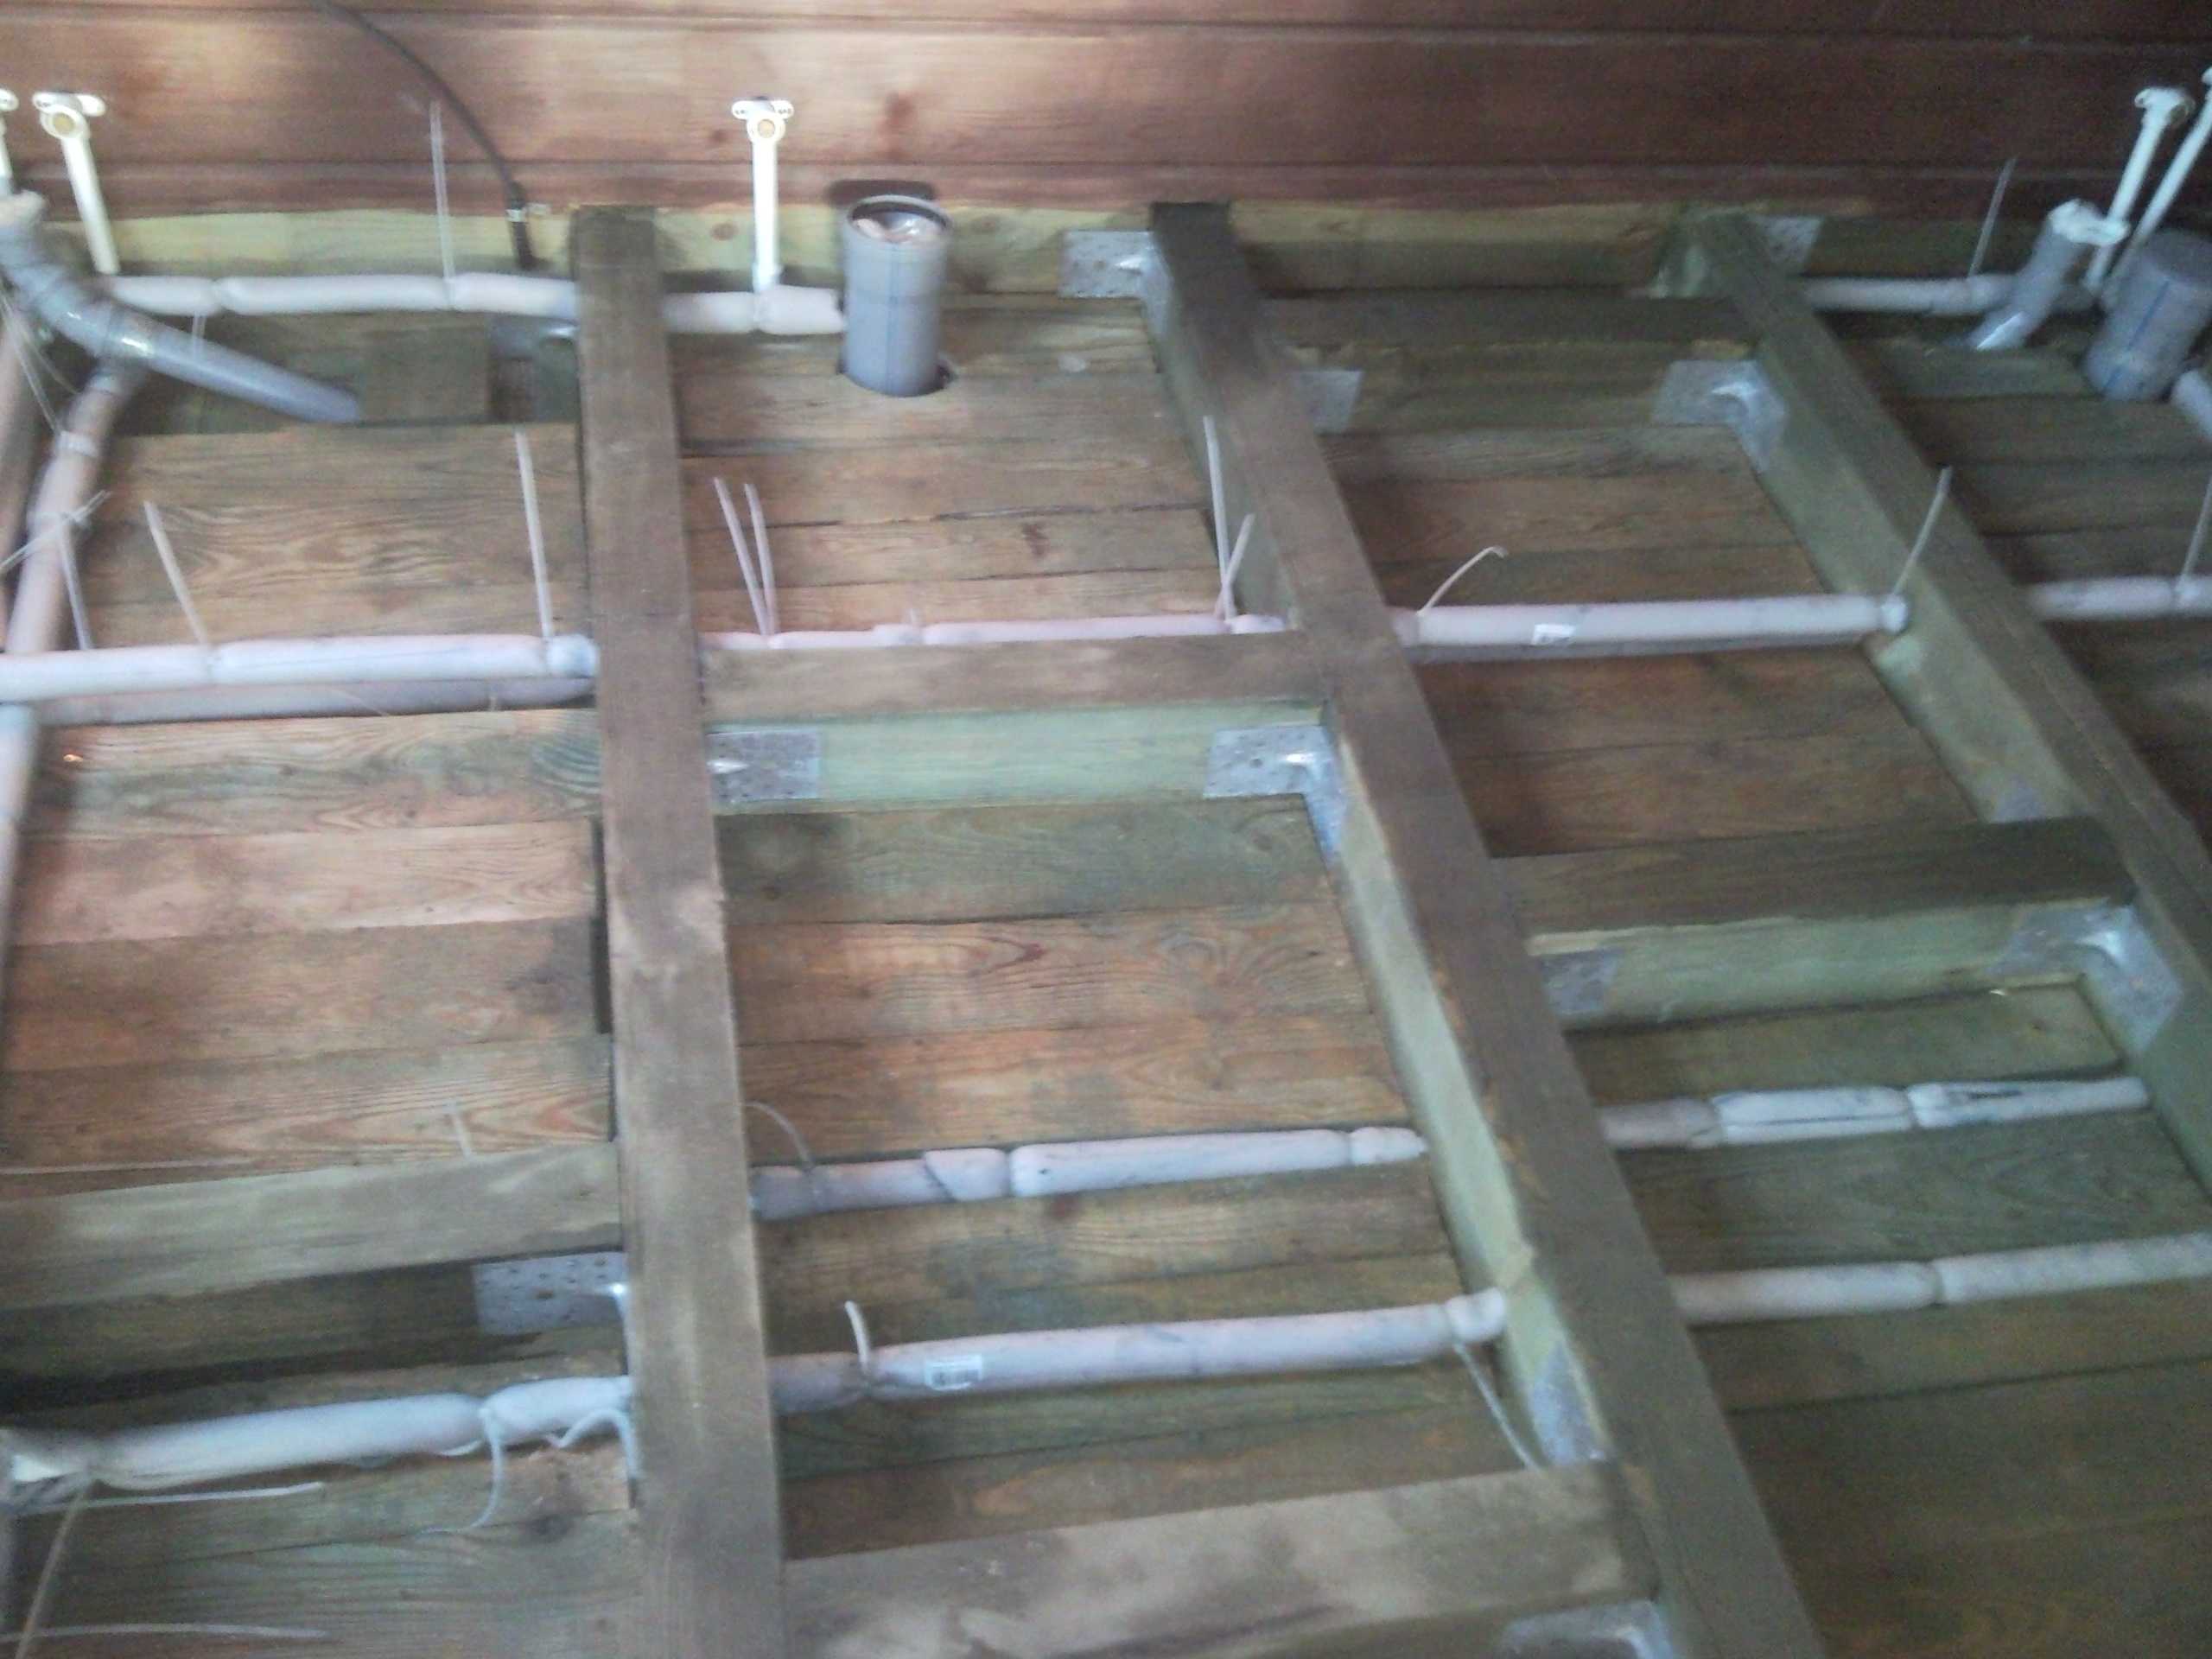
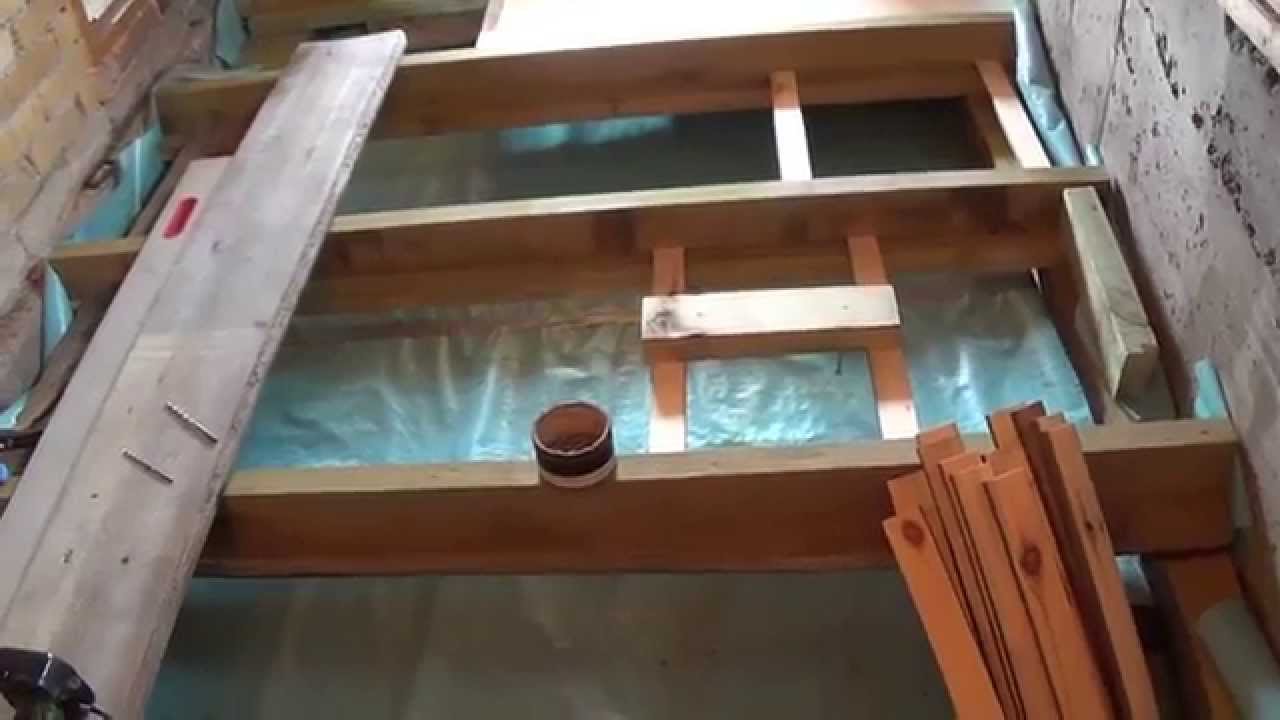
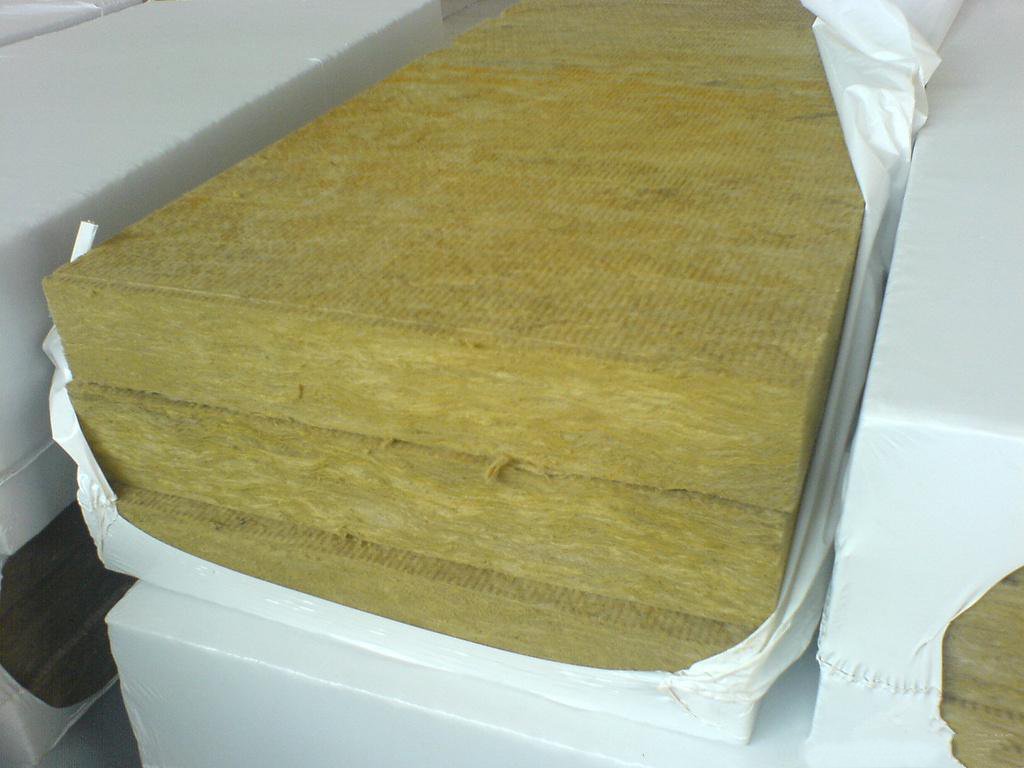
Mounted design is again treated with antiseptic substances. Between the supporting structures fit vapor barrier layer. A heat-insulating layer of 15-20 centimeters is applied on top of the membrane. Penoplex, polystyrene foam or mineral wool is quite suitable for these purposes. The distance between the insulation layer and the primary floor should be at least 8-10 cm.
Also desirable option with the arrangement of ventilation space in the room. For this, the best option would be to equip holes or small window openings in the basement, and in the roughing space near the wall - non-wired sections that contribute to the blowing of the construction "cake".

If the step between the bearing supports is more than 60 cm, then the whole process will be similar, except for the installation of cranial bars. The elevations of their location will be slightly larger due to the fact that the floor will be laid on wooden components, which are fixed above the supporting structures. An additional action will be laying another layer of vapor barrier on top of the insulation.
Unlike working on concrete, installing a heating system with a wooden base is a time consuming exercise.

Installation
After all the preparatory work related to the subfloor and the device of steam and heat insulation, you can begin to perform the installation of a heated floor. Unlike radiators, a floor heating system will produce a uniform distribution of thermal energy.
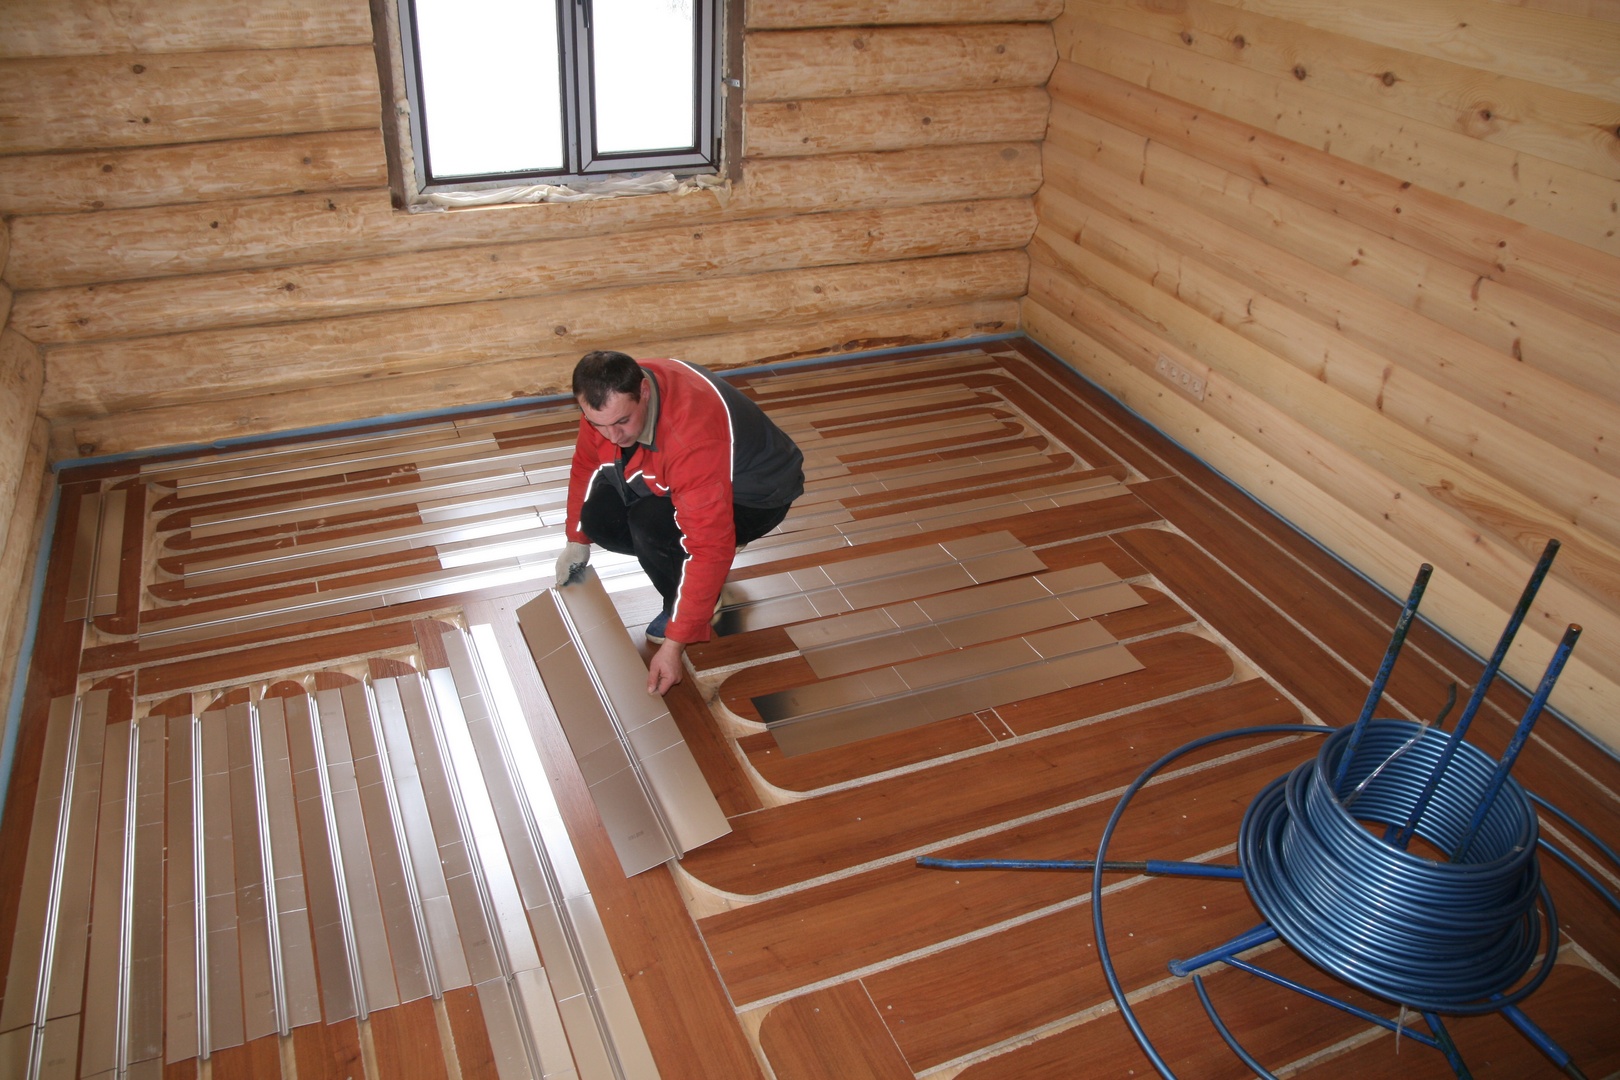
For laying water floor in a wooden structure, you can use many ways.However, today one of the most popular options is the installation using polystyrene, as well as ready-made concepts and systems. This approach will reduce the load on the warm floor. To make such a method a reality, the following materials are needed:
- Polyethylene film up to 0.5 millimeter thick;
- Polystyrene plates with grooves for aluminum plates with a thickness of up to 0.5 cm;
- Distribution plates of aluminum with notches 0.5 mm thick;
- Gypsum fiber sheet with a thickness of 1 cm with cut edges;
- Screws 1,6x3,5;
- Damper tape, whose thickness is equal to 5 cm;
- PVA glue.

All necessary equipment must be made strictly by one manufacturer, purchased in one place and on the recommendations of a specialist.
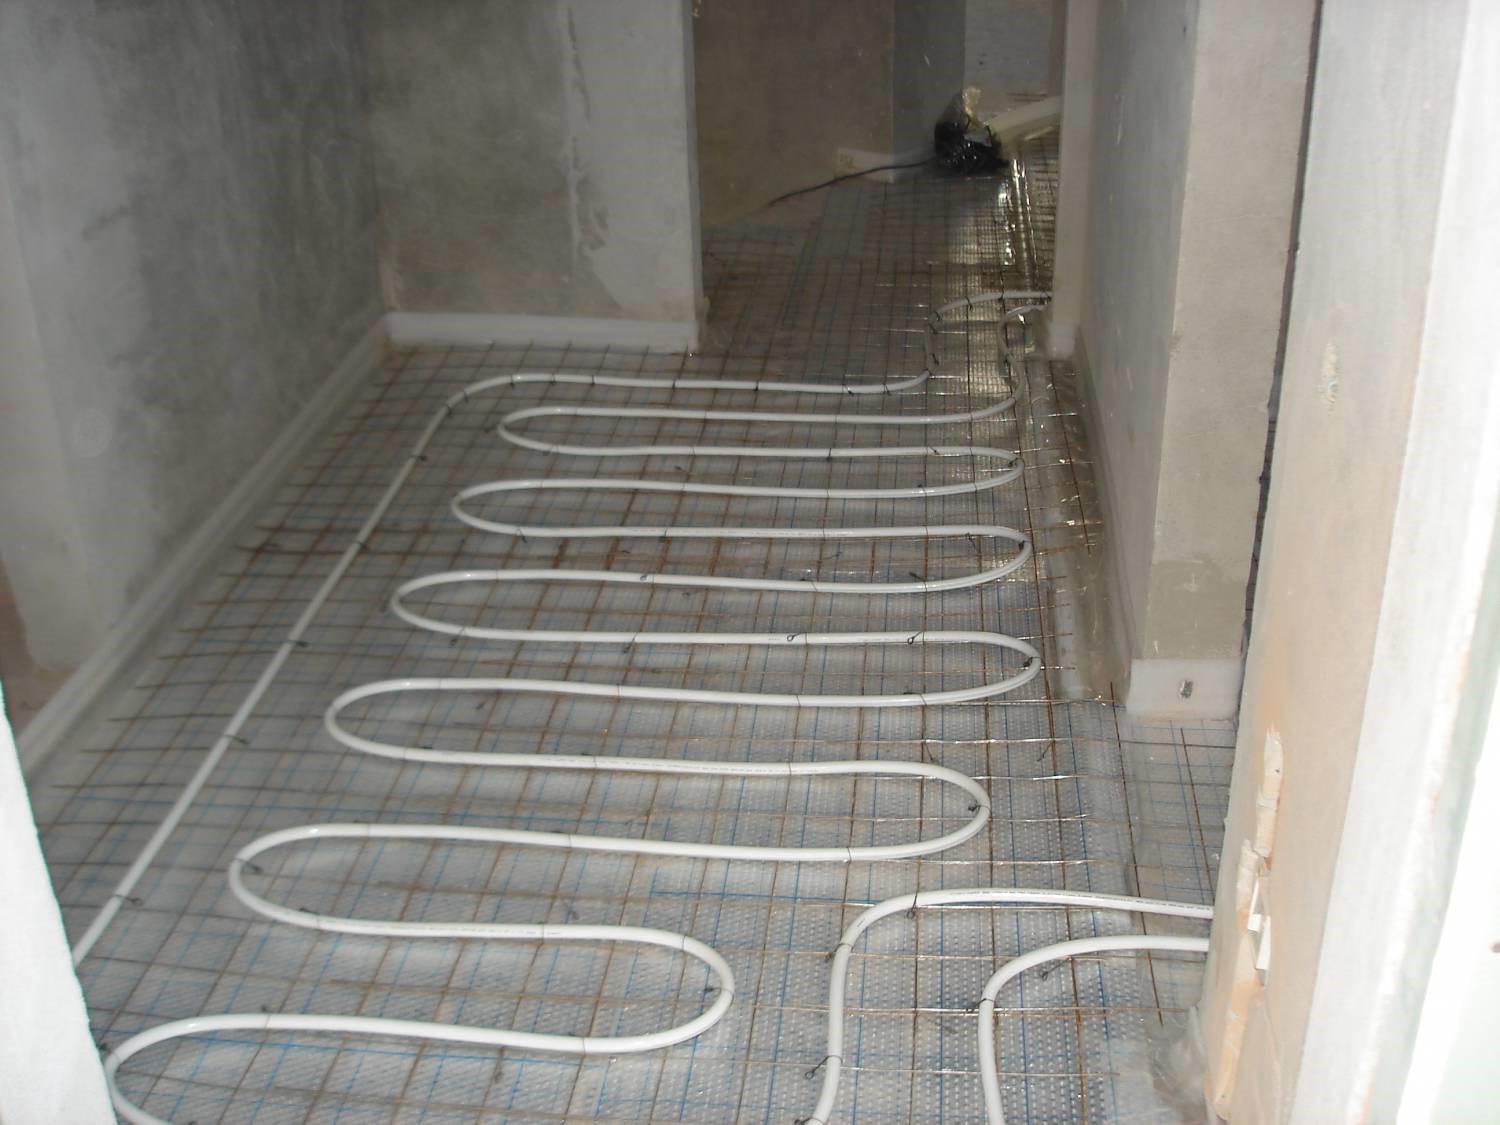
Now you need to figure out how to lay the pipe. Their material may be metal-plastic or polyethylene. There are two most common styling options:
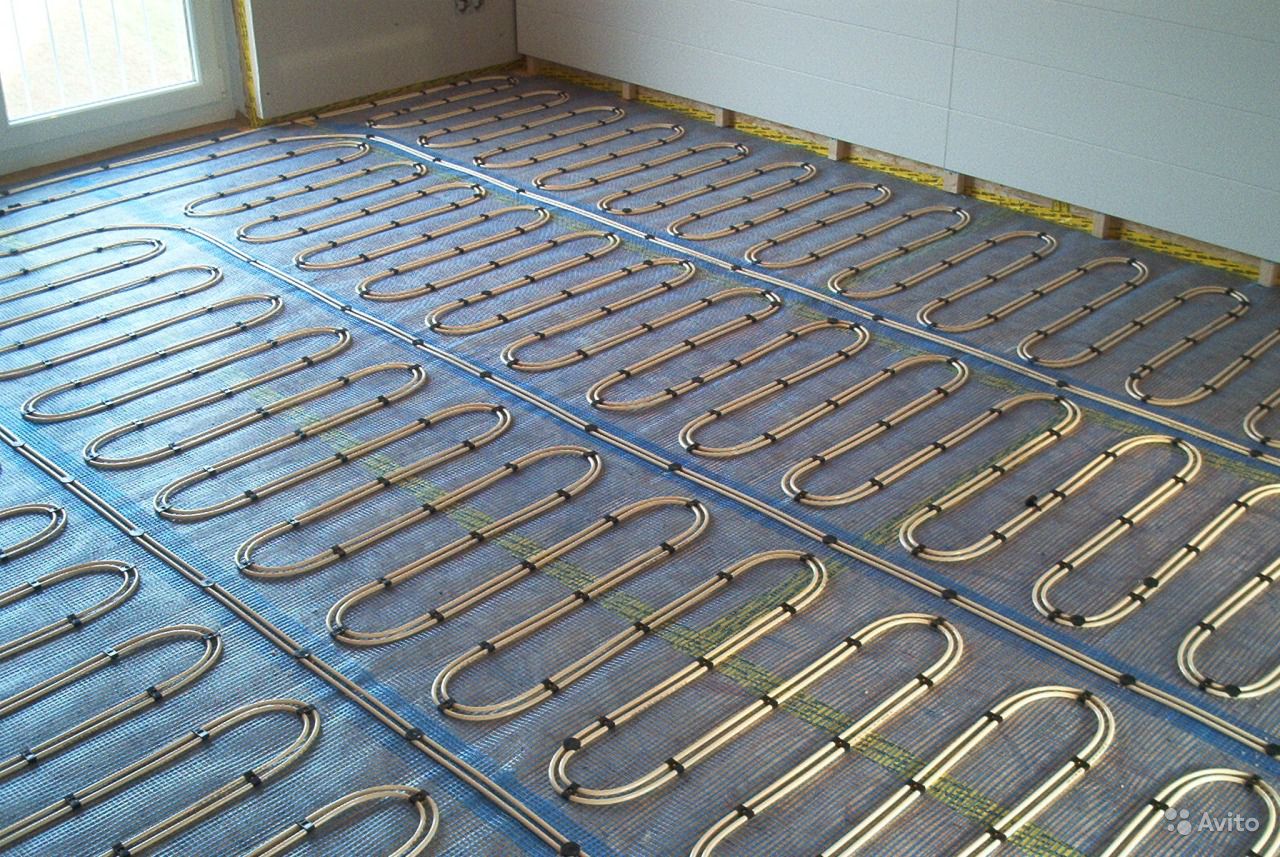
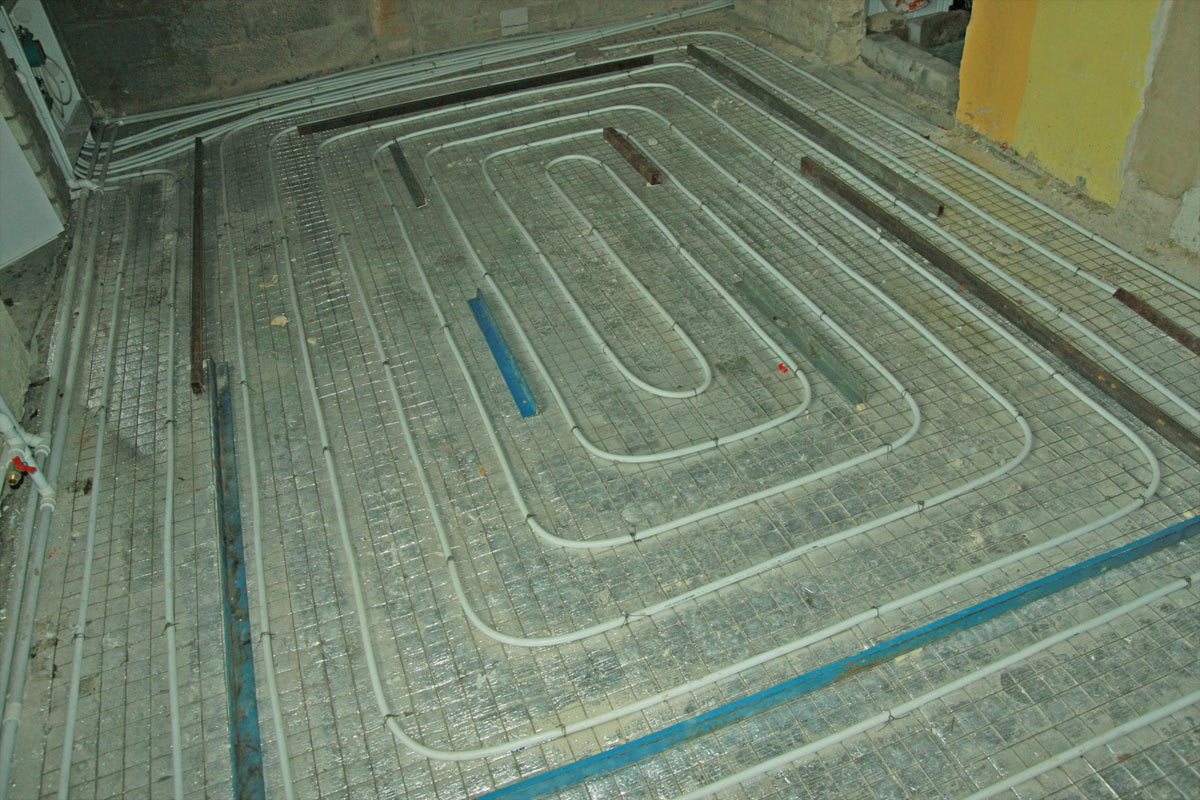
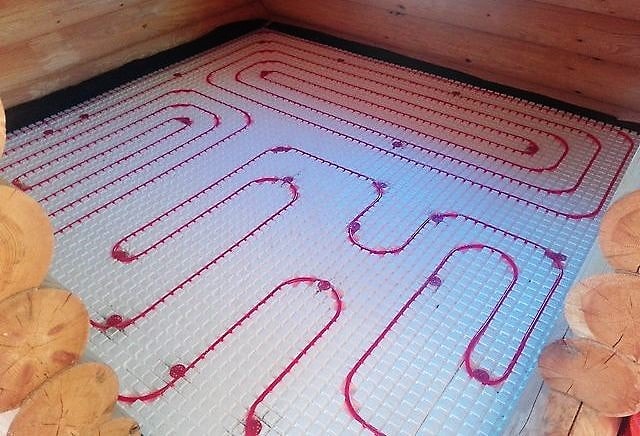
- "Snake";
- "Snail".
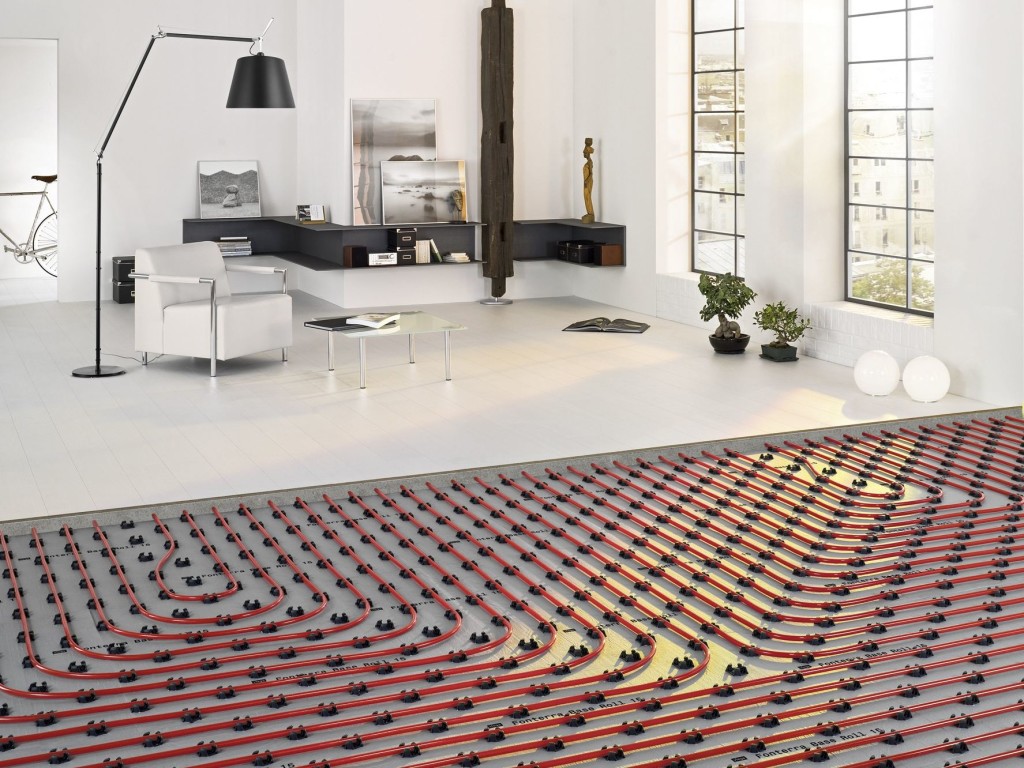
It is believed that the laying of the "snail" is the most practical, since heating occurs evenly due to the alternation of cold and warm contour.The interval between the contours in this case should not exceed 30 centimeters.
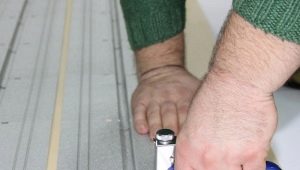
Do-it-yourself installation is carried out in several stages:
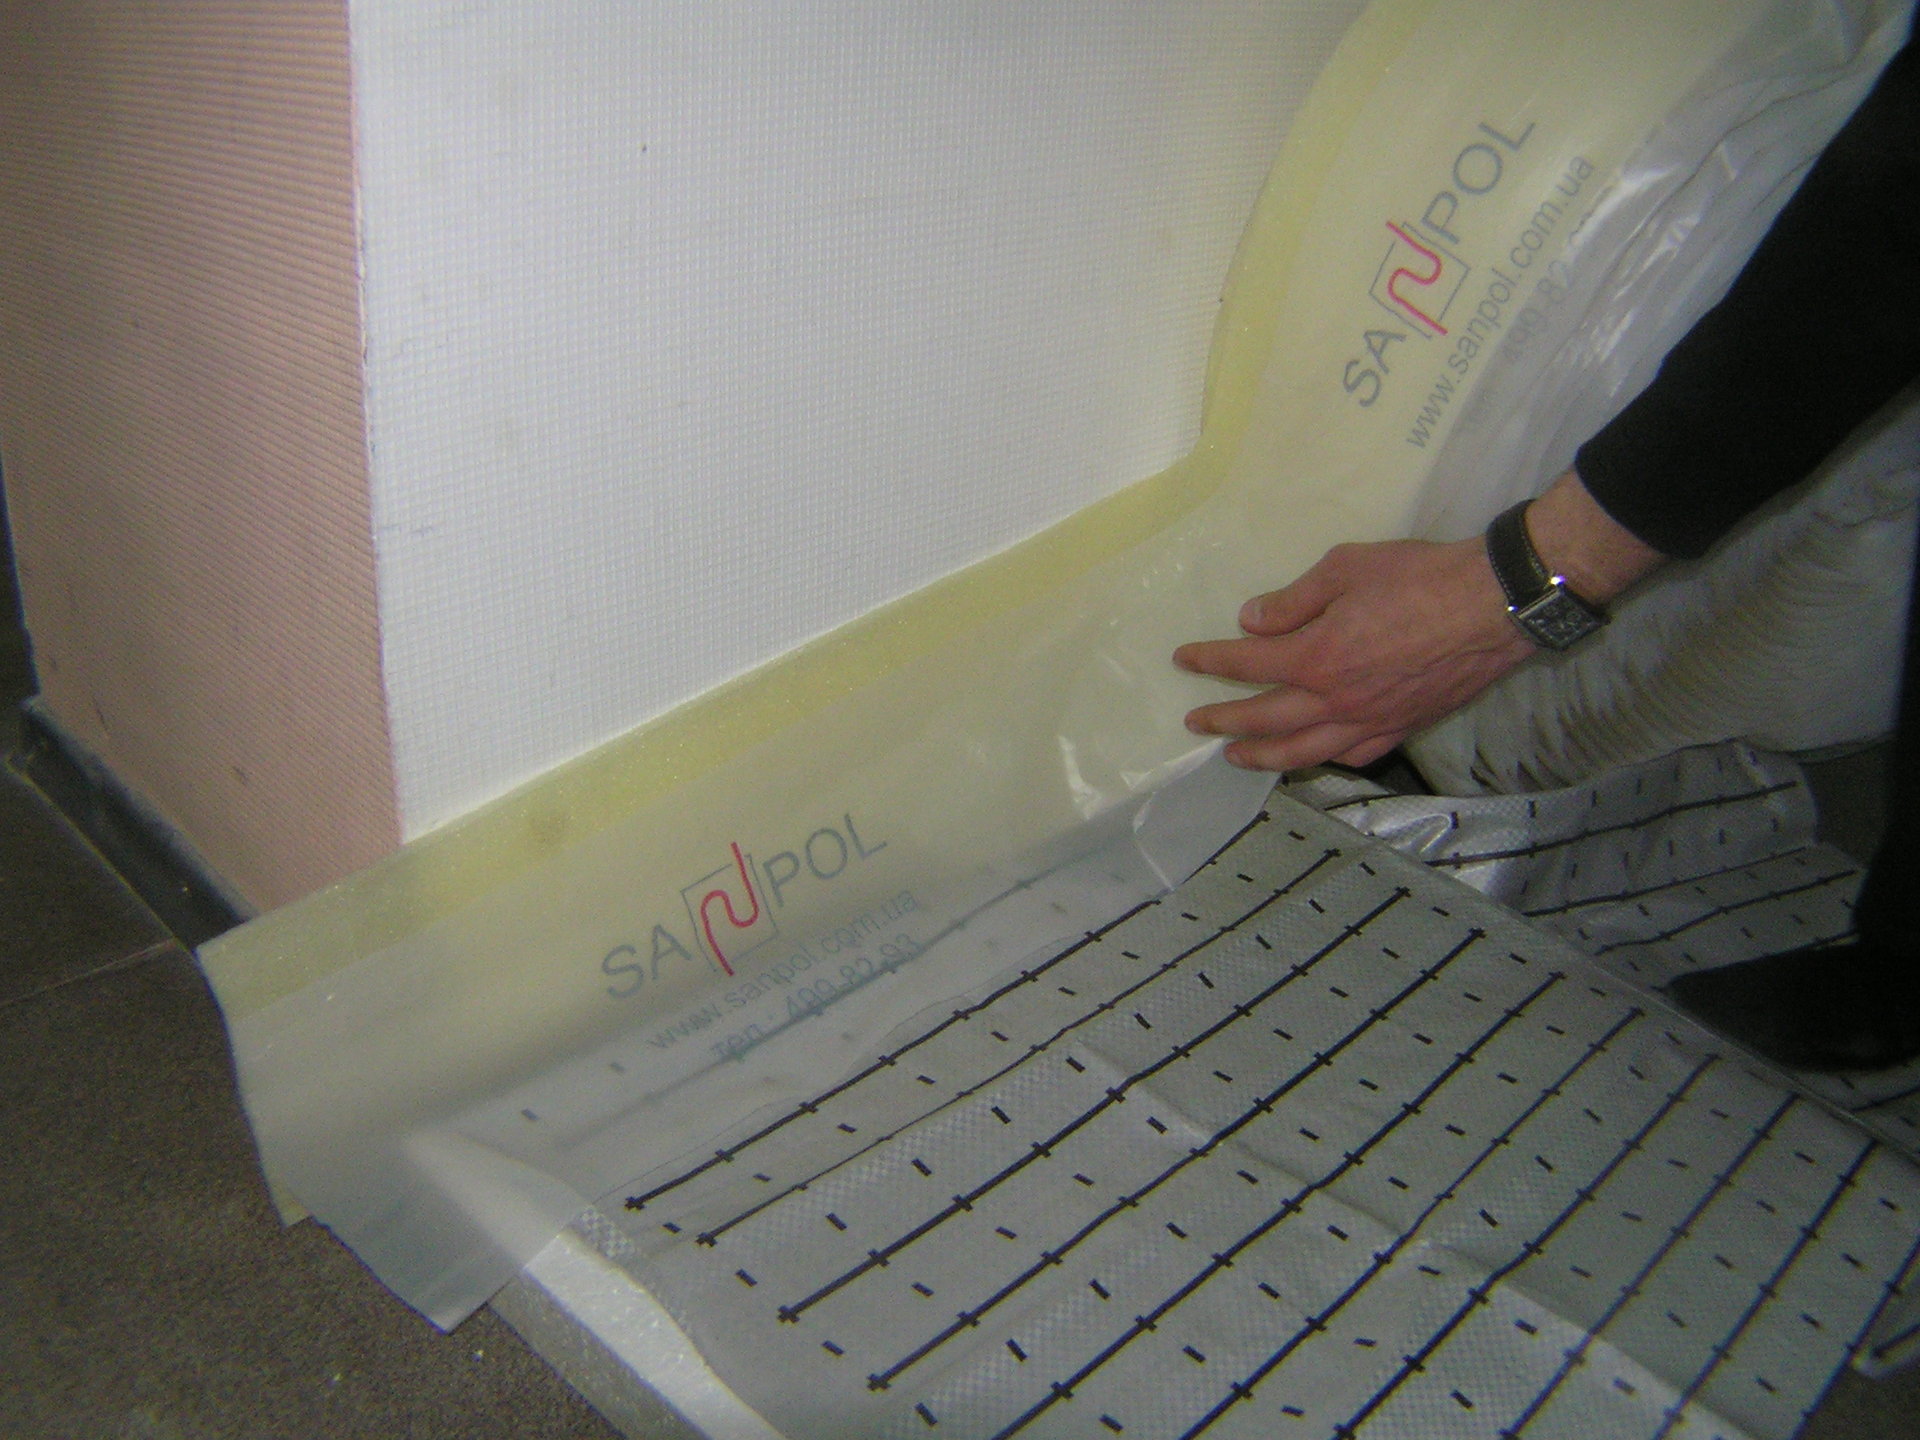
- As soon as the draft floor is ready, the sizing of the space in the joints of the floor and walls is performed by gluing with PVA glue. For this, a damper tape is used. After this procedure, you must clean the floor from debris, dirt and dust and decompose polyethylene with a small spade on the walls. A gap of 10-15 centimeters will be enough;
- Drawing the scheme of installation. Thus, the next installation point will be much faster;
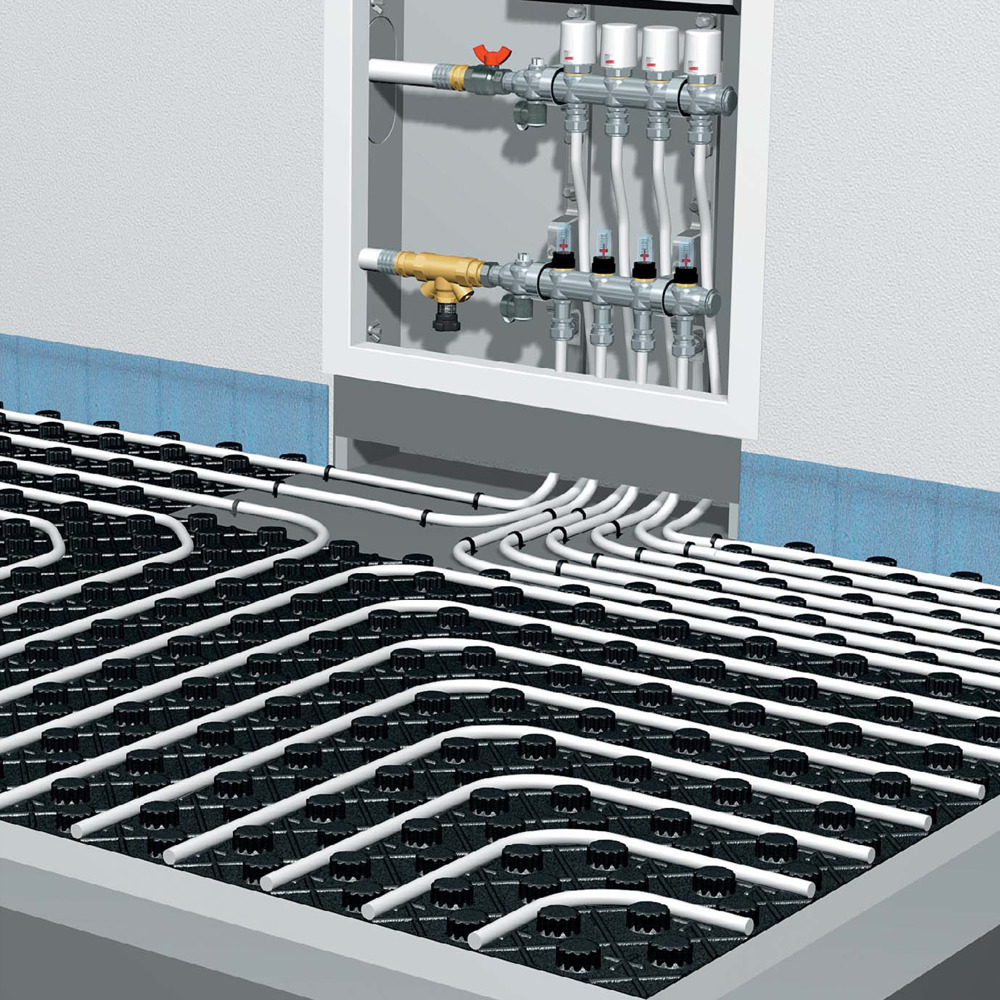
- The next step is to lay the polyethylene mats into the joint. Depending on the method of installation, it is chosen which mat should be used. If the “snake” method is chosen, it is recommended to use a mat with holes for direct laying and bending against the walls. When choosing a "snail" is best to purchase profile mats or mats with special protrusions-bosses;
- Mounting aluminum plates. This stage occurs by analogy with the previous point, but additionally, the distance between the pipelines is taken into account here. The plates should be adjusted using notches;
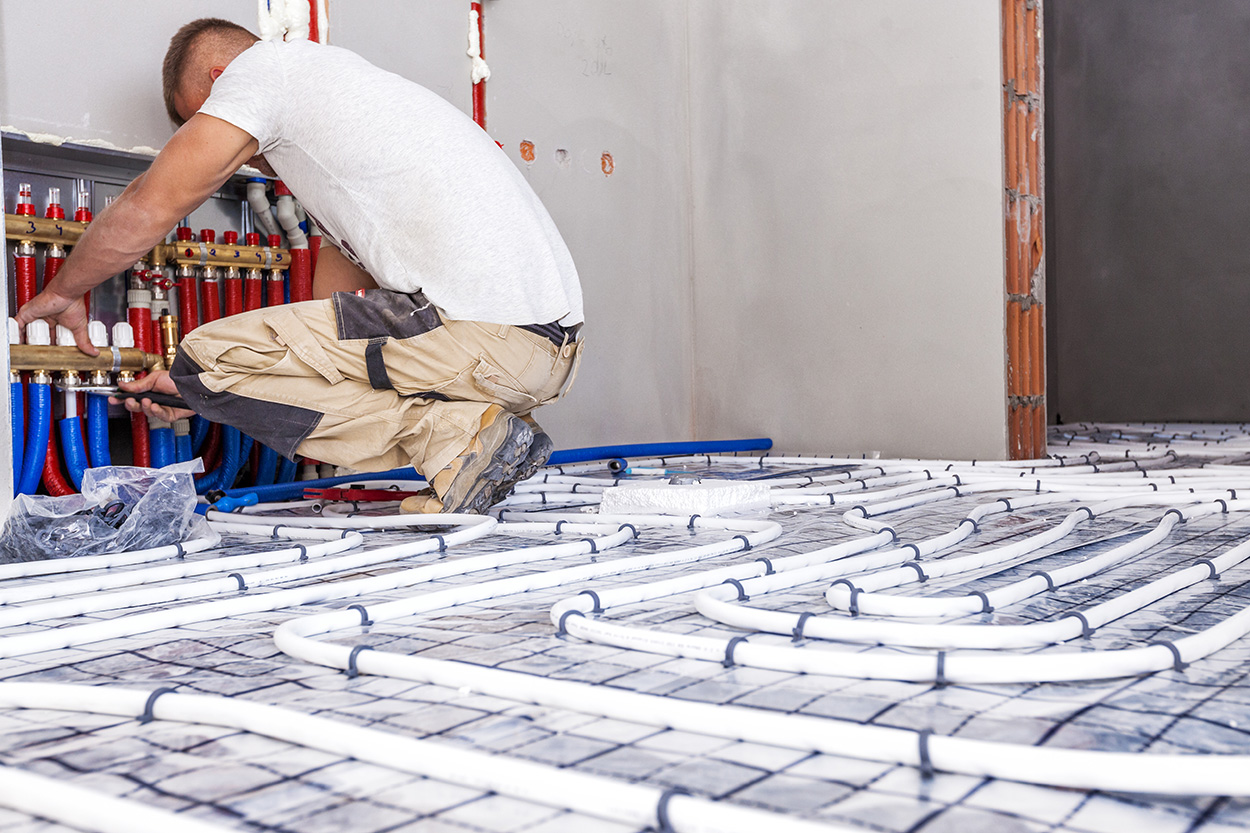
- Pipe layingThis process should occur in the holes of the plates with an interval of no more than 30 cm. This contributes to the uniform heating of the room. Closer to the walls, the step interval can be reduced by half, since in these places often there is much more heat loss;
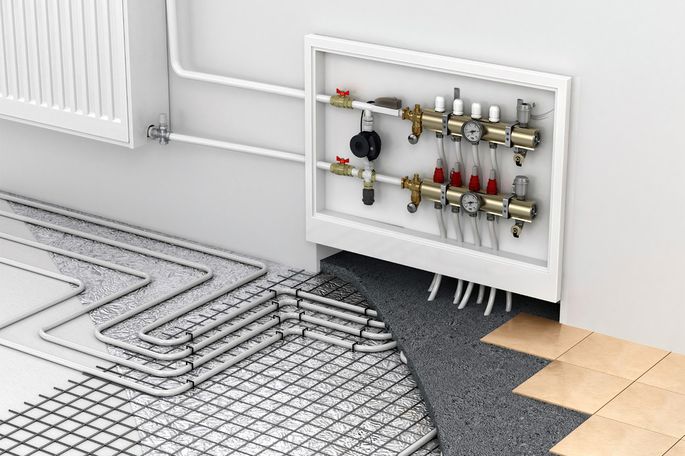
- Distribution manifold. The next step in the installation will be to determine the location for the collector and its connection. For a professional, the process of joining does not take much time, so it is recommended to invite the wizard to save your own time;
- After connecting the collector, it is necessary to test the system at elevated pressure. It should differ from nominal twice. In the process of testing, leaks, breakthroughs or other nuances affecting the correct operation of the heating system may be detected. It speaks of poor quality work. Otherwise, you can proceed to the next installation item;
- Laying polypropylene substrate and gypsum fiber sheets. "Pie" must be done in two layers. Sheets should be chamfered to 2 centimeters, which will be applied to glue for fixing.Additional attachment to the base must be done with screws;
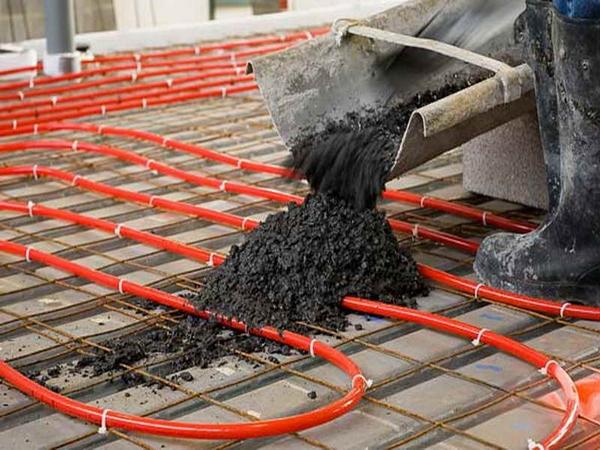
- The final stage will be the laying of the main substrate - filling with a tie on which the floor material is installed.
The installation of an electrical floor must be carried out in accordance with the manufacturer’s instructions, since any mistake made may lead to unpredictable consequences, including ignition.
In addition, the cable used in the heating system must have reliable insulation to eliminate such problems in the installation work.
There are limitations on the capacity of the system depending on the flooring and its constituent elements. For example, if the structure of heating the room is planned to be laid on wooden structures, then in such areas the power of the electrical cable should not exceed 17 W per meter. Such a characteristic is present in heating electric cables and is called “heat output”. Usually it is indicated in the labeling of the product, but you can get it by calculation, dividing the power by the length.
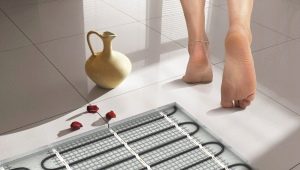
If a warm floor will be used on structures that conduct electric current, then the power of such a system should be in the limit of up to 130 W per square meter. This characteristic is called "power density".Usually it is indicated on the heating mats.
Of the general guidelines for laying a warm electric floor, it is also worth highlighting the maximum allowable temperature of the heating components: it has a limit of 45 degrees Celsius.
Any invisible after installation electric heating element should not be installed in places with the greatest stay of people, and it is not recommended to lay it under furniture and household appliances. Electric components should be laid solely on a flat, prepared surface.
The sequence of installation work using an electric floor heating is as follows:
- Initially, you must clean the floor of dirt, dust and debris. If the floor surface has cracks, cracks or other defects, then they should be sealed with wood composition. The use of polyurethane foam is prohibited because it is a flammable material, which can cause a fire;
- The next step is the installation of wooden bars 5x5 cm with an interval of 0.4-0.5 meters. The use of such smaller elements is allowed, but there must be a gap of at least 3 cm between the floor and the heating elements.Fixing bars must be carried out with screws;
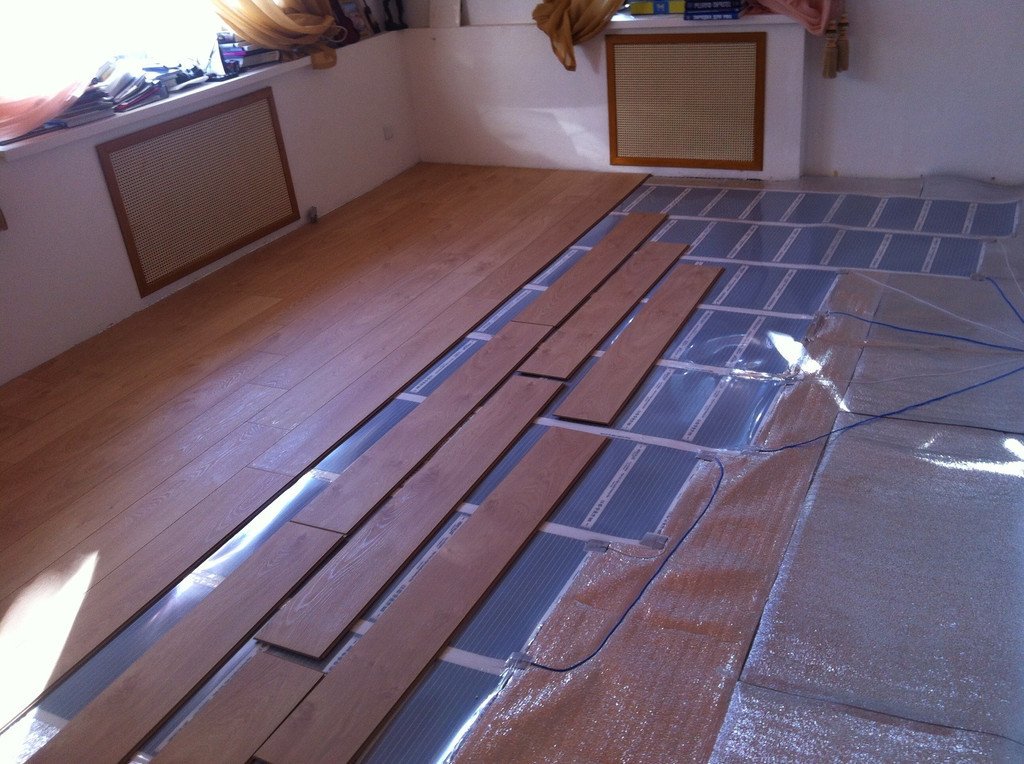
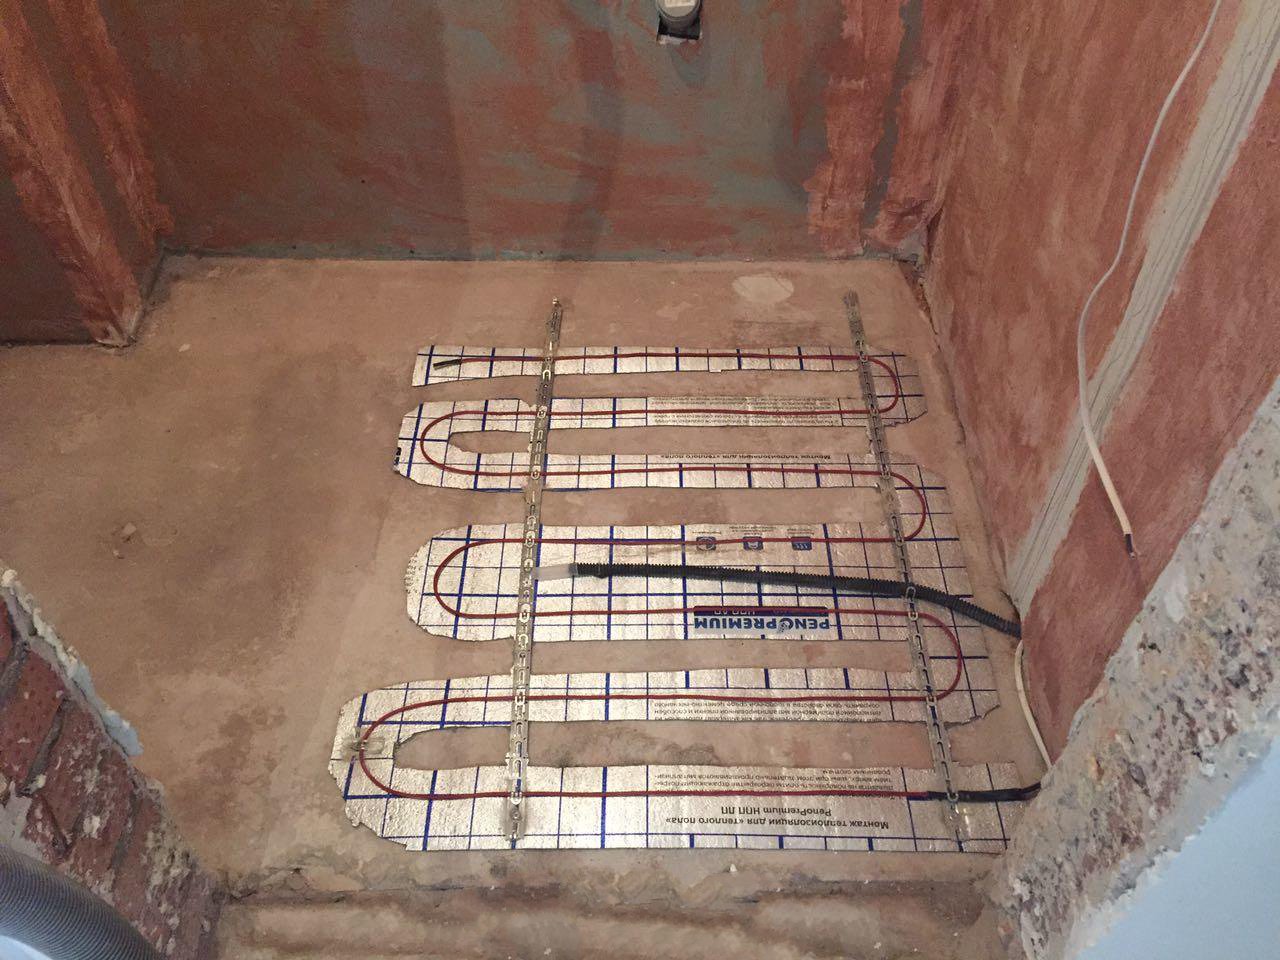
- Laying insulation with a reflective effect. Use of material with a foil surface is allowed. The reflective surface should be directed towards the room. This approach will contribute to the direction of thermal energy into the room, which will reduce several times the heat loss. There must be a spade for the bars;
- Installation of reinforcing mesh with a cell in 1 square centimeter. This element of the "cake" is placed on top of the insulation;
- In places where the cable passes through wooden blocks, it is necessary to make grooves The depth of such a niche should be organized in such a way that the electrical cable falls to the level with insulation. The grooves additionally need to be insulated with foil or metal plates;
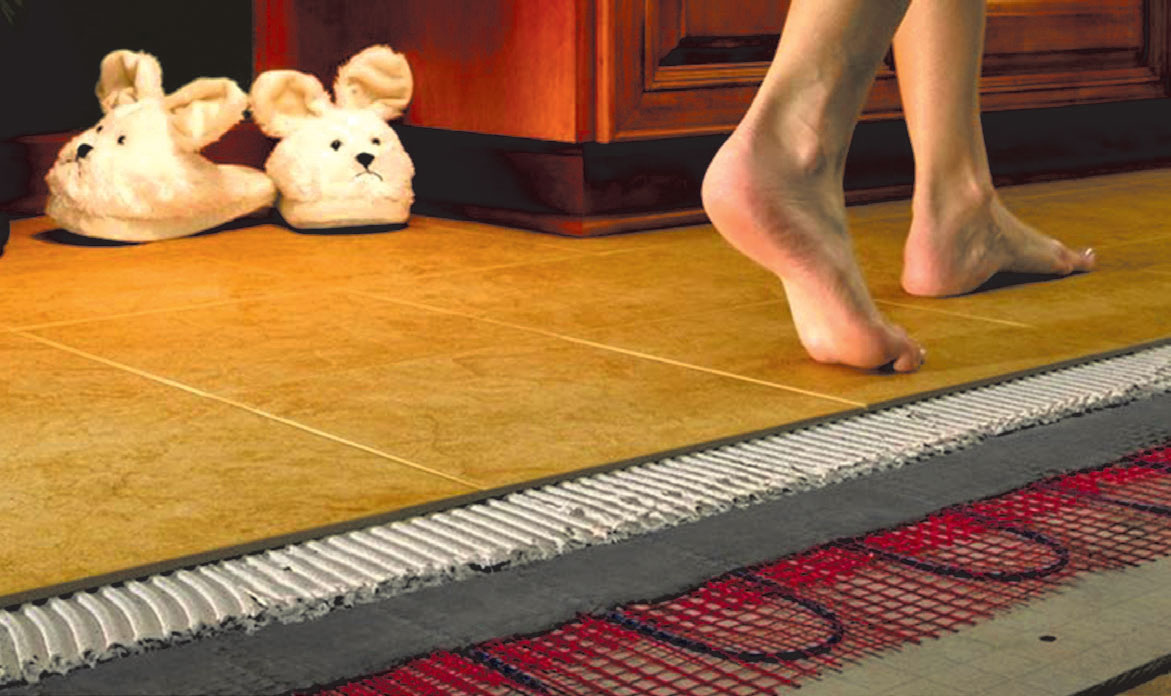
- The next step is to lay the heating cable. Step should be 10-15 centimeters. The distance from the cable to the bar - 10 centimeters. Fixing with a reinforcing mesh is made using clamps;
- After completion of the cable installation process, it is necessary to lead the exposed wires to the thermostat, which should already be installed on the wall.In the corrugated pipe at a distance of 0.5-0.7 meters in the place where the electrical cable is located, the sensor should be located. The entire process must be carried out following the manufacturer’s instructions;
- As soon as the connection of the electrical cable is completed, it is required to test the heating system. Particular attention should be paid to the areas where the cable passes over wooden structures;
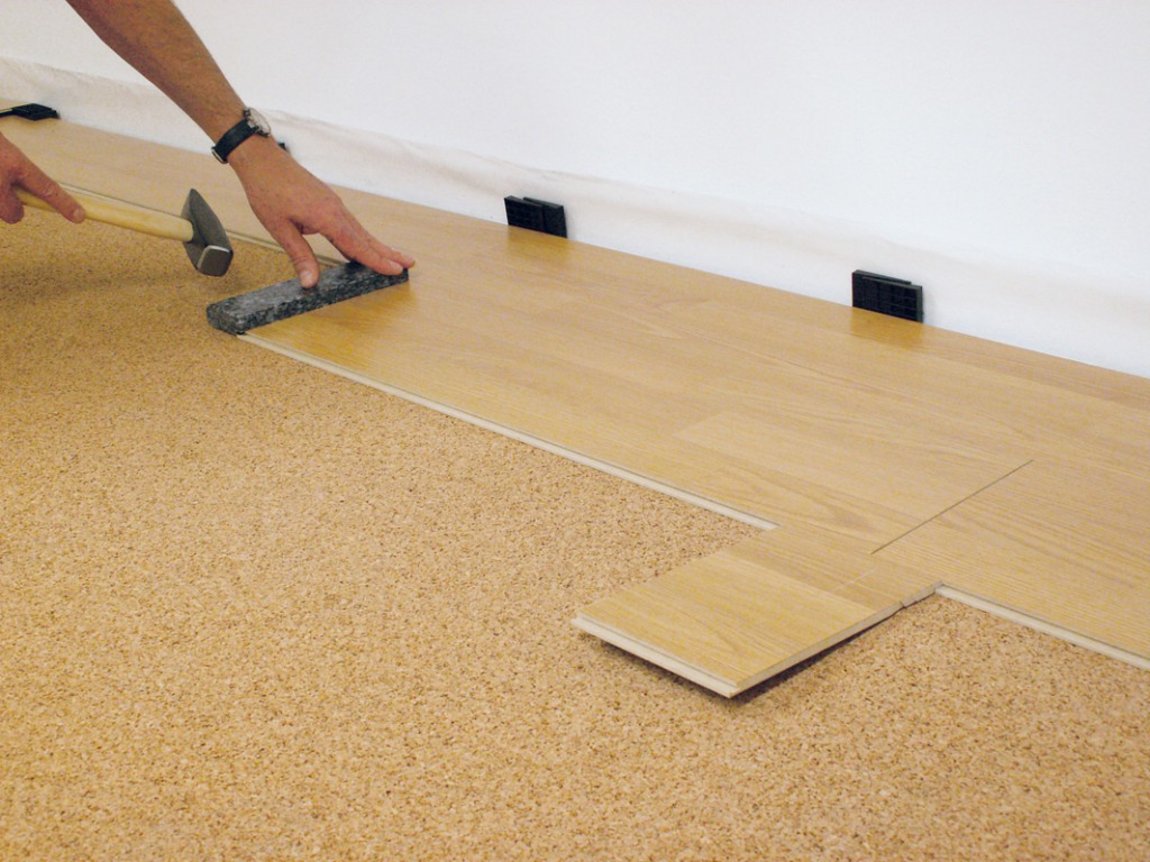
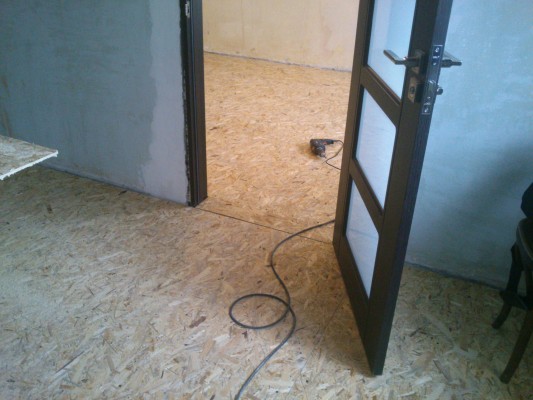
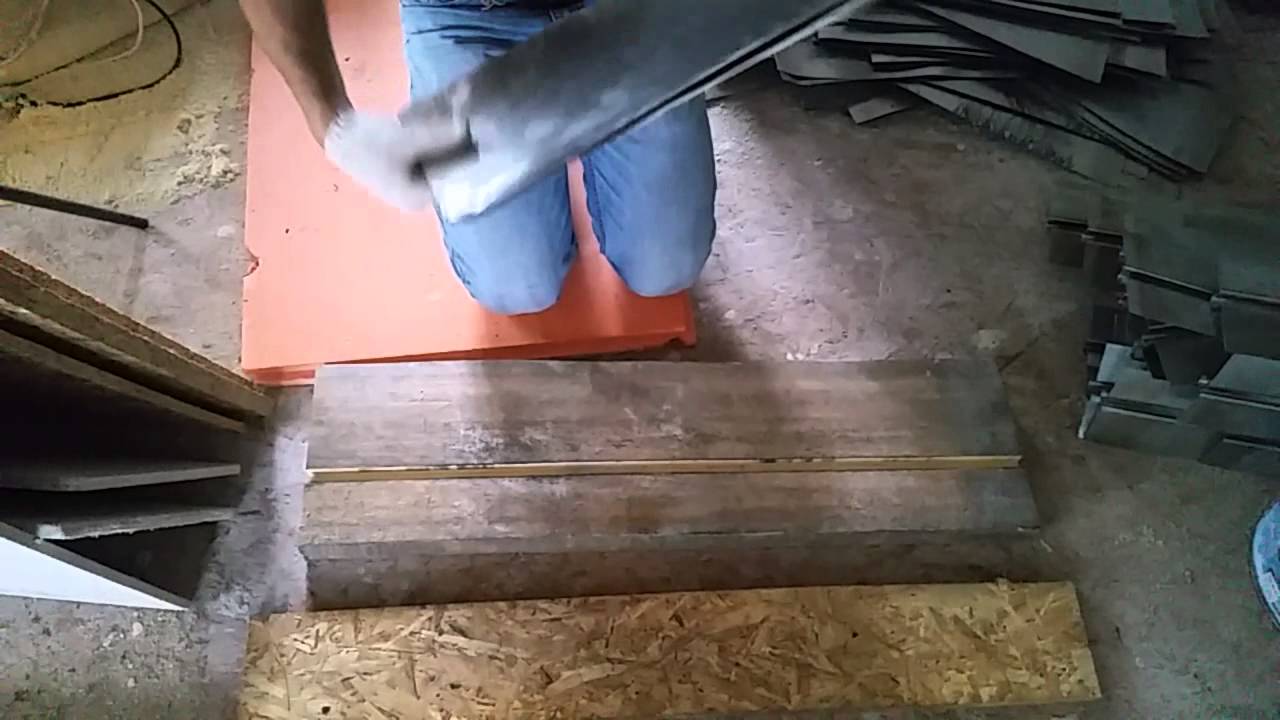
- At the end of the installation process, you must install the finishing floor and the main flooring. The most popular option of a fair floor is the milled board. It uses a lock connection, and the coating itself ensures excellent air circulation.
Expert advice
- The use of polystyrene when installing a heated floor is irrational and unsafe, since it can produce a toxic gas during a long-term stay with a heat source that can reach 70 degrees;
- The wooden floor must not be thicker than 21 mm. Otherwise, the heat output of the heating system will be significantly reduced;
- It is better to use a water system in the event that the heating area is large;
- In inconvenient places (a small corridor or stairs) can be used as a coolant battery;
- If you intend to perform the construction of a heated floor on the ground, then it must be removed. Otherwise, the plant part and humus will begin to decompose and smell unpleasantly;
- When designing a warm electric floor, it is important to adhere to a pivot table with the required power for a warm floor and a heating cable for each room;
- For a wooden private house, in which the first floor and basement are covered with reinforced concrete, usually use classic bottom up system:
- The coupler leveling;
- Insulation;
- Cable or pipe;
- The coupler leveling;
- Flooring.
Successful examples and options
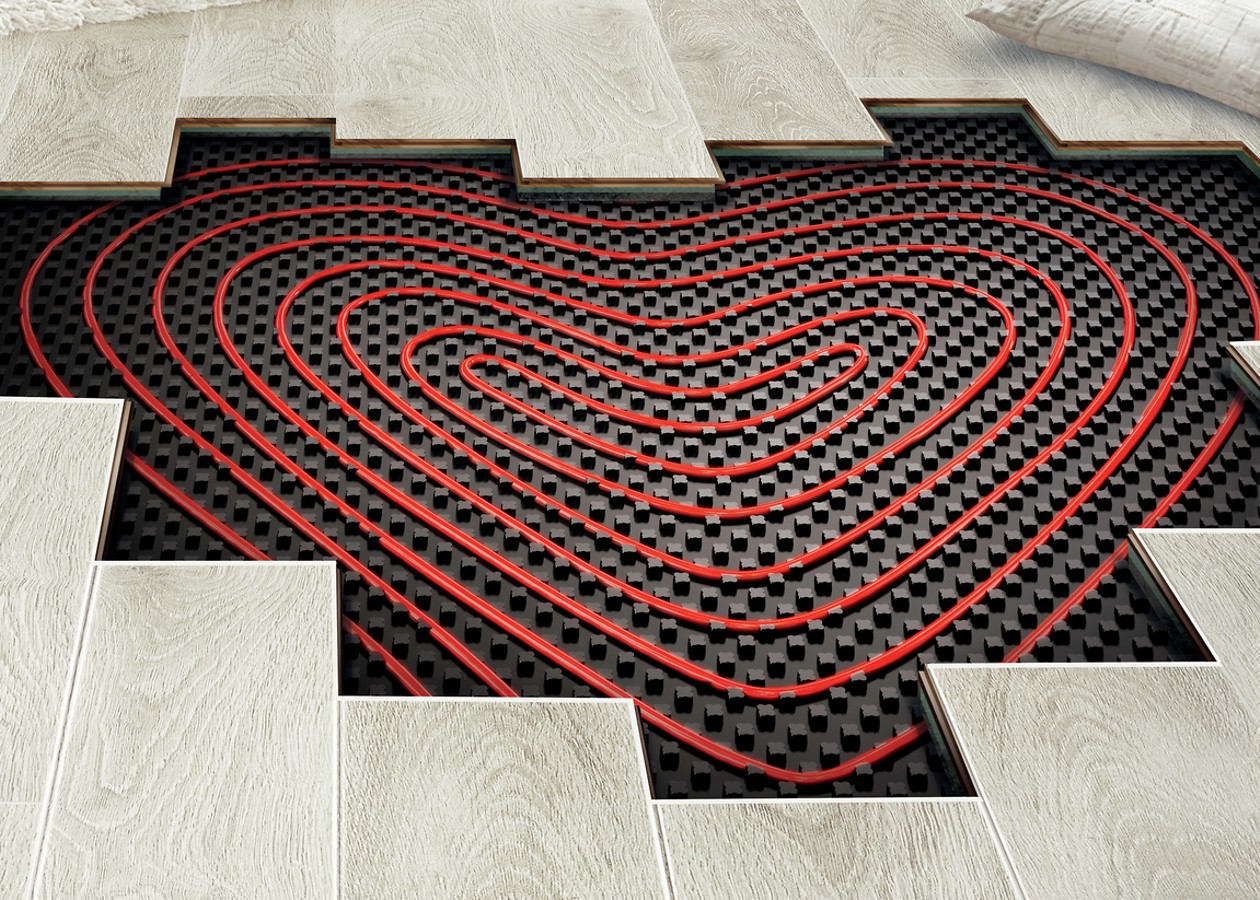
- Laminated mats with bosses can fit any pipeline configuration.
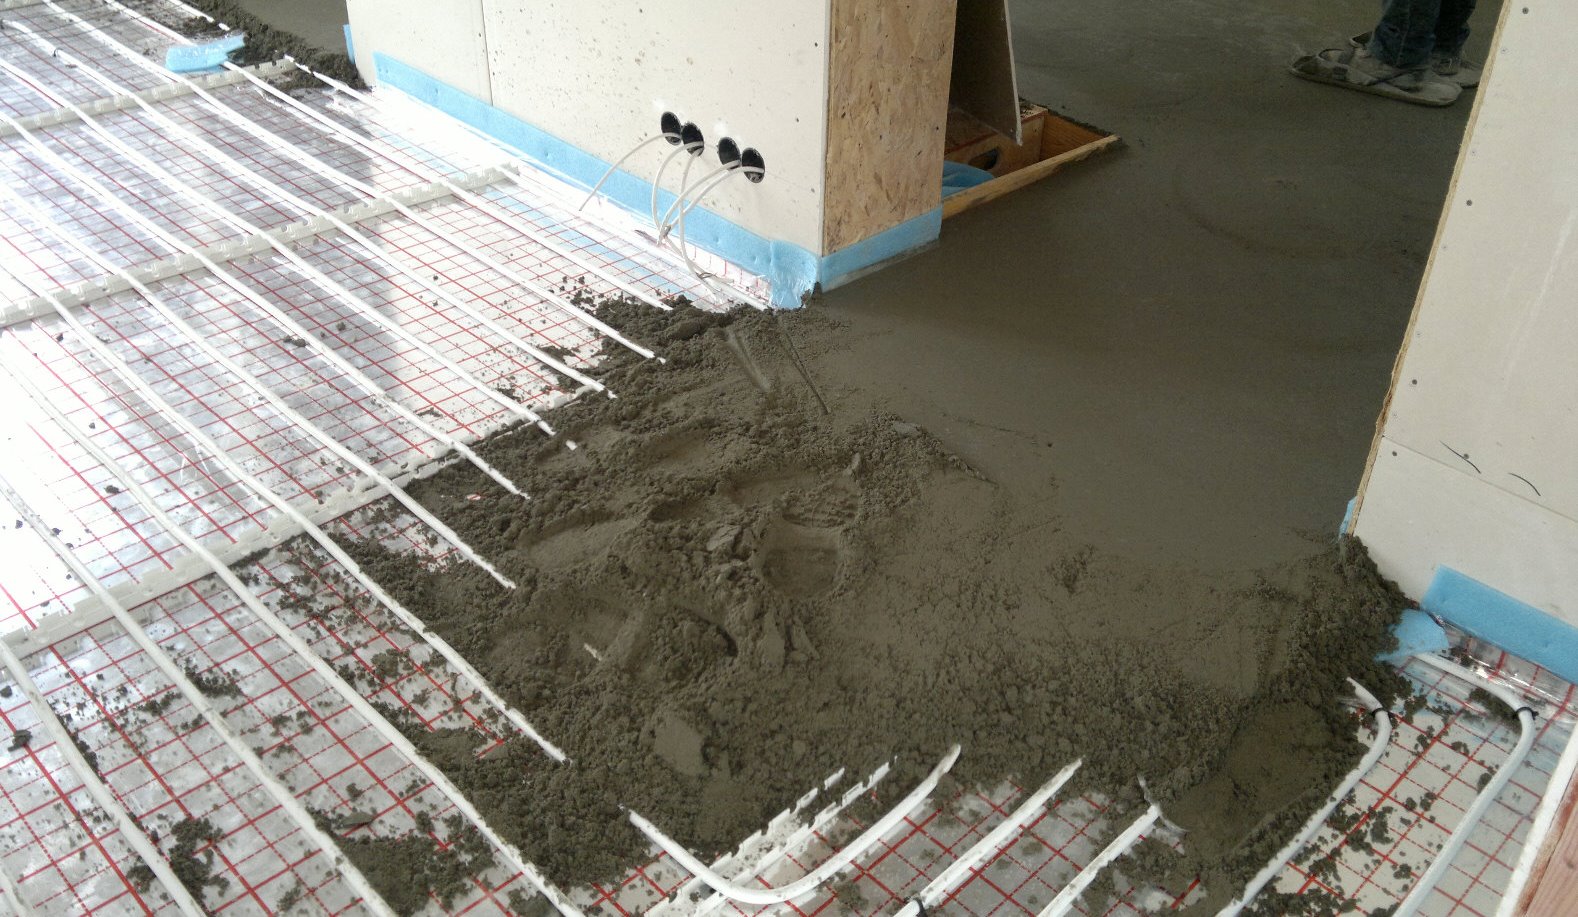
- The use of foam plates under plastic pipes.
- Water floor is filled with concrete.
Further you watch a master class on laying of a heat-insulated floor.