Two-level ceilings with lighting: design features
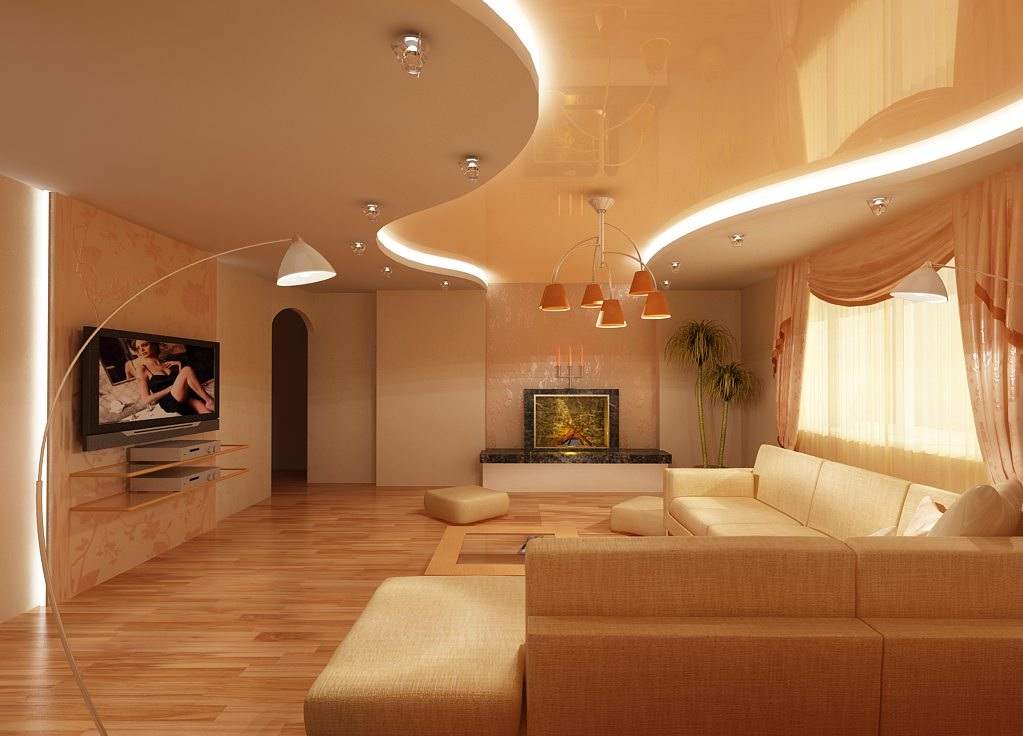
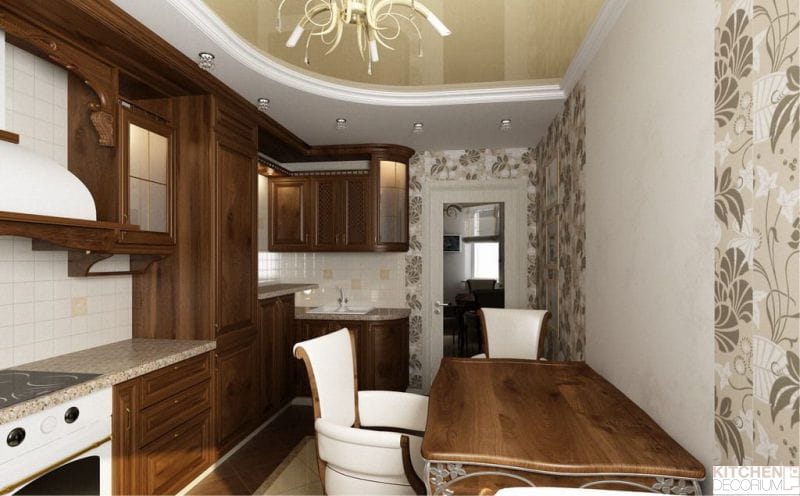
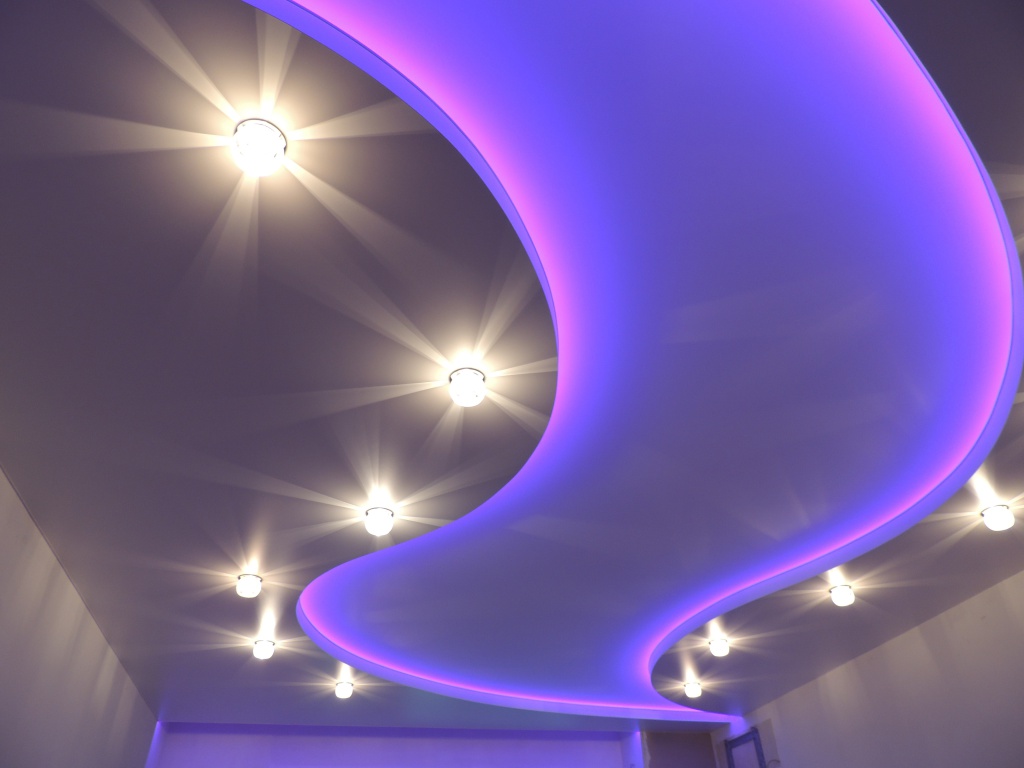
The two-level ceiling with lighting is combined with a stretch canvas of various colors, matte or glossy structure. Such a variety of execution of the ceiling design makes it possible to create a design for every taste with different styling. The ceiling will not only merge with the interior, it will become its accent and distinctive decoration.
Benefits
The multi-level ceiling is created from drywall and stretch fabric. Products from this material are quite popular, have many advantages:
- figured designs have small weight;
- they are easily mounted, it is easy to cut and give it a curved shape;
- under the gypsum plasterboard, the irregularities of the ceiling are hidden, thanks to which it will not be necessary to level the surface scrupulously;
- construction masks electric wires;
- using different ceiling configurations, you can create zoned areas;
- the surface in several levels is beautifully played up by the backlight;
- The finished ceiling looks great.

Kinds
Ceilings are of two types: single-level and multi-level. The first option is suitable for small rooms with low and even ceilings. The second type looks good in large rooms.
Before deciding in favor of a two-tier ceiling, you should consider the loss of space of 10-15 cm. Small Khrushchev can not afford complex structures. But with the help of diverse backlights you can beautifully beat even a uniform surface.

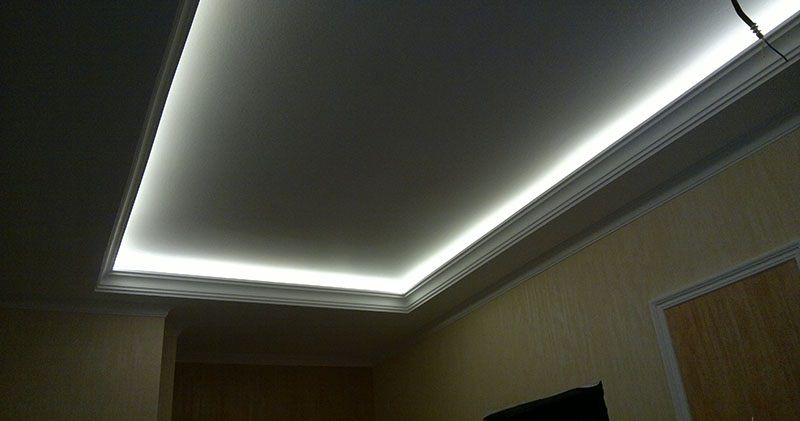
Ceiling lighting is available in two versions: hidden and open. When hidden - lights are not displayed, they are hidden in a plasterboard construction, the light coming from no one knows where it seems to be mysterious. Open lighting allows you to leave any light visible.

Preparatory work
Starting installation of a two-level ceiling, it is necessary to prepare materials for its assembly.
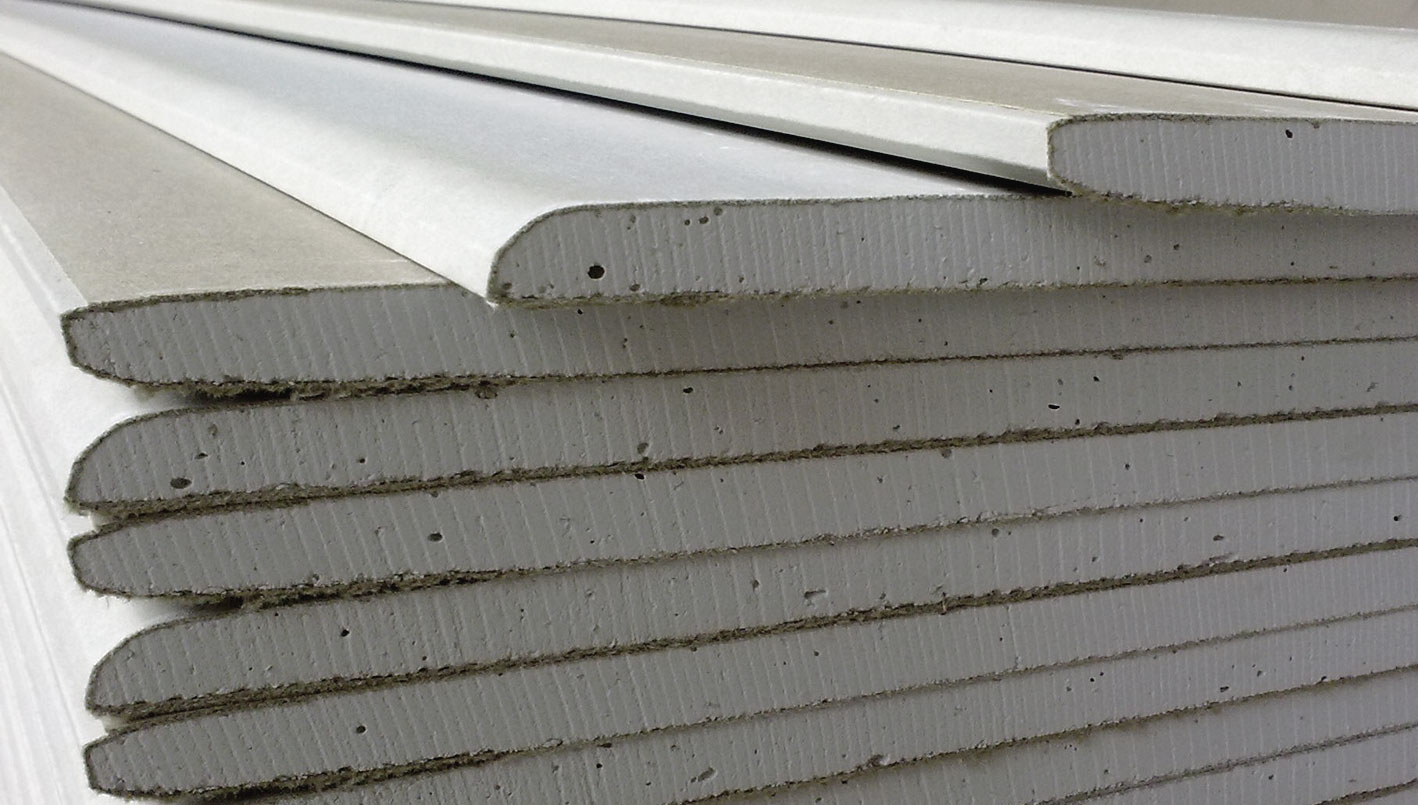
- DrywallIn order not to buy extra, you need to calculate the model of the ceiling and find out how many sheets will be needed for installation. The width of the composite material is 1.2 - 1.3 meters, length - 2.5 - 4.8 meters, thickness - 8 - 24 mm.
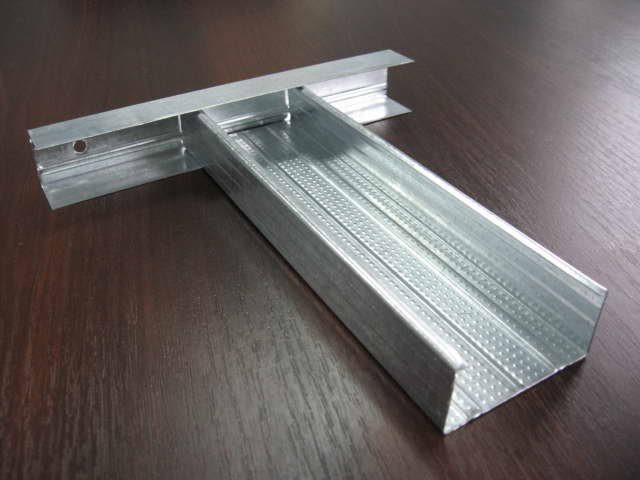
- For mounting along the perimeter of the ceiling, a guide UD profile is required.
- Sheets of drywall mark on the ceiling profile of the CD, which will form the basis of the frame.
- It is necessary to get suspensions. For deep construction, spring products will be needed, for shallow construction - straight lines.
- It is necessary to take care of soundproof materials.
- If the width of the room is greater than the length of the profile, you will need special extenders.
- Metal dowels.
- The cross rails will be connected using crab fasteners.
- Screws.
- Decoration Materials.
In addition to building materials, the work will require a perforator, a Bulgarian, a screwdriver, as well as a stationery knife, level, tape measure, metal scissors and a stepladder.
It is necessary to prepare everything for finishing work. In advance to acquire putty, primer, trowel, roller, brushes, finishing materials.


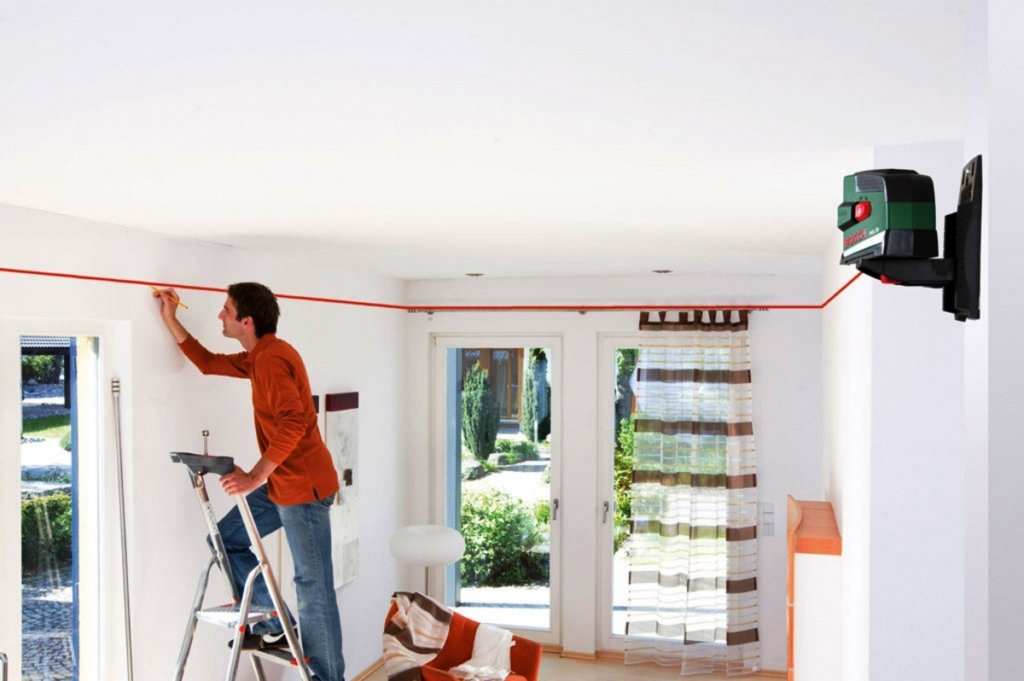
Markup
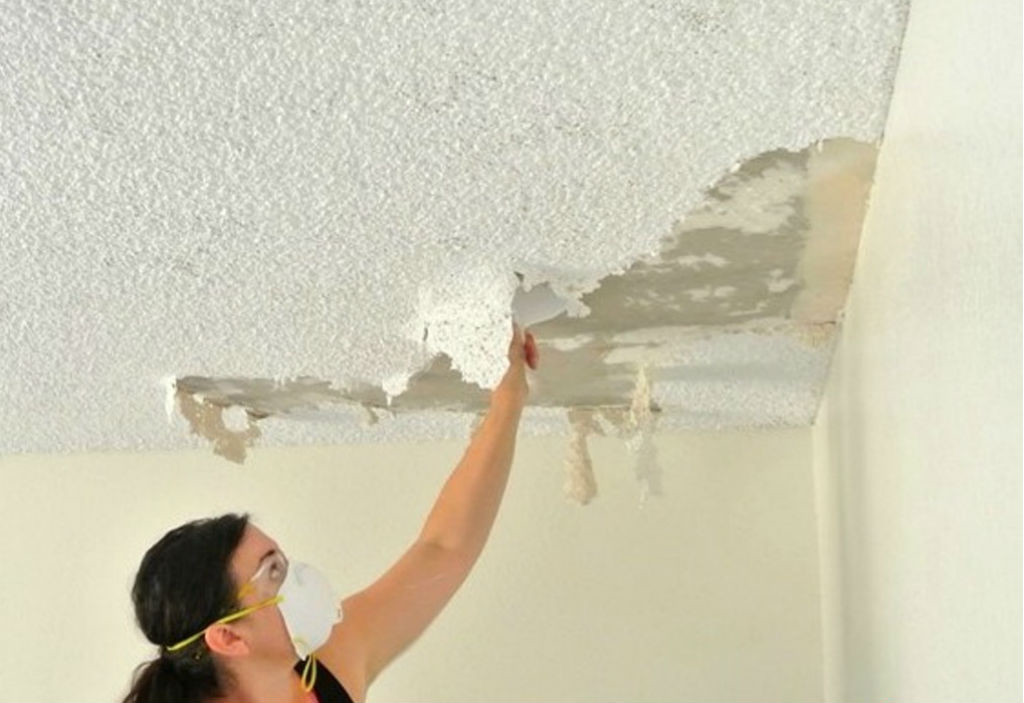
Having prepared the materials and tools, you can start working.Ceiling design hides all the flaws of the ceiling. If the old finish is held firmly, it can be ignored, but the crumbling surfaces should be well cleaned, otherwise construction debris will be seen on the illuminated stretch fabric.
Ceiling installation begins with a markup, which is produced using a laser or hydro level, using a pre-prepared sketch. Calculates the distance from the floor, as well as the height and dimensions of the structure itself. The array of each tier is calculated separately. The level is determined in the room the lowest angle. Then a dividing line is drawn along the perimeter with a paint yarn, marking of the first level is made. At this stage, the calculation is made and the presence of lighting fixtures is noted.
It should be remembered that the holes for luminaires from the sketch are transferred to the drywall and are cut before mounting to the frame.
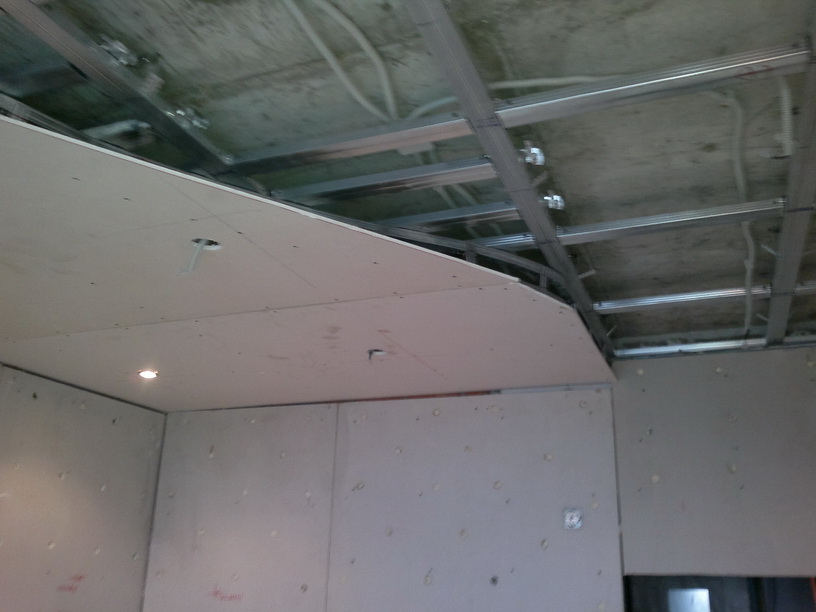
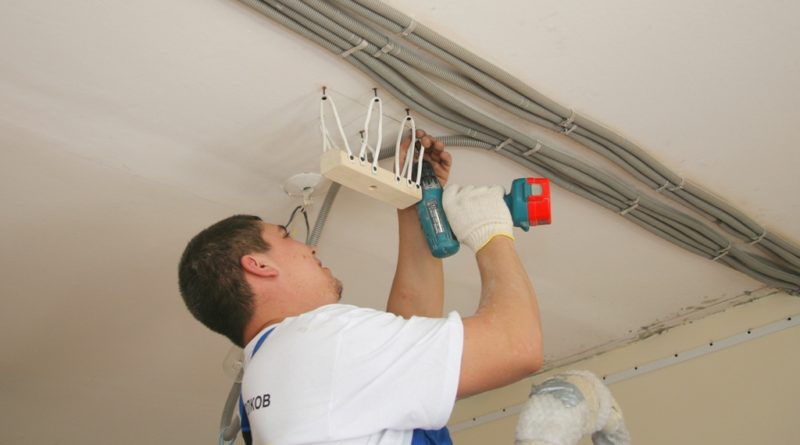
Installation
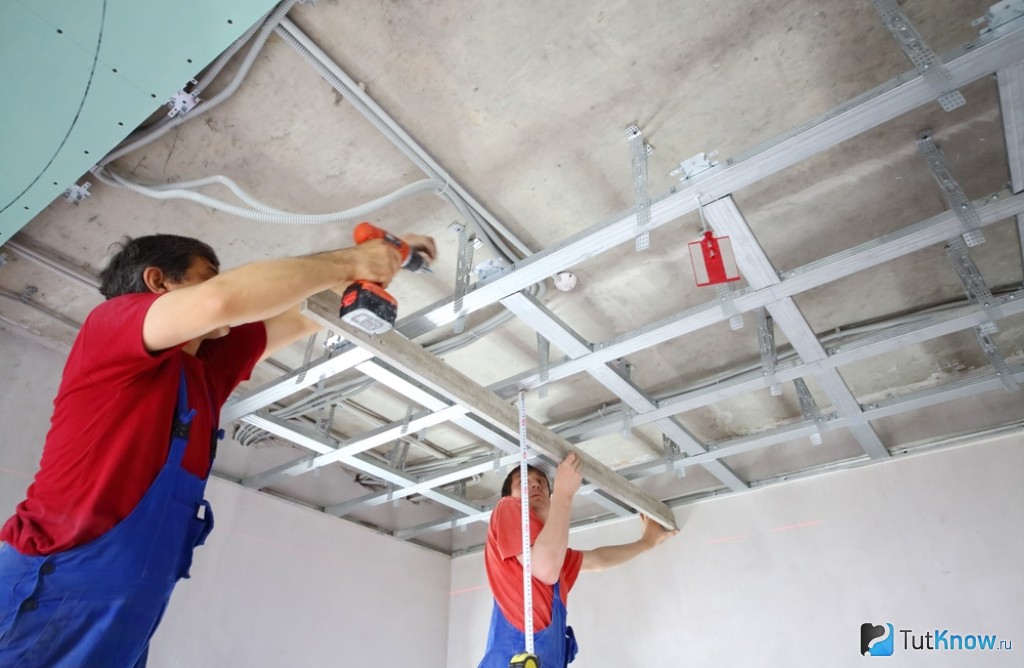
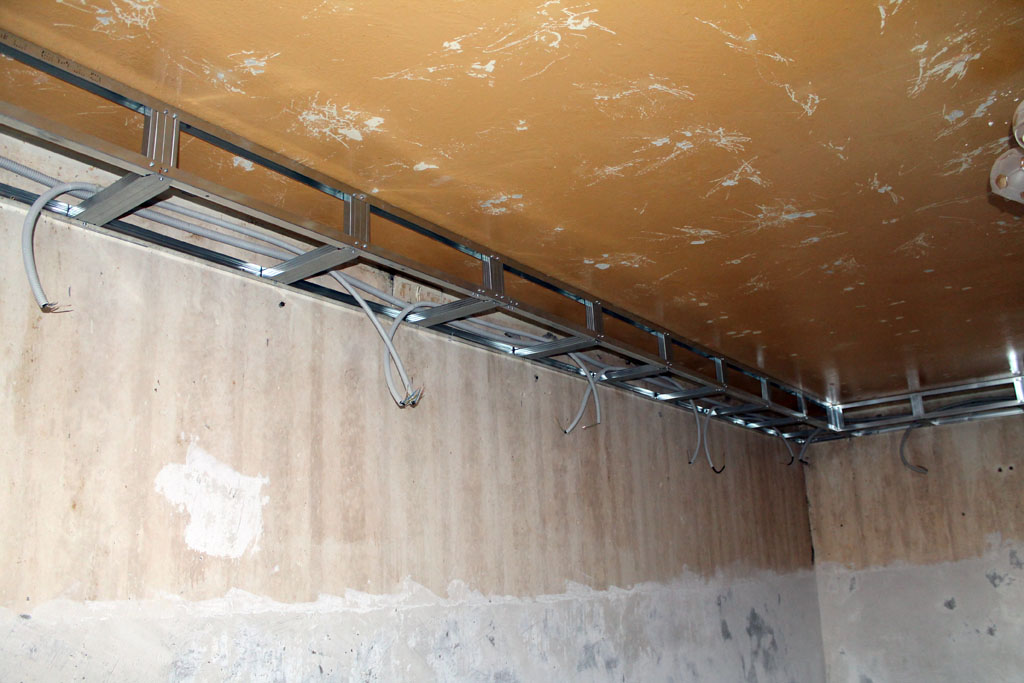
To create a multi-level ceiling, you will need a frame, a special box that allows you to send sheets of drywall during fasteners.
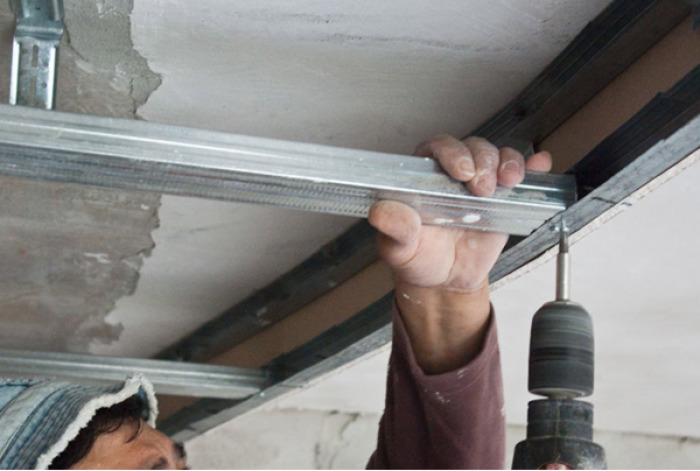
It is necessary to begin work with the installation of the profile, which is fixed on the wall with the help of dowels-nails.Then the center of the ceiling is calculated and located; the whole structure will be oriented towards it. From the center are marked distances in all directions. With the help of a painting thread, lines are drawn to fasten the profile. Four rectangles are formed along the walls, consisting of a profile with bridges.
In the work with the concrete slab, the dowel-nails are used, and the installation of drywall is carried out with the help of self-tapping screws.
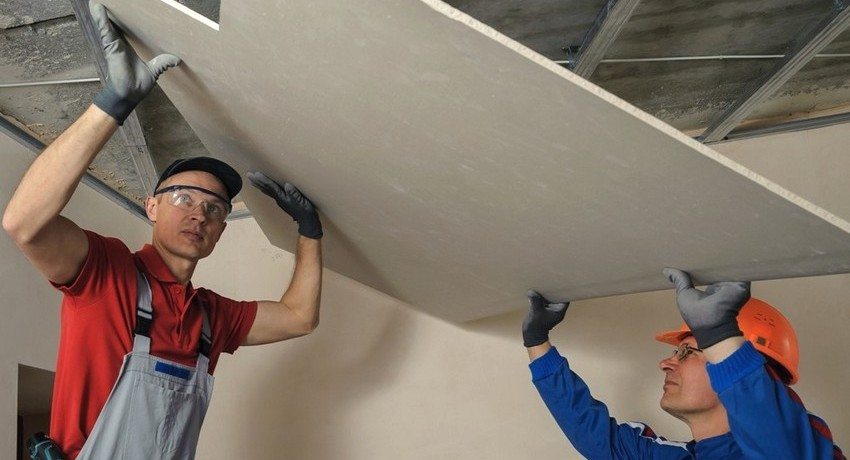
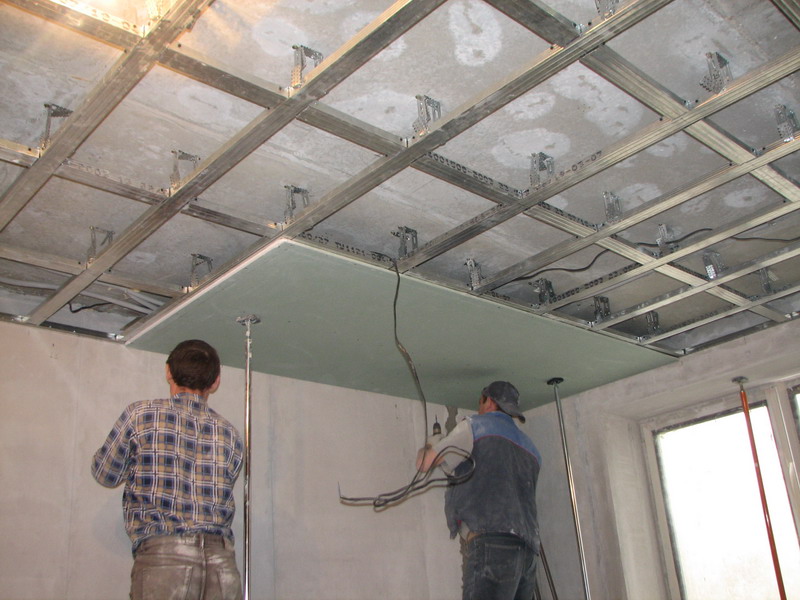
Creating a design with curved lines, it is necessary to make cuts on the surface of the profile with metal shears. Frequent cuts (2-3 cm) help him to bend freely and take a given shape. To create the box, each cut sheet slowly moves on the fabricated frame, passing step by step around the perimeter. The box is held with screws and suspension.
After the installation of the first tier make markup and proceed to the installation of the second, decorative box. It must be remembered that the sheets are not so strong as to withstand the second tier, along with the lighting, so it is fixed through drywall to the fixed profile.
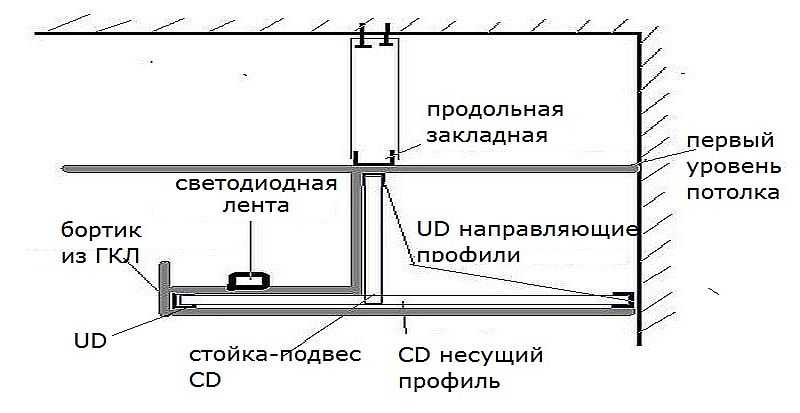
Guides are fixed by markings on the walls. Profile shelves should be turned down; they will hold the box.From the profile do racks-suspensions, cutting it in parts. They are inserted into the guides and mounted with a half-meter frequency. Making blanks for the bottom box, take into account a few centimeters for mounting LED strip. The shelves of the lower profile must look upwards, the prepared elements are inserted into them and fixed with self-tapping screws.
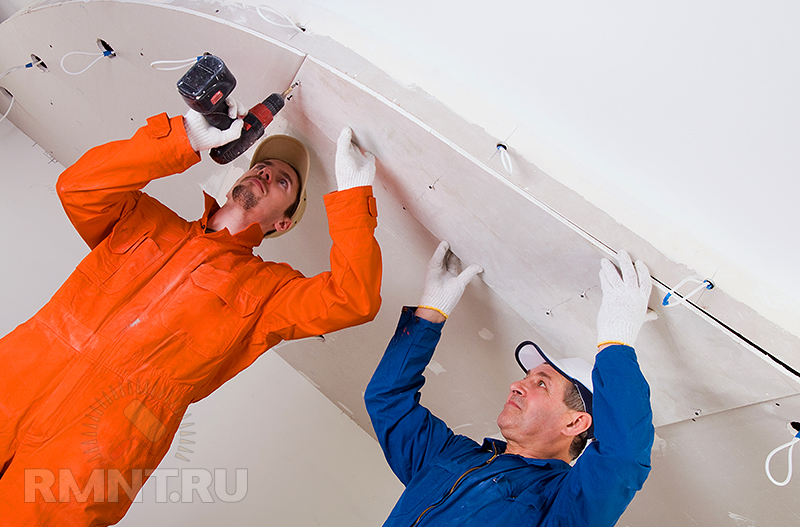
Drywall is relatively fragile, any turning effort can destroy it. If the material needs to be bent, it is moistened with a wet sponge until the sheet becomes pliable. Thus, it will take the form of a prepared profile. It is necessary to exercise caution in working with wet drywall, as the soft canvas is easily torn. Sheets tightly planted in profile and secure with screws, connecting with the lower tier.
If the ceiling design does not require curved lines, installing drywall is much easier.
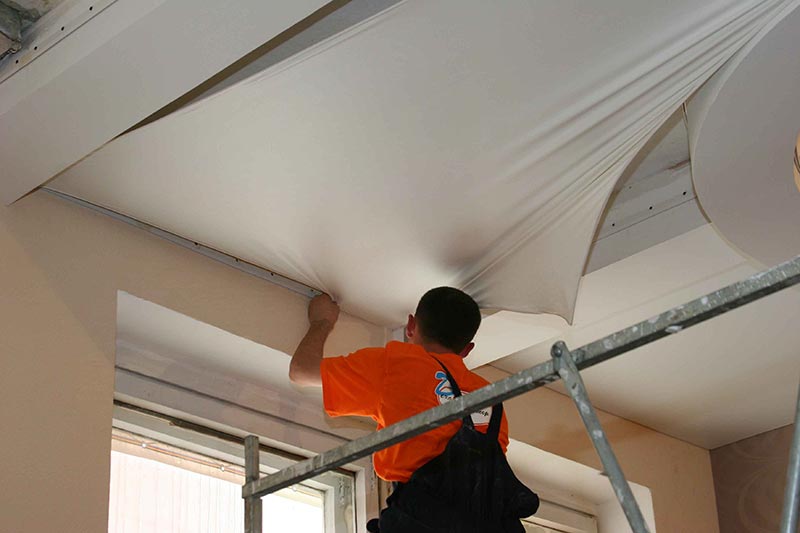
At the last stage, finishing works are carried out. The box is puttied and painted. When the design is ready, you can mount the tensioning fabric. Two-level ceiling can be created with the participation of drywall on both tiers or plastic, if you do not plan to use the stretch fabric.
Lighting
Multi-level ceilings transform the room, they are beautiful on their own, and if they are properly decorated with lighting fixtures, they will become the dominant theme in the interior. When working with lighting, it is necessary to take into account the following points: design features, the presence of heat and sound insulation coating, what is needed for lighting, and how much it will cost.
There are many lighting options, and several types are often used to equip a high-ceilinged ceiling. Types of lighting devices:
- The most common way to design the ceiling is light diode tape. It is flexible, multi-color, economical. She can highlight the area around the perimeter, select parts of the structure, certain areas. The tape is often equipped with a remote control that can be used to start lighting of a different color or to switch on pulsating variable light. The number of LEDs in the tape is different - 70-250 per square meter. The brightness and price of the product depends on their quantity. LEDs are also installed in the form of lamps.
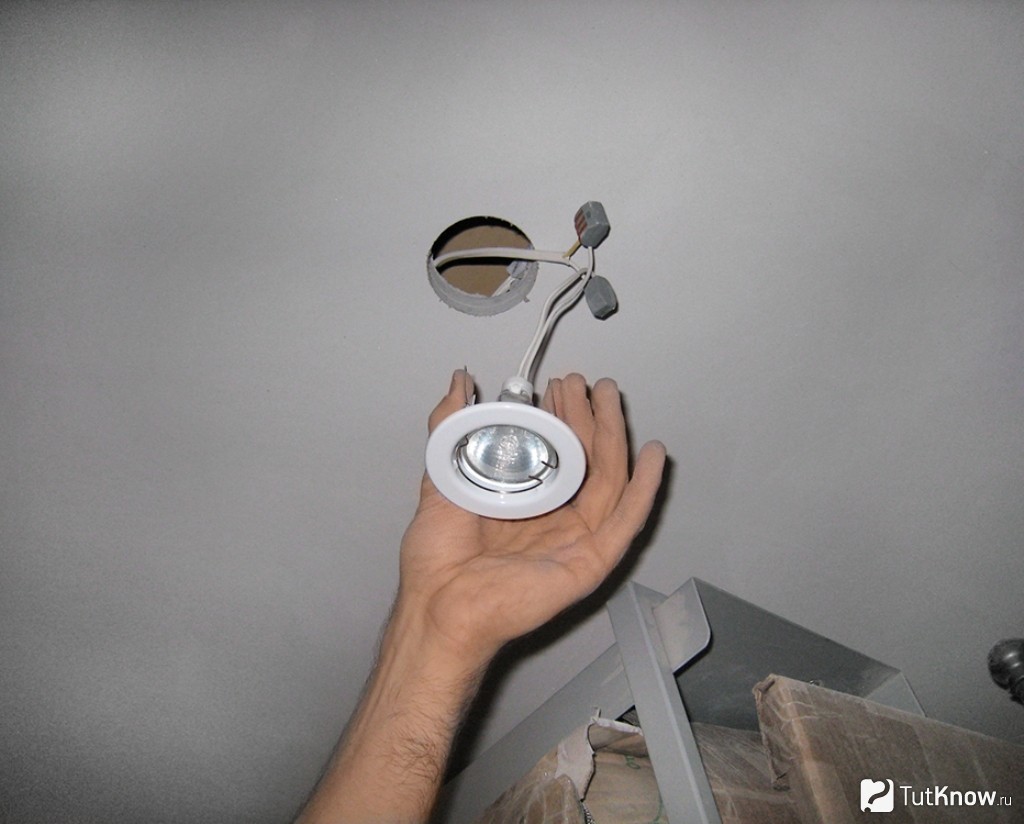
- Spotlights fit any ceiling and budget. They are good to allocate workplace, other areas.But it is not necessary to combine them with mineral wool insulation, there may be problems with heat transfer.
- Rope tubes used to create original, fantastic ceilings. They can highlight mirrors, paintings and other decor items, creating a common interior theme with the ceiling. Rope has many bright colors and looks very unusual.
- Inexpensive and easy to install fluorescent lights. They are economical and, unlike duralight, durable. But they should not be used in apartments with unstable voltage.
- Neon lighting serves for a long time and surprisingly changes the atmosphere in the room.
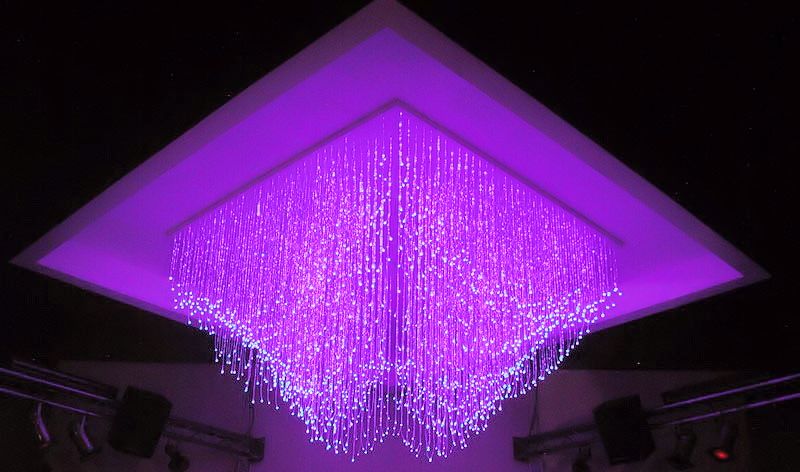
- Look good in spacious rooms with high ceilings. fiber optics. This new product doesn’t take root very quickly due to the high cost and complexity of installation.
- Central chandeliers and ordinary lamps nobody has canceled yet, they are still in high demand. Similar products can be selected for any budget. Some chandeliers look so impressive that they become an accent in the design of the room, they have only one drawback - they reduce the height of the ceiling.
Starting installation of lamps, you should observe the following rules:
- wires are mounted in a special box;
- wiring should not touch the edges of the frame;
- with the load of electricity should be determined before installing the lamps;
- constructing a second level, a special ledge is formed for illumination.

Lighting installation
For the installation of lighting devices will need the devices themselves, insulation tape, wires, corrugations, transformers. You will also need junction boxes, screwdriver, pliers, switches.
On the basis of the frame make markup for electrical appliances. Profiles are installed so that their length is 5 mm less than the frame base, and they themselves are not located too close to the lamps. Further suspensions are mounted (they are able to withstand up to 40 kg), this is paid attention to when their number is calculated. Installed profiles using screws. Inside are all the elements of the wiring, but the lights themselves are not yet installed.
The cable is placed in specially prepared channels, it should not come into contact with the metal profile of the frame. Wiring lead to the outlets.At the final stage install electrical appliances.
To learn how to install a plasterboard ceiling with your own hands, see the following video.
Tips
Before starting work, a drawing is drawn up with detailed drawing of tiers, marking of places for lighting devices and possible decor.
Mounting the ceiling yourself, before installing the electrical part of the project, it is better to consult with professionals. The fire safety of the home will depend on the thickness of the wires and proper installation. In addition, ill-considered actions may further lead to the dismantling of an expensive ceiling in order to correct errors associated with the installation of electrical appliances.
Lighting is thought out before repair, at the design stage. With it can be allocated zones in the room that can not be done on the go.
Choosing lighting fixtures, you should know the specifics of the white LED backlight. Such lighting removes eye fatigue and has a beneficial effect on them. In addition, it can be used to highlight some textured elements of the decor.
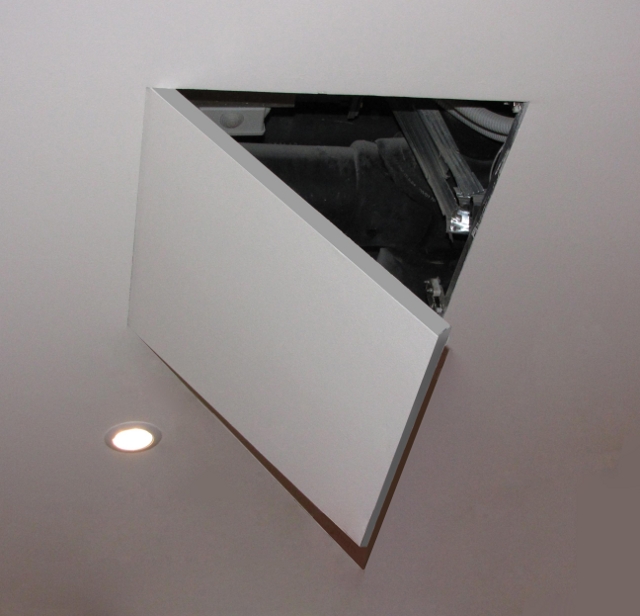
It is necessary to organize a hidden access in the form of a hatch for maintenance of wiring the ceiling.
Beautiful examples of two-level ceilings
Each ceiling is individual, it emphasizes the taste and wealth of the owner of the interior.
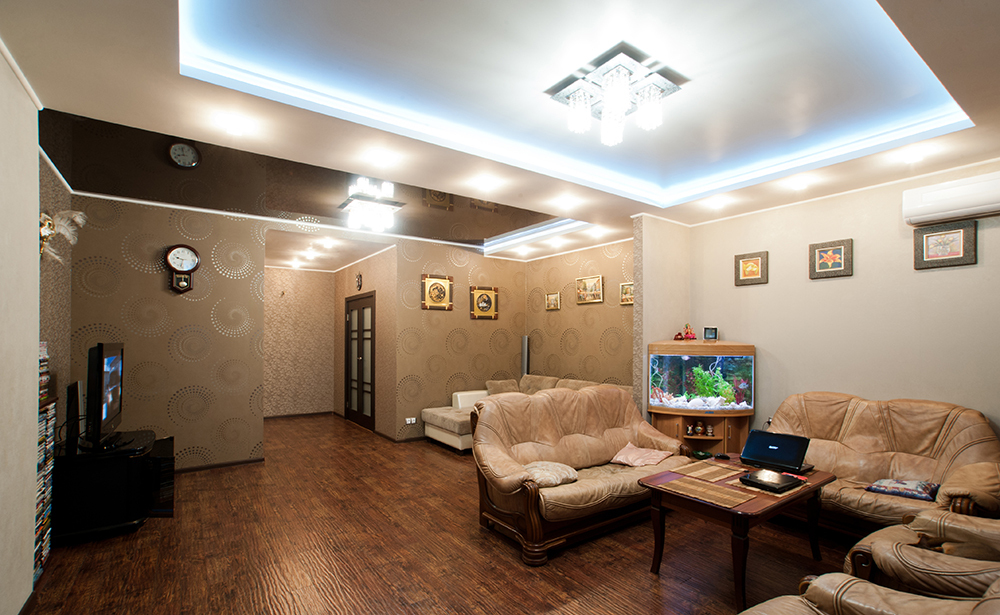
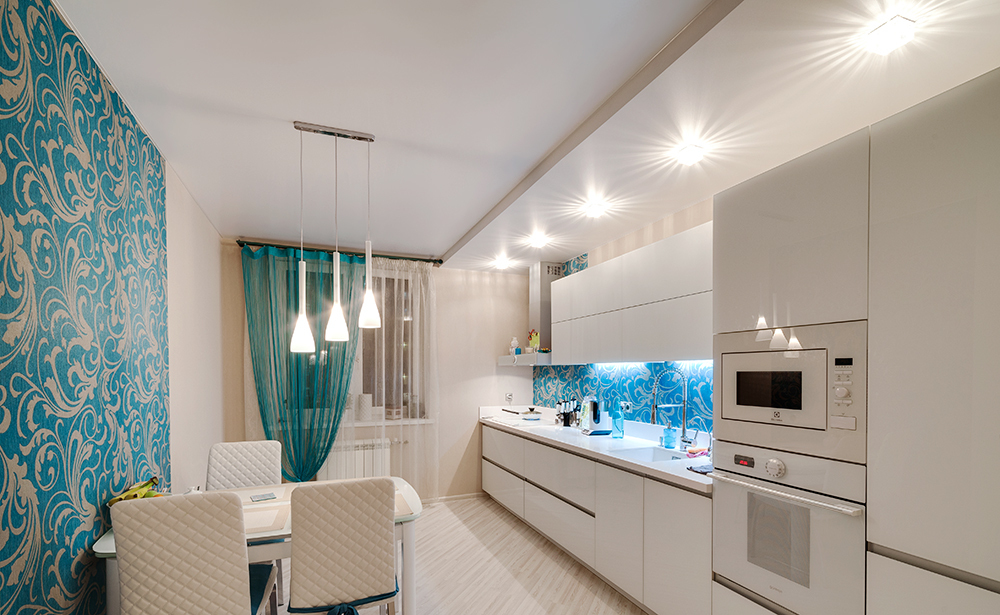
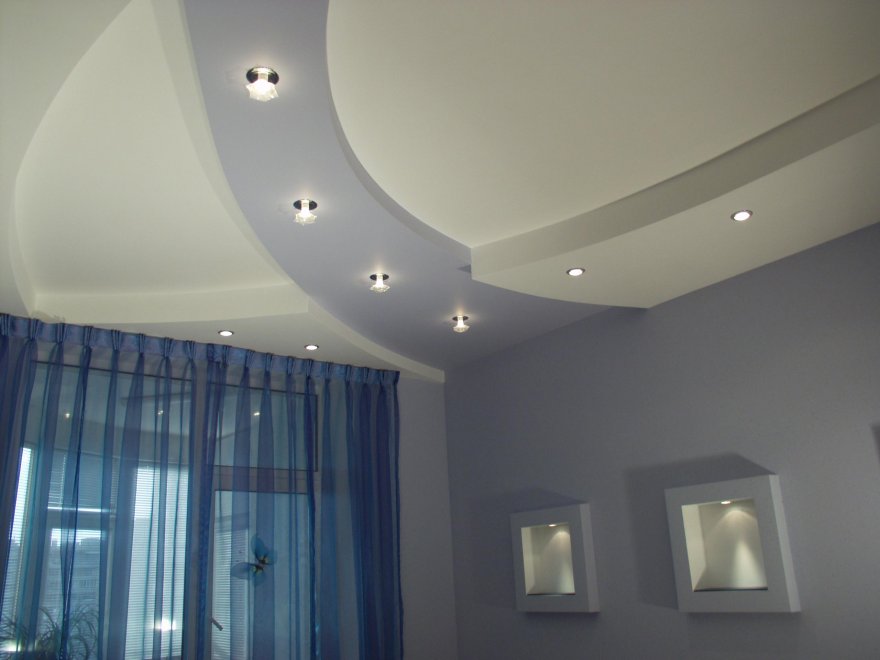
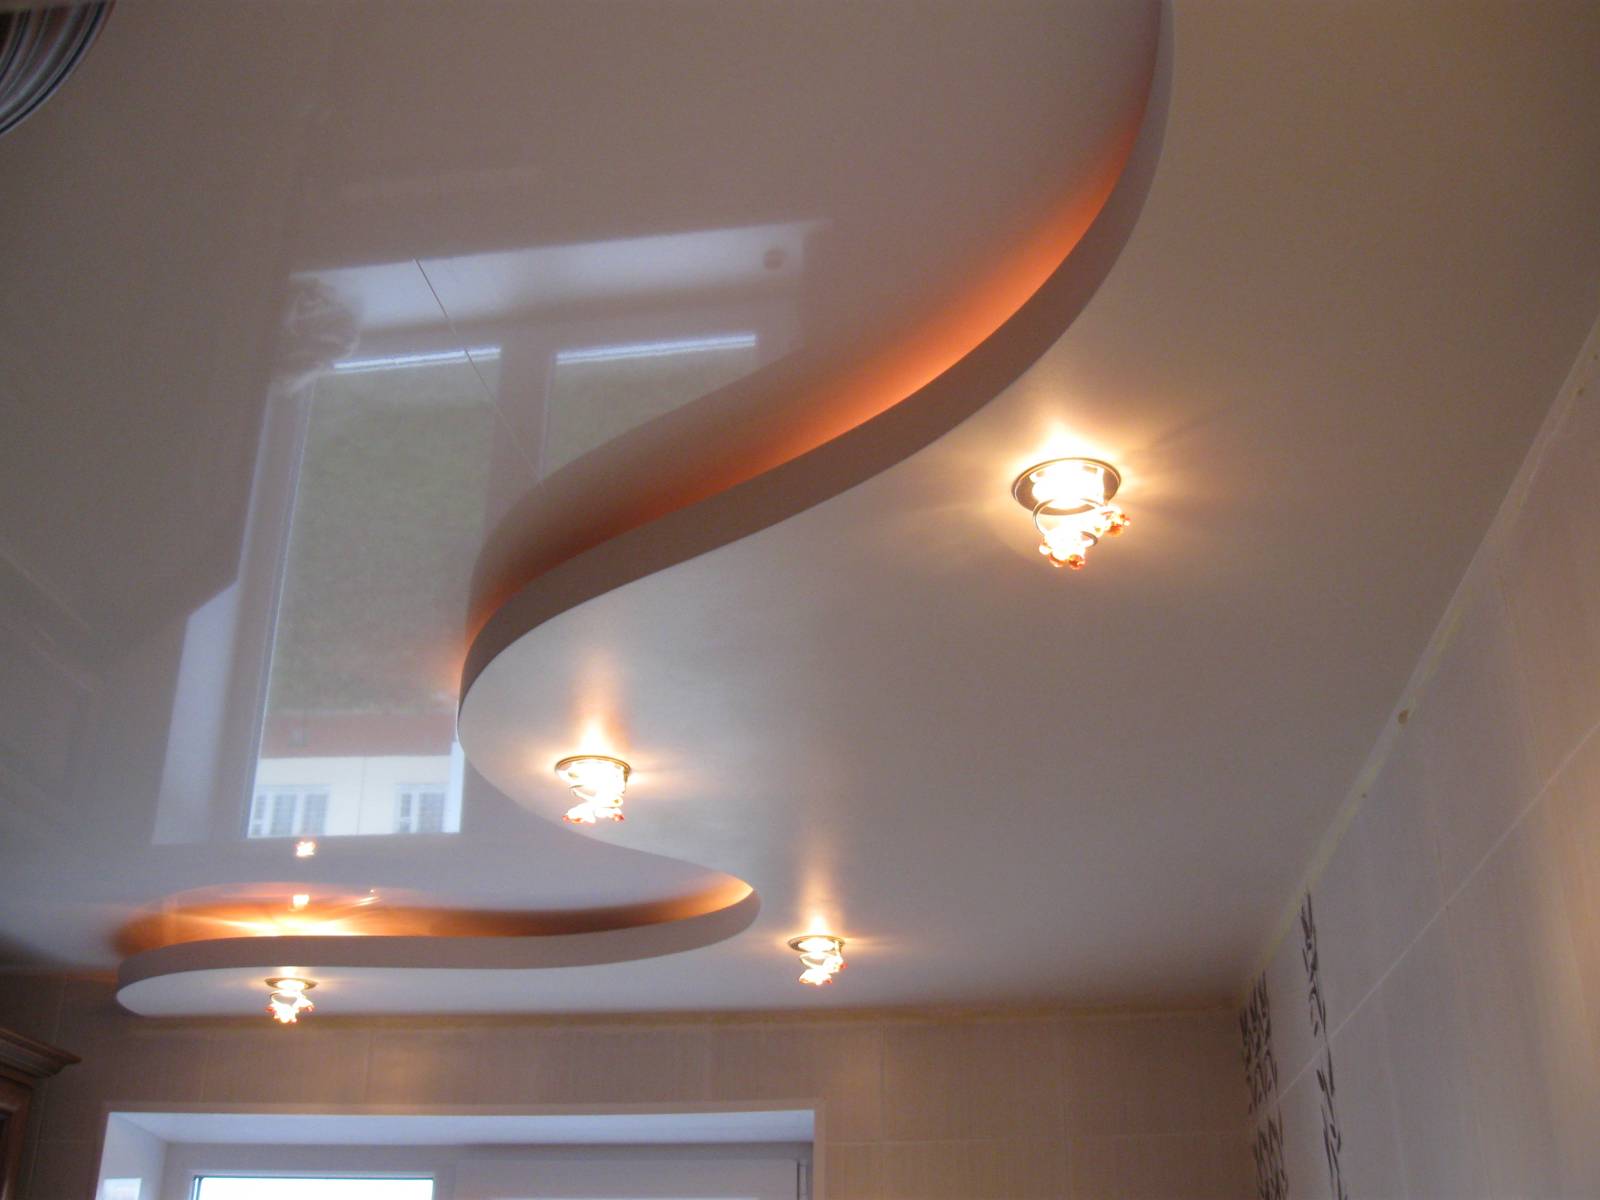
- Stylish zonal ceiling design with multiple lighting options.
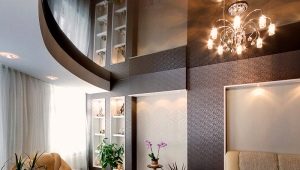
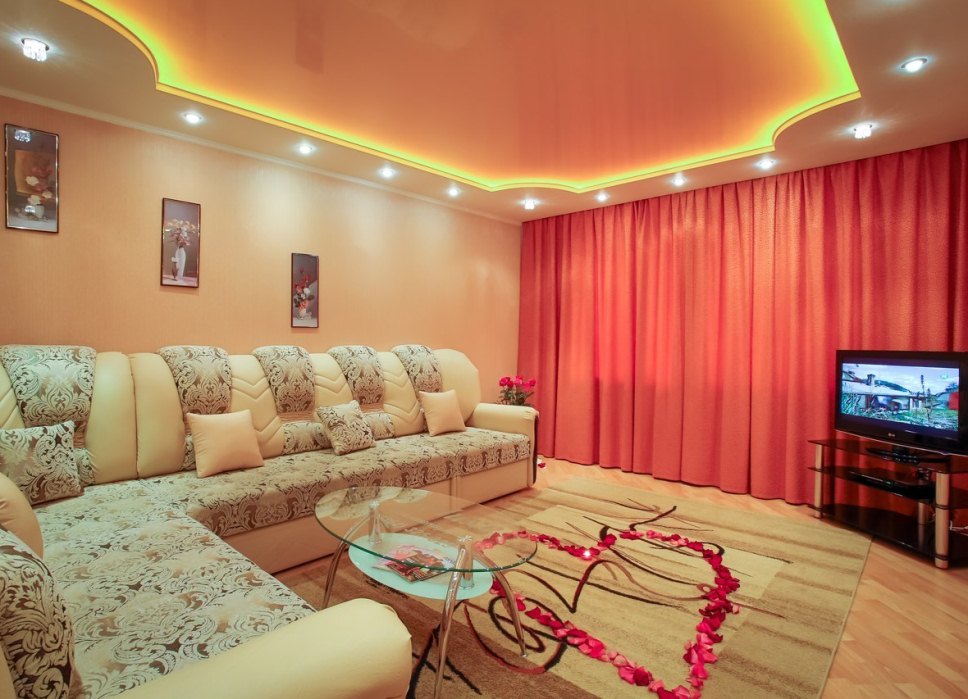
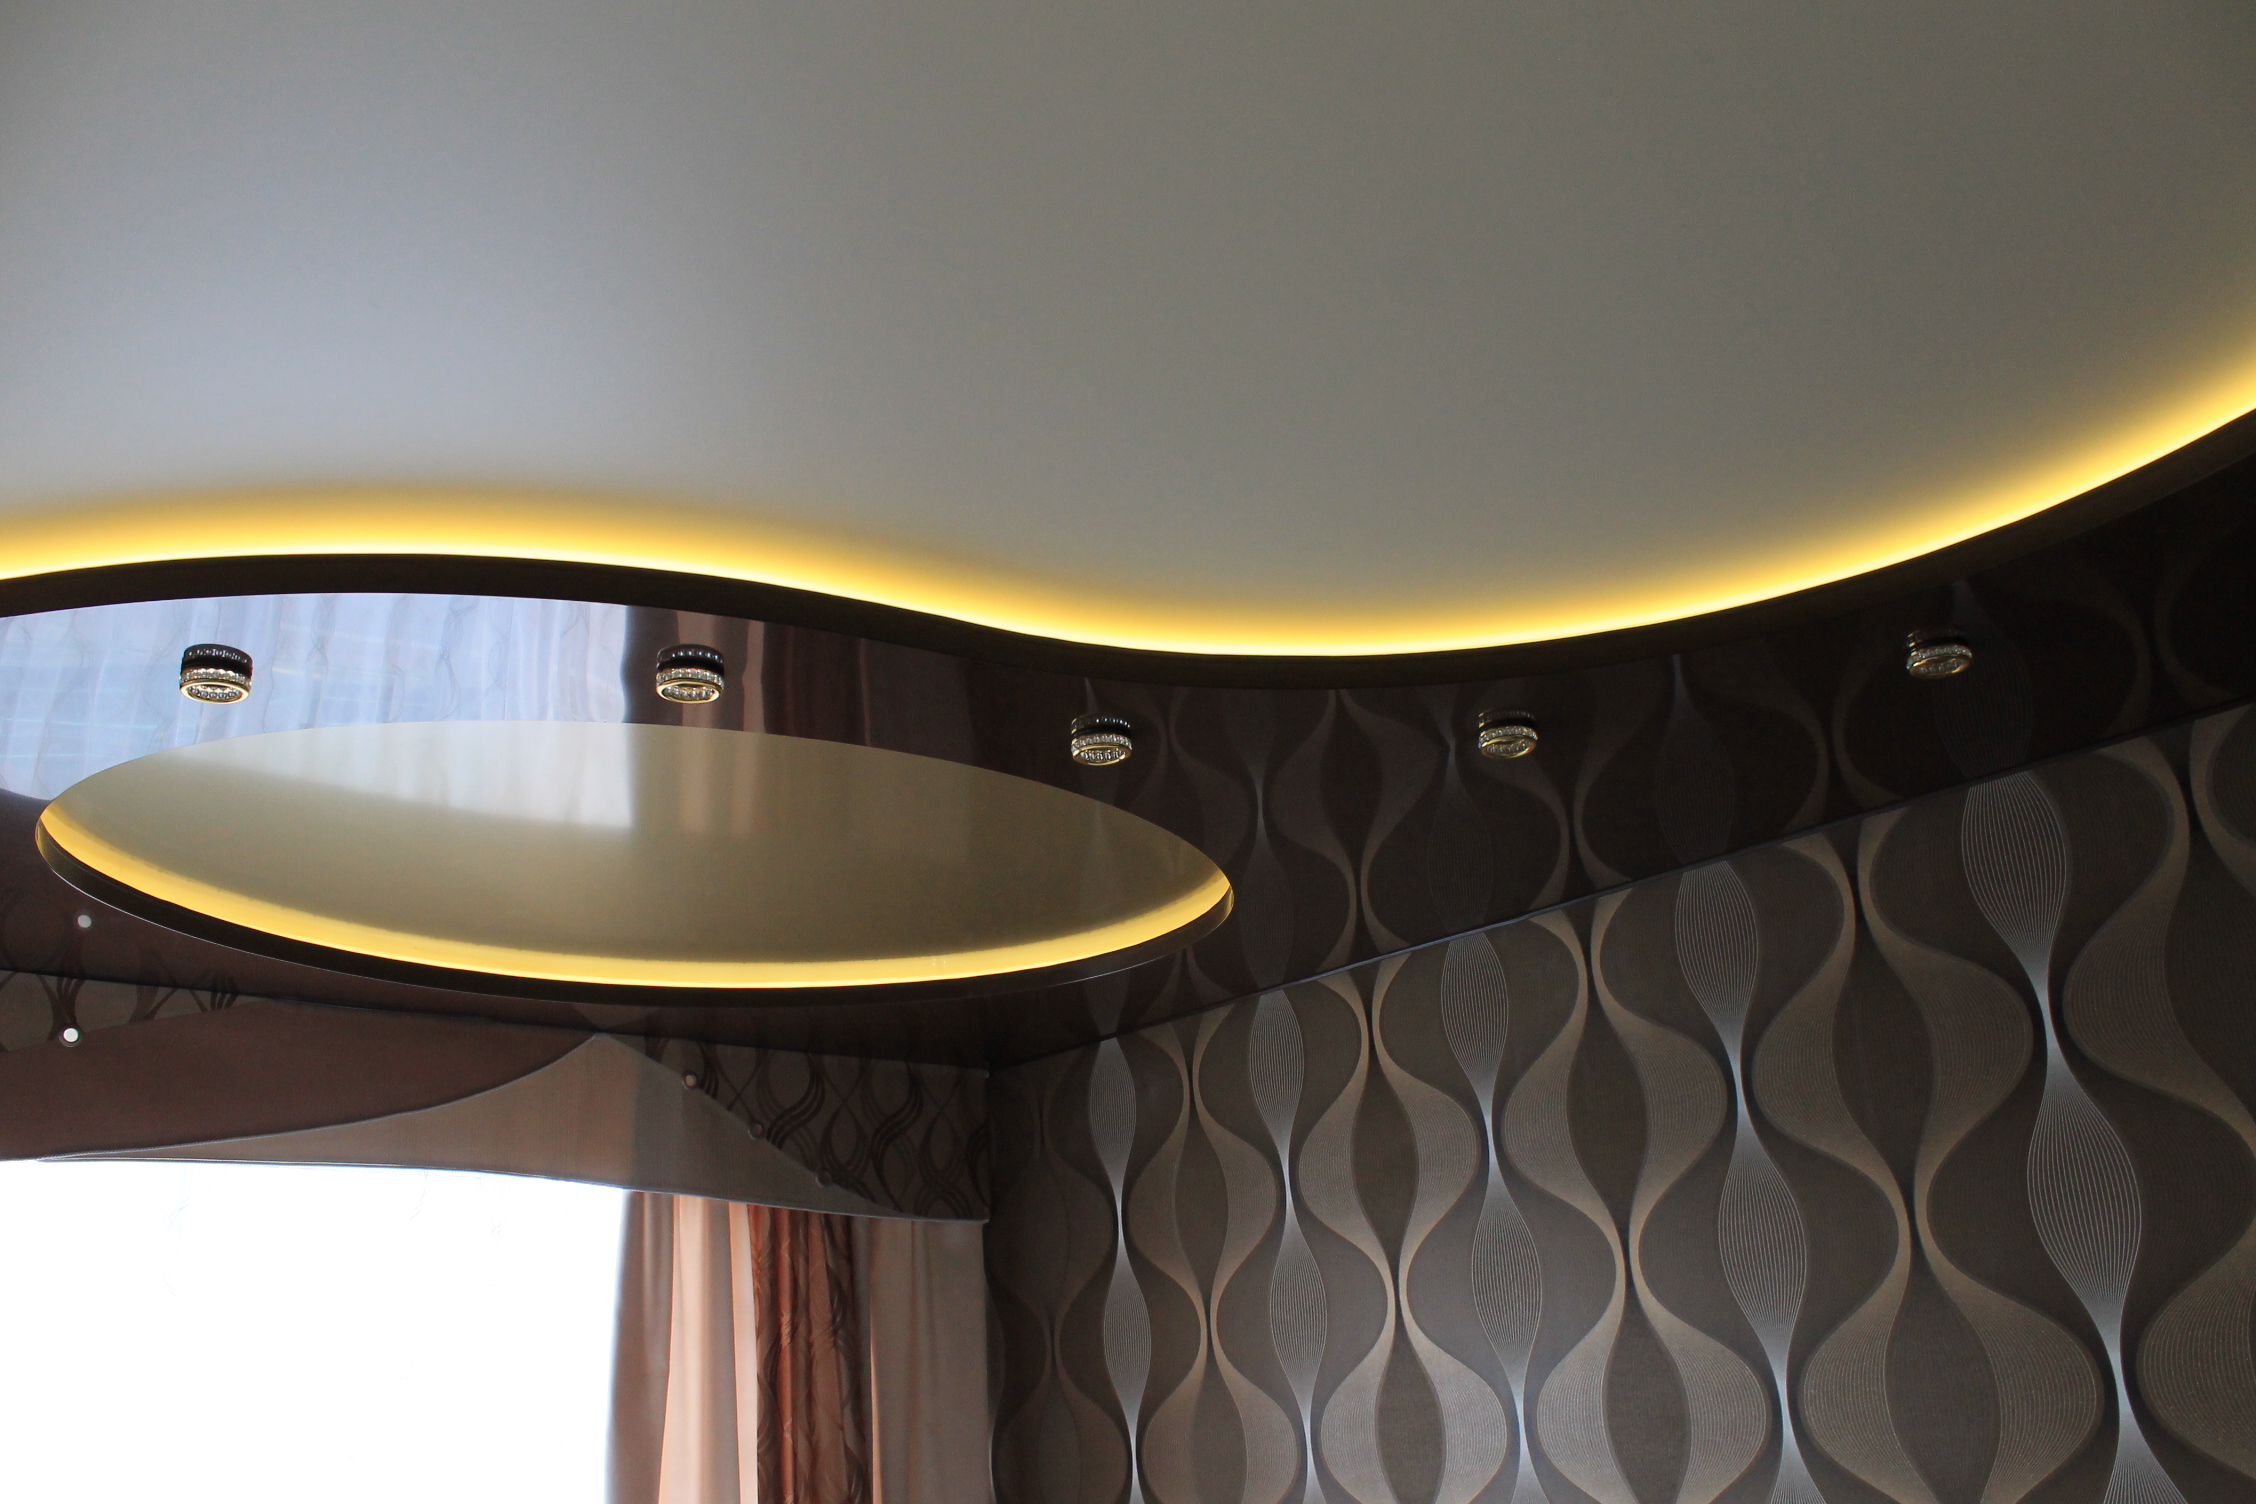
- The ceiling combines matte and glossy texture in two levels. Applied two types of lighting.
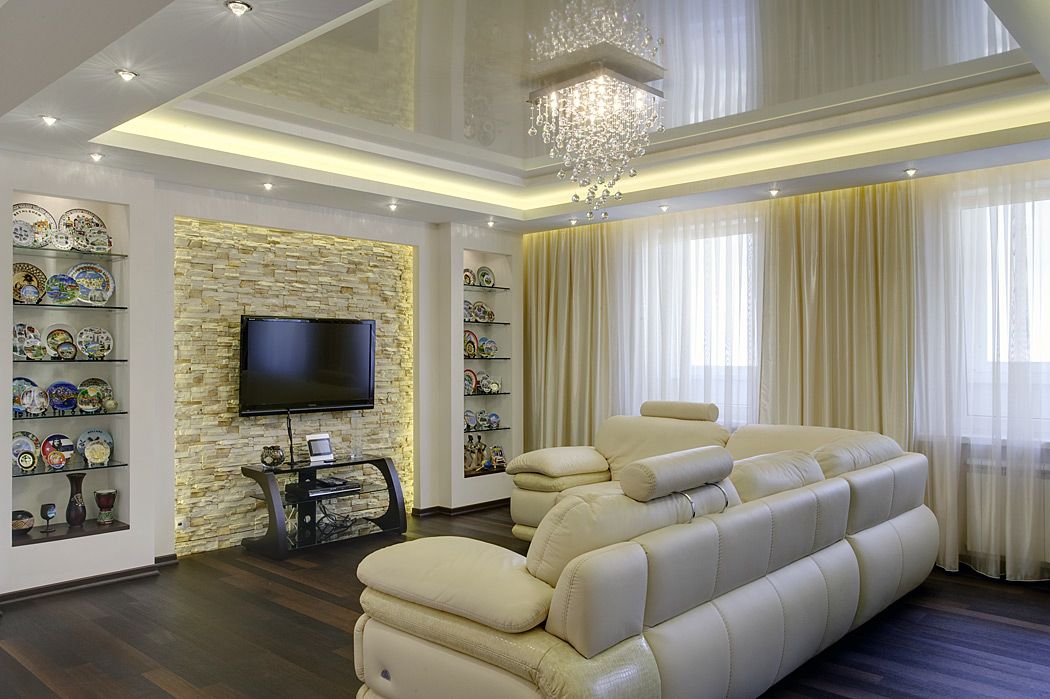
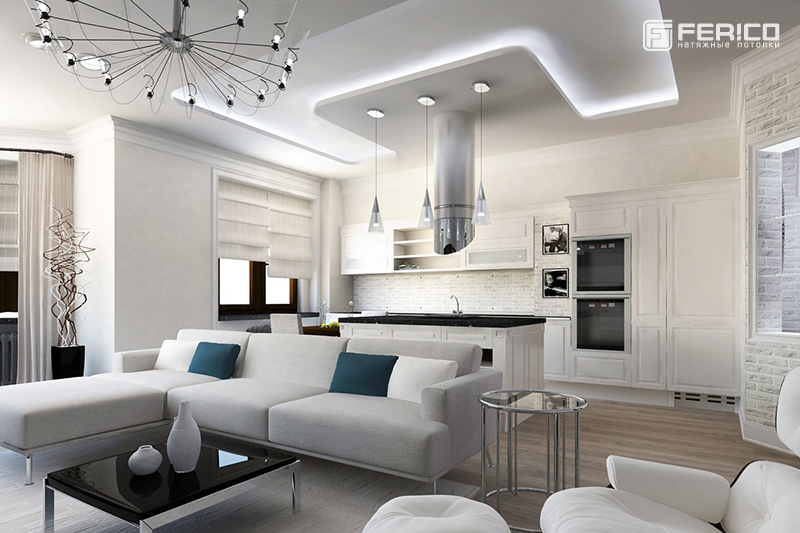
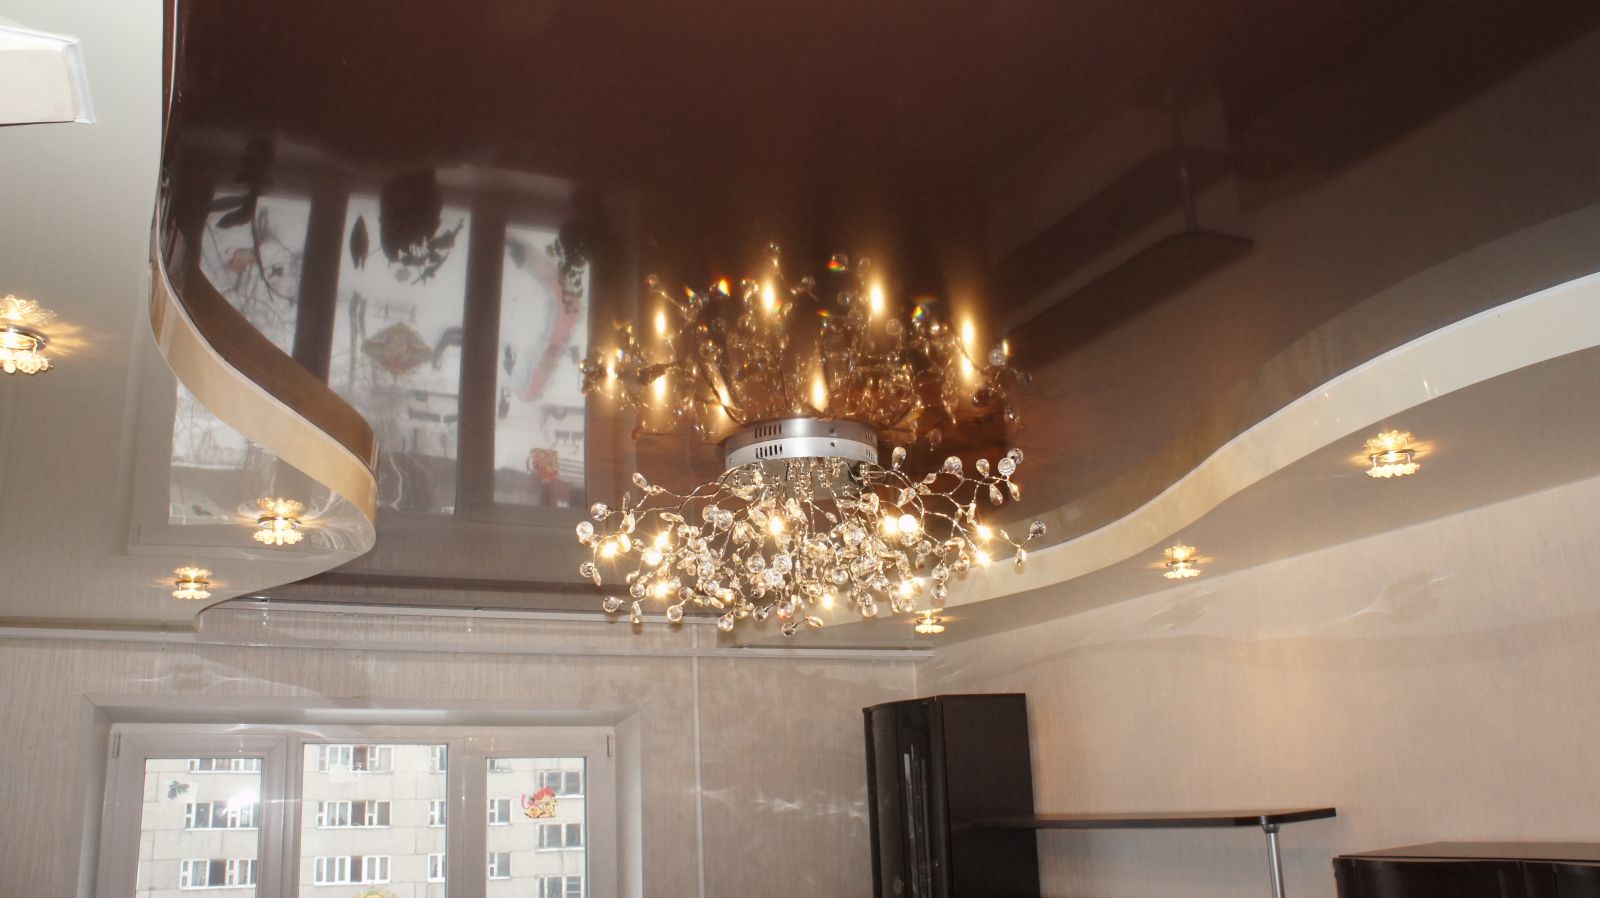
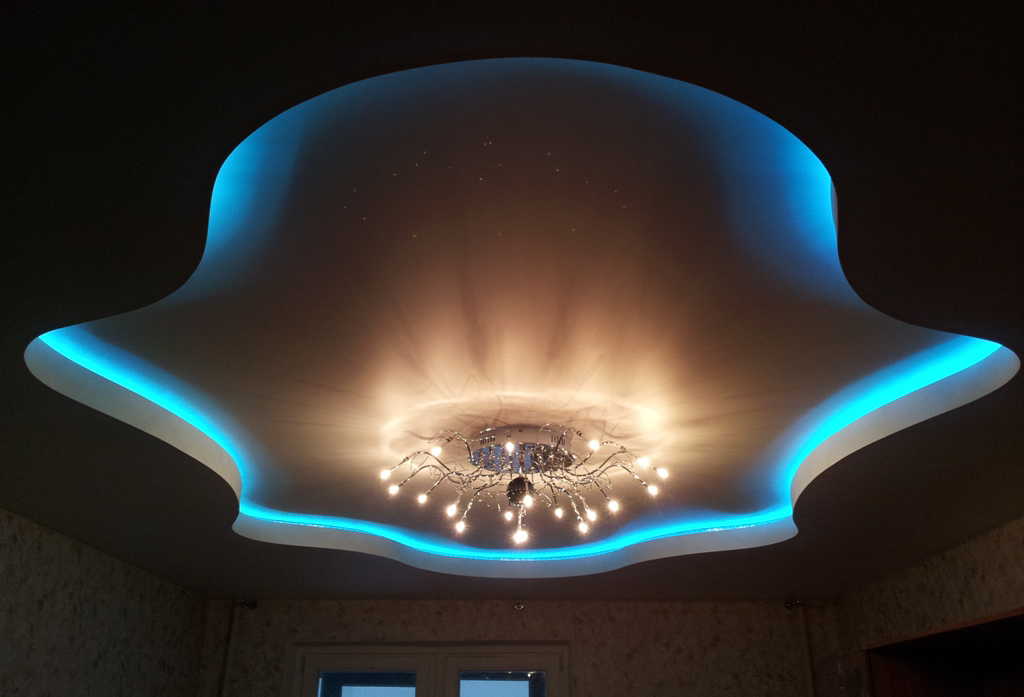
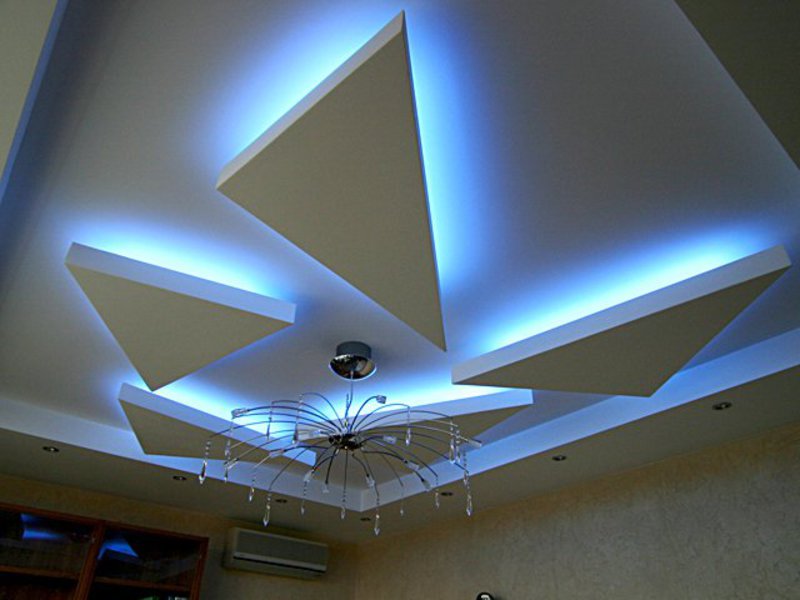
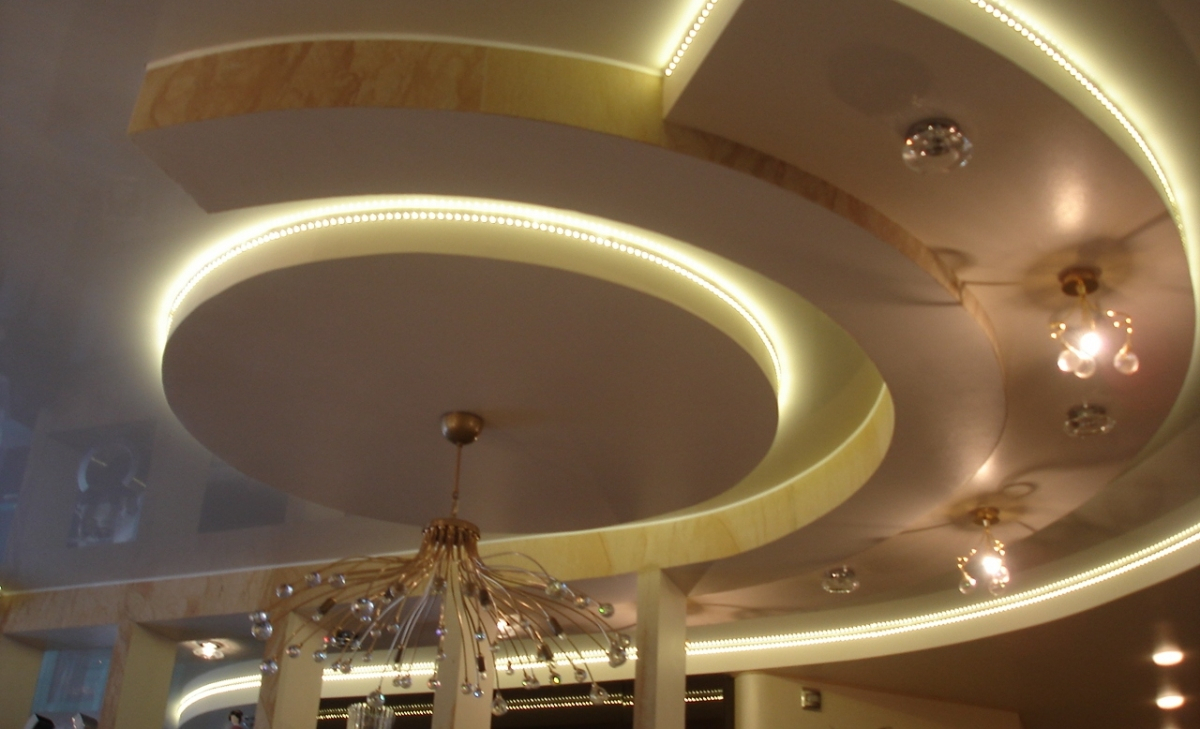
- A beautiful example of Led-lighting, combined with a central lighting. The mysterious shapeless contour of the base level of the ceiling blends well with the refined arachnid chandelier.
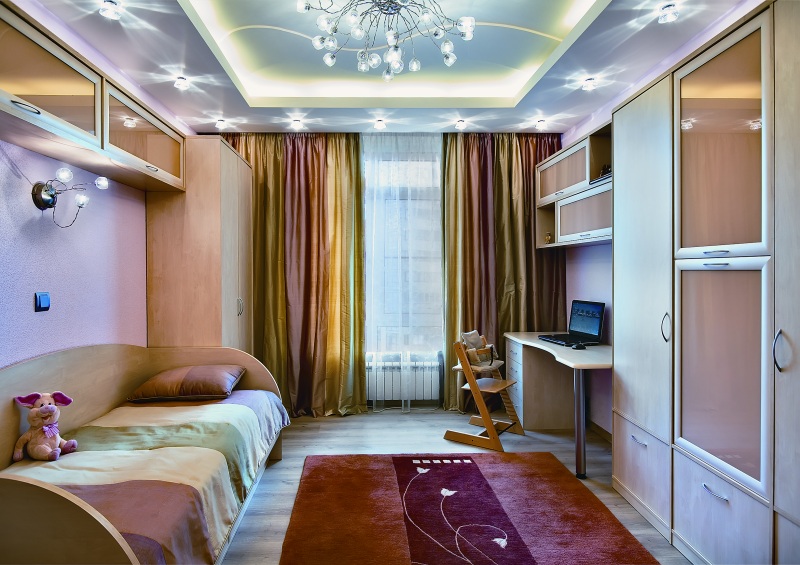
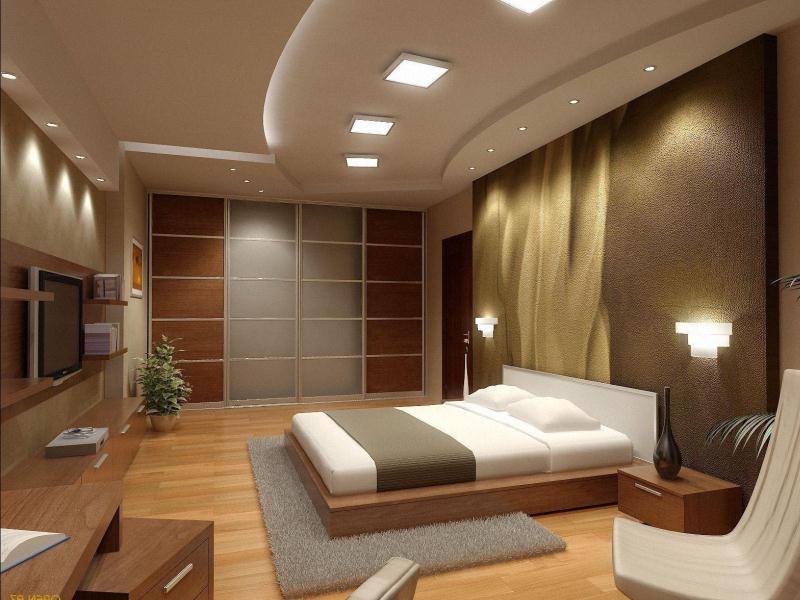
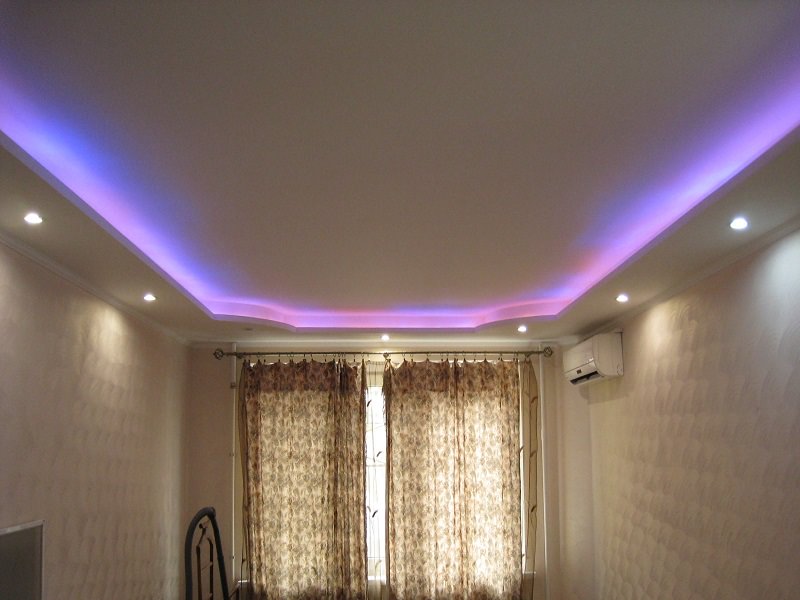
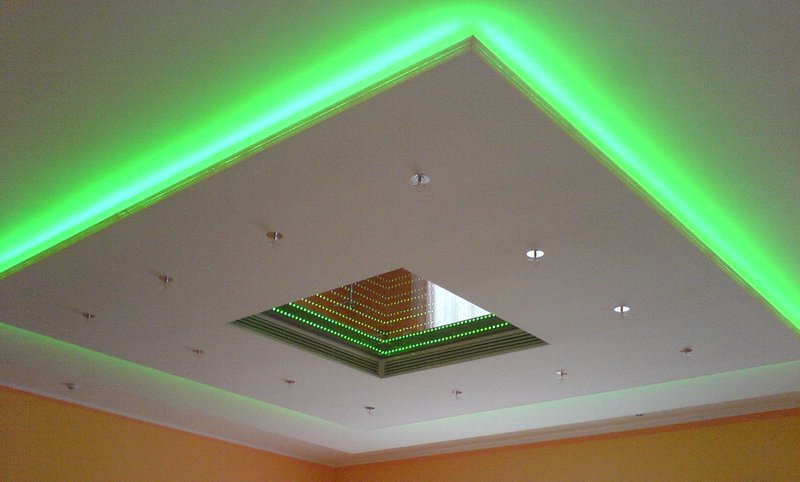
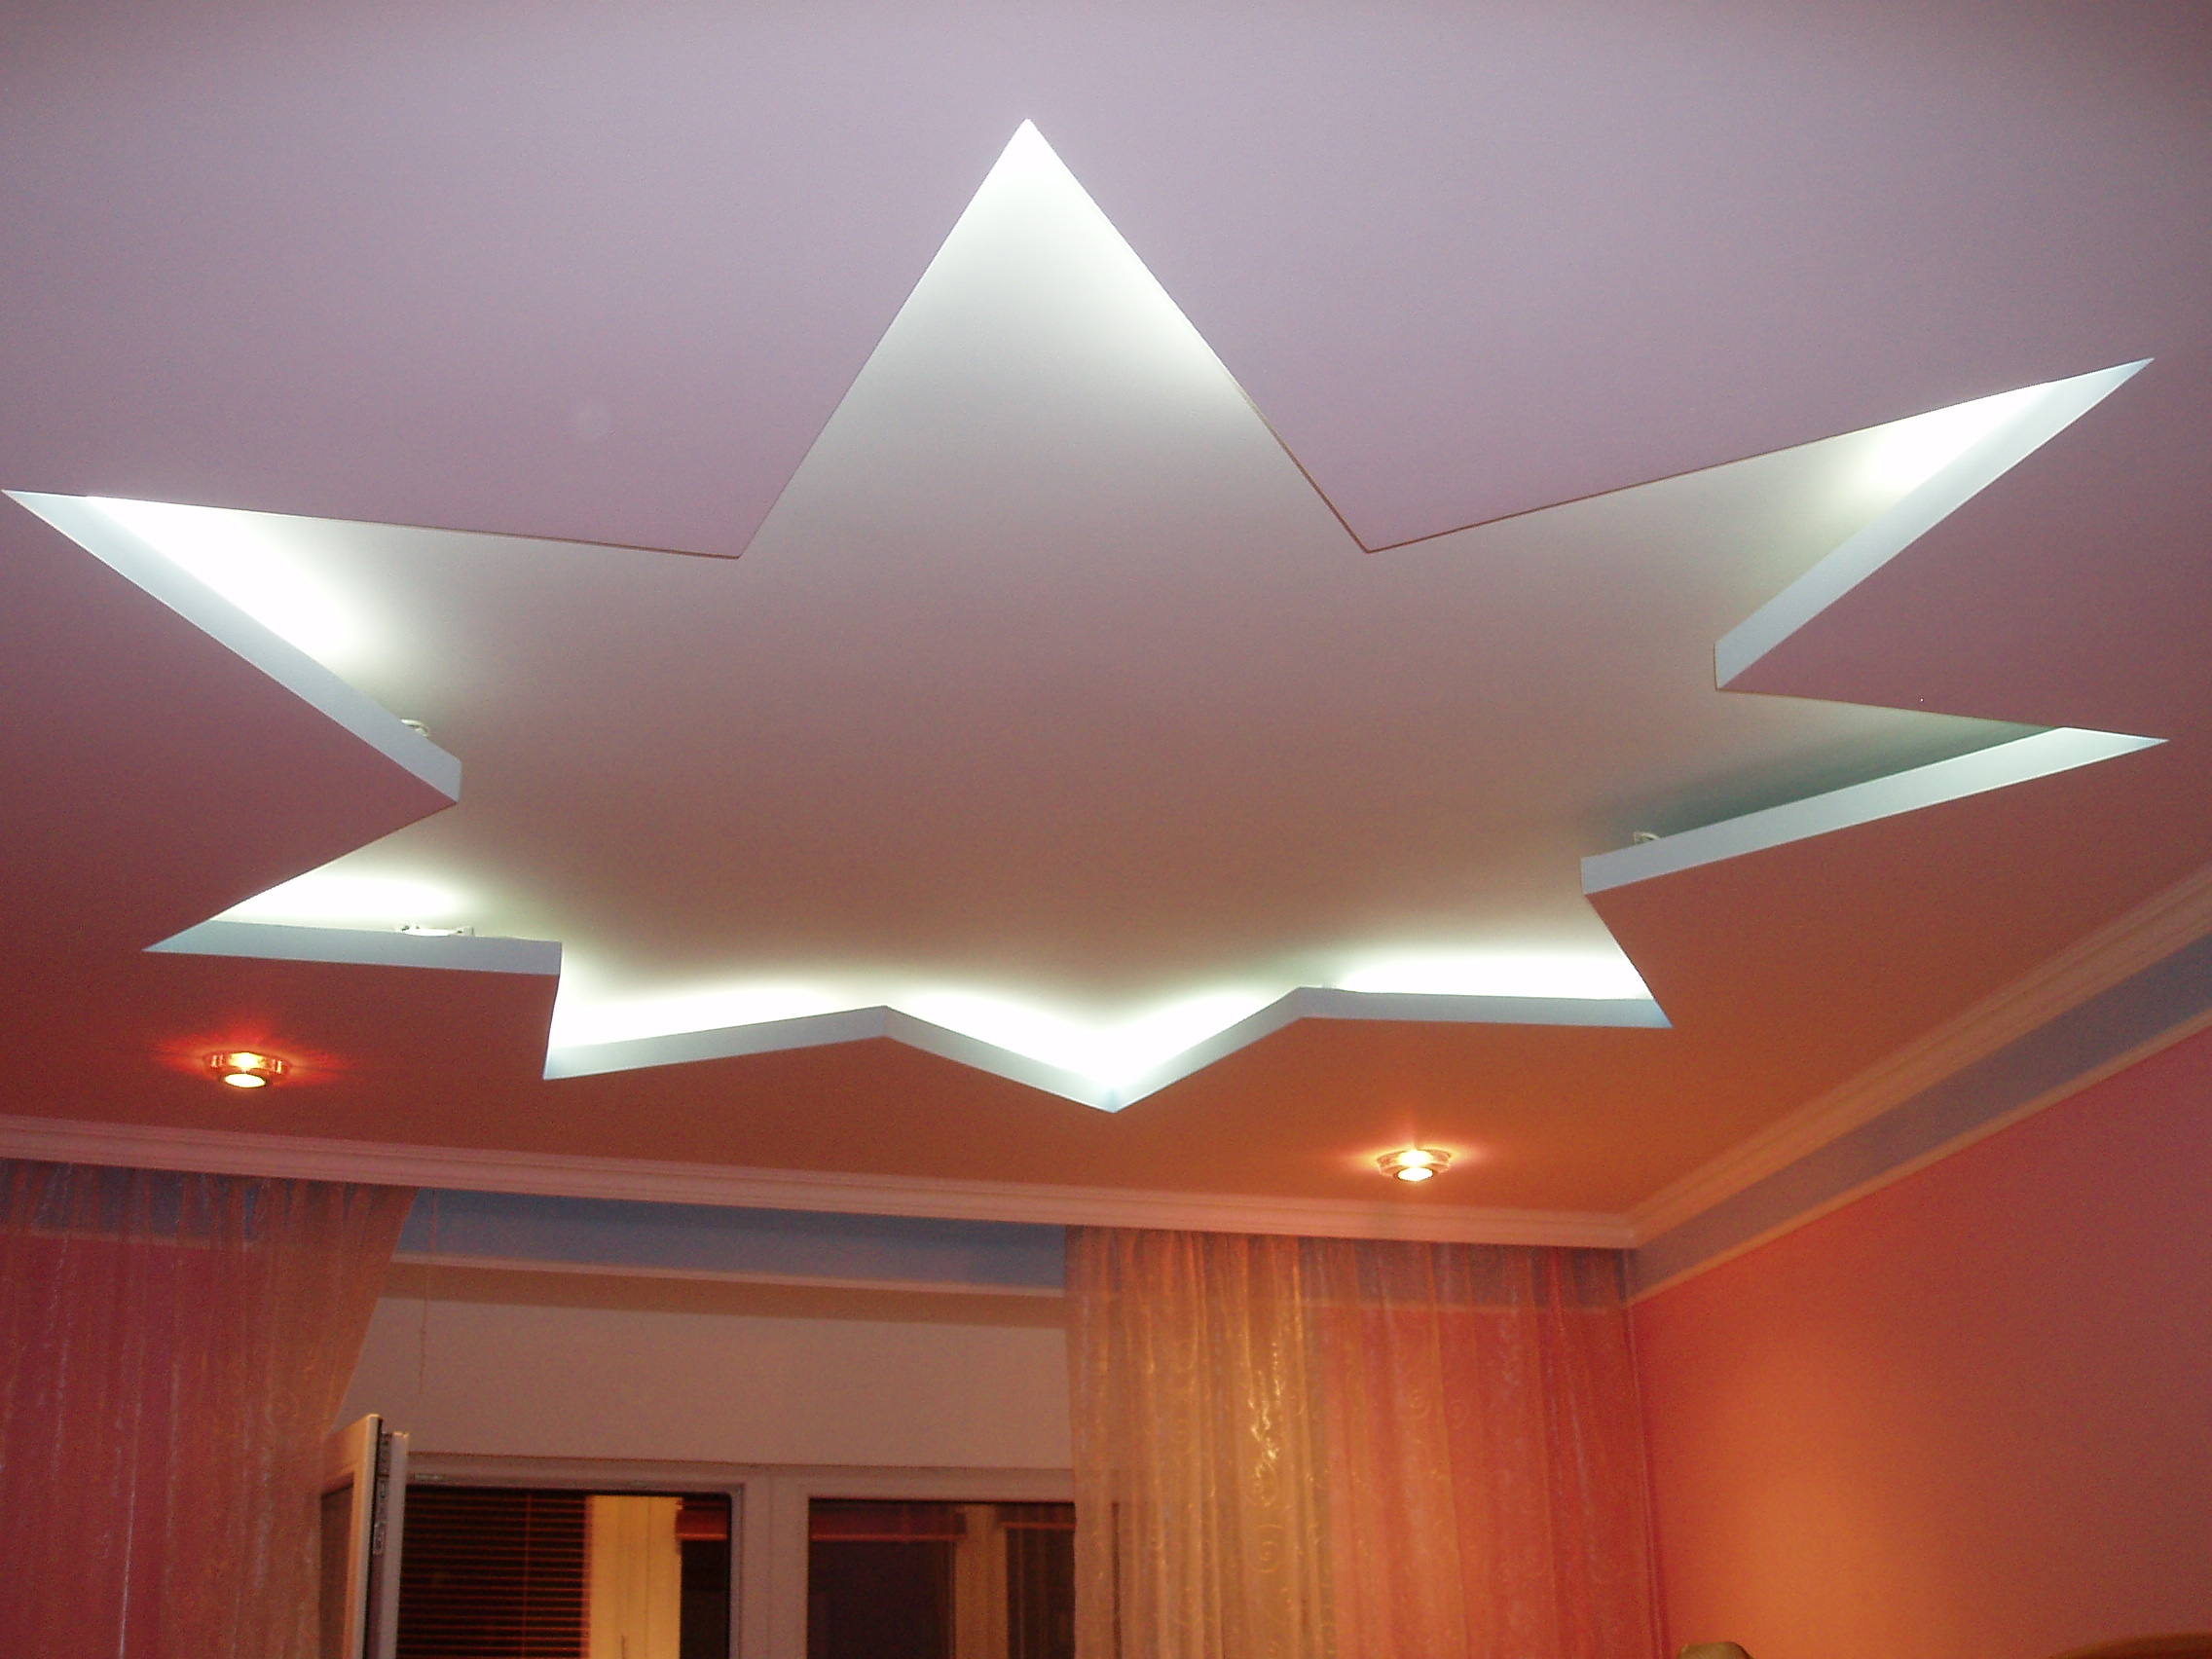
- The soaring ceiling of a geometrically regular shape, clearly zoned by the backlight.
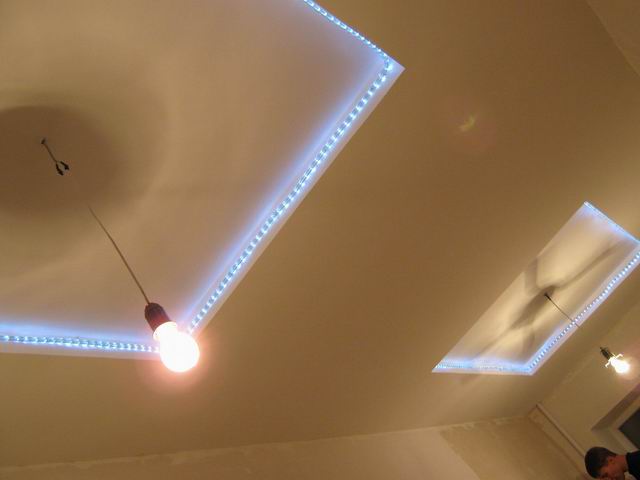
- With the help of the backlight, it seems that the triangles are floating in the air.
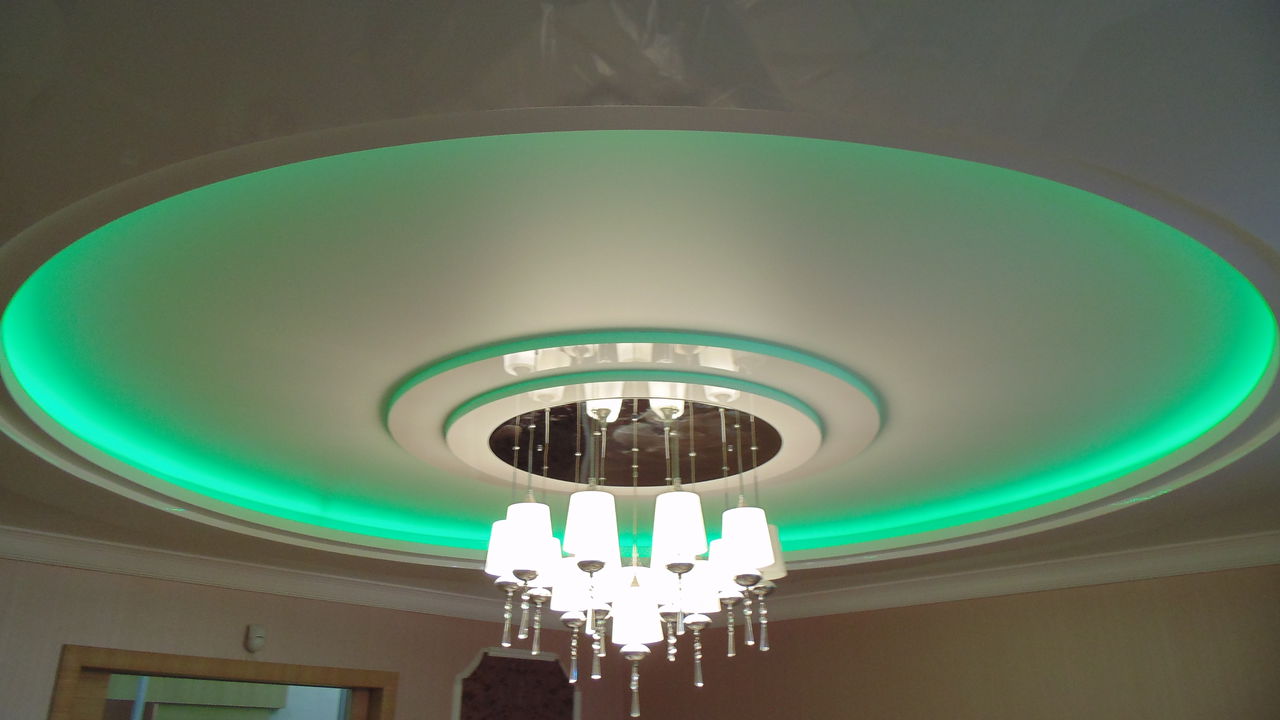
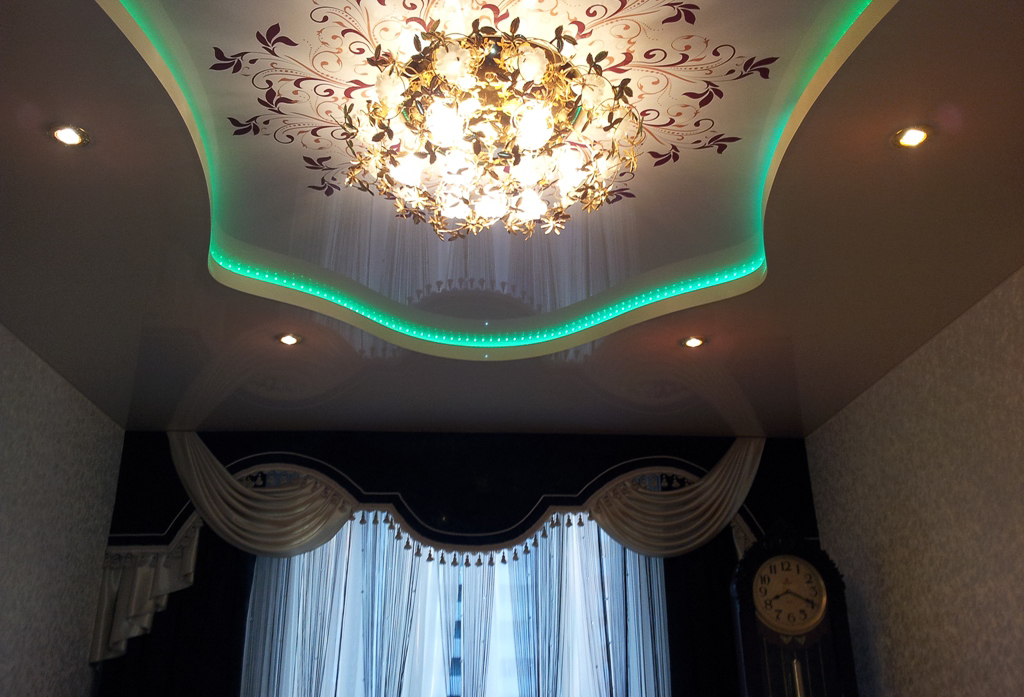
- Beautiful Led-ceilinged ceiling in two keys, with a magnificent central chandelier and spot lighting along the dark tier.
- Two-tier ceiling construction of GCR.
- Two-level ceiling with a print of the day sky.

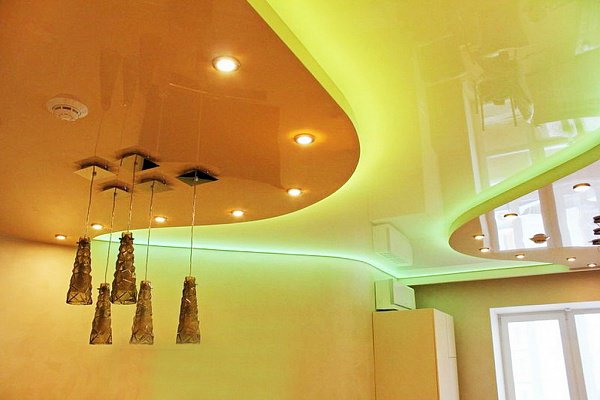
- Ceiling with suspension, two-color, with several types of lighting.
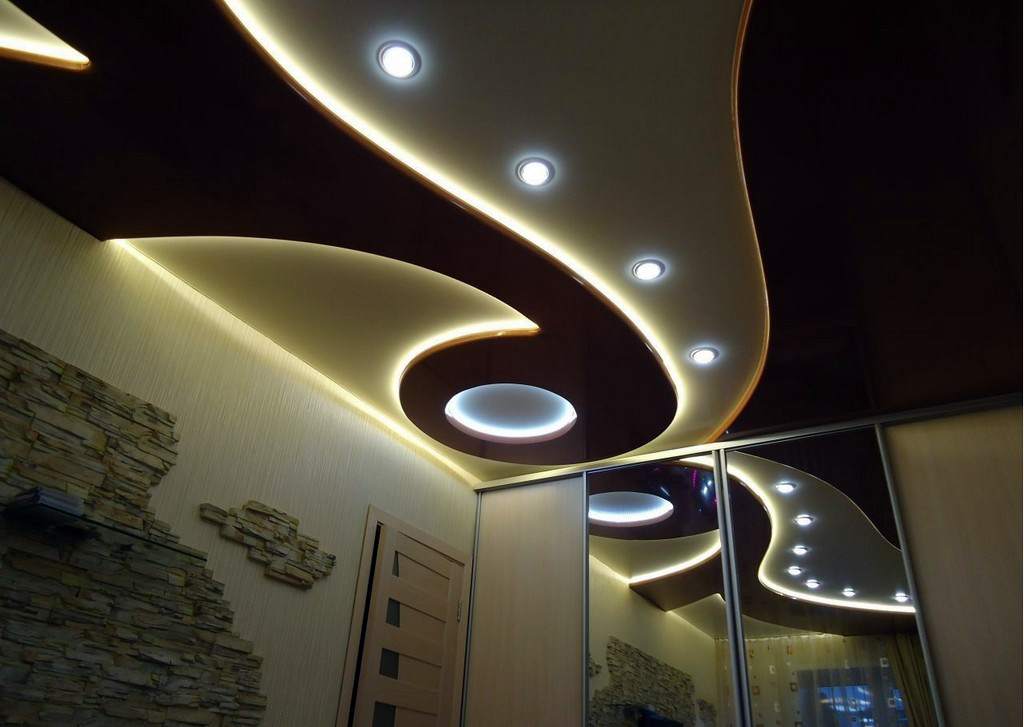
- Complex multi-level ceiling with different textures and types of lighting.
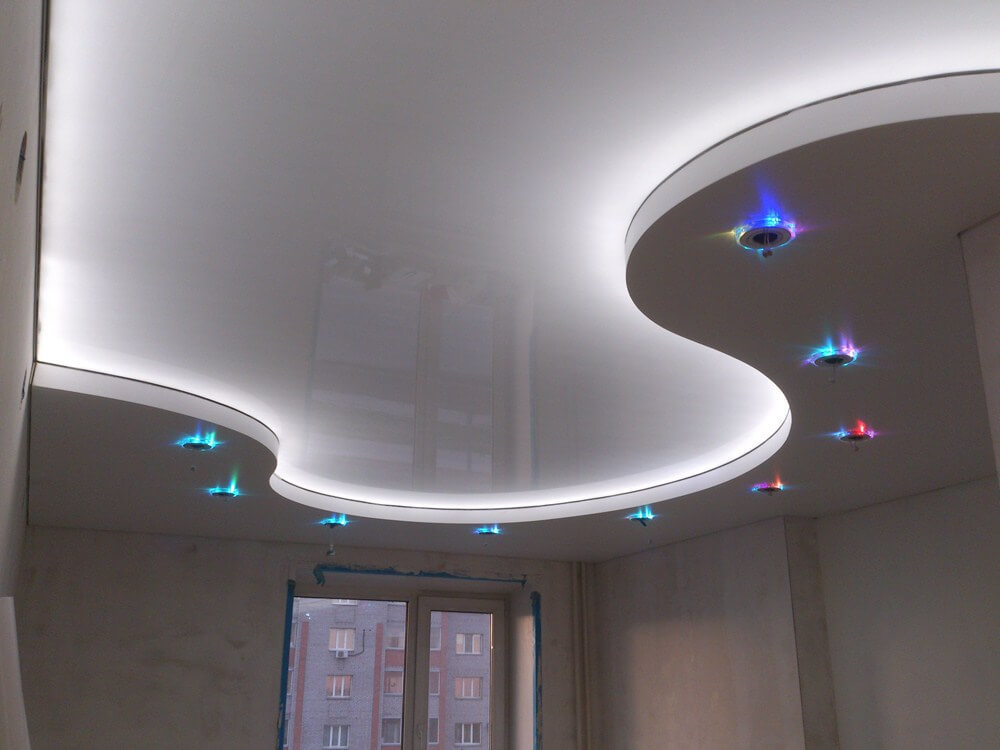
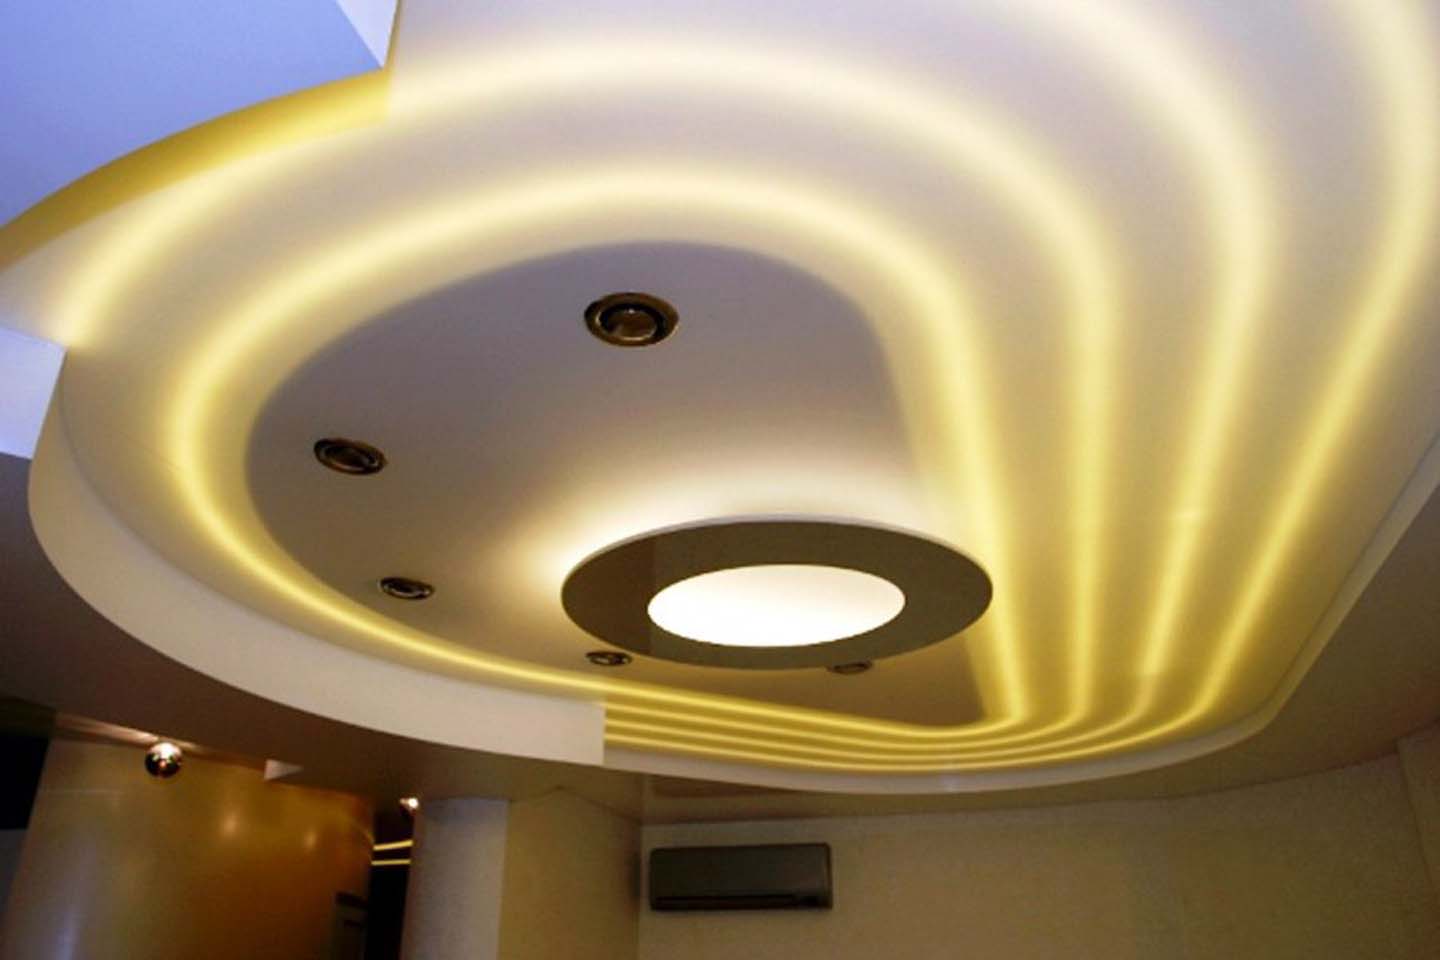
- Due to the hidden lighting, the ceiling resembles an amoeba floating in the air.
- With the help of hidden lighting made beautiful pattern on the ceiling.

Failed ceiling can destroy the design of even the most expensive interior, and the successful execution of the ceiling attracts attention with its magnificence and brings to the background any flaws in the situation.