Single-level plasterboard ceilings: features and examples in the interior

Surely every owner of an apartment or private house dreams of an unusual interior, because you want to surprise guests with your impeccable taste and original design solutions. One of these "chips" will be a single-level ceiling of plasterboard. Such a simple option is a classic and at the same time accessible to everyone the possibility of decorating the living room, nursery, office or bedroom.
Special features
In fact, there are a lot of reasons for installing a ceiling covering made of GCR: someone does not want to see a “curved” surface above his head, someone needs to reduce the size of a room by lowering the ceiling, and someone dreams of beautiful, modern built-in lamps. When making a choice in favor of a single-level or multi-level plasterboard ceiling, keep in mind that with a small height or in a small room it is worth staying at the first option, as complex structures will be out of place in such a room and can visually reduce its size.


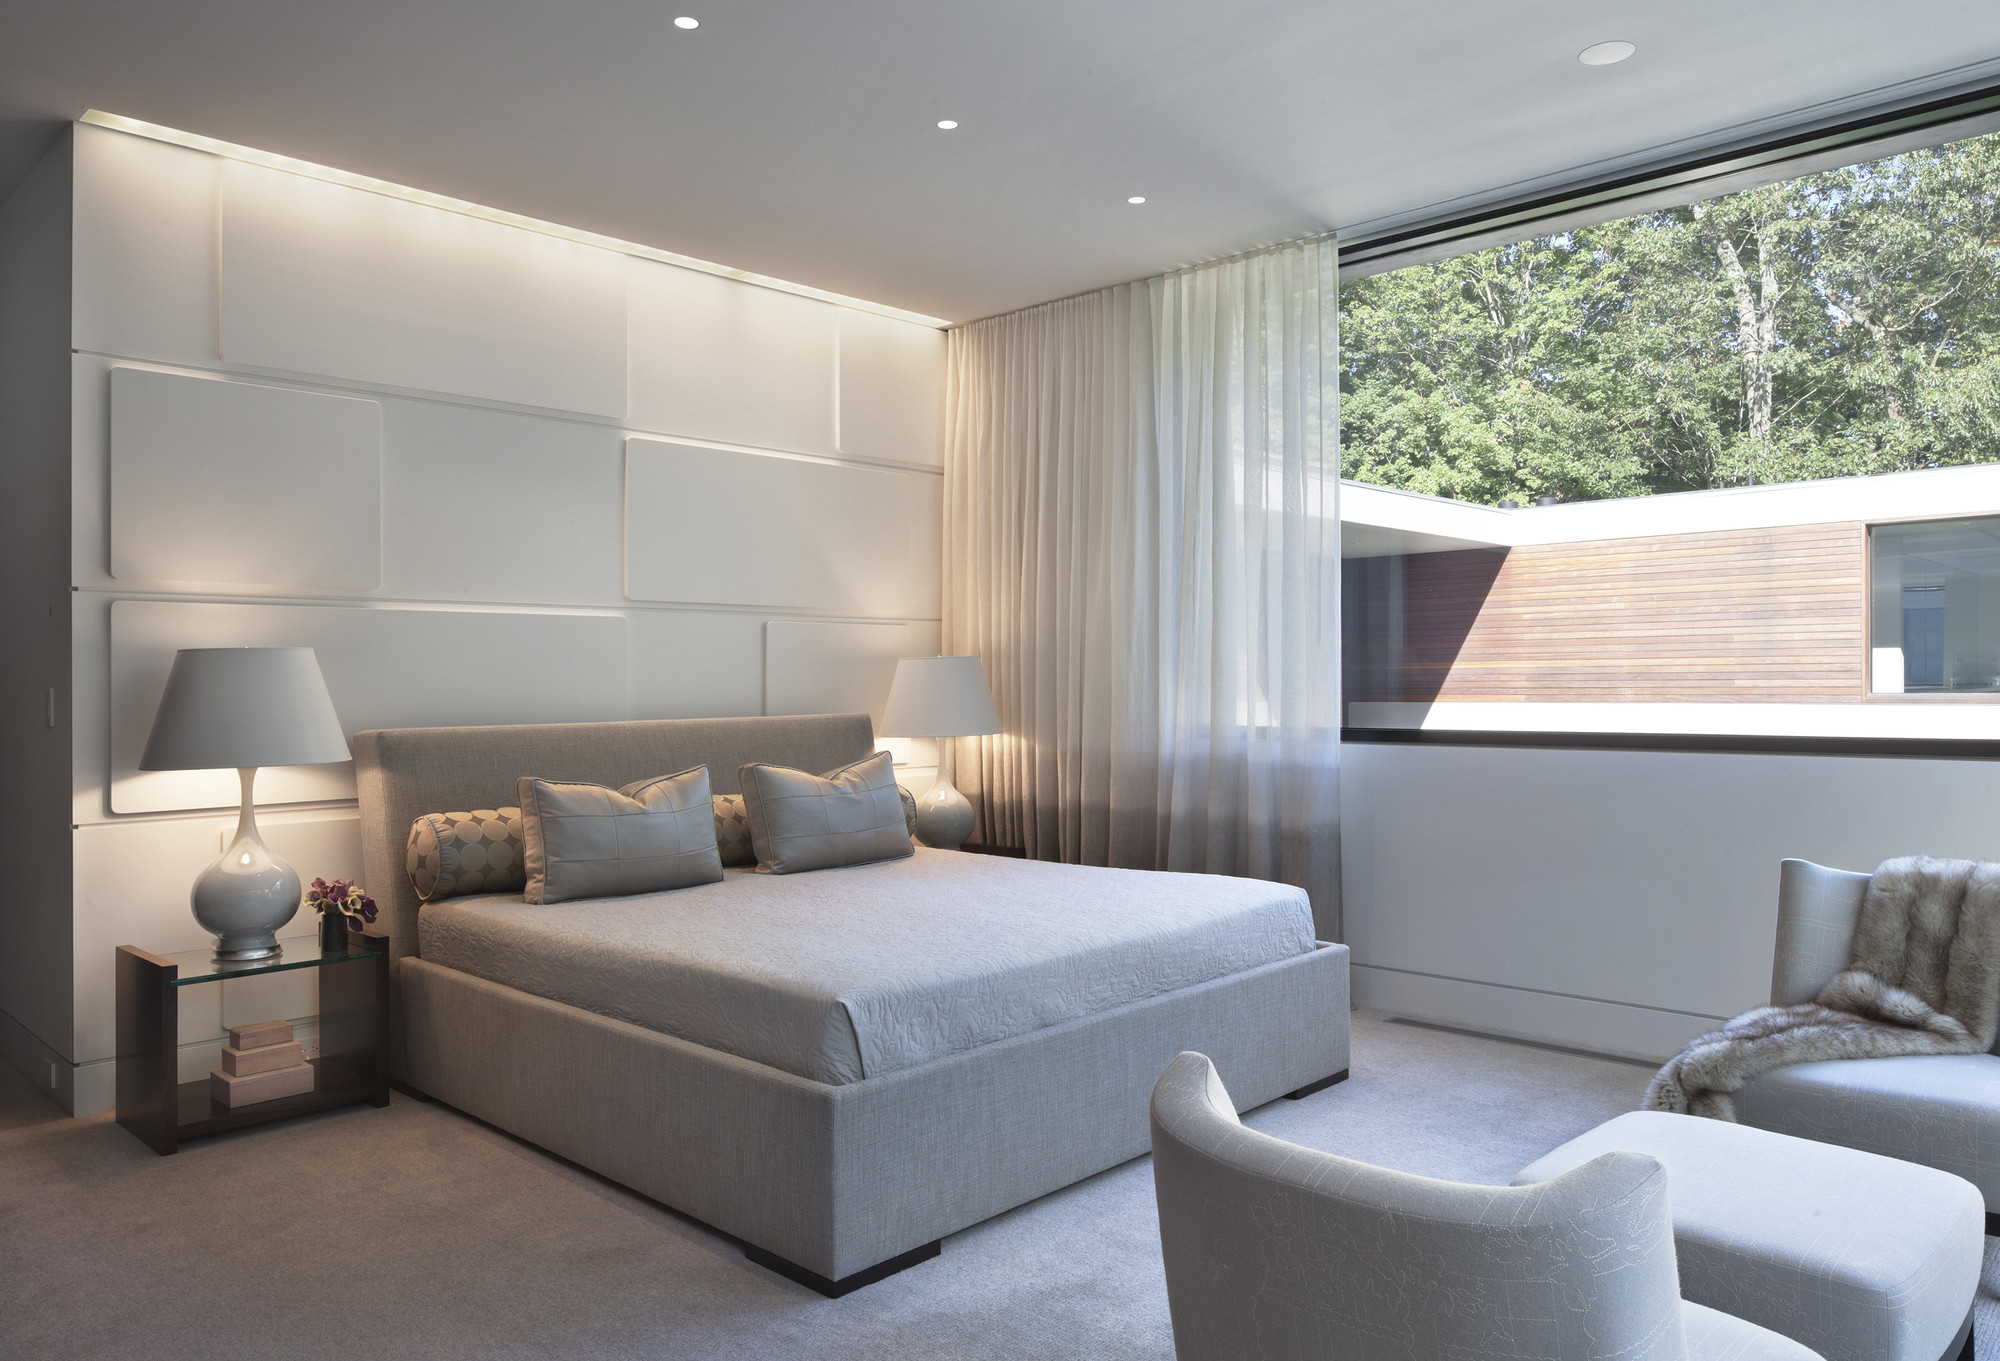
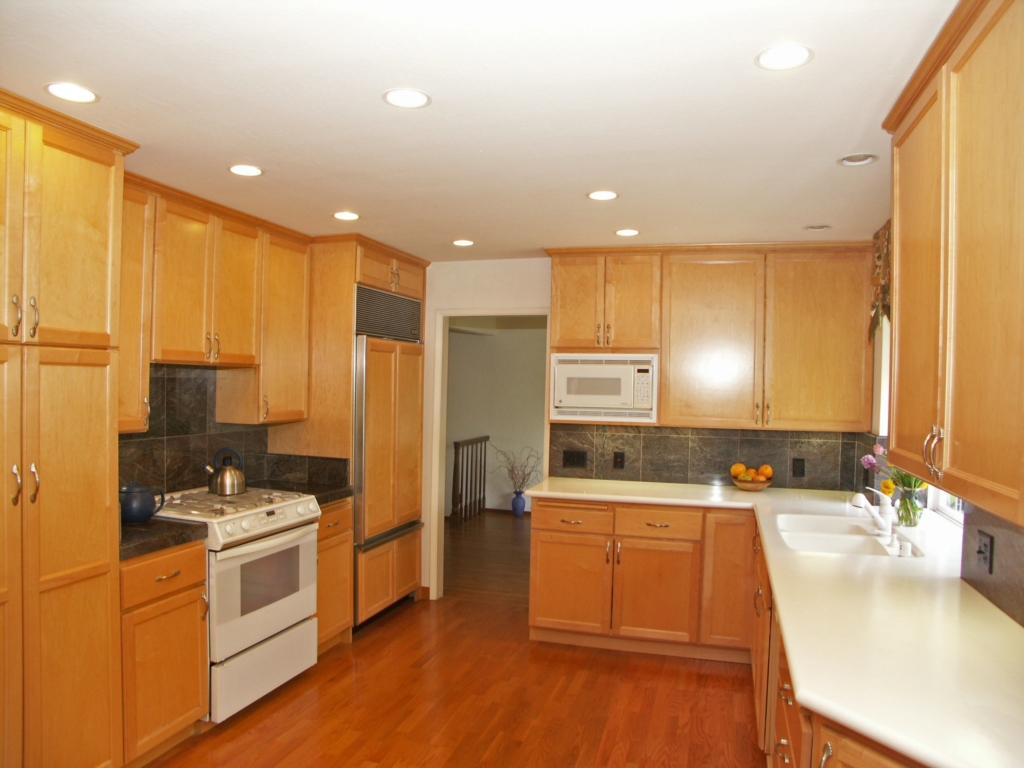
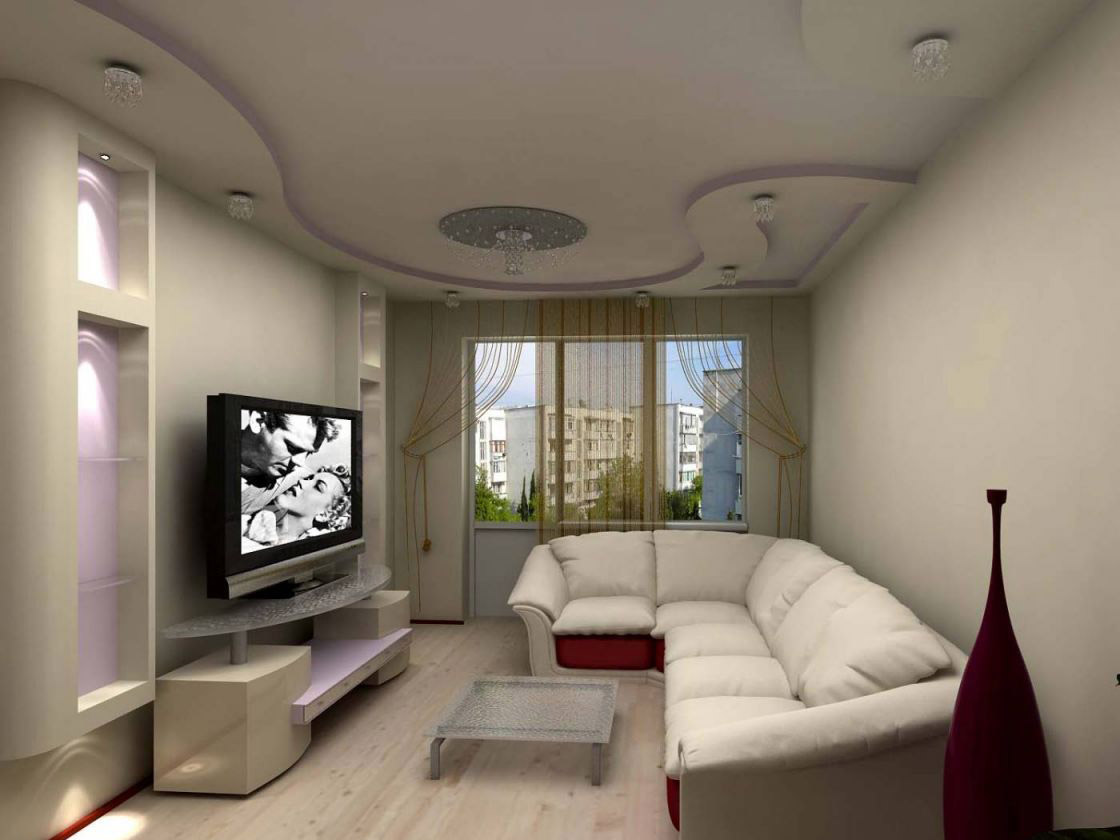
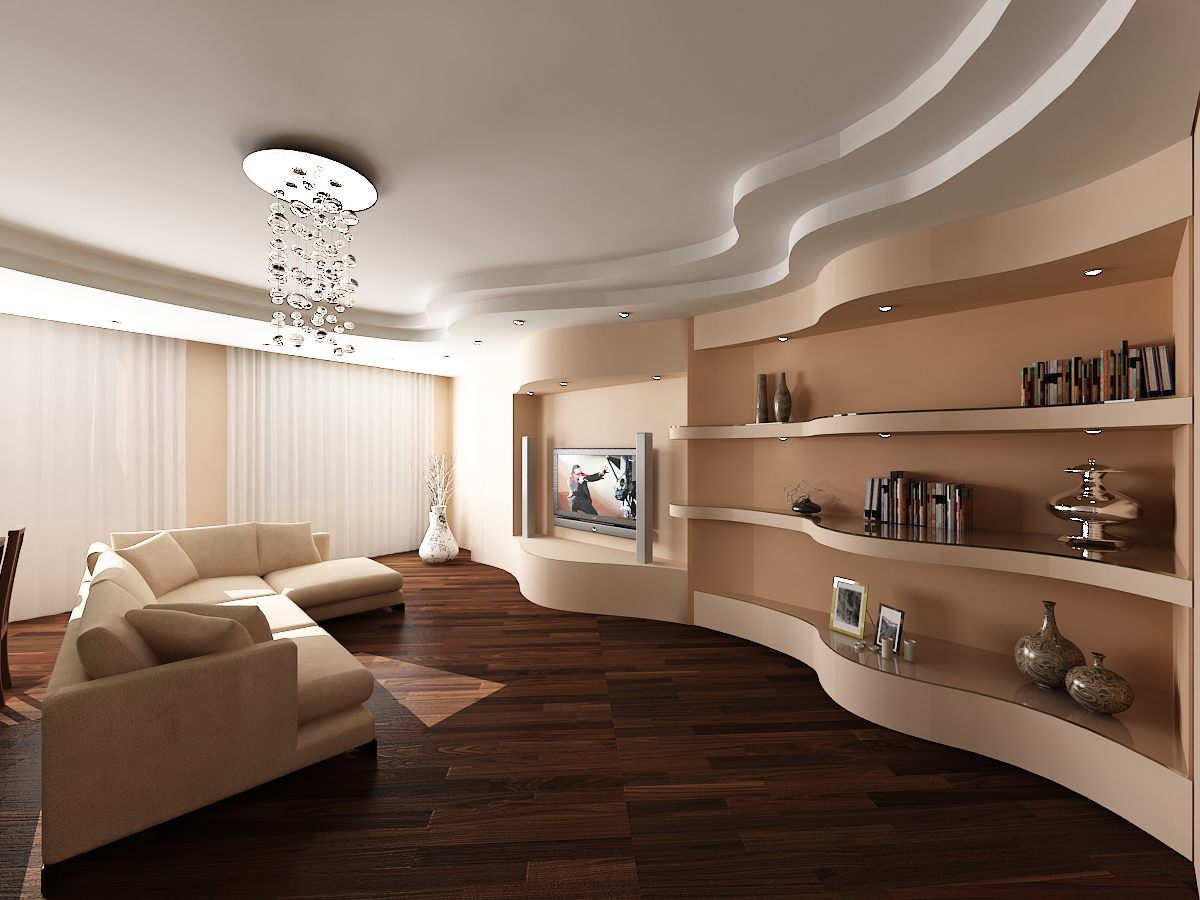
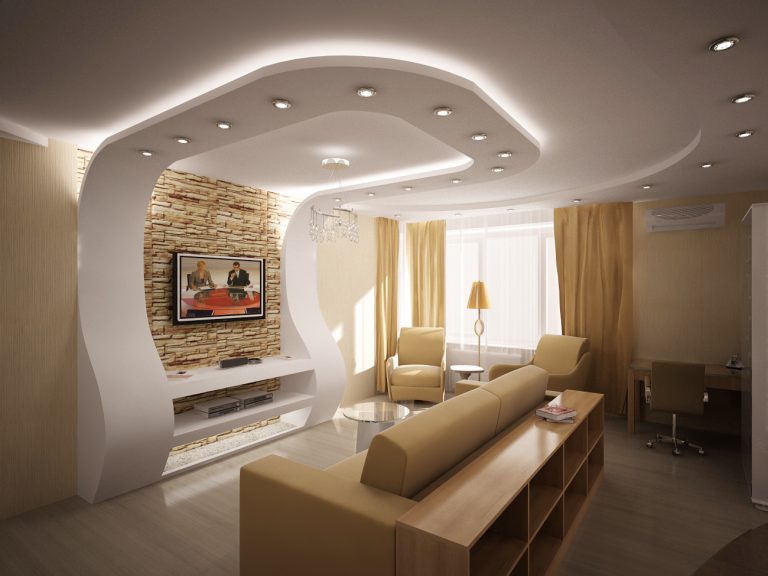
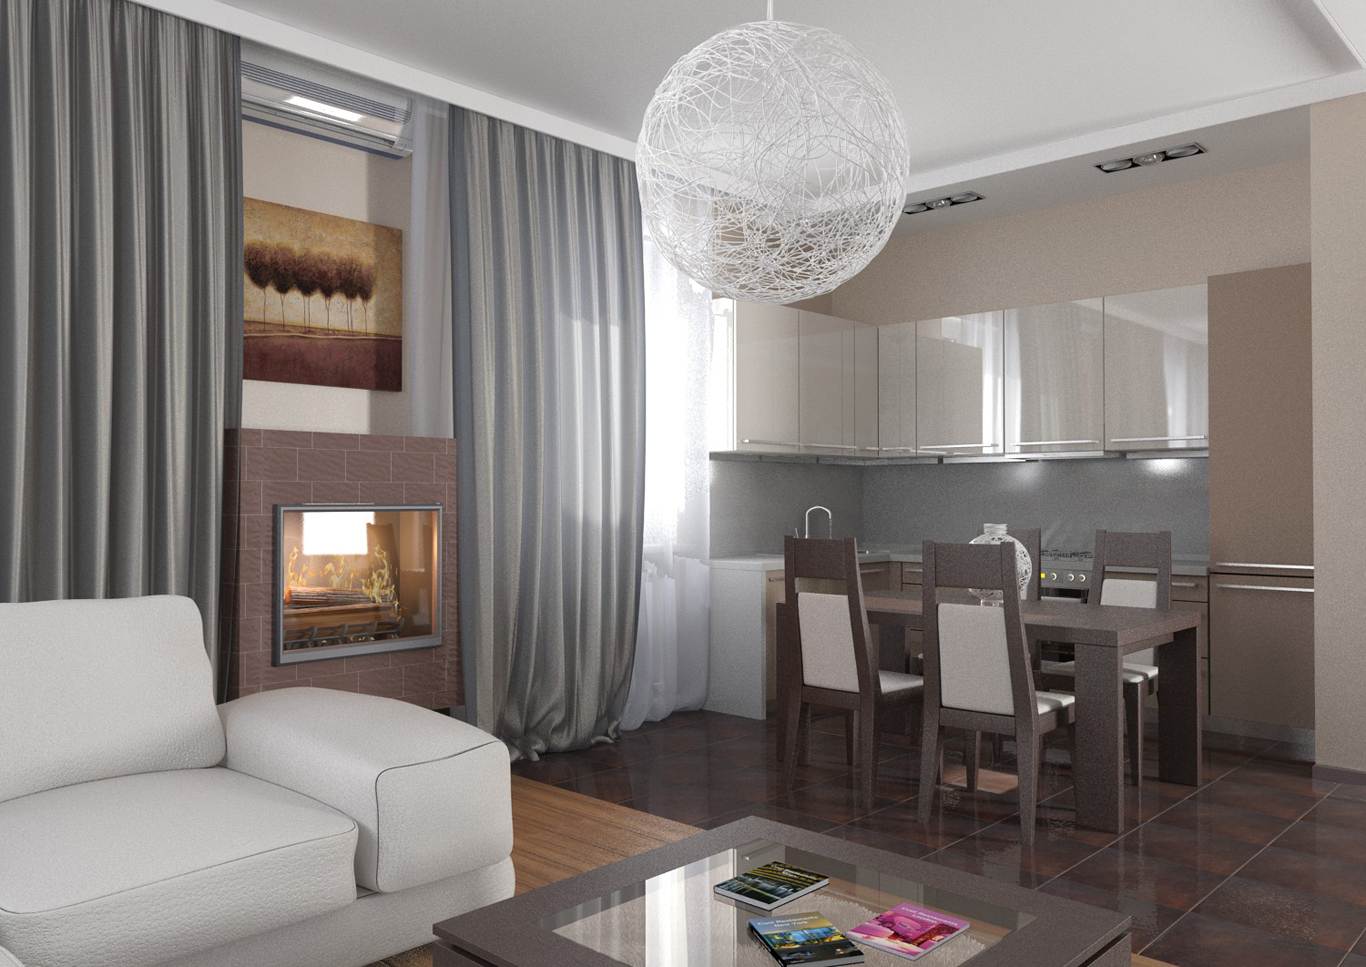
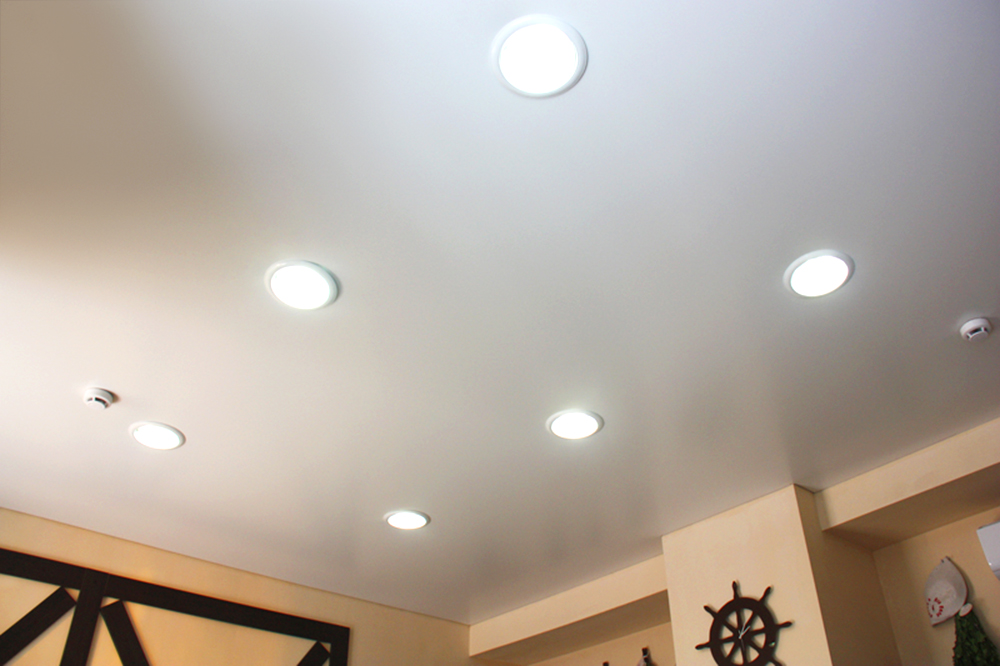
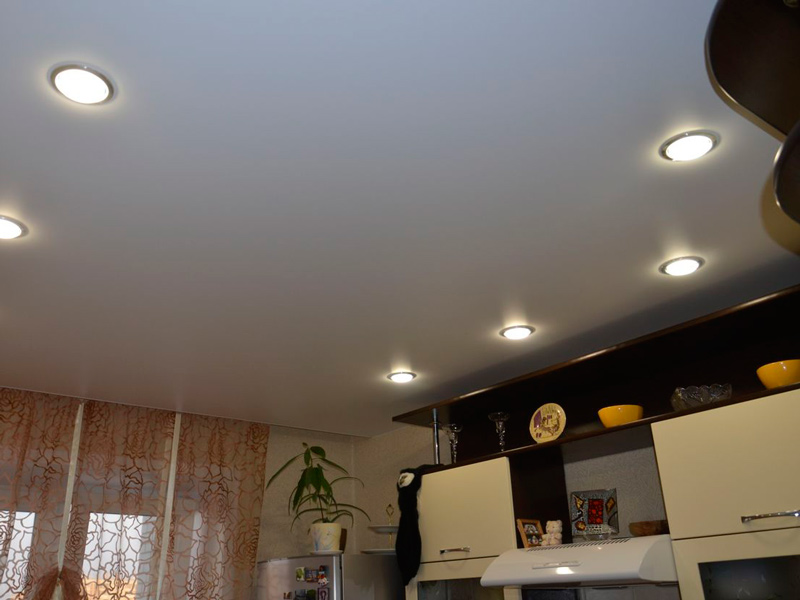
When installing a single-level gypsum ceiling can be used as built-in spotlights, and classic chandeliers. You can beat and create a star on the ceiling with luminescent paint. They will be invisible in the daytime, but in the evening and at night they will effectively decorate the interior, adding originality and mystery to it.
Benefits
More and more people recently chooses exactly the options of the ceiling of plasterboard and there are many explanations for this. The advantages of such a design are many:
- environmental friendliness and safety of the material;
- lack of synthetic and other odor;
- surface leveling;
- ease of processing improvised tool (knife);
- ease of installation;
- high heat and sound insulation characteristics;
- resistance to fire;
- variety of designs;
- the possibility of mounting fixtures;
- harmonious combination of practicality, beauty and functionality.
This ceiling:
- hides flaws;
- masks communication;
- not afraid of mechanical effects;
- non-toxic when heated.
There are several varieties of sheets GKL, which can be used for a single-level ceiling, in most cases, the wizard will choose the standard or moisture-resistant options.Plasterboard ceilings can be single-level, multi-level with complex shapes and all kinds of fixtures or combined with stretched canvas. Especially popular designs with light.

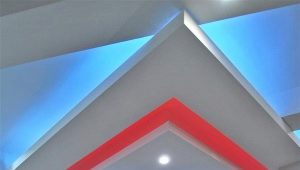
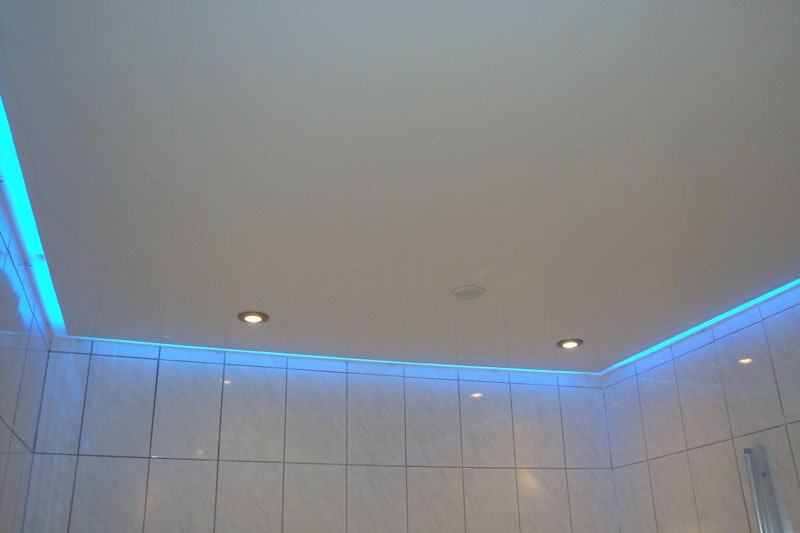
Using the backlight
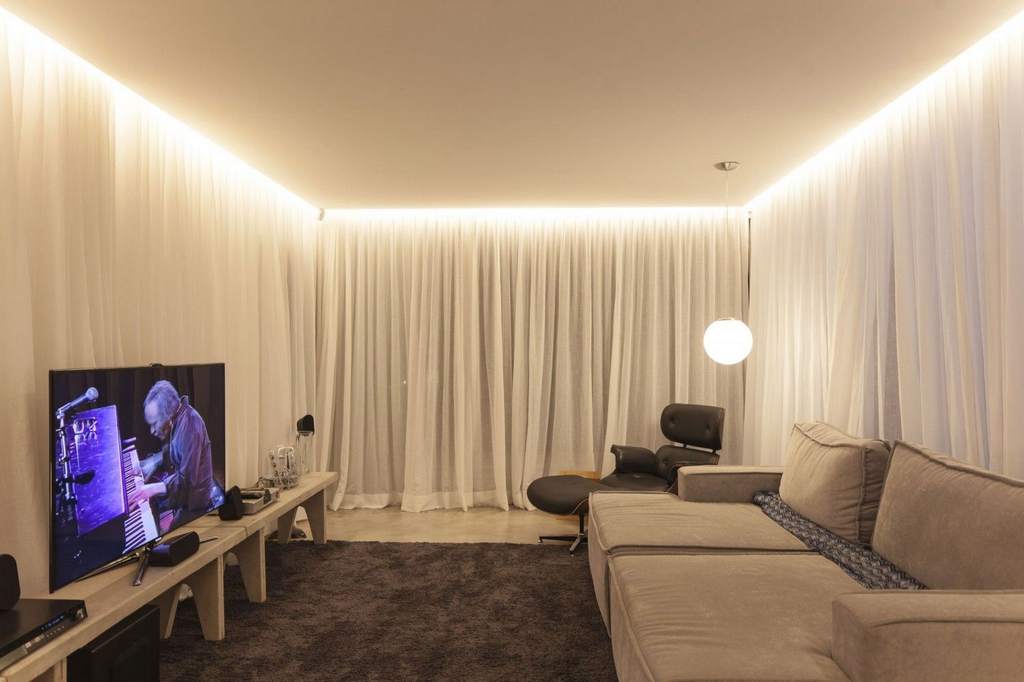
The backlighting, mounted in a plasterboard ceiling, can be open or hidden. For open lighting it is necessary to provide holes in the ceiling or a suspension for a chandelier. Hidden lights are located in special niches. Due to this, the lighting is very soft, scattered, mysterious.
Popular types of lights for the ceiling of HL:
- ordinary incandescent bulbs;
- duralight;
- neon lights;
- LED lights;
- classic chandelier;
- fluorescent lighting.
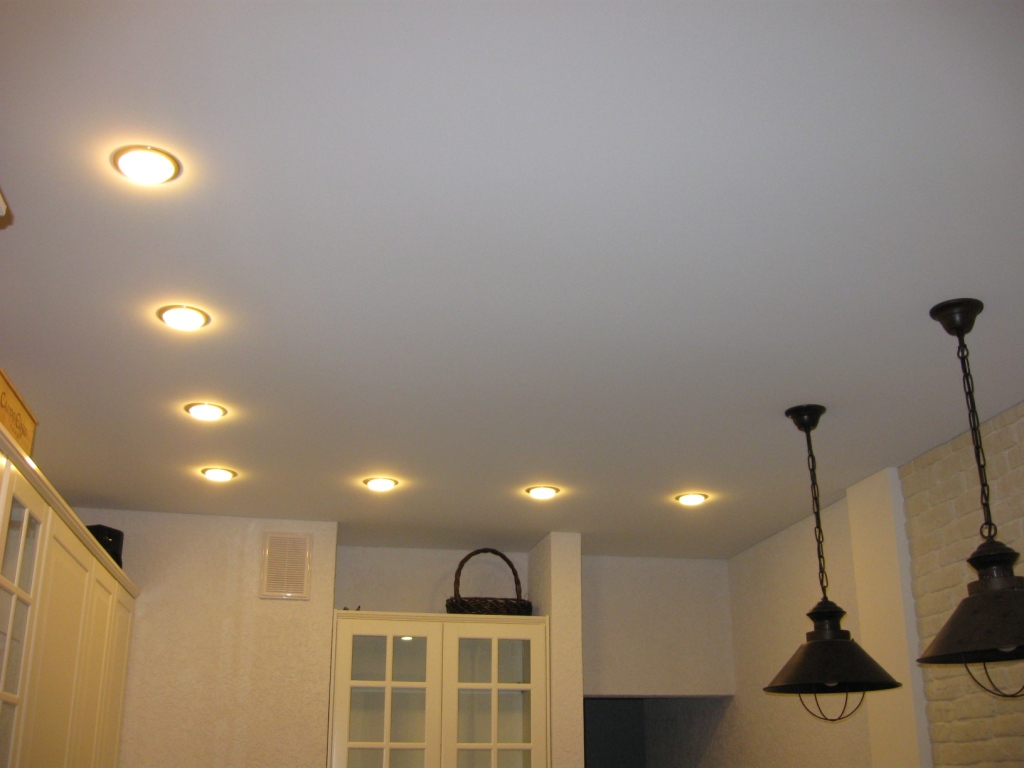
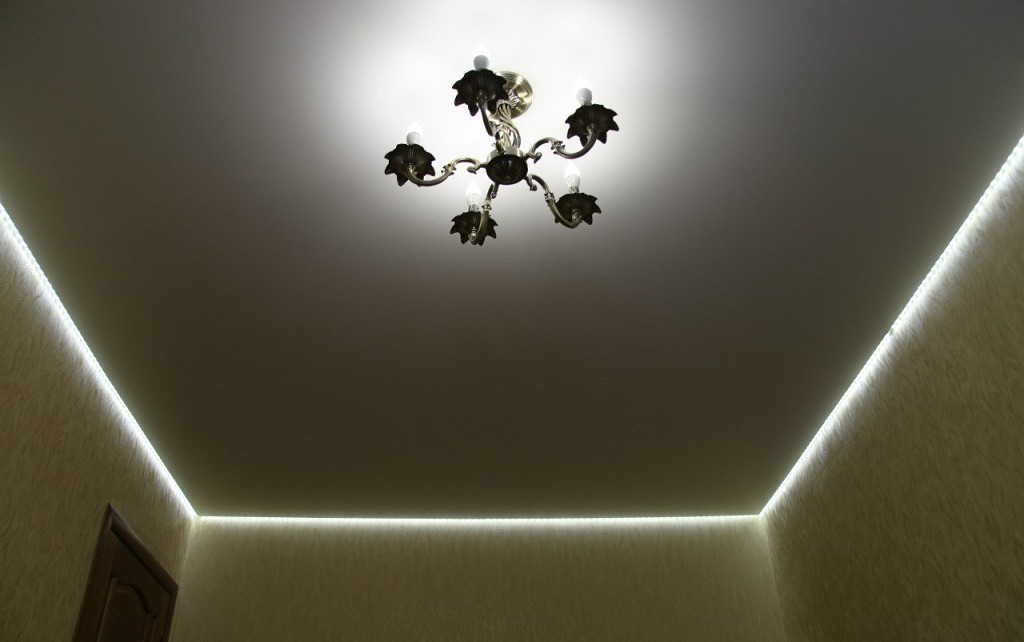
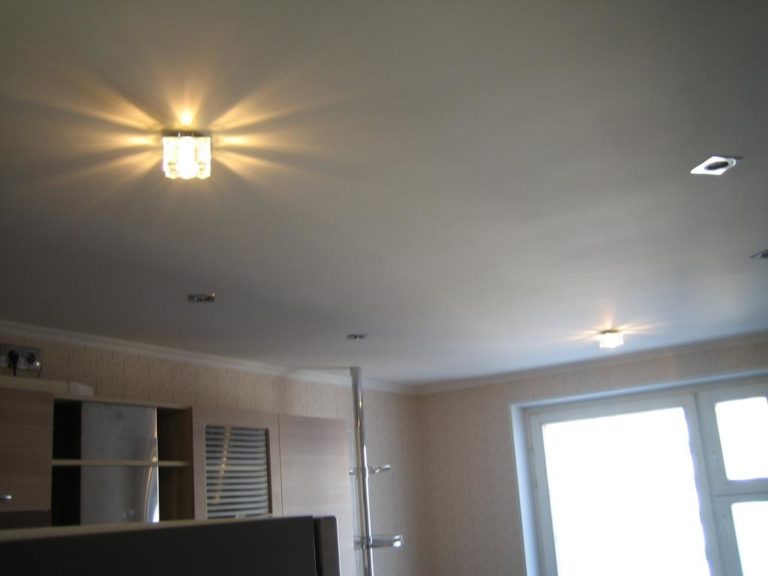
The most relevant in the single-level design will be spotlights or a standard chandelier.
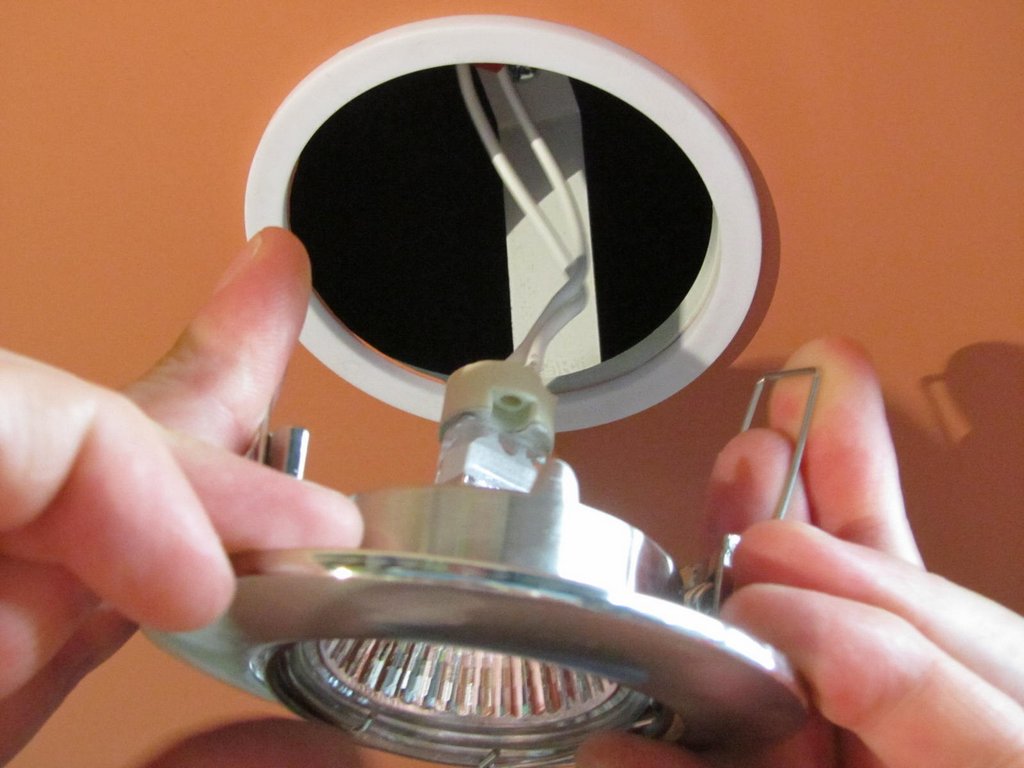
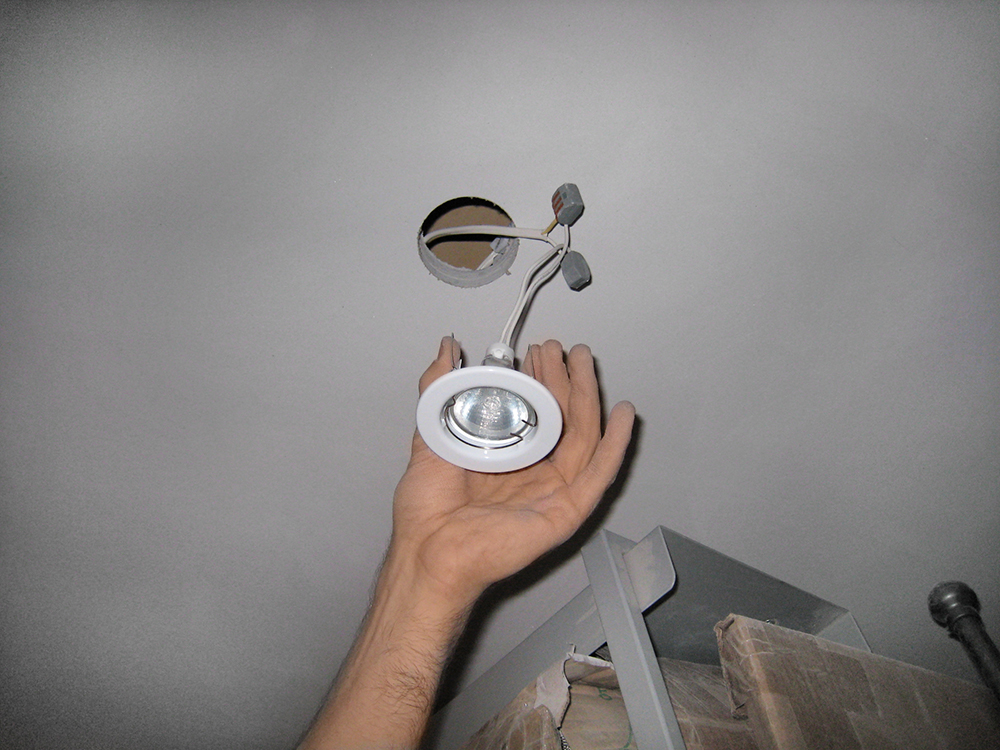
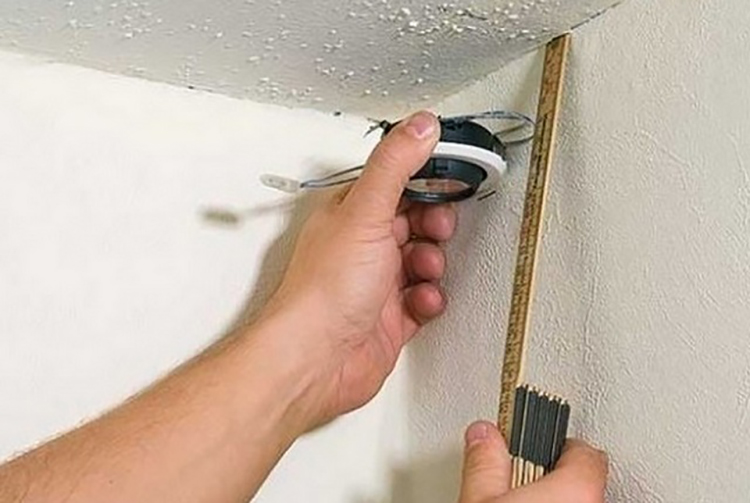
- For installation spotlight the marking is made, and then the holes are cut. The advantages of this type of lighting include the original design and ease of installation without the additional involvement of specialists. Disadvantages: the need for rework wiring, not very intense light,but at the same time quite large costs of electricity.
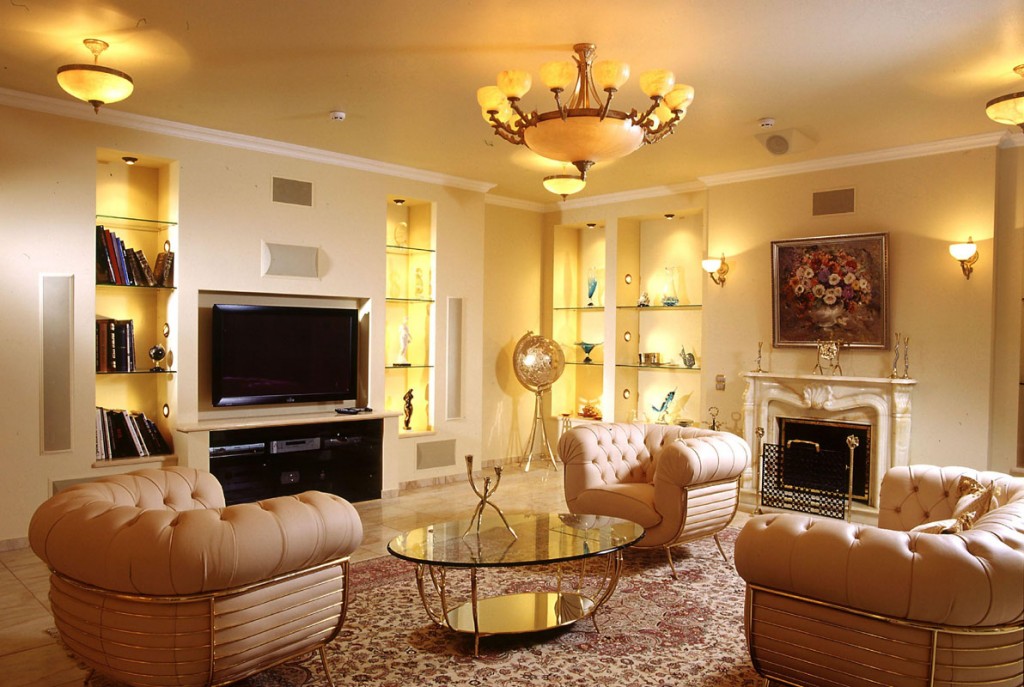
- Merits chandeliersA: Easy and quick installation process without rewiring. Designers choose such lighting option, as a rule, for interior decoration in the style of classic or baroque. In this case, if you use energy-saving lamps, electricity bills will not be so ruinous.
The disadvantages of this type of lighting include only the fact that a weighty chandelier sometimes “steals” space and visually reduces the height of the ceiling, therefore, it is not recommended to use it in small premises.
Installation
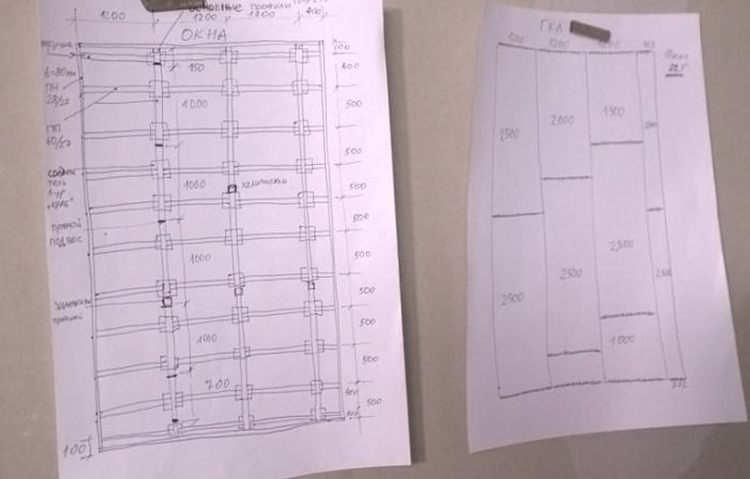
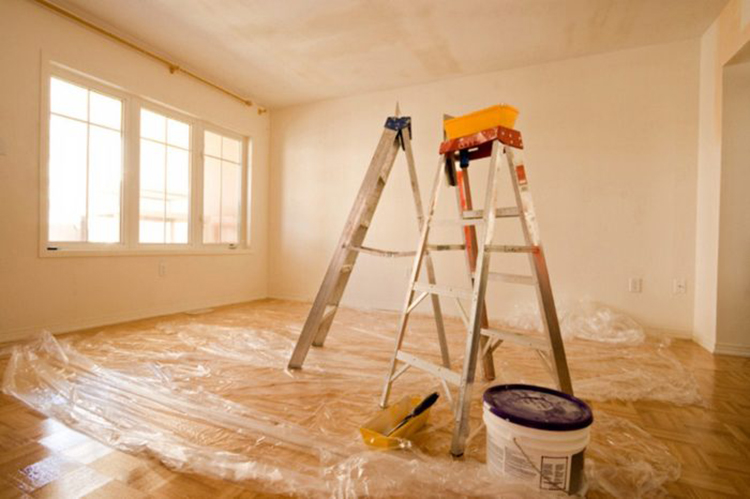
Installation of the ceiling, start with measuring tape, visually transfer the sketch of the room on a sheet of paper according to the calculations. When carrying out repair and construction works, make sure that the room is warm enough, at least 15 degrees. And if you started repairing the entire room, proceed to the installation of the ceiling after leveling and processing the walls, but leave the painting work for last.
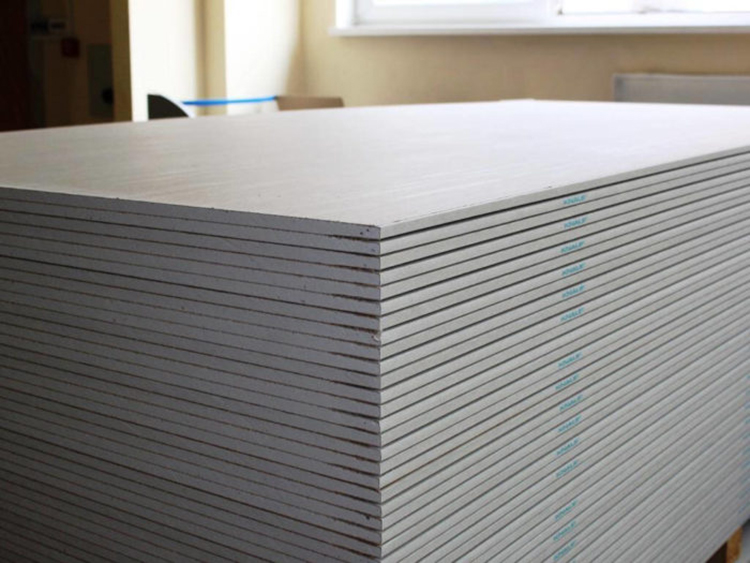
To make your ceiling durable and of high quality, you should pay special attention to the storage of drywall. Purchased GCR is aged at room temperature for at least one day. At the same time, pay attention to the fact that there are no temperature leaps and fluctuations in the humidity level in the room, the quality of drywall may be affected. Keep sheets GKL exclusively in a horizontal position, while avoiding sagging.
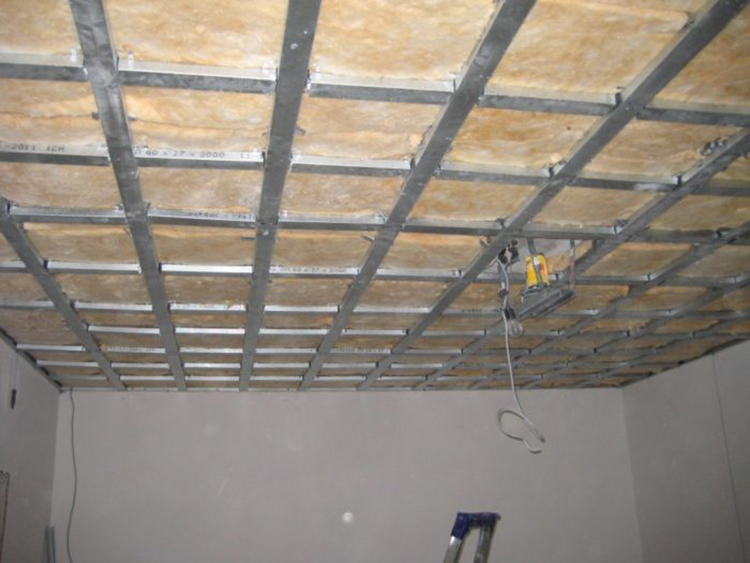
Before installing the backlight is the installation of the design of the drywall. First, the frame is fixed from a metal profile, while the necessary openings or niches for lighting are thought out. If you have building skills, you can fix the plasterboard on the ceiling yourself. Or invite a team of professionals who will not only install the ceiling, but also help with the choice of the type of lighting.
Working with the ceiling surface is not so easy, because you have to constantly be between the floor and the ceiling with your hands up, so you should not rely only on yourself, but rather get an assistant who will give you the tools and materials.
Consider the main stages of work:
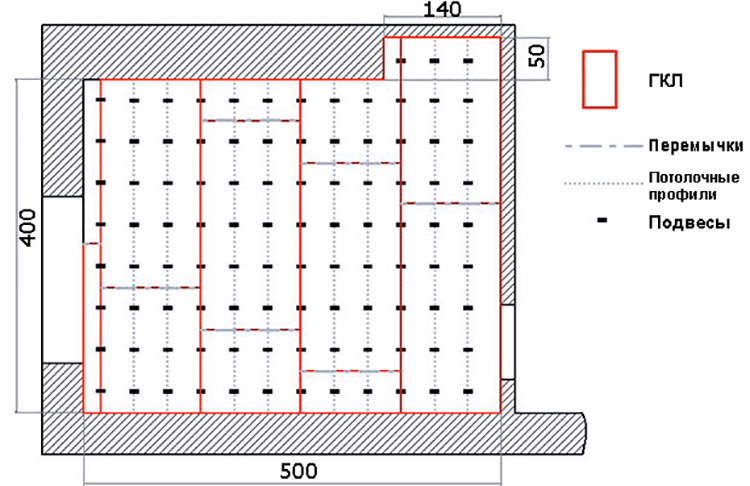
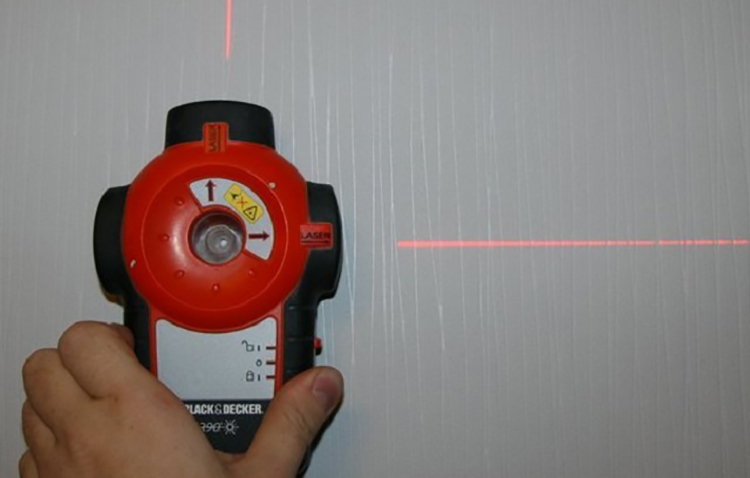
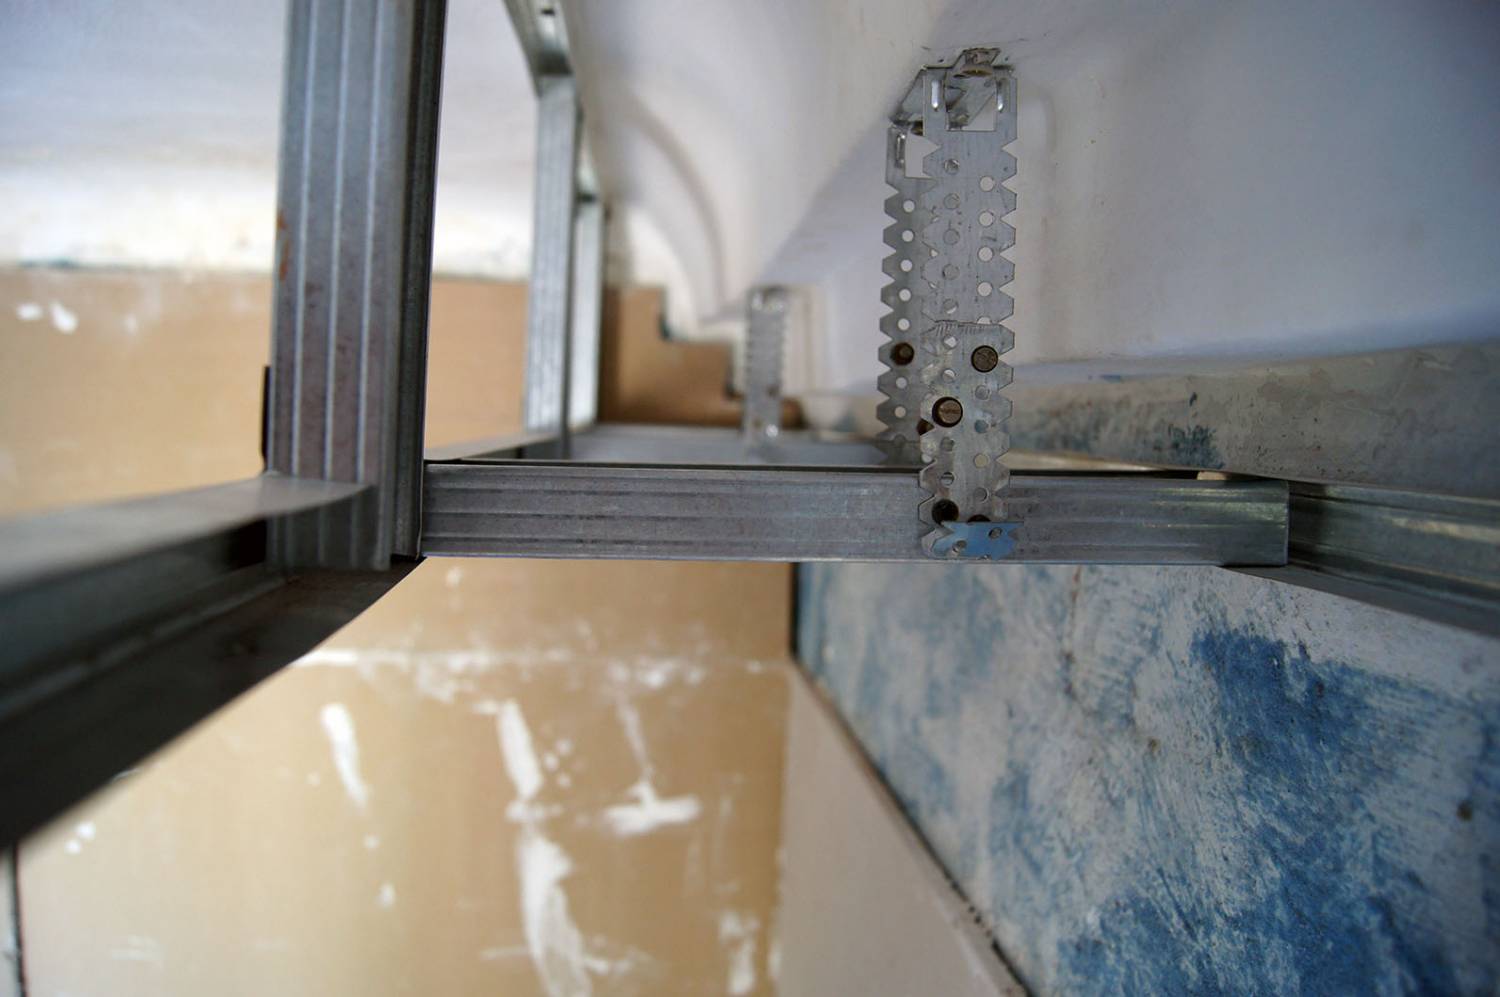
- Clean the ceiling from the remnants of wallpaper, old whitewash and putty, remove the chandelier and other lighting fixtures.Along the perimeter of the room, draw a line a few centimeters from the ceiling, along which you will mount the profiles. First, the suspensions for the main frame are mounted, for this you can apply a grid with markings to the ceiling and fix them with an equalizer at an equal distance from each other.
- Then along the perimeter a guide profile is attached. As a result, you get a "metal belt", which will be inserted into the main profile. It is fastened with screws to hangers that carry the load on the gypsum sheets. The ends of the profiles are inserted into the grooves of the guides. At the same time pay attention that the main profiles do not bend, check this level.


Some craftsmen use adapters - “crabs” made of metal or extension pieces of profiles, which allows you to make a plasterboard ceiling in large-scale space without additional help.
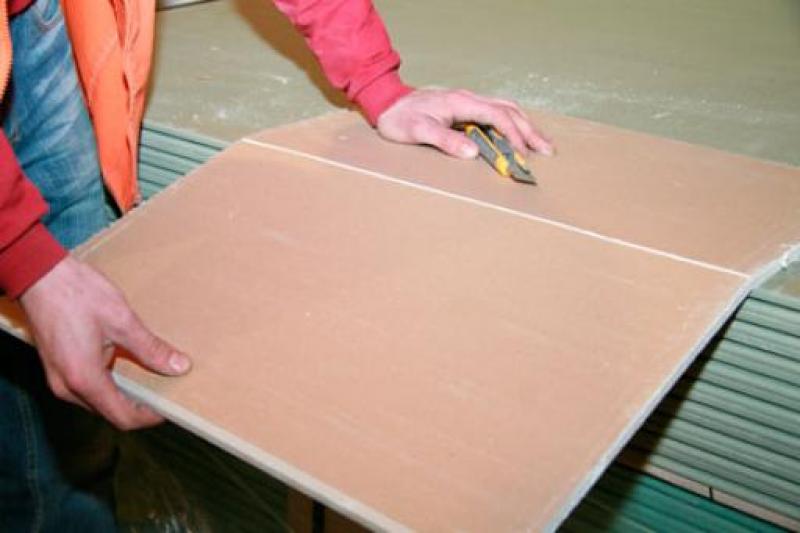
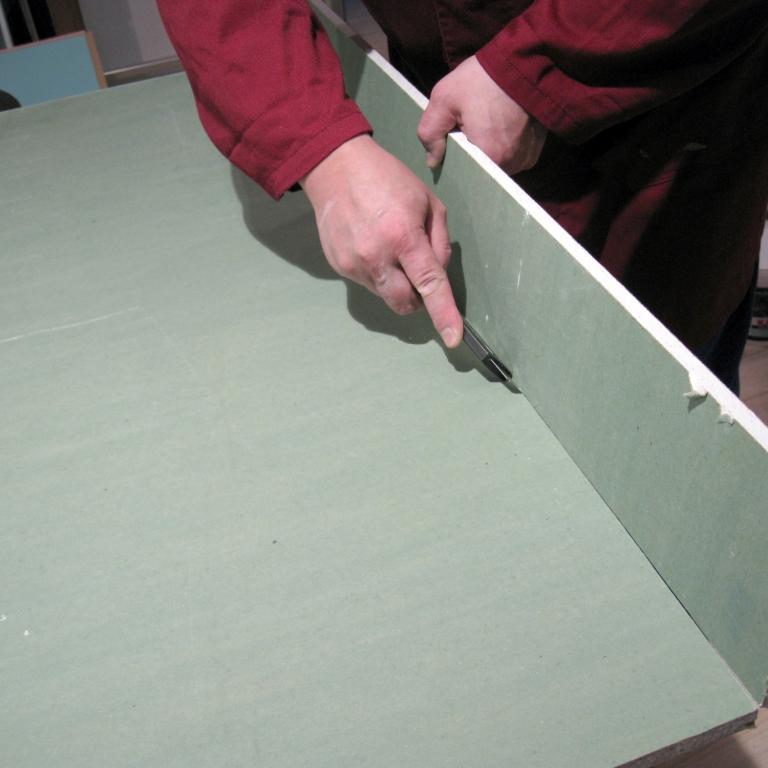
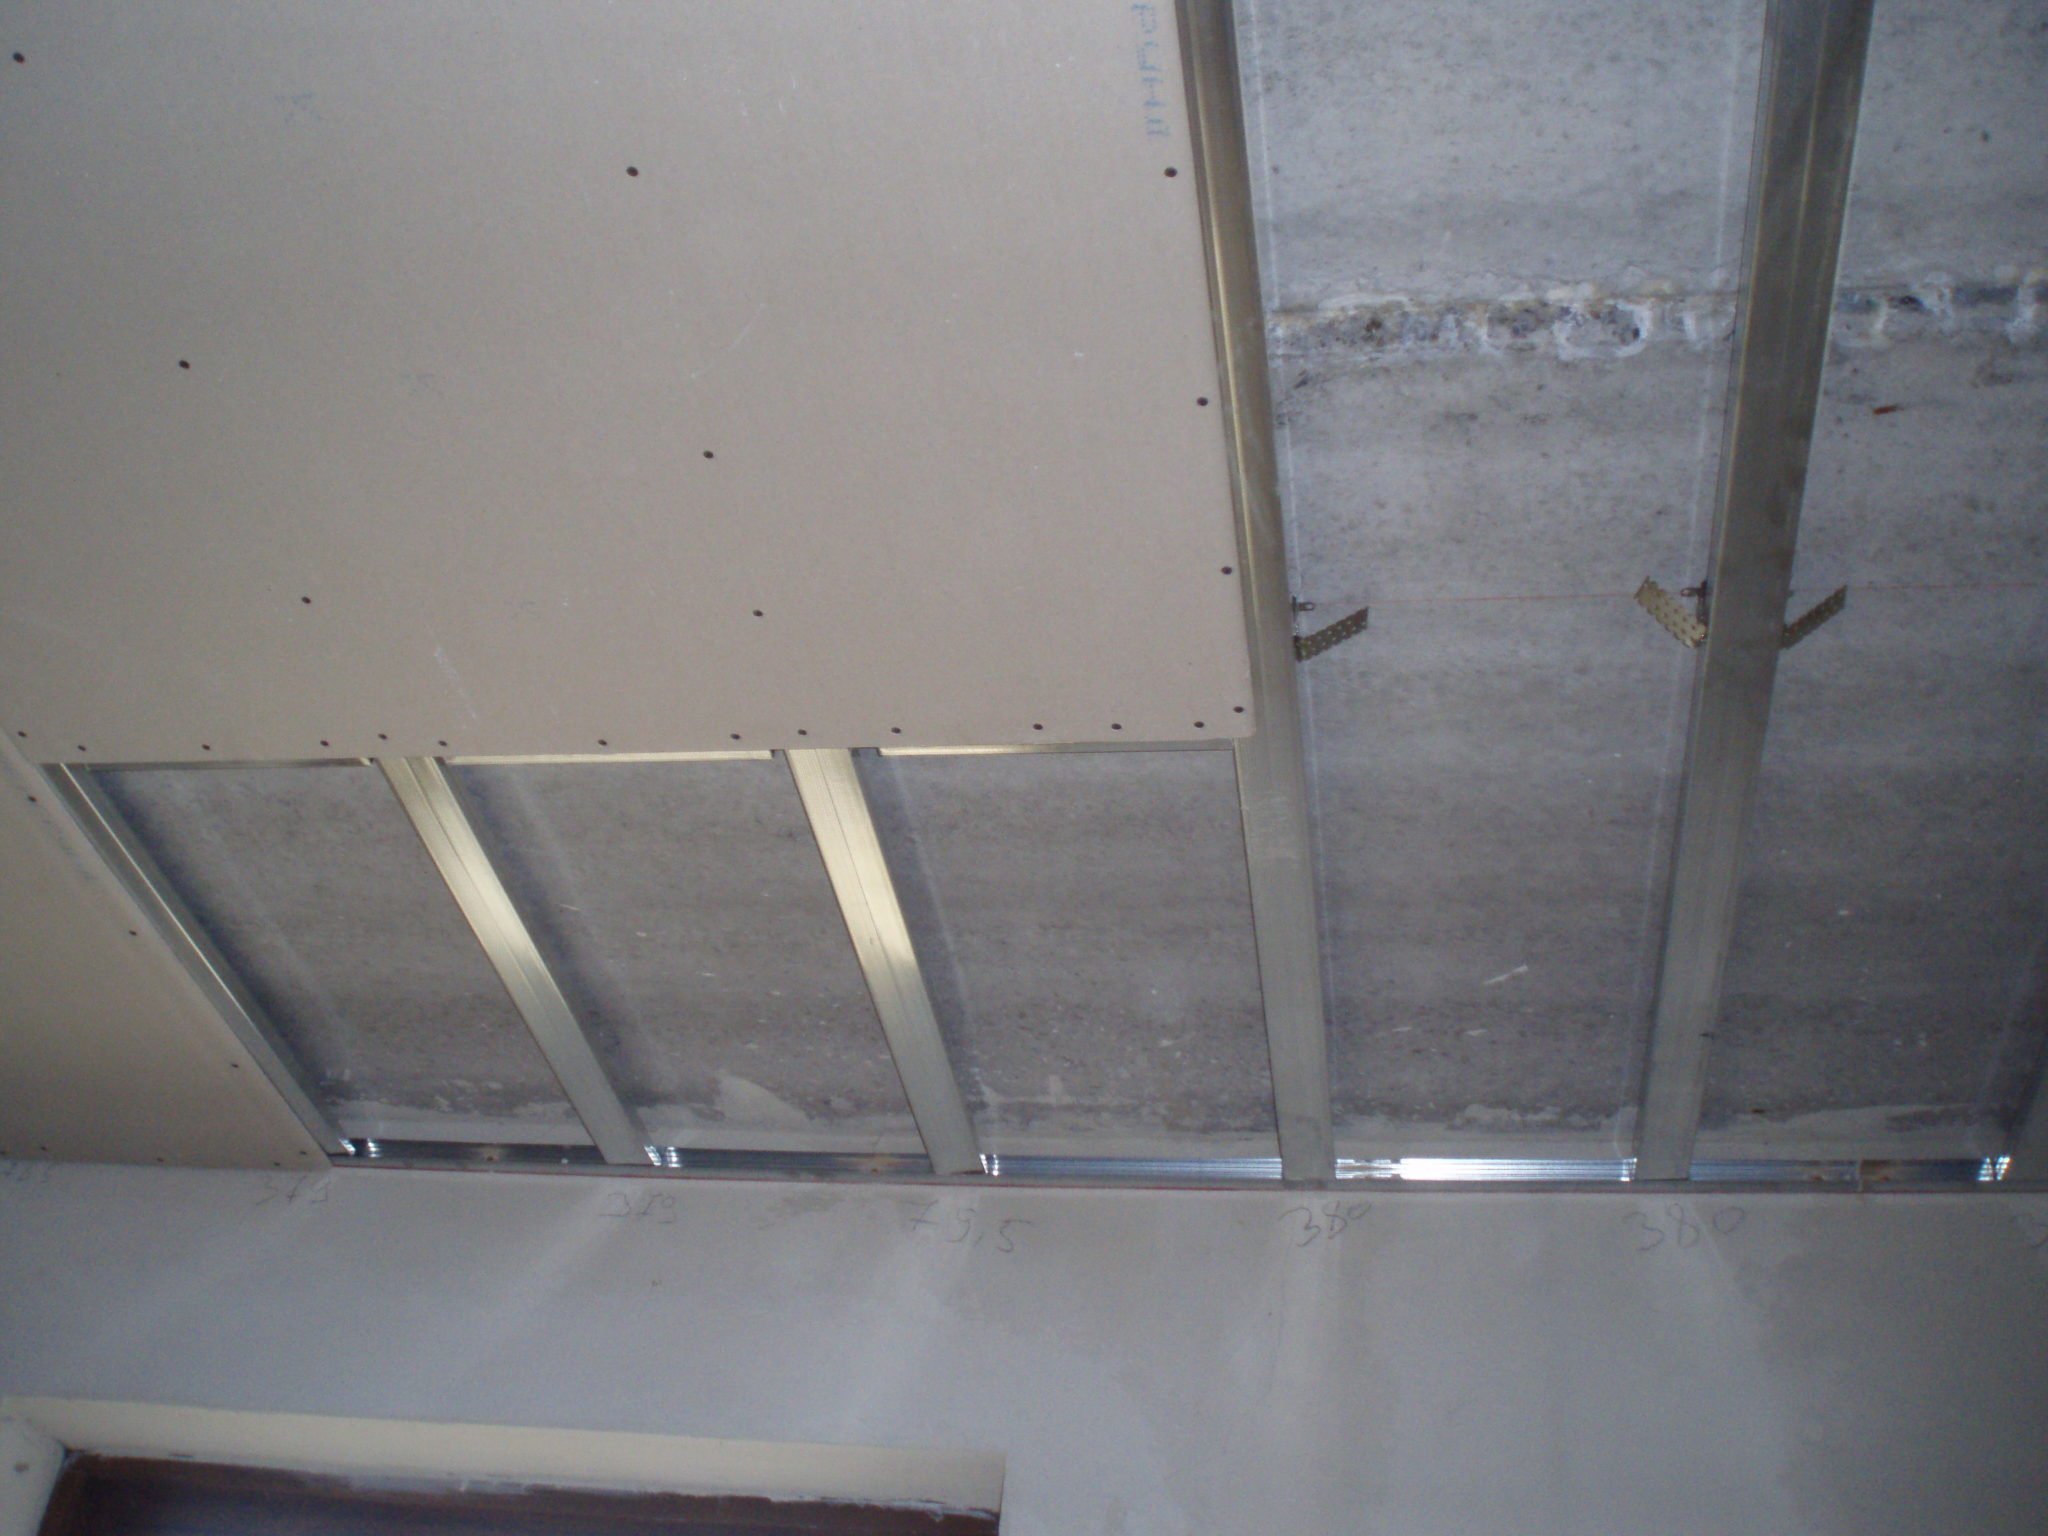
- It is the turn to sheathe the frame sheets GCR. Mark the sheets and cut the drywall with a knife so that the parts fit together without gaps.
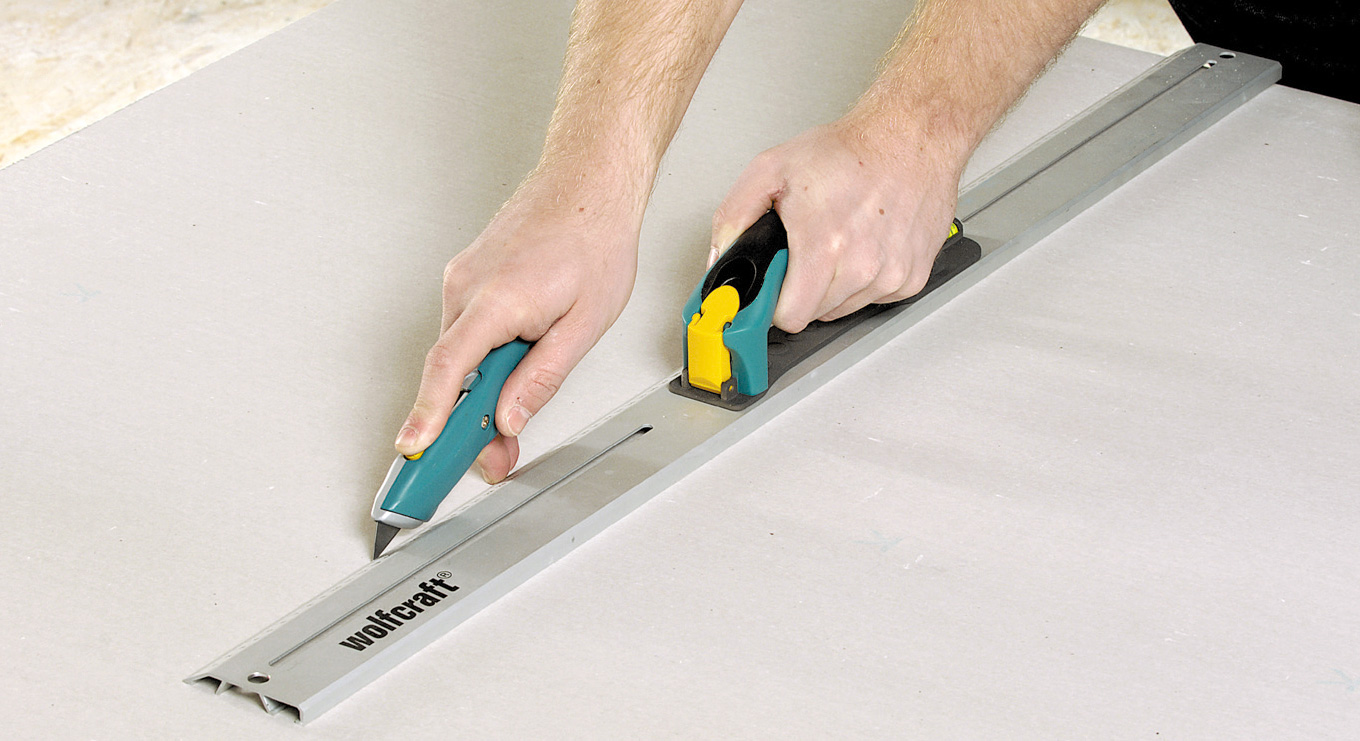
When cutting drywall, pay attention to some of the nuances:
- HL sheets handle only on a flat surface.
- When you mark the lines for cutting, attach a ruler to the line, and already along it with a knife cut the top layer of drywall. Next, bending the sheet along the cut line, gently break it.
- To achieve perfect smooth edges, sand them with sandpaper.
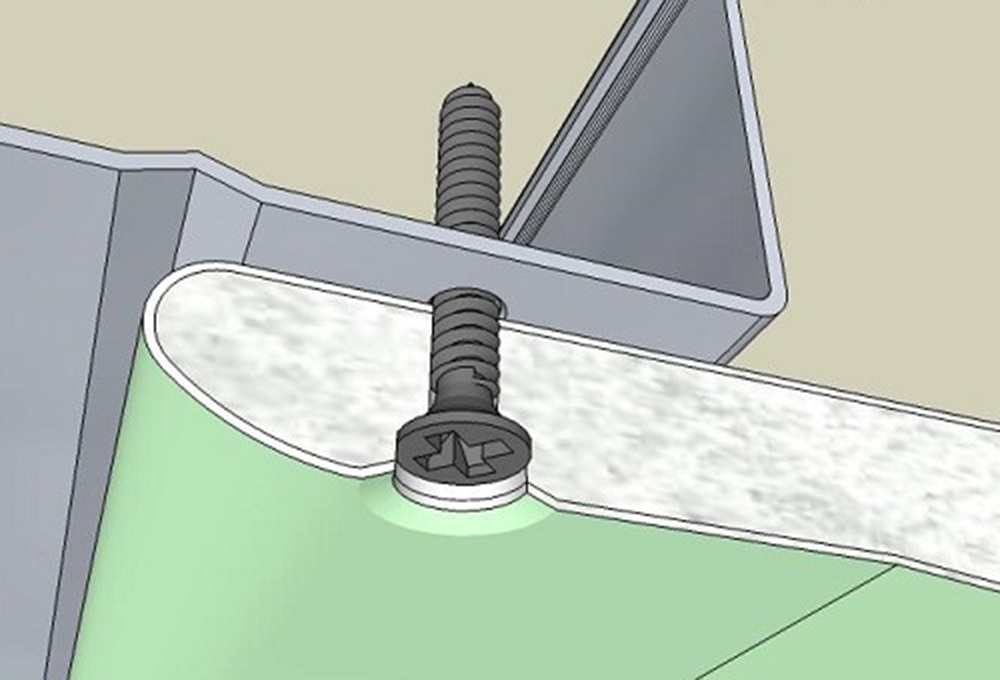
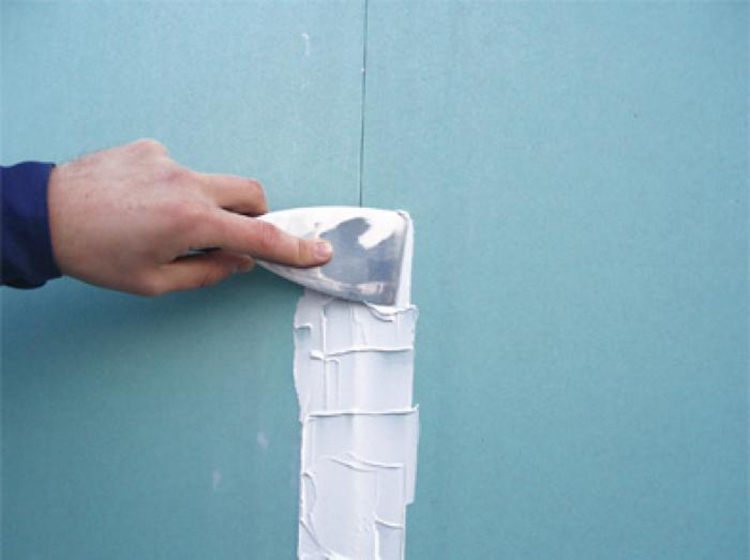
- The resulting fragments are screwed with screws to the main profiles. Screws must be screwed at an angle of 90 degrees and at least 1 cm deep into the profile for the fastening of sheets to be of high quality. Hats should be "drowned" by 1-2 mm inside the GCR sheet and then puttied. At the end, level the surface to an ideal condition by gluing the seams with reinforced tape and filling it with putty.
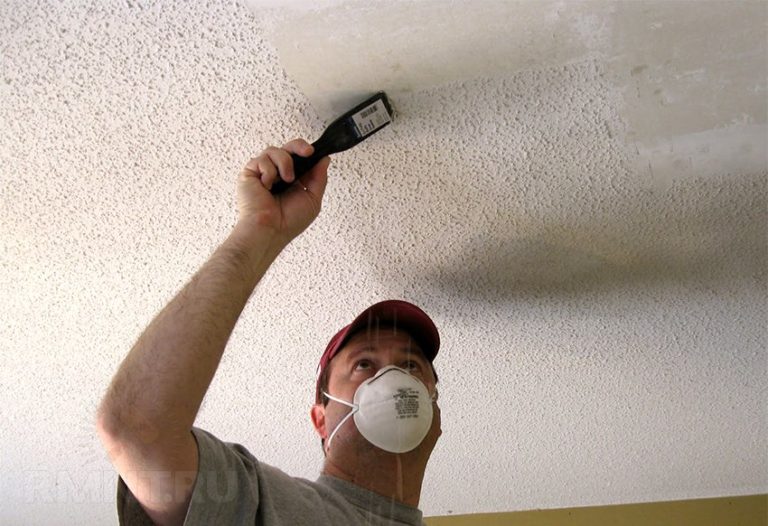
- If you accidentally place a dent in the installation, it can be puttied before painting, so that the defect will not be visible. After drying, the ceiling is cleaned with emery and covered with water paint of any color. You can also paste the surface with wallpaper or even install stained glass in it, which will make the room unique in design.
The times when typical flats were typical ceilings are far in the past. Modern technologies and innovative finishing materials allow you to create incredible designs with unique lighting for the decoration of the ceiling space.Each owner is free to choose the option of decorating the living room to the soul and in accordance with their financial capabilities. The most affordable and at the same time effective option is a single-level plasterboard coating with a slight lowering of the ceiling level by 10-15 cm.
The only disadvantage of this type of surface finish is that if the roof leaks or the neighbors flood you, the repair will have to be repeated. In other cases, hinged plasterboard constructions are an excellent and safe alternative to standard ceilings. If you decide to do the repair yourself, you can evaluate the range of ready-made solutions on the websites of professional construction companies.
It is possible to translate into reality almost any construction of plasterboard. It can act as a decor, and perform a purely practical function of leveling the surface, masking communications or zoning space. Thus, having made a one-level ceiling with your own hands, you will probably later have a desire to “wipe out” even more complex structures in the interior of such pliable material as drywall.
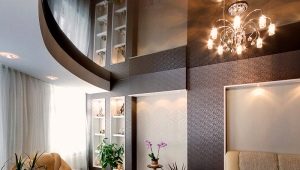
Beautiful options
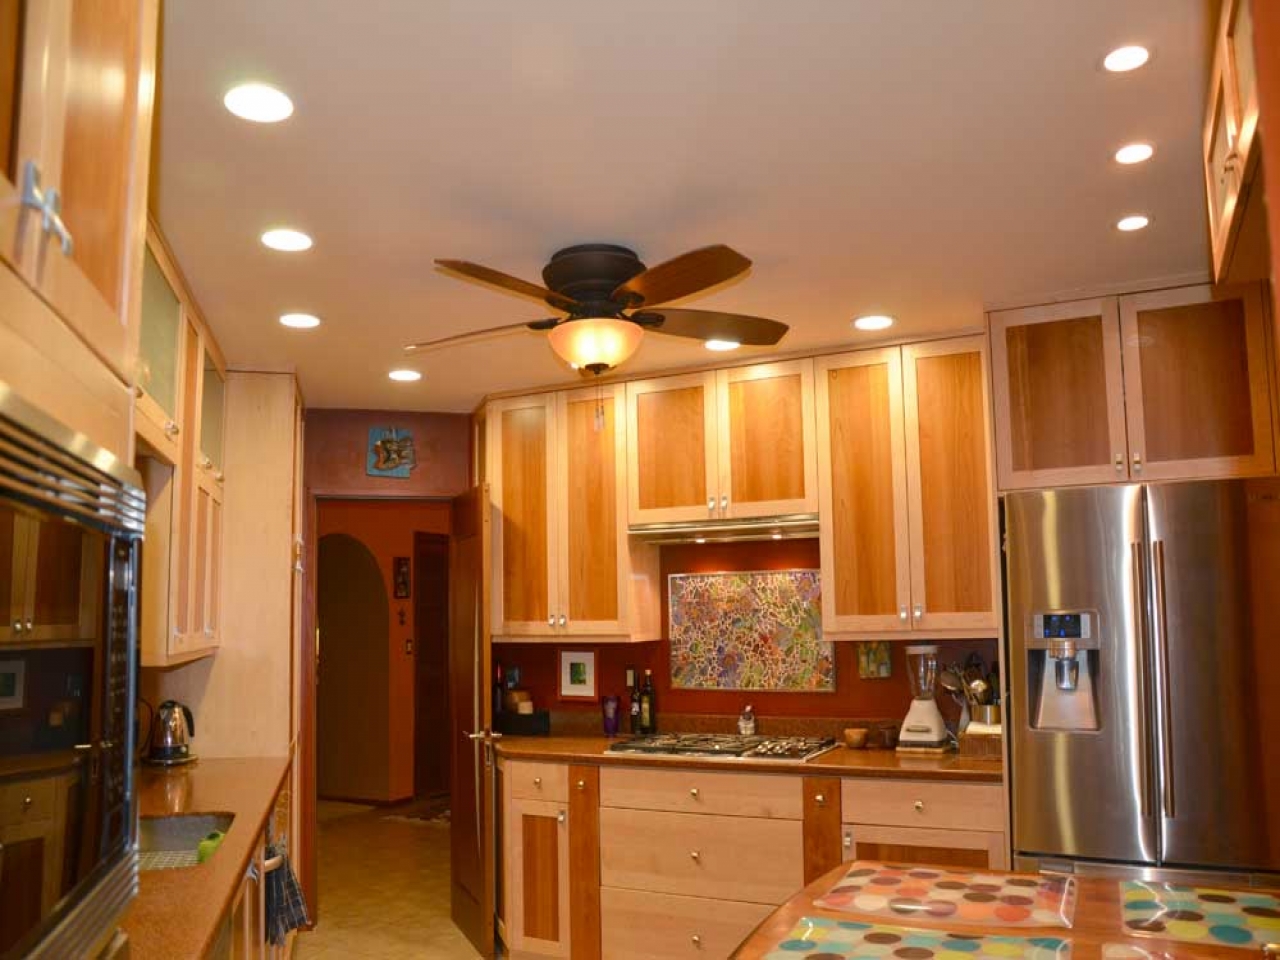
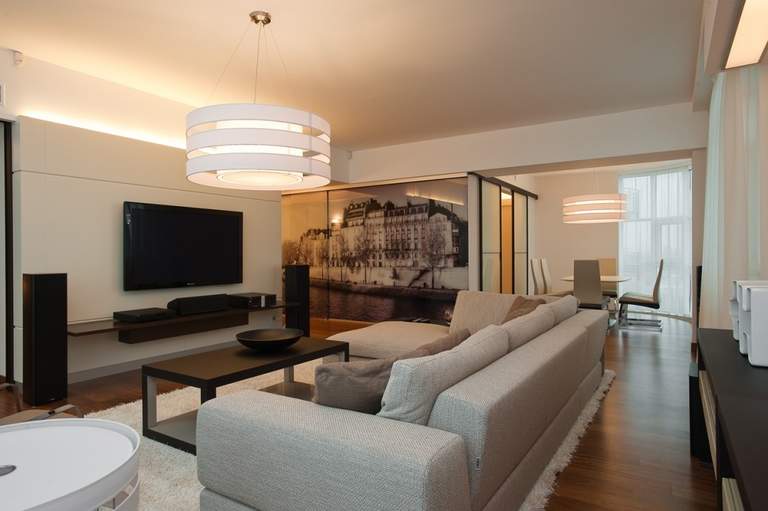
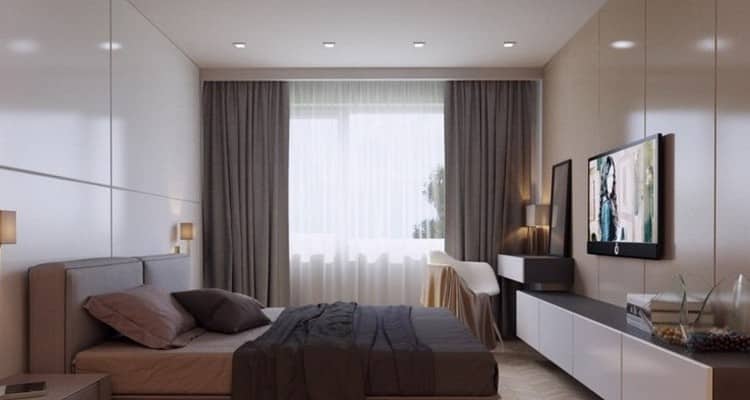
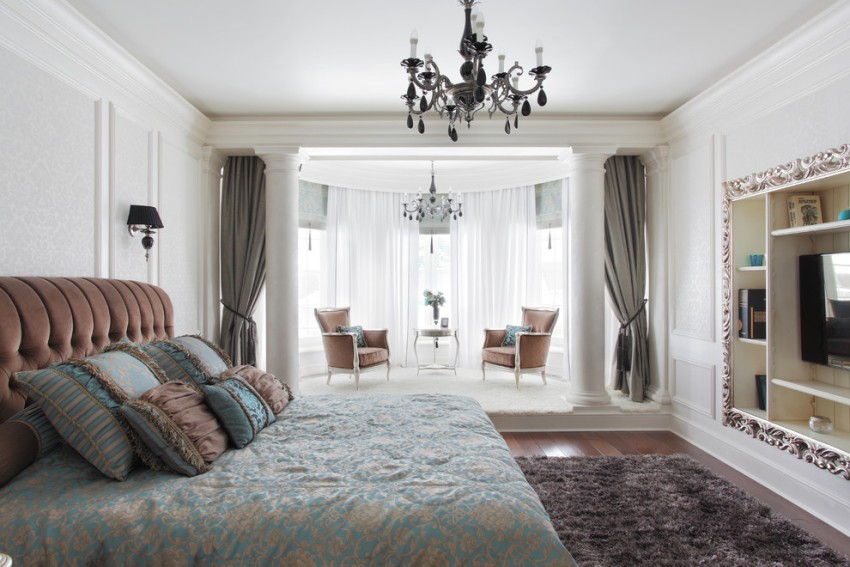
Single-level ceilings with built-in spotlights are ideal for placing any quadrature.
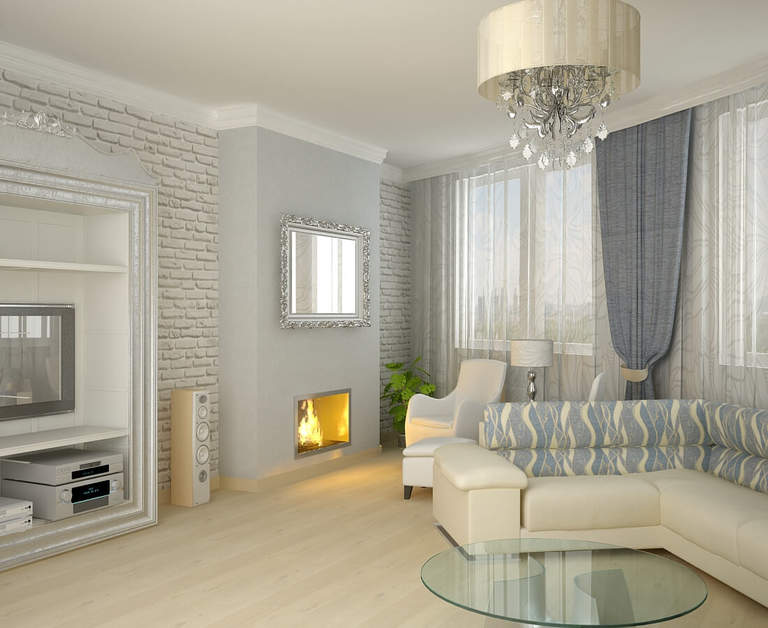
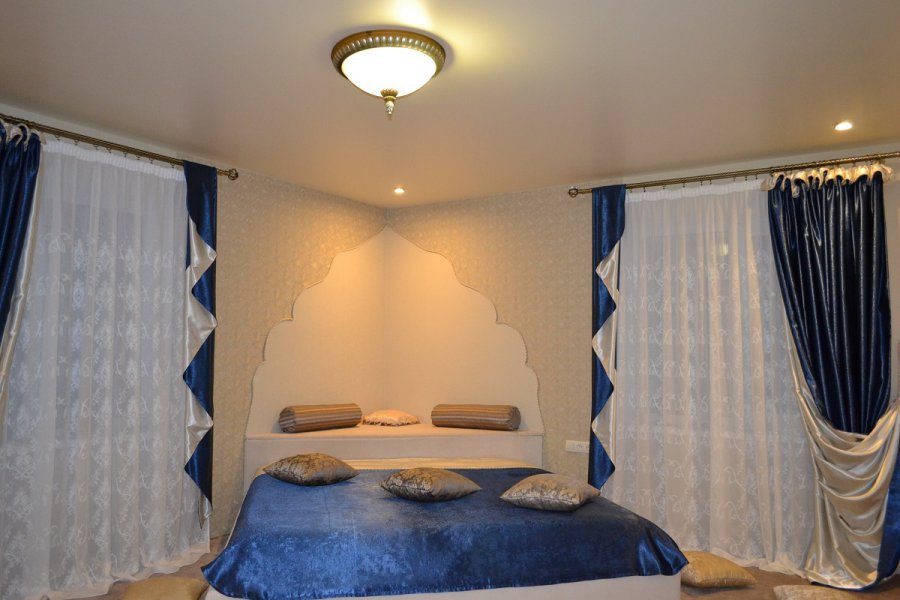
The choice of placing the chandeliers on the ceiling of plasterboard designers usually choose for the interior in the style of classic or baroque.

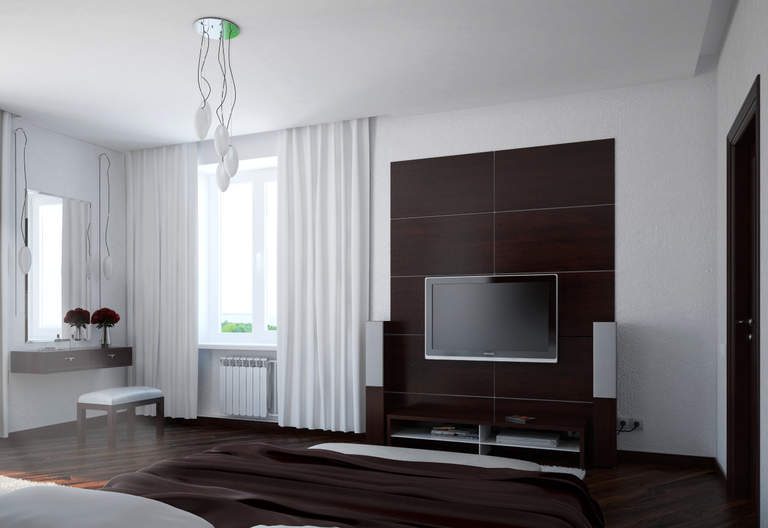
Single-level ceilings of gypsum plasterboards are recommended for use in small rooms or rooms with low ceilings. And if you additionally paint the walls in light shades, then this will visually add room space.
Installation of a single-level plasterboard ceiling, see the following video.