Cement-sand screed: pouring technology
Cement-sand screed attracts strength and high density than more than pays for the time spent, money and effort.
Despite the time-consuming process, it takes a leading position in preparing the grounds for laying the flooring thanks to the ability to provide the necessary slope and also to veil the floor heating systems.
Special features
The sand cement screed device is divided into two types: bonded and unbound.
- The first type is based on strong adhesion to the base of the floor.
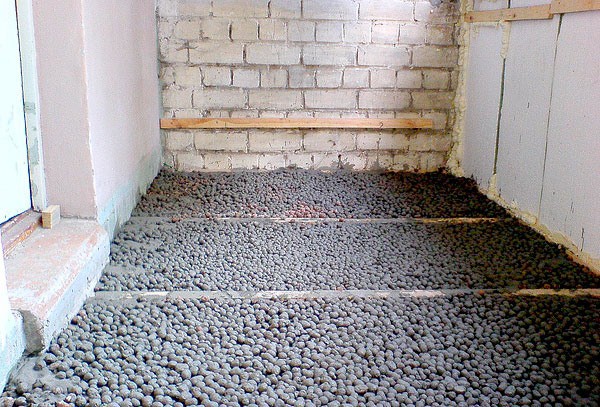
- Unbound screed is laid over an additional layer, which is often a mixture of expanded clay and sand. Such a "pillow" increases thermal insulation and moisture resistance.
The thickness of the cement mixture can take on different values.Increasing the level of coverage does not affect the decrease in screed density. The surface area is able to withstand a weight of up to 300 kg. However, if you need to increase the stability add reinforcement.
The metal mesh is superimposed over the layer of expanded clay, and in its absence it is mounted on a layer of plasterboard and special supports.
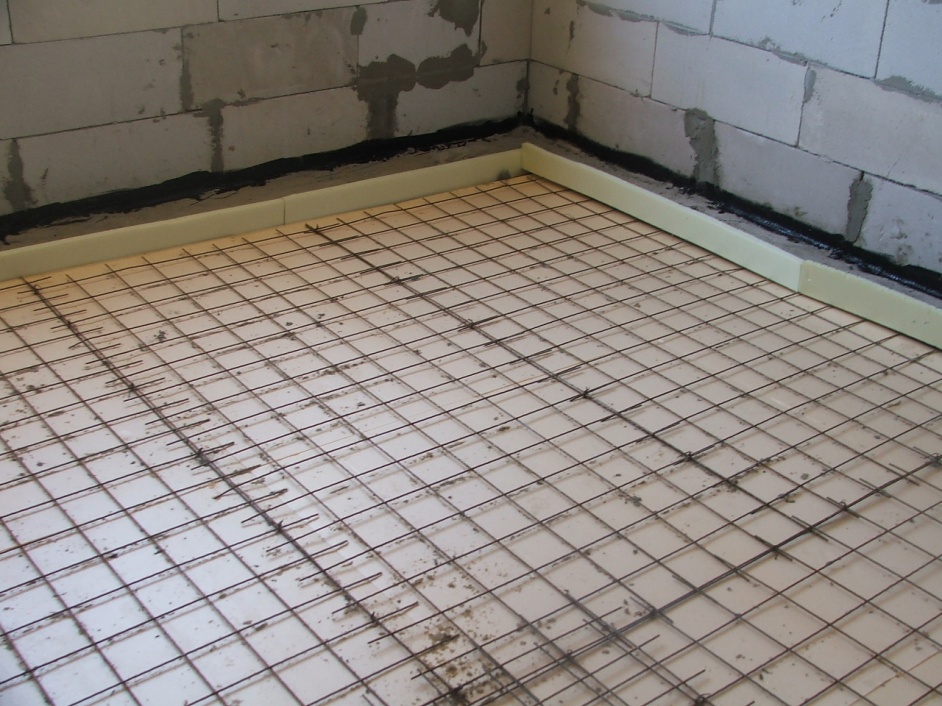
The screed has a porous structure that is able to absorb excess moisture. It follows that an increase in the volume of water in the process of making a solution threatens to flood its neighbors from below. In order to prevent future aggression in half with corrosion of reinforcement inside the building, the screed is insulated by means of a special membrane. Waterproofing is carried out with the help of bitumen mastic and its analogues.
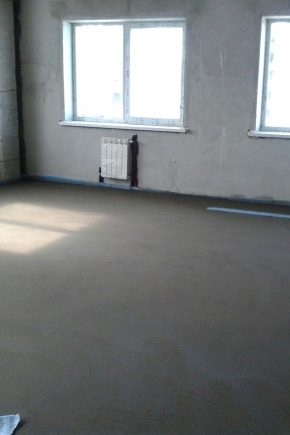
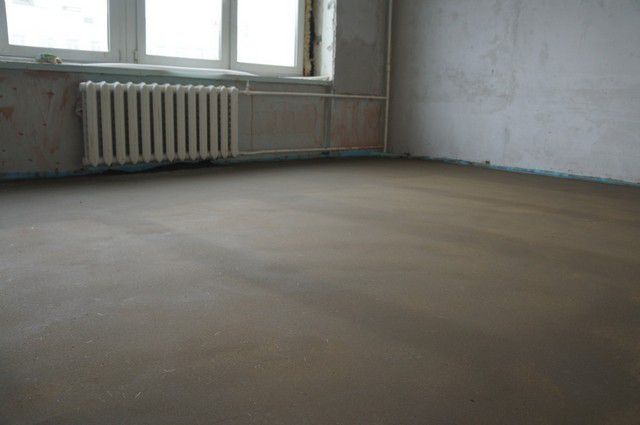
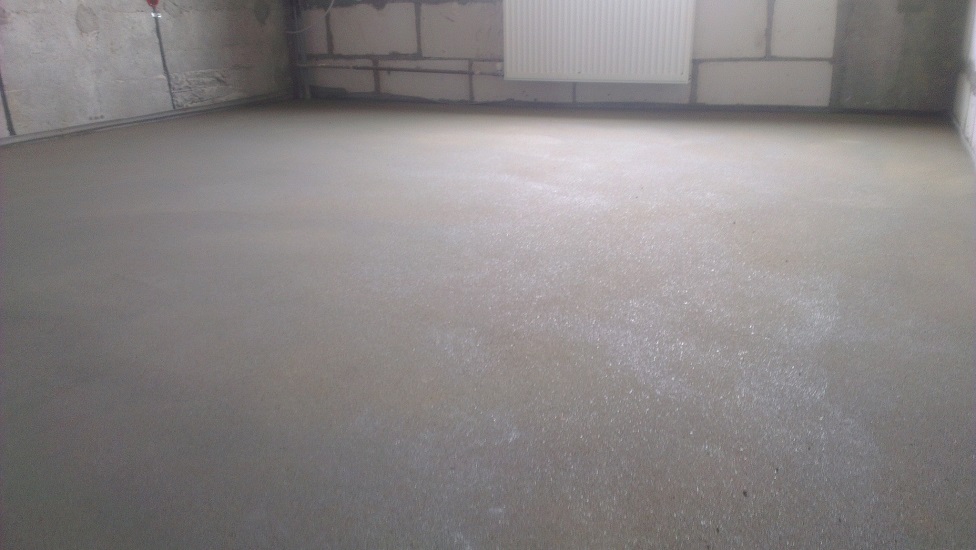
After full maturity, the cement-sand coating acquires a rich gray color. The formation of cracks indicates a violation of the technology of pouring, which is provoked by uneven hardening. To avoid this incident, you can use accurate theoretical calculations.
Calculation of materials
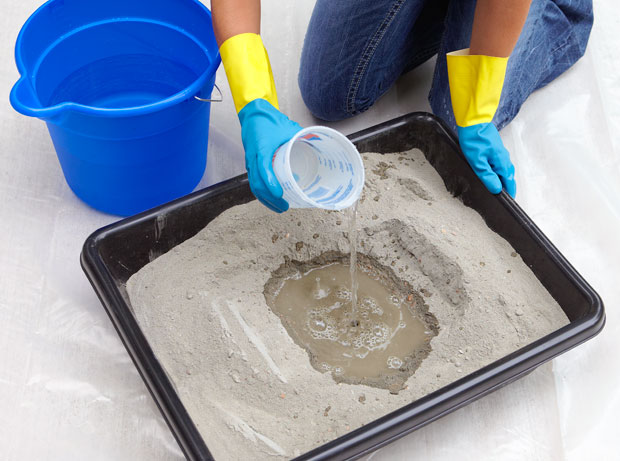
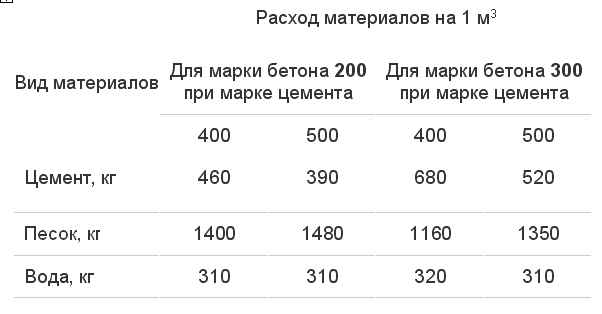
The composition of the solution involves a mixture of cement, water and sand.The proportions are depending on the purpose of construction. For example, when preparing a mixture for screed living spaces use brand 200. The figure indicates the load that the screed can withstand when calculating the number of kilograms per 1 cubic cm. To prepare such a mixture is necessary the proportion of cement and sand in a ratio of 1: 3.
Water is necessary to obtain a creamy mixture of materials. The solution should be thick and tough. Here many people start having problems due to the selection of poor-quality sand. The strength of the structure depends on its composition.
If foreign bodies enter the sand: dust, debris, stones or clay, then the mixture is non-uniform. In the future, this may cause trouble in the form of erosion, which entails the complete destruction of the screed.
The weight of a cubic meter of cement and sand mortar approaches two tons. At a minimum, they include 450 kg of cement powder per 1300 kg of sand. Due to calculations per 1 sq. M, with a layer thickness of 1 cm, about 20 kg of mortar is consumed, the components of which are equal to 4.5 kg of cement and 13 kg of sand.
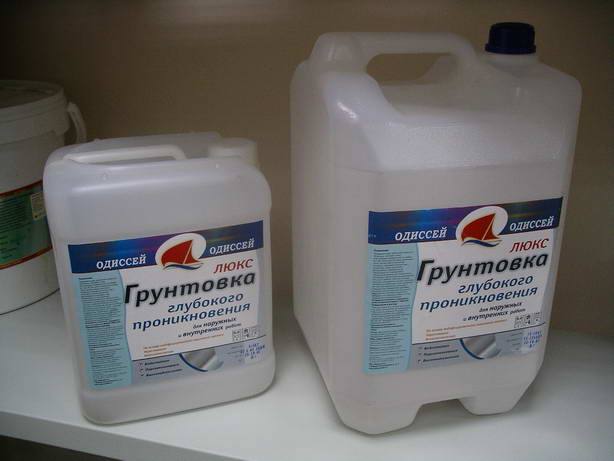
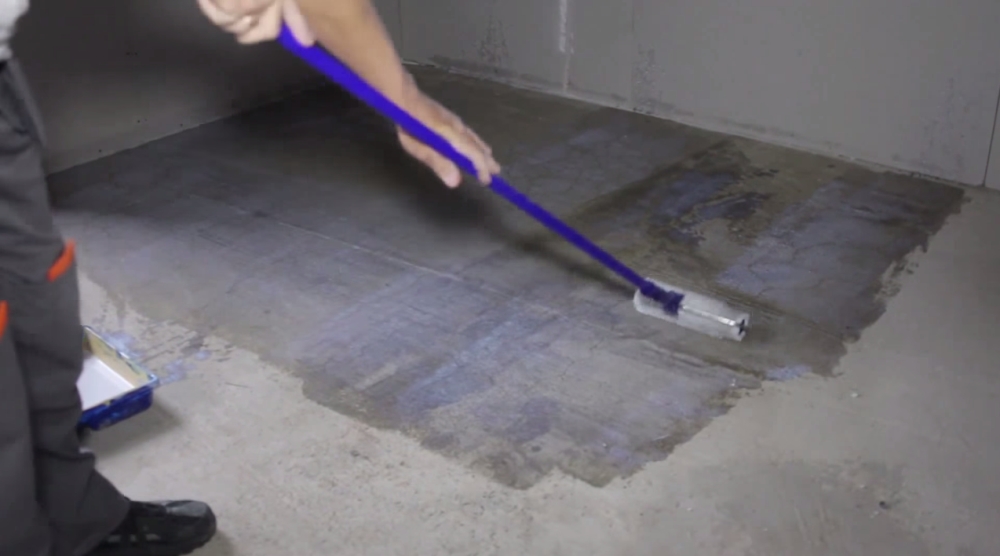
For the preparation of to work also need a primer mixture at the rate of 350 ml per 1 sq m. This allows you to provide concrete contact and increase adhesion, which is the key to a reliable foundation.
For construction work, many experts acquire expanded clay. It saves money, because its operation reduces the cost of expensive cement.
In order not to suffer with the calculations of the mixture and its preparation, you can purchase ready-made compositions of various kinds.


Mixtures
The main advantage of ready-made dry mixes is that it is no longer necessary to take care of the proportions of ingredients. Responsibility for preparation in exact compliance with international standards falls on the manufacturer. A wide choice of certified mixes in the construction market is presented to the consumer.
The basis remained unchanged - cement and sand, but due to additional chemical ingredients the choice varies from increasing one or several properties:
- Ease.
- Density.
- Plasticity.
Laying technologies have undergone changes, divided into dry and semi-dry.

For example, polymer-cement mixture is flexible and easy to use. Used in civil and industrial construction, not only newbut also for demanding restoration designs.
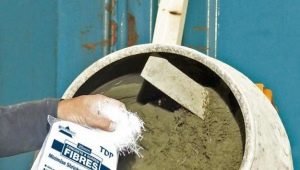
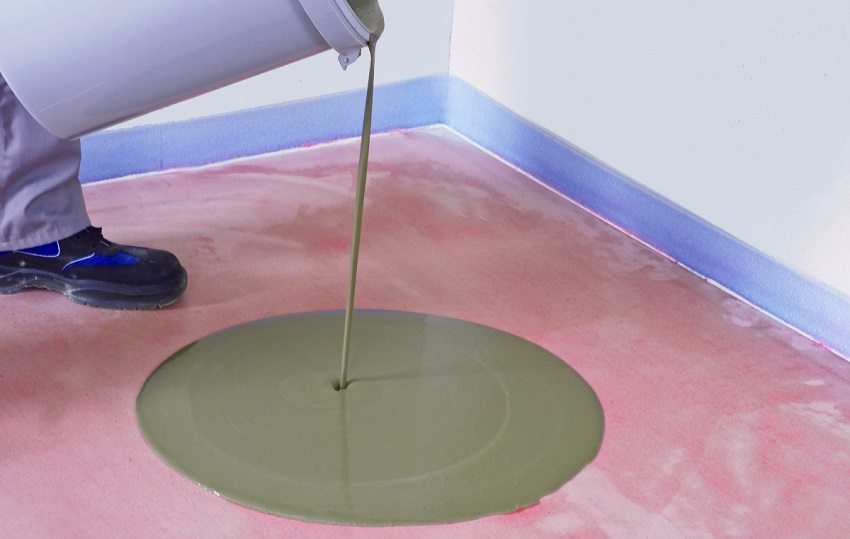
Self-leveling cement formulations are gaining popularity. Their operation ends on the fill, which does not require leveling the surface. However, they lack the strength that is given by the dry fiber-reinforced metal fibers. An alternative to reinforced are lightweight concrete compositions.
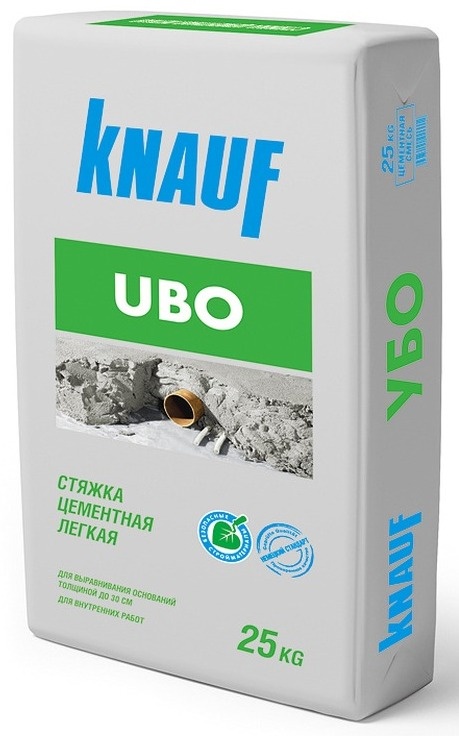
Among the domestic and foreign enterprises stands out the German company Knauf.
For the preparation of cement-sand screeds, they purchase Knauf Ubo products, which are necessary in view of the high density. It exceeds the solidity of classical concrete by 4-5 times. At the same time it is resistant to temperature changes, which is great for masking or installing underfloor heating. Polyethylene modifiers included in the composition provide sound insulation. Consumption is up to 5 kg of dry screed per square meter.

Preparatory work
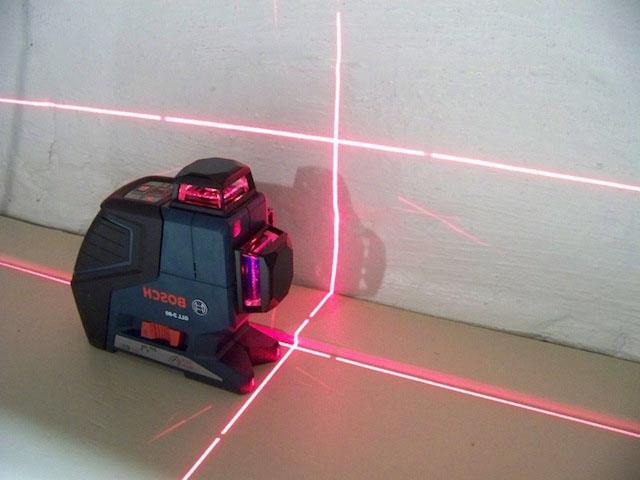
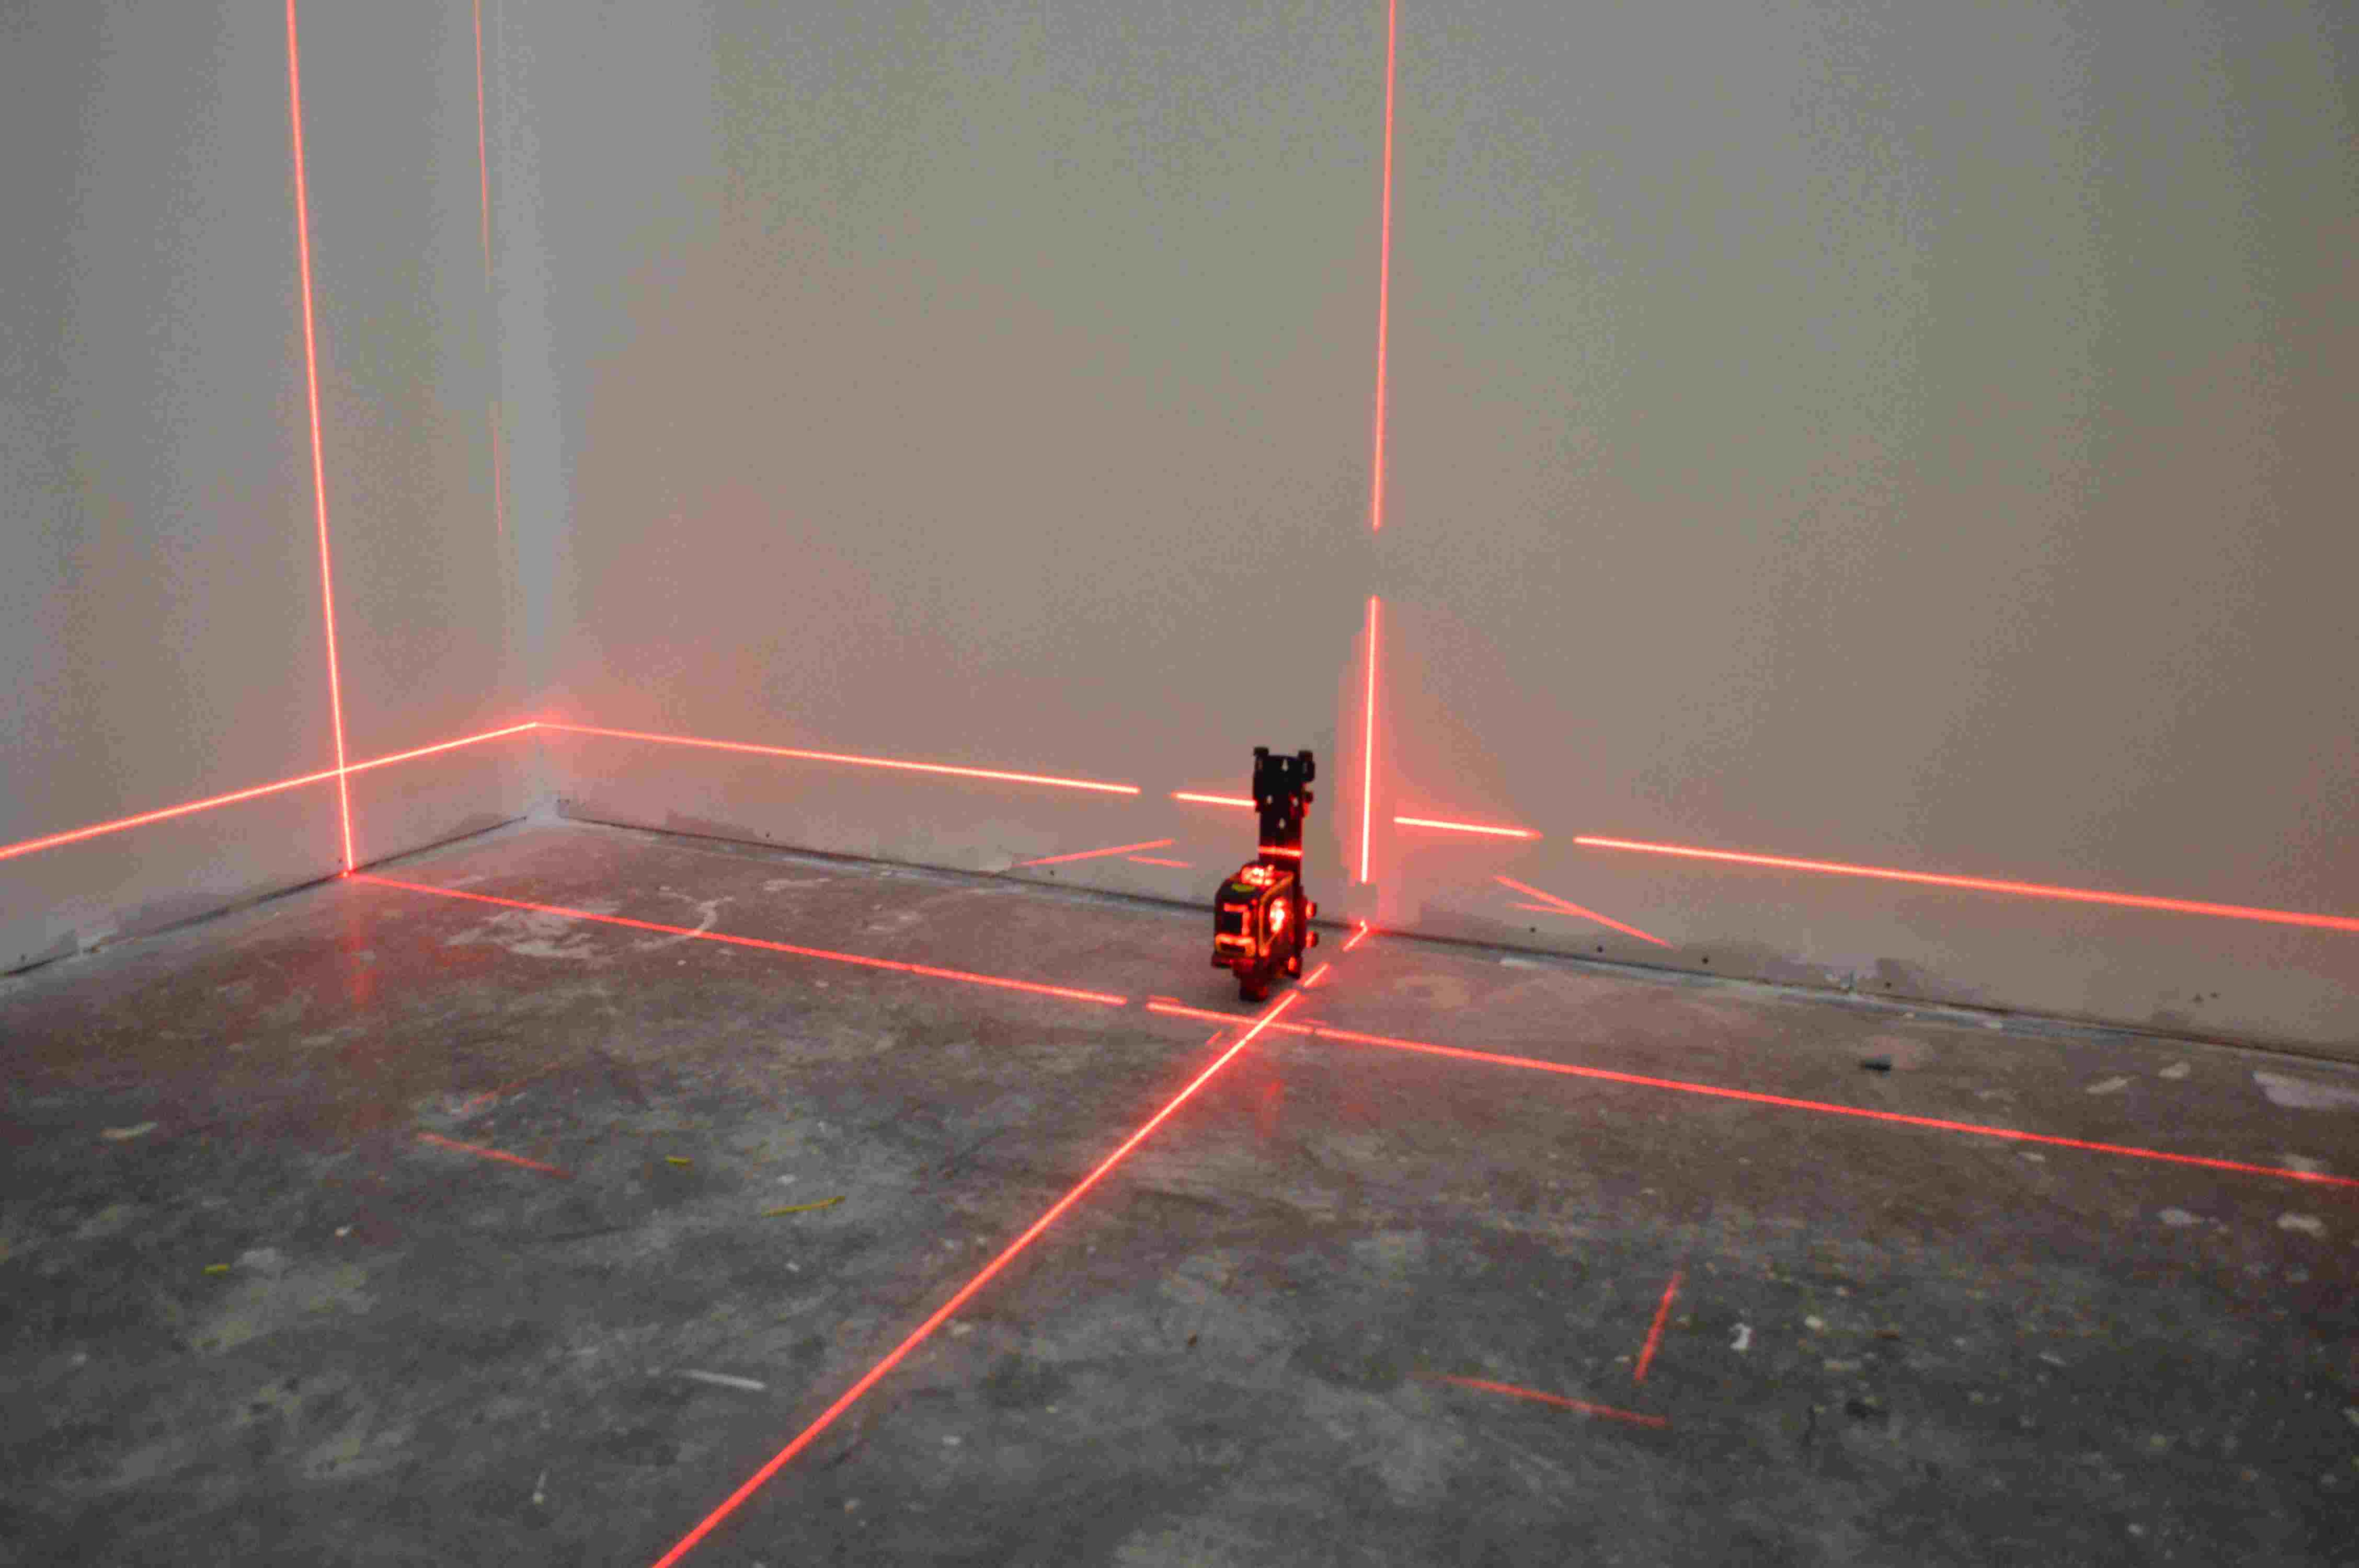
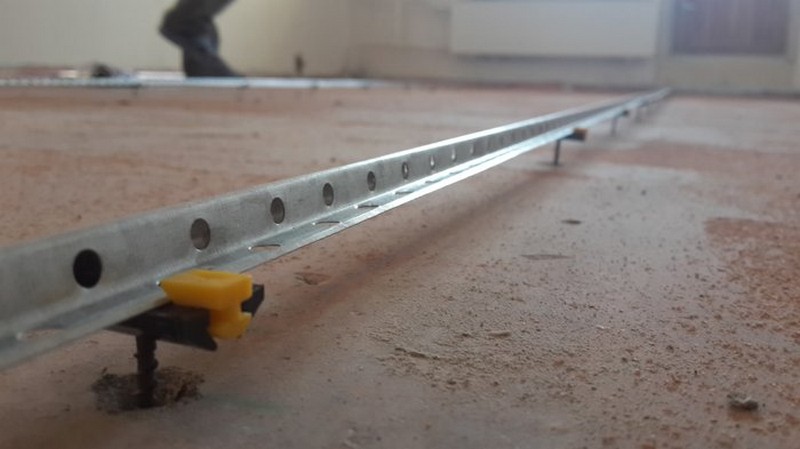
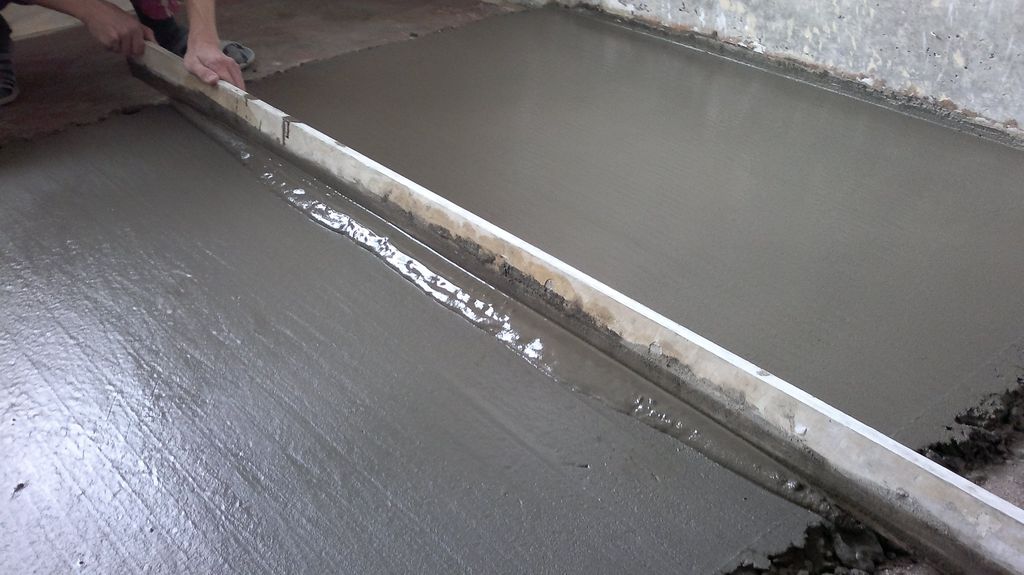
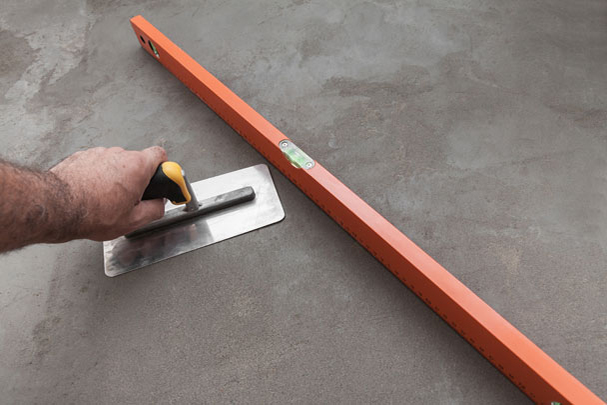
The workflow puts the layout of the thickness of the future screed in the first place. The calculation is carried out by laser or hydro level. Laser level is also used to install beacons. Their acquisition is optional, however with them alignment of cement-sand mortar is carried out much faster.
When installing beacons, the laser level is put in place, prepared for pouring cement mortar, and then the beam is projected. Because of this, determine the level of the horizon line. The next step 30 cm from the wall draw a parallel line, along which lay out small portions of the solution. Then on the resulting heaps set profile.
Focusing on the horizon, a thorough alignment of the surface.
When the theoretical part is completed, it will be necessary to dismantle at the construction site, as well as to impose a protective layer:
- Preparation of the base begins with the destruction of the old screed. Disassembly is necessary so that the future construction becomes solid.
- Then, debris and dirt are removed from the surface.
- After thorough cleaning, you need to apply a special primer mixture to obtain strong contact. The process is quite simple: a small amount of primer is poured onto the substrate and leveled with a brush and roller.
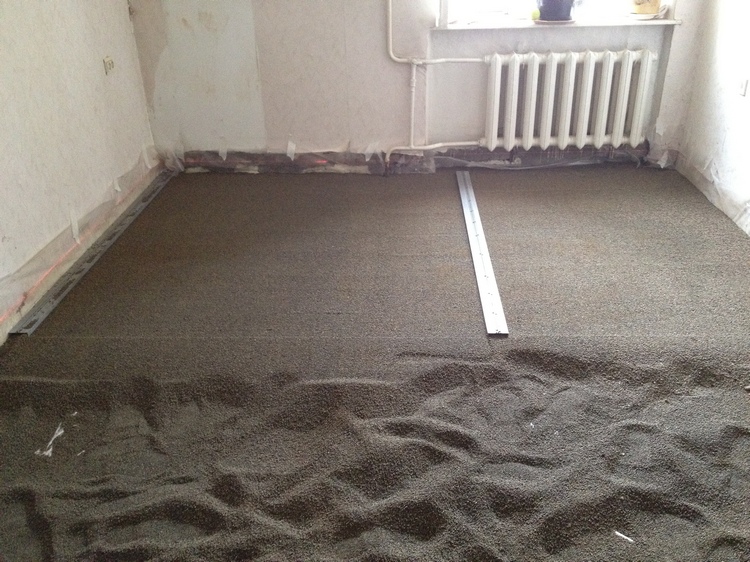
- For more thermal insulation, the next layer consists of expanded clay in half with 10 cm thick sand.The reservoir should be well compacted. The desired effect can be achieved by moistening porous materials.
- The last step (if necessary) is the process of designing and distributing the pipes, because they will have to be hidden under the screed.
Under uneven terrain, work is being done on leveling the surface. The protrusions are cut, deep potholes are cemented.
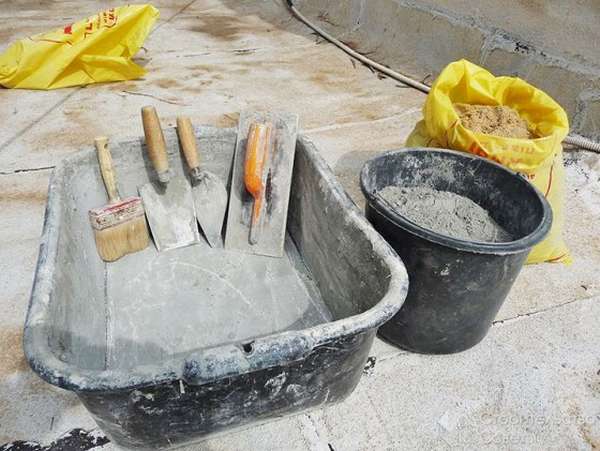
Preparation of the mixture
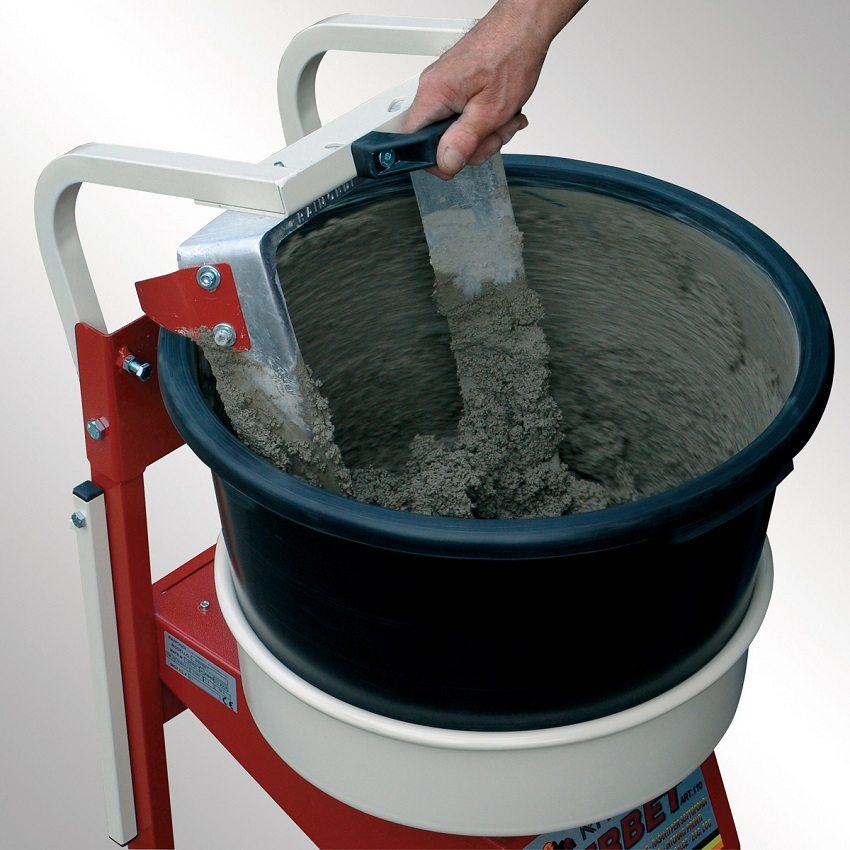
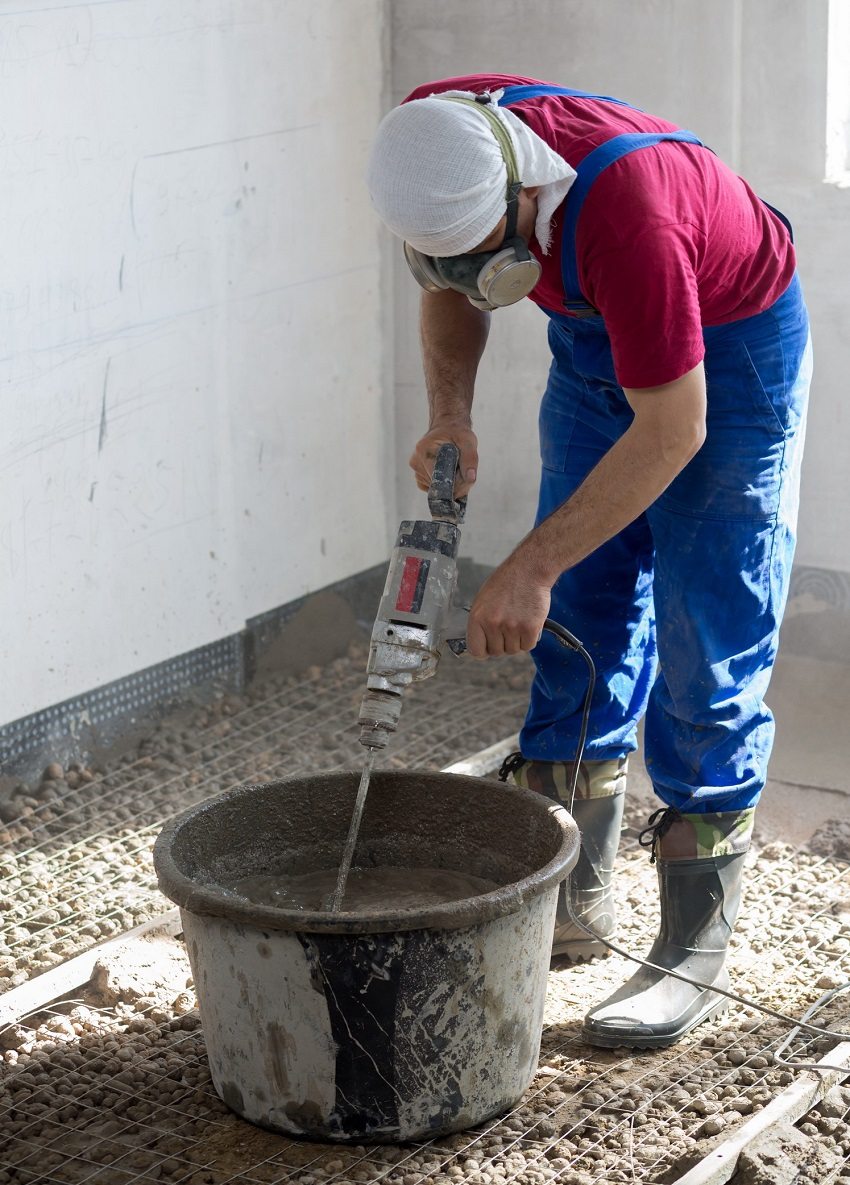
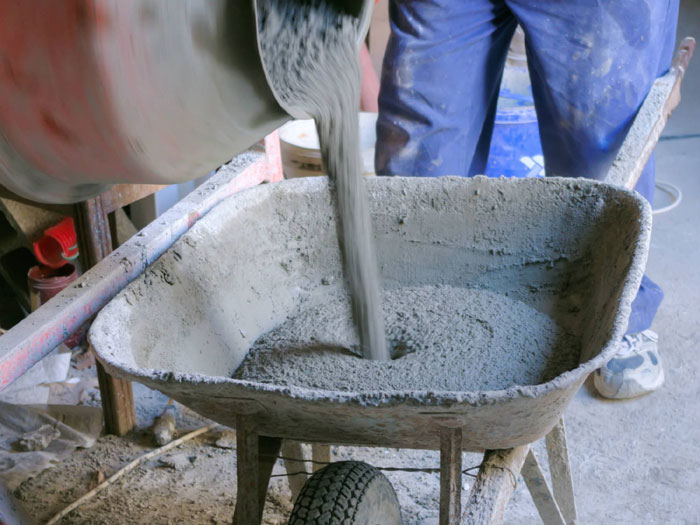
There are three main ways to obtain cement mortar. The first is to order a ready mix of good quality. It is suitable for pouring a small area. An alternative option is to purchase a dry mixture of sand and cement to dilute to a dense state with water on site.
However, the first two variants of events imply unnecessary costs. You can get rid of them by preparing the solution with your own hands. Before pouring, you can arrange the beacons, which will help to properly level the surface. It is allowed to dismantle them in a day. Otherwise, it can damage the tie.

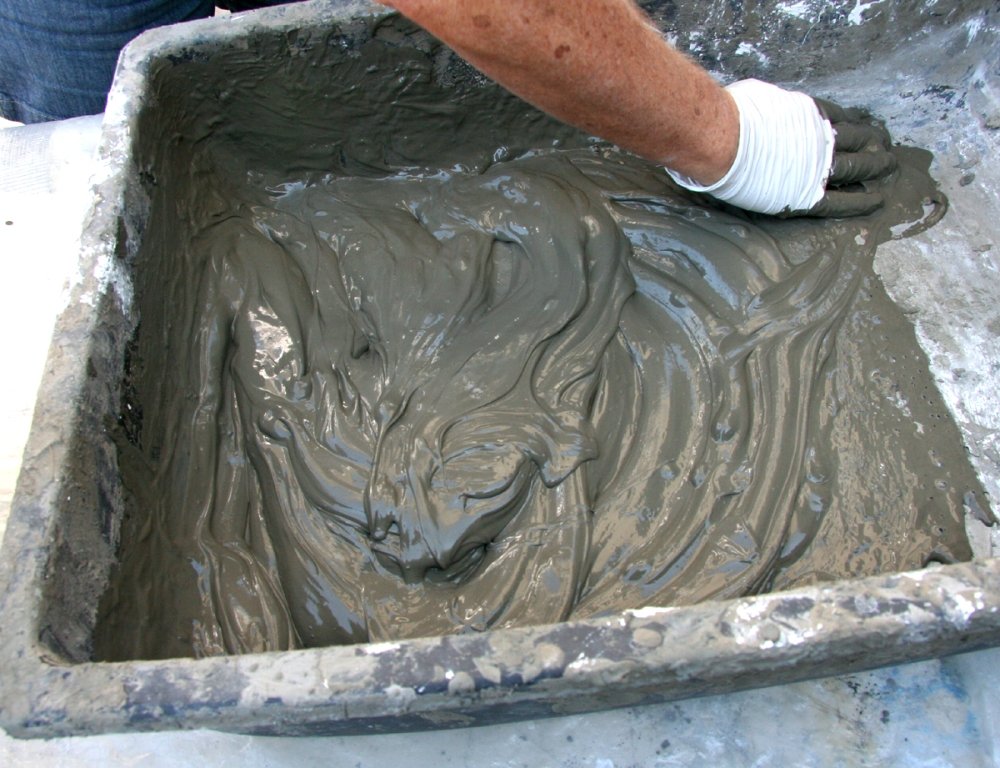
Sand and cement in a ratio of 3: 1 is poured with water, the amount of which is directly proportional to the amount of dry mix. Here are a few steps to get a semi-dry screed:
- Lay on the ground plastic wrap.
- Sand and cement are poured onto it, then mixed with a blade from the bottom to the top, without destroying the conical shape.
- In the center of the shovel is necessary to make a hole.
- Pour water into the formed tunnel and start mixing.
- Continue to mix, adding to the edges of the dry mixture, while maintaining integrity.
- Cement mixture will be ready when you get a thick mass.
The test is carried out by taking a small amount of "sour cream" in a fist. If it does not break up in dry pieces and is not too liquid, then the solution is ready for pouring.
However, here you need to be more careful, as the mixture begins to lose viscosity after 20 minutes.
Pour it on a prepared in advance basis. It is necessary to have time to level the cement-sand screed in an hour and a half. Drying time will depend on the amount of water and cement added to the composition. However, if the latter will be many, then complications will arise. A fragile (due to cement) surface will not withstand the required specific gravity.

There is a method for making a wet cement-sand mortar. However, high quality cement is required for mixing.On a bag of sand weighing 50 kg, pour one third of the bag of cement, then pour the resulting “powder” with water at a ratio of 1: 1. It is easiest to mix the ingredients in a 30 liter container. No need to take more, as the composition quickly hardens.
If the liquid cement gives a reddish tinge, it means that more sand has been added. Be sure to take into account the color, controlling the gray tone.
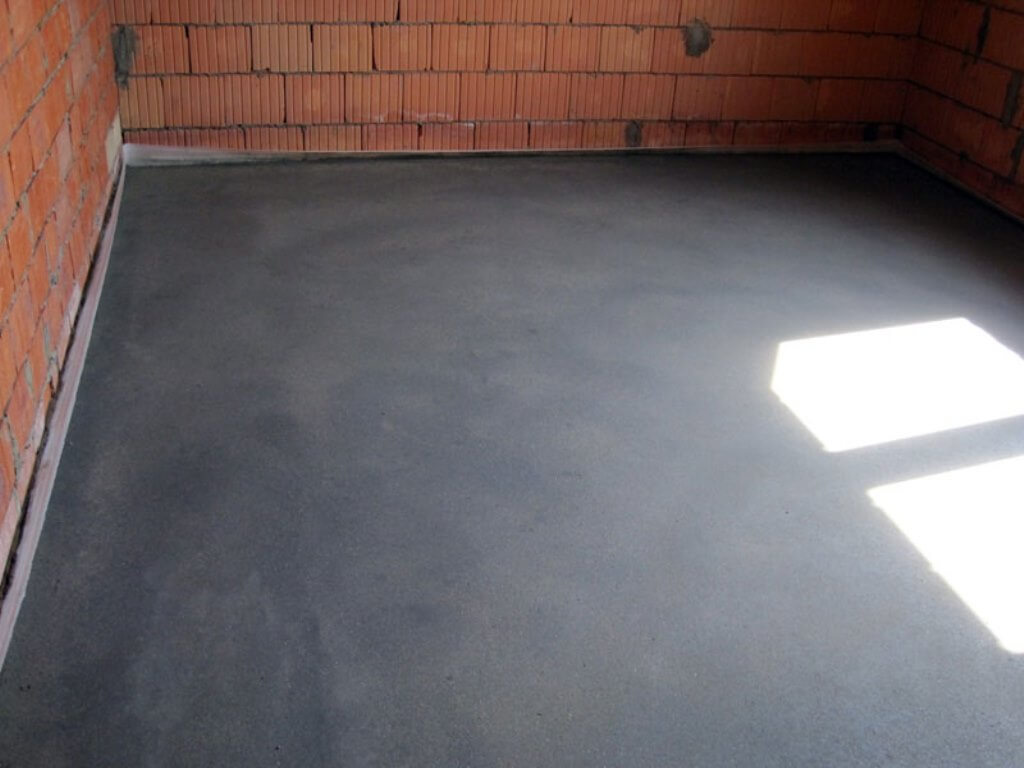
Fill
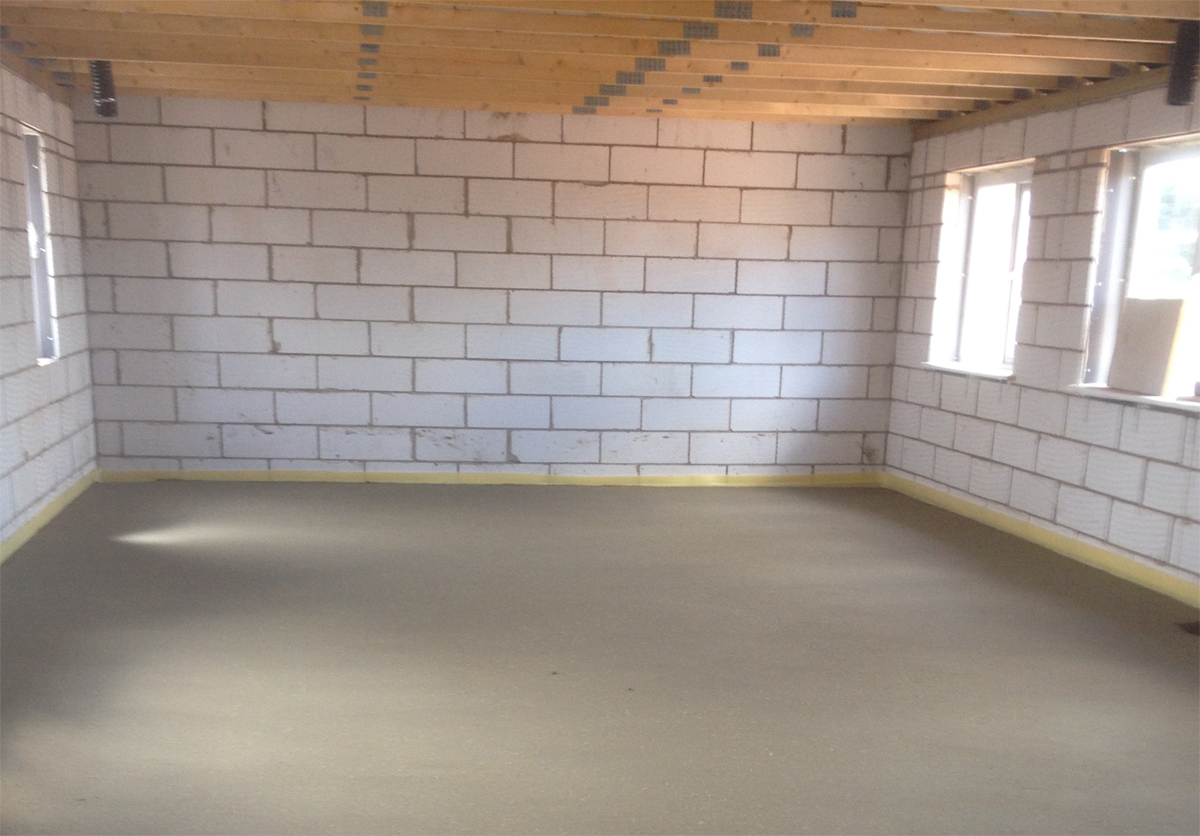
Before starting, the room is covered with a damper tape. The foamed polymer has a heat insulating and water resistant property. It protects the screed from pressure drops, temperature and moisture.
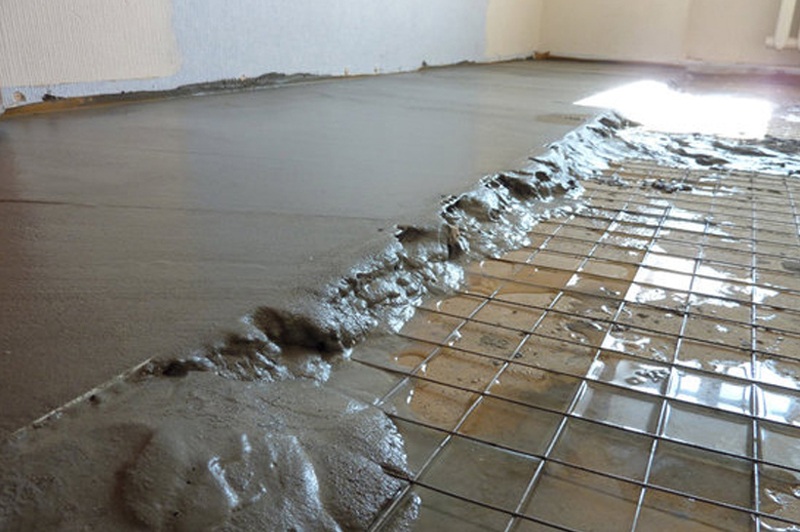
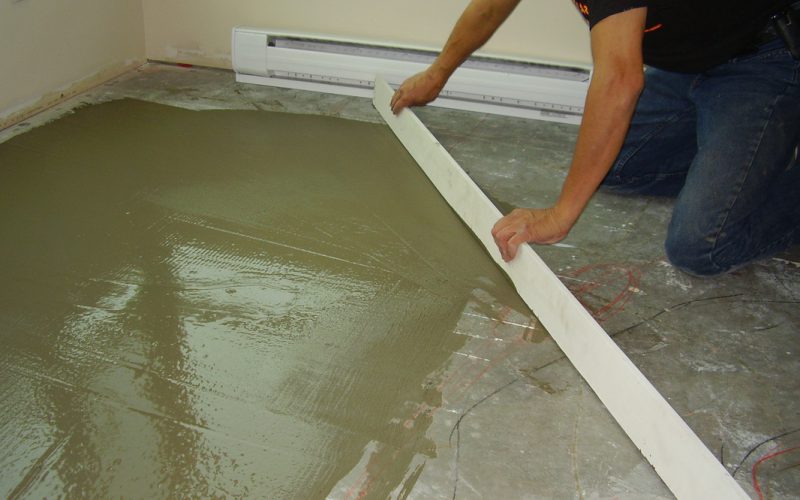
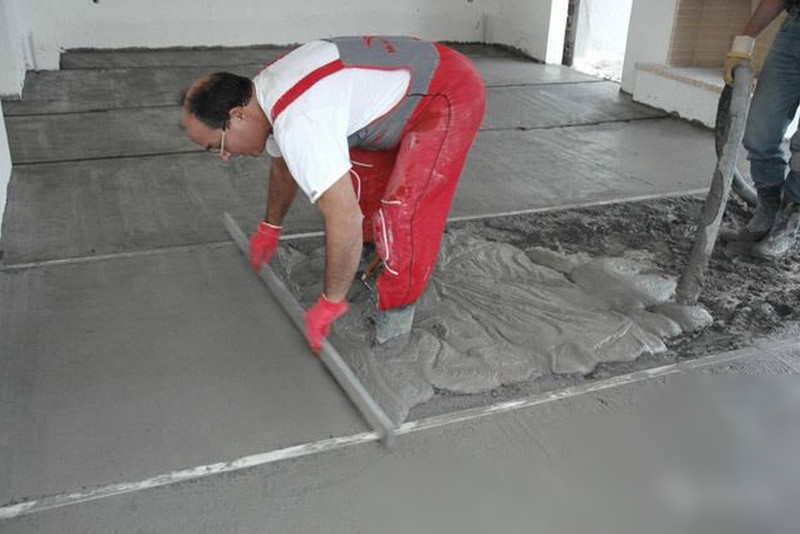
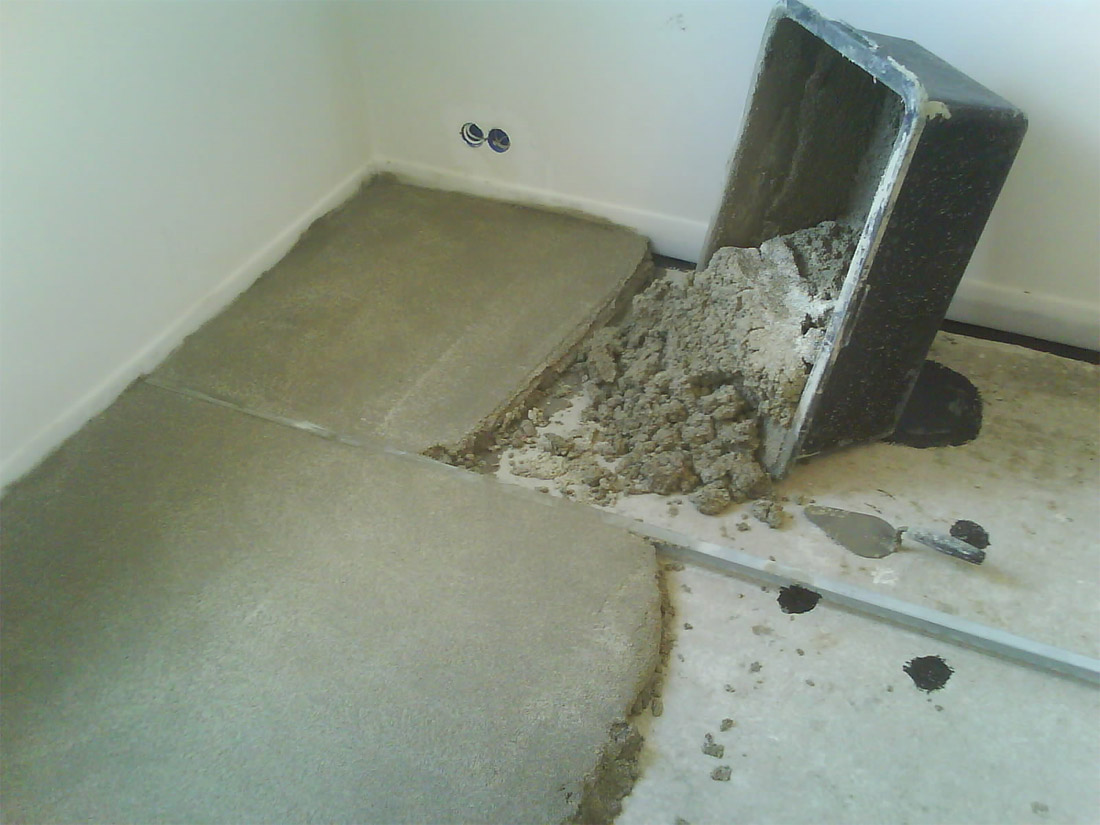
Two people start laying from the opposite corner of the door. The work of one - to fill and smooth, the second kneads the next portion of the solution. The best option is the area with the parameters of half a meter. Previously, the room is divided into lines of about 40-50 cm with wooden beacon boards to make it easier to level the surface. Pour the surface along them.
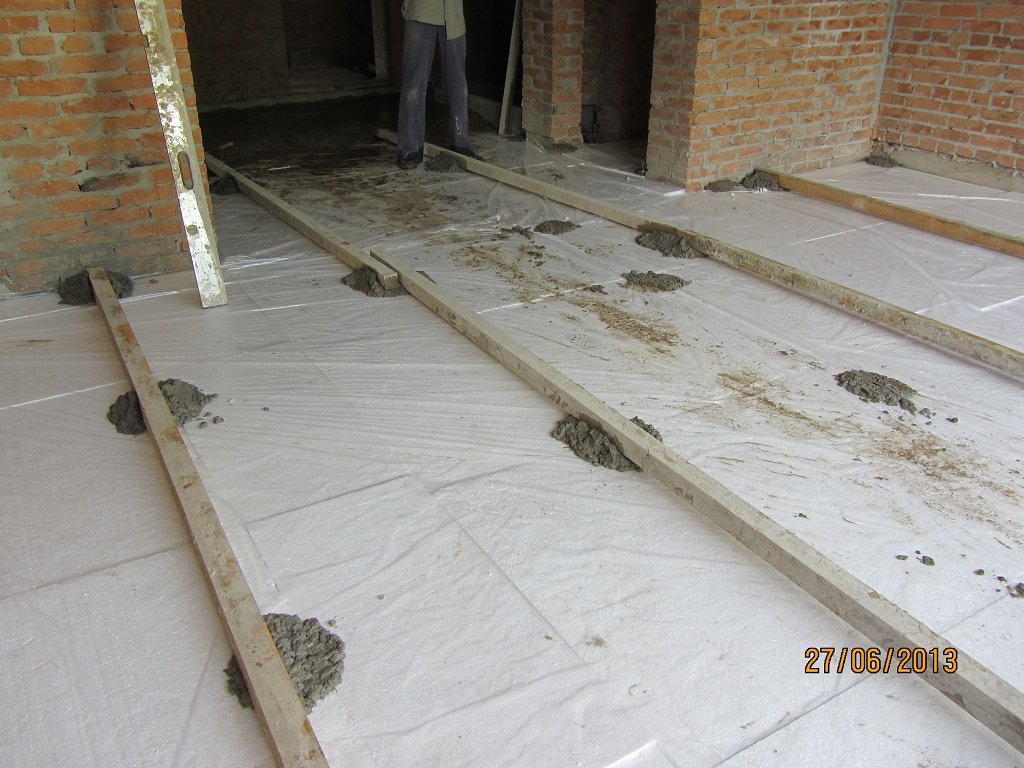
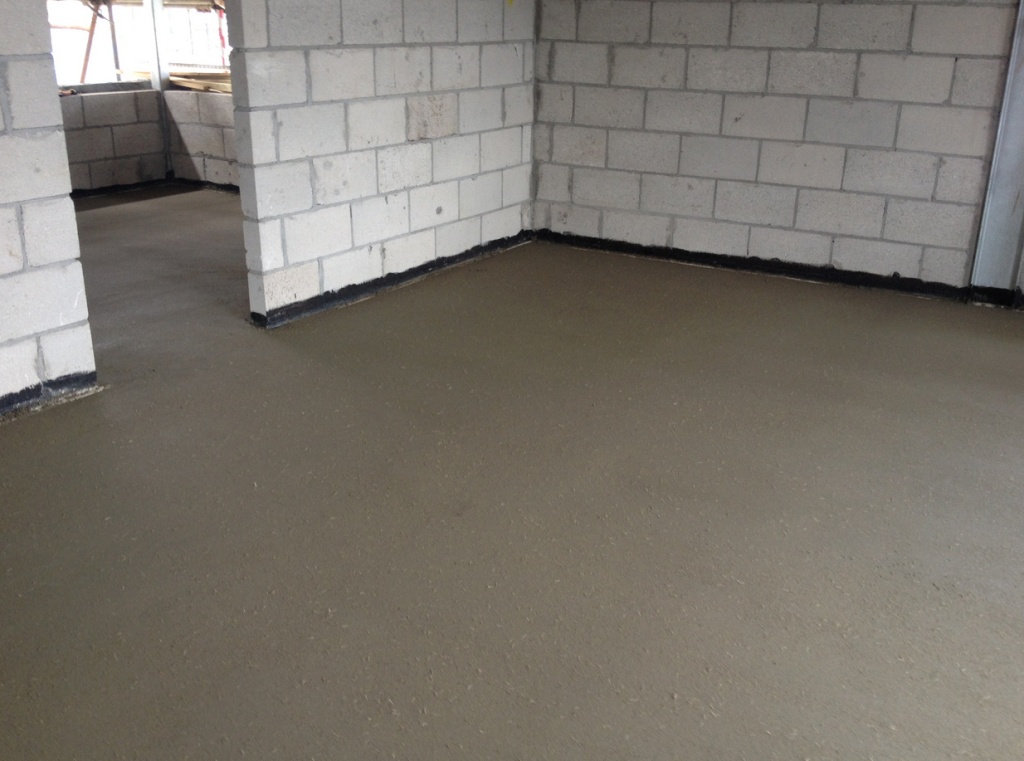
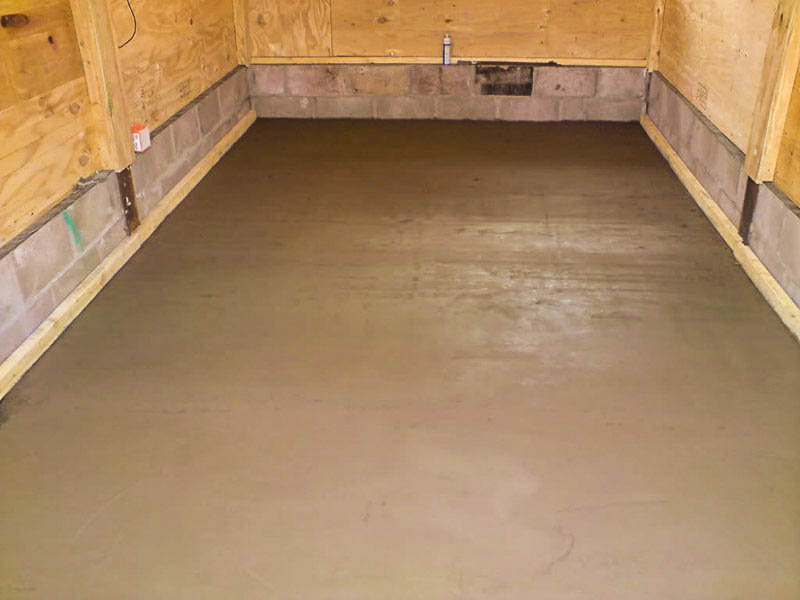
Adjacent places of two different “beds” are mixed to a depth of 10 cm. The strip, which corresponds to the doorway, is poured last.When pouring in an apartment, pouring should carefully fill all the gaps with a solution to prevent erosion. As a result, the screed hardens in about 2-3 hours..
During the first couple of days at room temperature, the screed will find half its strength. Moreover, this process does not imply the evaporation of water from the mixture; therefore, the ripening period should be calculated based on the water content and thickness of the screed. In residential areas, it hardens completely to 1 cm per week..
Every day, the surface must be sprayed with water to prevent solidification of only the top layer. The inner layer remains soft. Consequently, after a certain period, it will be covered with cracks.
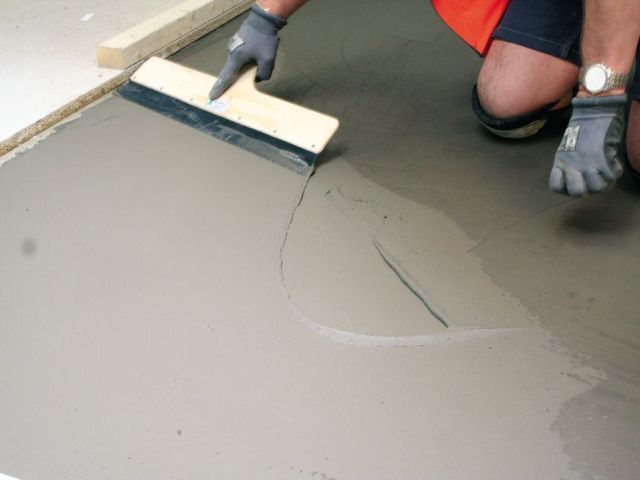
The rapid loss of elasticity makes it impossible to change anything, so approximately after half an hour it is recommended to start leveling the surface glide over the wedge.
Hillocks that are not subject to change, knocked by means of a spatula by hand. The area to be dismantled is rubbed with a wooden float to a rough, even surface.
Getting to grout, it is necessary to prepare a solution of cement and sand 50 to 50. Water is added to the dry impurity.When grouting cement-sand screed sprayed with a small amount of water. The main thing is not to get involved and follow the instructions. However, if the soul is eager to experiment, you can refer to the recommendations of experts, many of whom will quickly cool the ardor.
Professional Tips
Most often, people do not want to once again seek the help of professionals, whose services may be great to hit the wallet. After all, laying cement-sand screed can be done with your own hands, based on the instructions, calculations and compliance with the basic rules. However, many are faced with problems in practice, in a hurry making common mistakes. To warn a number of failures, below is a list of recommendations from experts:
- Punishment for haste. Do not accelerate the ripening process by heating or draft. Temperature drops threaten with erosion and the collapse of all previous work. It is best to spray the surface with water for 3 days.
- Pricing power. Sand cement screed requires to calculate in advance the materials for operation. If there are not enough ingredients to prepare a solution, then the mixture that begins to solidify will peel off from the new solution.It is better to carry out calculations from the principle: how many bags of the mixture will fit in a cube.
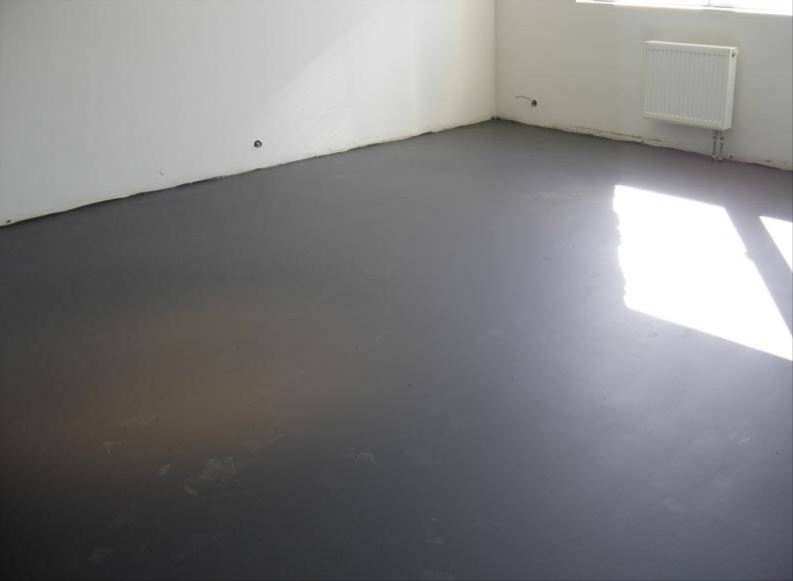
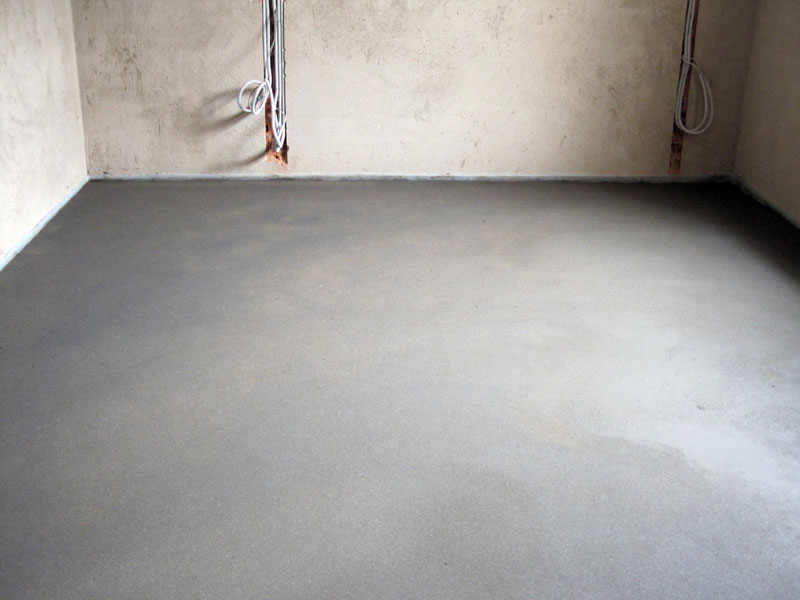
- After work is completed, after about 2 days, additional alignment is recommended. Grinding the surface will make sure that the screed is suitable for laying the floor covering.
Moisture resistant surface requires additional moisture.
- The main thing is patience. The screed can dry out more than a month than plague the apartment owners (with constant waiting). If the surface is solid, this fact does not mean that the inner layer corresponds to the upper one. It is impossible to prematurely cover the semi-hardened solution with any coating. Moisture will continue to evaporate, causing irreversible effects in the form of a fungus or swelling of a new parquet or linoleum.
- Damage to finishing materials can be prevented only 3 weeks after pouring. For this purpose, the coupler is pre-coated with a special gasket on which it will be possible to install laminate, parquet or other material.
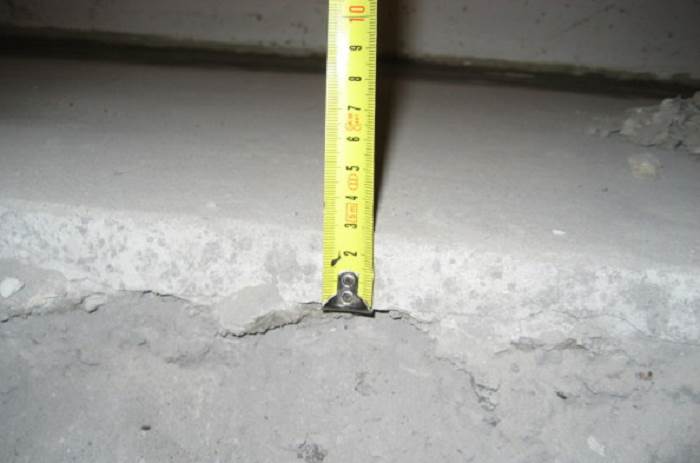
- The optimum thickness should not exceed 30 mm. A thicker layer has the habit of peeling off others, cracking from pressure and temperature drops.
- When creating a mortar, you do not need to be generous with respect to cement. This will not facilitate quick drying. Just hurt the design of the screed.
- Replacing plasticizers with PVA glue will also lead to complete destruction of the coating.
How to make a cement-sand screed with your own hands, see the following video.