Subtleties repair floor screed

Repair screed floor is a fairly common type of repair work. Rough floor undergoes significant loads, as a result of which its gradual wear and weakening occurs. Strengthen the concrete base and eliminate the defects can be yourself.
Faults and their causes
The most common damage to the subfloor are:
- overall weakening of the screed. It is characterized by the appearance of a large amount of cement dust as a result of a violation of the technology for preparing a mortar or of poor quality cement;
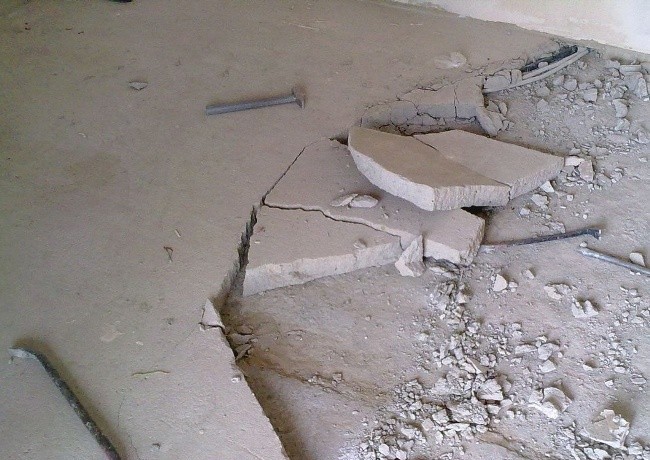
- potholes and cracks. Formed due to excessive point load on the floor surface. The presence of voids in the upper layer of the concrete base also causes the screed to crack and deform.This defect is considered the most dangerous for a decorative flooring: the area located above the damage and devoid of solid support, quickly becomes useless and collapses;

- detachment. Diagnostics of this malfunction is performed by tapping the floor surface with a hammer. In delaminated areas, the sound from the impact will be deaf, and dust will begin to flow through the cracks. Peeling can be expressed in the visual swelling of the upper layer and raising the corners after the solution has dried. The reasons are often uneven drying of concrete, the lack of a primer under the base and the use of low-quality cement;
- excessive dust formation. Due to excessive loads and overall aging of the screed, a large amount of cement dust is formed on its surface. Sometimes dusting the floor is associated with poor quality cement and a violation of the casting technology.
Repair composition
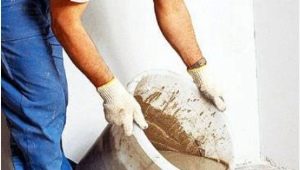
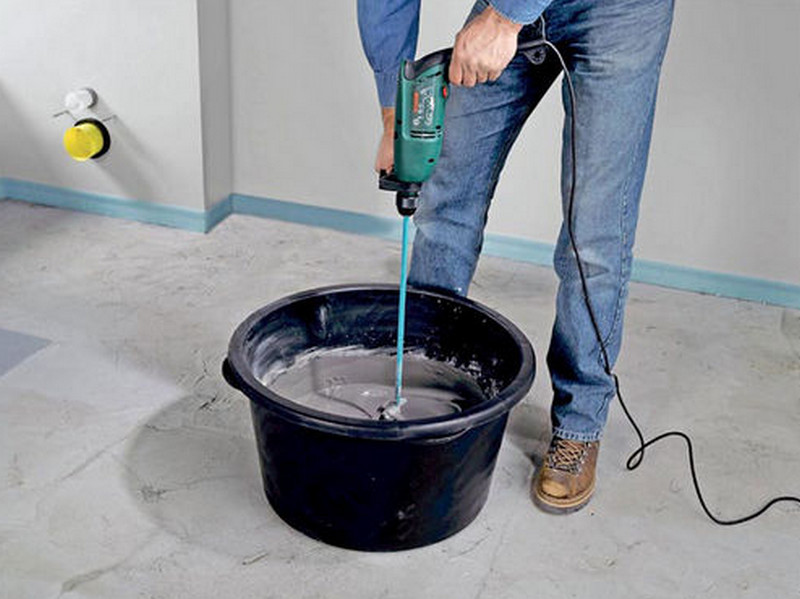
Mixtures for the restoration of cement screed are widely represented in the modern construction market. They include polyurethane components and synthetic resins and are more intended for industrial use.When carrying out repairs in the apartment, the purchase of expensive trains is not always rational, therefore for a minor repair the mixture can be prepared by hand.
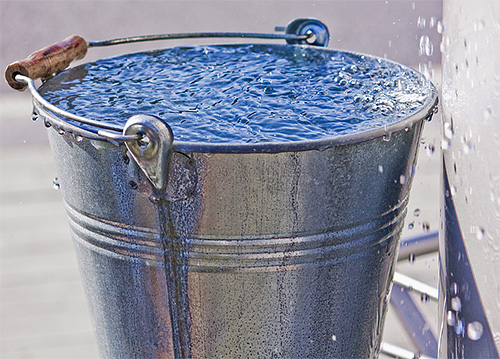
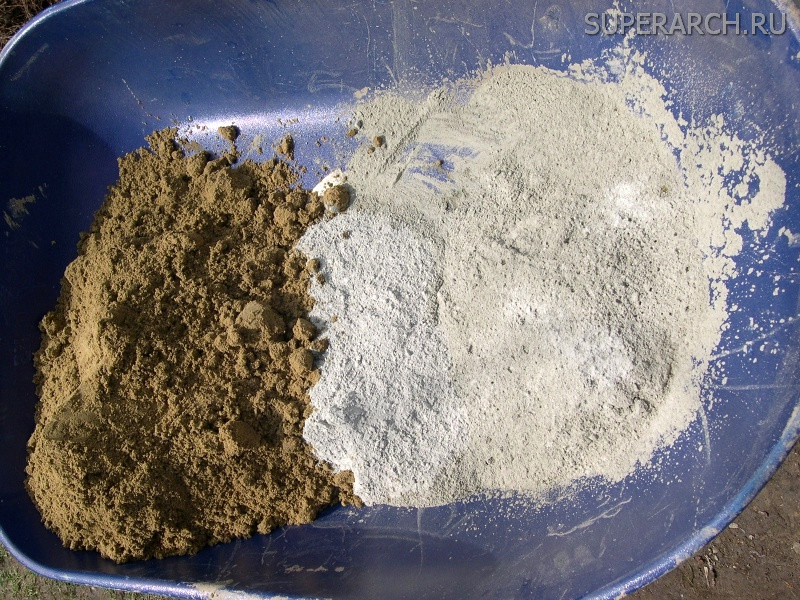
For this you need mix PVA glue with water at the rate of 1: 3, then add one part of sand and three parts of cement. The resulting composition should be carefully moved using a construction mixer or drill with a paddle attachment.

Self-made cement mixture can repair shallow cracks and small potholes. For large-scale repair work, you need to purchase professional tools.
How to strengthen?
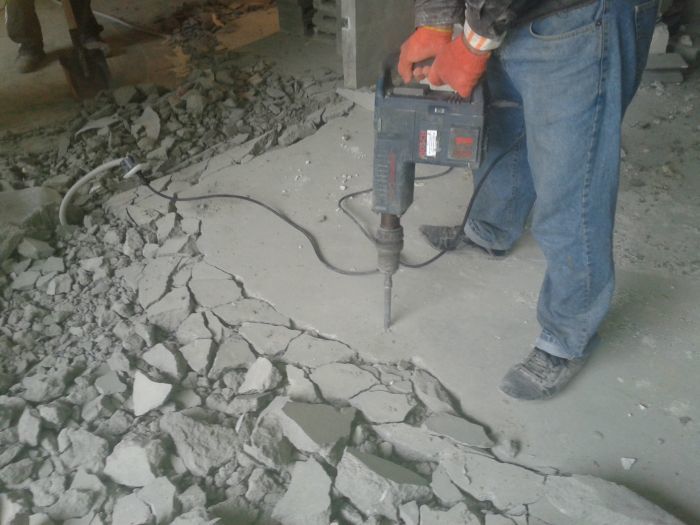
To strengthen the screed of a subfloor, it is necessary to drill a number of holes with a perforator, equidistant from each other at a distance of 25 cm and having a diameter of 20 mm. The depth of the channels made should be equal to the thickness of the screed. Work should be done with a drill with a small angle of inclination of the working groove. The holes should be cleaned of dirt and, if possible, dedusted.. Next, you need to prepare trim rebar, equal in length to the depth of the channels and having a diameter of 12 mm.
Then in the holes should pour a mixture of epoxide for concrete "Rizopox-350" and quartz sand, then insert the iron rods. Valves required to pre-degreases The upper, widest part of the channel is also carefully filled, until it is equal to the level of the base. You can proceed to the installation of a decorative coating after complete drying, subsequent dedusting and priming of the screed.
With the presence of a “warm floor” system, this method of strengthening the screed is not suitable: drilling channels may damage the cable and thermo-mat, as well as penetrate the water heating pipe.
How to repair?
After the diagnostics of the detachments that have appeared, as well as in cases when the screed has swollen and “swollen”, it is possible to start repairing it only if the damaged surface does not exceed 30% of the total area of the self-leveling floor. Repair detachment in two ways. The first is to conduct point injections using liquid repair mixture and consists of several stages. Initially, the problem areas should be identified by tapping and outlined with chalk.Then, in places of detachments, channels with a diameter of 15 to 20 mm are drilled. The distance between the holes should be 25-30 cm.
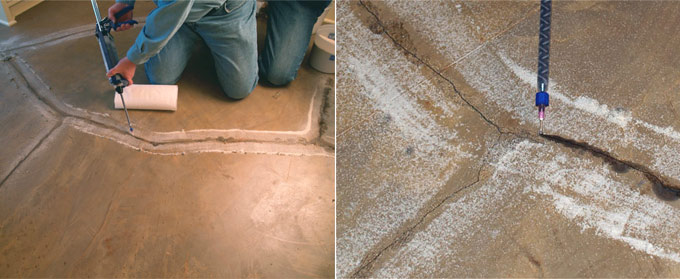
Next, the channels should be dedusted and pour primer mixture into them, trying to moisten the entire surface of the internal cavity evenly. At the end of the casting, it is necessary to dry the treated surface with a building dryer. Cement-adhesive mixtures or epoxy resins can be used as material for injections..
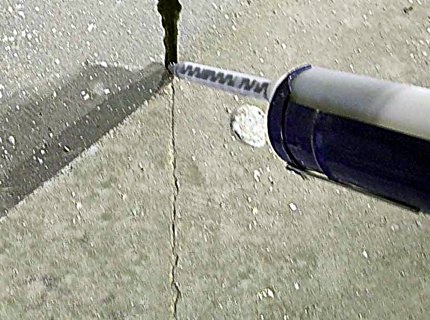
An important condition for maintainability of the solution is good fluidity. To fill the channels, you can use a building syringe or a plunger pump.
Injections should be made slowly, allowing the solution to be evenly distributed throughout the entire internal cavity. The procedure should be carried out until the upper part of the channels is filled with the mixture to the level of the floor.. To dry the repaired screed should not less than a day, after which you can proceed to the priming and subsequent installation of the finish coating.
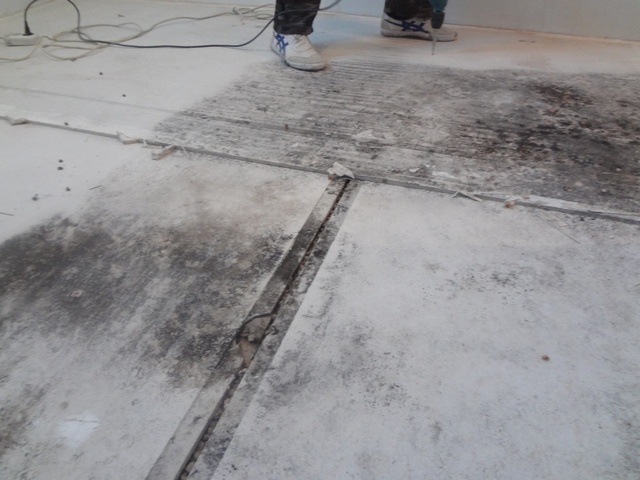
The second way to repair stratified screed is to completely dismantle the problem area., dedusting and priming the surface, followed by concrete pouring.The method is used in cases of impossibility of point repair with a large area of the damaged area.
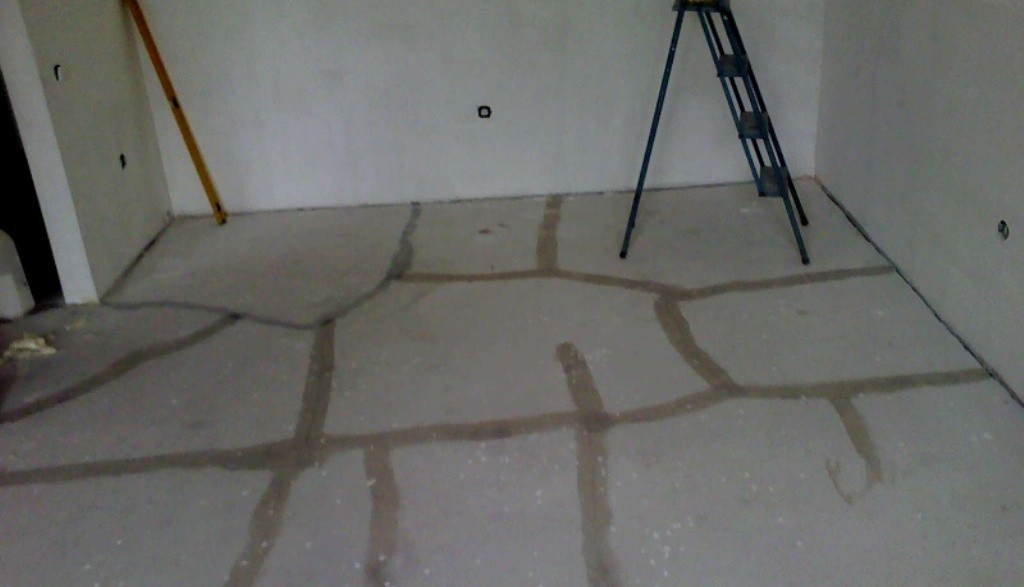
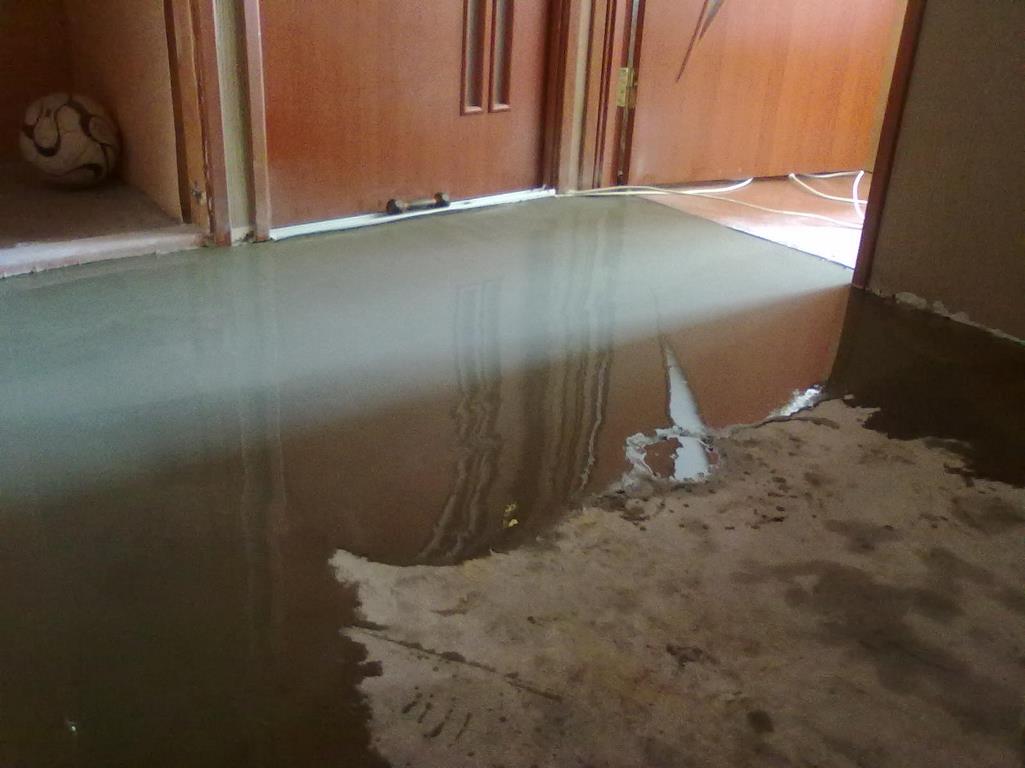
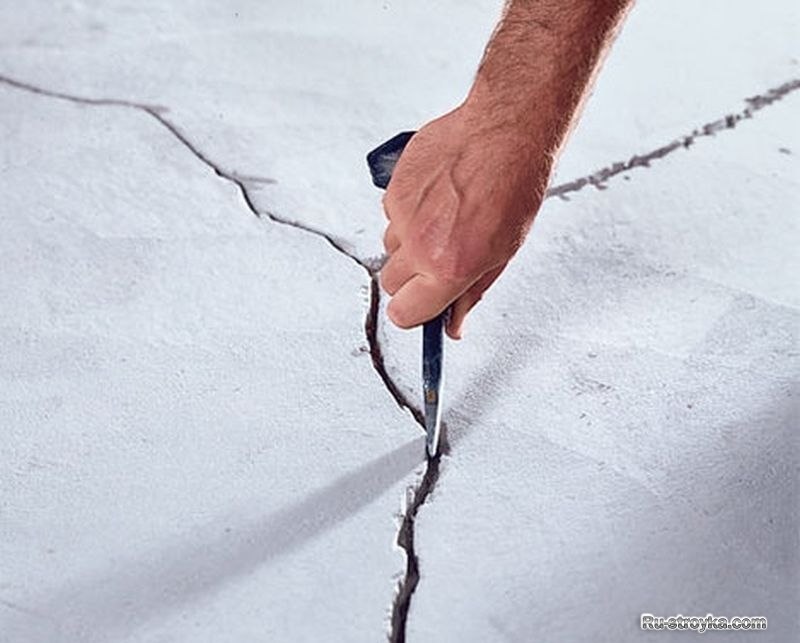
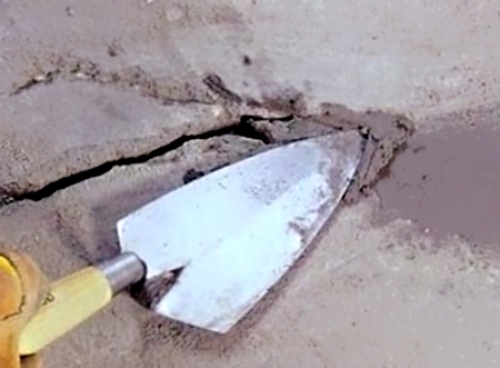
Get rid of cracks
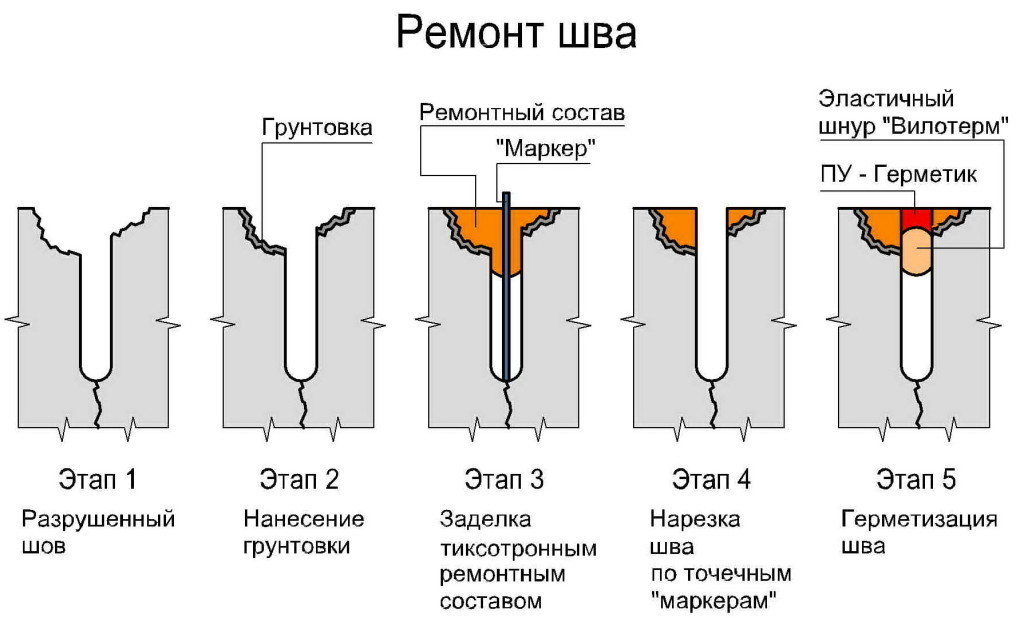
Cracking the surface of the screed can occur from uneven loading on the topcoat, shock and poor wetting of the concrete base during drying. If the floor surface is cracked, cracked or crumbling badly, you need to take emergency measures, because it is the cracks that are the most serious defect in the screeds. To eliminate the problem, it is necessary to deepen and widen the crack with the help of the grinder to obtain strong edges, while using the stone for working on the stone. Then follow the grooves perpendicular to the direction of the crack with a depth of 2 and a width of 15 cm. The surface of the recesses is thoroughly dedusted and primed.
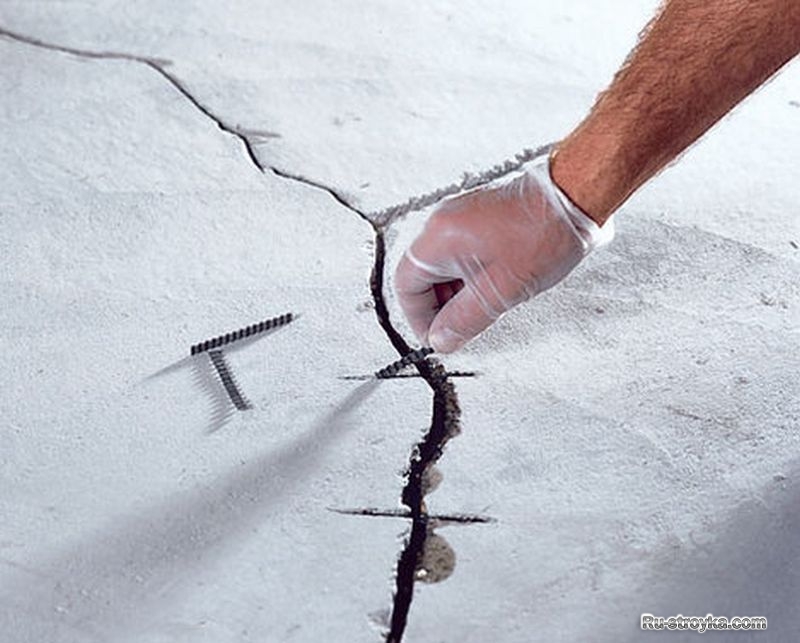
Further crack must be filled with repair compound to half its depth and a metal bracket is installed. To increase the strength of the solution, you can add quartz sand. After filling the main cleft, it is required to fill the solution with transverse grooves and remove the excess solution. Then you need to wait until the repaired surface is completely dry and proceed to sanding it.
When repairing deep cracks, ream their cavity to the full depth of the screed. When forming the transverse grooves at the ends, you need to drill holes 2-3 cm deep. It is necessary to fill a deep crack in several steps, giving each layer the time to harden to the maximum. The first batch of the mixture should be made slightly more liquid. This will allow it to penetrate the most inaccessible places at the base of the floor and evenly fill them. The next batch should be of medium thickness, it should be poured into the crevice to the level of transverse grooves.
After the second layer grabs, you need to install tightening metal brackets, securing their ends in the drilled holes. Then a plasticizer is added to the solution and a final cast is made, which will hide the brace. After the solution is completely dry, the repaired area is polished and a screed is prepared for mounting a self-leveling floor or installing a floor covering.
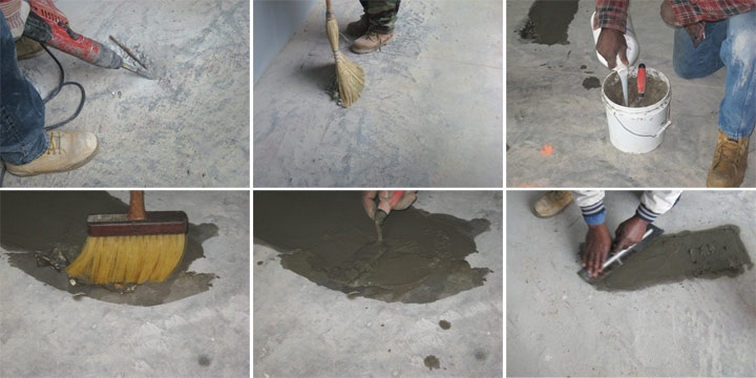
Pothole removal
Repair of potholes and chips should begin with their expansion and dimples, which should be carried out until the edges of the dimples cease to crumble.To do this, use the grinder, equipped with diamond discs, designed to work with stone. When serious potholes, the depth of which exceeds five centimeters, you need to drill through the entire thickness of the screed. Then, debris should be removed from the cleft and thoroughly dedusted it. Next you need to apply a primer mixture and let it soak.
Filling the pothole with the solution should be done in several stages., applying each subsequent layer only as the previous one dries. This will ensure uniform drying of the solution throughout the depth and will prevent the appearance of cracks.

If, after drying, the screed re-cracks, it is necessary to increase the area of opening the concrete layer and repeat the procedure. A day after the repair work, it is possible to grind the area and prepare a screed for laying the turnkey floor.
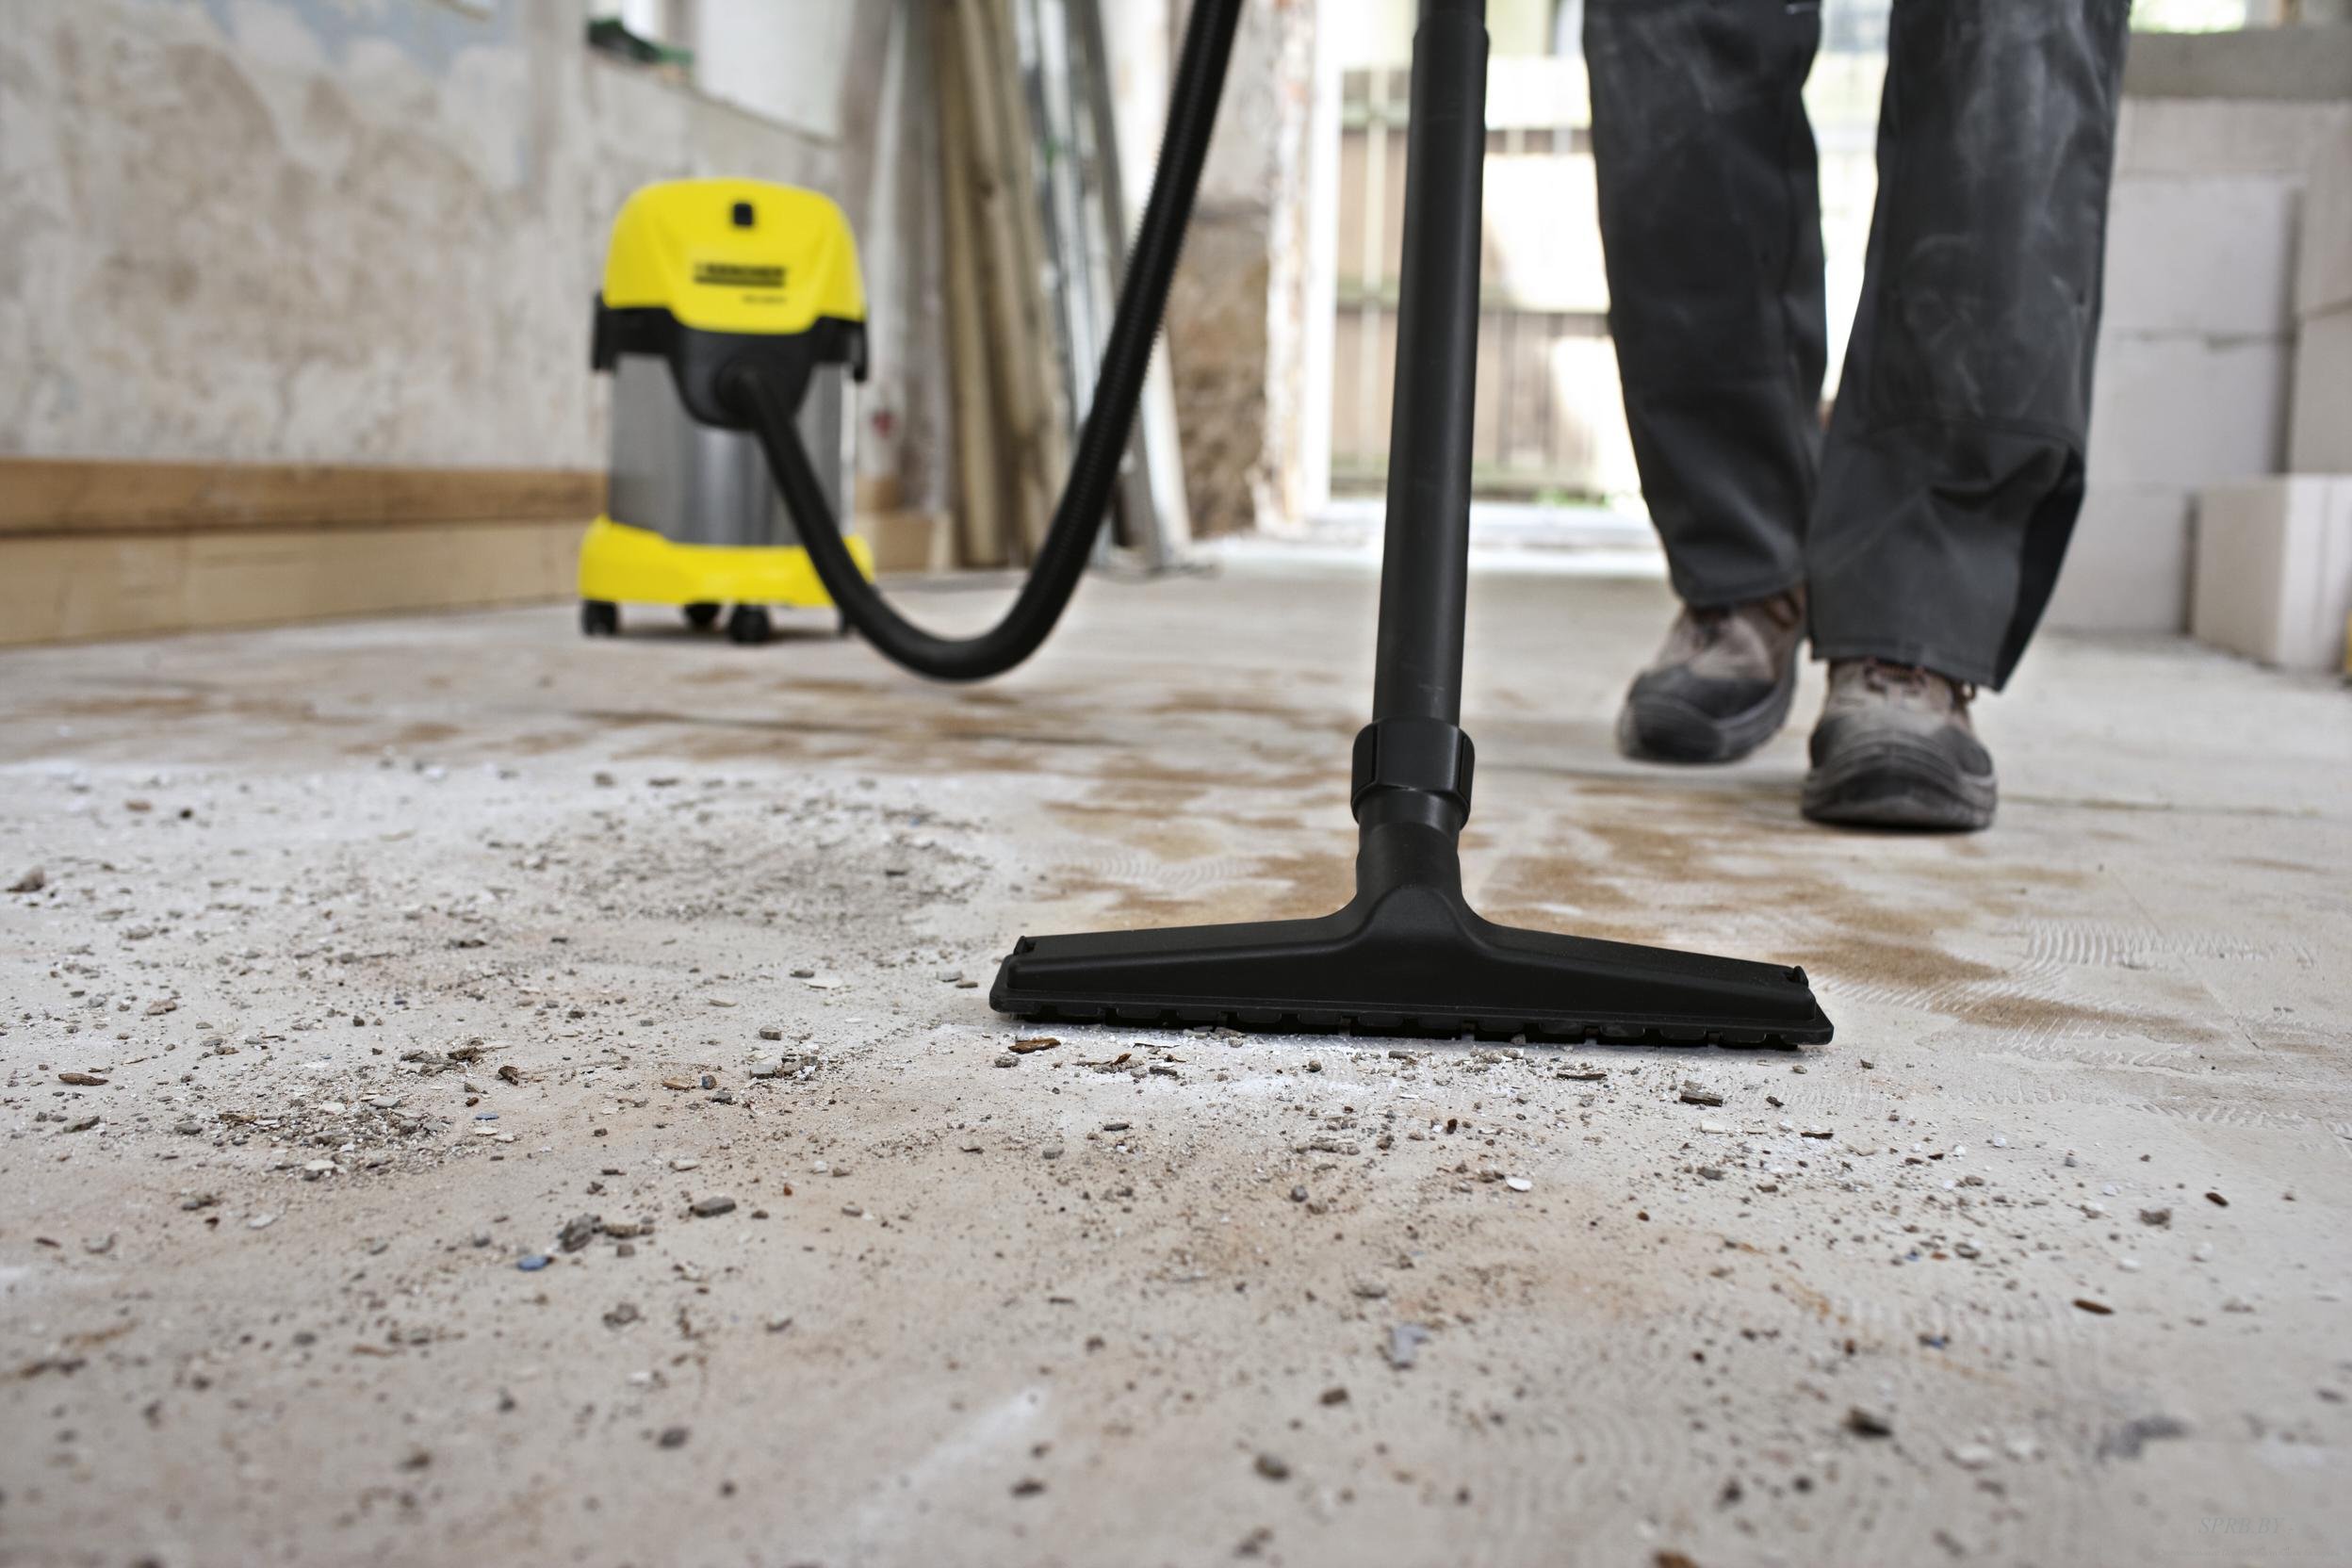
Dust removal
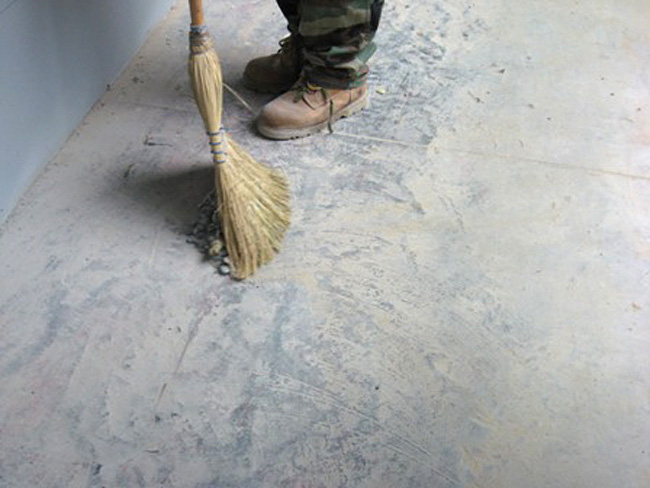
Very often, an old screed, especially without a decorative coating on top, begins to dust. This problem is most typical for floors of garage, warehouse and industrial premises. Constant weight loads in combination with vibration and regular temperature fluctuations contribute to the rapid destruction of the coating and the appearance of cement-sand dust.Over time, the dust becomes so much that it is impossible to sweep it away. If you can not completely change the concrete screed, you need to immediately strengthen the old base.
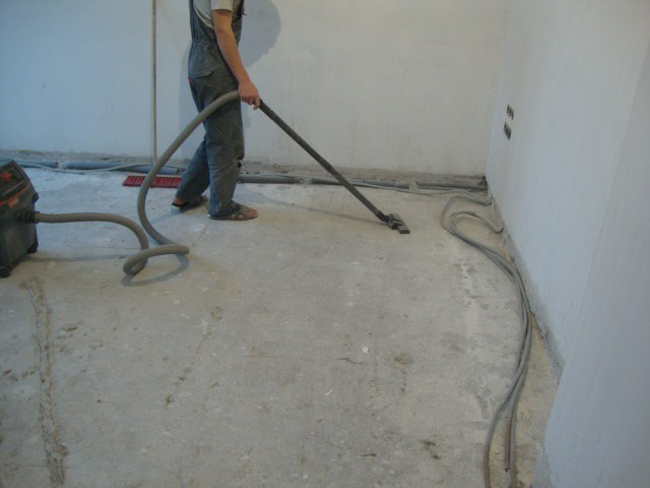
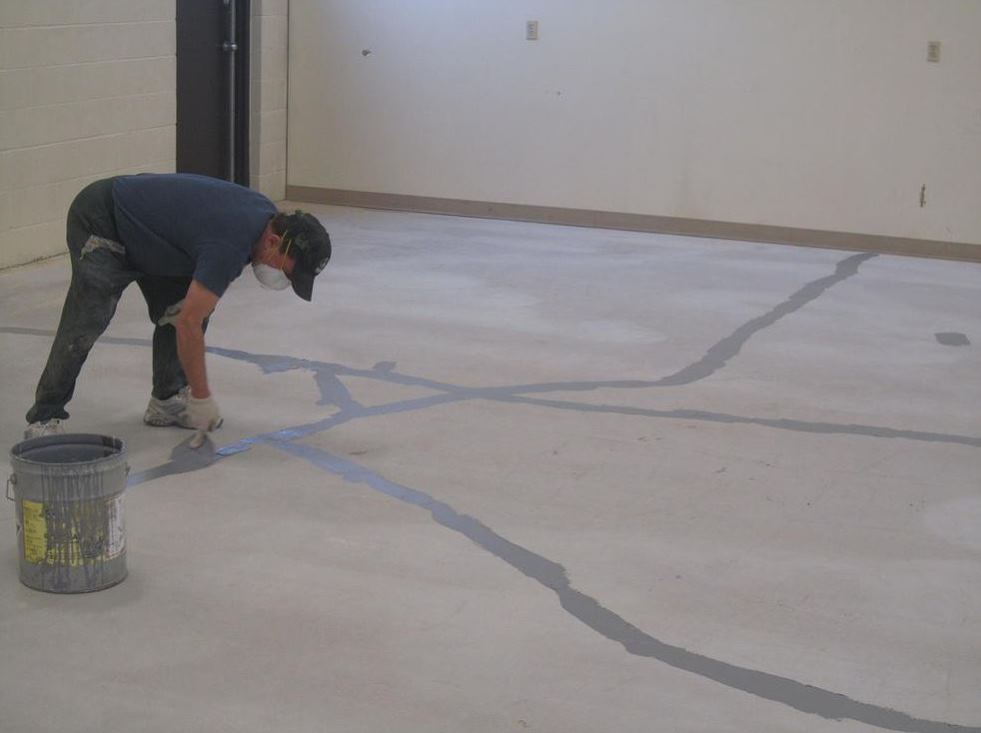
Initially, the floor should be cleaned of mechanical debris and dirt. Then the surface is dedusted and examined for the presence of cracks and dents. When they are detected, problem areas are repaired, and after drying the solution is polished. Then you need to cover the entire surface of the screed with a penetrating primer mixture and wait until it is completely absorbed. In rooms with high humidity, you should use special water emulsifiers.. Further, the surface is painted with wear-and frost-resistant enamel for concrete surfaces.
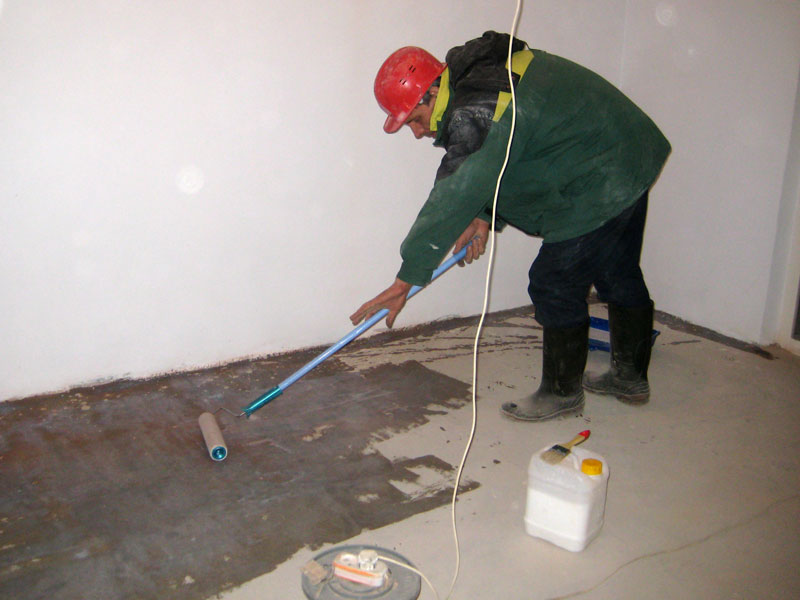
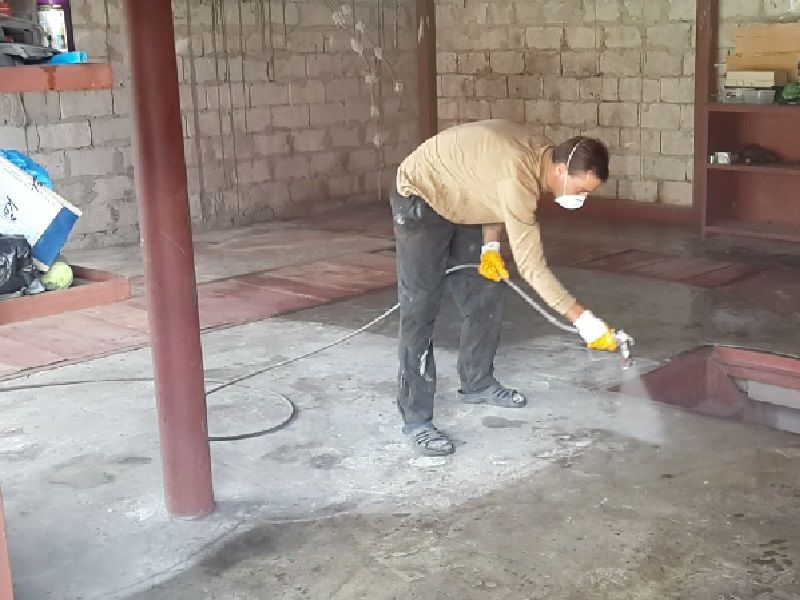
It is possible to cover a dusty floor with a specialized composition having a polymer base. The mortar is able to penetrate 5 mm deep into the concrete screed, completely preventing the formation of dust. The treated surface acquires excellent vapor-permeable properties, and is also characterized by high resistance to chemicals, sudden temperature changes and abrasion.
To increase the anti-slip effect of the floor, quartz sand is applied to the uncured composition.which after drying means forms a rough surface.
More reliable is the method of reinforcing a dusting floor with a special glass fabric.
For this, the surface of the screed is dedusted and primed. After the primer mixture dries, tile adhesive is applied to the screed and the fabric is laid. Canvases should be laid overlap, leaving no open areas.
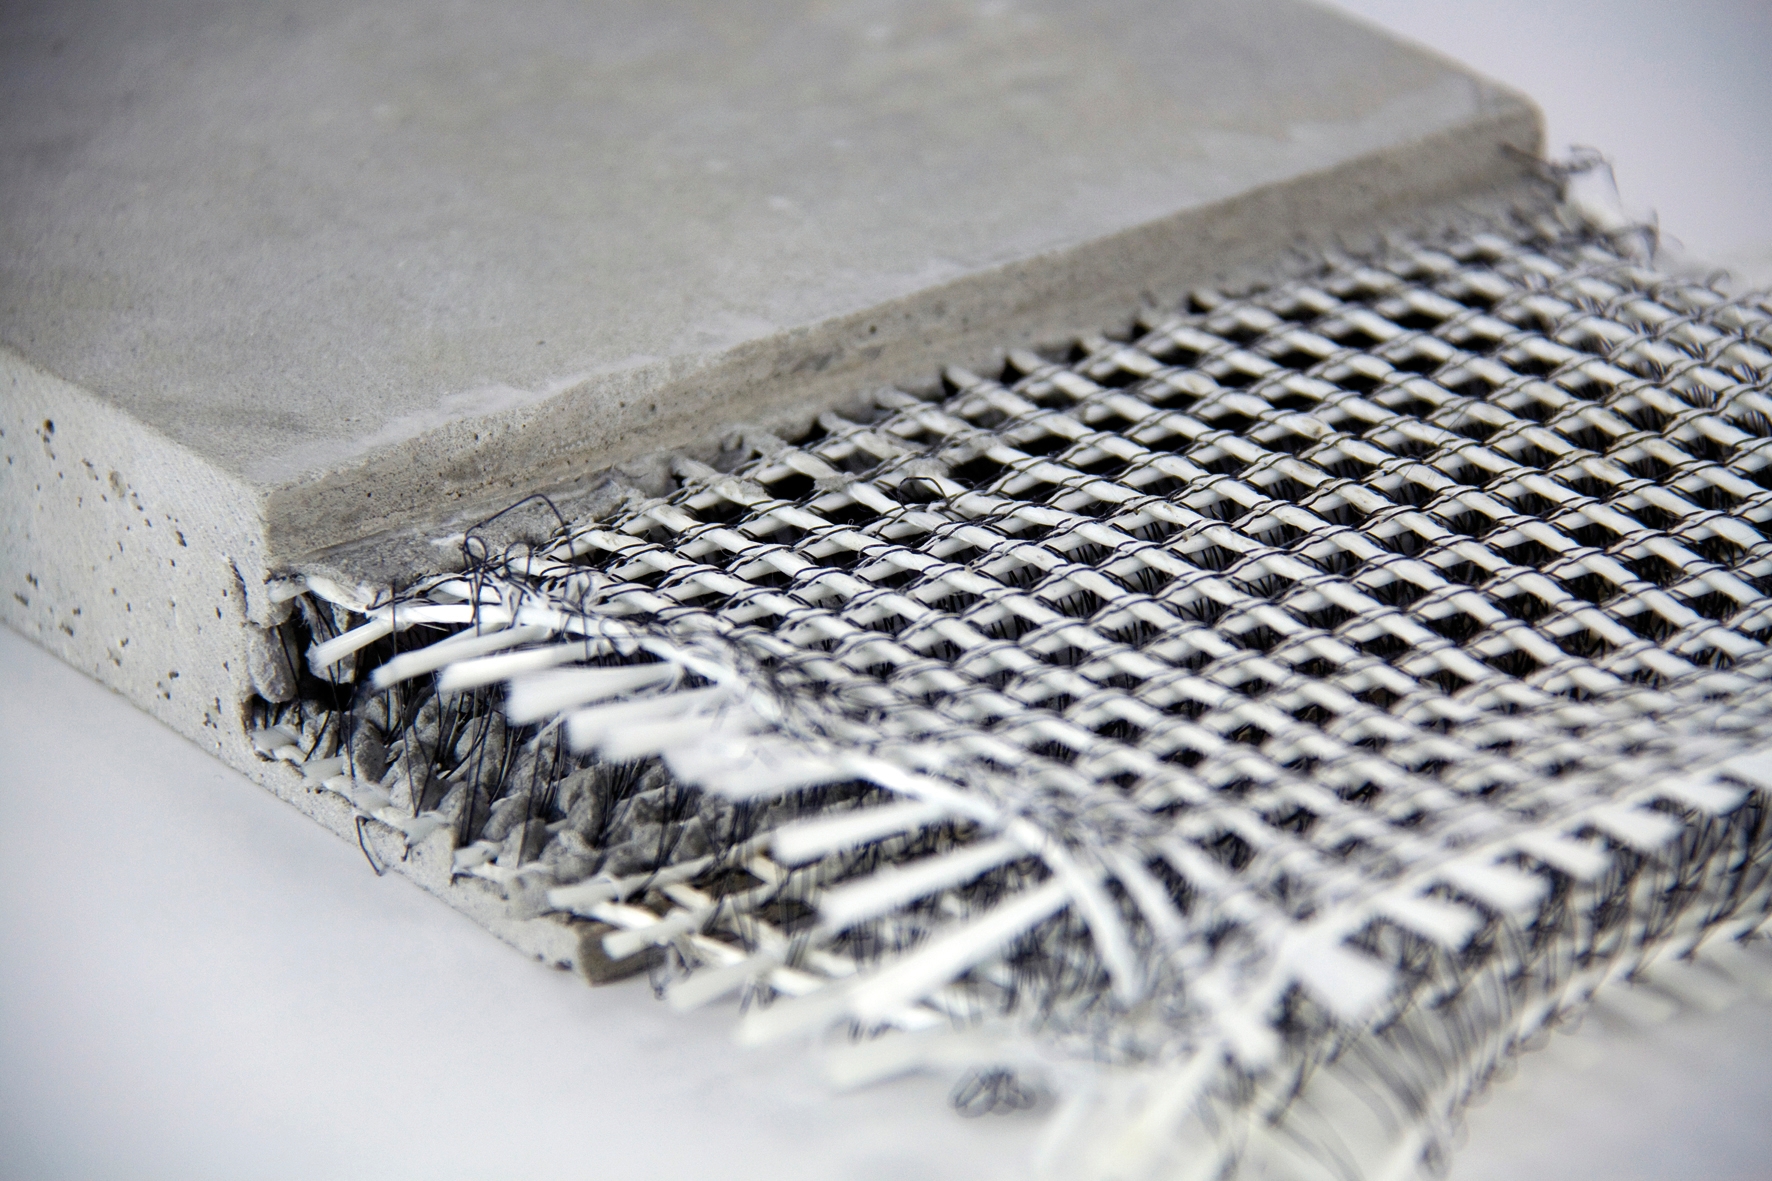
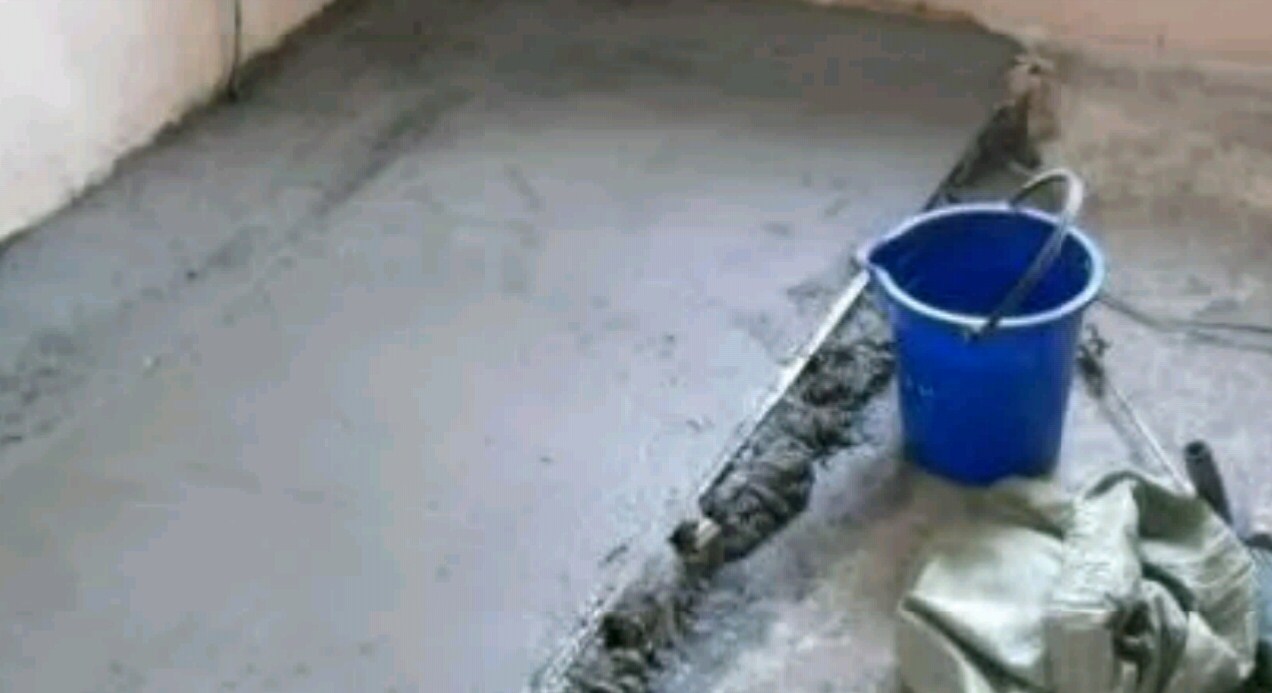
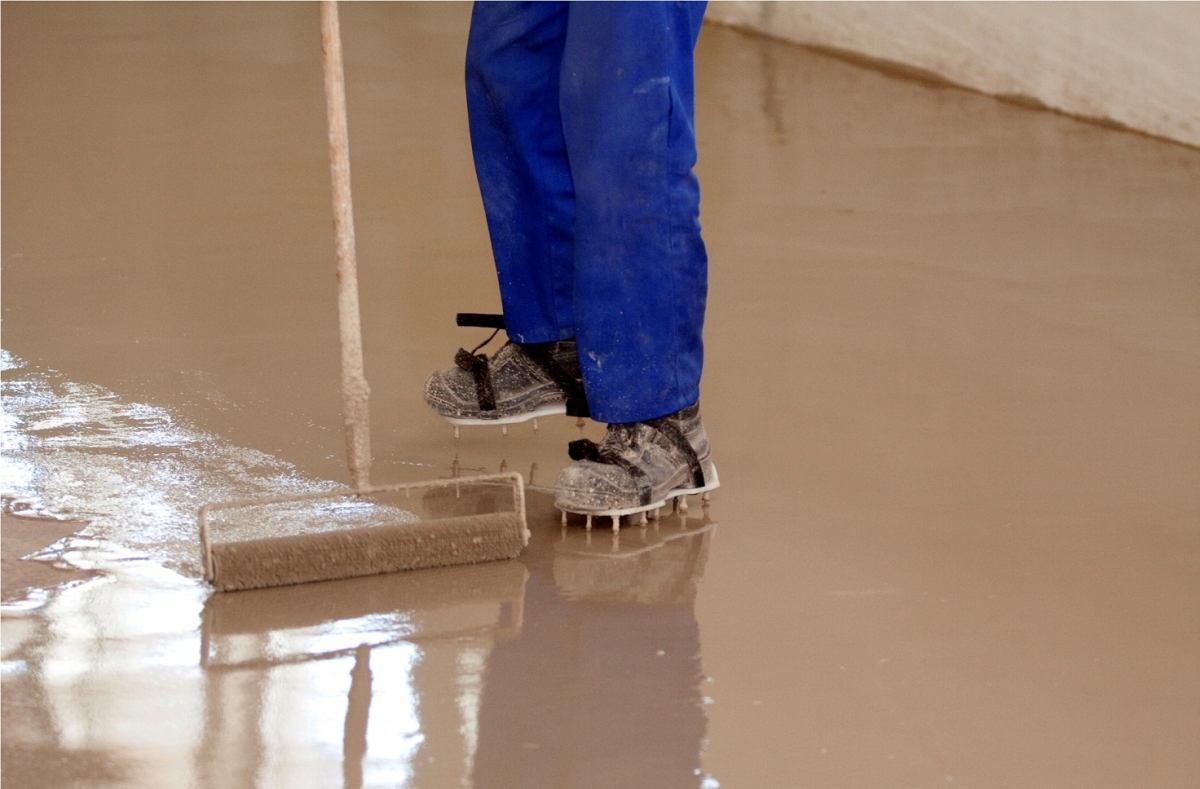
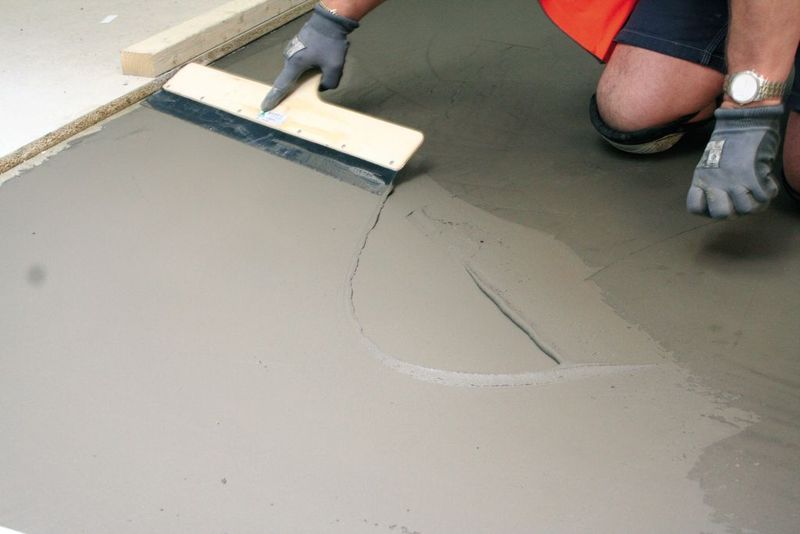
After the first layer of glue dries, a second one should be applied over the fabric. This will reliably fix the dust base and increase adhesion. Then around the perimeter of the room it is necessary to install a damper tape, which will act as a compensator. The final step will be the installation of beacons and installation of self-leveling mixture.
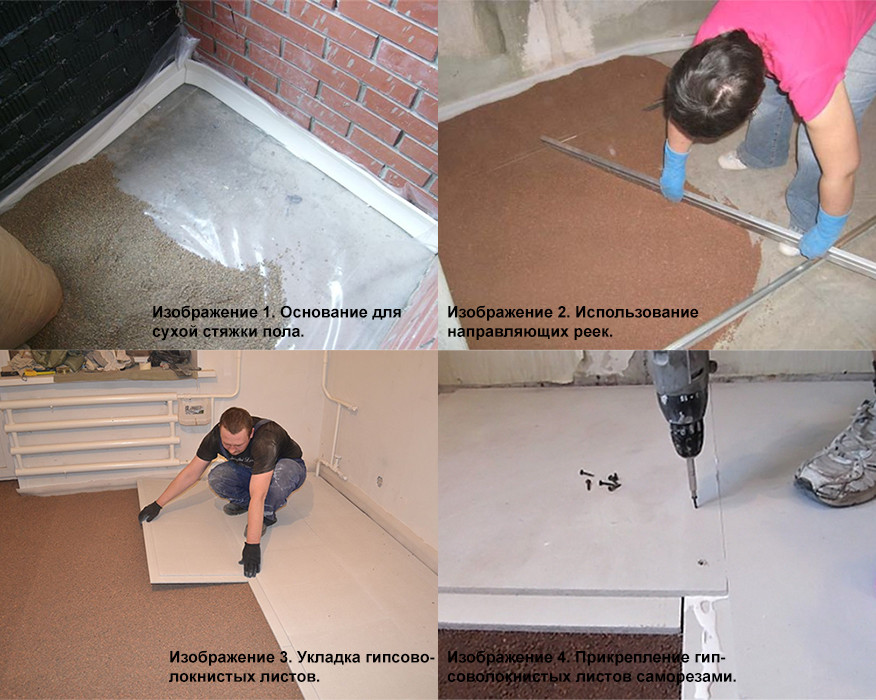
Features of the restoration of dry screed
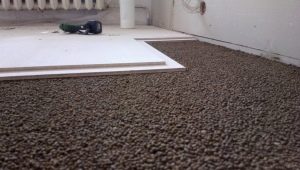
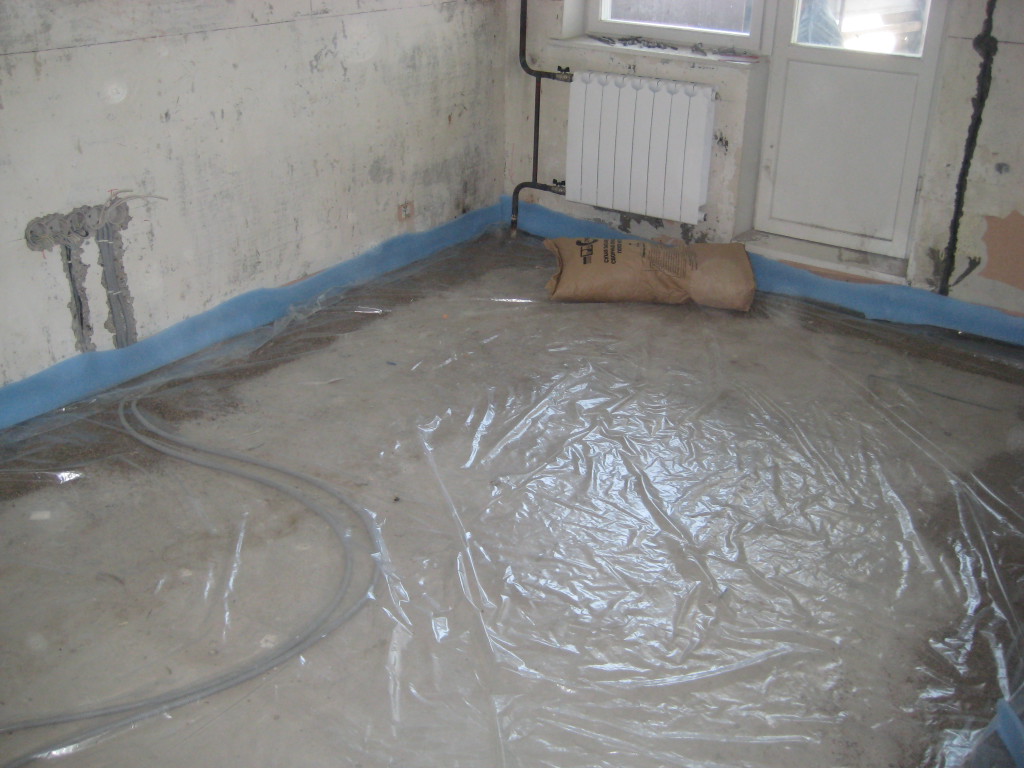
The elimination of dry screed defects is fundamentally different from the repair of wet and semi-dry filling bases. First of all, you need to dismantle the old floor and clean the ceiling or ground from debris. Then it is necessary to cover the base with a polyethylene film not less than 50 microns thick.This will provide reliable vapor barrier and prevent the ingress of moisture. Next you need to install the aluminum U-shaped profile with sharp edges up and fix it with a plaster solution.
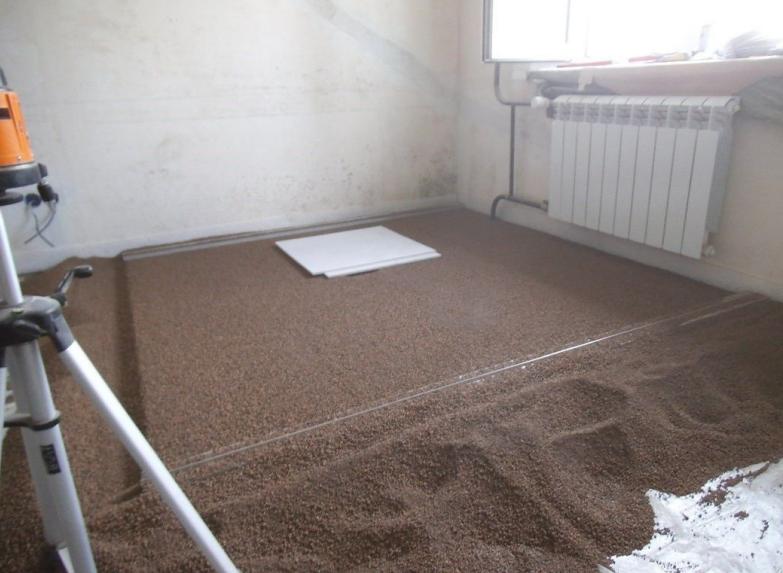
The next step should be to fill the dry mix, as which you can use expanded clay or quartz sand. The thickness of the backfill varies from 2 to 12 cm and depends on the type of structure and the quality of the base. Next, you should lay the sheets of the material of the tie, glue them with tile glue and fasten with screws.
Tips and tricks
By following the rules, you can significantly simplify repairs and significantly increase the life of the screed:
- so that the fresh concrete surface does not crack, you should regularly moisten it during the entire drying period;
- The use of high-quality materials and strict adherence to the technology of filling floors will help to avoid many malfunctions and make the screed strong and durable
- hide small damage and minor defects will help liquid glass or tile adhesive;
- when repairing cracks and potholes can not be neglected primer. This will strengthen the surface and increase the adhesion of a strictly layer with a solution;
In case of numerous damages, occupying more than a third of the floor area and having a different origin, the coupler should be dismantled and the formation of a new layer should be undertaken.
How to repair cracks in the screed, see the following video.