Features of the calculation of pipes for underfloor heating
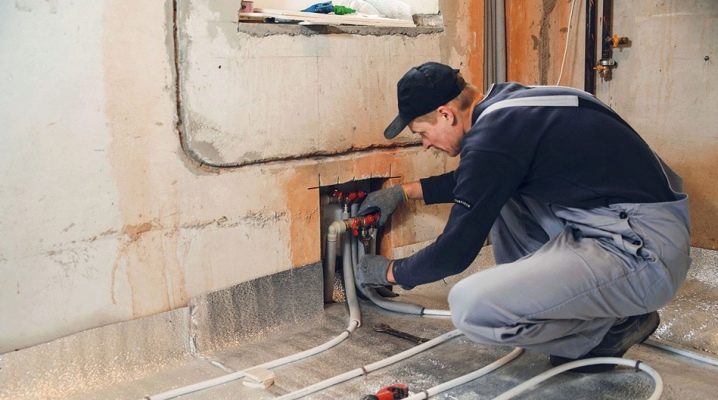
Installation of pipes of a heat-insulated floor is impossible without preliminary calculations of work of the heating system. Proper calculations will ensure not only high-quality heating system, but also allow long-term use of equipment without leakage.
Design features
Warm water floor is gaining increasing popularity. He pressed even massive batteries on the market due to simple installation and a wide range of products. Also, unlike radiators, it became possible to regulate the circulation of water in the metal channel with the help of flow meters.
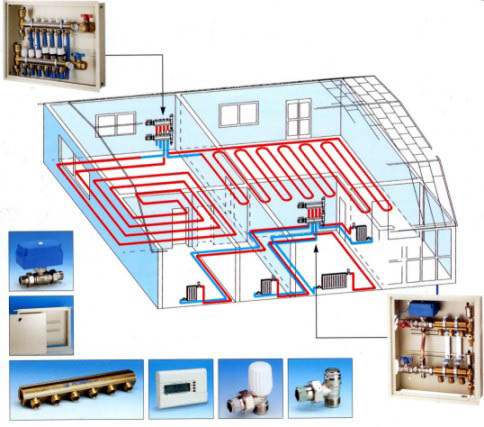
The design is able to be combined with ordinary radiators. At the same time its action is focused on uniform heating of air in the room. The radiator is not able to quickly heat the room, as in most cases it is limited to a small space due to the wall installation. At the same time, the system of warm pipes passes under the floor of the room, thereby preventing drafts and heat leaks.
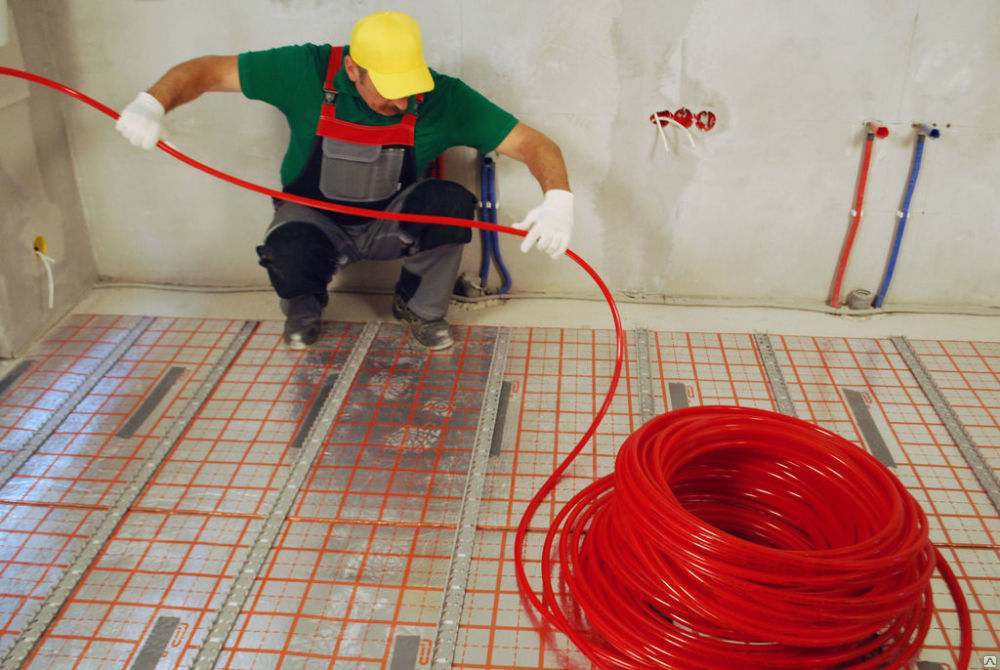
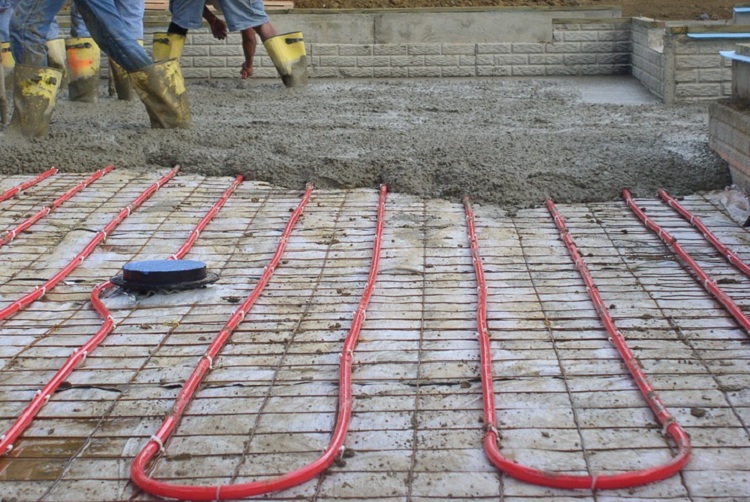
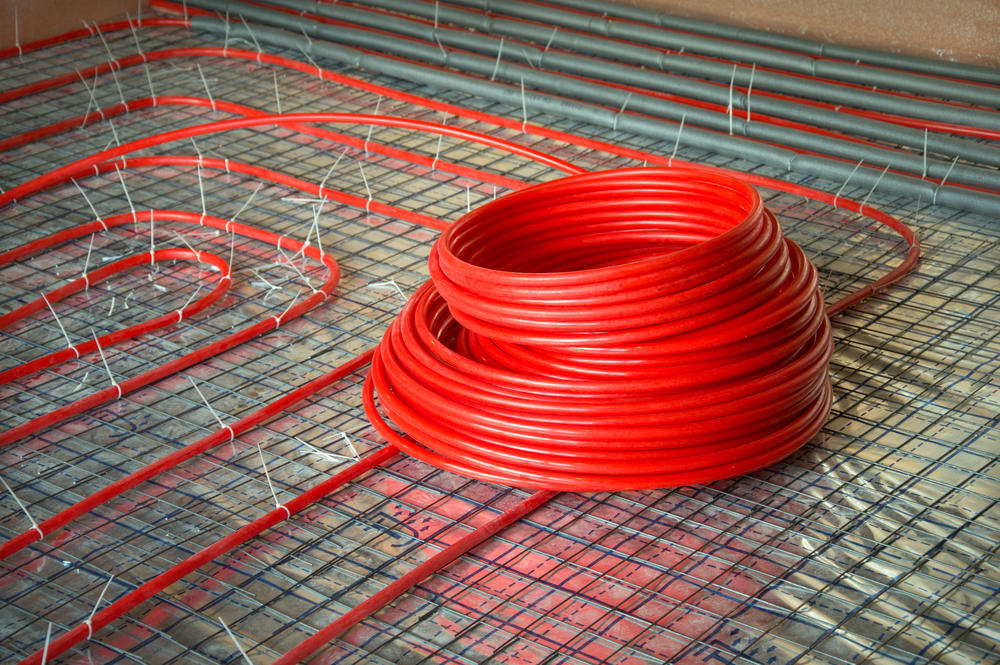
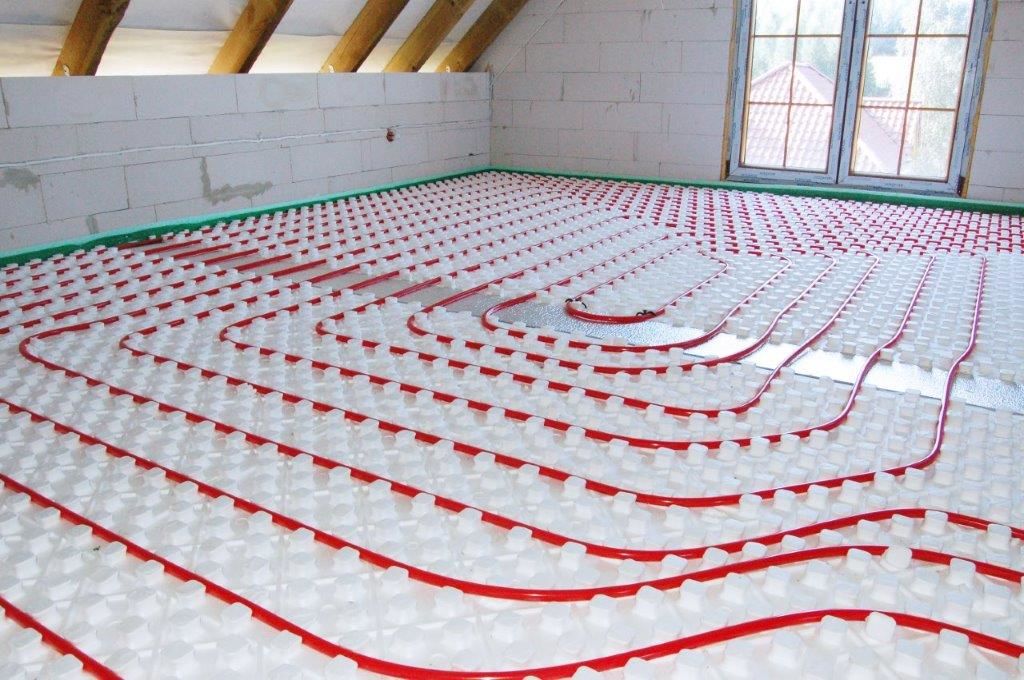
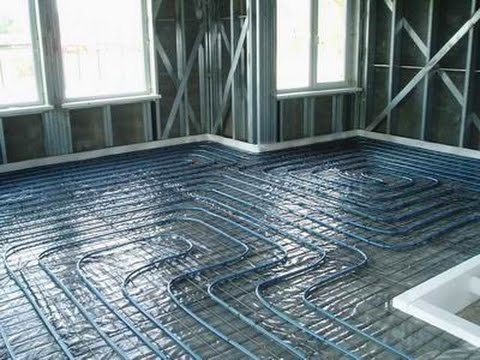
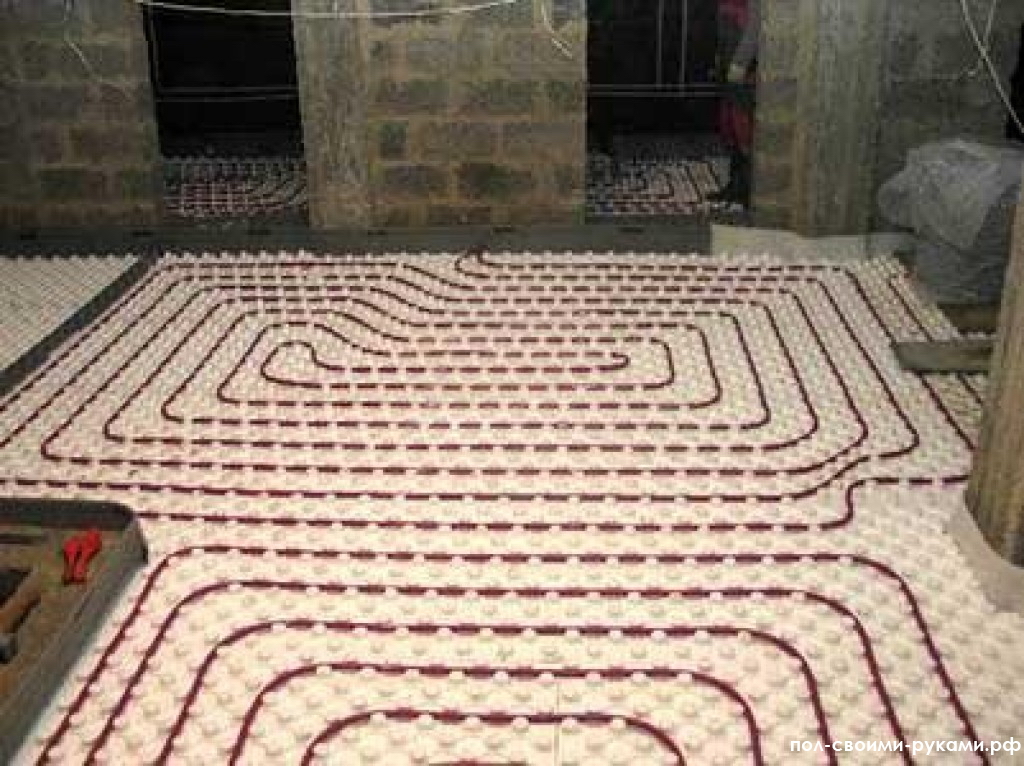
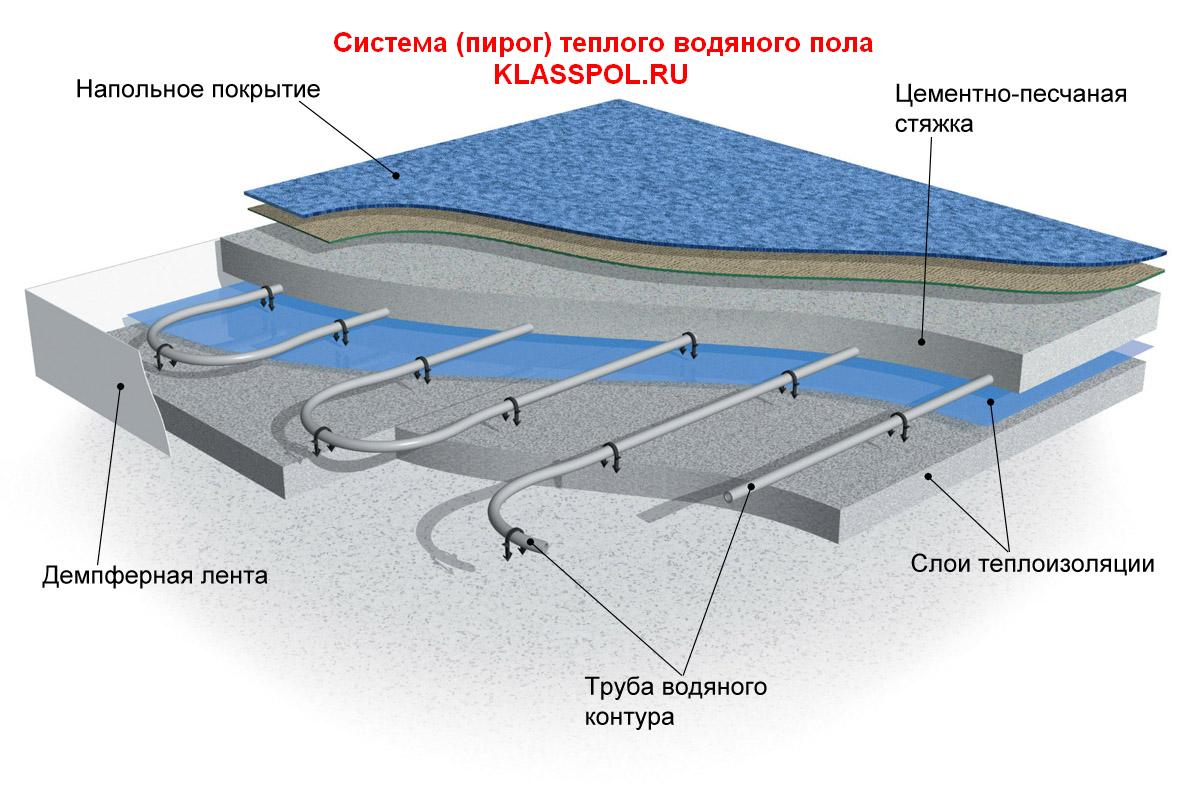
The basis of the design is a concrete screed, which under the action of high humidity quickly collapses. To avoid unpleasant consequences after leakage, it is necessary to place polystyrene foam or polystyrene foam on cement. However, if you immediately put the pipes, then porous materials will easily absorb heat. To insulate the layer of foam is recommended to cover with foil.
For reliable reinforcement in the floor structure, the pipe system is placed in an additional cement layer on top of the waterproofing coating of the main screed. So the design is securely fixed under the floor covering, without losing its properties.
Subtleties of calculation
In most cases, 5 m of pipe are consumed per 1 m2. The length of the step is 20 cm.
However, experts recommend pipe laying on the basis of exact calculations. For this purpose, you need the formula L = S / N * 1.1, where:
- S represents the area of the plot;
- N denotes the laying step;
- 1.1 - spare tube needed to create turns.
If you add the distance from the collector to the floor, doubled, you get a more accurate calculation. For a better understanding of the calculations, you can give an example:
- suppose the land area is 16 m2;
- distance from the collector to the floor - 3.5 m;
- laying step is 0.15 m;
- following the formula: 16 / 0.15 x 1.1 + (3.5 x 2) = 124 m.
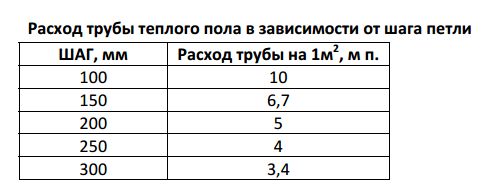
The increase in consumption depending on the distance between adjacent pipes is the following table:
Loop pitch, mm | Pipe consumption per 1 m2, m. P. |
100 | 10 |
150 | 6,7 |
200 | 5 |
250 | 4 |
300 | 3,4 |
The layout of the heated floor limits the length of the pipe to 120 m, because there are a number of reasons for this:
high temperature should not damage the floor covering;
heating in the circuit during operation (especially when leaking) can damage the cement screed;
the division of the surface into several sections promotes efficient heating.
When making calculations, it is necessary to remember that the number of sections depends not only on the floor area, but also on its geometry.
By diameter
To correctly calculate the pipe diameter, the following calculations will be required:
15 kPa - pressure of the pump providing effective heating;
pipe length is 85 m;
coolant consumes 0.2 m³ / h.
Therefore, the calculation is made according to the formula D = 18 * (p / L * G2) - 0.19, where:
D designates pipe diameter for underfloor heating;
L is the length of the product;
p is the pressure of the pump;
G is the flow of water that circulates in the pipes (described in the documentation);
D = 18 * (15/85 × 0.22) –0.19 = 13.6 mm.
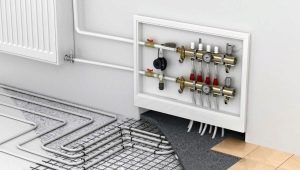
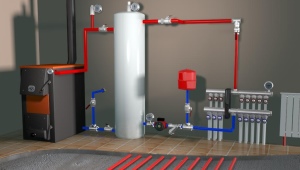
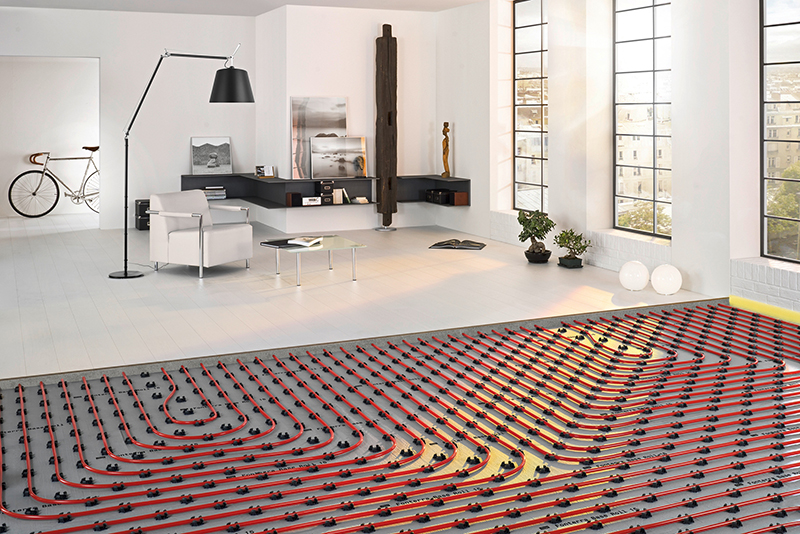
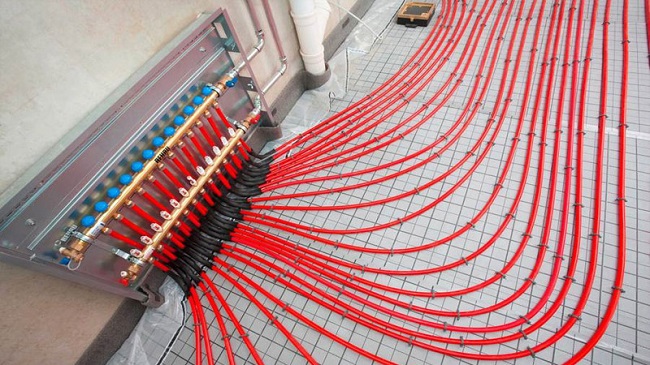
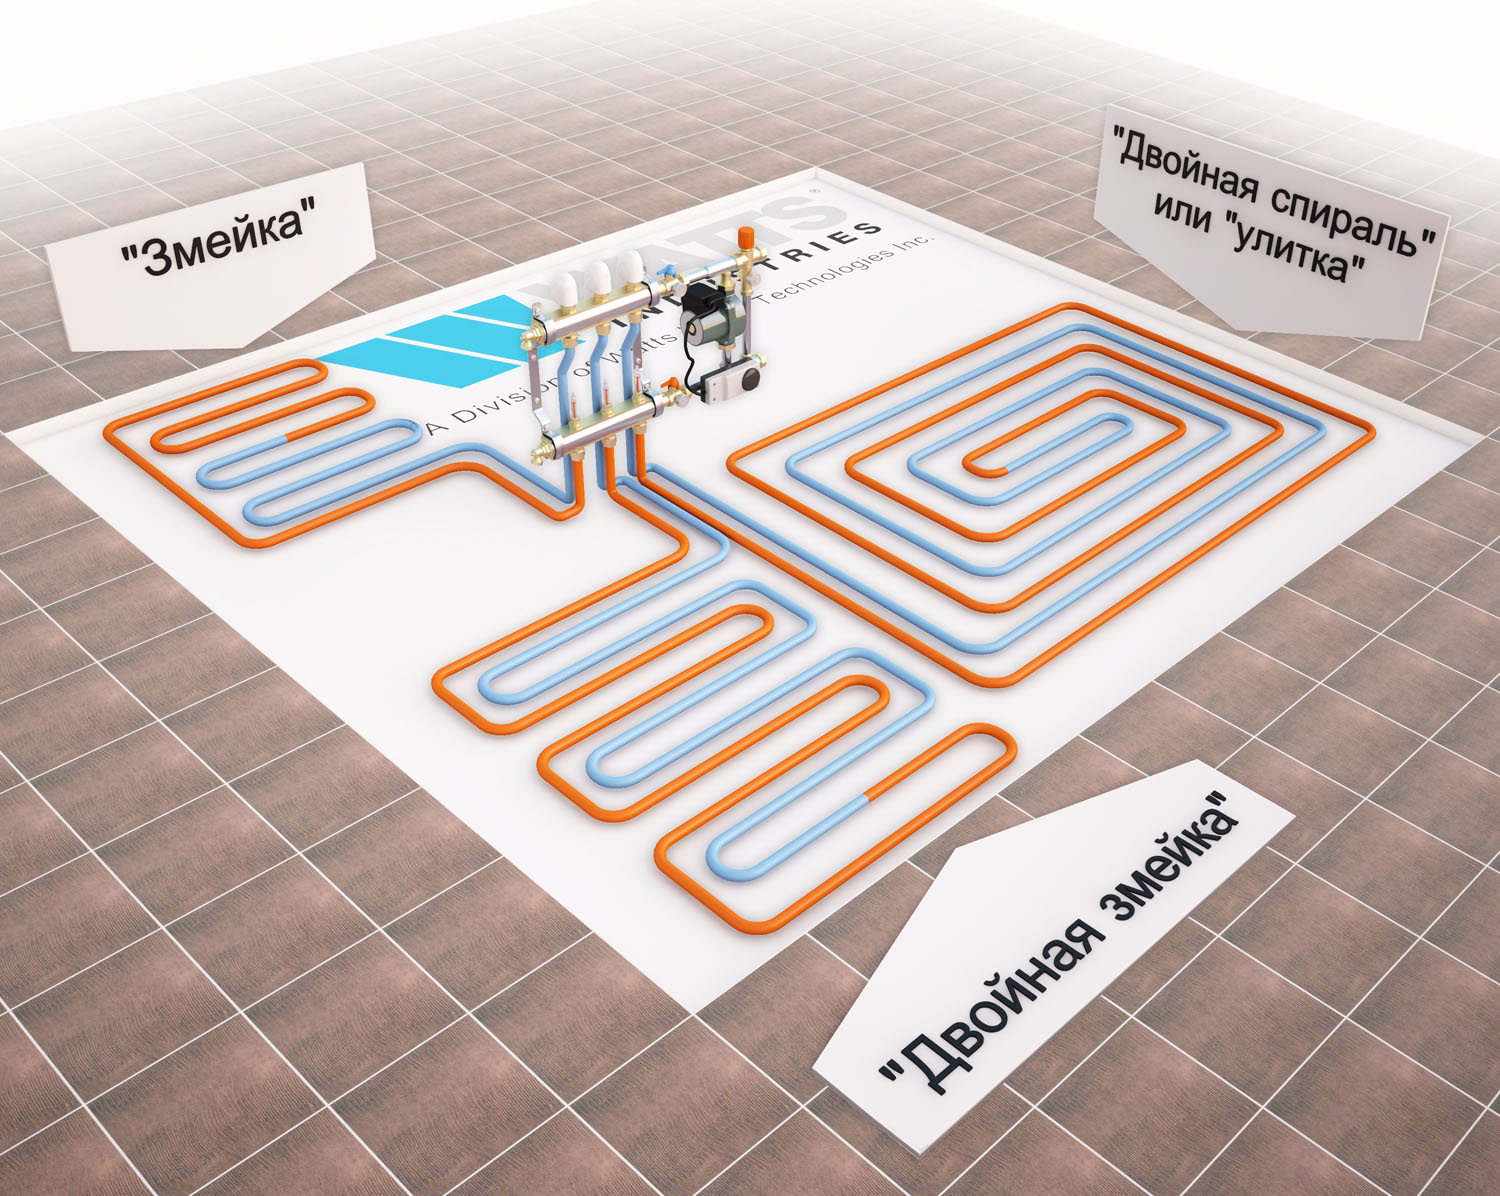
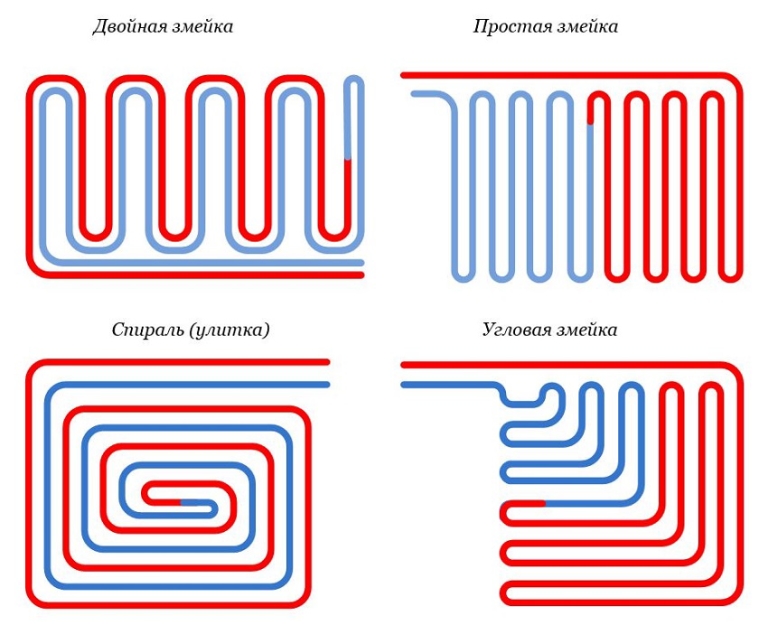
Manufacturers produce pipes of 16 mm - the best option for installing the system. Suitable schemes for setting the thermal floor are considered to be a snake and a snail. Planning water is red; cold water is indicated in blue.
Along the contour length
The heating system needs to create a structure that supports the most effective pressure and air circulation. Therefore, the limit of the length of the water circuit - 80, a maximum of 100 meters. However, the room does not always correspond to the calculations, requiring its own parameters, sometimes exceeding 150 m. The problem is easily solved - it is enough to install several contours.
For example, if a room requires 240 m of a pipe, then three constructions of 80 m each should be created. In this case, the contours do not necessarily correspond to each other. According to experts, the difference can be up to 15 meters.
When calculating it is necessary to consider the diameter of the pipe and the material of manufacture:
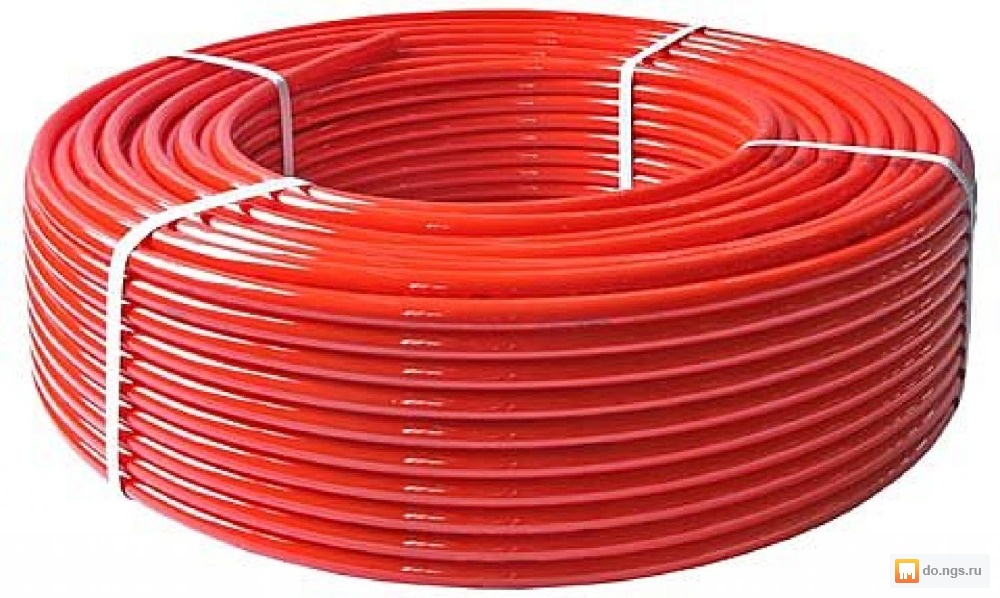
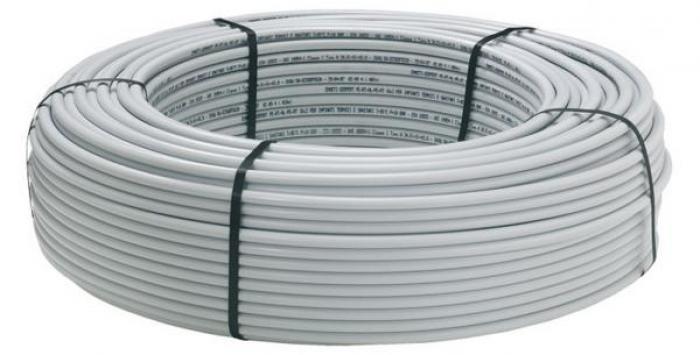
Metal products most in demand due to low cost and simple installation. The basis is polyethylene with a layer of aluminum, which increases the reliability of the structure.The metal has a high thermal conductivity, and this attracts manufacturers who want to create optimal heat exchange conditions. With a diameter of 16 mm, the length of the contour is capable of reaching hundreds of meters.
Polyethylene construction do not require an additional layer, crosslinked at the molecular level. The product bends easily, showing resistance to high temperatures up to 95ºC and to various chemical solvents. At 18 mm diameter, the limit will be 120 meters.
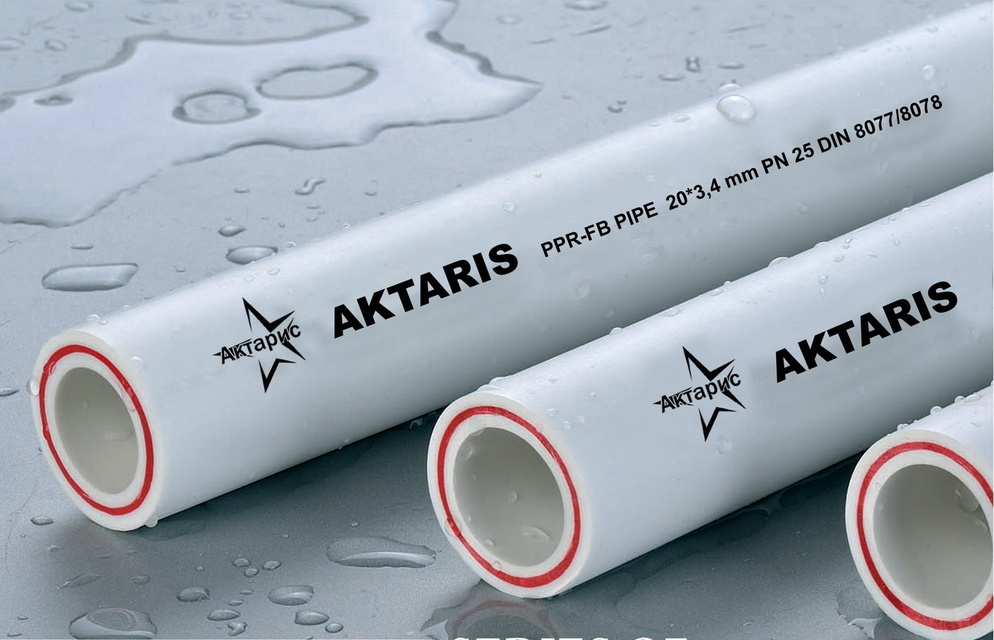
Polypropylene has high rigidity and durability. It is not in demand in the market and is used primarily for production purposes. The length limit for the product is 90-100 meters.
Copper products possess the highest heat conductivity due to which their price is the highest in the construction market. However, they need professional installation, as they give a leak at the slightest fault.
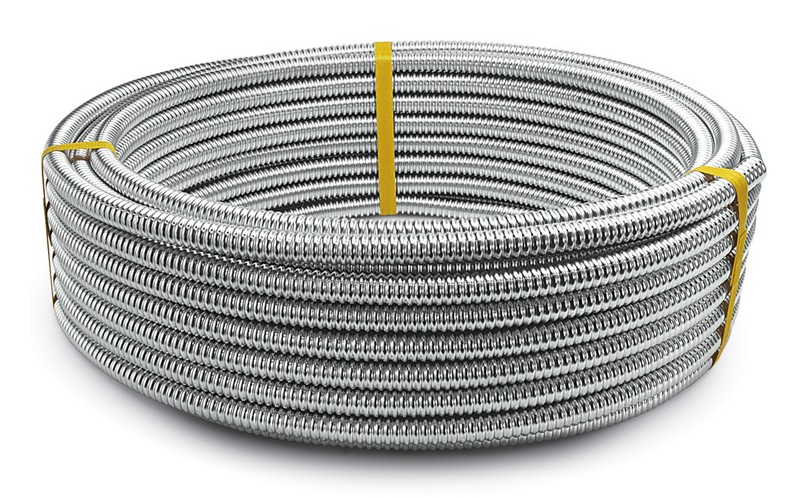
Corrugated pipes made of stainless steel. The maximum length of the contour is 120 m with a diameter of 25 mm. Corrugated pipes are recommended to be purchased with a length calculated in advance, sufficient for one circuit.Such a purchase automatically eliminates the possibility of leakage.

The choice of design should focus on the parameters of the room. Otherwise, you have to count the number of contours.
Large area should be divided into component areas in the ratio of 1: 2. That is, its width will be 2 times smaller than the length. Therefore, in order to calculate the number of sections, the following measures will be required:
At a step of 15 cm, the number of m2 for a plot area does not exceed 12;
step 20 cm suitable for 16 m2;
step 25 cm - 20 m2;
30 cm - 24 m2.
Subsequently, with an increase in step of 5 cm, the area increases accordingly by 4 m2. However, experts do not recommend to calculate the exact values. In order to avoid leaks you should take about 2 m2.
Mounting Patterns
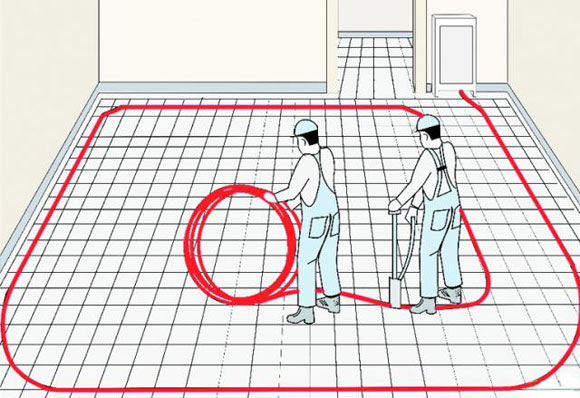
Before planning, calculate the number of pipes required for complete heating of the room. It is recommended for this purpose to use millimeter paper 1: 50 for drawing the scheme of the room, as well as to perform the necessary calculations. When constructing a drawing, it is important to respect the scale.
For proper calculation of pipes per square meter of surface, it is necessary to plan the laying scheme in advance:
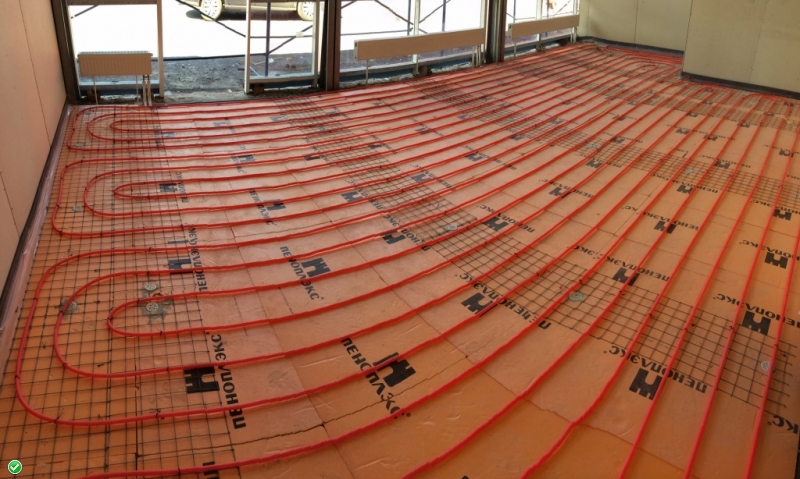
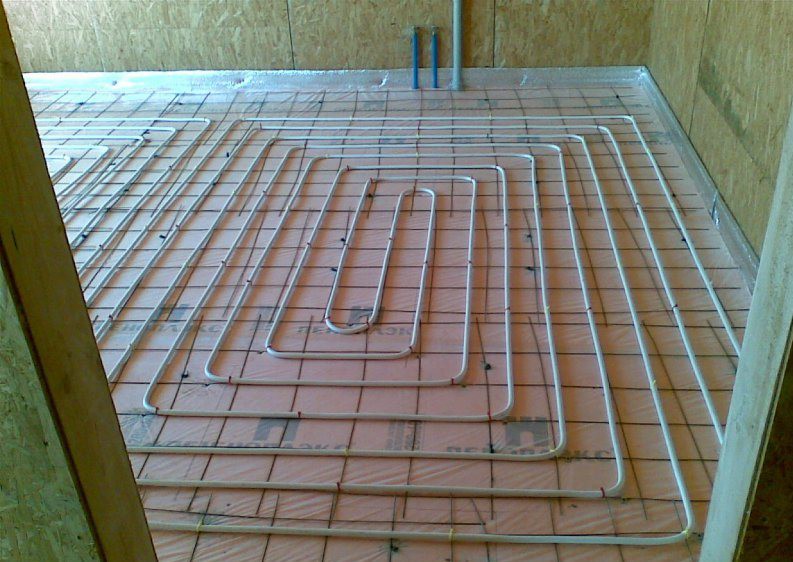
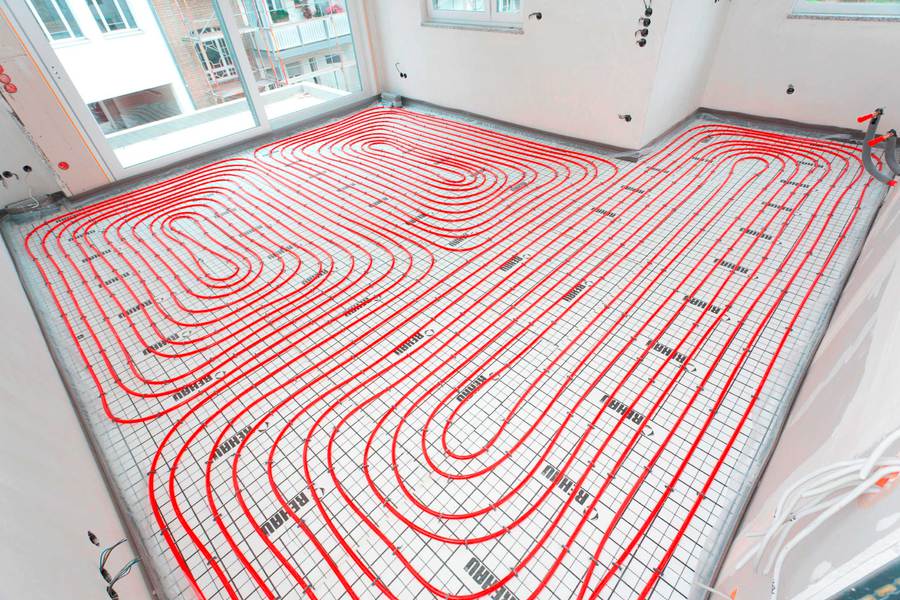
"Snake". This type of installation is suitable for small rectangular rooms.In most cases, installing a snake is used for a water floor as an alternative method of heating. The main disadvantage in this case is the uneven distribution of heat. The highest temperature points are concentrated in places of pipe bends close to the collector. If you move away from the latter, the temperature will decrease.
Double "snake" similar to the previous type. The only difference is in laying not one, but at once two pipes parallel to each other.
Corner "snake" involves the exit of pipes from the corners of the room.
"Snail" It has no heat loss due to the fact that it combines warm and cold pipes, thereby ensuring uniform heating of the area. Installation is carried out in cold rooms with a large area. The step is up to 35 cm.
When laying a snake adjacent pipes are located at a distance of 30 cm from each other. When approaching the doors and windows, this distance is reduced to 15 cm. This situation ensures pressure reduction and long-term operation.
It is important to remember that styling methods can be combined with each other. And the installation method determines how many pipes should be used.
Useful tips
Based on many years of practical experience, professionals in the field of construction It is recommended to pay attention to the following details:
- The flow rate of the number of pipes for underfloor heating is influenced by the heat transfer coefficient and the design plasticity. Therefore, before purchasing the product should pay attention to these parameters. The most suitable options are metal-plastic and corrugated structures.
- Do not connect or install floor heating pipes under the concrete screed. These manipulations will lead to the destruction of cement from a strong temperature difference.
- Contrary to the permissible parameters, experts recommend not using more than a hundred meters for one circuit, and the distance between the pipes should be 20 cm. Displacement of pipes to each other occurs at the risk of large heat losses. Such places are windows and doors.
- The contour unit should not heat more than 20 square meters of space.
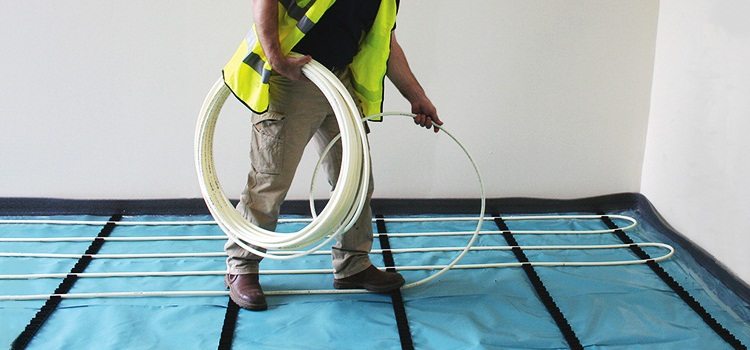
- It is necessary to follow instructions on the technology of installing a heated floor. Mandatory installation of the barrier, insulation and the substrate.
- When operating two circuits in the same room, it is recommended to observe the difference in their length. It should not exceed 15 meters.
Also today, there are online calculators that allow for the calculation of the specified formulas. However, to calculate the parameters of the pipes, you should still know the criteria for the room.
It is important to remember that correct calculations will help to save on materials, while maintaining high quality and long-term operation.
How to calculate and make a hydraulic floor do it yourself, see the next video.