The subtleties of connecting a warm water floor do it yourself from a gas boiler
With the arrival of winter, every family is faced with the need to increase the cost of utilities. As a rule, this significantly affects the family budget. It is possible to create comfortable conditions in the room and minimize the cost of heating by effectively using the wall-mounted gas boiler and connecting it to a warm water floor mounted by yourself.
Features warm floors
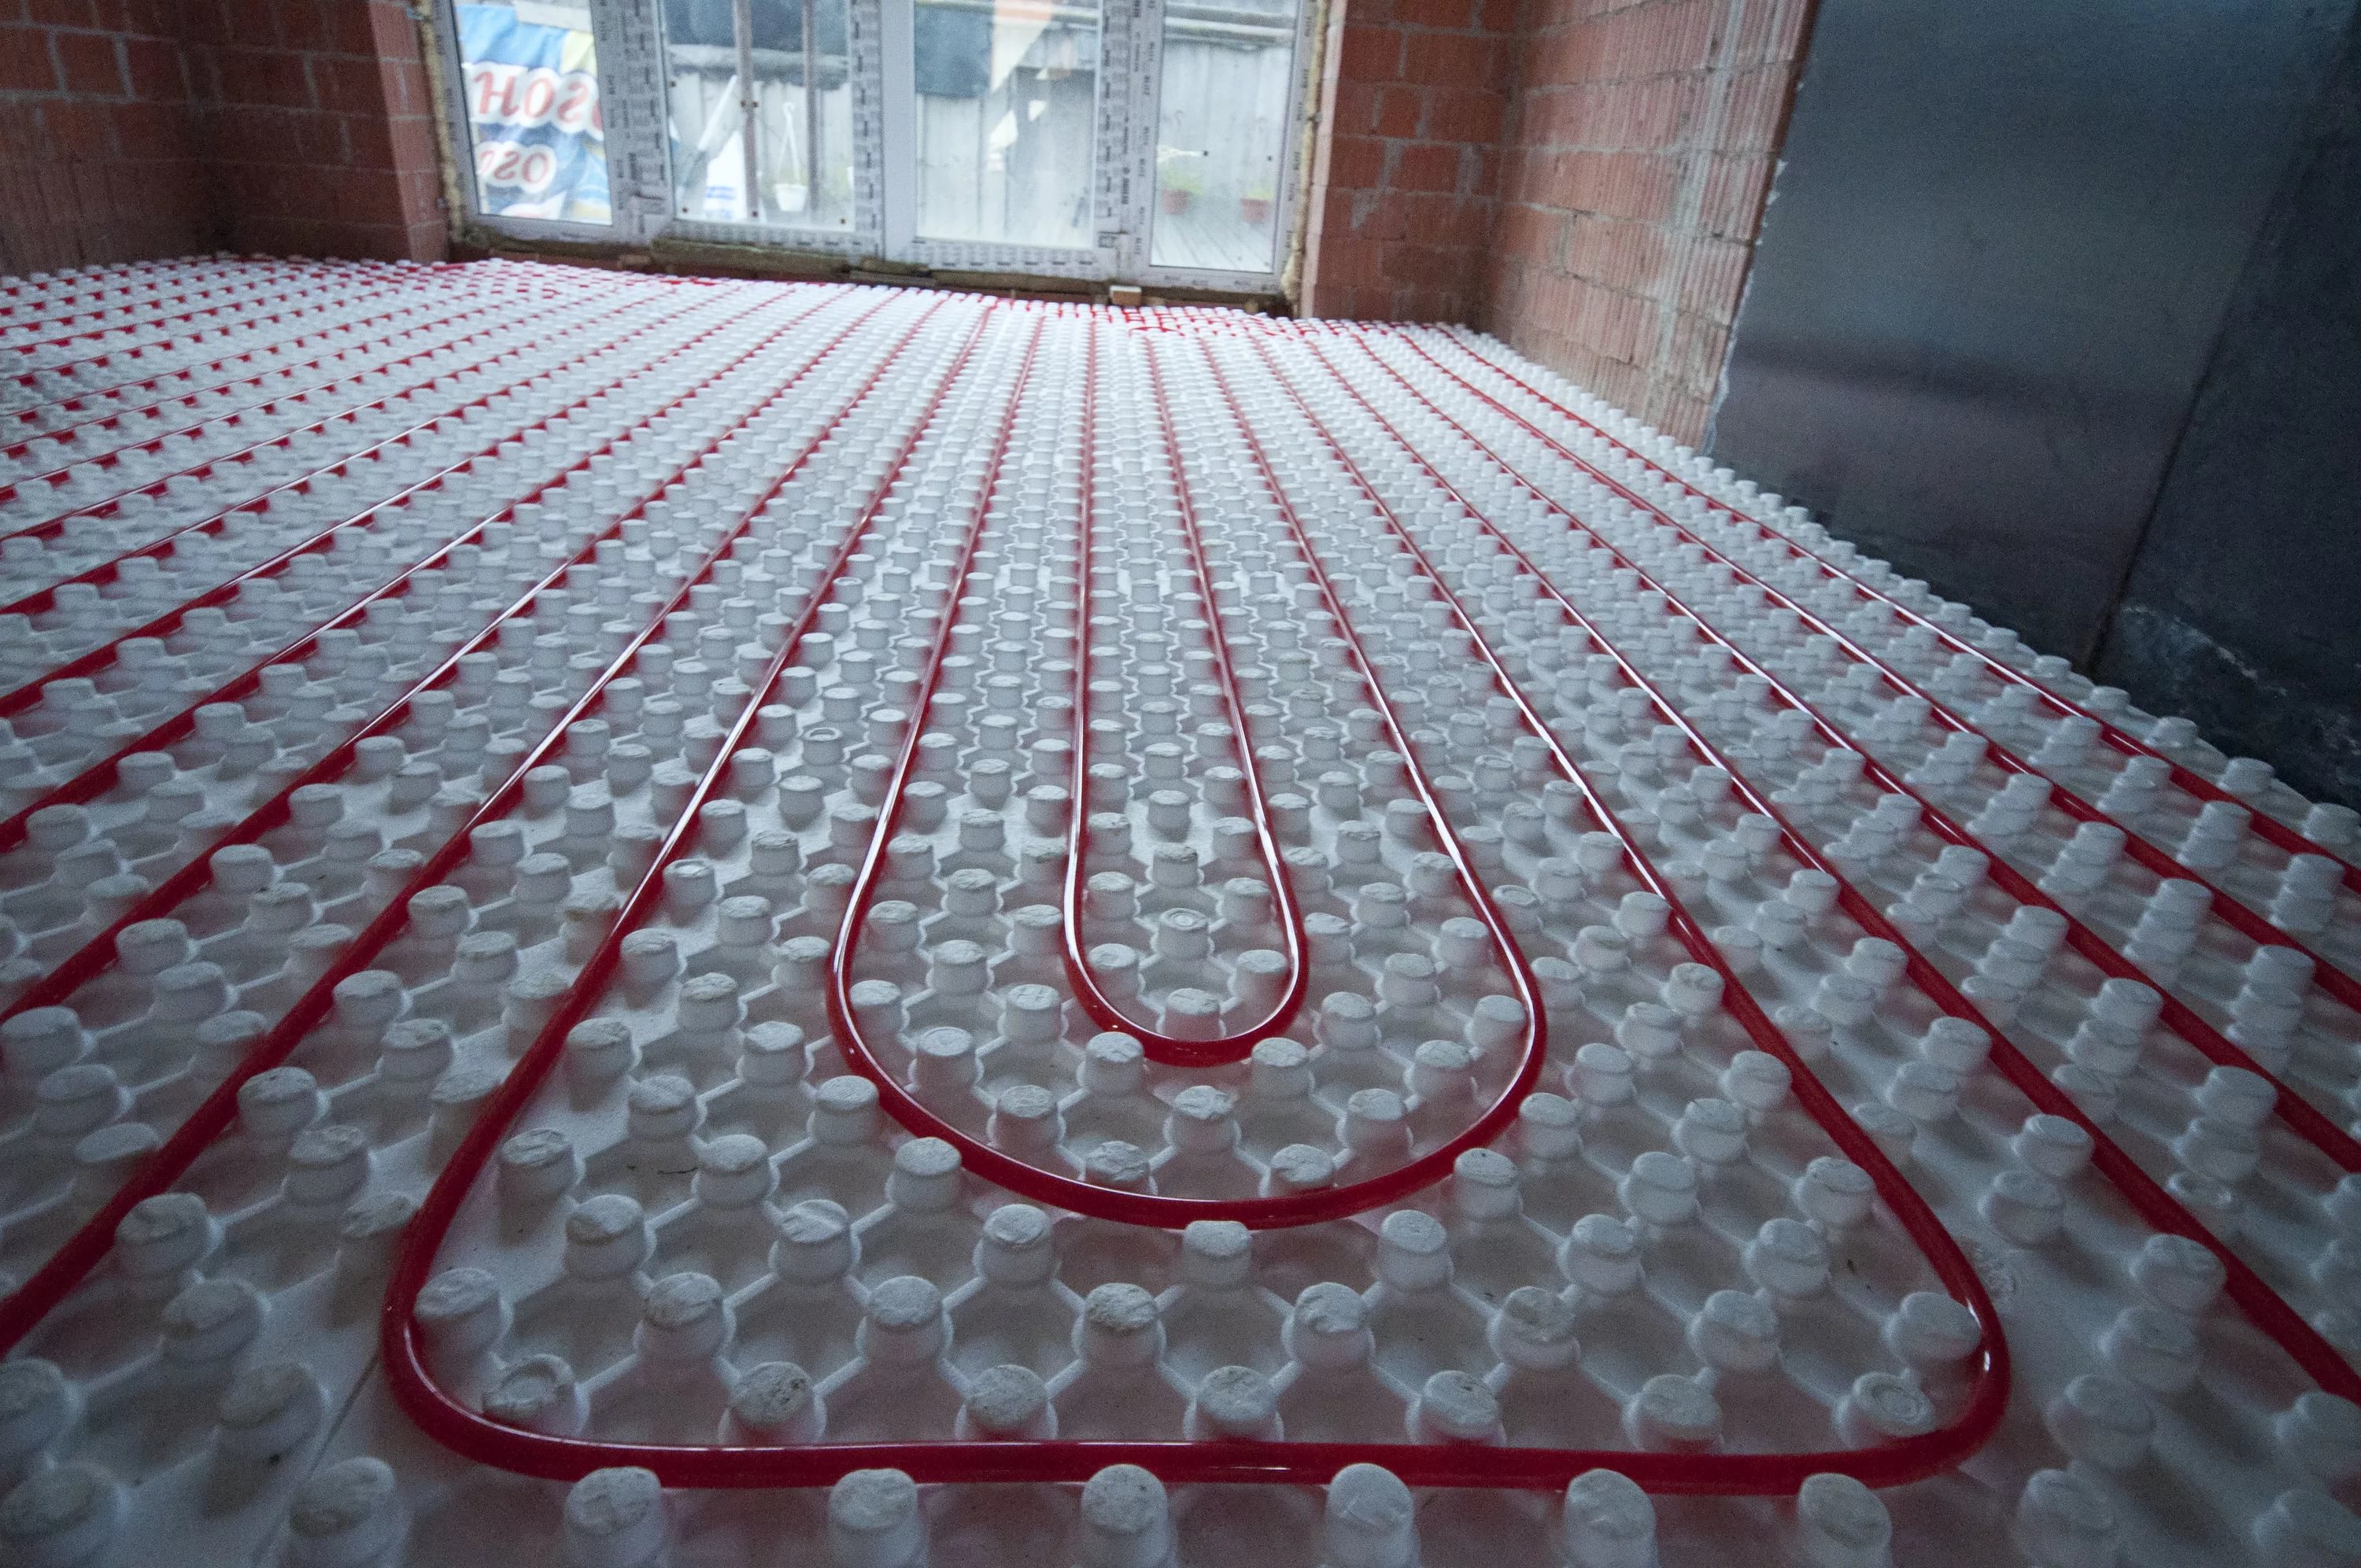
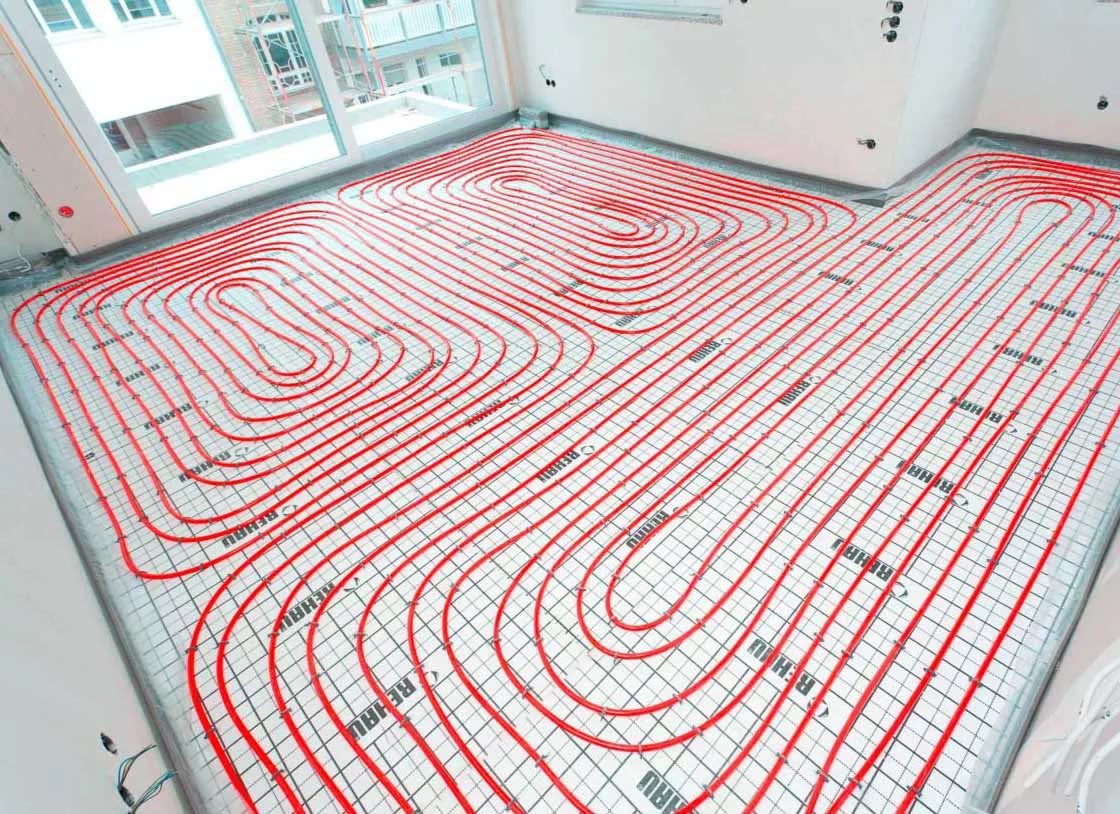
Warm water floor looks like a pipe (15-20 mm), fixed in a concrete screed in the form of a spiral or coil and located throughout the area of the house under the flooring. It can be as an independent source of heating, and additional to the radiator. The individual parts of the floor are called loops, contours, or branches. Heating is provided by hot water circulating through them.In a private house to make the water floor is much easier than in the apartment. This is due to the fact that the house can use independent heating, and in apartments there is only a common water supply system, and when connected to it, there will certainly be a drop in water pressure in the system and radiators of the residential multi-family housing.
The permission of the design organization to carry out the work, the correct installation.
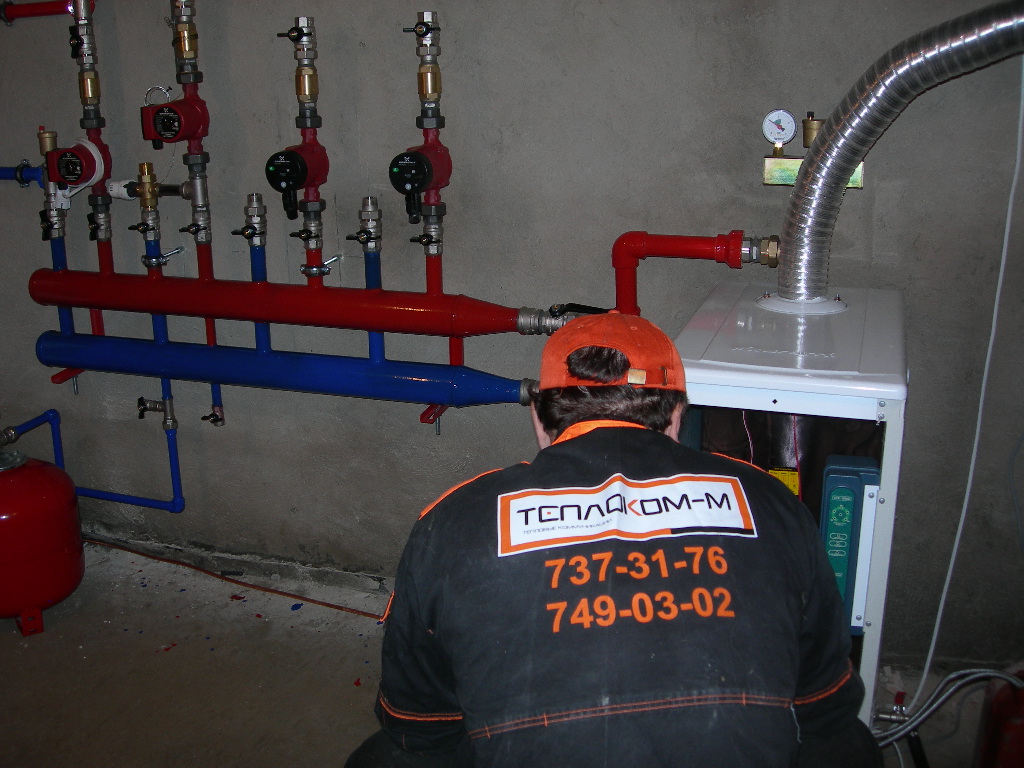
In modern apartments with improved planning and new buildings, a riser is provided for connecting a water floor system. The mounted water floor is connected to the central heating, an electric heater or an autonomous heater - a gas boiler. An undeniable positive moment is the ability to maintain optimal heat in the room. The temperature of the water in the heater is usually kept at 50-55 degrees. Even if it is outside, the thermometer will show 20-25 degrees of frost, then the entire heat and water supply system will work with full efficiency. So, it is the floor that is the main component in creating a comfortable temperature regime.
With the help of adjustable collectors, the water supply system reacts to temperature drops outside. Unlike radiators and batteries, a warm water floor allows you to evenly heat the entire area of an apartment or house. An important nuance when using such a heating system is to maintain a stable heating temperature and precisely adjust it. An increase or decrease of 2-3 degrees creates a feeling of heat or cold in the home. Modern gas boilers are equipped with automatic controls for these processes.
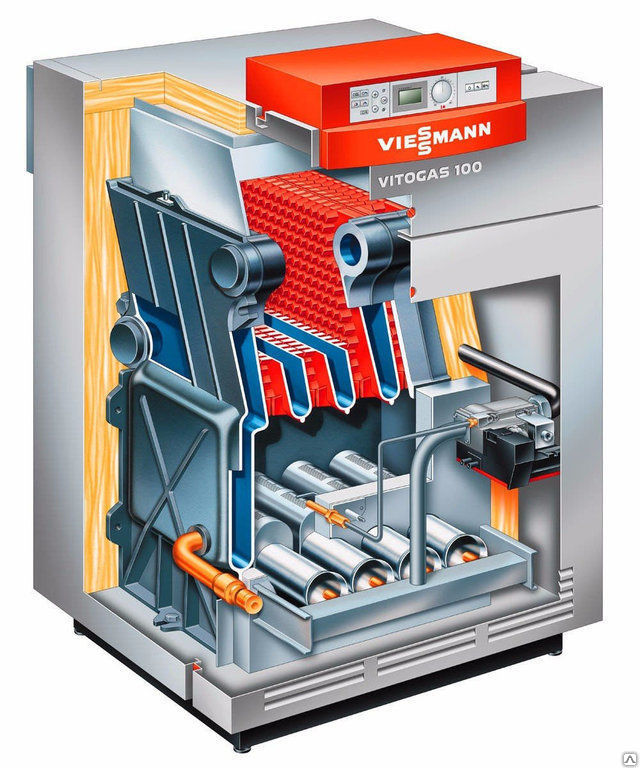
Types of boilers
The gas boiler is a unit in which water (heat carrier) is heated. For work uses natural gas.
Heating boilers by type of fuel can be:
- gas;
- electric;
- solid fuel;
- liquid;
- combined.
According to the execution of the allocate:
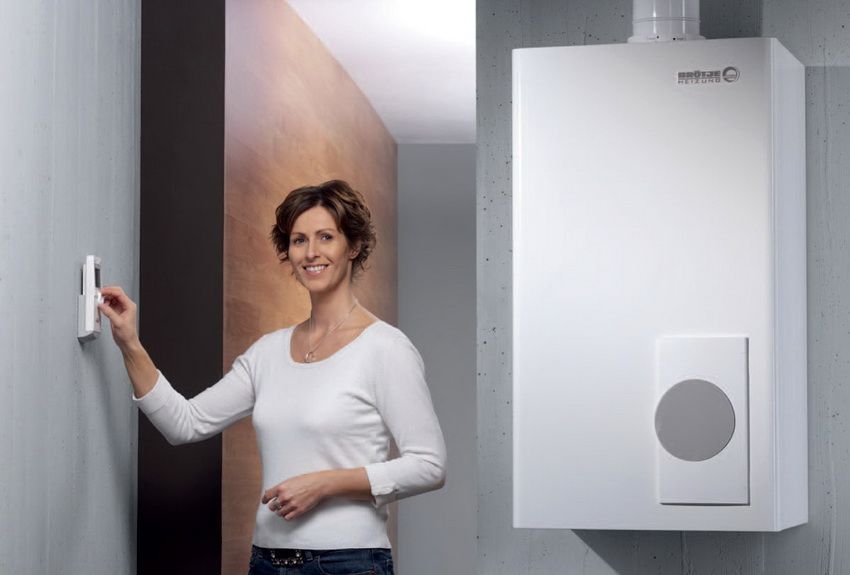
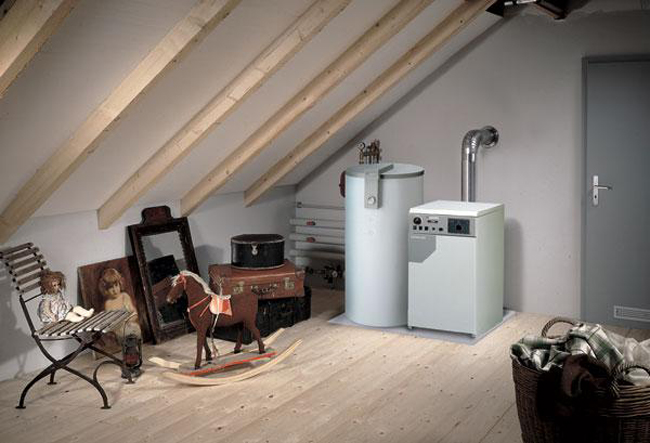
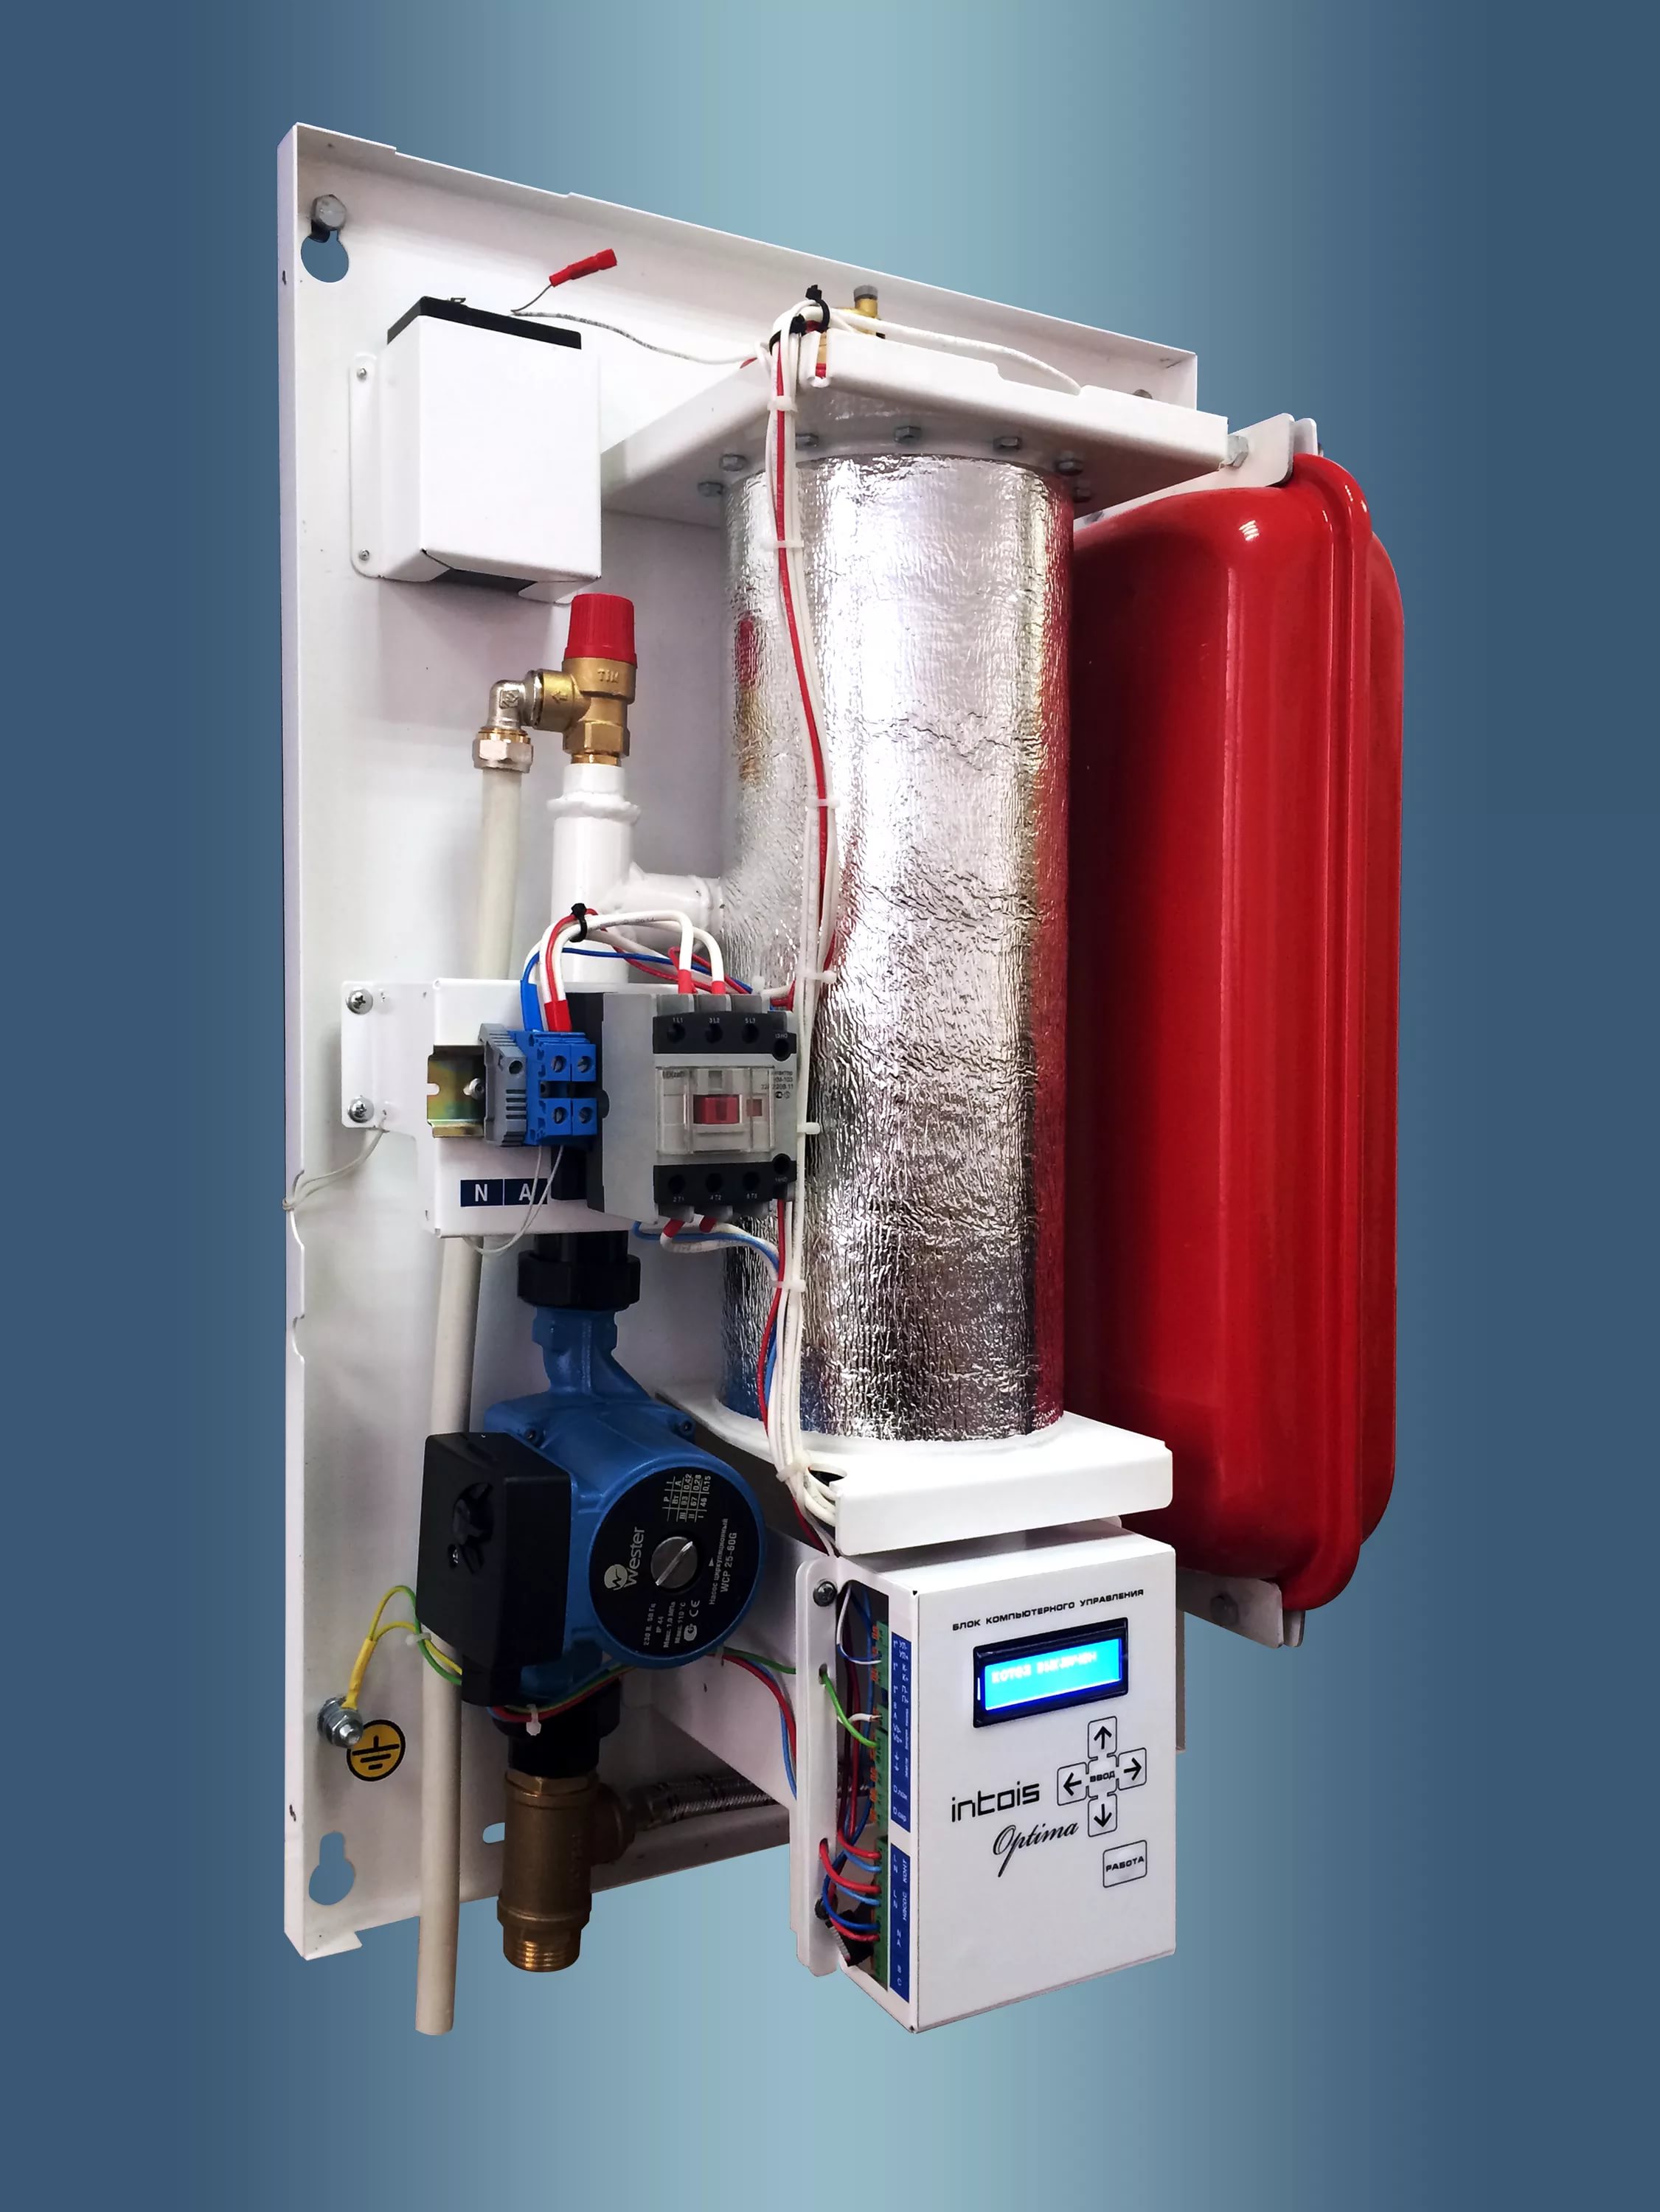
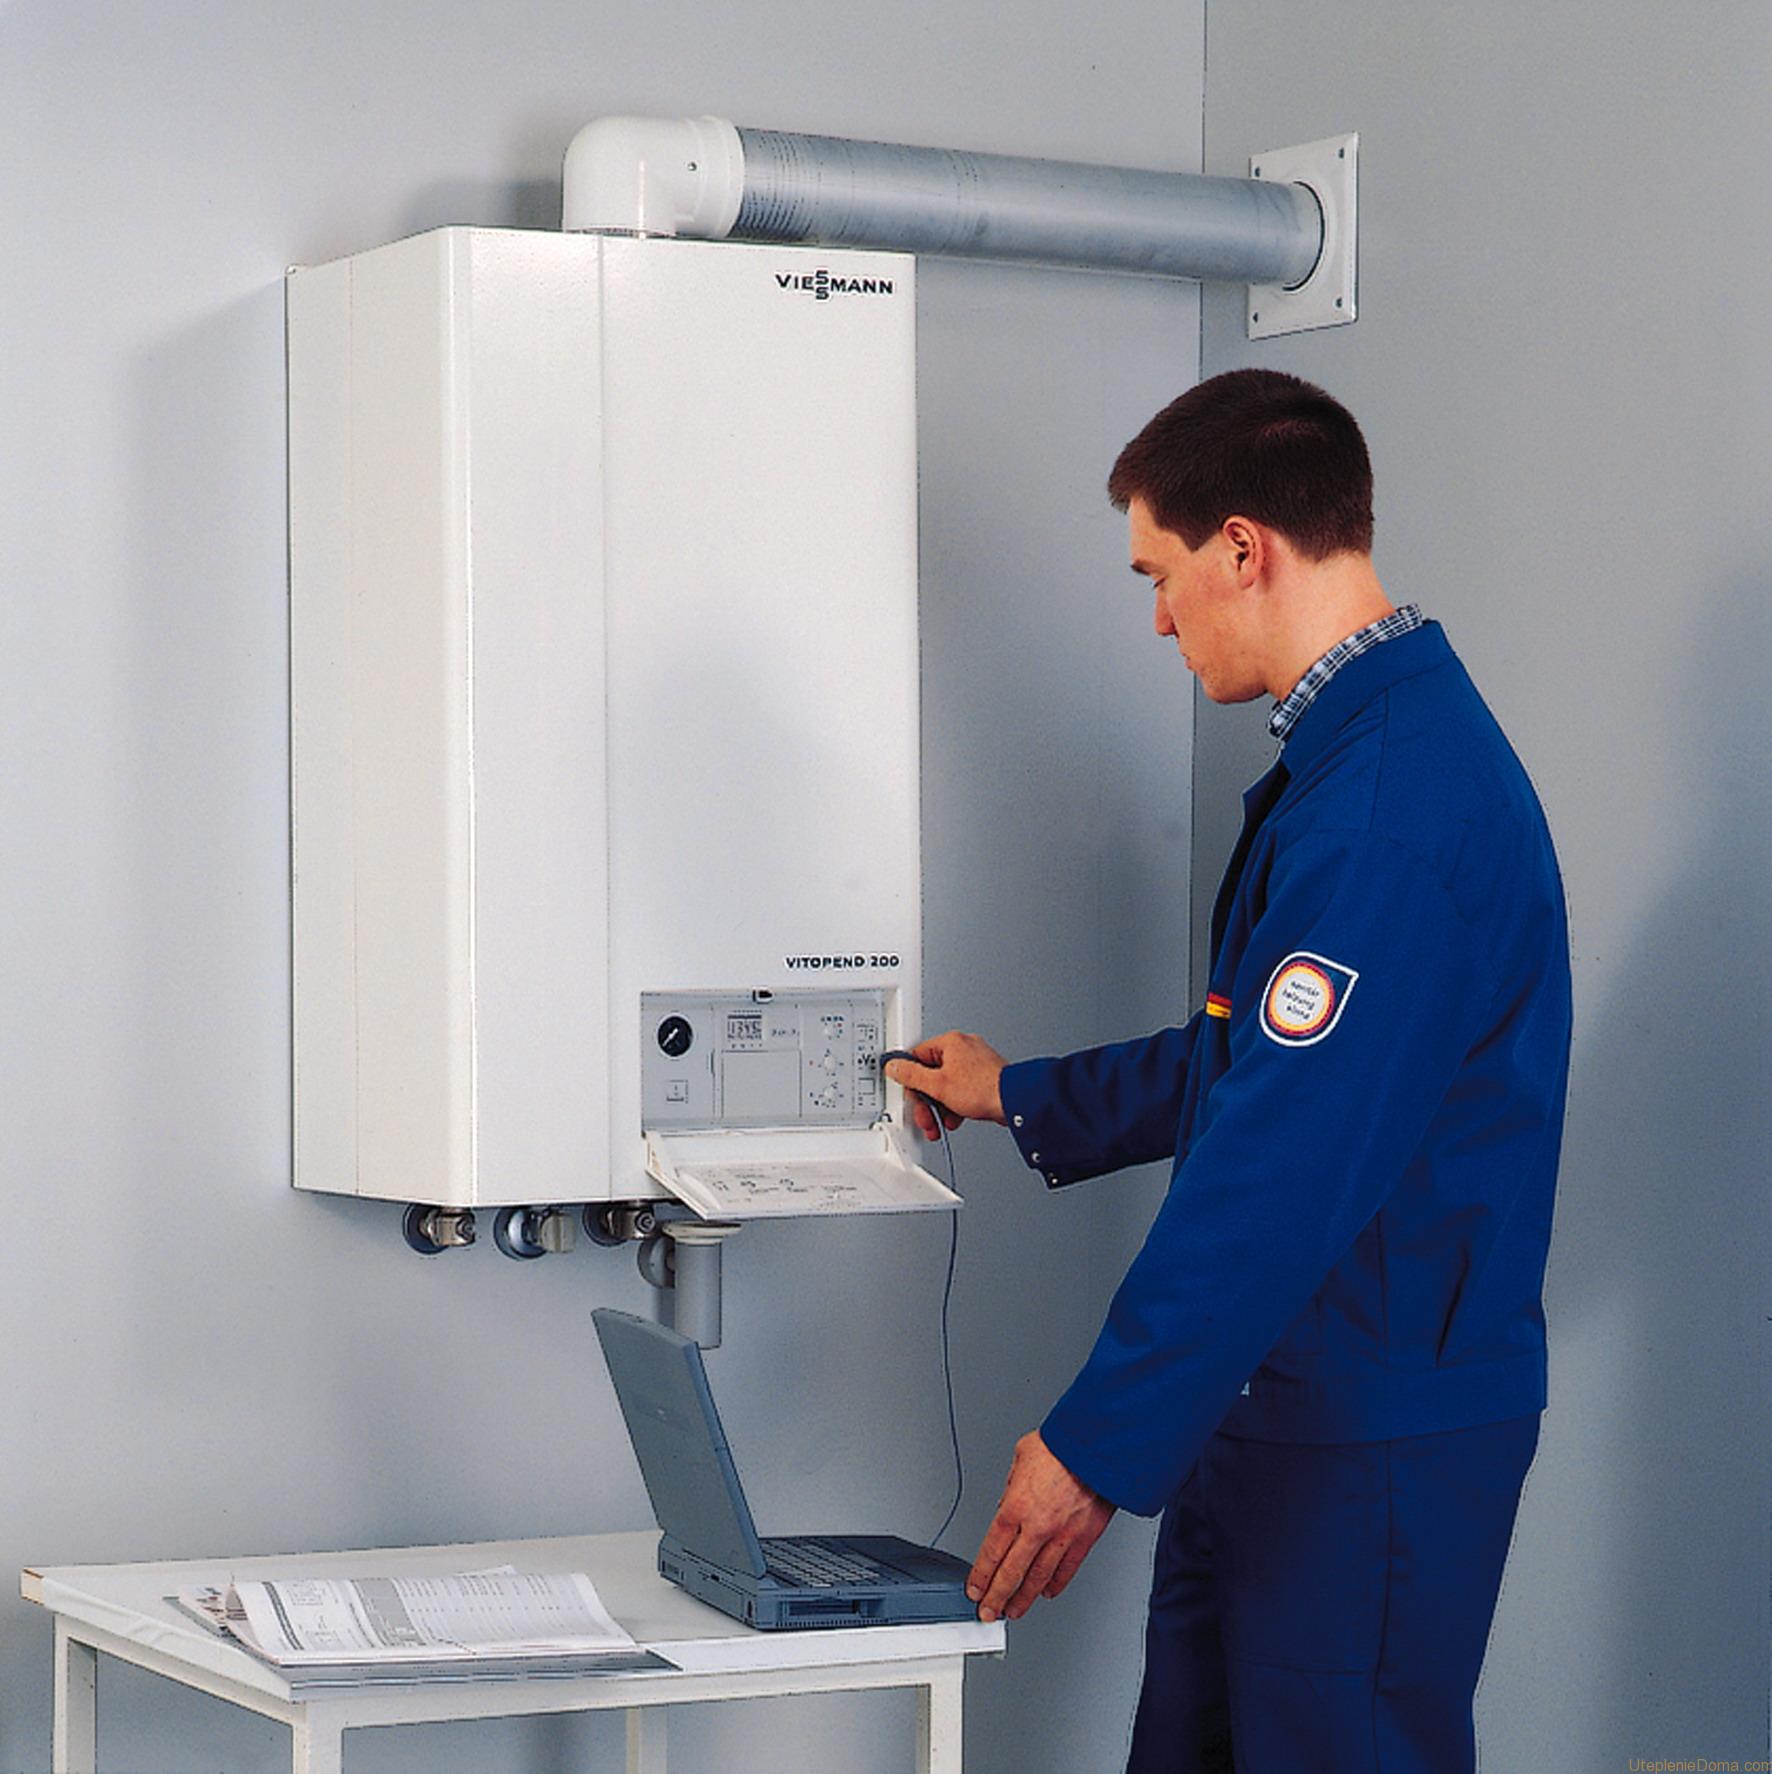
- mounted (wall);
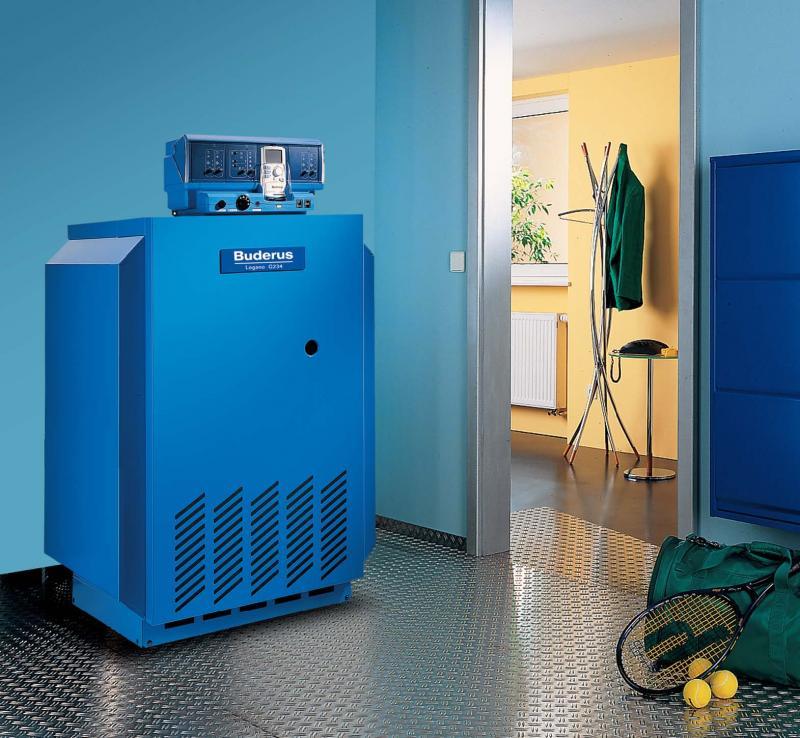
- stationary (floor) boilers.
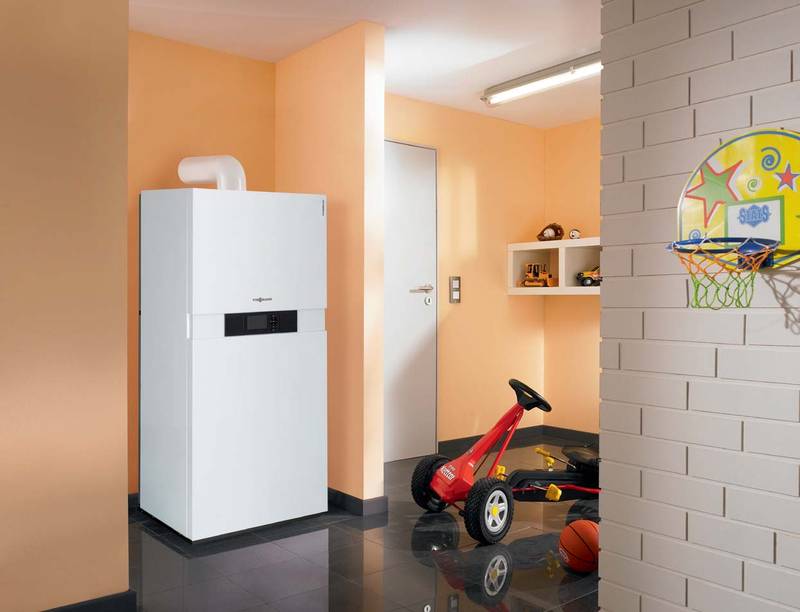
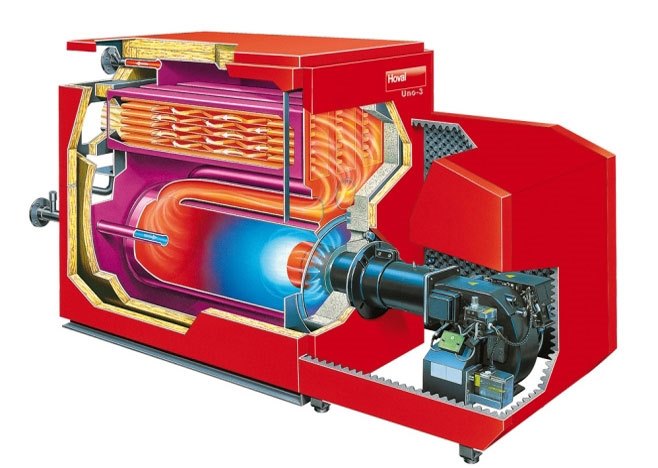
The difference between them lies in the material from which the heat exchanger is made. In wall boilers, the heat exchanger is less durable. It is made of steel base. For outdoor boilers use either steel or cast iron heat exchanger. There are a number of advantages and disadvantages of using one or another type of boiler.So, steel boilers tolerate temperature drops better at work, while cast iron ones are worse, but cast iron has proven itself as a material resistant to corrosion. Cast iron boilers are more bulky, and they are much more expensive than steel boilers.
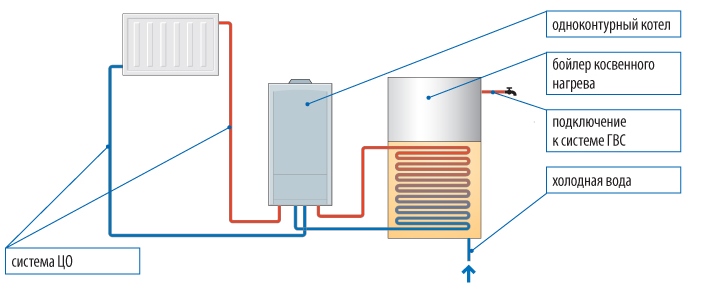
Gas boilers can be dual-circuit and with a single circuit. Gas boiler with one circuit is designed only for heating. In order to have hot water in the house all year round, it is necessary to additionally connect a boiler and automatic equipment controlling the process of water heating. The double-circuit gas boiler is initially mounted in such a way that it is possible to use hot water all year round. A distinctive feature of gas boilers is the presence of a combustion chamber (open or closed). Natural draft is achieved by using open-type equipment, equipped with a chimney with a vertical outflow of carbon monoxide from the room.

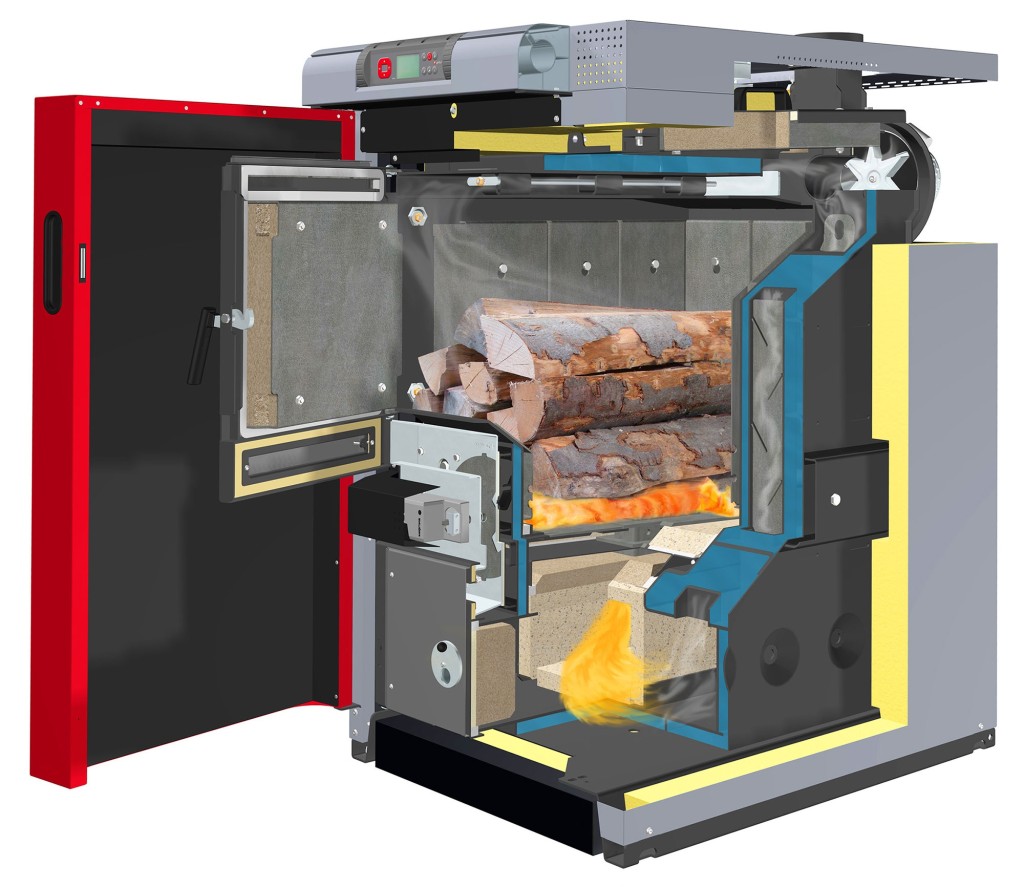
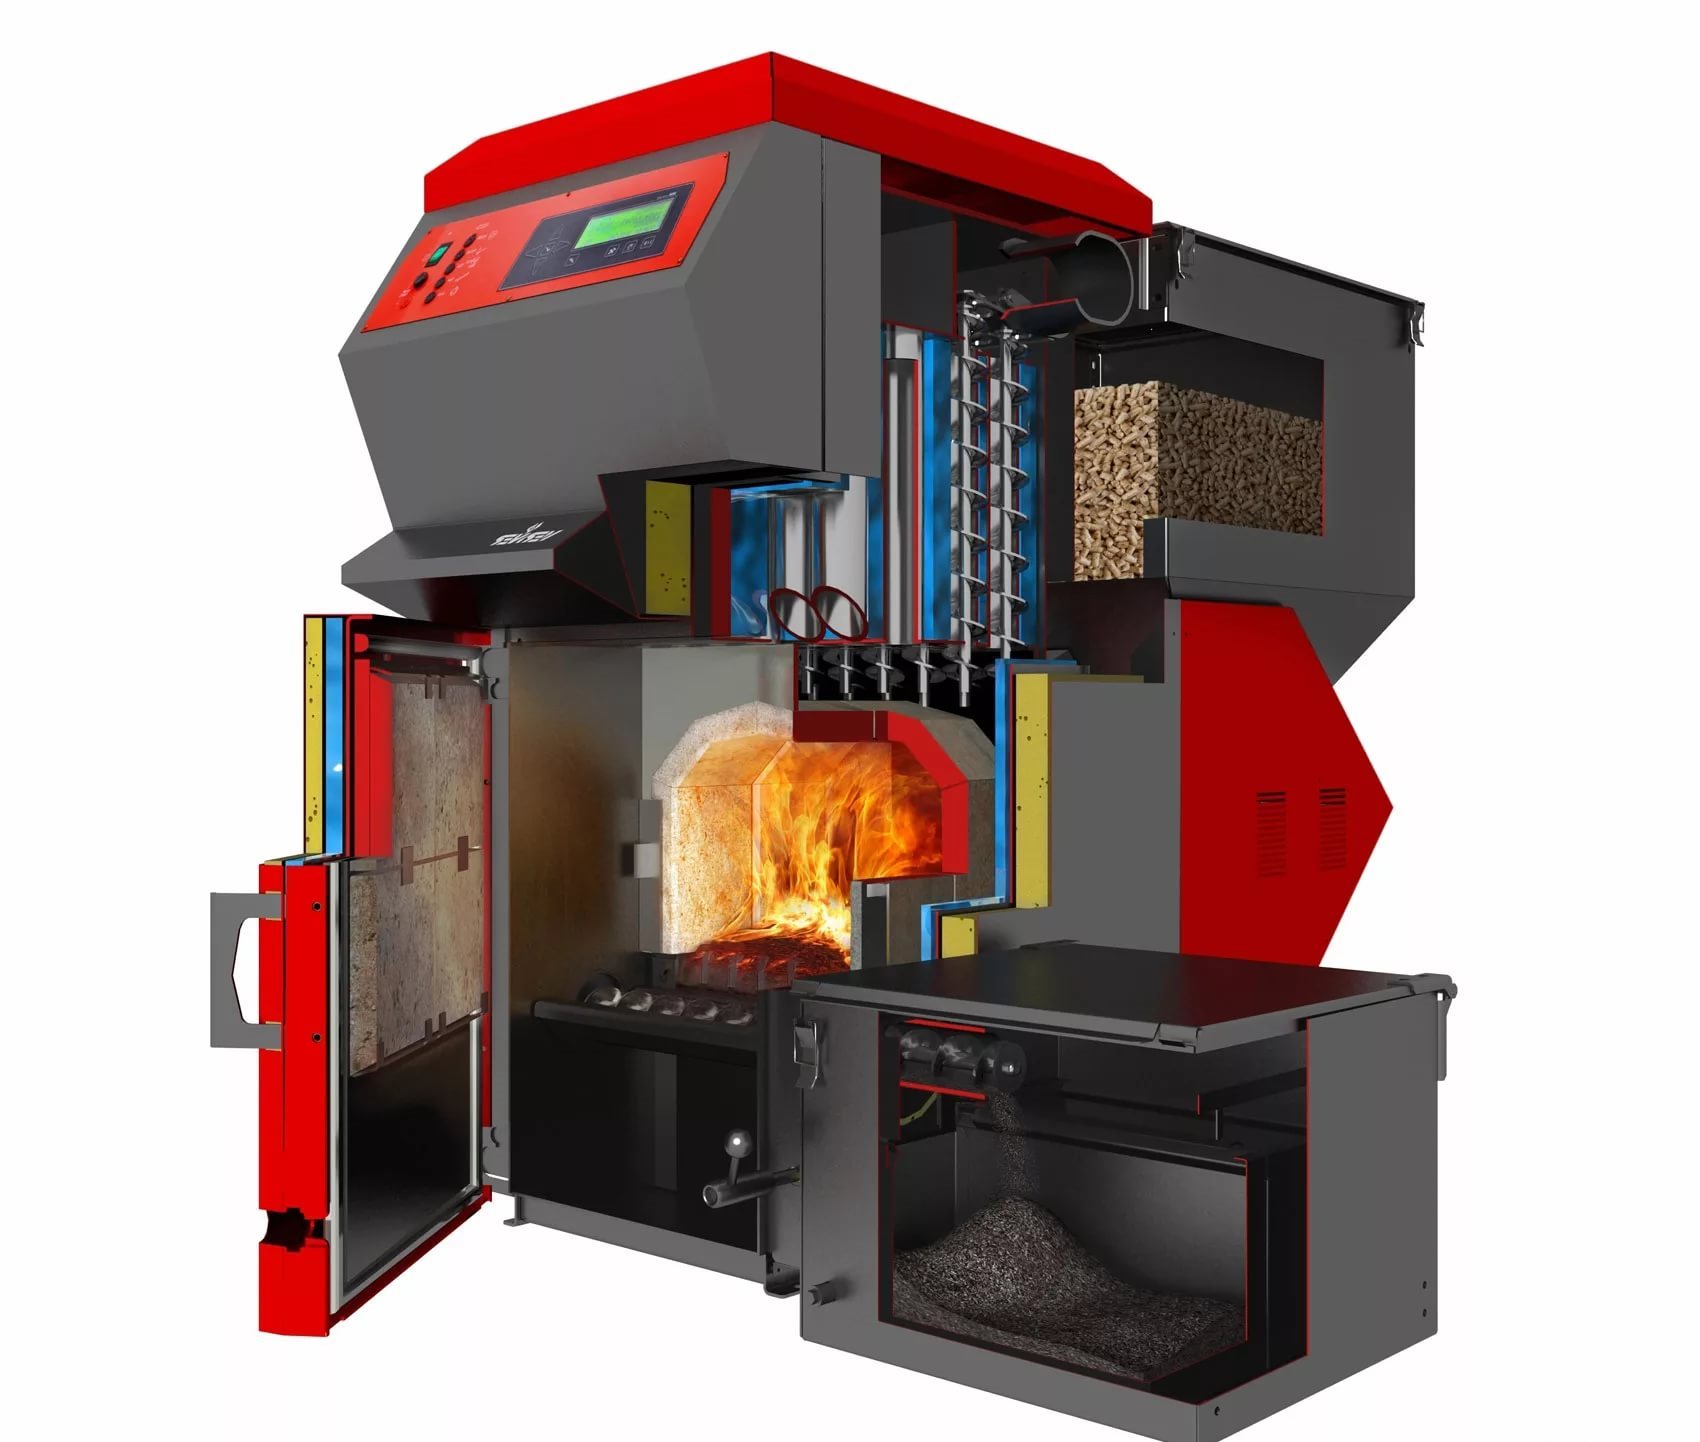
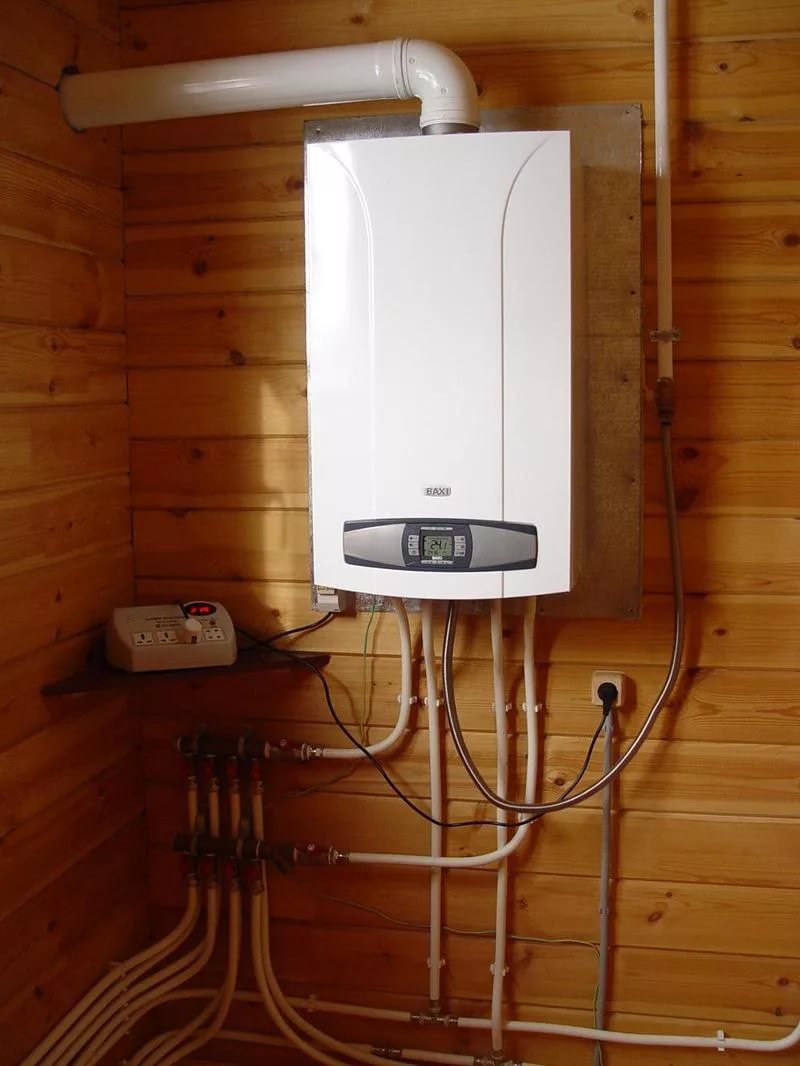
The wall mounted gas boiler only works on natural gas. Floor gas boilers can operate on solid fuels. The main type of fuel is coal. Also wood, sawdust, peat can be used. Heat transfer is very high.The downside is that such a boiler is more susceptible to blockages than a wall-mounted one, it is often necessary to clean it.
Previously, the control of the floor boiler was carried out manually. Electronic control systems are built into modern floor-standing boilers to control workflow.
Choose a gas boiler is not easy. Before purchasing a new boiler, it is better to consult with an experienced specialist.
How to connect?
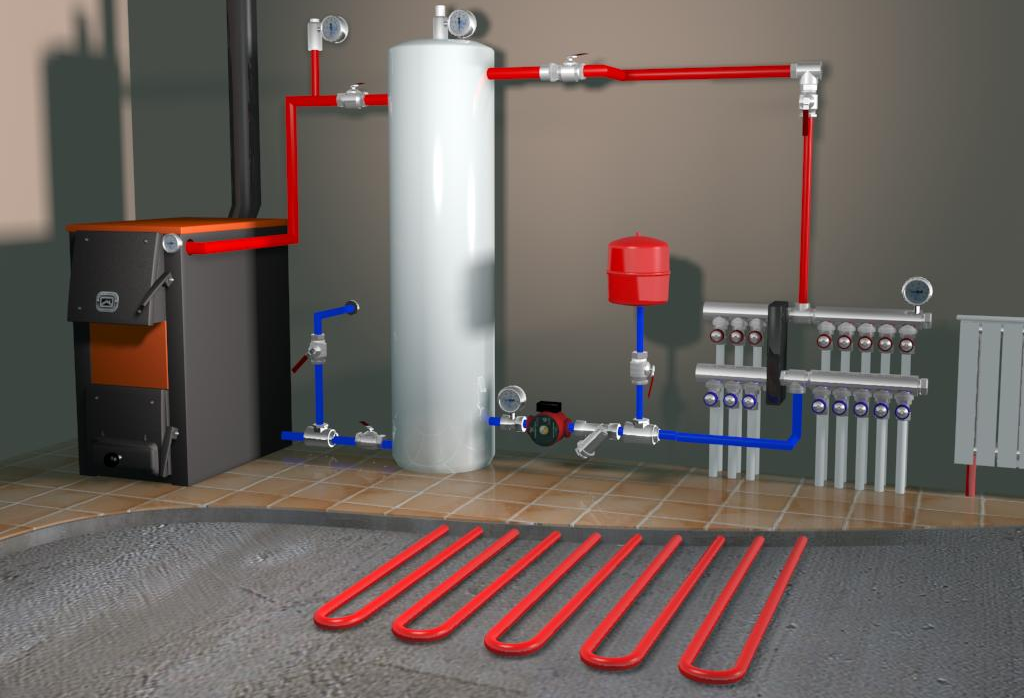
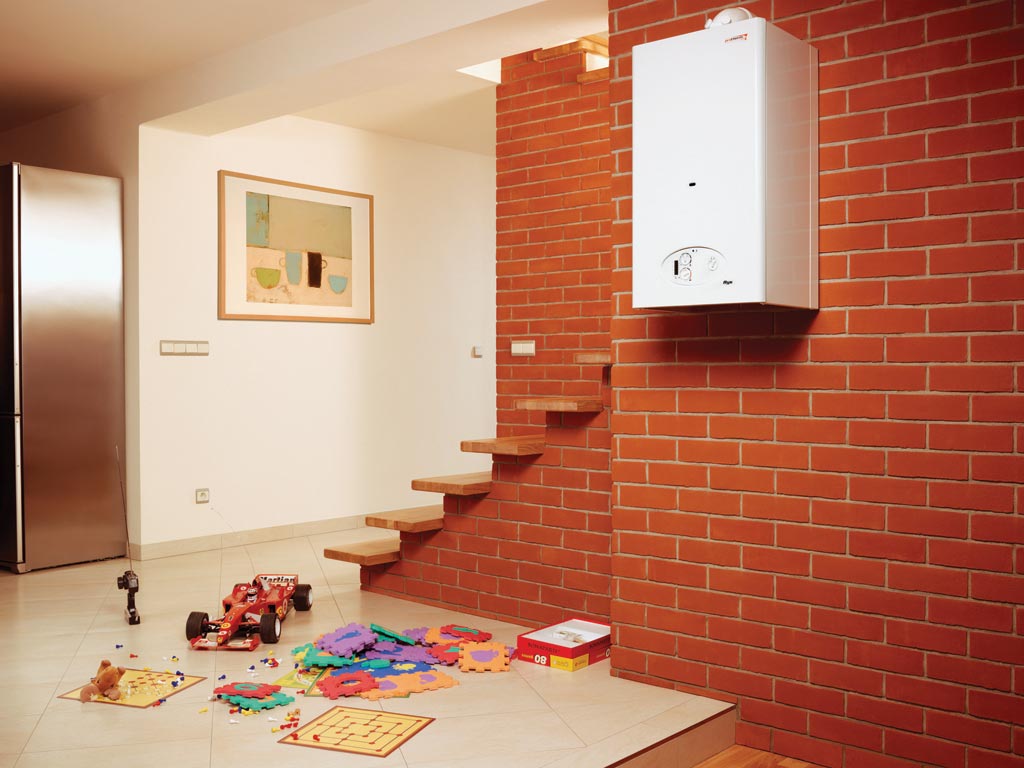
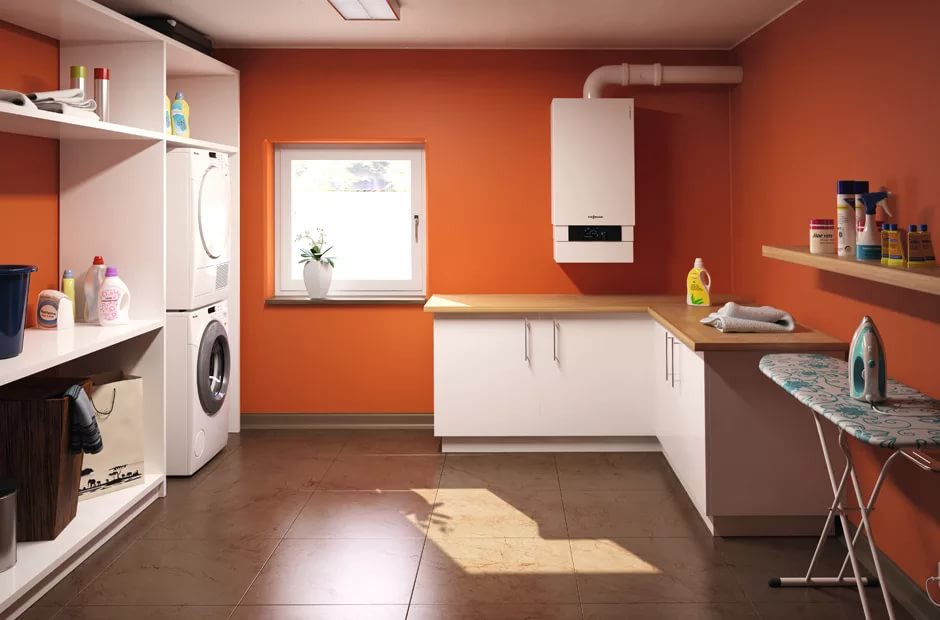
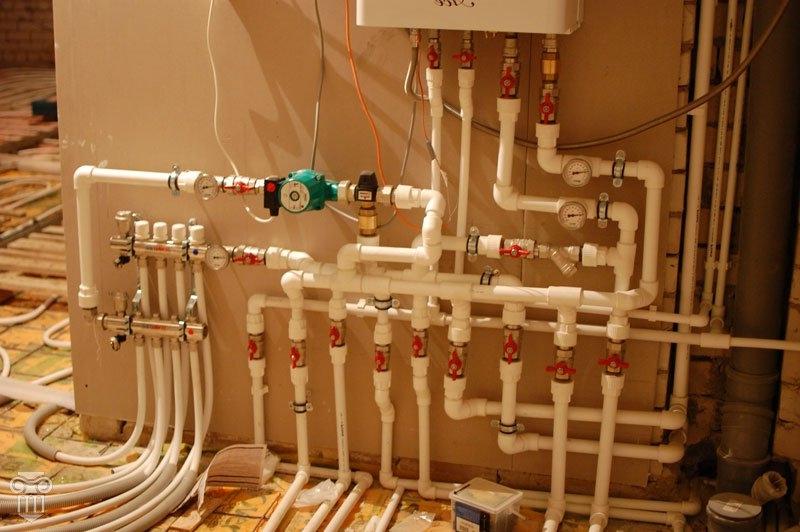
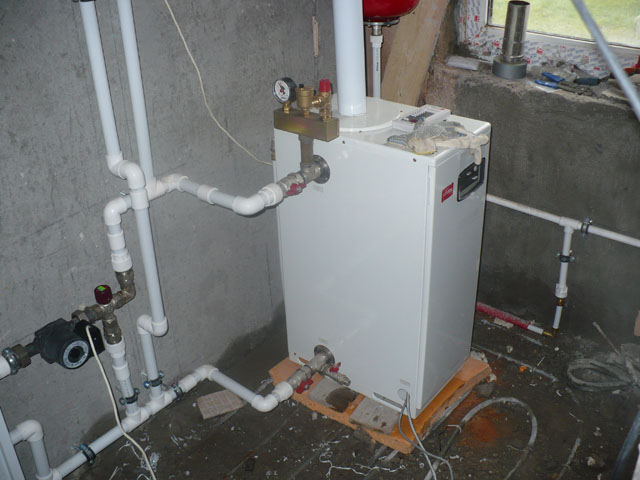
To connect a warm water floor in most cases a wall-mounted gas boiler is used. It must be installed indoors at the time of connecting the water floor. The connection process itself includes a series of steps. Initially, the floor itself is mounted, and then it is connected to the system.
The workflow for laying and connecting the water floor is divided into parts:
- contour length is calculated;
- the basis for laying of a floor is chosen;
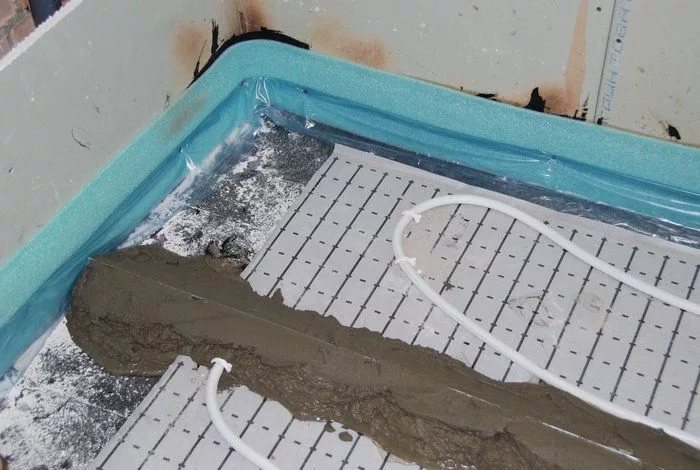
- heat insulating material spreads;
- the damping tape is fastened;
- made reinforcement;
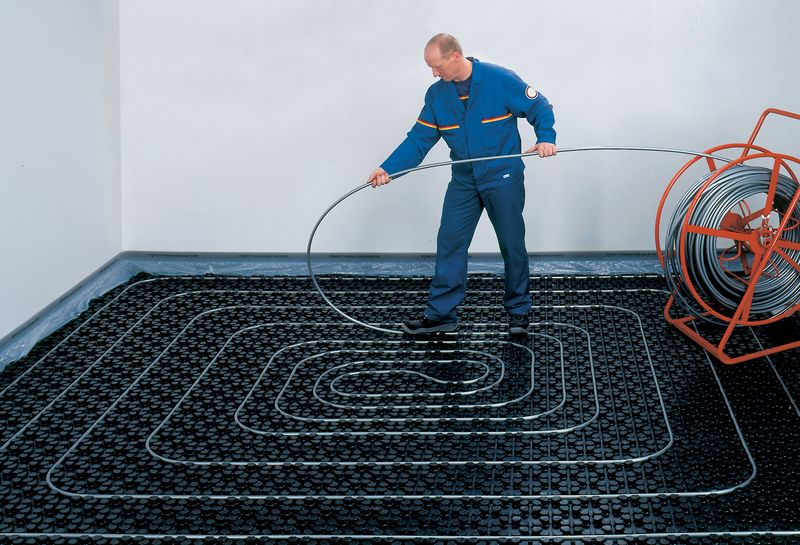
- pipes are laid;
- a collector is installed;
- contours are connected;
- pressure testing is carried out;
- a common water supply system is being created;
- screed is poured.
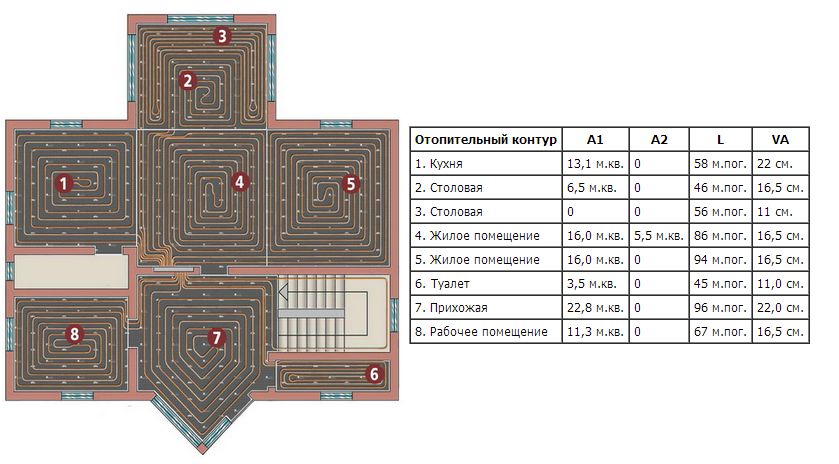
Contour length
First of all, it is necessary to make a calculation of the length of each contour. As a rule, the length of one loop is no more than 100 m with a diameter of 16 mm. If exceeded, the pressure in different branches will vary in one direction or another, which would entail the incorrect operation of the entire system. Small rooms imply the presence of a single circuit, large - several. They should all be made approximately the same. The difference between them should be kept within 15 meters.
Basis for laying the floor
It is necessary to decide on what basis the floor will be laid. Either a cement screed or dry floors can be selected. Most often used concrete slab. Its thickness ranges from 5-7 mm. A waterproofing layer is laid on it - a film with a thickness of at least 0.1 mm.
Thermal insulation
It is better to take the material, well-proven in the market. Expanded polystyrene is one of the modern materials used for thermal insulation (35 kg per 1 cubic cm). It is practical, convenient to use. Laying is made with an overlap on the walls to a height of 10-20 cm. Joints are glued together with adhesive tape at a height of 10-20 cm.It is also possible to use mineral wool for these purposes.
Damping tape
It is glued around the perimeter of the wall and compensates for the thermal expansion of the screed. In the process of heating the floor may crack or move. Damper tape acts as a limiter and regulator of this process. The height of the tape, as a rule, is 10-15 cm. It is always placed above the level of the base of the floor.
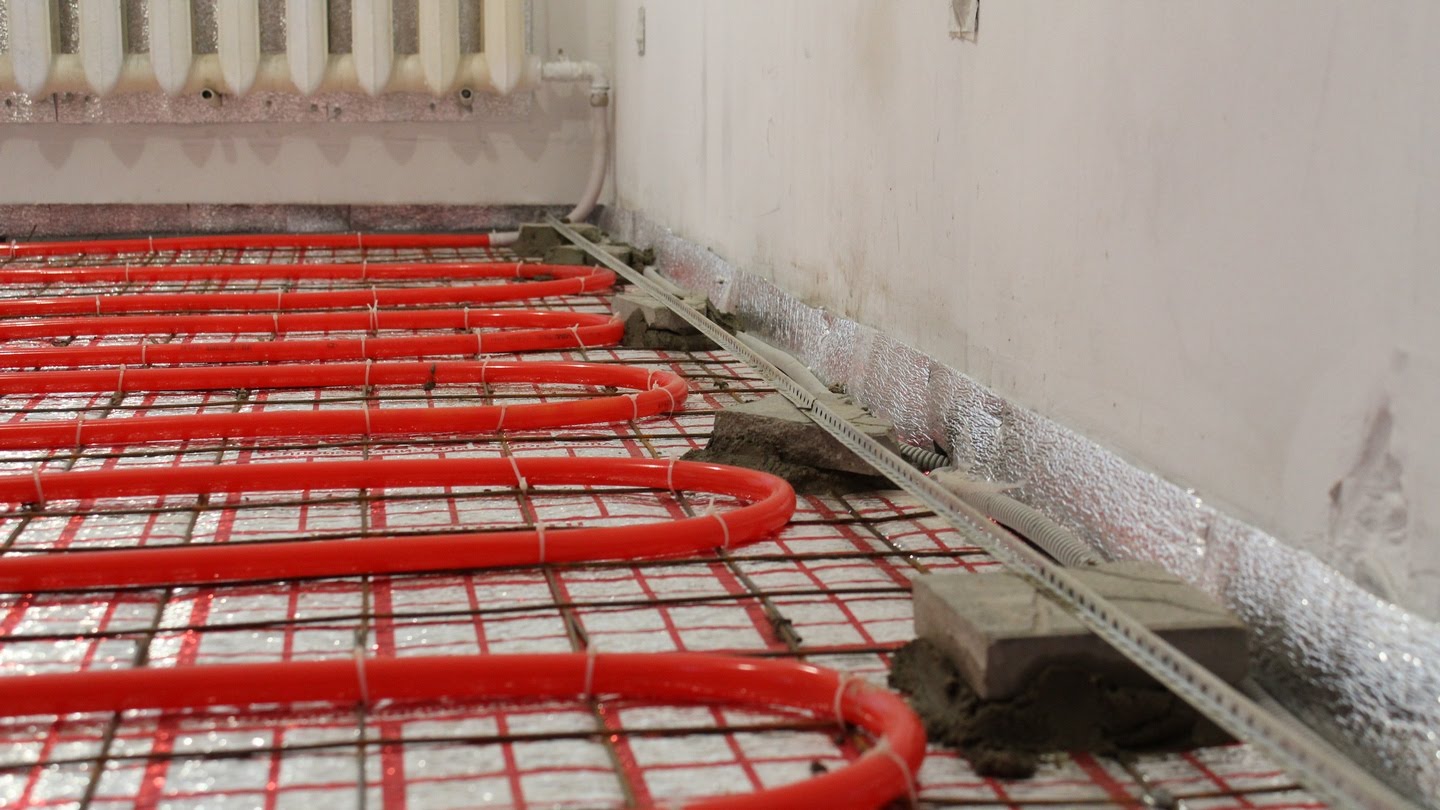
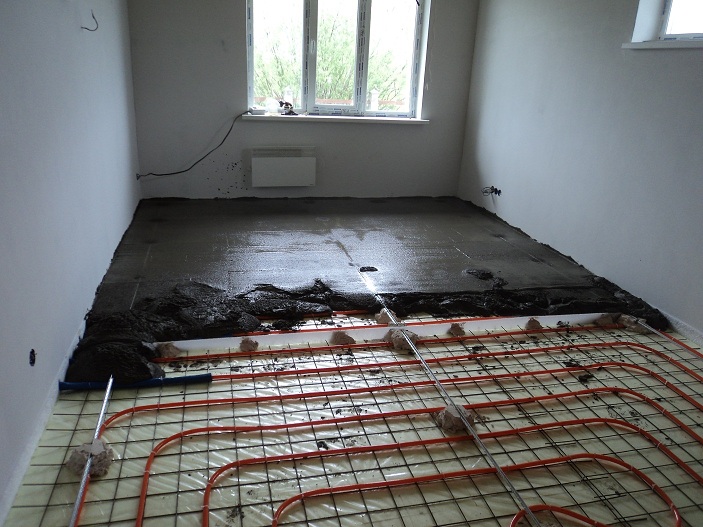
Reinforcement
The reinforcing mesh is attached to the insulation and is connected by pieces of wire to each other. It is also recommended to make reinforcement over the laid pipes for their secure fixing.

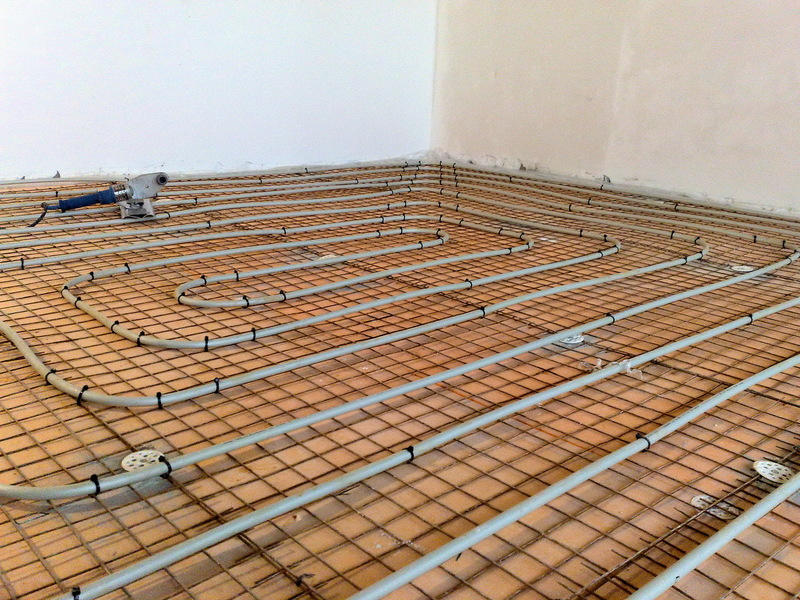
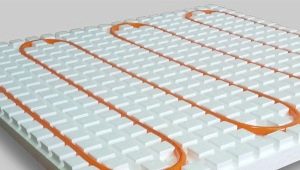
Piling
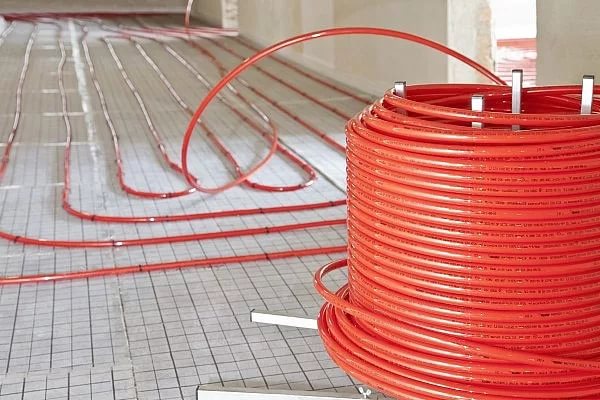
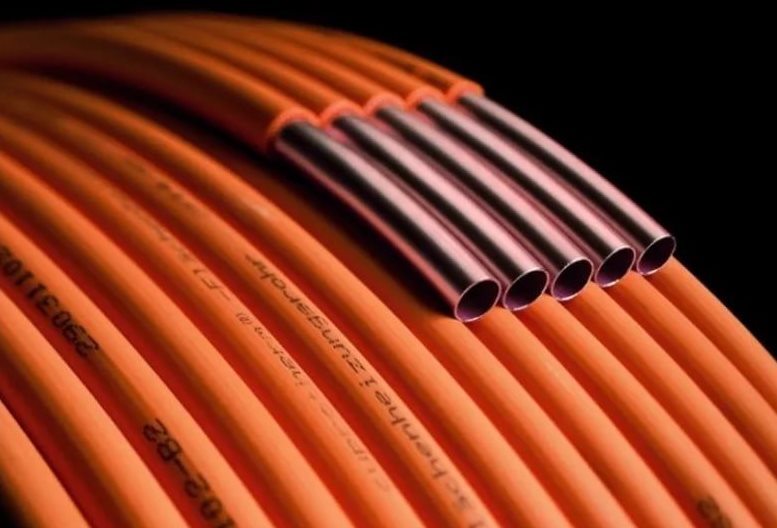
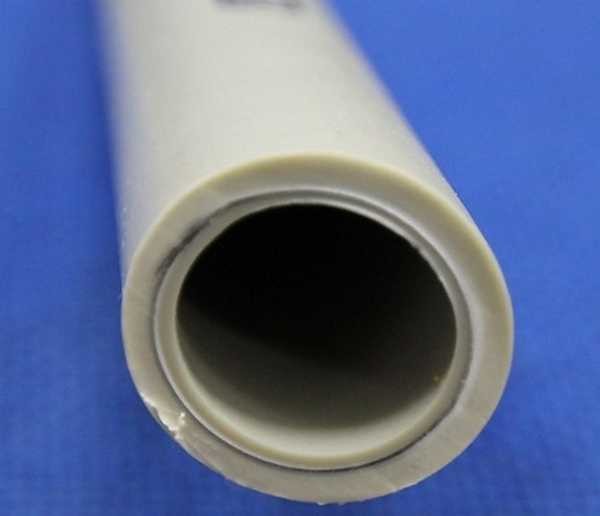
You can choose from a wide range of pipes: for example, copper, PEX, polypropylene, aluminum in a plastic shell.
- PEX pipes made of cross-linked polyethylene are very durable, with a long service life.
- Polypropylene are used less frequently. Because of the small bend radius, they are difficult to fix, but have high strength.
- Copper pipes with high thermal conductivity are most in demand among buyers.
- Shell pipes made of aluminum are also popular in the building materials market.Aluminum conducts heat well, and the polymer in the shell reliably protects the structure from damage.
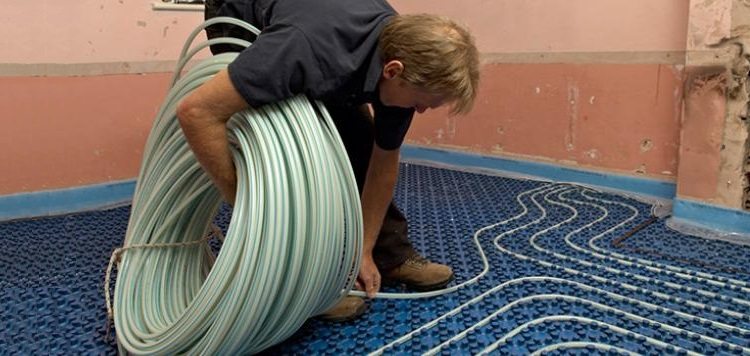
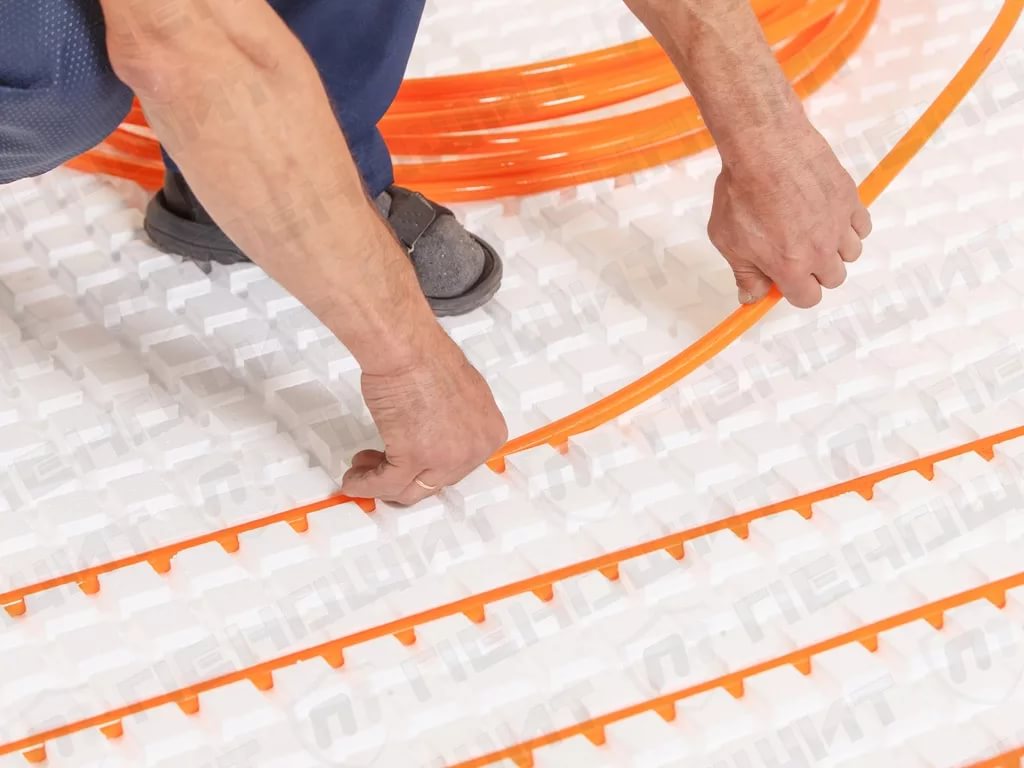
Starting the styling process, it is important to maintain an indent of 10-15 cm from the walls. Laying is done in rows, the distance between the pipes should be in the range of 140-150 mm. With a laying step of 15 cm, the flow rate is approximately 6–7 m for each square meter of the room; when laying every 10 cm is 10 m. Care must be taken to follow the installation step. The fastening of the loops of the water floor to the base should be frequent, using fastening brackets, especially in places of rotation.
It is necessary to maintain the angle of adhesion to polystyrene.

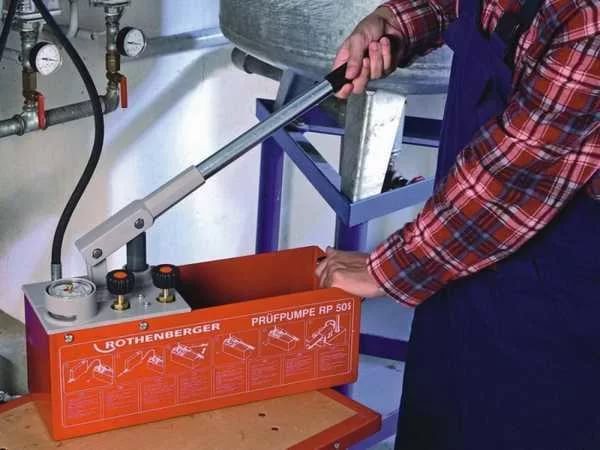
Pressure testing
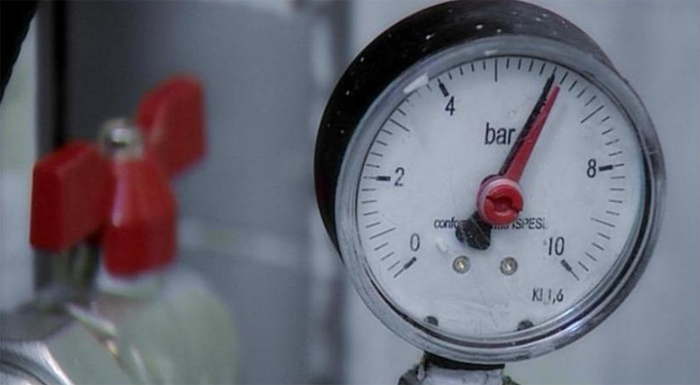
After the circuits are installed, the system is crimped or tested. Pressure testing of warm water floors is done by a compressor to a pressure level of 4 bars. A pressure gauge is used to control the pressure in the system. If for some time the pressure in the system has dropped, then the pipe is damaged or there is a leak. Crimping gives the opportunity to test the pipe for strength.
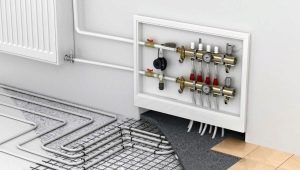
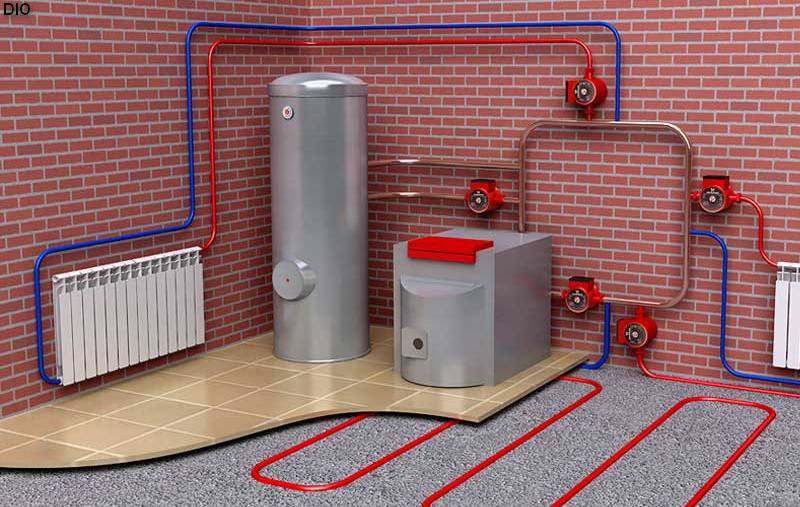
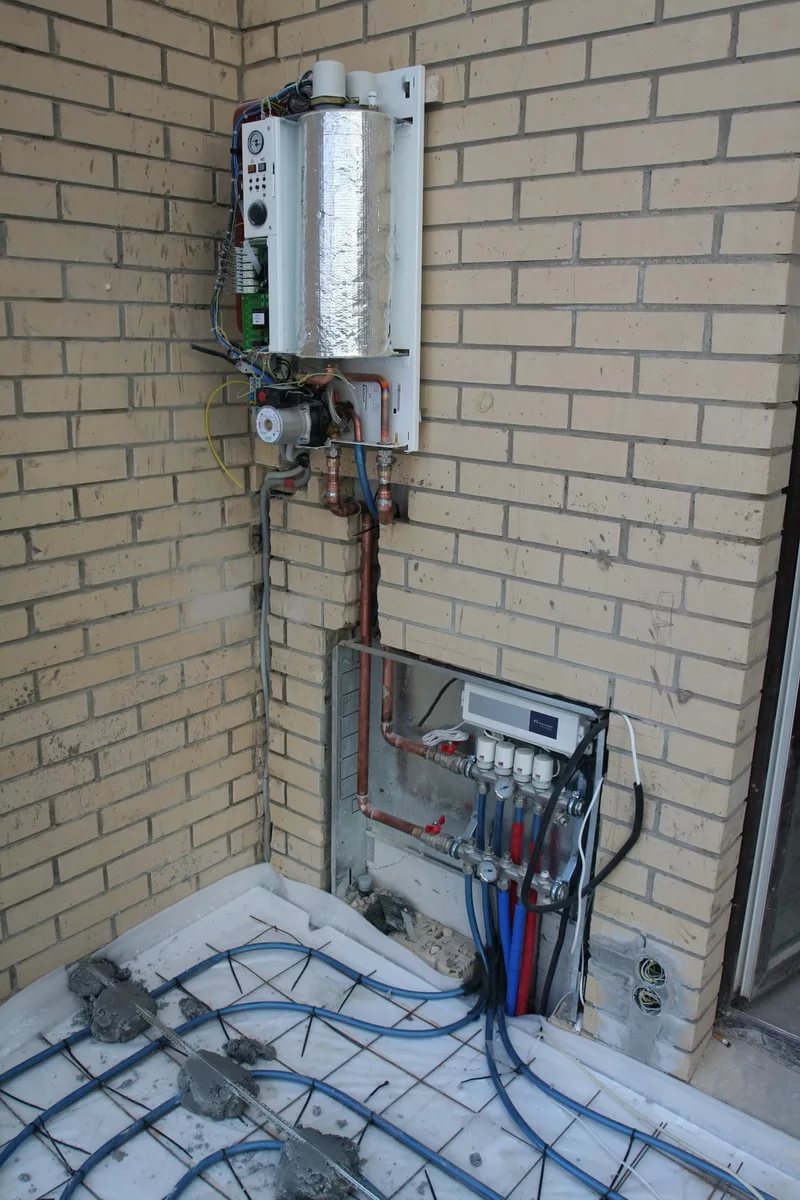
Creating a common system of heat and water supply and connection of circuits
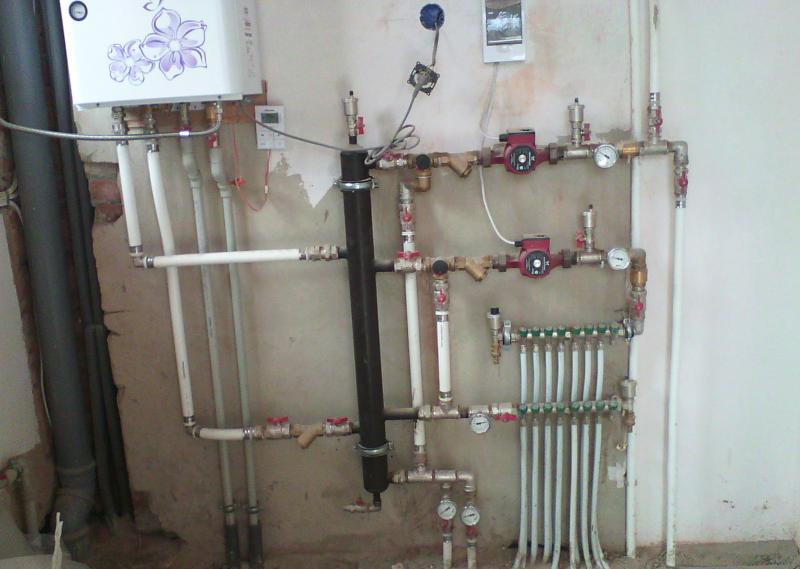
The next stage is the choice of the connection scheme and the connection of the circuits themselves. First you need to install a collector - distribution heating system. The collector consists of two pipes (supply and return). Each of them has side holes - the exit (at the feed) and the entrance (at the return). These outlets are connected to the valve connecting the warm water floor and radiators (batteries).
It may seem difficult to realize connection to one source of heating. In fact, everything is simple. Both ends of the circuit are connected to both sides of the collector. One side is attached to the exit, the other - to the entrance (return). A closed loop is formed. Thus, connect the branches in all rooms. At the ends of the collectors are the elements of the connection. On the one hand there is a tap to drain the water, on the other - to release air.
The collectors are fixed in the form of a tee or TTT tees. Their number is calculated relative to the number of branches of the heat carrier.
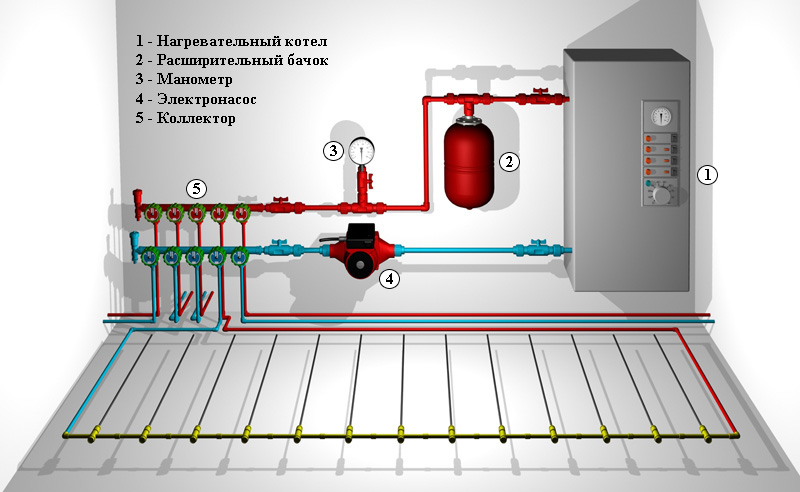
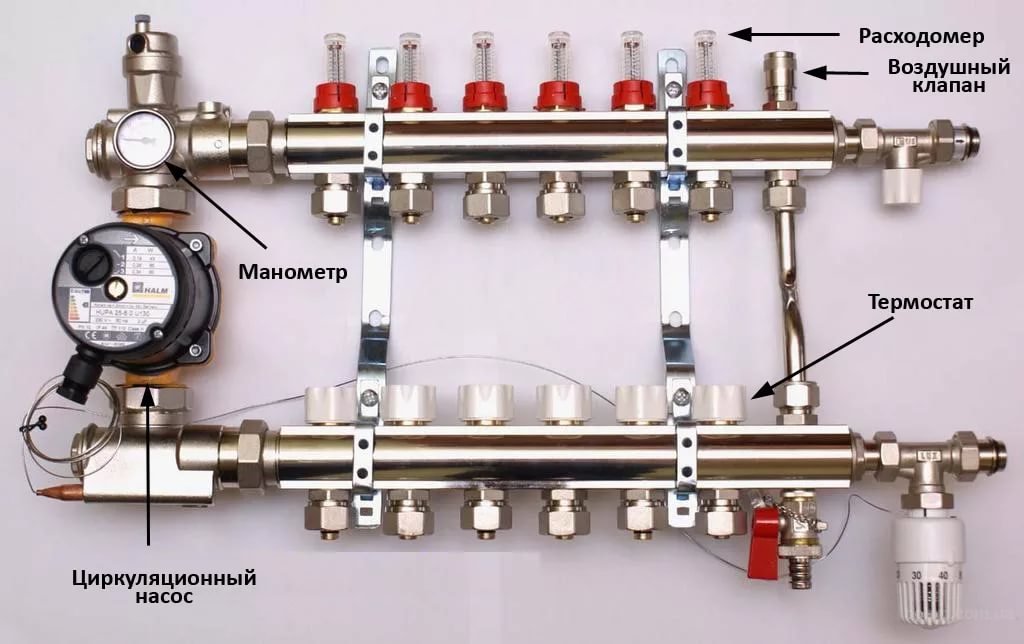
The following components are included in the connection kit:
- circular pump;
- mixing valve - two- or three-way;
- stop valves;
- drain and air taps;
- fittings for connections.
After the pipes are laid, they are connected to the collector. One end of the loop is connected to the inlet for hot water, and the other to the outlet. Attach the contours with fittings or special nuts. Installation is possible using a mixing valve or a circular pump. The pump is installed on the return, not on the supply pipe. If you install it on the supply pipe, the pump will take additional volume of water from the heating system, which, in turn, will cause a decrease in heat in the radiators.
After the connection is completed, the system should be filled with water, the air must be removed using special taps on the manifolds and the leakage checked. If no leaks are detected, a test boiler start is performed to ensure that the system is working properly and heat is supplied to all circuits. At this work on the installation of a warm water floor and connecting it to the gas boiler is completed.
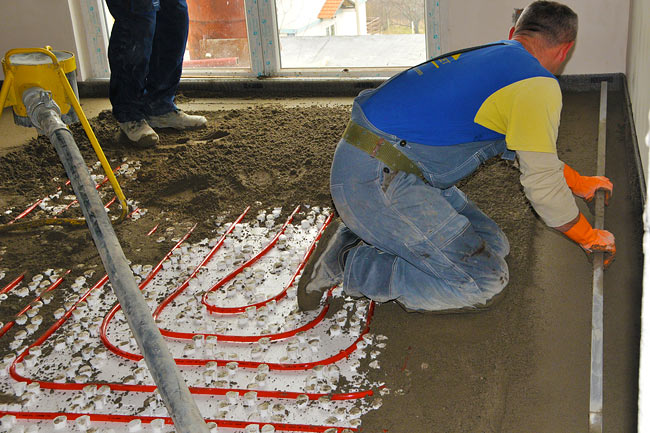
Screed
After testing the system and connecting all circuits, a coupler is made. Cement for screed taken brand M-400, added washed sand and gravel.
To obtain a good solution, the following proportion is applied: 1.9 kg of sand and 3.7 kg of crushed stone are taken for 1 kg of cement.
The ratio of sand to rubble per 10 liters of cement should be equal to 17: 32. It turns out a concrete screed 2500 kg / cubic meter. m
Tips masters
Starting work in a large volume, it is best to use the advice of experts, masters of their craft. The methods and principles used by them are often of the same type, but Each master brings to the workflow a part of his own knowledge and skills that should not be neglected, but best used:
- Pressure testing should be carried out by filling the system with water under pressure, which is 2-3 times higher than the nominal pressure.
- For crimping it is better to use temporary plugs and adapters for the compressor.
- Installation of pipes on the collectors is more convenient to do with a special split key.
- Filling of the finished floor is done with water filled pipes under pressure equal to the nominal pressure.
To learn how to properly connect a heated floor to a gas boiler, see the following video.